Establishing a live chat channel between buyers & sellers is very essential these days. Therefore, we are bringing this PrestaShop Marketplace Seller Buyer Interaction module for you.
The module integrates a fully equipped chat system into your store. This will help your customers to interact easily with sellers as well as you(Admin).
Live chat has many benefits for your store. To quote some of them, here is the list:
- Live chat ensure customers of quick resolution.
- Increases customer retention.
- Higher customer satisfaction rate.
- Convenient communication channel
- Quick & easy messaging solution.
Note: This module is an add-on to the Marketplace Module. To use this module, you have to install Prestashop Advanced Multi-Vendor Marketplace first.
Features of the PrestaShop Marketplace Seller Buyer Interaction module
- Integrate a full-fledged chat system for the buyers & sellers of marketplace.
- An admin needs to create an account on ChatWhizz.com to get the API keys.
- Fully featureful chat application offered by ChatWhizz.
- Buyers can initiate a chat with the admin and seller both.
- A seller & admin both can choose to accept or reject the chat request.
- An information about the active/inactive status also displays in the chat window.
- Admin needs to purchase a plan from the ChatWhizz.com.
- Fast responses through live chat sytem increase satisfaction level.
- A seller needs to send a request to become an operator to chat with the customers.
- Admin needs to approve the seller to become as operator.
- The sellers get to communicate with their buyers easily.
- On any incoming message, chat shows popup notification along with a sound alert.
- The module is multi-shop compatible with PrestaShop Advanced Multi-Vendor Marketplace version 5.4.0/3.4.0 and above.
How to install the module
In order to install the module, you need to install the Prestashop Advanced Multi-Vendor Marketplace module first.
After installing the marketplace module, you can now proceed to install the PrestaShop Marketplace Seller Buyer Interaction module.
- Firstly, Go to the Module Manager in Back office and click on ‘upload a module’.
- After that, Drag and drop the module file or select the file from the system.
- In this way, the module installation will be successful.


How to get the API Keys for the module
After the installation of the module, proceed to configure the module. But, in order to configure the module, you’ll need ChatWhizz API keys.
Using the keys, you can easily integrate an effective & fast messaging system between your customer & seller.
So, now let’s just proceed further to take you through the process of generating the API key.
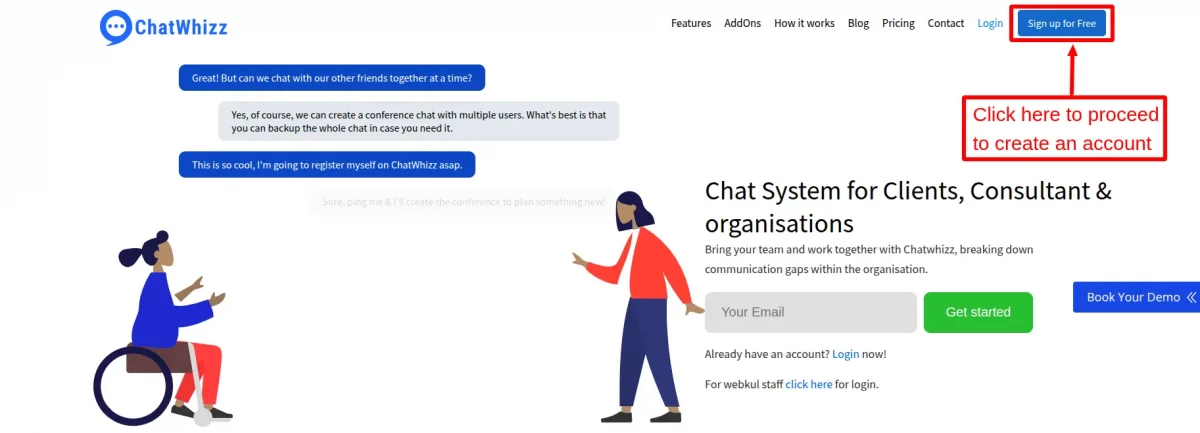
Firstly, visit the ChatWhizz website.
Then, either sign in to the existing account or proceed to create an account.
To create an account, click on the “Sign up for Free” button.
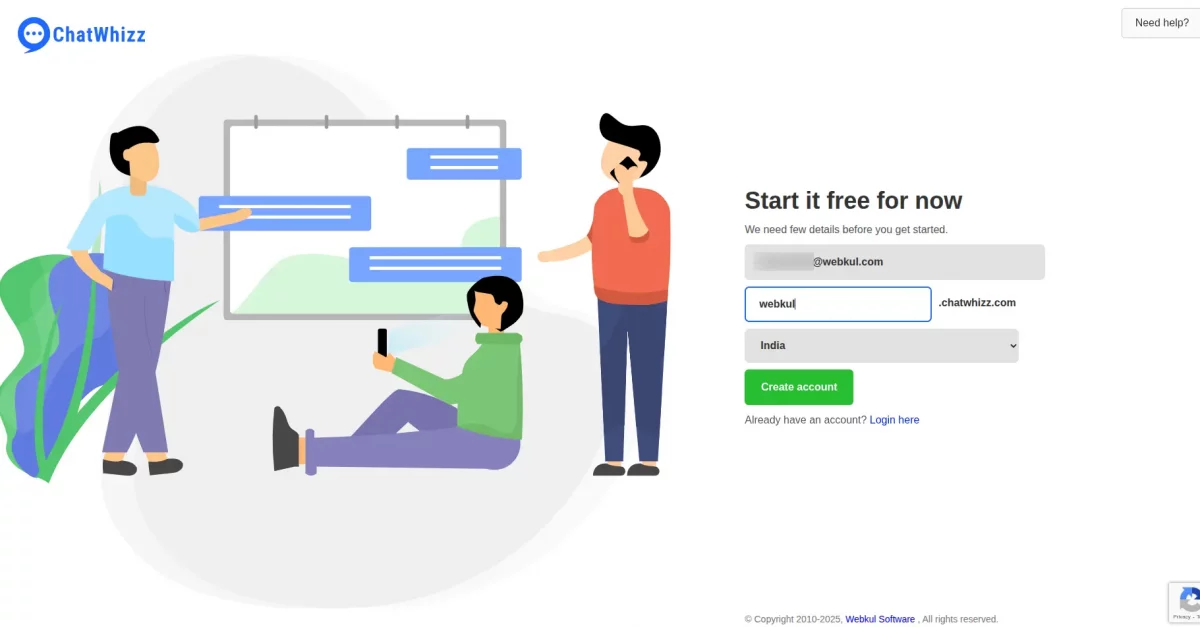
After that, you will land on this page. Now, you need to enter some basic details here in order to create an account.
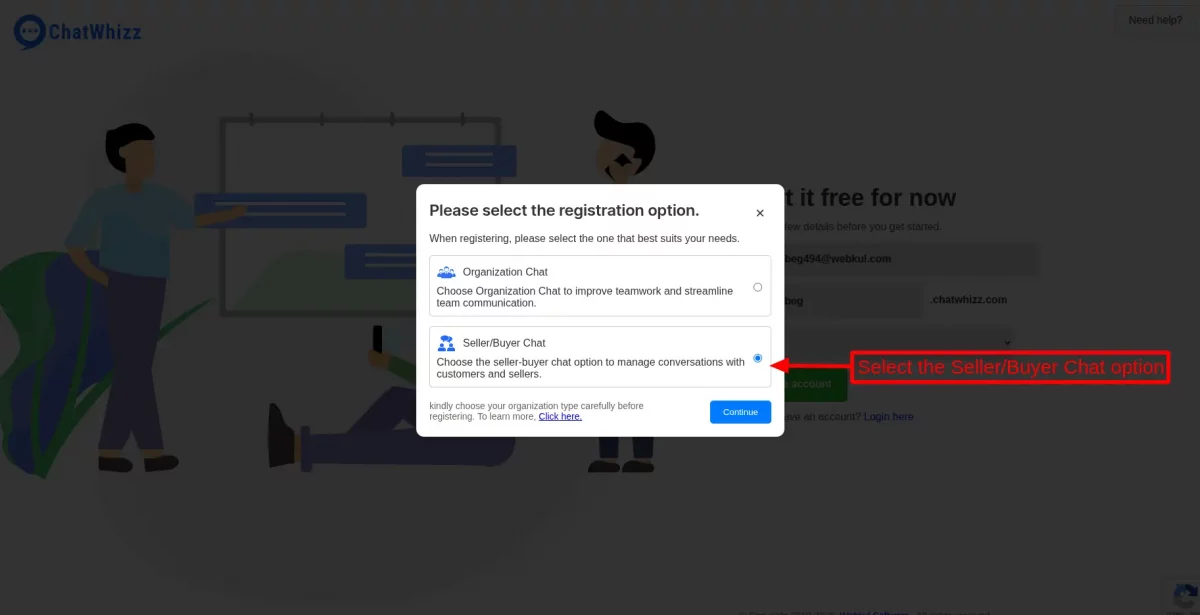
Upon clicking Create Account, the user gets the option to select a registration type.
The user must select the option “Seller/Buyer Chat”, and click on the continue button. The add-on installation will be completed.
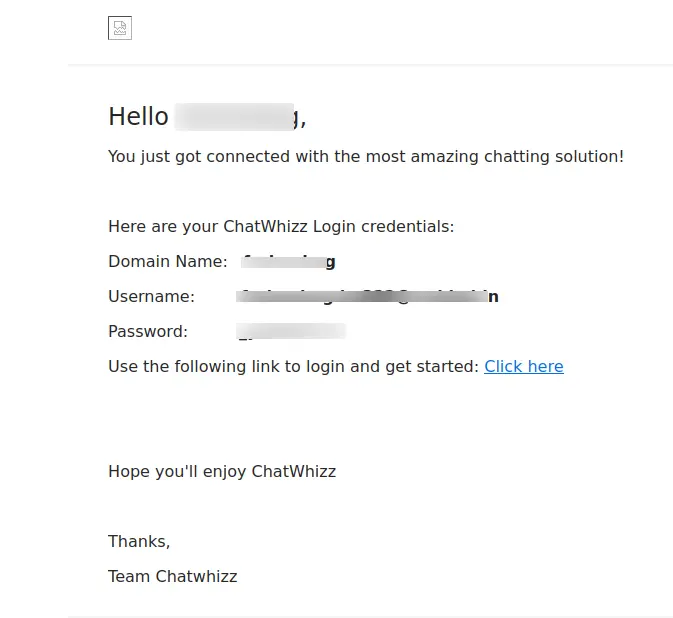
After the user enters the domain name, username, and password on the signup page, these details are automatically sent to the registered email address.
After successful account creation, a new page will open. The new page will show you the list of all the available plans.
Select a plan

Select any one plan from the above & proceed to pay for the plan.

After making the payment successfully, you can now use your credentials i.e., email & password to access your account.

Setting up Seller Buyer Interaction Addon
On making the payment successfully, you will now be able to get the API details.
Now, navigate to the “API Details” tab. In this tab, you can easily find the API keys required to configure the Seller Buyer Chat module in your PrestaShop store.
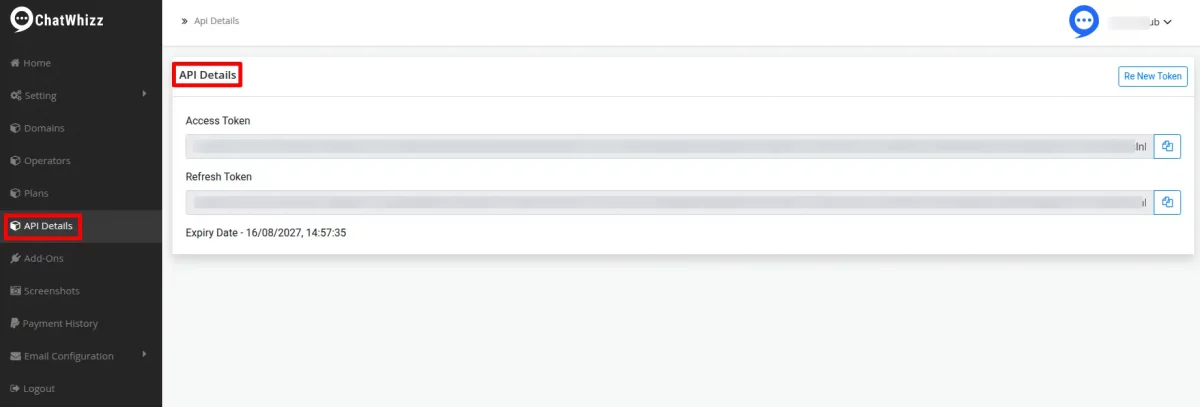
If you want, you can also regenerate the API keys by clicking on the “Renew Token” button.

So, this was all about the process to generate the API keys for the module.
How to configure the module
In this section, we will know the process to configure the module.
To configure the module, you will need the API keys. And, the process to generate the API key is clearly explained in the previous section.
So, to configure the module just use those keys.

After saving the API keys, a new section becomes available on the configuration page. In that section, you just need to enter your domain name & email. After that, just save the details.

Note: Please enter the domain name without including the HTTP:// or HTTPS://.
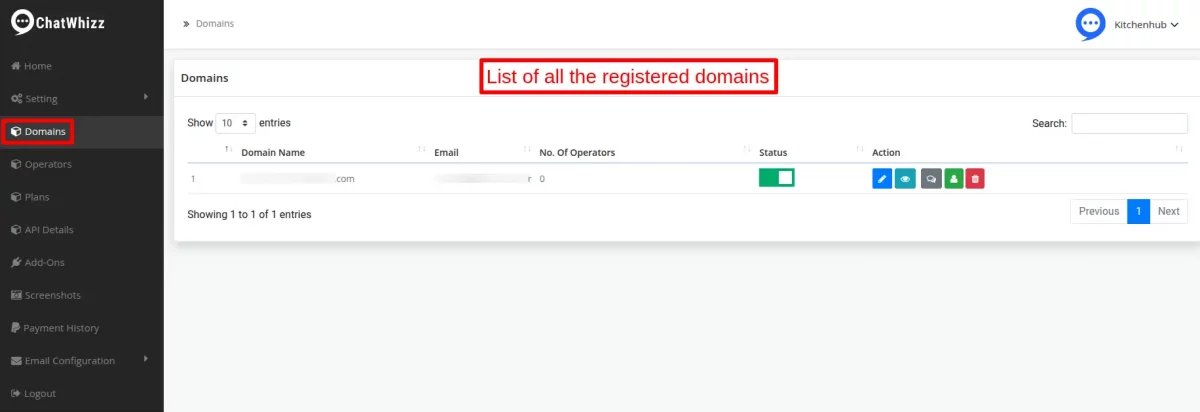
Now, you can see the added domain in your ChatWhizz account too.
The workflow of the Seller Buyer Interaction module
Firstly, the seller needs to become an operator to interact with the customer via chat.
But, to become an operator, sellers need to send the request to the admin. So, let’s just see how to create the request to become an operator.
Firstly, a seller will go to the seller dashboard. Now, a seller will navigate to the “Edit Profile” page.

Under the “edit profile” section, sellers can now see a new tab i.e., “Operator“. Now, here a seller needs to select the option “Yes” & click on the “Submit” button.

After clicking on the “Submit” button, a message to notify about the successful request creation will also display.

At the admin’s end
At the admin end, a new request of the seller to become an operator will show under the “Manage Seller Operator” tab.
FYI, this “Manage Seller Operator” tab is available under the “Marketplace” section on the backend. Here, an admin can easily approve the request of the seller to become an operator.


At the seller’s end
Now, at the seller’s end, some details will be available along with the status. Currently, the status is showing as offline cause you have not logged in to ChatWhizz yet.

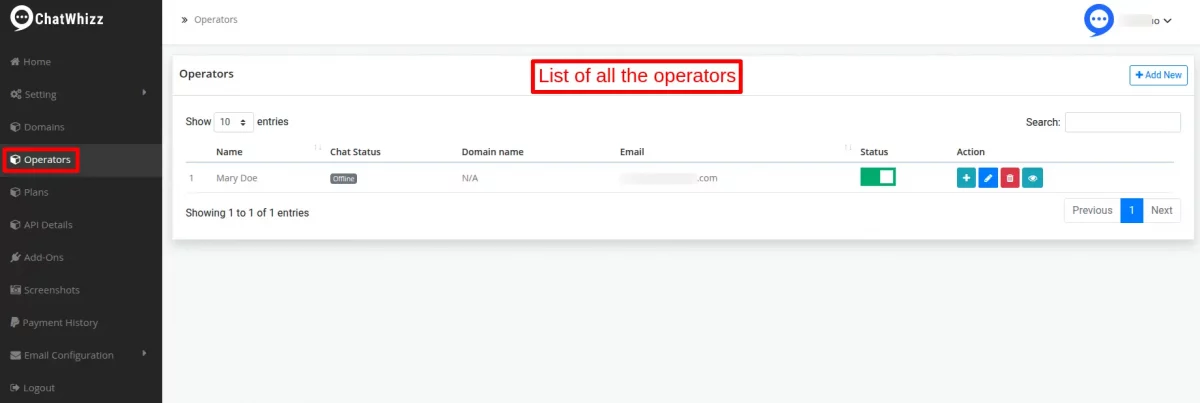
After the approval of the seller as an operator, they are available under the list of operators under the ChatWhizz account too.
Manage Seller Buyer Chat
In order to be online, log in to the domain.chatwhizz.com. Here, domain refers to the name of your website which you used at the time of registration on ChatWhizz.

As you can see, no chats are available in your account yet.

Now, after logging in, the status in the operator section is also showing as “Online“.

Chat Between Customer & the Seller
In the image below, you may notice that a customer is requesting to start a chat.

Therefore, a new request for chat will also appear in your ChatWhizz window. You can either accept or decline the chat request of the customer.
In case, if you want, you can also see the message of the customer before accepting/declining the request. After looking at the message, you can decide accordingly.
One thing to note is that you can not reply to the customer until you accept the chat request. It means, you can see the message but can only reply when you accept the chat request.

Send a reply from the ChatWhizz chat window & the same will reflect on the customer’s end.

You may see the sellers reply in the image below. Now, in this way a customer & the seller can easily chat using the integrated chat functionality available with the module.

A chat window to initiate the chat with the seller is available on the seller product page & other seller related pages of the store.
And, to initiate a chat with the admin, customers can start a chat from any page(apart from the seller’s product/sellers related pages) of the store.
Home Page

Category Page

Offline Message
An offline message is also shown to the customer when the seller is not available to chat.

So, this was all about PrestaShop Marketplace Seller Buyer Interaction Module. I hope this document will help you in checking the functionality of the module in a better way.
Also, do let us know about your views in the comments.
In case, if you are also looking for a module to assign badges to the seller based on performance. Then, do check out the blog.
Support
For any kind of technical assistance or query, please raise a ticket at http://webkul.uvdesk.com or send us a mail at [email protected]
Also, please explore our PrestaShop development services & vast range of featureful PrestaShop Addons.
Current Product Version - 6.0.3
Supported Framework Version - 8.x.x, 1.7.x.x

Be the first to comment.