Introduction
Opencart Avalara module will allow the admin to set the tax details in the Opencart store automatically from the Avalara website. With this module, the admin can avail benefits to see real-time updates of the taxes as per Avalara.
Avalara is an automated tax software that provides a solution for many taxes including sales and use, VAT, excise, communications, and others. This is a more effective and efficient way to manage tax as everything here is automated, any change in the Government tax policies quickly reflect in your module.
Note:
1. This module supports all templates and themes including the Journal theme.
2. Opencart Avalara Tax Manager module supports the Multi-Store feature of default Opencart.
Features
- The admin can add the name of the tax.
- Also, the tax will create automatically through the API of Avalara.
- It will create geo zones for all zones automatically.
- Tax rates and tax classes will also create automatically.
- Also, the customer can see the real-time tax as per Avalara taxes.
Note-
- For the sandbox account, the module works only on the US address.
- The Tax Rates calculates on the basis of only the Postal Code of Store and Customer.
Installation
The installation of the Opencart Avalara module is very easy. You need to move the admin folder into the Opencart root directory.

Once you upload the file then login to admin and from the catalog section go to Extensions> Extension installer and upload the XML file.
Also, the XML file can be found in the wkavalara.ocmod.xml folder under the module directory.

Now admin will go to Extensions > Modifications and then click on the refresh button like the image below.

After that in Admin panel go to System -> Users -> Usergroup and edit ‘Administrator’ and choose select all for both Access and Modify Permission and save it.

Module Configuration
Admin can configure the Module, Extension>Extension. Here, you can choose the extension type as Modules. In Modules, you can select Avalara Tax Integration.
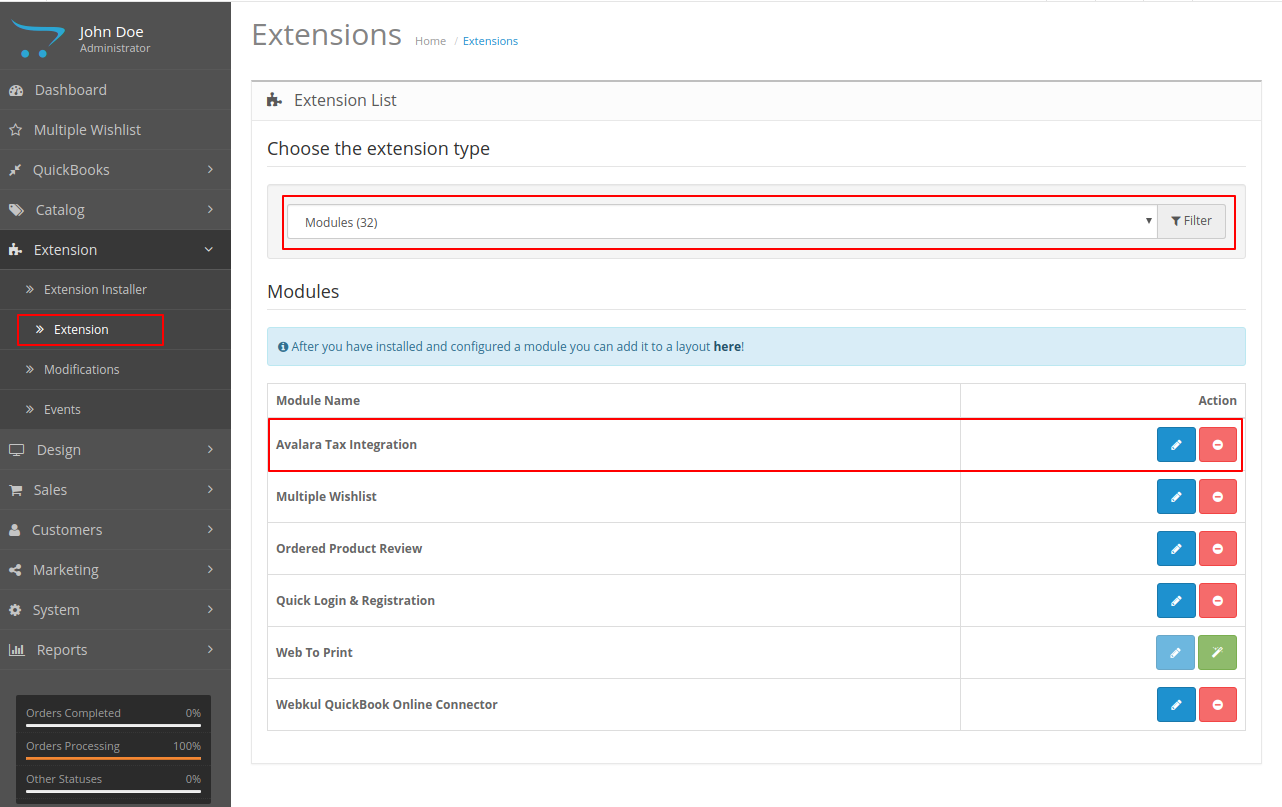
After this one needs to edit the Integration by clicking on the edit button.

- Store- This is the name of the store for which you need to configure the tax rule.
- Status- Also, this needs to enable in order to use the Tax rate.
- Mode- Whether you need to use it on Live or in Sandbox mode.
- Avalara Username- The username of Admin’s Avalara Account.
- The Avalara Password- Also, the password for Admin’s Avalara Account.
- Tax Rate Name- The name of the Tax rate for Opencart Account.
- Store Postcode- Postal code of the store.
As soon as the admin Save the configuration of the module GEO Zone, Tax Rate and Tax Class for Avalara are formed. Also, the tax rate will create automatically through the API of Avalara.
Geo Zone-
You can see Geo Zone by the following navigation, System>Localisation>Geo Zone. “All Zones” named Geo zone will create which is used by Avalara by default.

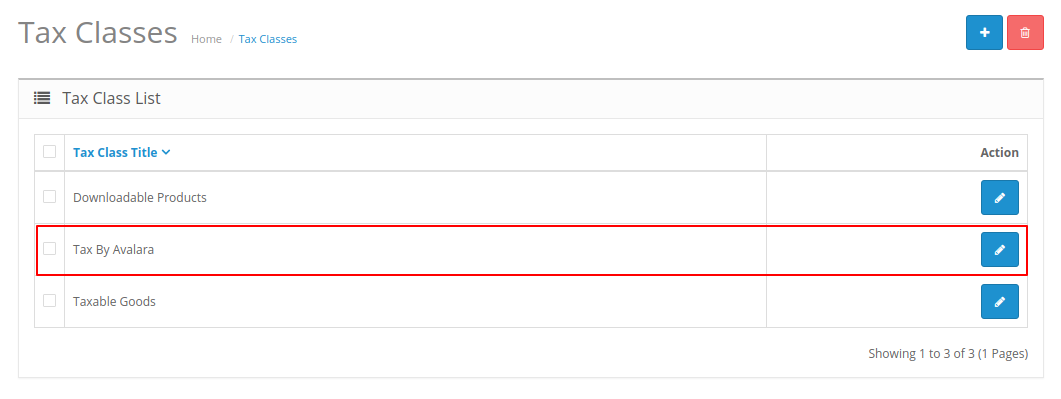
Tax Class-
You can see the tax class by the following navigation, System>Localisation>Taxes>Tax Class. Also, tax class would be created as the name given in the Tax rate of admin configuration.
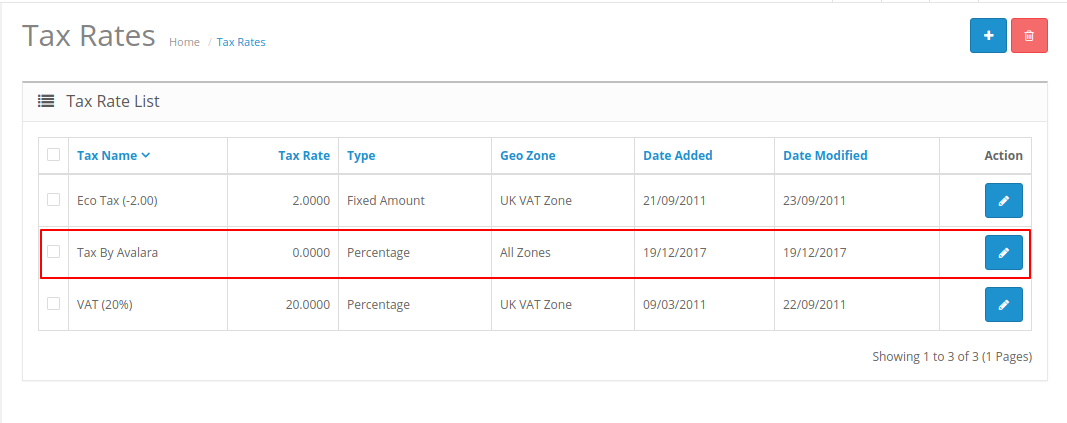
Tax Rates-
You can see the tax rate by the following navigation, System>Localisation>Taxes>Tax Rates. Also, tax name would be created as the name given in Tax rate of admin configuration. Here, the tax rates are automatically picked from the website.
Application Of Tax
These tax rates thus need to be enabled in the product section. For which admin needs to go to the product list- Catalog>Products

Also, the admin can choose those products for which the tax rule must be applied.

On the product page, the admin can go to the DATA tab, from their can set Tax Class as the tax class name mentioned in Avalara Tax Integration Page.
Creation of Avalara account
If the admin doesn’t have the Avalara account then he can click on Create New account to create a new account with Avalara. The credentials thus received can be added to the above Avalara Tax integration page.

After clicking on submitting admin will receive an email with regard to the new account details in it and an email with regard to the change of password.
New account mail-

Reset Password-

Post Registration you can move ahead to either
Sandbox- https://sandbox.admin.avalara.com/
Production- https://admin.avalara.com
Login Page-

Step 1- Add Company Information-

Step 2- Where You Collect Tax-

By clicking, on Add More regions admin can add more regions for collecting the tax. Here, the admin can check those places for which he needs tax calculation.

Step 3- Activate Company-
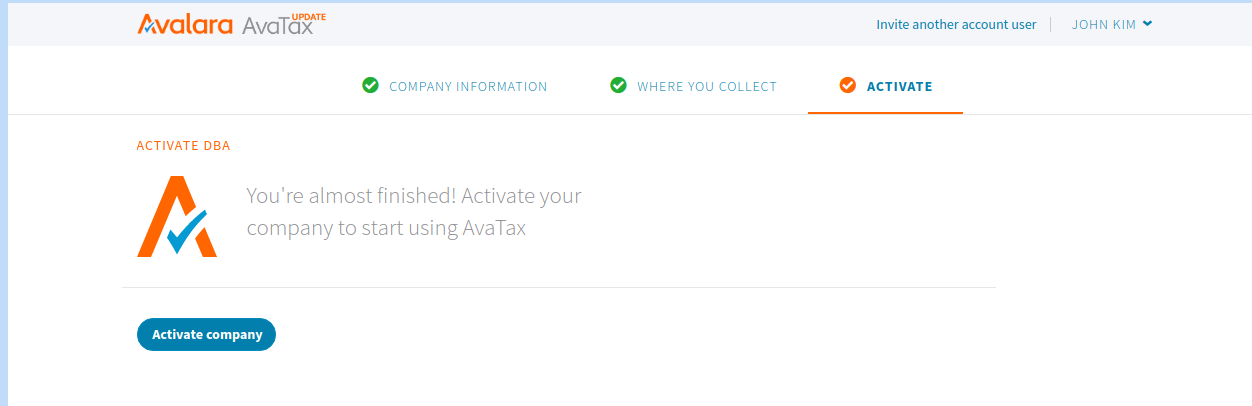
Also, click on Activate Company to activate the company. Finally, the database is created with respect to the company.
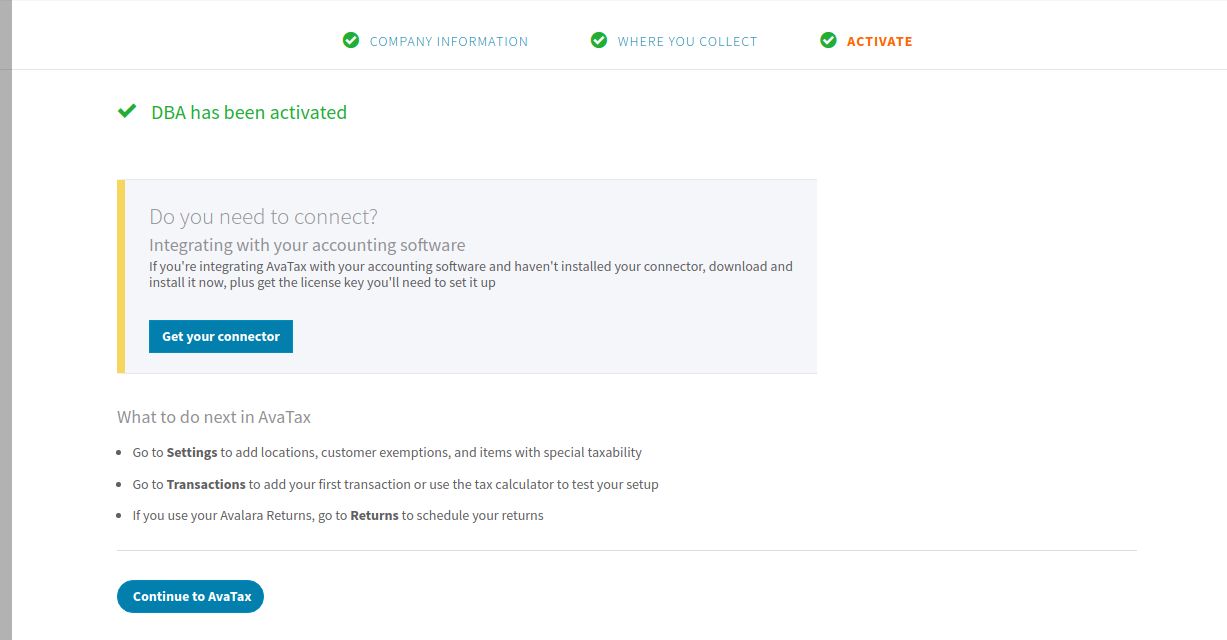
On clicking Continue to AvaTax, you will redirect to the ‘Welcome page‘.

After setting up the Company, the admin can verify the tax calculator.
Validation Of Tax
The Tax can verify by going to Transactions>Tax Calculator.

Here, the Origin is the address of admin whereas Destination is the address of Customer. To validate both the address you need to click on the Validate button.
Post Validation you can save these details by clicking on Save Document Detail. Also, admin can save the line item by clicking on Save Line Item.

Admin can now click on Calculate Button to see the task of the respective line item.

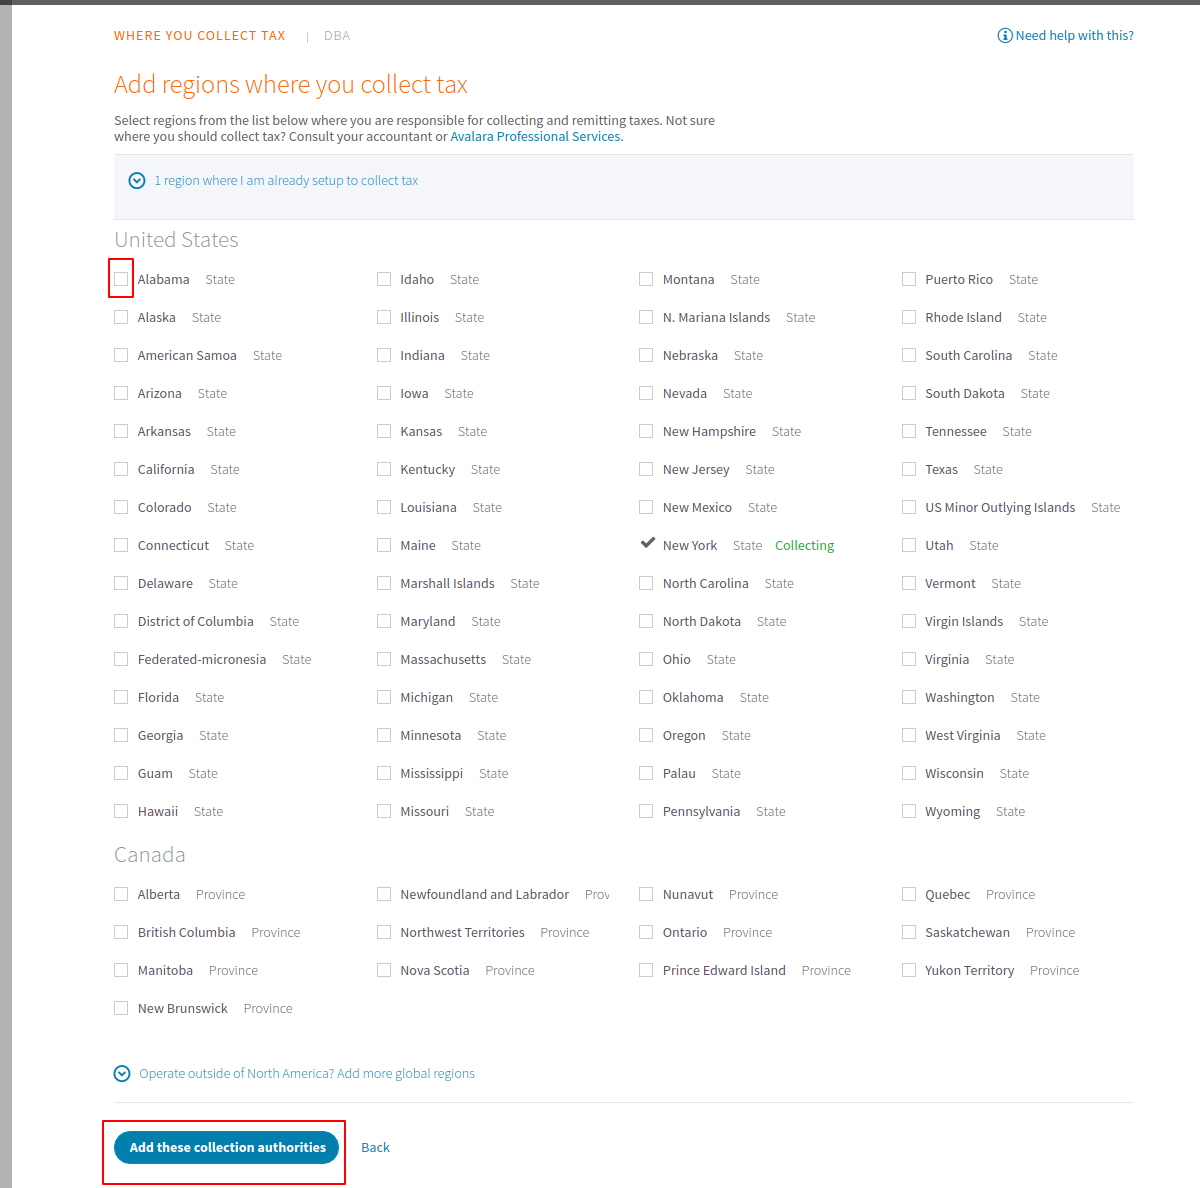
Admin can even add more region for tax calculation, by going to Setting. Also, click on Manage where you collect and remit tax.
Here, the admin can check the checkboxes in order to enable the tax for different regions. After that admin click on Add these collection authorities.
Front End
Now let us see how the tax system works while the customer purchases a commodity.
Shopping Cart-

From here the customer can move to checkout where he/she will add in the address details. Here in our cart, we could see the tax based on the default address postal code.
Checkout
One checkout page customer can edit the address as per the requirement and can view the final tax in the “Confirm Order”.

Also, the customer can view the order in Order history, one can navigate My Account>Order History.

The customer can see here the tax applied to the product.
That’s all for the OpenCart Avalara Tax Manager module, for any issues feel free to add a ticket and let us know your views to make the module better https://webkul.uvdesk.com/.
Current Product Version - 2.0.0.0
Supported Framework Version - 3.x.x.x

Be the first to comment.