Ready to supercharge your Zoho Commerce store? Our Multivendor Marketplace for Zoho Commerce app turns your single admin E-commerce store into a marketplace.
Here, multiple sellers can showcase their products. You can expand your product offerings, attract more customers, and increase sales with our app.
Features of Multivendor Marketplace for Zoho Commerce
For Admins:
- Centralized Control: Manage sellers, products, and orders.
- Curate Your Marketplace: Approve or reject seller products.
- Auto Synchronization: Products are synced across your store and marketplace.
- Manage Seller Admins: Grant or revoke access to seller admins.
- Flexible Plans: Offer plans to sellers.
- Transaction Management: Approve or reject transactions.
- Scalability: Add more sellers as your marketplace grows.
- PayPal Payment Platform: Admin can add their PayPal platform details for a smooth payment process.
For Sellers:
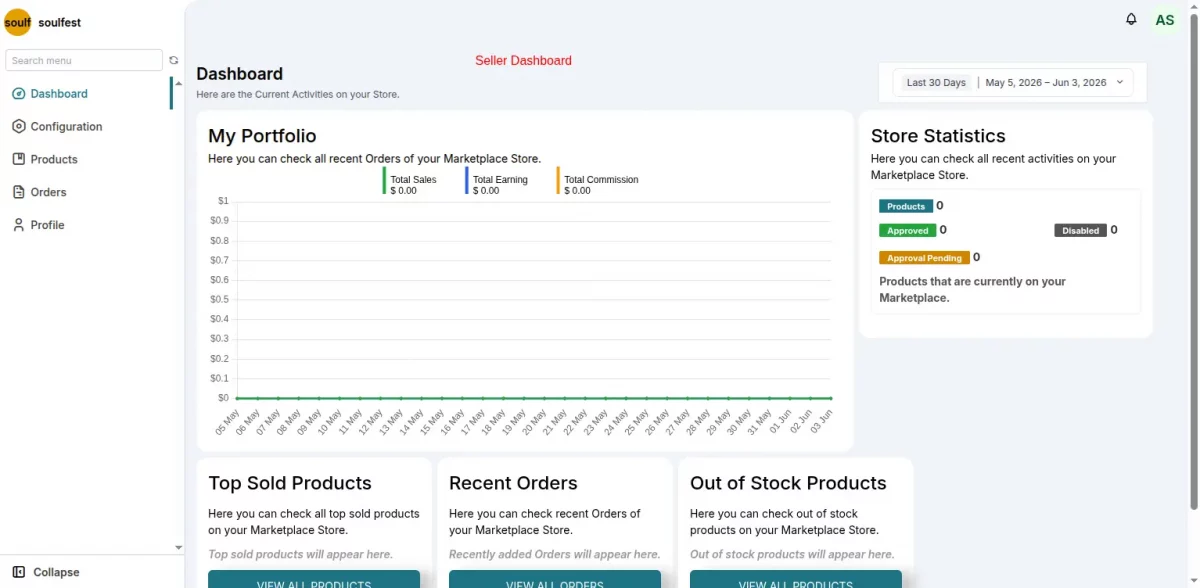
- Seller Dashboard: Manage products and orders.
- Order Tracking: See order status.
- Product Showcase: List and customize products with variants and images.
- Task Delegation: Assign tasks to seller admins.
- Order Fulfillment: Mark as shipped.
- PayPal Payment Platform: Sellers can add their PayPal platform details to receive their product sales payments.
Requirements:
Zoho Commerce Account: You must have a Zoho Commerce store to integrate with our marketplace app.
Get Started with Multivendor Marketplace for Zoho Commerce
To get started with our multivendor platform.
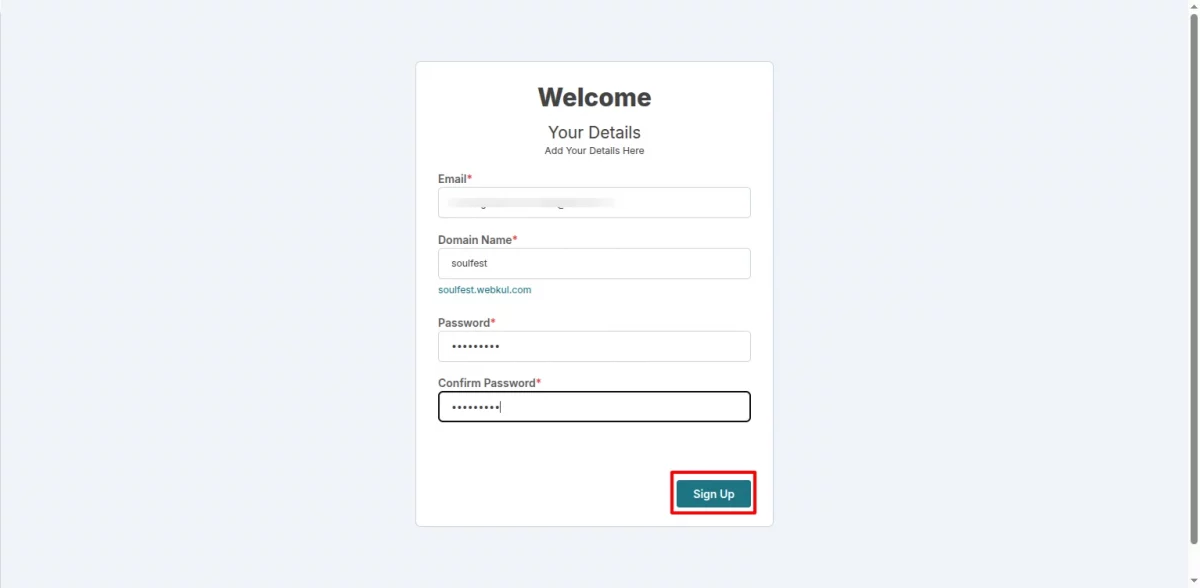
First, go to the sign-up page for the Multivendor Marketplace for Zoho Commerce. Fill in your details and click on the signup button.
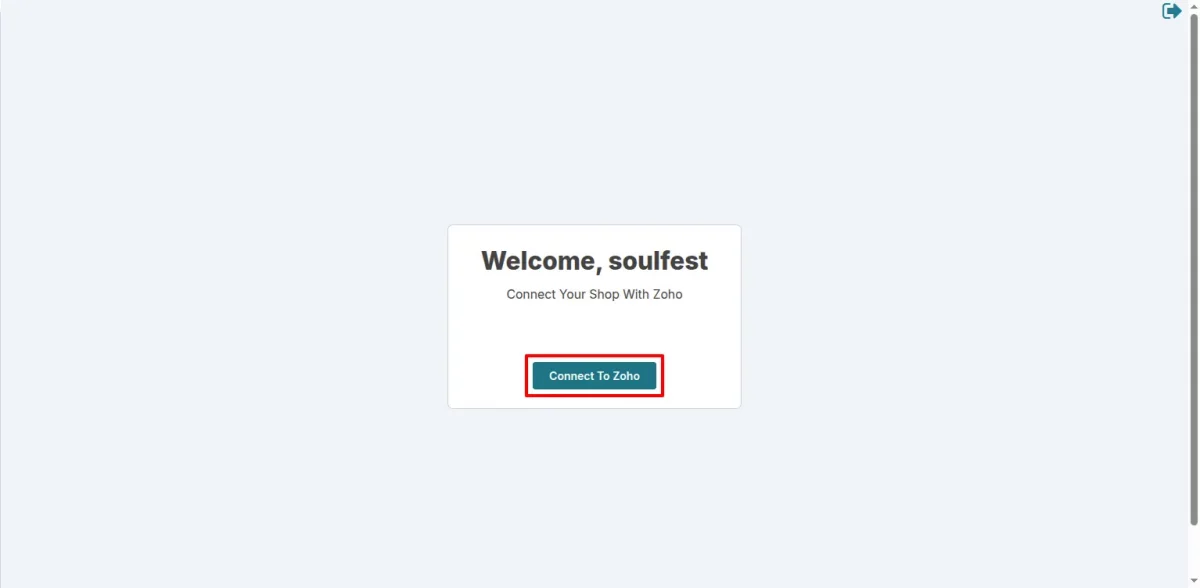
Next, in a new window, click the ” Connect to Zoho ” button.
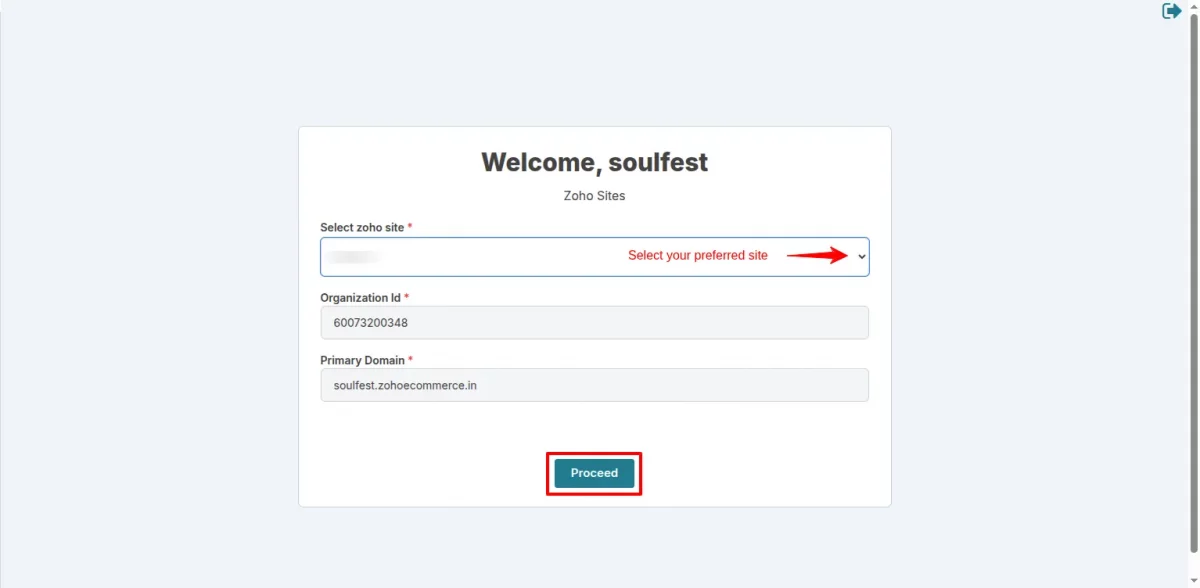
Now, click the checkbox to accept the authentication conditions.

This will enable the platform to automatically fetch your store details. Finally, select your preferred Zoho site and click on “proceed”.
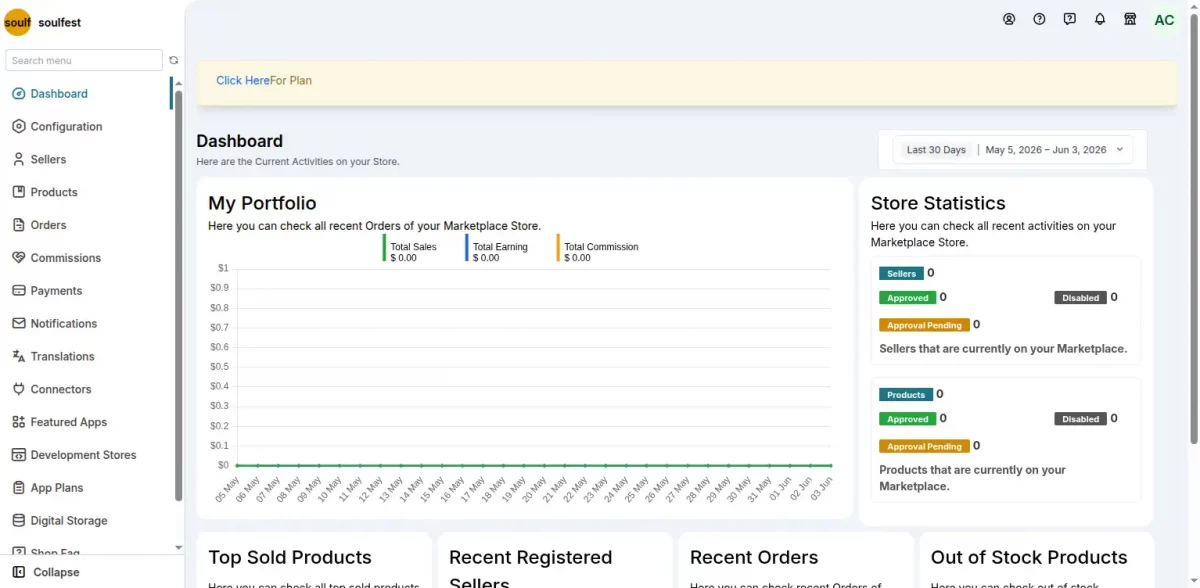
Your multivendor account has been successfully created.
Additionally, you will also receive an email with information regarding your multivendor seller invitation sign-up URL and your account login URL.
Using this URL, you can invite people to sign up as sellers on your store and list their products.

Seller Account Registration and Activation
After successfully creating an account on the multivendor platform, the admin can invite sellers using their invitation URL. They can visit that URL and click Sign Up to create their account.
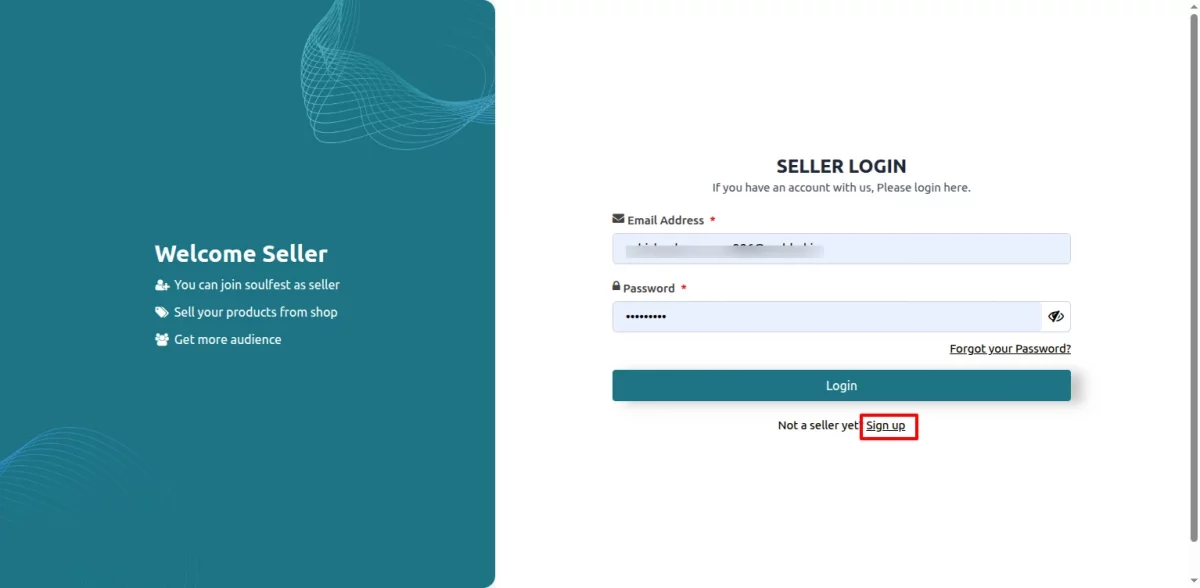
Add your details and create an account.

After successfully creating the seller account, the admin needs to enable it from its dashboard.
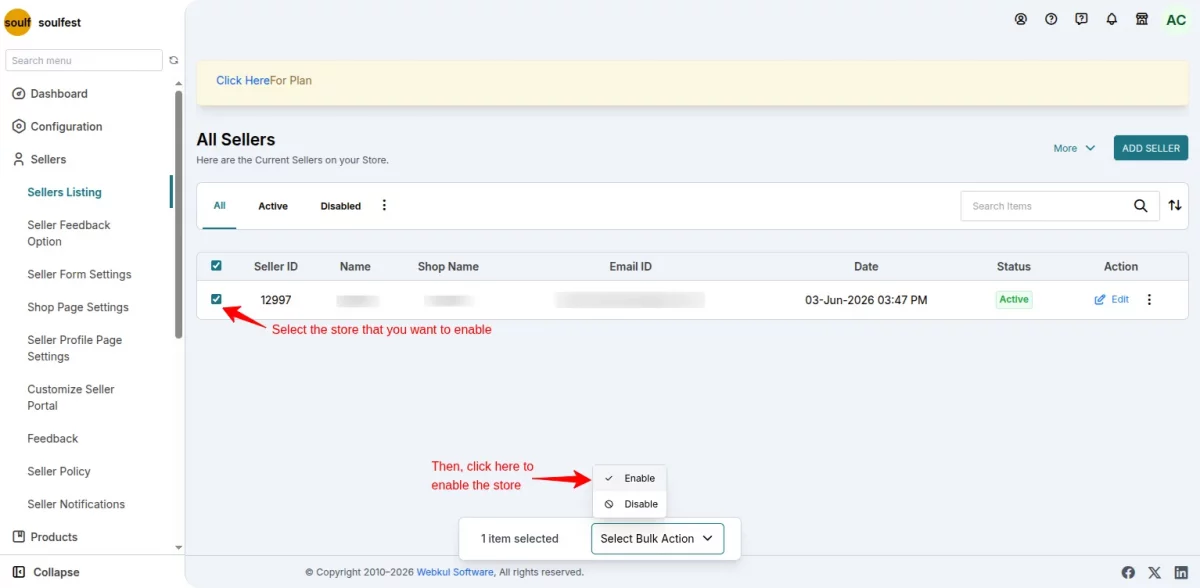
To enable a seller account, go to the admin dashboard > Sellers > Click on the Seller Listing.

In this new window, select the store that you want to enable and click on the enable button.
Next, a confirmation message will pop up in the same window. Click on the confirm button, and the seller account will be enabled. Now, the seller can use the account to list their products.
How Sellers Can Add Products On The Multivendor Platform
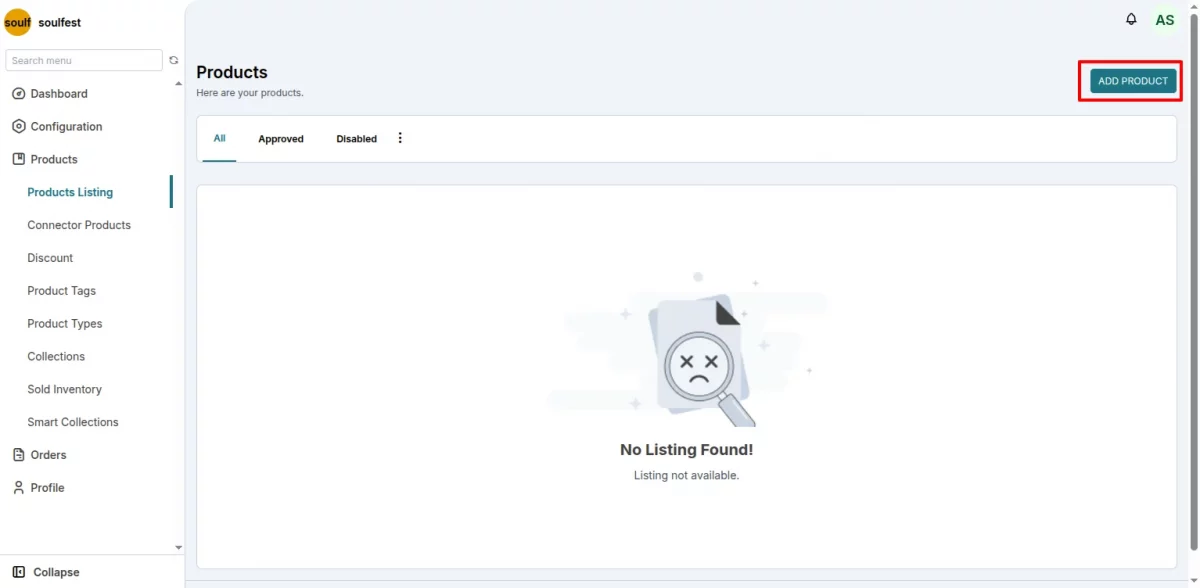
Once the store admin approves the seller account, the seller can now list the product on the store. To do that, go to the seller Dashboard > Product Listing.

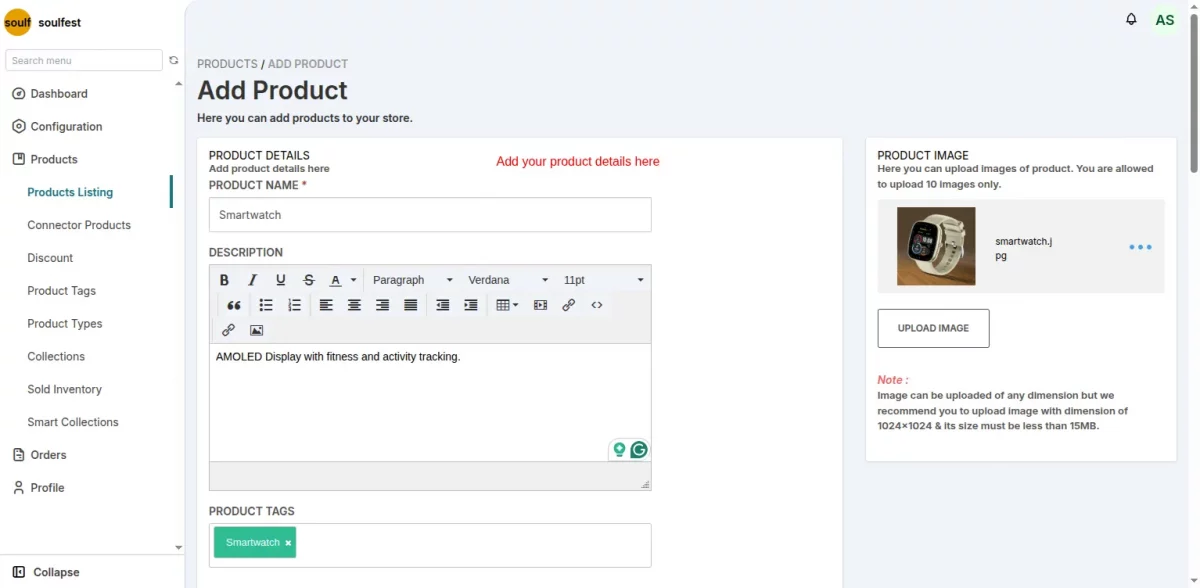
Click on Add Product.
In this new window, add the product details, and then save changes.

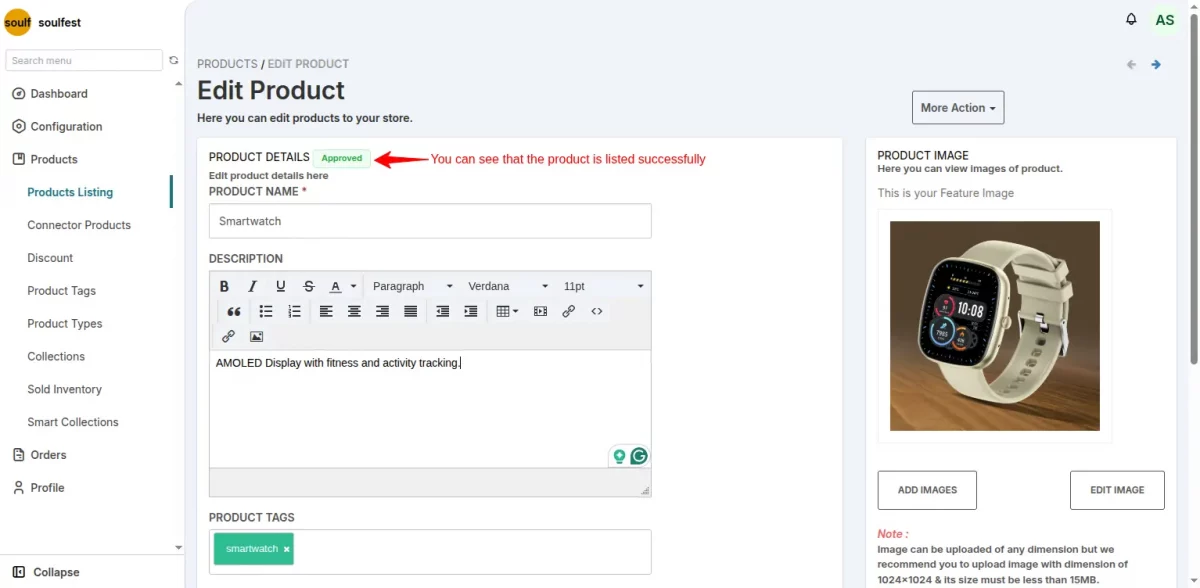
You can see the product has been added on the seller’s side, but it takes a minute for the approved status to appear. And once approved, the product goes live on the store.
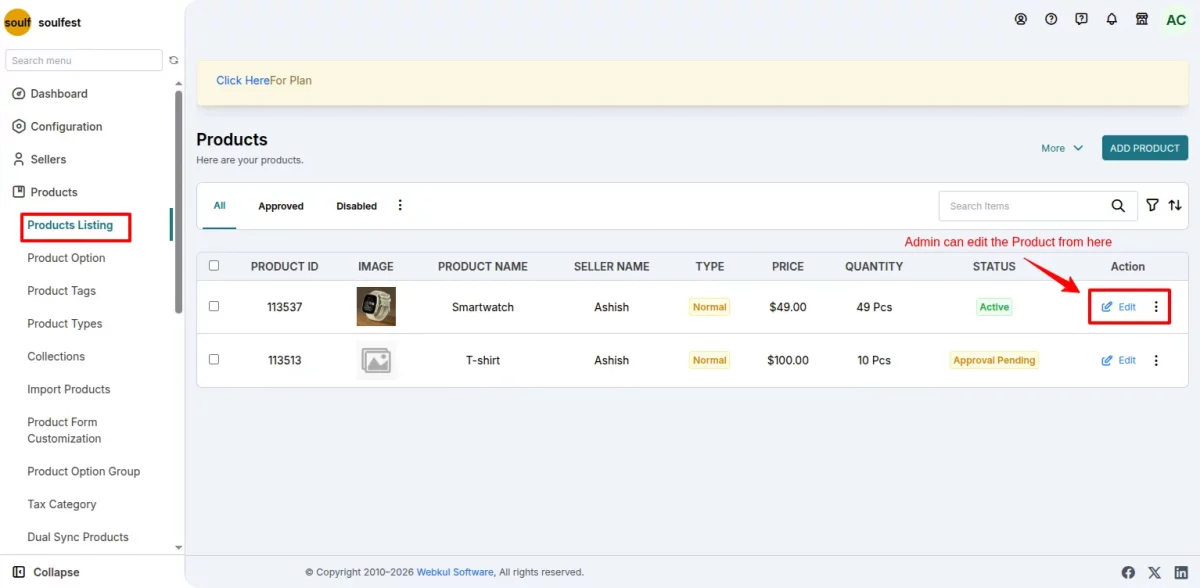
Furthermore, the admin can also view and take action on the products listed by the seller, giving him full control over his store.
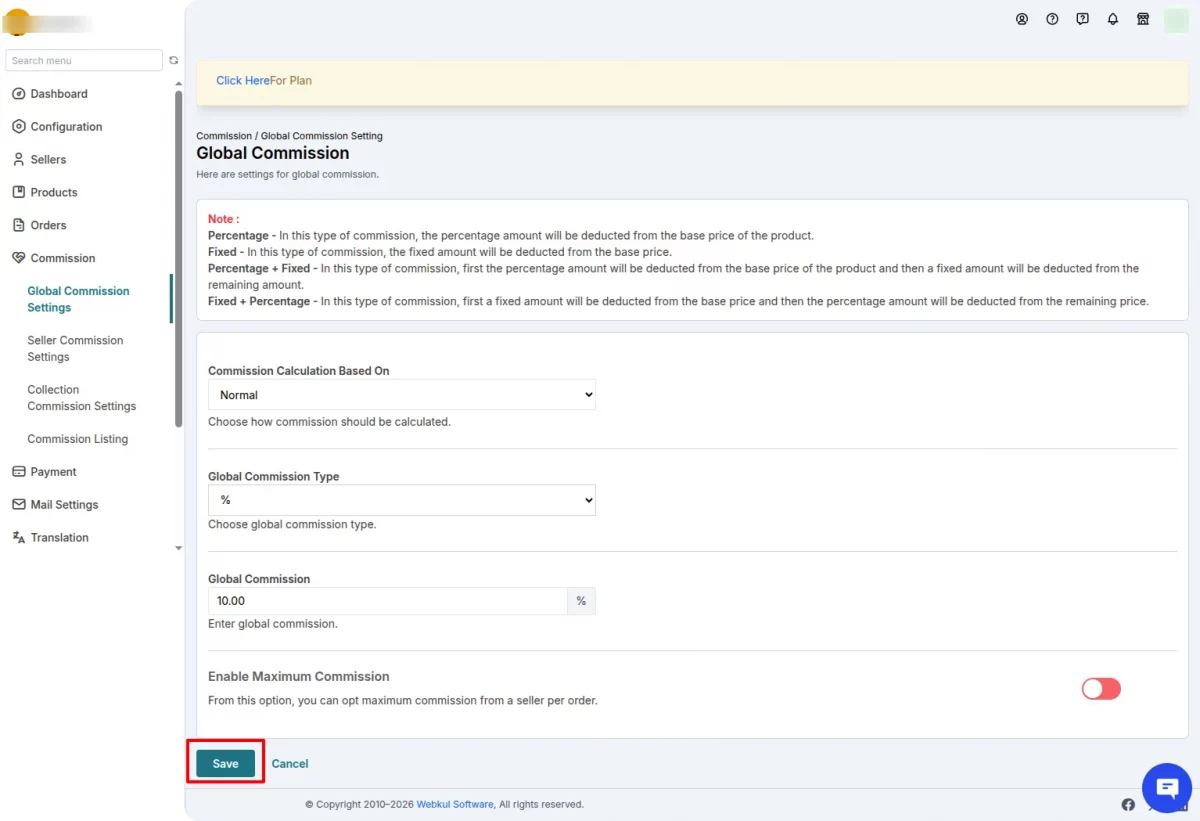
Admin can also set commission to take out their share from the seller’s orders.
To do that, go to Commission > Global Commission Settings and set commission rules, and then save changes.
Steps for Placing an Order on Zoho Commerce
Once a product listing is successfully on the store, customers can place orders seamlessly by visiting the store.
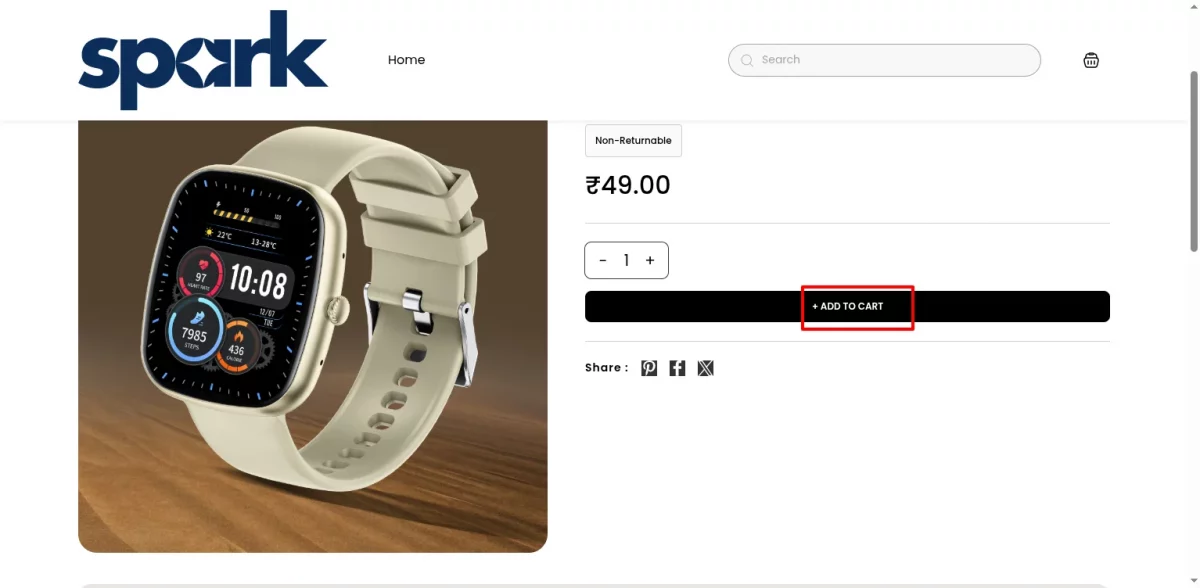
To place an order, go to the store > select the product > click on Add to cart.
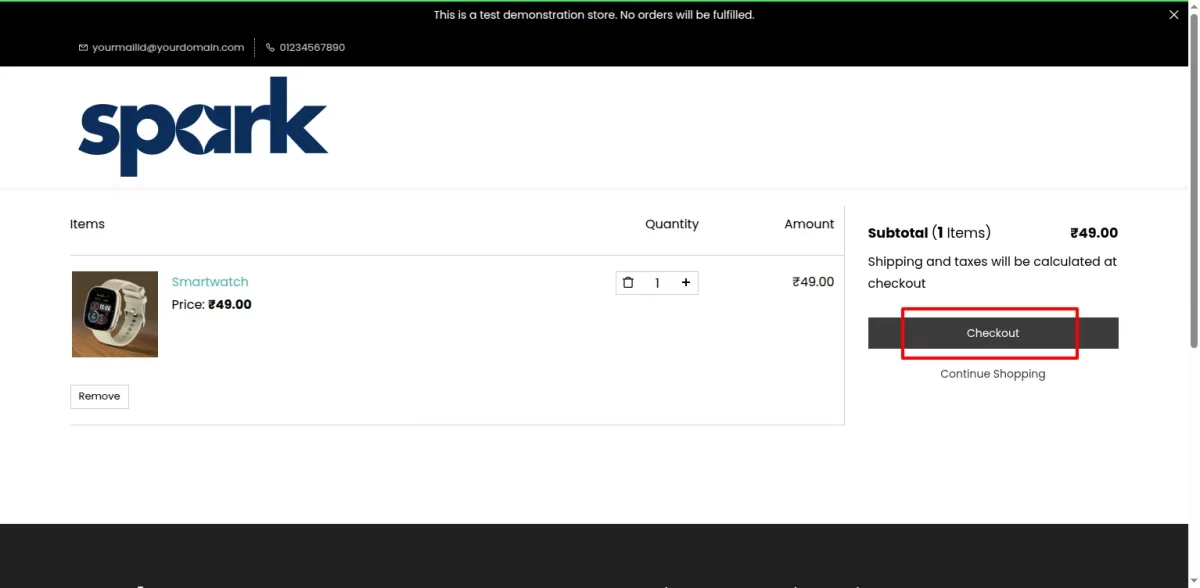
Go to the Cart Icon > Click on the Checkout button.
In this new window, fill in your profile details.
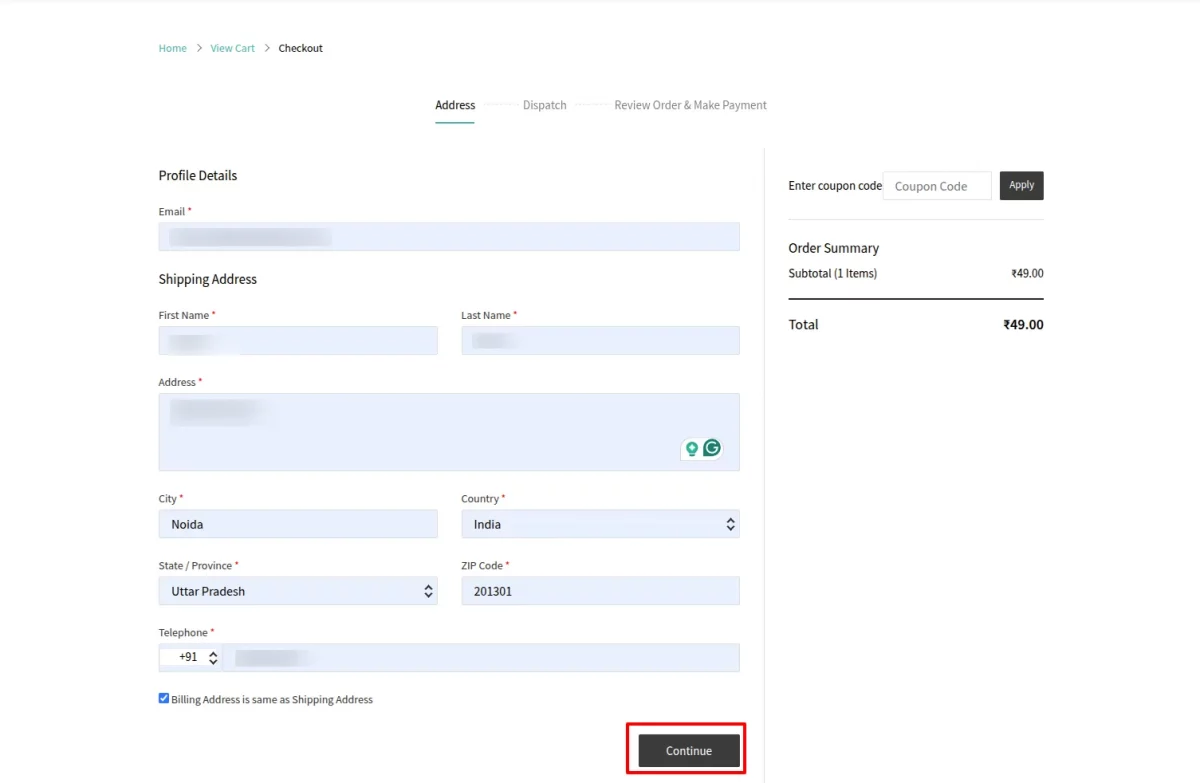
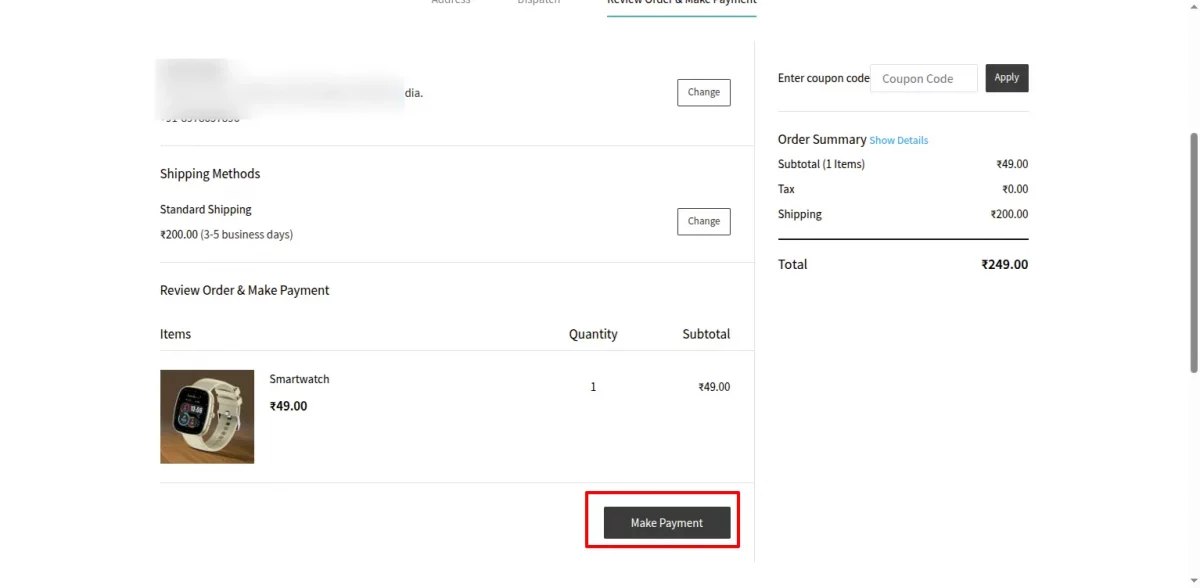
View and click on the continue button.
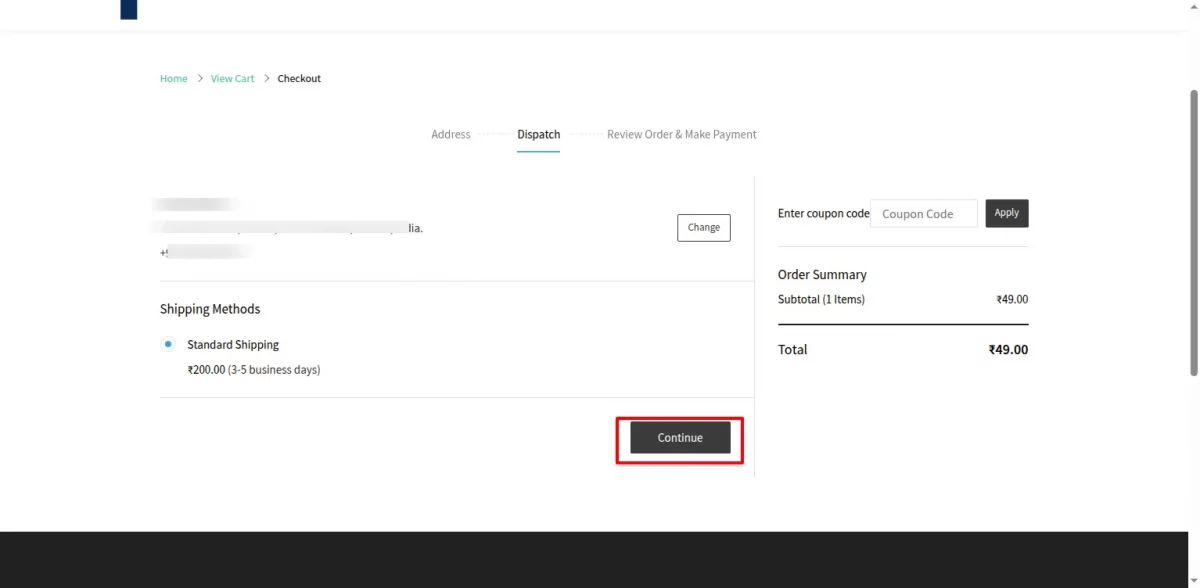
Next, click the Make Payment button to go to the payment page.
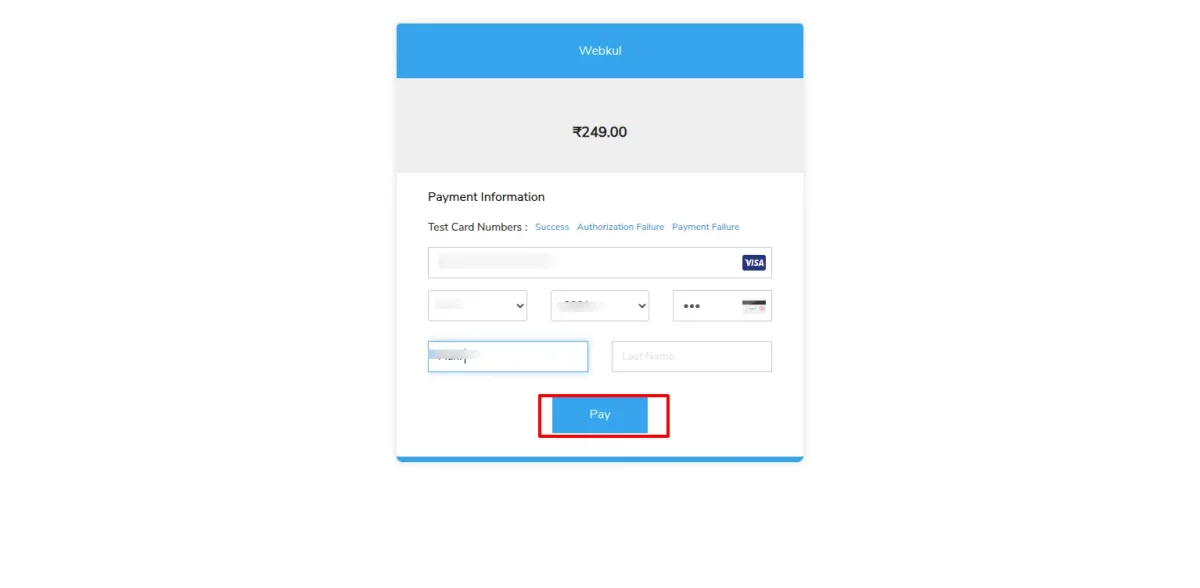
Now add the payment details, and click pay.
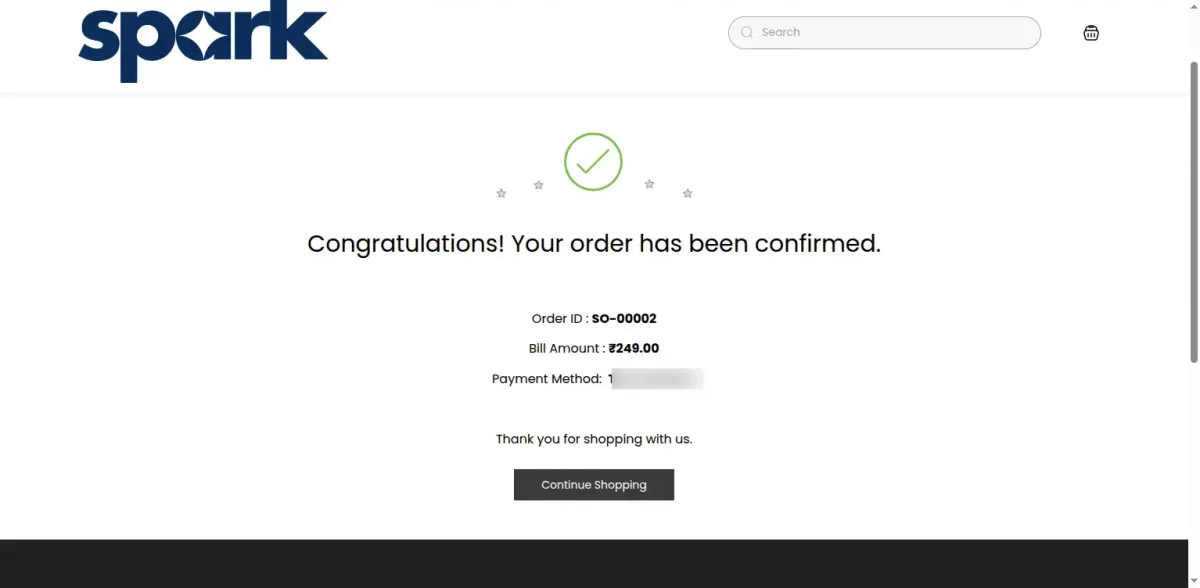
Finally, after placing the order, you will receive an auto-generated confirmation email.
You can view the placed order details directly in your Zoho Commerce store, under Items > Orders.
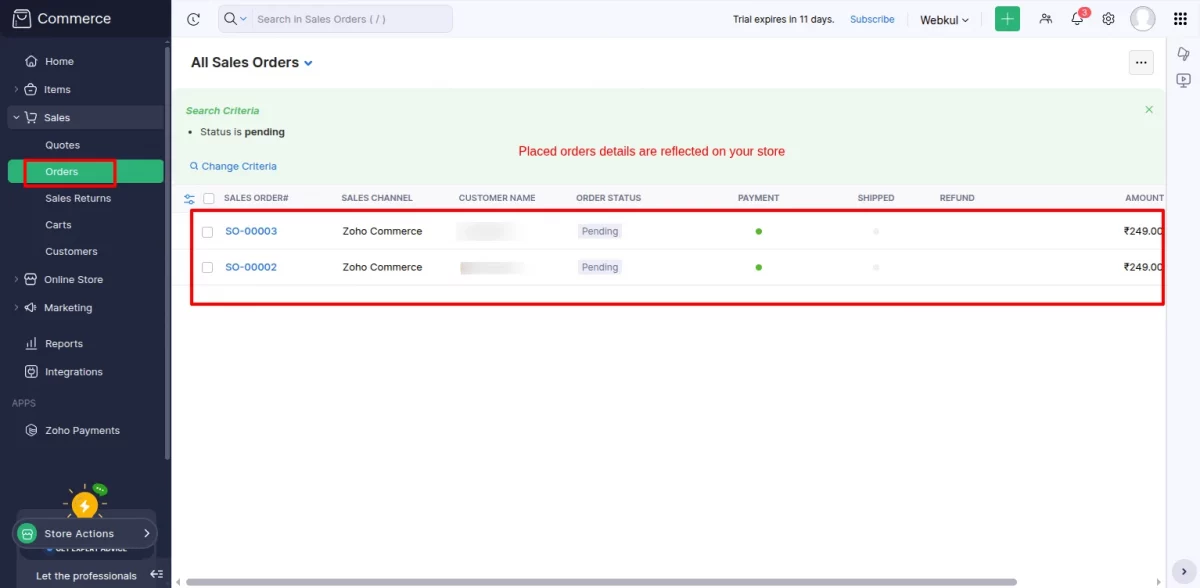
But remember, these details will not be reflected on your admin or seller ends until you create a webhook to update order details in real time.
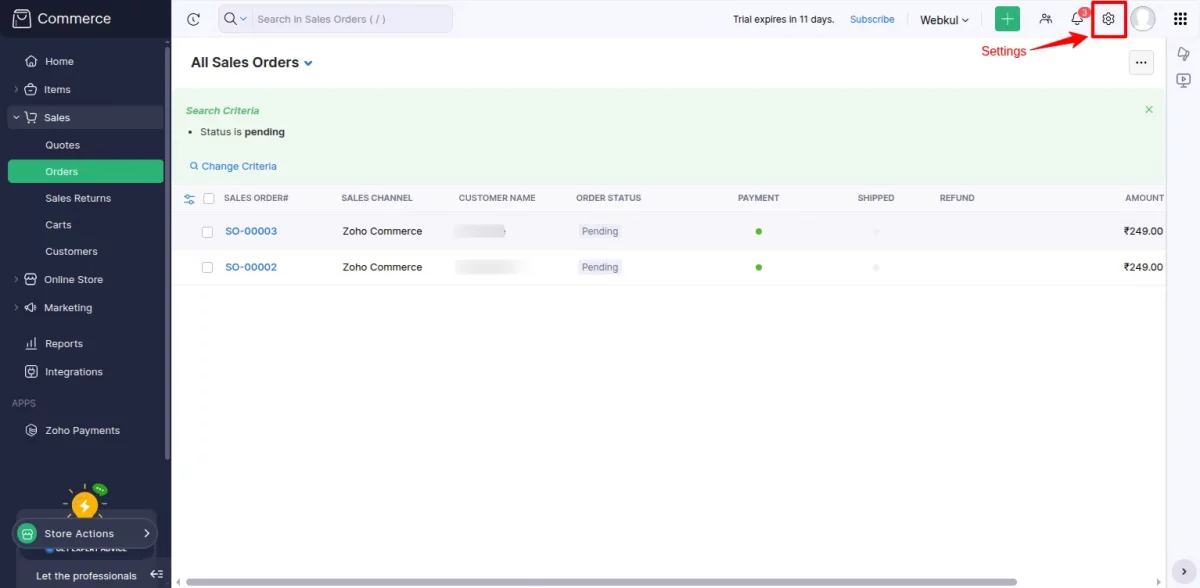
How to Create a Webhook on the Zoho Commerce Store?
To create a webhook in Zoho Commerce, click on the gear icon in the top-right corner.
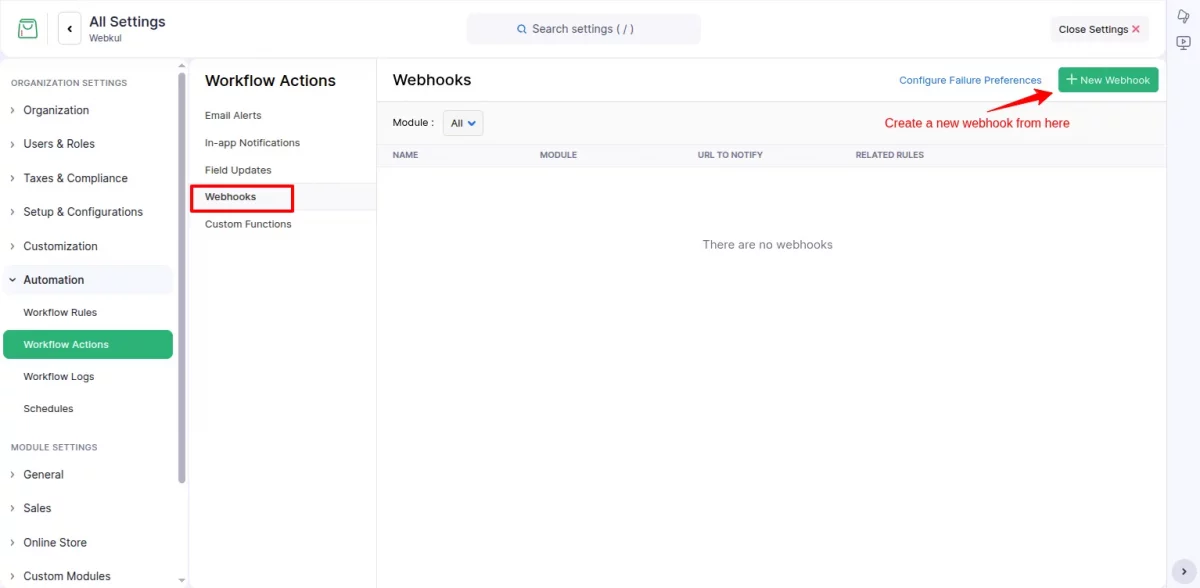
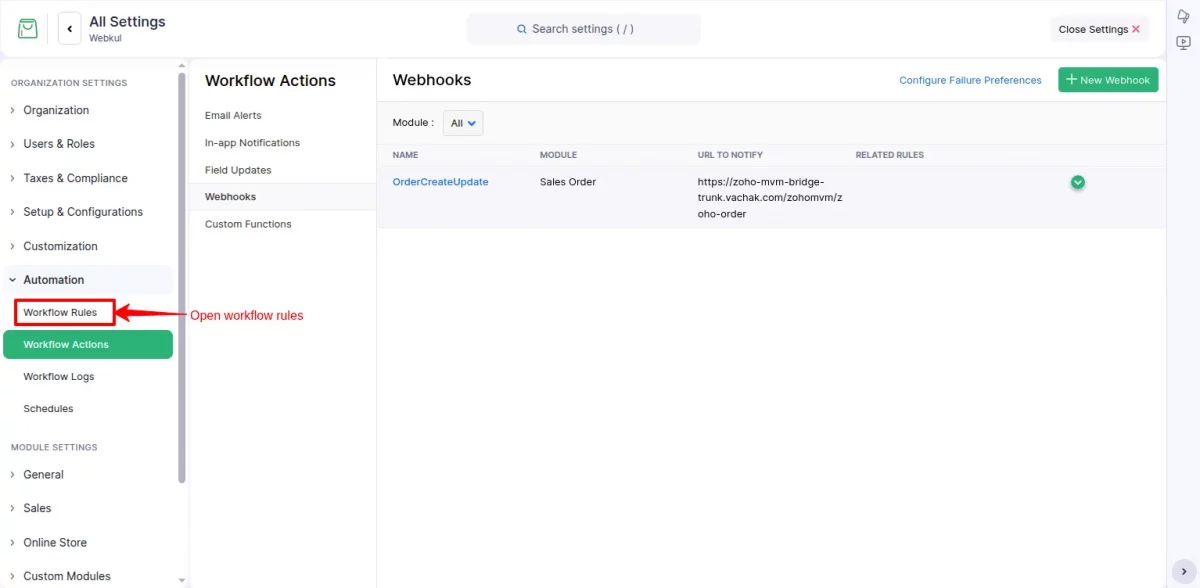
Under Automation > Open Workflow Action.

Then, click on the Webhooks option and create a new webhook by clicking the green button.
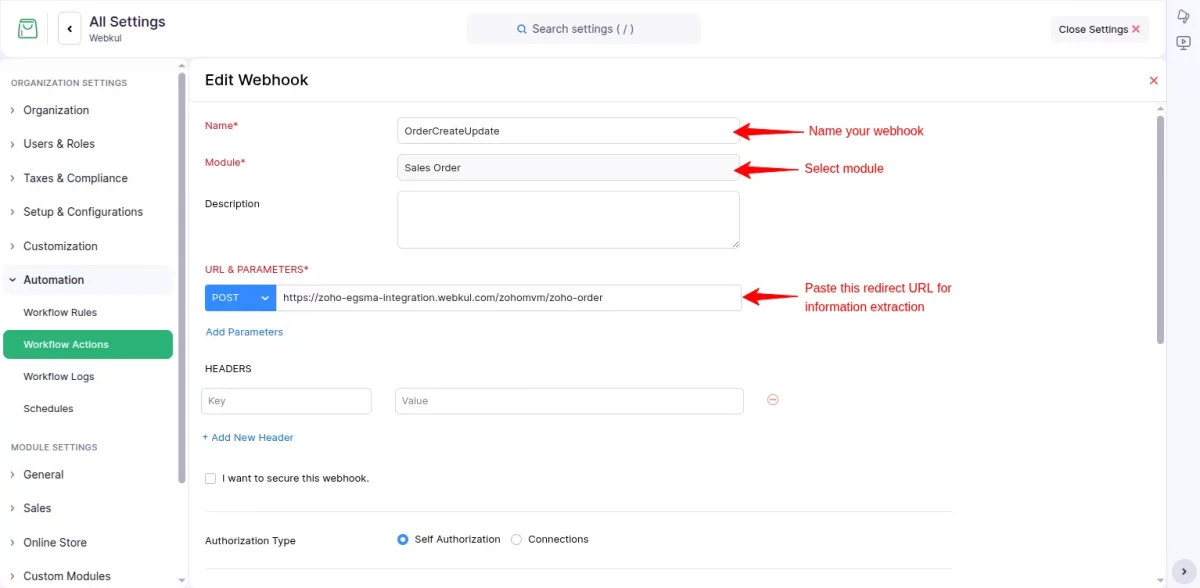
Next, add the new webhook details and paste this URL ” https://zoho-egsma-integration.webkul.com/zohomvm/zoho-order ” for extracting order data.
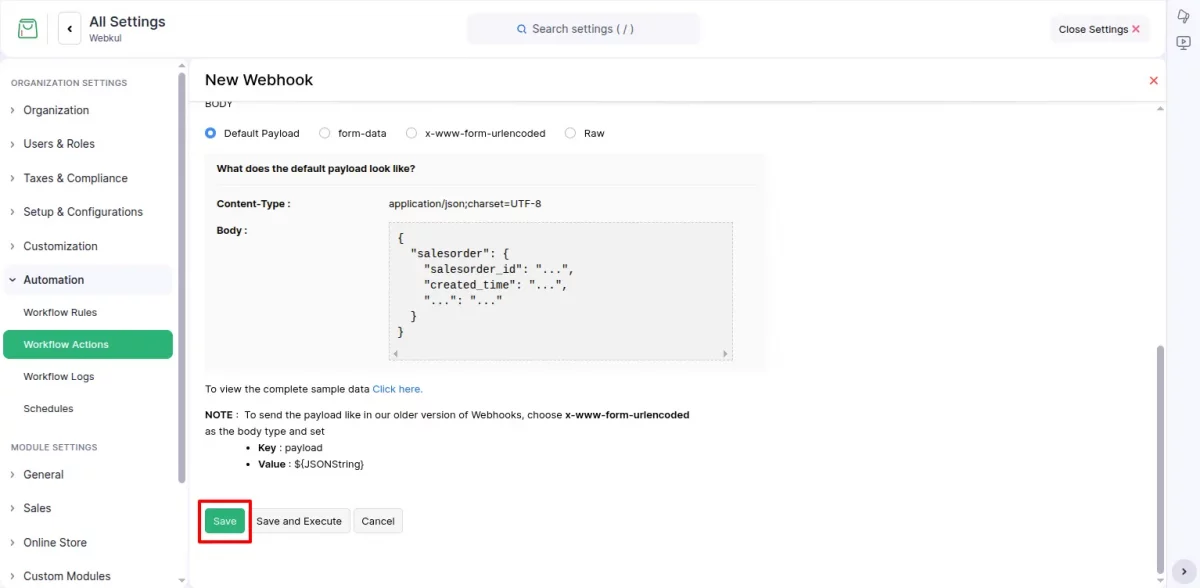
Scroll down and Save changes.
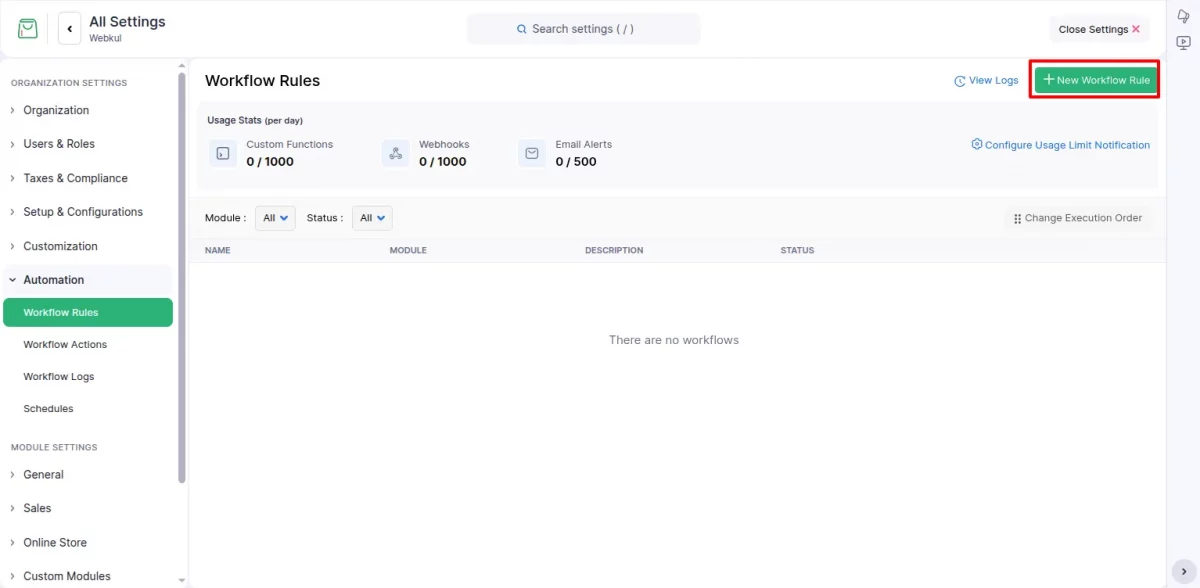
After creating the webhook, click the Workflow Rules.
Go to the New Workflow Rules button in the top right corner.
In this pop-up window, add the workflow rule name and select the module ‘Sales Order’.
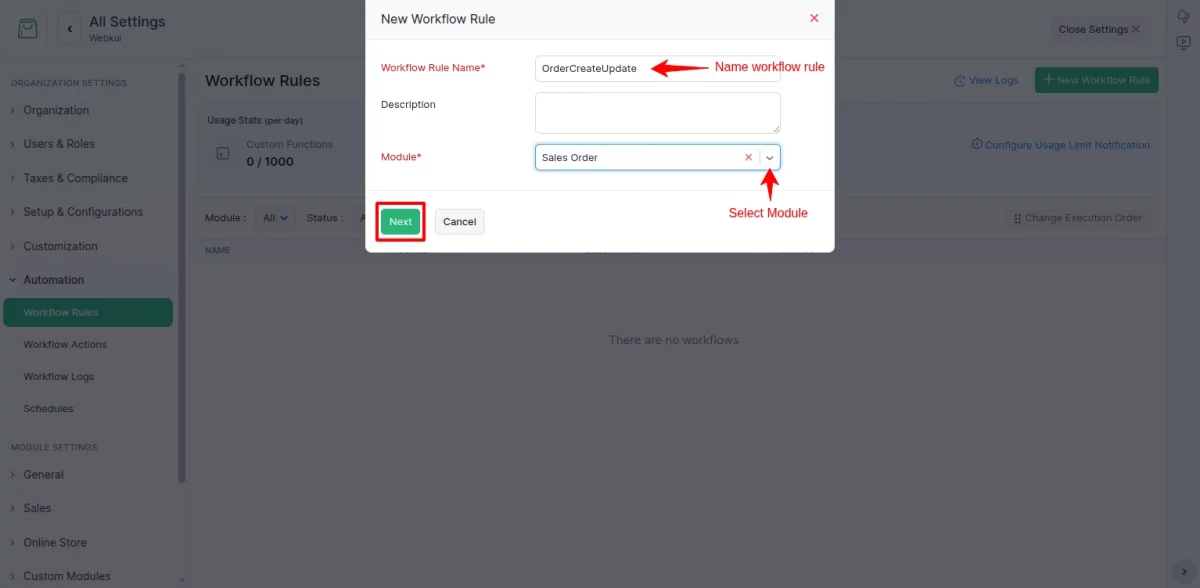
Next, select the workflow rule execution condition from the dropdown, and click on the next button.

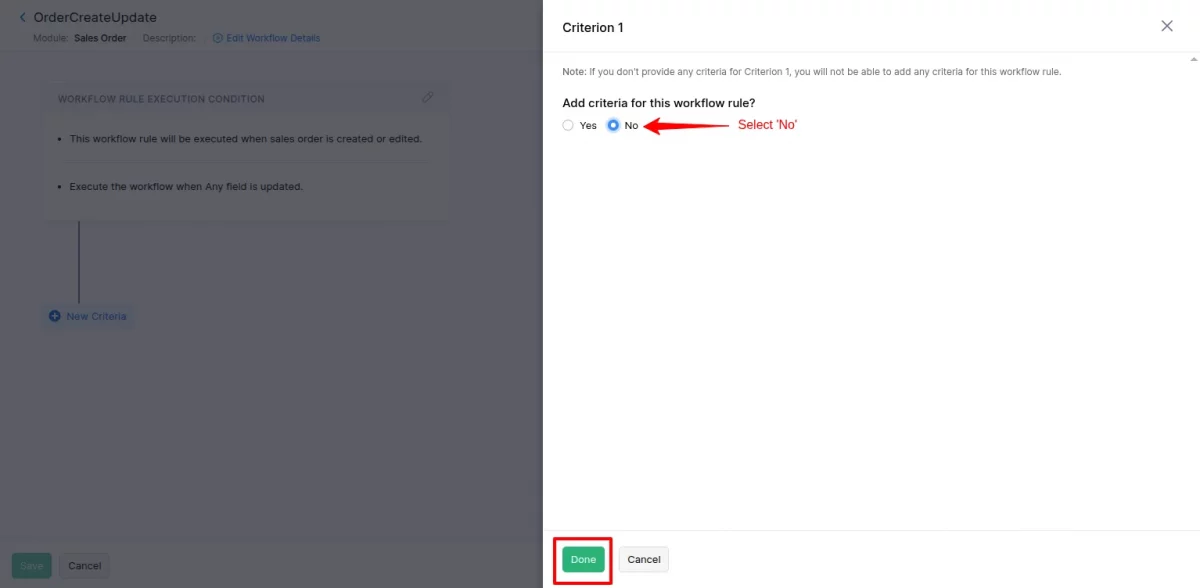
Here, select New Criteria.
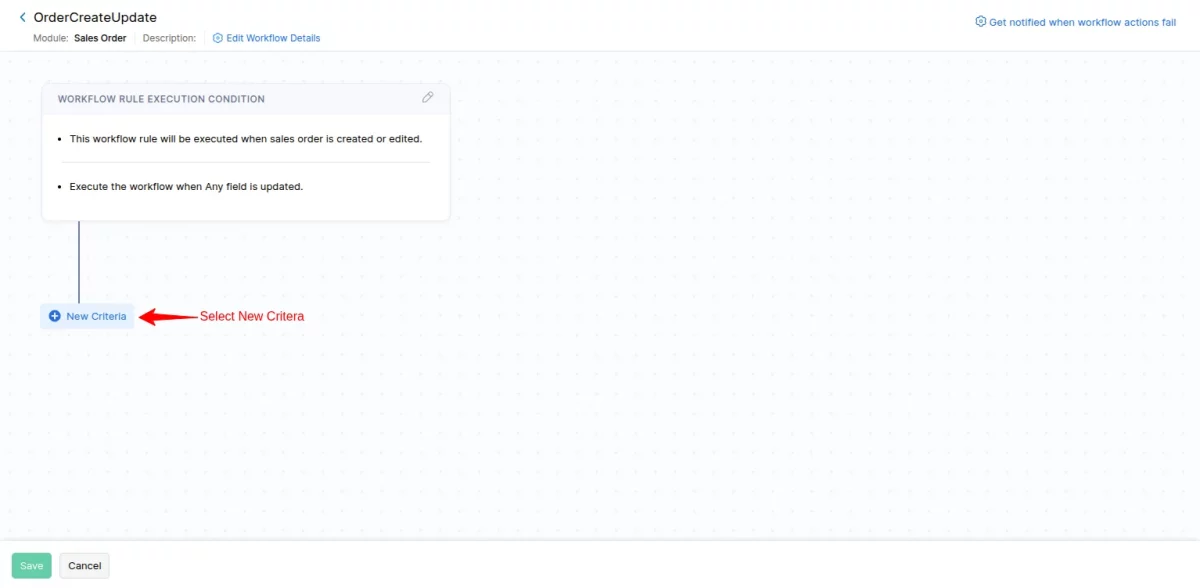
Choose ‘No’ and click on the done button.
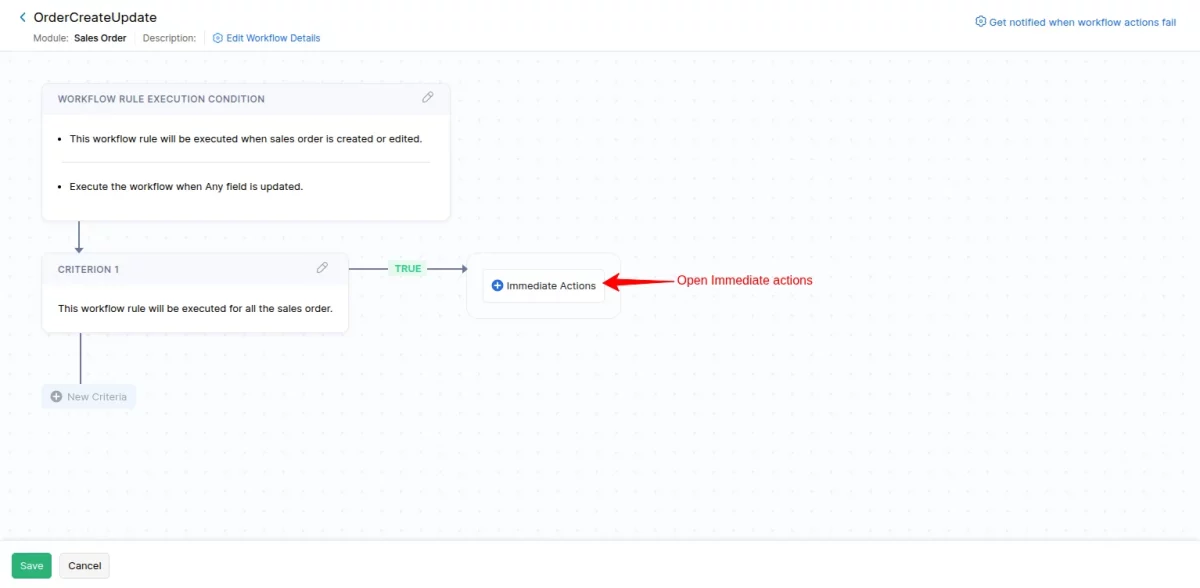
Further open Immediate action.
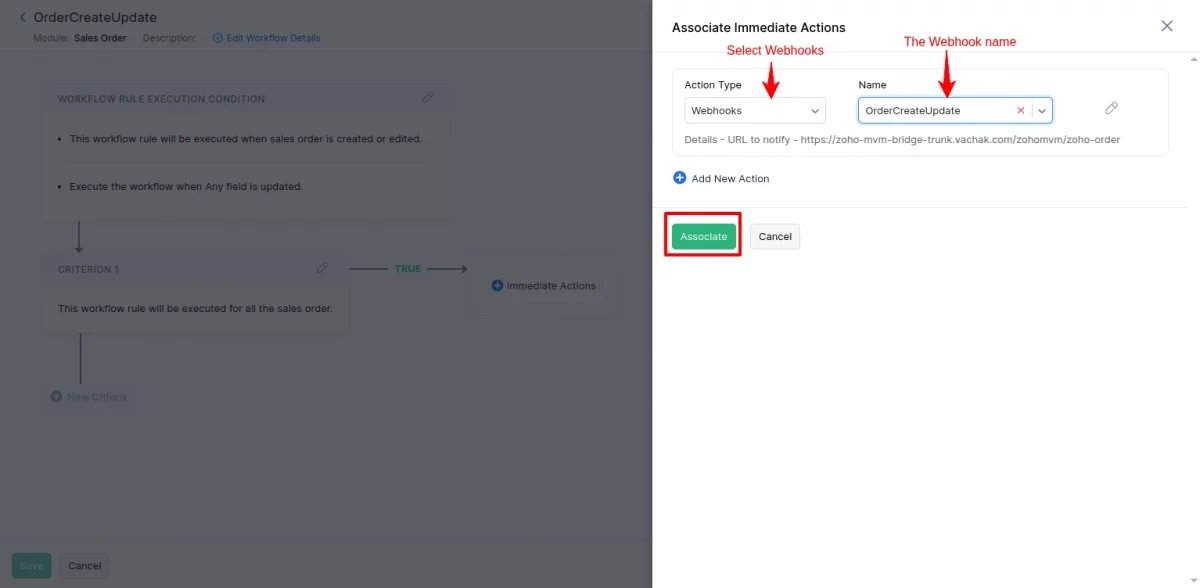
Now, select Webhook under Action Type and Webhook name. It will automatically fetch the Webhook URL details.
Finally, click on the Save button.
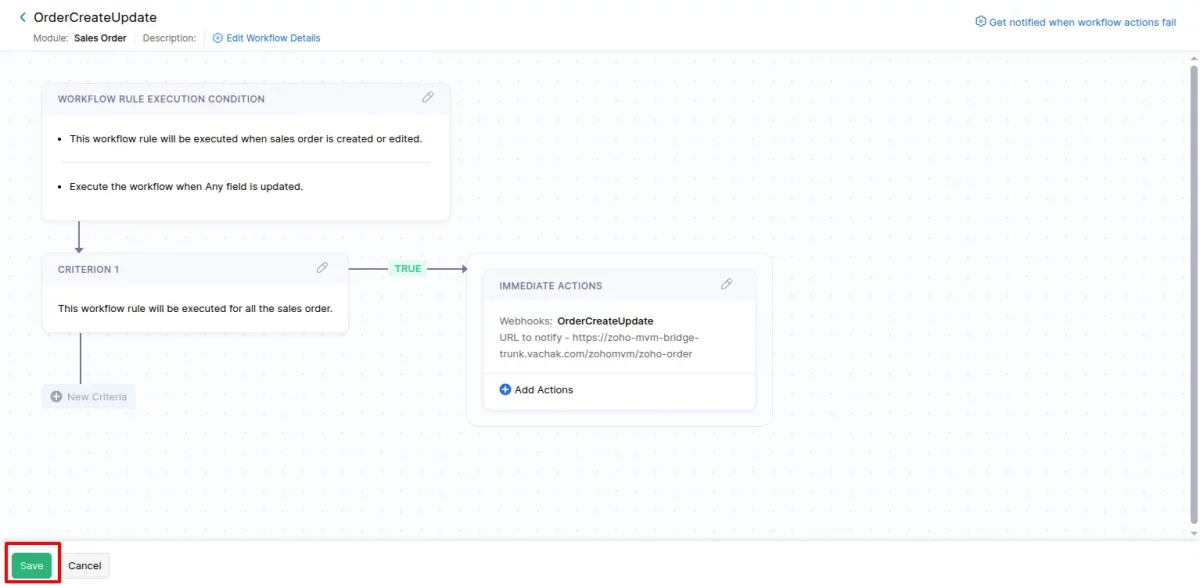
After a successful webhook setup with the workflow rules, orders placed on the Zoho store will automatically sync to the admin and seller’s multivendor platform.
Support
- For any further queries or customizations, click on Create a Ticket.
- You can also find more about our Zoho Commerce Services by contacting us at [email protected].

Be the first to comment.