RMA i.e. Return Merchandise Authorization is a process of returning a product to receive a refund. In the following guide, you will learn about Multivendor Marketplace for Shopify: RMA Setup
In the Multivendor Marketplace app, the merchant will manage all the returns and refunds outside the app i.e. from the Shopify End but can create a record in the app with the RMA Feature.
Once the customer sends you a return request for an item, You can refund the item from the Shopify end and create a record for the same in the Multivendor App.
After returning the item requested by the customers & refunded from Shopify End, You as an admin can Create a record of all the returns and refunds in the app for future reference.
Click here for detailed information on RMA.
RMA Status setup
Once you open the marketplace Admin panel, you will be directed to select the RMA status and the sequence for the RMA type.

Below is an example of how you can set the status and sequence for the return RMA

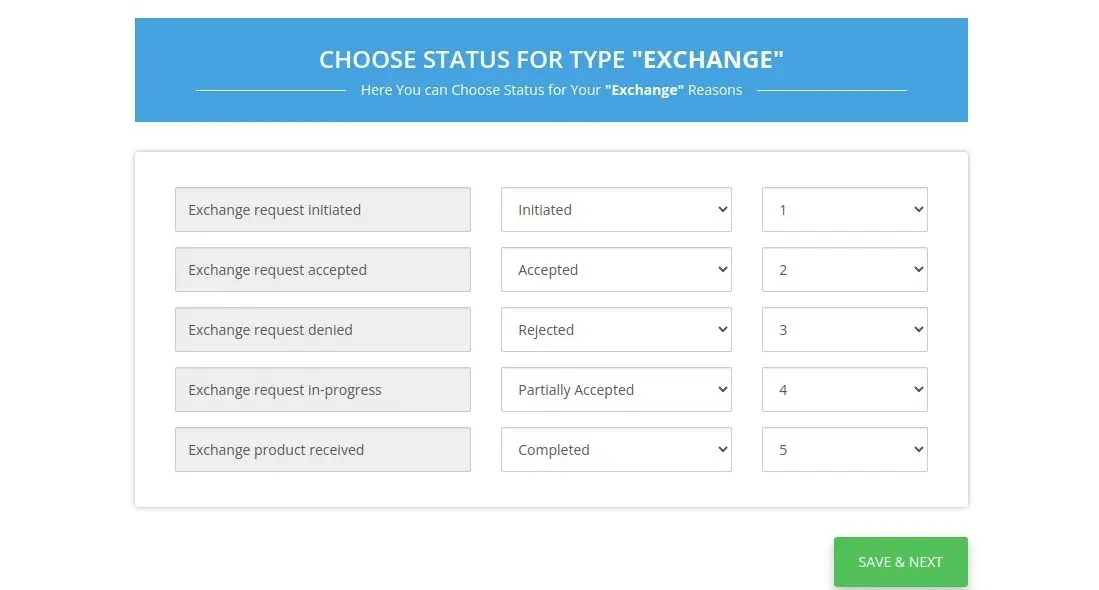
Similarly, you need to select the RMA status and sequence for exchange RMA
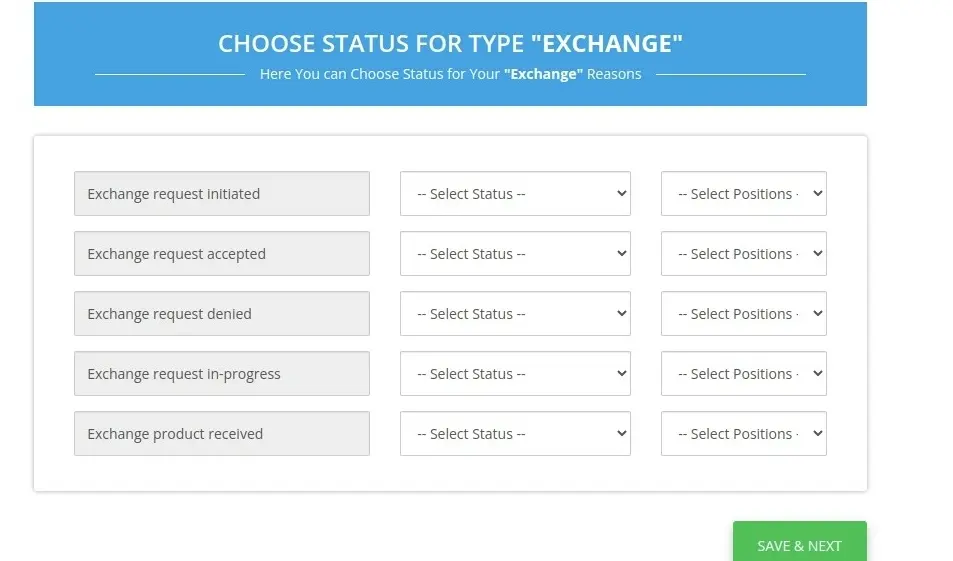
Following is an example to showcase how the mapping is to be done.
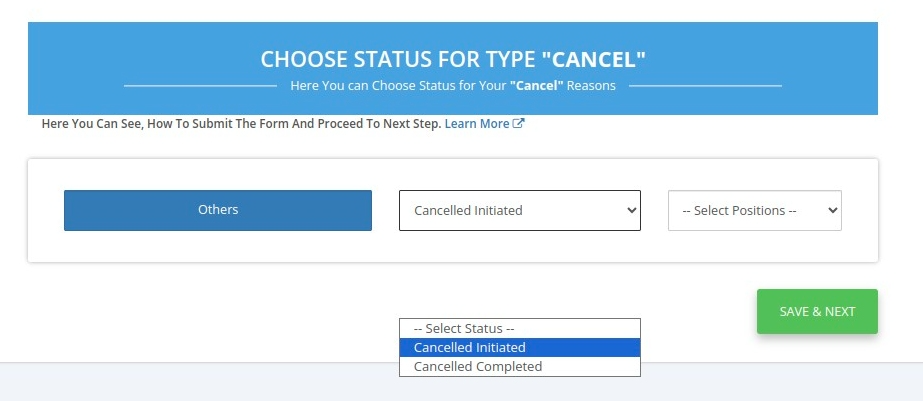
Additionally, you need to select the status for “other” RMA status
Manage RMA
For Admin End
In the marketplace Admin panel, the Admin can view all the added RMAs and their status

You can add a detailed description for each RMA status which will in turn be shown to the seller when a request is raised.

Additionally, you can add new RMAs as per your requirements.

For Seller End
These are the return request lists raised from the admin panel, as displayed in the seller panel.

The seller can update the RMA status, select a reason, and add a comment.

Note:- You must configure the RMA (Return Merchandise Authorization) in the Multivendor Marketplace app whether you are a newly registered or an existing user.
If you do not configure it, this page will appear every time you open the MVM app.
Check the Multivendor Return Demo
Moreover, click the link to check the Multivendor App Demo: https://multivendor-marketplace-4.myshopify.com/pages/demo
Support
Furthermore, if you have any questions/issues then please raise a ticket at http://webkul.uvdesk.com/ or drop a mail at [email protected].
Thanks for Reading!

Be the first to comment.