A pre-order is an order placed for an item that has not yet been released. The idea for pre-orders came when people found it hard to get popular items in stores due to their popularity.
Marketplace Pre Order for WooCommerce allows the customer(s) to purchase a product from the marketplace that is currently out of stock.
This plugin provides the feature where a seller of the marketplace can enable pre-order for their products.
This plugin is an add-on of Woocommerce Multi Vendor Marketplace, to use this add-on, you need to install Woocommerce Multi Vendor Marketplace first.
Note: Marketplace Pre Order for WooCommerce is compatible with multisite.
Watch the video to understand the extension workflow:-
Features
- The customer can order products that are not available in stock if pre-order is enable for those products.
- Works with every type of product like Simple, Downloadable, Virtual, Variable, and Group products as well.
- The seller can set pre-order status and availability dates.
- The seller can set the custom amount which paid for the preorder product.
- By using this plugin customer can either pay the entire amount at once or can pay the partial amount for the order as per the configuration.
- Email notification sent to all exiting users for the new pre-order product.
- The email notification sent to the customers once the pre-order product gets available in stock.
Installation of Marketplace Pre Order for WooCommerce
The user will get a zip file which he has to upload in the “Add New” menu option in the WordPress admin panel. For this login to the WordPress admin panel and under the dashboard hover your mouse over the “Plugins” menu option which brings out a Sub-Menu and then selects the “Add New” option.
After this, you will see an option on the top of your page that is “Upload Plugin”, click the option to upload the zip file.

By clicking on the “Upload Plugin” option, below that you will see a button “Choose File” click on the button to browse for the zip file as per the snapshot below.

After browsing the file, click the “Install Now” button to install the plugin as per the snapshot.

Now when the plugin gets installed correctly, you will see the success message and an option to activate the plugin. Click on “Activate Plugin” to activate the plugin.

Update Permalink under “Settings > Permalinks” as “Post name” as in the below snapshot.

Module Translation
To know how to translate the module, you can click here.
Configuration
After the successful installation of Marketplace Pre Order for WooCommerce the admin can configure it under “Marketplace PreOrder > Configuration”.
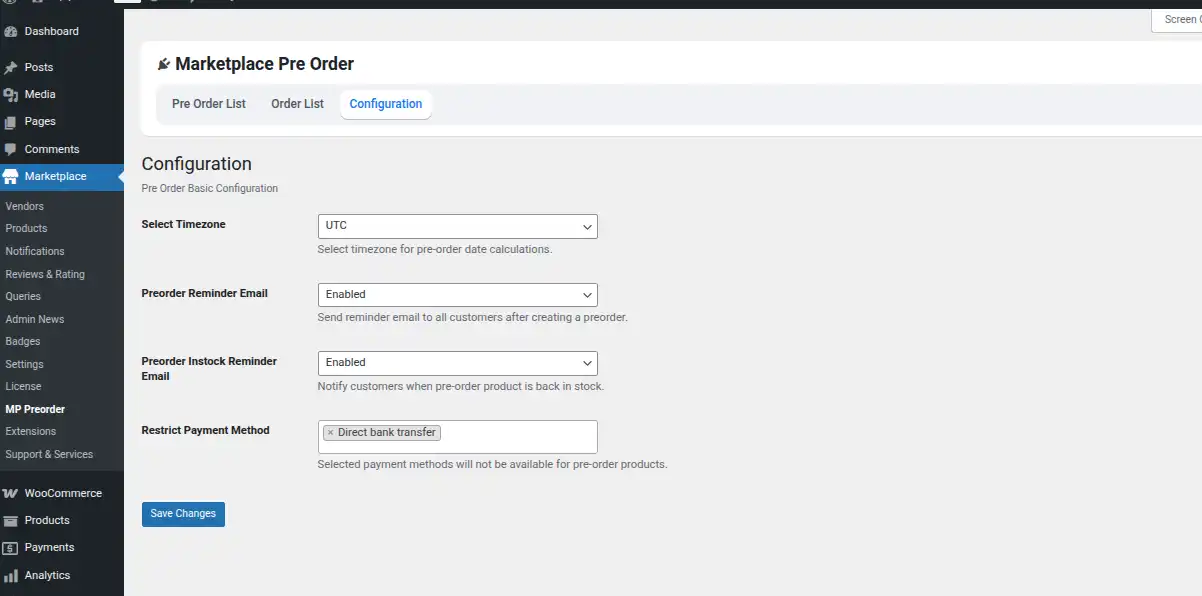
Here the admin can select the time zone for the marketplace. As per the Timezone, the time is maintained for the pre-order products.
The admin can Enable the Preorder Reminder Email to all customers also the admin can enable the instock reminder for all those customers who have made the preorder for any product and also Restrict Payment Method.
Admin-end Workflow
After a successful configuration, the admin can add pre-order products. It is done under “Marketplace Pre Order > Pre Order List > Add New”.
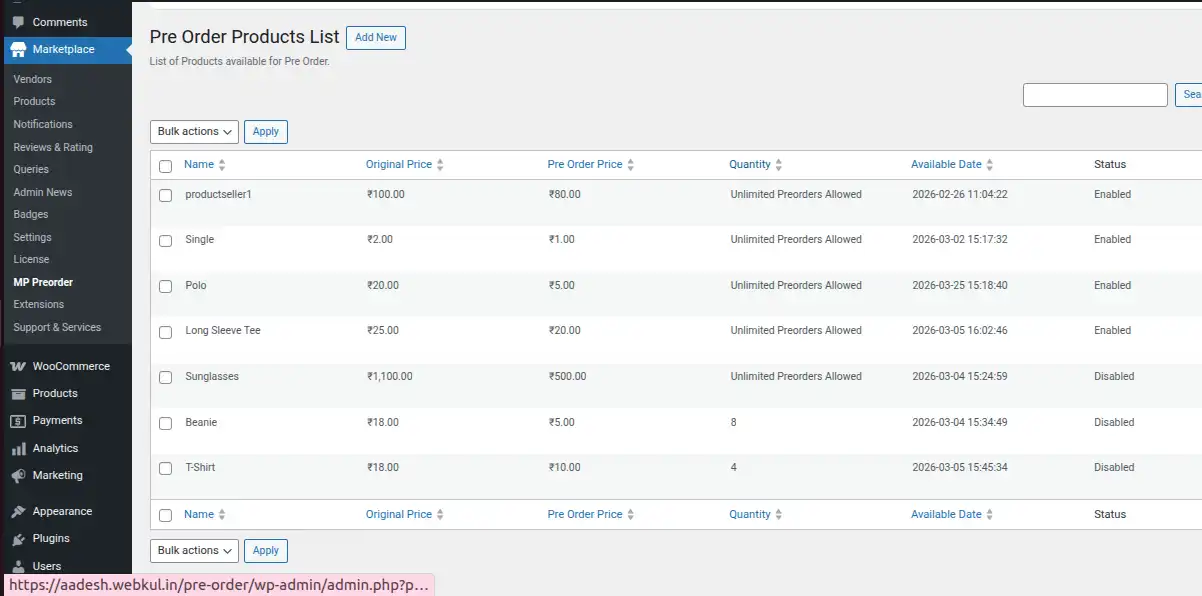
This is the list of all the pre-order products as well. Admin can check all the available pre-order products here.
Note: Make sure the product is a must out of stock. Only out of stock product gets added for pre-order.
You can make a product out of stock by making the status of the product as “Out of stock”.

By clicking “Add PreOrder” the admin can add a product as pre-order as below image :
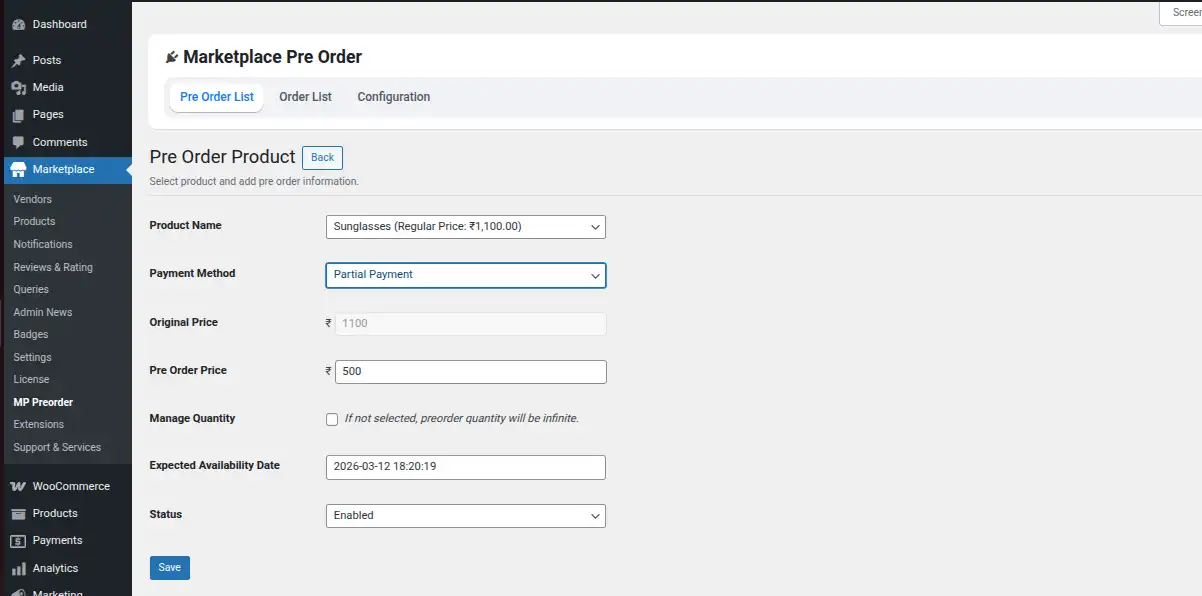
Product Name: Select Product Name from the list of available products. All out of stock products gets available on the list. Admin can select any of them as per the requirement.
Payment Method: Select payment method as “Partial Payment” or “Full Payment”.
Original Price: Original Price of the product gets auto-filled as per the product price.
PreOrder Price: Enter PreOrder Price if payment method selected as “Partial Payment”.
Manage Quantity: The admin can click on the checkbox to manage the quantity of the preorder product.
Quantity: Enter the quantity of the product.
Expected Availability Date: Availability date of the product.
Status: Select status as “Enabled” or “Disabled” as per the requirement.
By clicking “Save” the product gets added as a pre-order product.
Seller-end Workflow
The seller can add a product to pre-order under “Manage Preorder > Add Pre-order Product “.
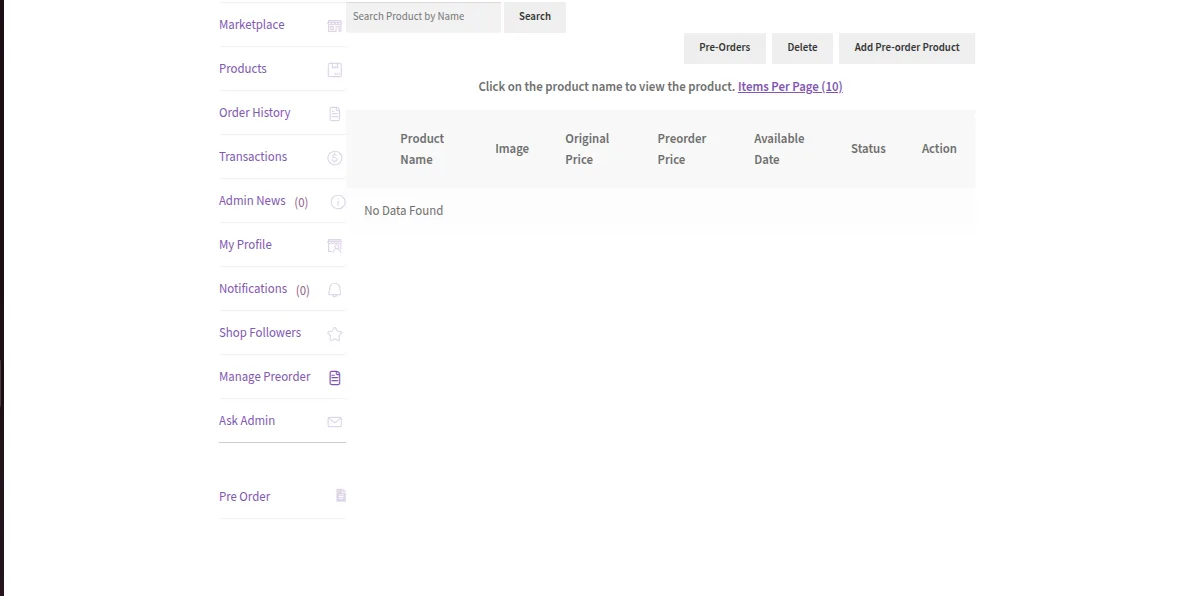
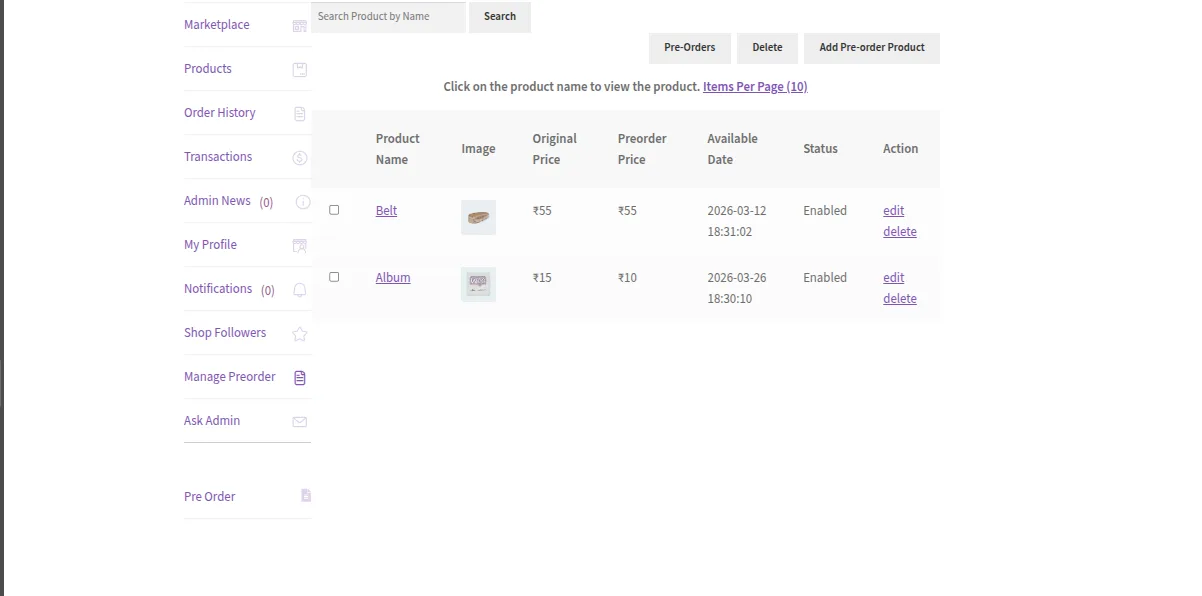
This is the list of all the pre-order products as well. The seller can check all the available pre-order products here.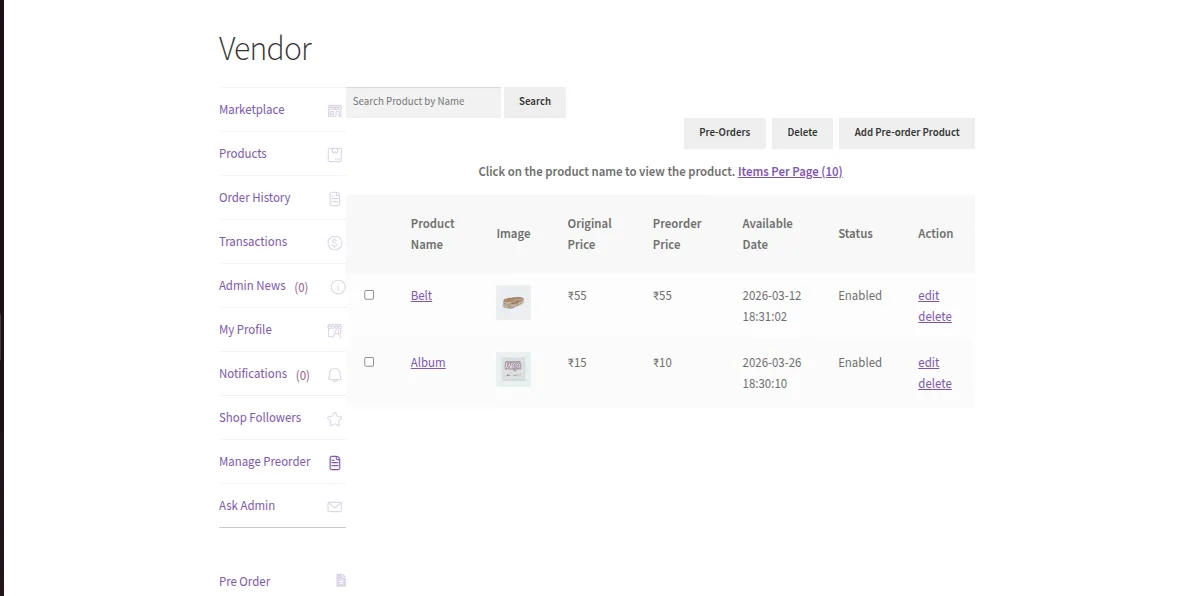
Note: Make sure the product is out of stock. Only out of the stock product is added for pre-order.

The seller can make a product out of stock by making the status of the product as “Out of stock”.
By clicking “Add Pre-order Product” the seller can add a pre-order. The seller will enter the required details for the pre-order as below image :
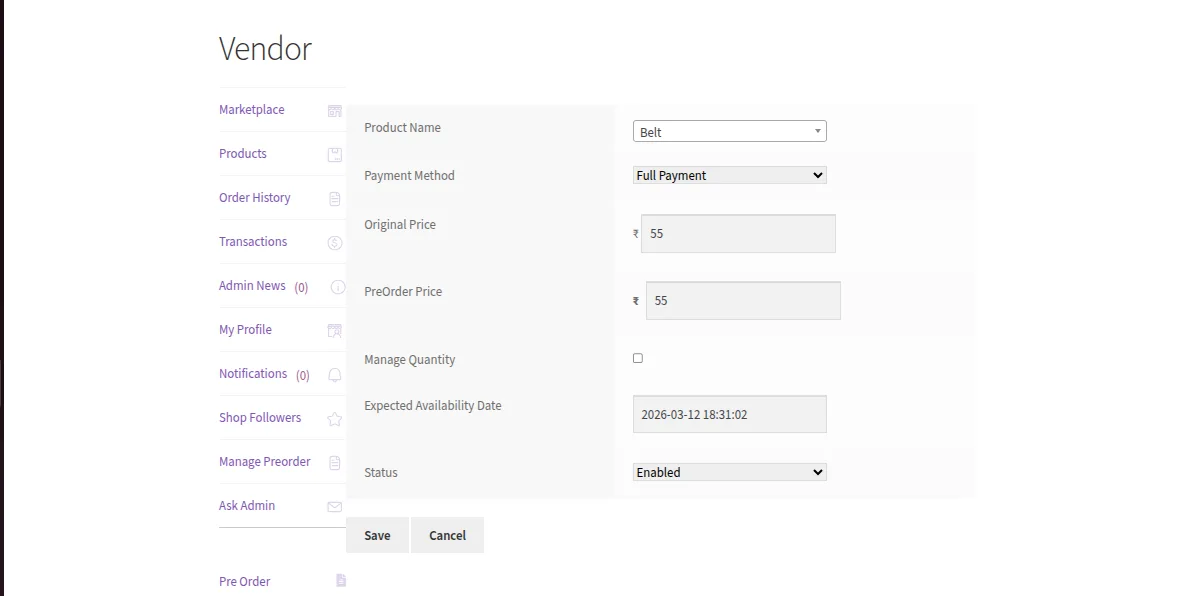
Product Name: Select Product Name from the list of available products. All out of stock products gets available on the list. Admin can select any of them as per the requirement.
Payment Method: Select payment method as “Partial Payment” or “Full Payment”.
Original Price: Original Price of the product gets auto-filled as per the product price.
PreOrder Price: Enter PreOrder Price if payment method selected as “Partial Payment”.
Manage Quantity: The seller can click on the checkbox to manage the quantity of the preorder product.
Quantity: Enter the quantity of the product.
Expected Availability Date: Availability date of the product.
Status: Select status as “Enable” or “Disable” as per the requirement.
By clicking “Save” the product gets added as a pre-order product.
The seller can view all the pre-orders for their products under “Manage Preorder > Pre-Orders”. The pre-orders gets displayed as per the below image :
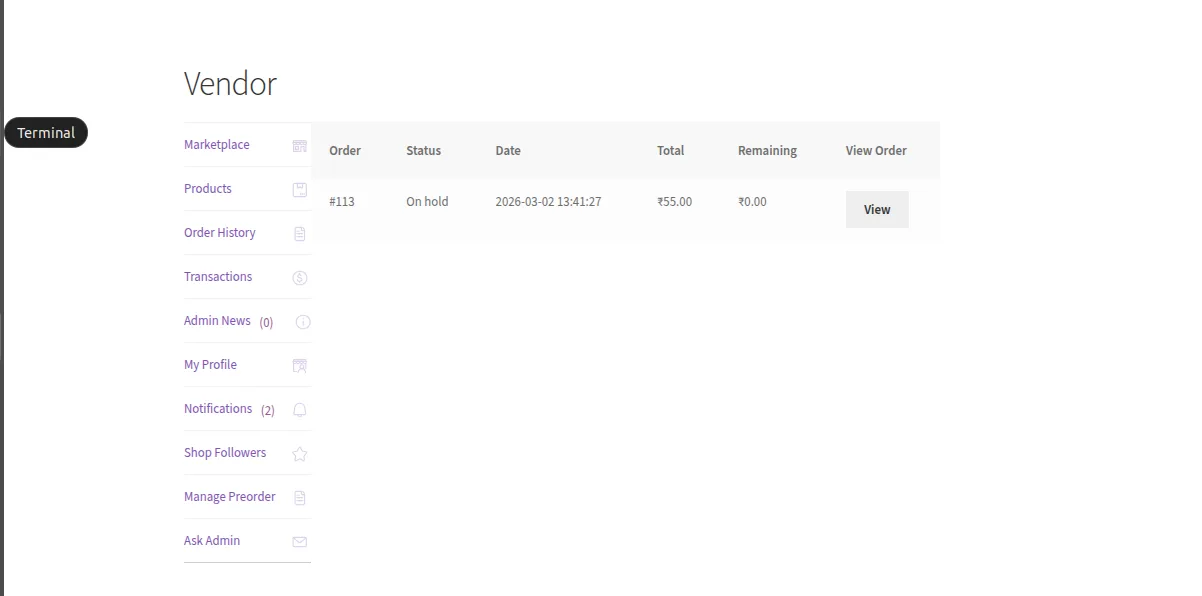
Note: Module supports Simple, Downloadable, Virtual, Variable, and Grouped products.
Enable Preorder For Grouped Products
The admin can enable the preorder for grouped products as well.

For this, the admin first needs to enable preorder for the associated products of that grouped Product.
For example – there is a grouped product “Logo Collection” with associated products “Beanie” and “T-Shirt”. So, the admin first enables the preorder for “Beanie” and “T-Shirt” as shown below.


After this, the admin will finally enable the preorder for the grouped product as shown below.

And the grouped pre-order product gets displayed at the front-end.

Front-end Workflow
A dedicated frontend page to showcase all preorder products. This page allows customers to quickly find and explore items available for advance booking, improving product visibility and enhancing the overall shopping experience.
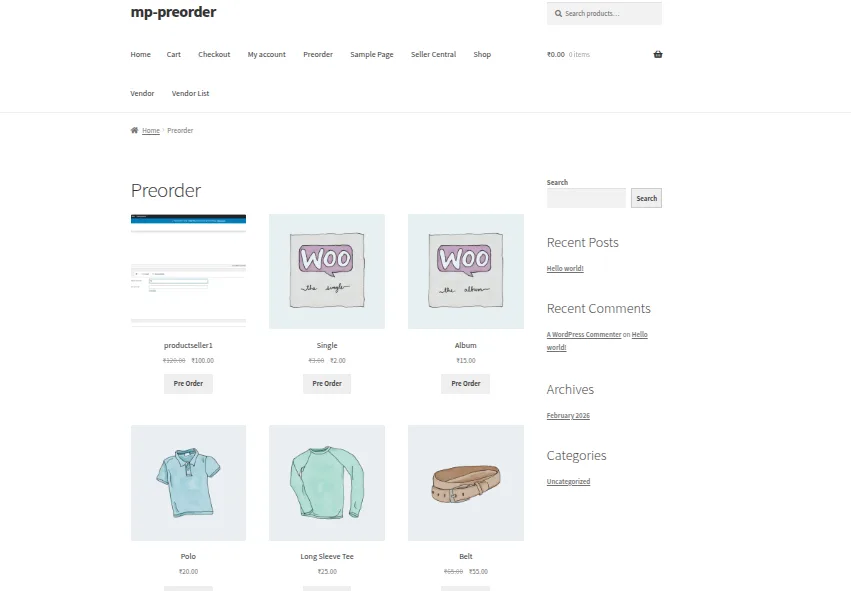
A pre-order product gets displayed as below image on shop page :

The product page of the pre-order product gets displayed as below image :

On the product page, the availability and the countdown get displayed as per the configuration of the seller and the admin.
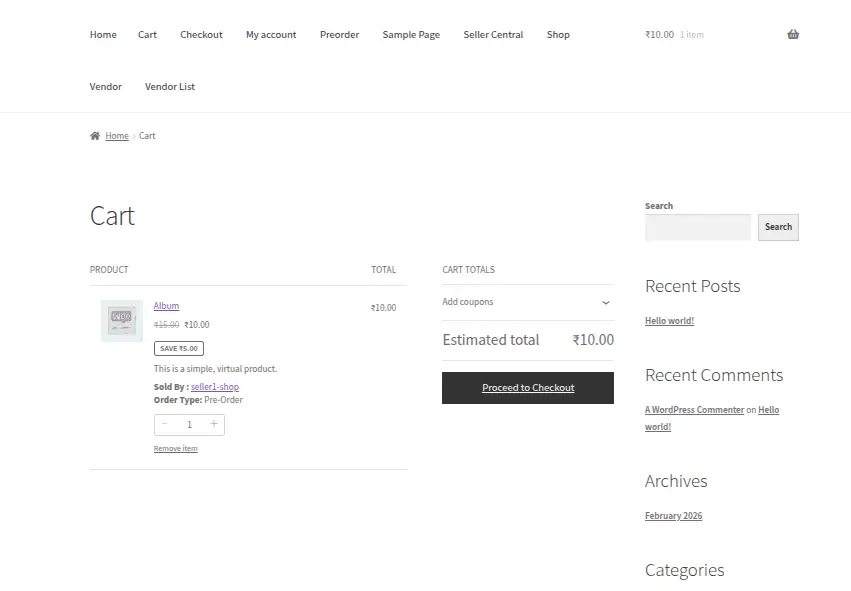
By hitting “Pre Order” the pre-order product gets added to the cart and the customer can complete the checkout process.
Note: If a pre-order product is added to the cart then no other product is added to the cart.
It will display the error notification as below for other products if a pre-order product is already added to the cart.

After placing an order for a pre-order product the customer can view them under “My Account > Pre Order”.
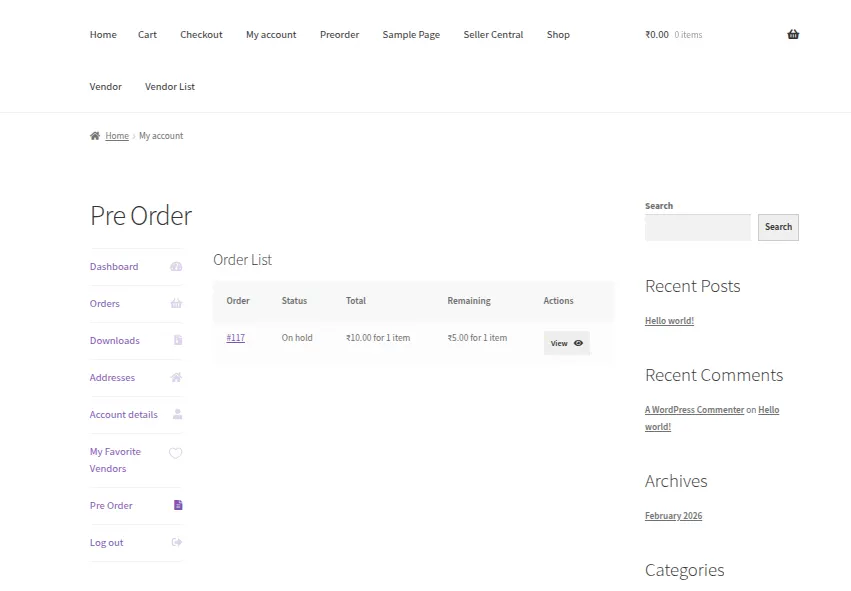
Once the product is available in stock the customers get notified through the mail. Then they can pay the rest of the amount of the product in case of the partial payment.
Partial Payment Workflow
If the customer places a pre-order for the product in which partial payment is configured as a payment method by the admin.

For example: Suppose a customer places a pre-order for a T-shirt whose actual price is 25 USD. (here partial payment is the payment method configured by the admin). The customer has to pay partial pre-order amount i.e. 10 USD during the initial checkout.
Then after completing a pre-order, the customer will receive the order id for the same.

Once, the product is in stock, the customer will receive an email prompting to come back to the store. And pay for the remaining pre-order amount. Now, the customer will log in to his account and navigate through the Pre-Order button of the particular pre-order.

After that, the customer needs to click on the final order and that product will get added to the cart. The customer can also go to that product and complete the rest of the payment for the final order. Now, this time he needs to pay only the remaining amount of the pre-order.

After placing the order again the customer will again get a new order id for the final order.

Thus, that’s all for the Marketplace Pre Order for WooCommerce, still, have any issue feel free to add a ticket and let us know your views to make the plugin better at HelpDesk System.
Current Product Version - 2.1.1
Supported Framework Version - WooCommerce 10.5.0

Be the first to comment.