Introduction
Magento 2 TikTok Feeds extension allows the store owner to show the feeds from the TikTok channel. Customers can view the videos from the TikTok without leaving the store. The store owner can add any number of TikTok feeds in a widget. This feature will make your e-commerce store more attractive and eye-catching. Thus helps to increase customer engagement to your online store.
Watch the video to understand the plugin workflow:-
Features
- The admin can create a widget to display Tiktok videos.
- Set the number of TikTok feeds as a slider to display in the widget.
- Select the store view for TikTok Video Feeds.
- The admin can specify on which page will widget be rendered at.
- The admin can embed the TikTok widget based on product type and categories.
- A customer can view the TikTok feeds on the store itself.
Installation – Magento 2 TikTok Feeds
To install this extension, please follow each and every step carefully as follows:
Step 1:
After extracting the downloaded zip file and you will get the src folder. Inside src folder, you will find the app folder, copy the app folder to the Magento2 root directory. Please view the below screenshot.

Step 2:
After the successful installation, you have to run these commands in the Magento2 root directory.
First command- php bin/magento setup:upgrade

Second Command – php bin/magento setup:di:compile

Third Command – php bin/magento setup:static-content:deploy

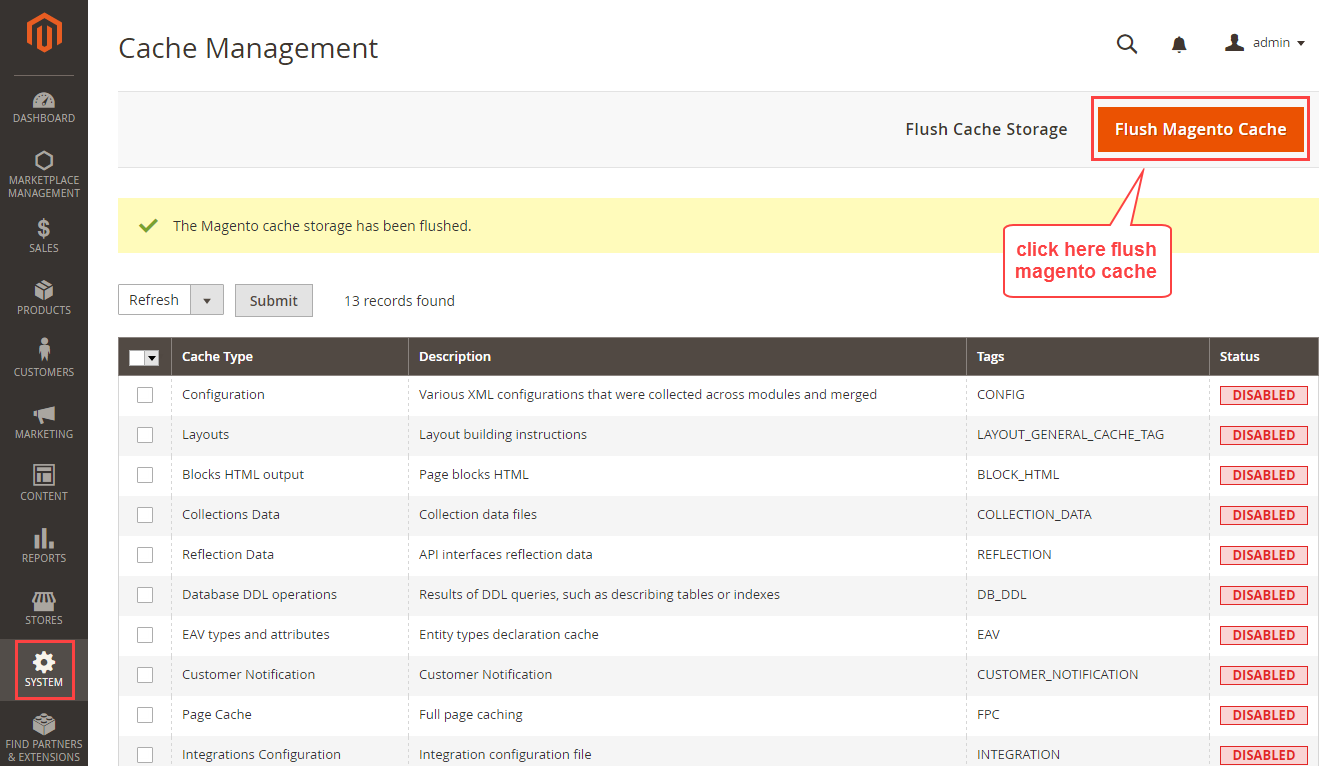
After running the commands, you need to flush the cache and reindex all from the Magento2 admin panel. Navigate through System>Cache Management. Click Flush Magento Cache button as shown below:
Multi-Lingual Configuration
For Multilingual support, please navigate to Store>Configuration>General >Locale Options. And select your desired language from the Locale option.

Language Translation
If you need to do the module translation, please navigate to the following path in your system app/code/Webkul/TiktokFeeds/i18n. Open the file named en_US.CSV for editing as shown in the below screenshot.

Once you have opened the file for editing. Replace the words after the†comma(,)†on the right with your translated words.

Post-editing and translating the CSV file, you need to save the translated file name according to your region language and country code such as – de_DE.CSV. Then upload the translated file to the same folder from where you have obtained it. Now your module translation is complete.

TikTok URL Configuration
After the module installation, the admin needs to navigate Tiktok URL’s > Tiktok URL’s. The following TikTok feed page options will be available:

Enter URL: The admin needs to enter the TikTok URLs in this section which they want to display in a widget. Here, the admin can enter the multiple TikTok URLs then click on the save button to save the new Tiktok feed.
Once the TikTok URL’s added this will display at the bottom of the configuration page in a list. The admin can delete any specific URL by using the checkbox.

Widget Configuration
Now, the admin can navigate to Content>Widgets and click to add widget button to add a new widget.

Now, a widget setting page will appear. Select widget type as TikTok Feed Widget then Select design theme and click on the continue button.

StoreFront Properties
Tapping on the continue button will bring you to storefront properties settings. Here the admin needs to fill below-required details for the TikTok feed:

Type and Design Theme: Both widget type and design theme option will show as inactive because these settings have been already configured in the previous step.
Widget Title: The admin needs to enter the widget title here.
Assign to store views: The admin needs to select store view from the list for this widget configuration.
Sort Order: Enter the sort order number for the widget instance.
Layout Updates: First admin needs to click on add layout button then following options will appear:
- Display on: The admin can specify on which product type/category/page he wants to render the widgets.
- Container: Once the specified page is selected, a container box will display. Here the admin needs to select the container in which location will widget be rendered at.
Widget Options
On the next tab, the admin will get the Widget Option field. Here the admin will see all the TikTok URLs configured before. The admin can select desired video URL’s from here to be displayed on the storefront. The admin can add multiple TikTok feeds in a widget.

User Front-End View
On the front-end, this is how the TikTok Feed widget will appear. The users will be viewing the Tiktok videos from the store itself and slide more videos by using sliders.

A video will zoom out, once the customer clicks on any particular video as shown below in the image. Now the customer can click on Play button to watch the video and use the arrow button to view the next or previous video.

Now, there is no need to visit the TikTok website anymore, because your customers can directly watch the TikTok videos on your Magento website.
TikTok video player is now embedded in the widget, will be showing to customers on the store page.
Support
Thank you for viewing this blog. If you have any query or need more information, please visit HelpDesk System.
Current Product Version - 3.0.0
Supported Framework Version - Magento 2.0.x, 2.1.x, 2.2.x,2.3.x, 2.4.x

Be the first to comment.