Hello guys!!
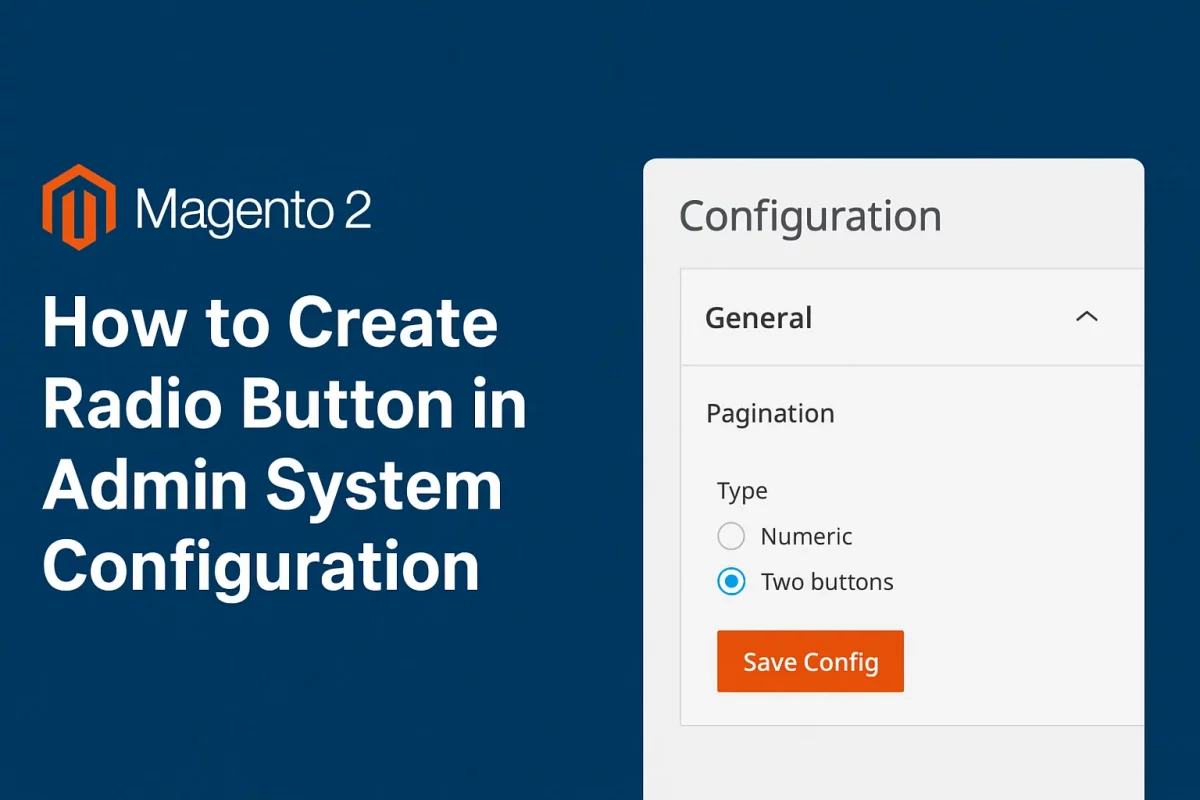
In this article, we will learn how to create a radio button in admin Configuration.
Magento does provide the type to create a radio type field but if you use it, it will only show a single radio button without any title or value to save.
So it requires a little custom task to make it look understandable and working.
Let’s do it!!
First, we will create a system.xml
app/code/Webkul/Demo/etc/system.xml
<?xml version="1.0"?>

<config xmlns:xsi="http://www.w3.org/2001/XMLSchema-instance" xsi:noNamespaceSchemaLocation="urn:magento:module:Magento_Config:etc/system_file.xsd">
    <system>
        <tab id="webkul" translate="label" sortOrder="100">
            <label>Webkul</label>
        </tab>
        <section id="demo" translate="label" type="text" sortOrder="100" showInDefault="1" showInWebsite="1" showInStore="1">
            <label>Demo</label>
            <tab>webkul</tab>
            <resource>Webkul_Demo::config_demo</resource>
            <group id="general" translate="label" type="text" sortOrder="100" showInDefault="1" showInWebsite="1" showInStore="1">
                <label>General Setting</label>
                <field id="enable" translate="label" type="radios" sortOrder="10" showInDefault="1" showInWebsite="1" showInStore="1" canRestore="1">
                    <label>Module</label>
                    <source_model>Webkul\Demo\Model\Config\Source\Radio</source_model>
                </field>
            </group>
        </section>
    </system>
</config>
Note:- Field type is radios, not radio
Let’s create our custom source model.
app/code/Webkul/Demo/Model/Config/Source/Radio
<?php

namespace Webkul\Demo\Model\Config\Source;

class Radio implements \Magento\Framework\Data\OptionSourceInterface
{

    /**
     * To option array
     */
    public function toOptionArray()
    {
        return [
            ['value' => 1, 'label' => __('Enable')],
            ['value' => 0, 'label' => __('Disable')]
        ];
    }
}
That’s all for this article. Let me know if this was helpful. Thank you for your time.

Be the first to comment.