CS-Cart WhatsApp Chat Support add-on allows customers to connect with the store support team through WhatsApp. Customers can directly start communication from the storefront.
The add-on displays a WhatsApp support button on the storefront. Customers can view all available support agents from the popup window.
The admin can create multiple support agents and manage their storefront visibility. Agent availability timing can also be configured easily.
The admin can customize the support popup appearance, welcome text, and WhatsApp chat settings according to business requirements.
This add-on helps provide faster customer support and improves communication through direct WhatsApp interaction.
Note: Before installing the add-on, extract the downloaded package.
- Install the License Manager add-on first.
- Then install the required add-on.
- Follow the license activation steps to generate your license key.
Features
Installation
After downloading the CS-Cart WhatsApp Chat Support add-on, you’ll get one zip file, one install.txt file, and a relevant User Guide manual doc.
Read it carefully for proper configuration.
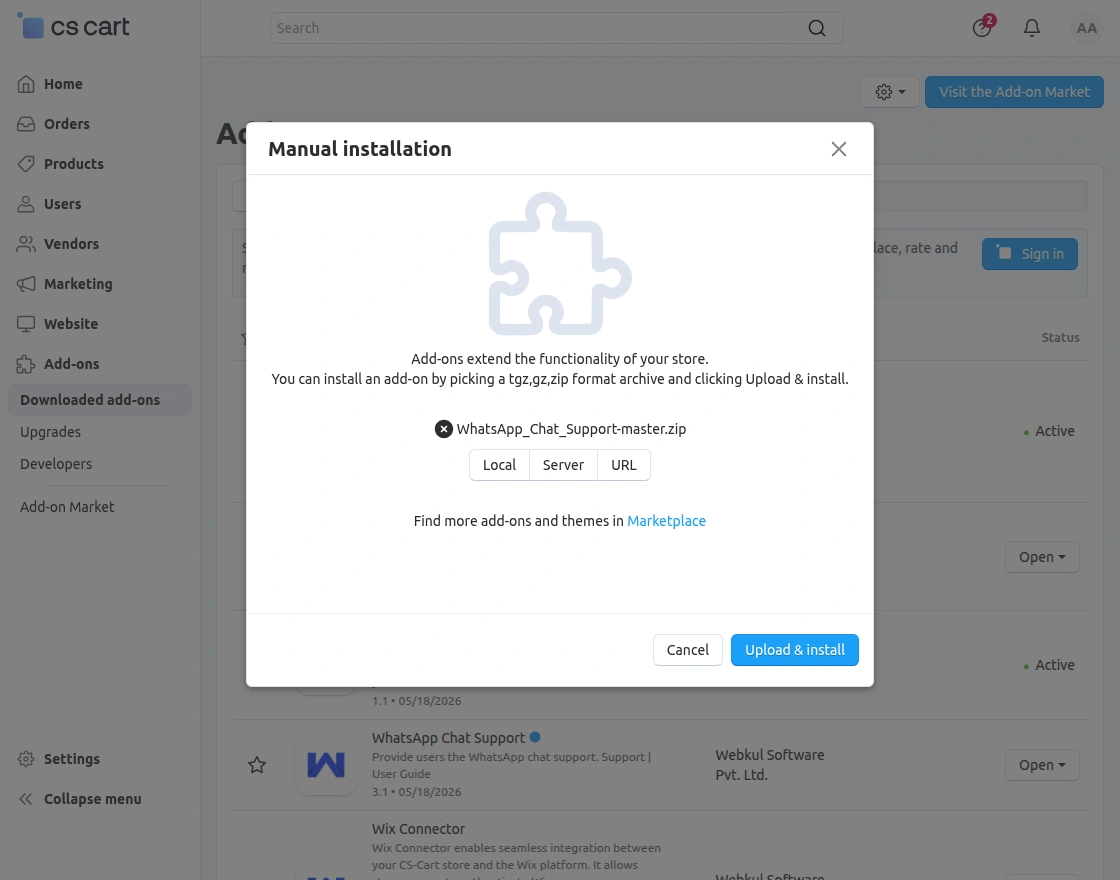
Go to Manage Add-ons, and click on “Manual Installation” as shown below in the snapshot.

Click on “Local” to browse the zip file, and then click on “Upload & Install” as shown below in the snapshot.
Add-On Configuration
After installing the add-on, you will find WhatsApp chat supportin the list of available add-ons.
Click on “Settings” to enable, disable, install, or refresh. Ensure you activate the add-on, as shown in the snapshot below.

Module Configuration | Admin End
To configure the module, go to the Add-Ons >> Developers >> Webkul Software Pvt Ltd. >> WhatsApp Chat Support >> Settings, as shown in the snapshot below.
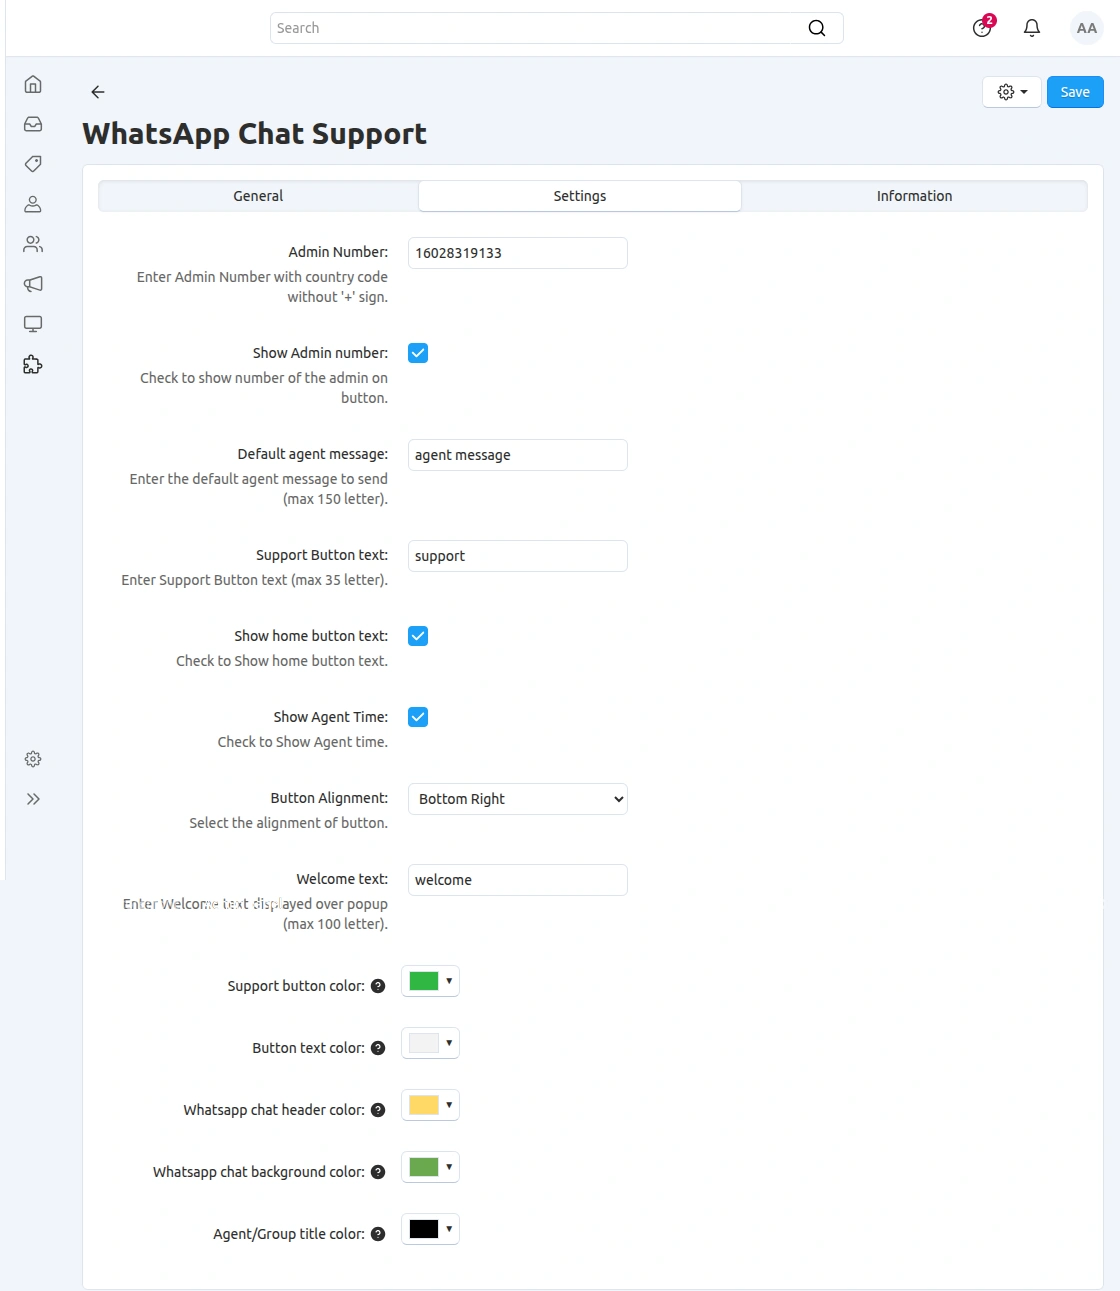
The available fields include:
- Admin Number – Enter the admin WhatsApp number with country code.
- Show Admin Number – Enable to display the admin number on the support button.
- Default Agent Message – Set the default message for WhatsApp chat.
- Support Button Text – Configure the support button text.
- Show Home Button Text – Enable to display home button text.
- Show Agent Time – Enable to display agent availability time.
- Button Alignment – Select the position of the support button on the storefront.
- Welcome Text – Configure the popup welcome message.
- Support Button Color – Select support button color.
- Button Text Color – Select button text color.
- WhatsApp Chat Header Color – Configure chat header color.
- WhatsApp Chat Background Color – Configure chat background color.
- Agent/Group Title Color – Select agent/group title color.
After configuring all the required settings, click on the Save button.
Manage WhatsApp Support Agents
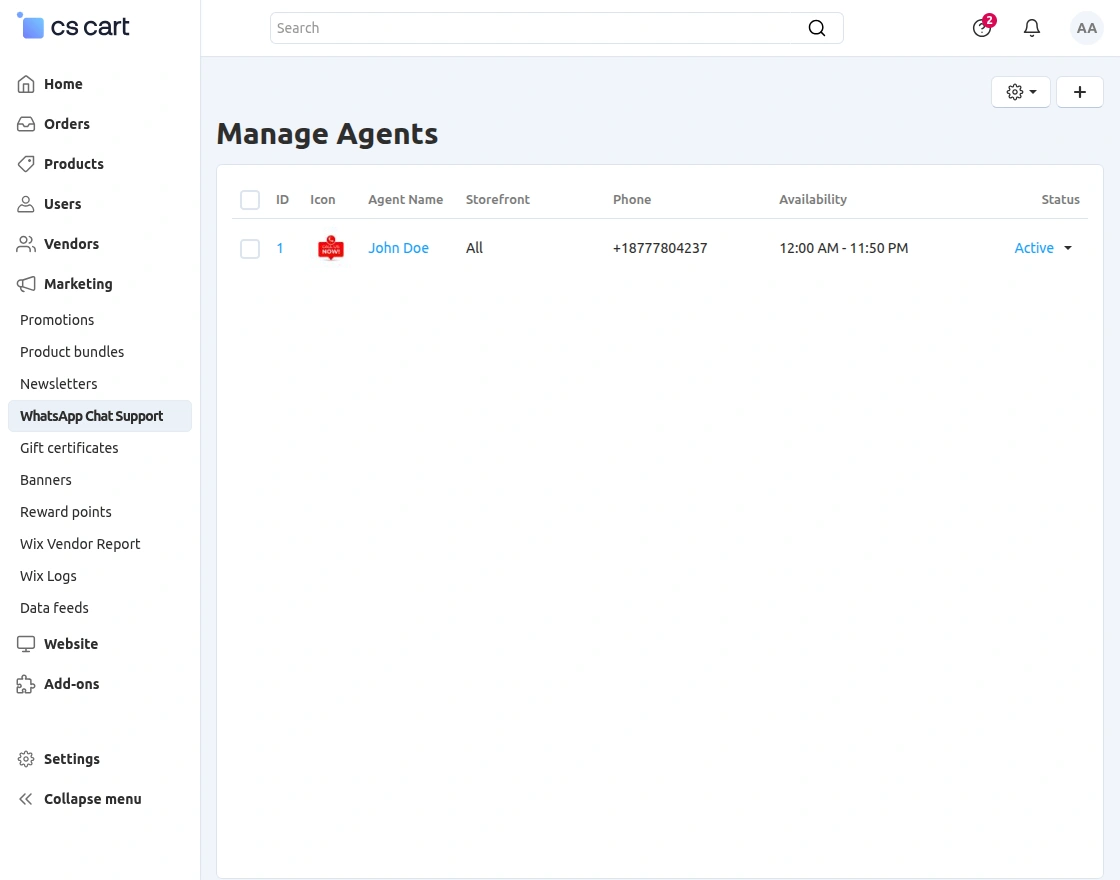
To manage WhatsApp support agents, navigate to:
Marketing > WhatsApp Chat Support
This section allows the admin to view and manage all the created WhatsApp support agents.
The admin can create new agents, edit existing agents, and manage their storefront visibility from this section.
To create a new WhatsApp support agent, click on the “+” icon available at the top right corner of the page.
This will open the support agent configuration form.
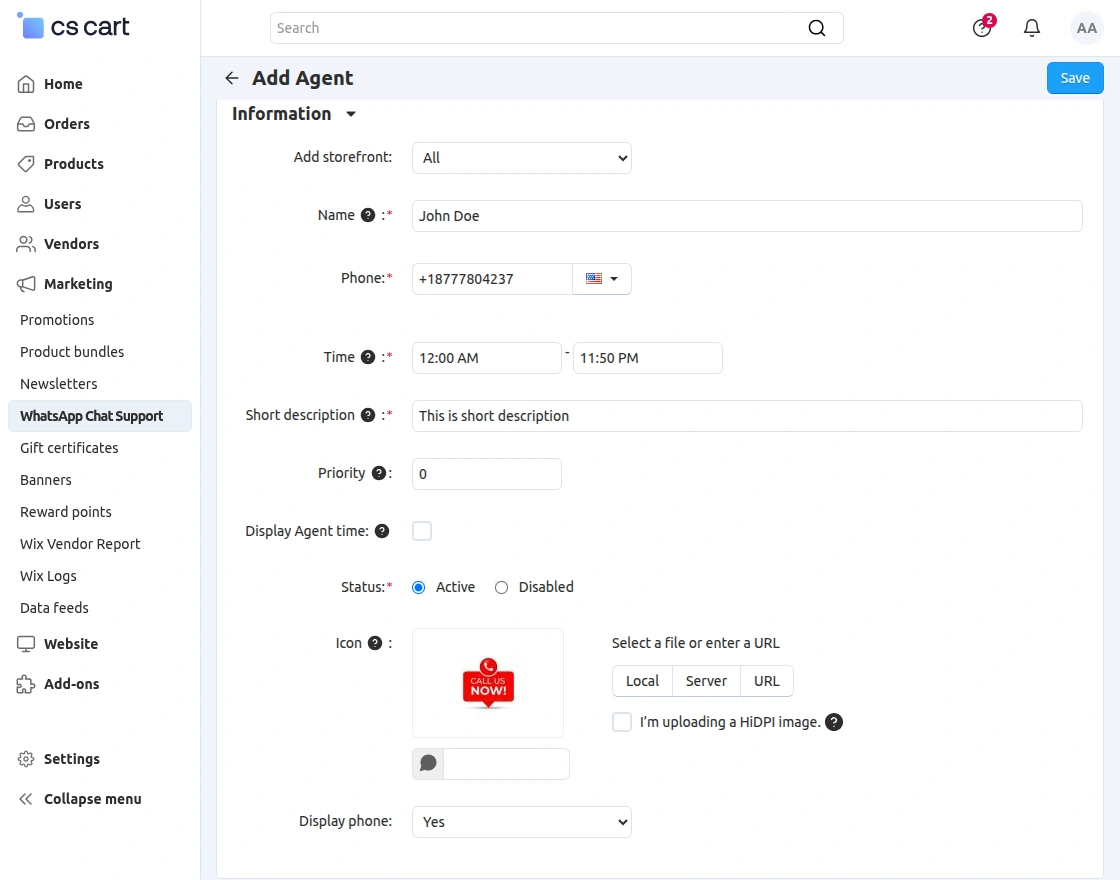
In the agent configuration form, the admin needs to enter all the required support agent details.
The available fields include:
- Add Storefront – Select the storefront for the support agent.
- Name – Enter the support agent name.
- Phone – Enter the WhatsApp contact number.
- Time – Configure the agent availability timing.
- Short Description – Add short support agent information.
- Priority – Set the display priority for the support agent.
- Display Agent Time – Enable to display the agent timing on the storefront.
- Status – Set the support agent status as Active or Disabled.
- Icon – Upload the support agent profile image/icon.
- Display Phone – Enable or disable phone number visibility on storefront.
After entering all the required details, click on the Save button to create the support agent successfully.
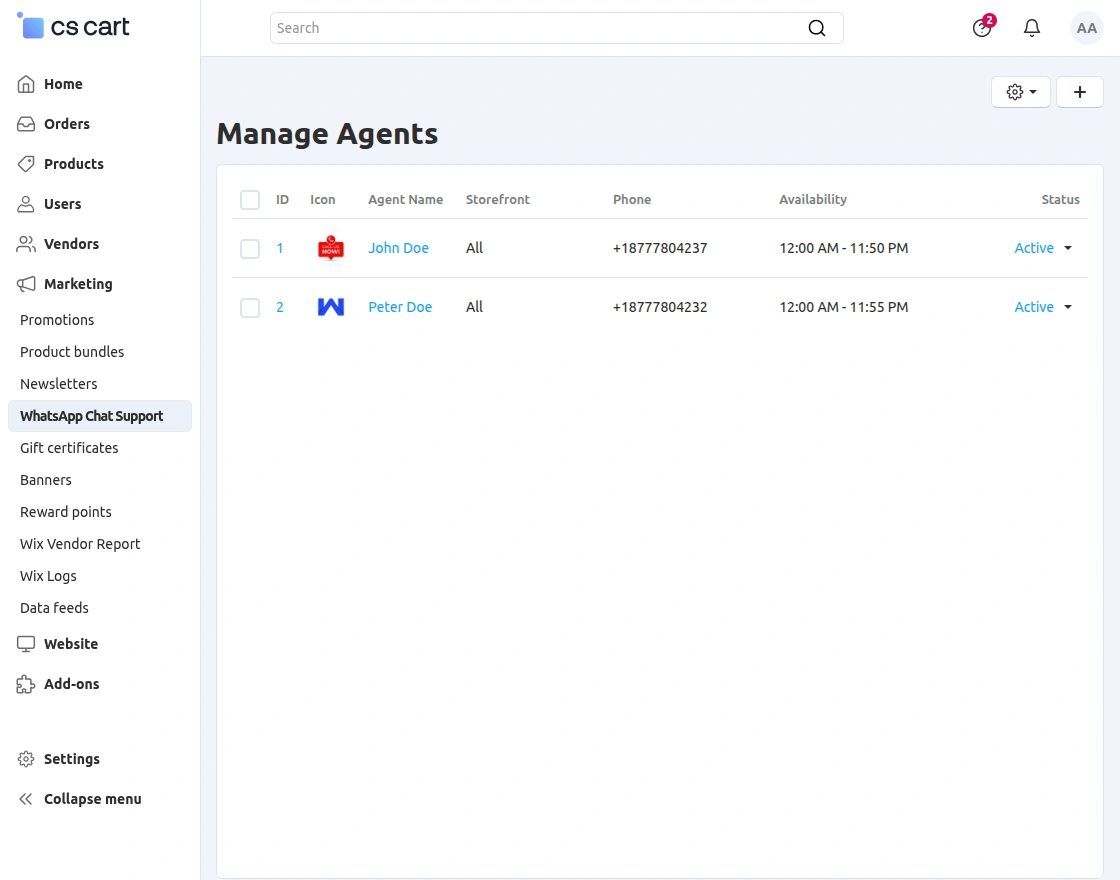
After saving the support agent, the created agent will appear in the Manage Agents section.
From here, the admin can view all the created support agents along with their:
- Agent Name
- Storefront
- Phone Number
- Availability Timing
- Status
Configure Frontend Layout
To display the WhatsApp chat support popup on the storefront, navigate to:
Website > Themes > Layouts.
From the layouts section, the admin can manage the frontend layout and add the WhatsApp Chat Support block.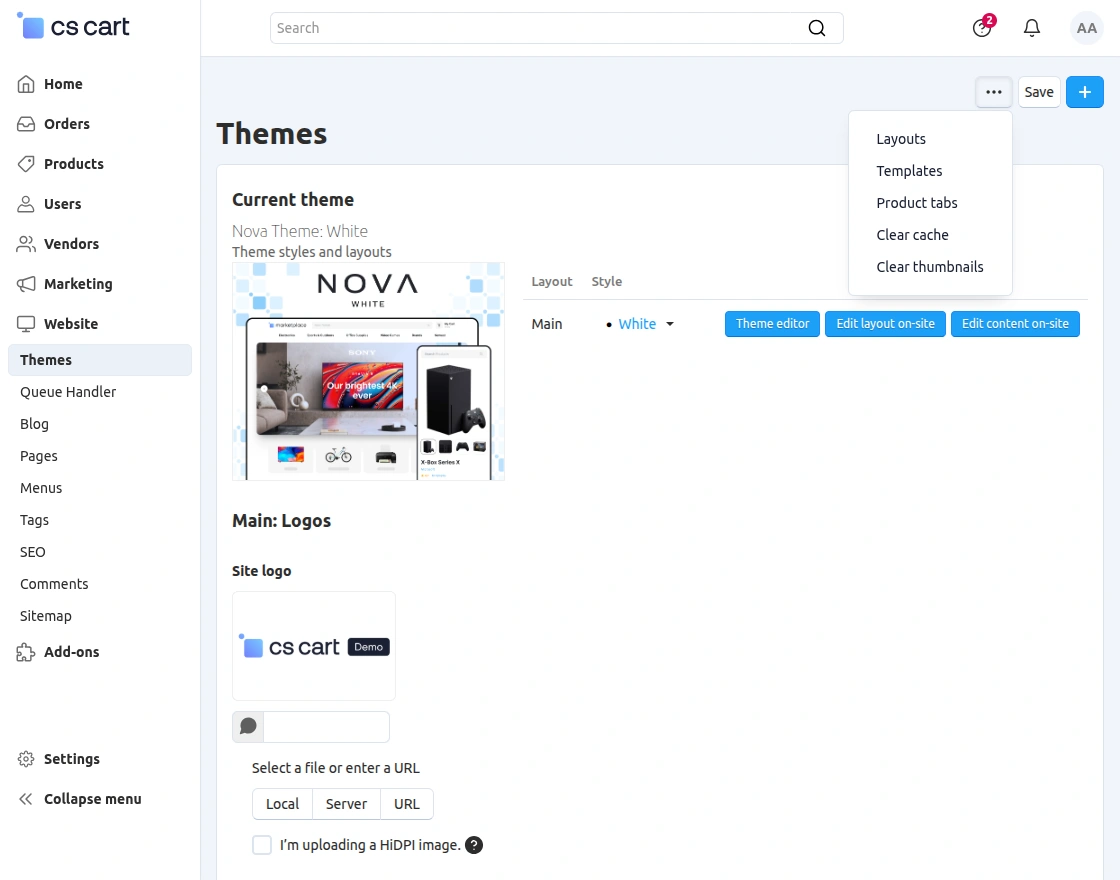
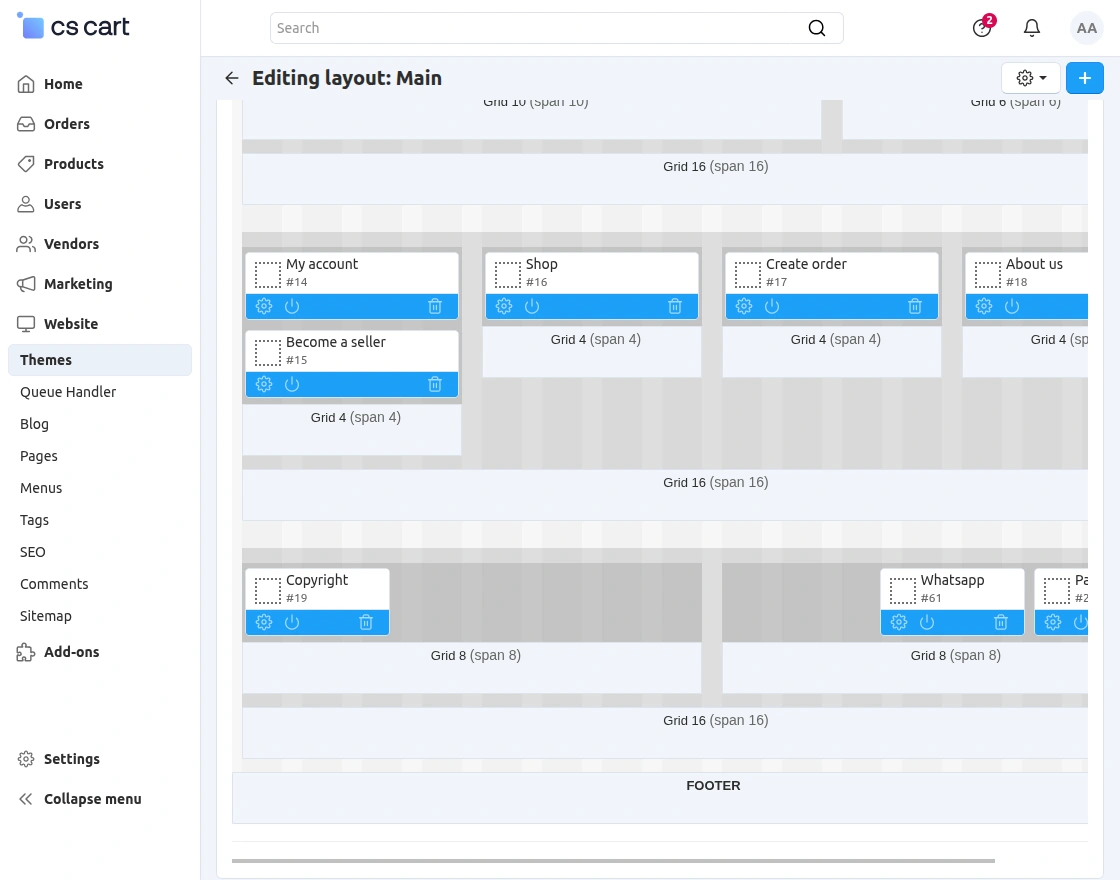
Now select the required layout and click on the “+” icon to add a new block.
Search for the WhatsApp Chat Support block and add it to the required container or section according to the storefront layout.

After adding the block, configure its position according to the storefront layout and save the settings successfully.
CS-Cart WhatsApp Chat Support | Frontend View
After successful configuration, the WhatsApp chat support button will become visible on the storefront.
Customers can view the support button on the selected position configured by the admin.
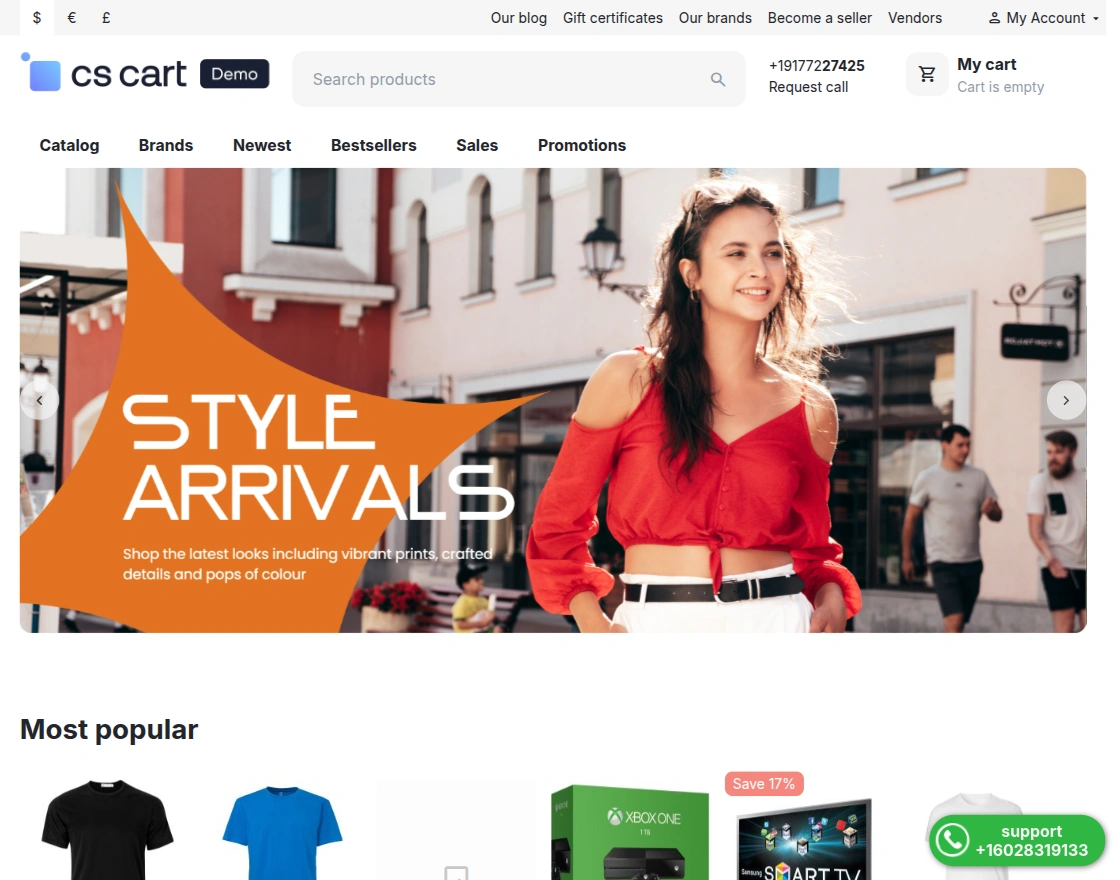
When customers click on the WhatsApp support button, a popup window will open displaying all the available support agents along with their details.
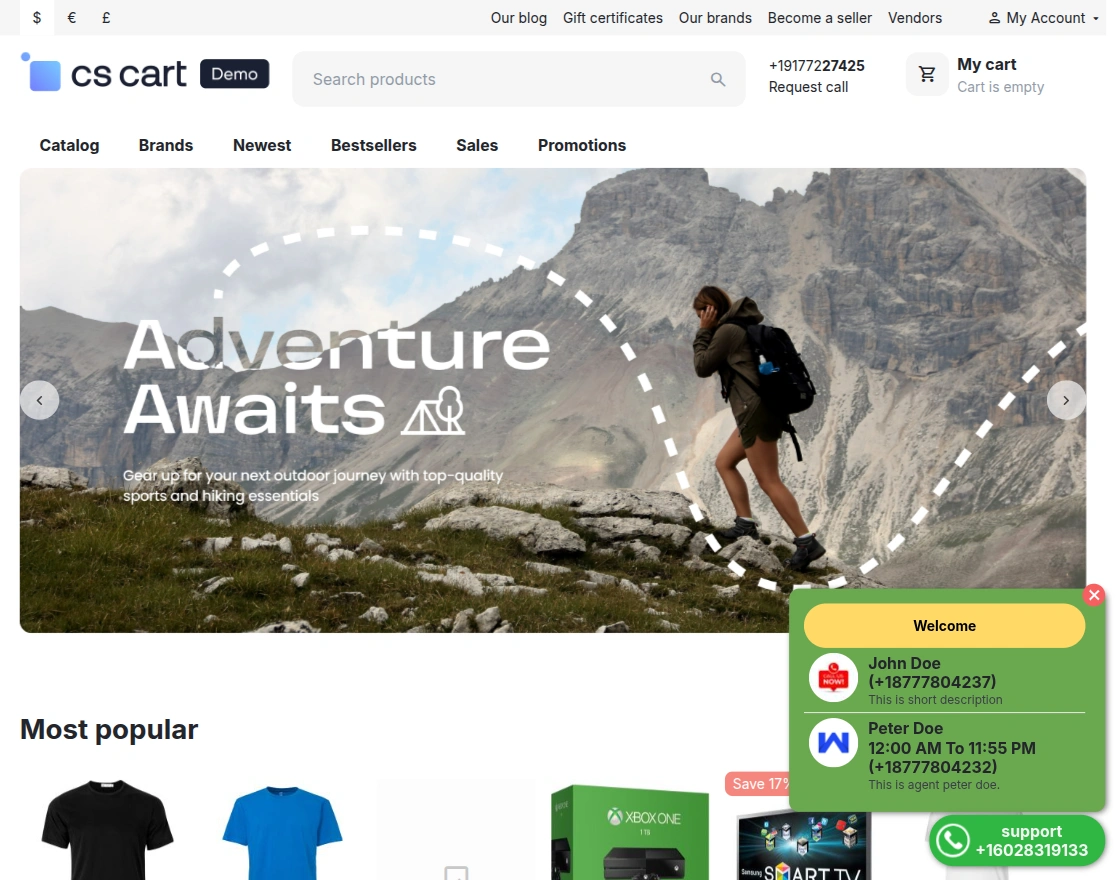
Customers can click on any available support agent to directly open the WhatsApp chat window and start communication with the selected support agent.

Support
If you have any questions, suggestions, or customization requests, feel free to contact us at [email protected] or submit a ticket at webkul.uvdesk.com.
Explore our premium-quality CS Cart Extensions to enhance your store functionality.
You can also explore our CS-Cart Development Services and Quality CS-Cart add-ons.
Current Product Version - 3.1
Supported Framework Version - 4.18.x,4.19.x,4.20.x

Be the first to comment.