Installation
After downloading the CS-Cart Advanced Backup Management add-on, you’ll get one zip file, one install.txt file, and a relevant User Guide manual doc.
Please read it carefully for proper configuration.
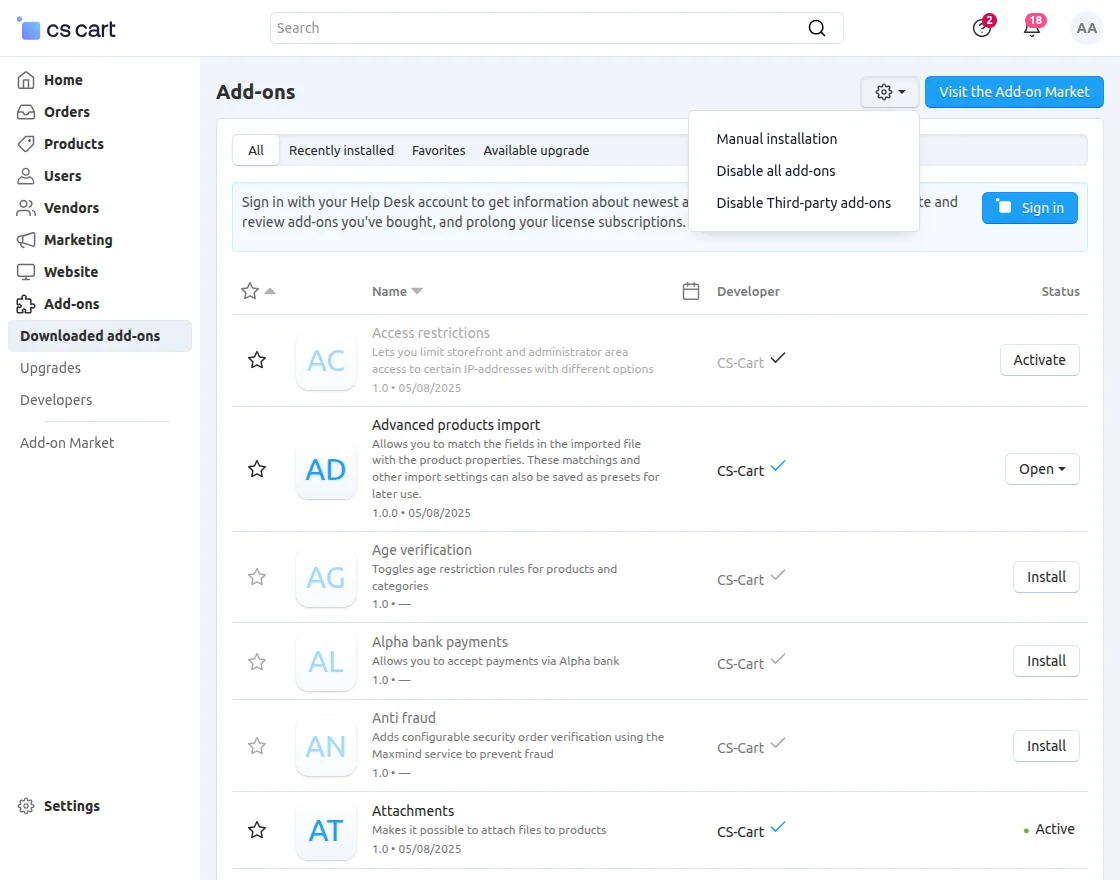
Go to Manage Add-ons, and click on “Manual Installation” as shown below in the snapshot.
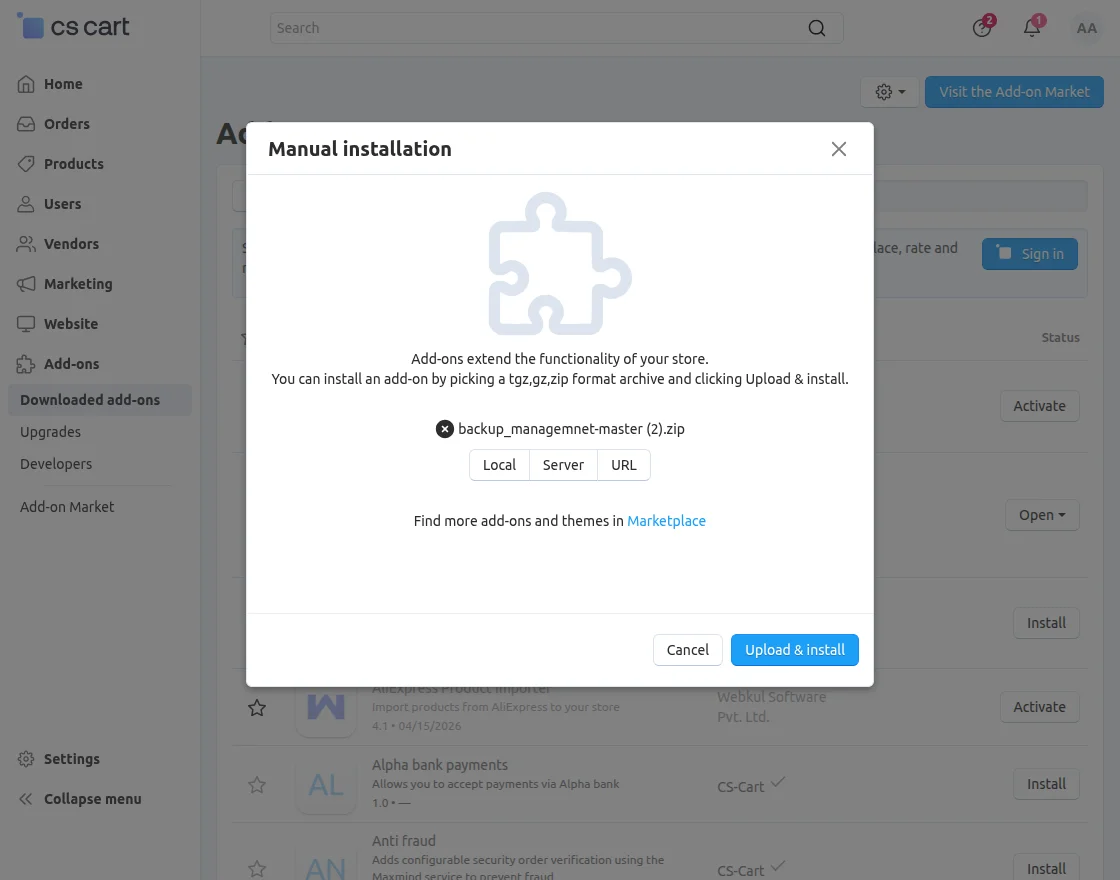
Click on “Local” to browse the zip file, and then click on “Upload & Install” as shown below in the snapshot.
Library installation
You can also download the library manually if needed.
Navigate to the following location using the terminal:
app/addons/wk_backup_management/lib/dropbox
Run the command:
composer update
Module Configuration | Admin
To configure the module, go to the Add-Ons >> Developers >> Webkul Software Pvt Ltd. >> Advanced Backup Management>> Settings.
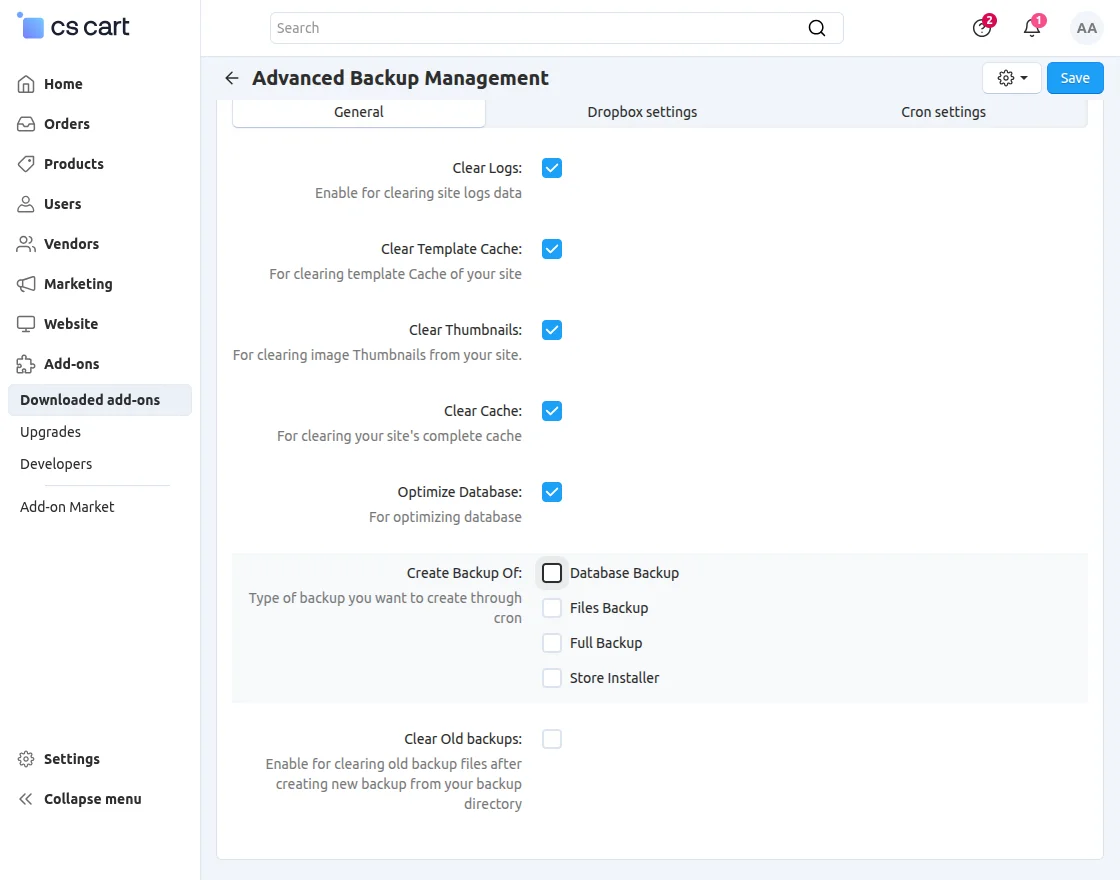
- Clear Logs: Enable this option to automatically clear site log data and reduce unnecessary storage usage.
- Clear Template Cache: Enable this setting to remove cached templates and improve site performance.
- Clear Thumbnails: Use this option to delete image thumbnails and free up storage space on your server.
- Optimize Database: Enable this feature to optimize your database and enhance overall store performance.
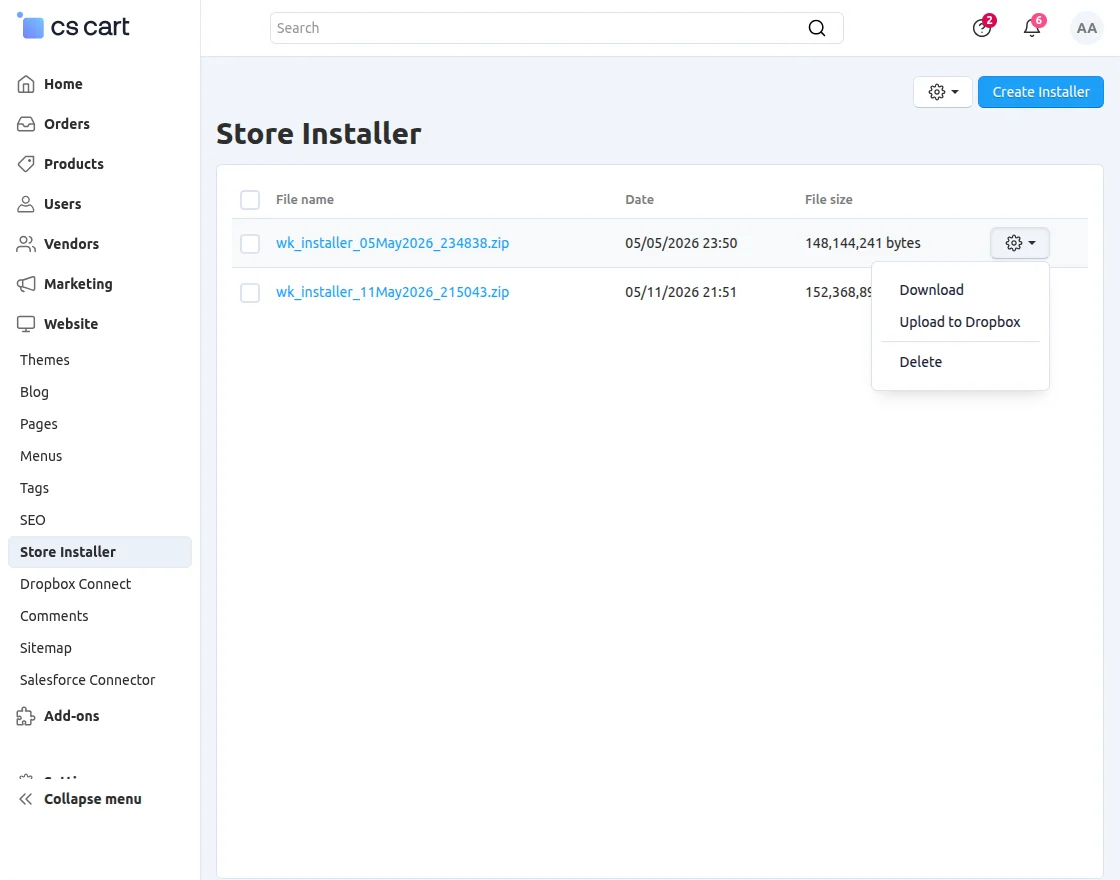
- Create Backup Of: Select the type of backup you want to create through cron, such as files, database, or full backup.
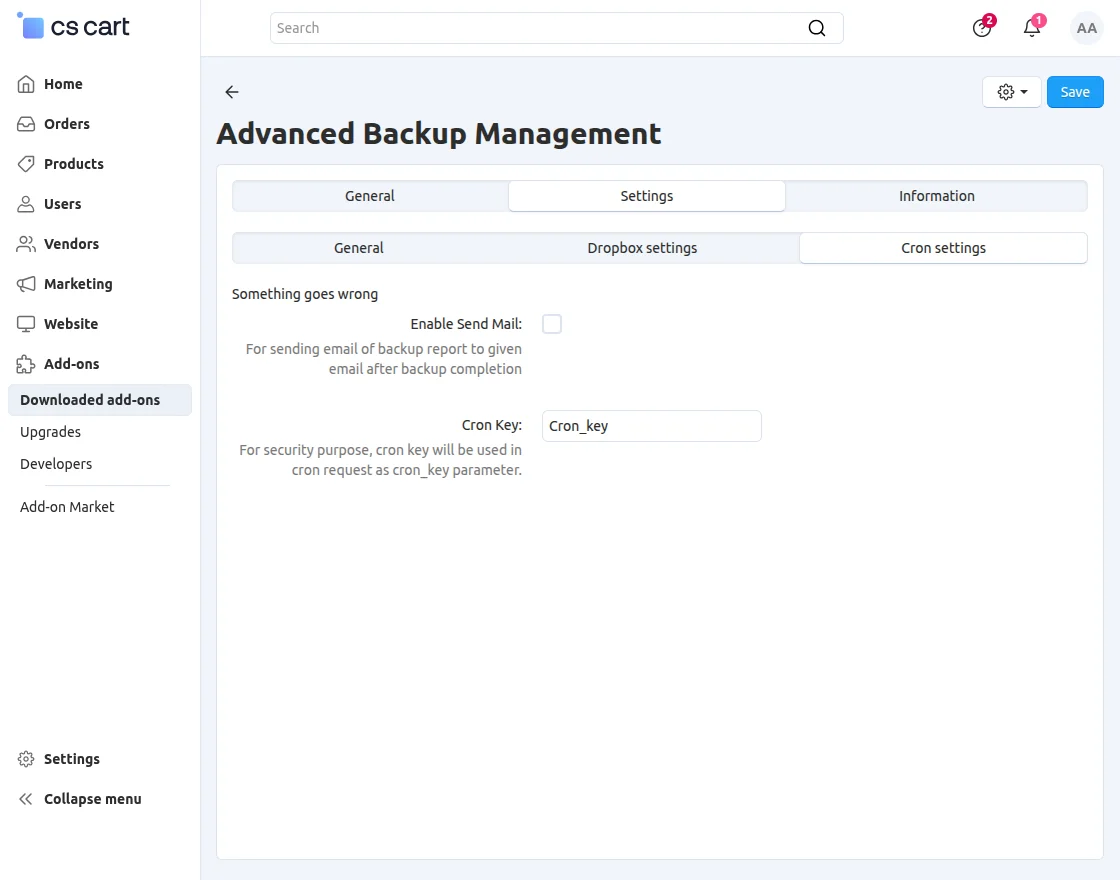
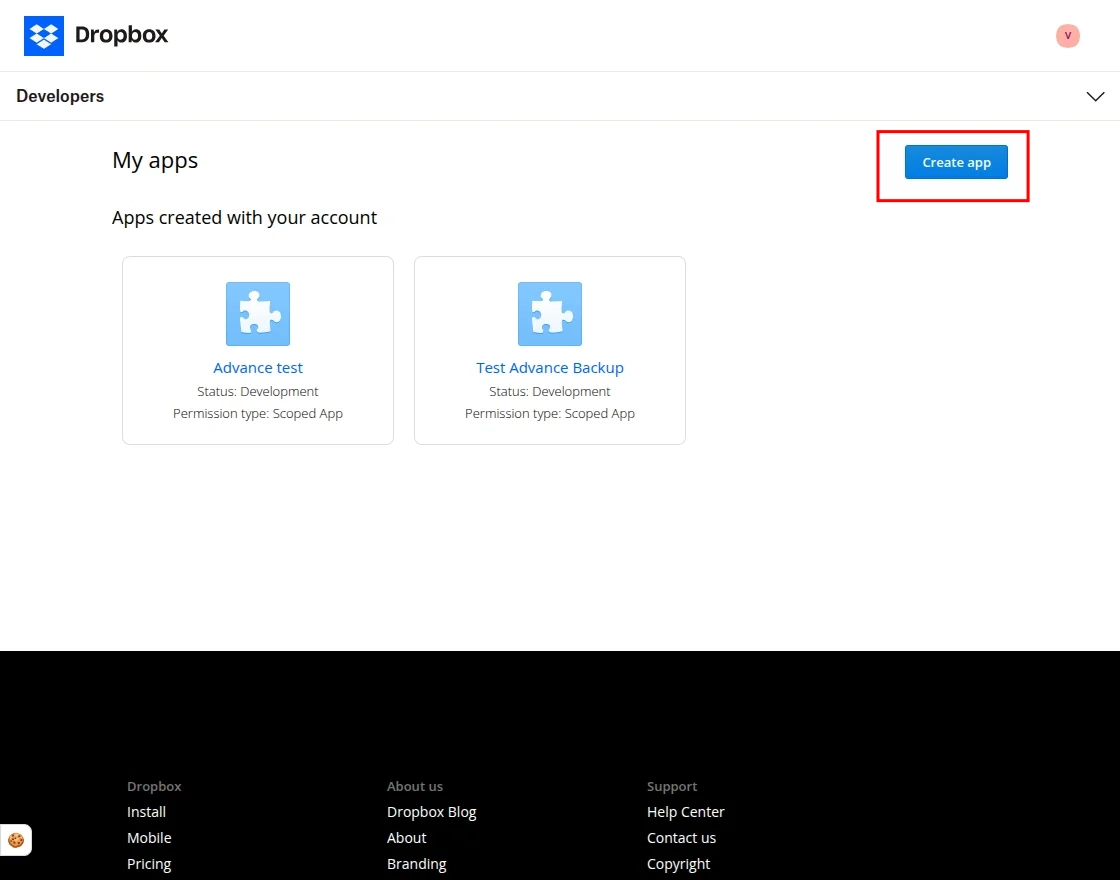
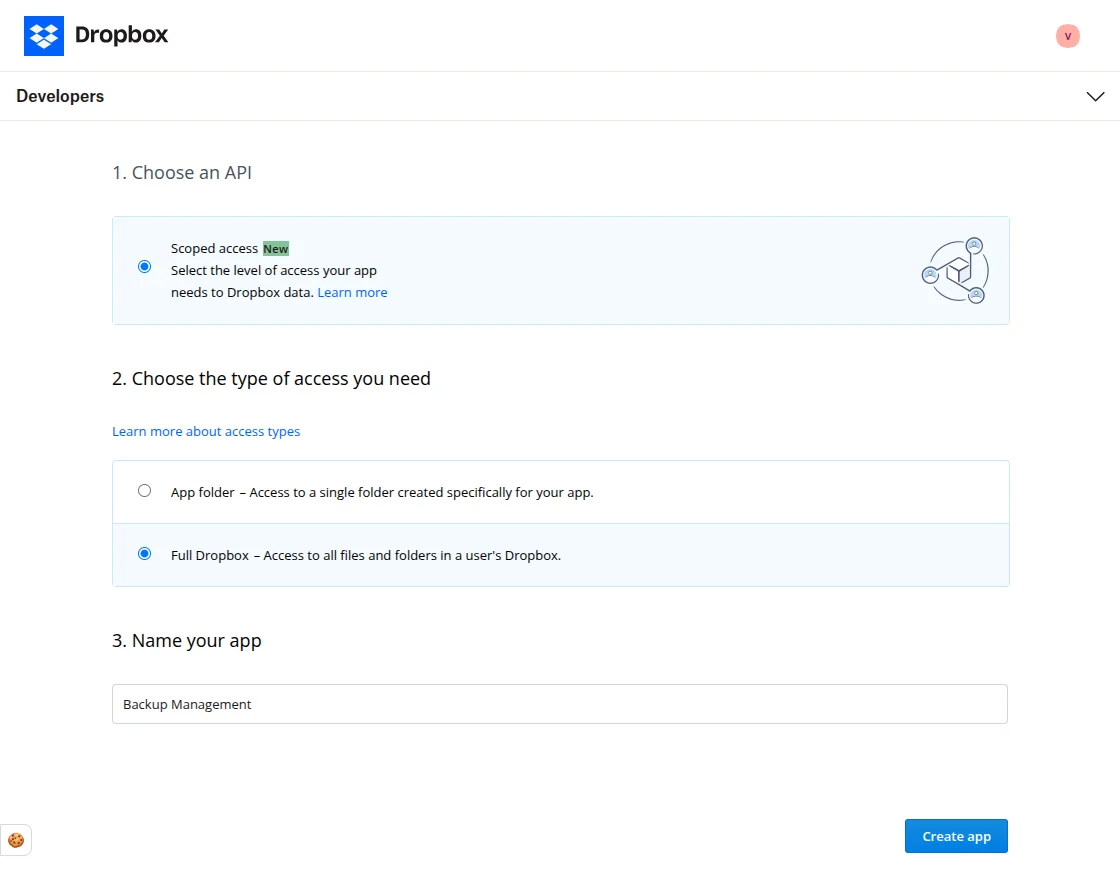
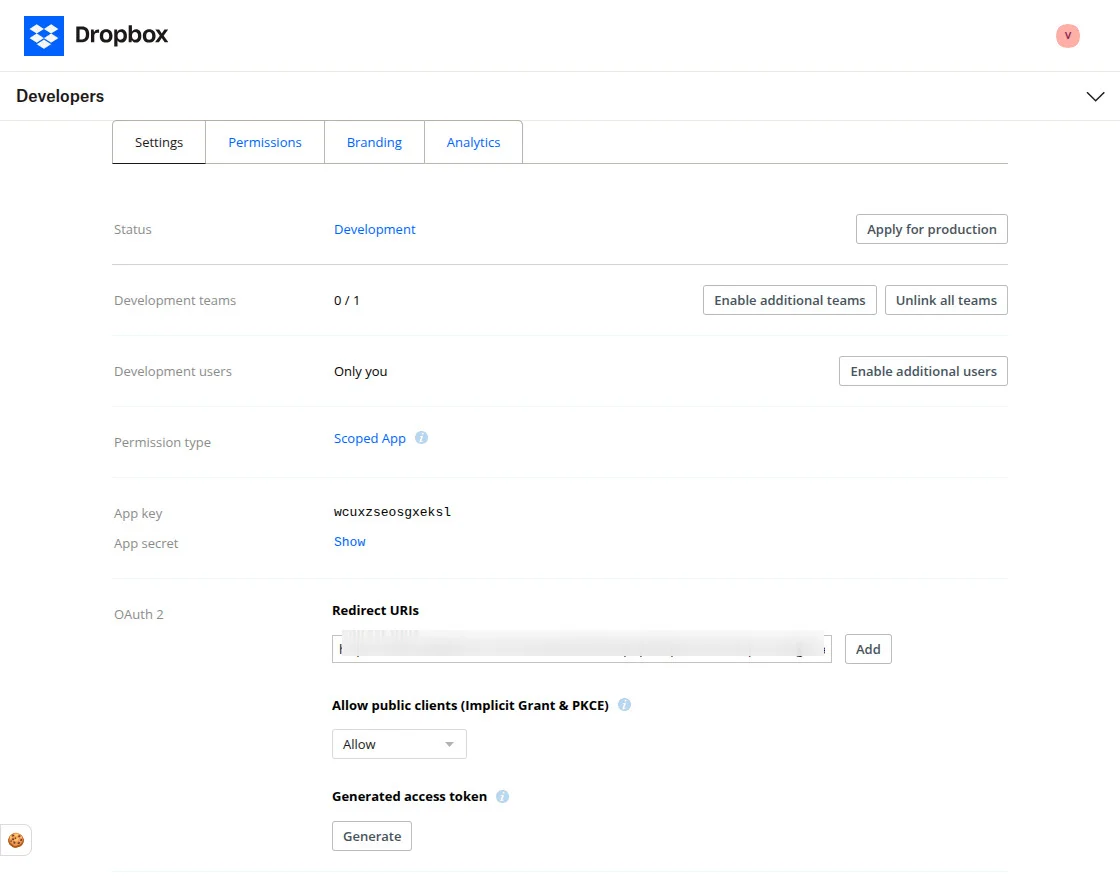
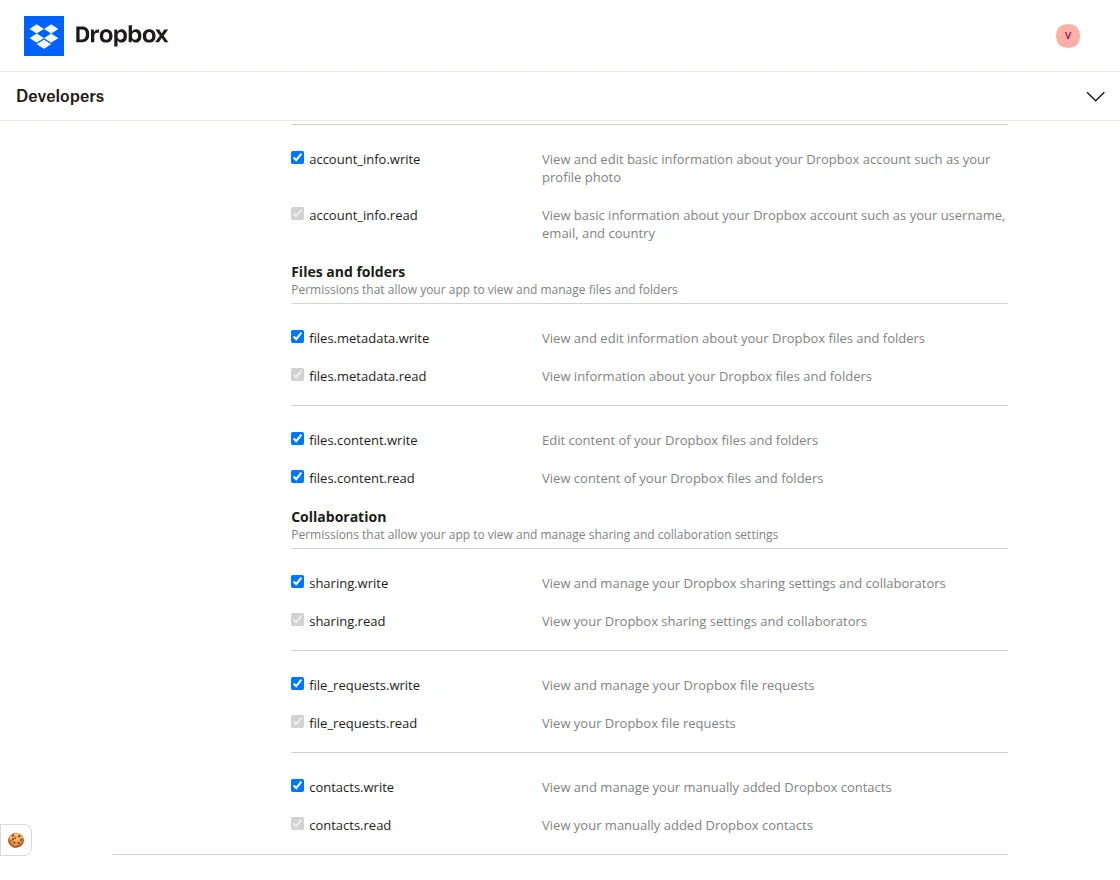
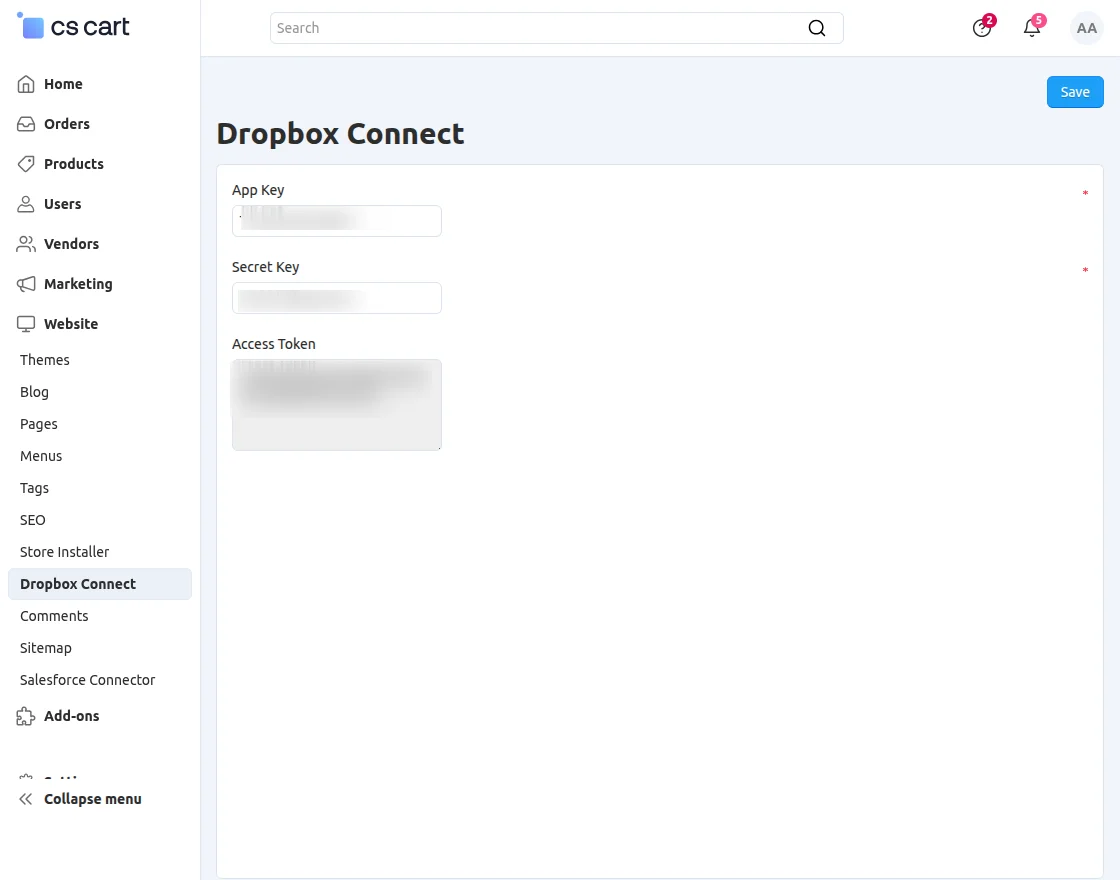
Dropbox Settings

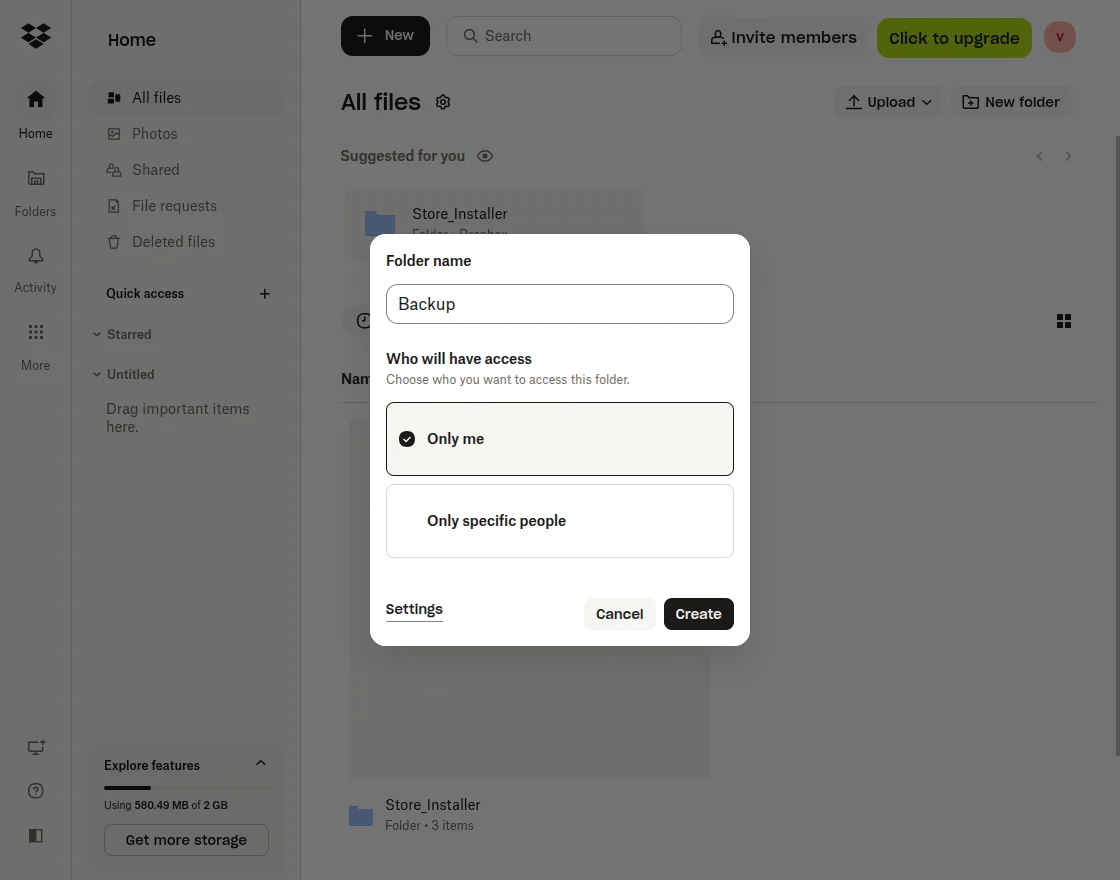
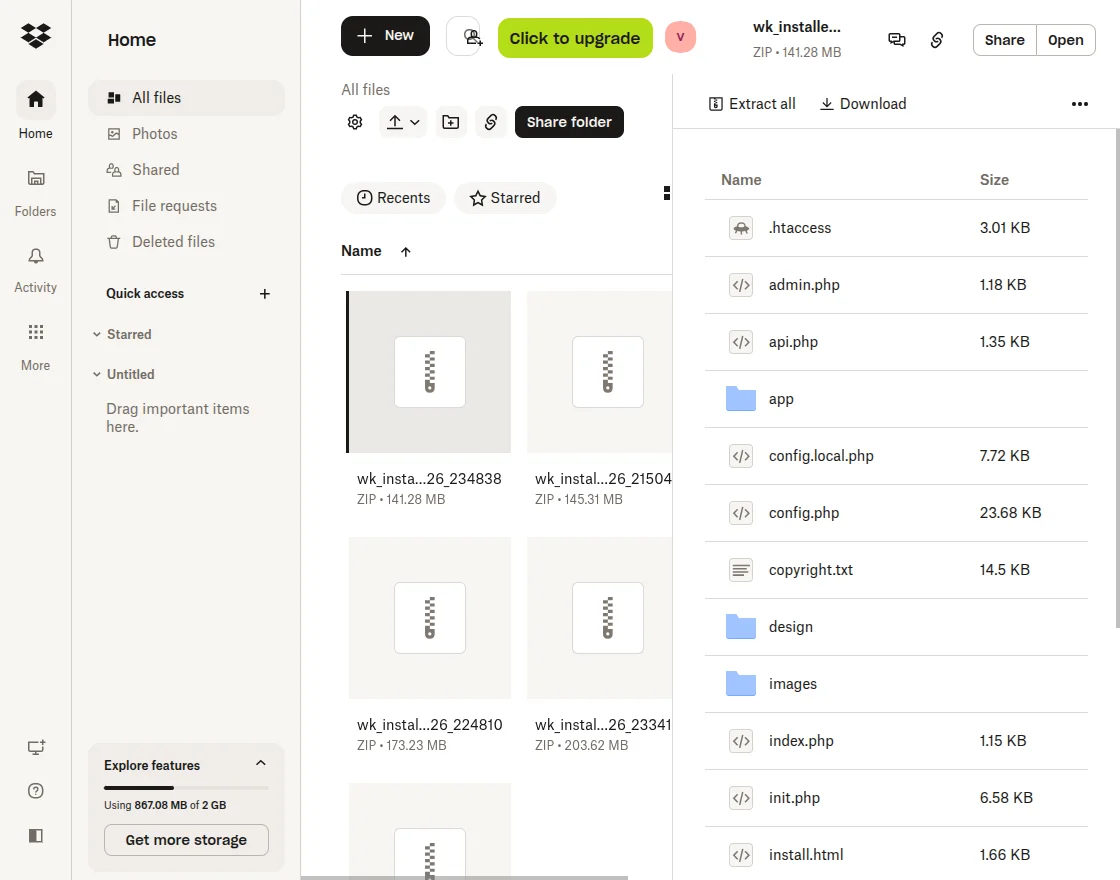
Dropbox Folder
To crete a Dropbox folder, go to the Dropbox homepage.
Support
If you have any questions, suggestions, or customization requests, feel free to contact us at [email protected] or submit a ticket at webkul.uvdesk.com.
Explore our premium-quality CS Cart Extensions to enhance your store functionality.
You can also explore our CS-Cart Development Services and Quality CS-Cart add-ons.
Current Product Version - 1.2
Supported Framework Version - 4.18.x, 4.19.x, 4.20.x
Be the first to comment.