INTRODUCTION
Protect your confidential data with Odoo Password Manager!
Securing your confidential data is the utmost priority for any business. No business owner wants to face losses due to fraud or employee misconduct. However, sharing data with any user has complications and risks involved especially when you provide them complete access to your admin panel.
Hence, to safeguard your data and maintain its integrity of it, we create Odoo Password Manager. The module authorizes the admin to grant different types of access rights with some restrictions to the users. Moreover, the admin has the master control and the right to grant or revoke user access. Further, you can create and assign different roles such as Admin, Manager, and Users.
FEATURES
- Odoo Password Manager lets you create vaults and folders in Odoo.
- The admin can create and assign different roles to the users (like manager, admin, user, etc.).
- The module secures the data from fraudulent activities.
- Odoo admin can further renew or revoke user access before expiry.
- It allows the admin to grant access to users for a limited period after which it will automatically be revoked.
- You can further track every record change or edit from the chatter section.
- The Odoo app provides a ‘Sharing Center’ menu to manage all the expired sessions.
INSTALLATION
- Once you purchase the App from Webkul store, you will receive the link to download the zip file of the module.
- Extract the file on your system after the download finishes. You will be able to see a folder named- ‘odoo_my_vault.’
- Copy and paste this folder inside your Odoo Add-Ons path.
- Now, open the Odoo App and click on the Settings menu. Here, click on Activate the Developer Mode.
- Then, open the Apps menu and click on ‘Update Modules List.’
- In the search bar, remove all the filters and search ‘odoo_my_vault.’
- You will be able to see the module in the search result. Click on ‘Install’ to install it.
WORKFLOW
Hopping on to the configuration of Odoo Password Manager.
CONFIGURATION
1. Go to ‘My Vault> Configuration> Vault Role> Create’ to add different types of user access.

2. Enter the role name and tick the boxes next to each access type to grant it to that particular role.

3. Next, move to ‘My Vault> Vault> My Vault> Create’ to add secure vaults.

4. You can create 3 vault types, namely Login credentials, secure notes, and server details.
4.1. In the login credentials type- you must provide the username and password to access the vault.

4.2. The Secure note- You can add a file in the secure note.

4.3. Server Details- Here you must add the username, password, attachment, and hostname.

5. After creating the vault type, click the ‘Share With’ button to share it with other users.

6. Select the user, role, and expiration date, once done, click the ‘Share’ button.

7. When you successfully grant access, the users will appear in the ‘Existing User and Roles’ tab along with their role, expiry date, and granted by details. Also, you will see the ‘Revoke, Edit Access, and Delete’ buttons to perform the actions.

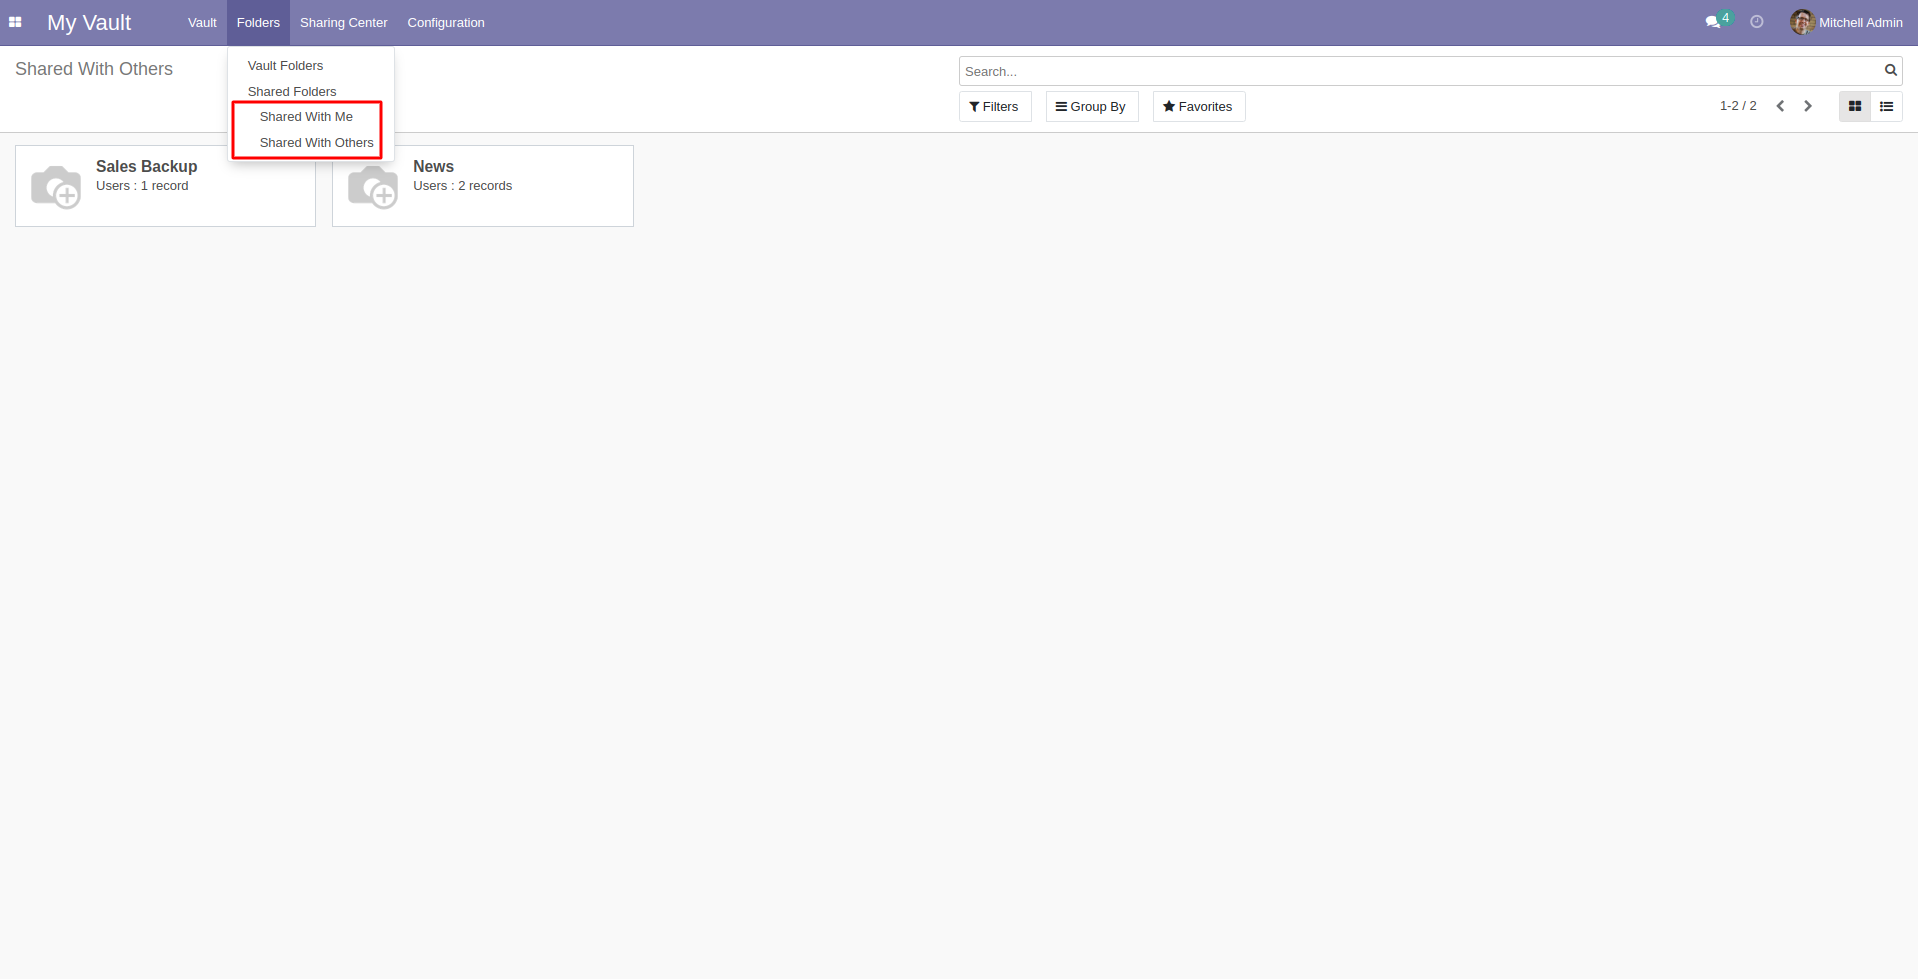
8. Next comes the ‘Shared Vault’ which has two sub-section which show ‘Shared With Me and Others’ vaults.

9. Move to the ‘My Vault> Folders> Vault folders> Create’ to add a folder.

10. Enter the name, select the vaults, and save the folder.

11. After that, you can follow the same process for sharing the folder as you did to share the vault.


12. In the ‘Shared Folders,’ you also have two sub-menu: ‘Shared With Me & Other.’
13. Go to the ‘Sharing Center,’ it will show you all the expired ‘Shared With Me and Others’ folders and vault. Also, you can renew the access from the sub-menus, if required.


OTHER ODOO MODULES
- Odoo Access Control Management.
- Odoo AI Engine (ChatGPT)
- EU Price Indication Directive
- Odoo Print Survey Answers Pdf
- Odoo OCR Data Fetch
- WhatsApp Shopping Bot & Order Notifications
- Odoo Employee Sick Report Management
NEED HELP?
Hope you find the guide helpful! Please feel free to share your feedback in the comments below.
If you still have any issues/queries regarding the same, please raise a ticket at https://webkul.uvdesk.com/en/customer/create-ticket/.
Also, please explore our Odoo development services & an extensive range of quality Odoo Apps.
For any doubt, contact us at [email protected].
Thanks for paying attention!!
Current Product Version - 1.0.0
Supported Framework Version - Odoo 16, 15, 14

Be the first to comment.