Marketplace hyperlocal for Shopware 6: Connects the customers with local stores and transforms their shopping experiences. The Sellers can easily add up their origins and can even set a radius up to which they can deliver the items to the customer. On the other hand, the customers can enter their location and can check the available sellers in that location.
Basic Requirements –
- This module is an addon of the Shopware Multi-Seller Marketplace. To use this module you must install Shopware Multi-Seller Marketplace for Shopware 6. For more details refer to this guide.
Check a brief overview of the plugin –
Features
- The seller can add multiple shipping locations.
- Admin can add multiple shipping locations for sellers.
- Location popup displays on the storefront to enter the location of the customer.
- Admin can set a range of locations, units, and listing type(Products Listing, Sellers Listing).
- After entering the location by customer products or sellers listing will be shown in a range of customer locations.
Installation
To install MP-Hyperlocal for Shopware 6 provides two ways to upload the plugin to the server.
Installation using commands
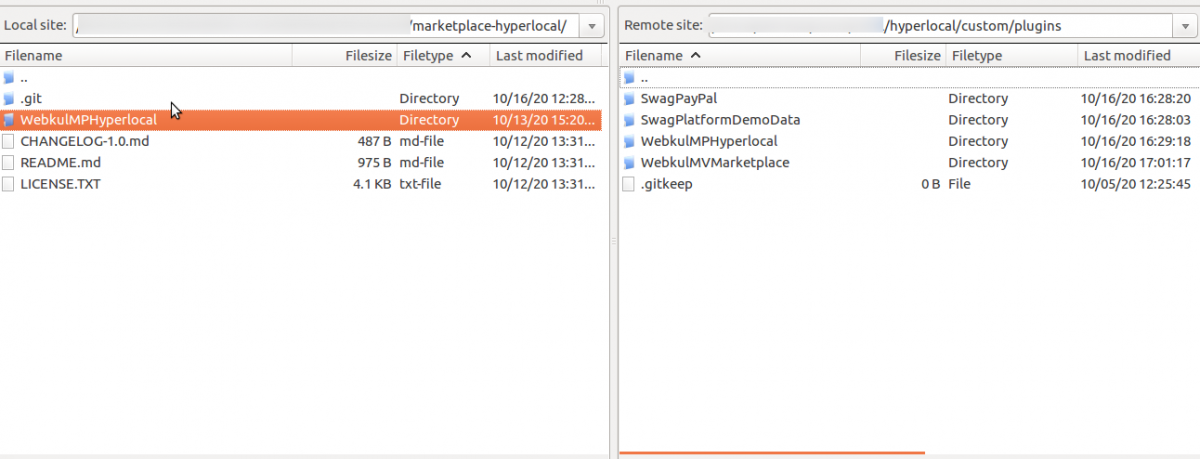
Customers will get a zip folder, then they have to extract the contents of this zip folder on their system. After extracting the WebkulMPHyperlocal folder, the customer needs to transfer this custom > plugins on the server, as shown in the image below:
After the successful installation, you have to run these commands in the Shopware root directory.
Run this command to refresh the plugin –
/bin/console plugin:refresh
Go to your Shopware installation Root directory then run this command to install then activate the plugin–
./bin/console plugin:install --activate clearcache WebkulMPHyperlocal
To installing the assets(CSS/JS)
./bin/console assets:install
To clear the cache run this command –
./bin/console c:c
Now refresh the administration.
Manual Installation
For the manual installation of the plugin follow the steps as mentioned below:
1) Extract the zip file of the plugin.
2) Goto your Shopware 6 installation backend panel and navigate to Extensions-> My Extensions after that you can find all the installed plugins in it.
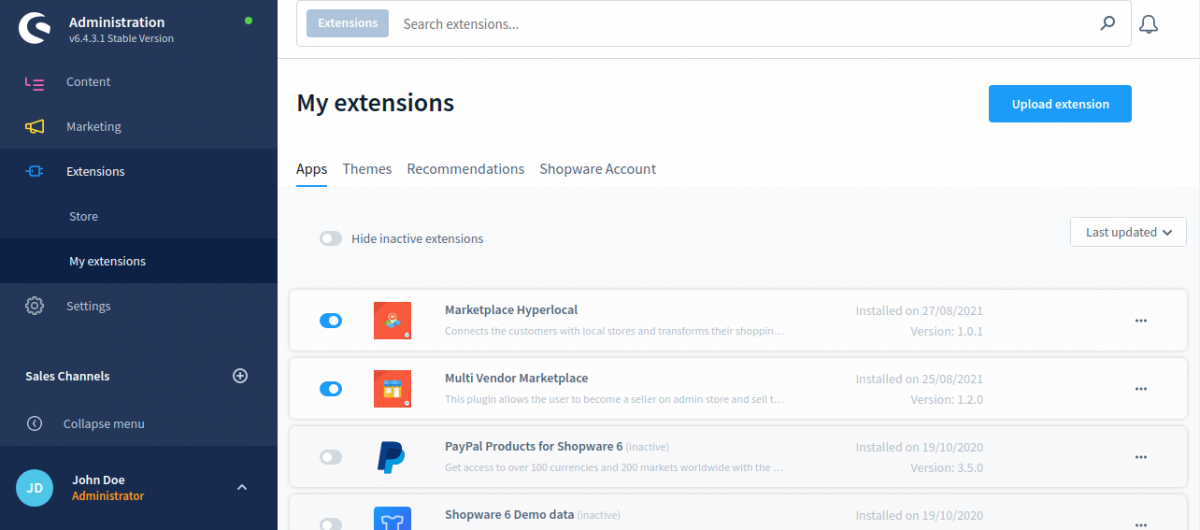
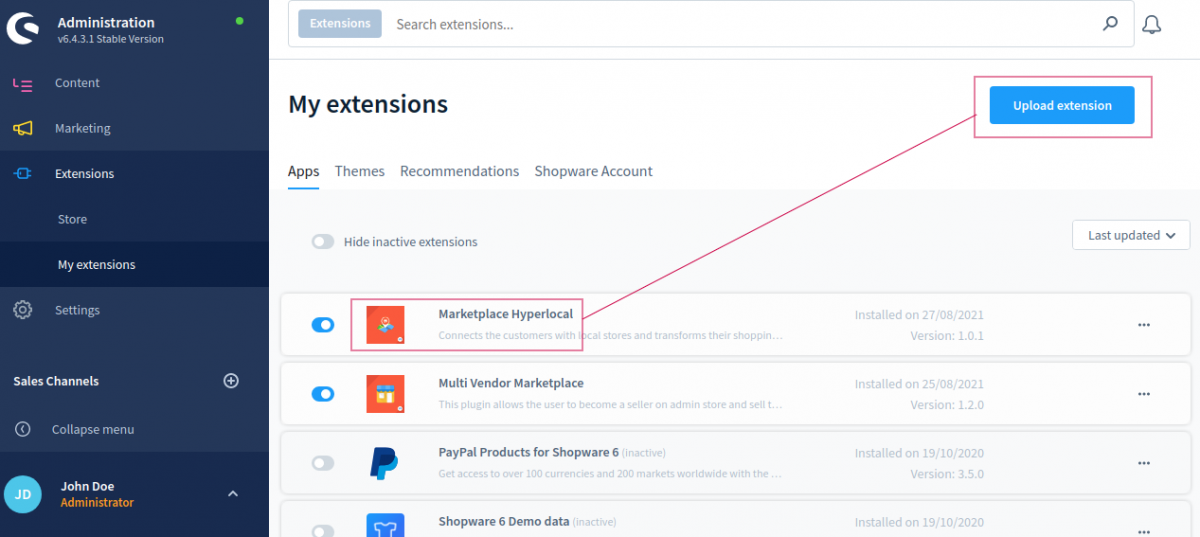
For installing the plugin, the user can click on the Upload Extension button. The user can upload the plugin zip( WebkulMPHyperlocal) here.
3) After uploading the plugin zip, the user can see the Extension in the list.
4) Now the user can click on the install icon to install the Shopware Marketplace Hyperlocal Upload extension.
5) After the installation of the extension, the user can click to activate the extension.

While in the process the admin can see the success message ‘Extension has been activated‘.
After the installation process and plugin configuration if the Marketplace Hyperlocal icon option is not visible then run this command to clear the cache:
php bin/console cache:clear
Module Translation
As this Shopware Marketplace Hyperlocal System module supports multiple languages so this section will describe how to make the module work in different languages.
How To Get Google Location API Keys
To configure this module, you will need a geolocation API key.
You can get this API using the following steps :
- Go to: https://console.cloud.google.com
- Login in and go to API’s & Services > Credentials.

3. Create a project here


4. Select API key from the option then Click on create credentials.

5. Credentials will be created

So this is how geolocation API key can be obtained after that used to configure our module.
Domain Verification
The user needs to follow the given steps for verifying the domain.
Initially, on the Google Cloud Platform page, the user must navigate to APIs & Services > Domain verification as shown below.

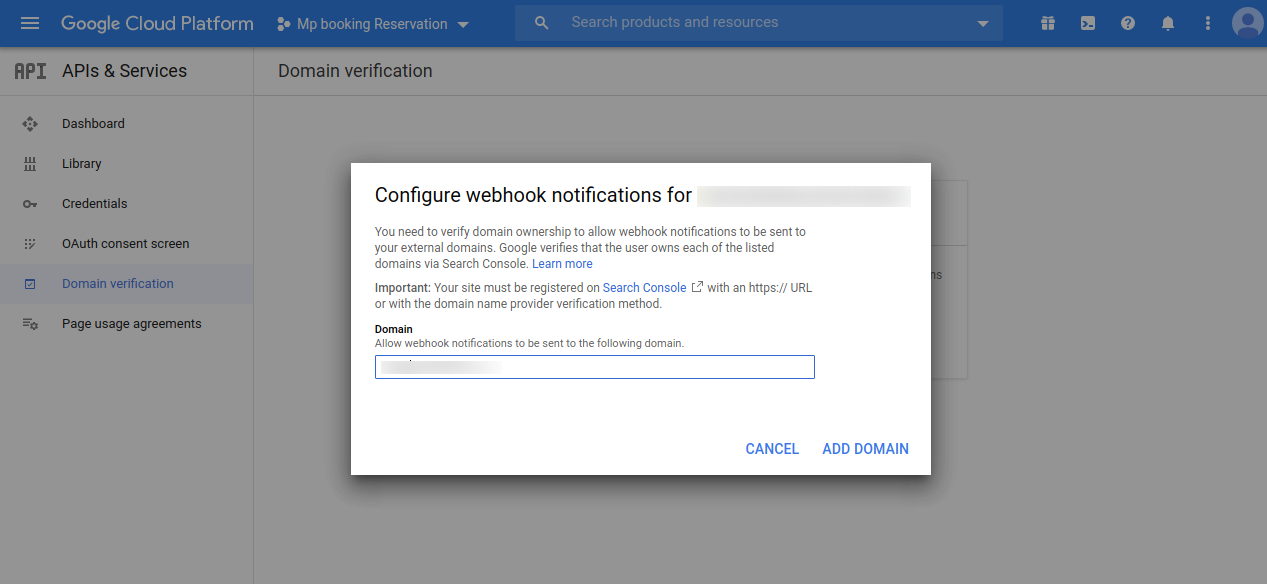
This navigates the user to the Domain Verification page, where the user needs to click on the Add Domain button.

A popup shall appear as shown in the image, where the user needs to fill in the Domain URL (https://example.com/) in the text box then click the ADD DOMAIN button.
On clicking the ADD DOMAIN button, another popup opens up bearing a name Verify ownership.
The user must click on TAKE ME THERE, to proceed further.

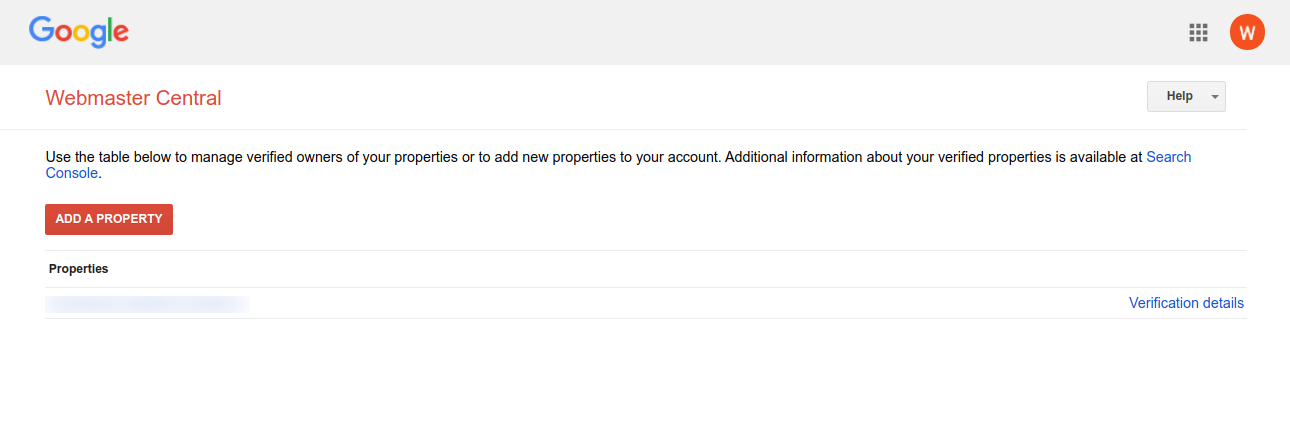
On clicking the same, it redirects the user to the Webmaster Central page as shown in the image below.
The user must click on ADD A PROPERTY button present on this page.
A textbox opens up where the user needs to add the URL of the property that the user wishes to verify then click on Continue.

Google recommends some steps that the user must follow to verify the URL of the property.

Thereafter, the user can tick-mark the I’m not a robot checkbox and further click Verify button.

Once the verification process is completed, the following page shall appear.

Enable Google API Keys
To enable the Google APIs, the user must open up the Google Cloud Platform page and navigate to the Credentials page.
The user will find All Google Maps APIs dropdown, clicking which the user needs to click on the ENABLE API.

In doing so, a list of Google APIs opens up. If users don’t find the required API, they can type the name of the API in the search box and search for it.
To enable the API, the user needs to click on it.
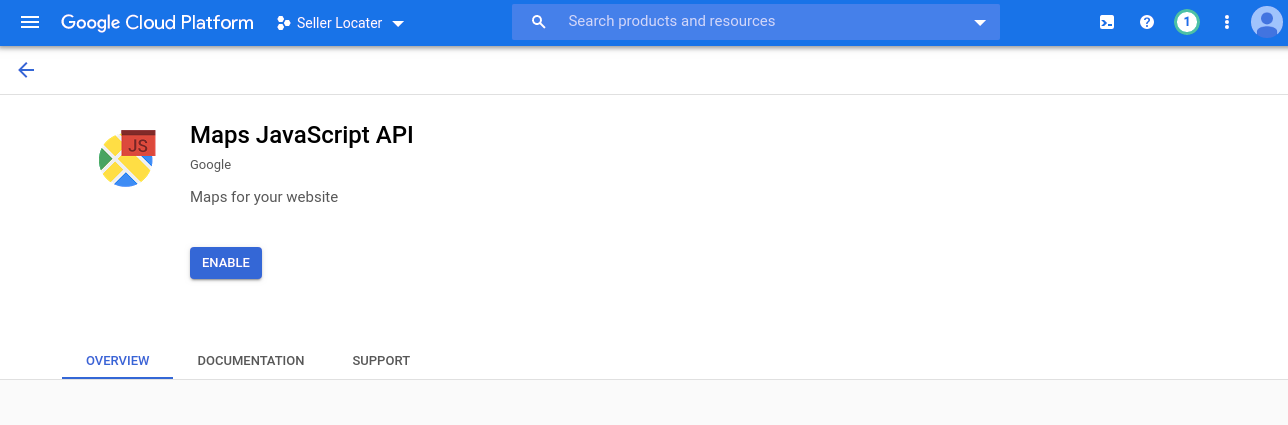
Geocoding & Maps JavaScript APIs

Geocoding API: Enable

Maps JavaScript API: Enable
Places API

PLaces API: Enable

Module Configuration
After clicking on the My Extensions, the user can see all the installed extensions in the Shopware. The user can click on the “…” icon for the configuration option of the extension.

Here, the admin will-
- Google Map API Key: Enter the API key. Get the Google API key from the above-mentioned process.
- Location Popup Title: Enter the heading that will be visible to the customers while entering their location.
- Radius Unit: Enter the radius unit.
- Radius: The entered radius will use for searching sellers and their products in the radius of the user’s location.
- Page listing: If the admin selects the home page then after feeding the location it will redirect the home page where the customer can see the product in the existing location whatever address selected.
If the admin will selected Sellers page then after feeding the location it will redirected to the sellers page where the customer can see the product in the existing location whatever address selected. - Show default products: If admin enables this then admin product will be visible and if admin disables this then admin products will not be visible on store.

After entering the details, the admin can click on the Save button.
Admin Management
After the successful installation of the Shopware Marketplace Hyperlocal Upload, the admin can configure the module.
For that, they need to navigate through Setting>Extensions.

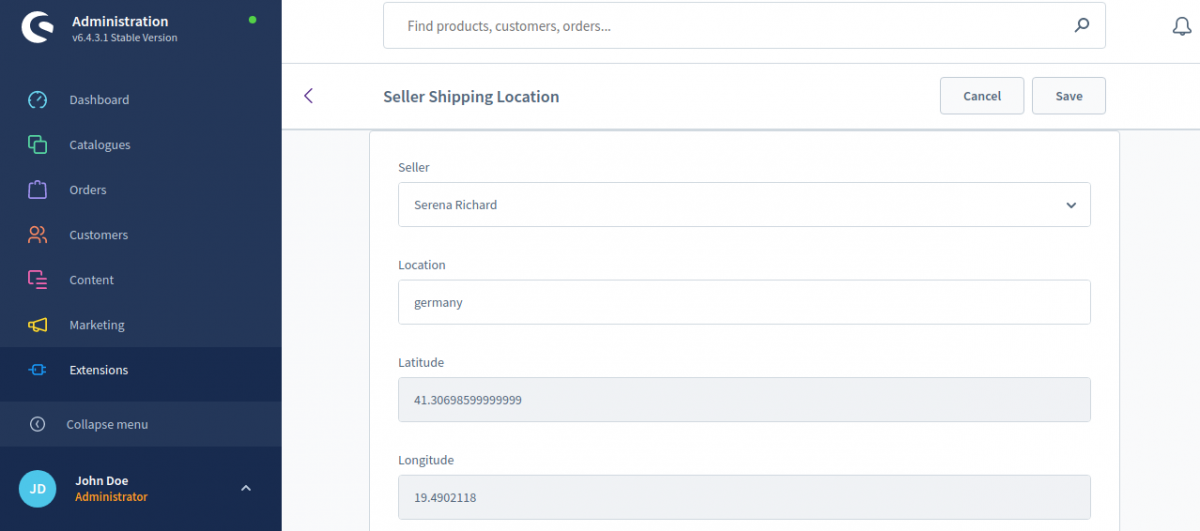
Seller Shipping Location
The admin will add the seller location by navigating to Settings>>Extensions>>Hyperlocal seller shipping location. Their admin can add new and see the list of seller locations that are already added.

Two options will be visible to the admin:
- Seller
- Location
Hyperlocal System – Seller End
After the module is installed, the seller will log in to their account. Further, the admin will add the seller location by navigating to Add Shipping Location.
After that the seller will require to add the following details:
- Location: The seller will type the location and select the appropriate location from the dropdown.
- Latitude & Longitude: These fields will get filled automatically.

After that click to Save button.
Hyperlocal system – Front End
When a customer will visit the website then a pop-up will show to enter the location. The customers can enter their location in the pop-up and click on the save button to save the location.

if the admin selected the seller page then after feeding location it redirects to the seller page.
However, if the home page is selected by the admin then after feeding the location it will redirect the customer to the home page where the customers can see the products in the existing location whatever address is selected.
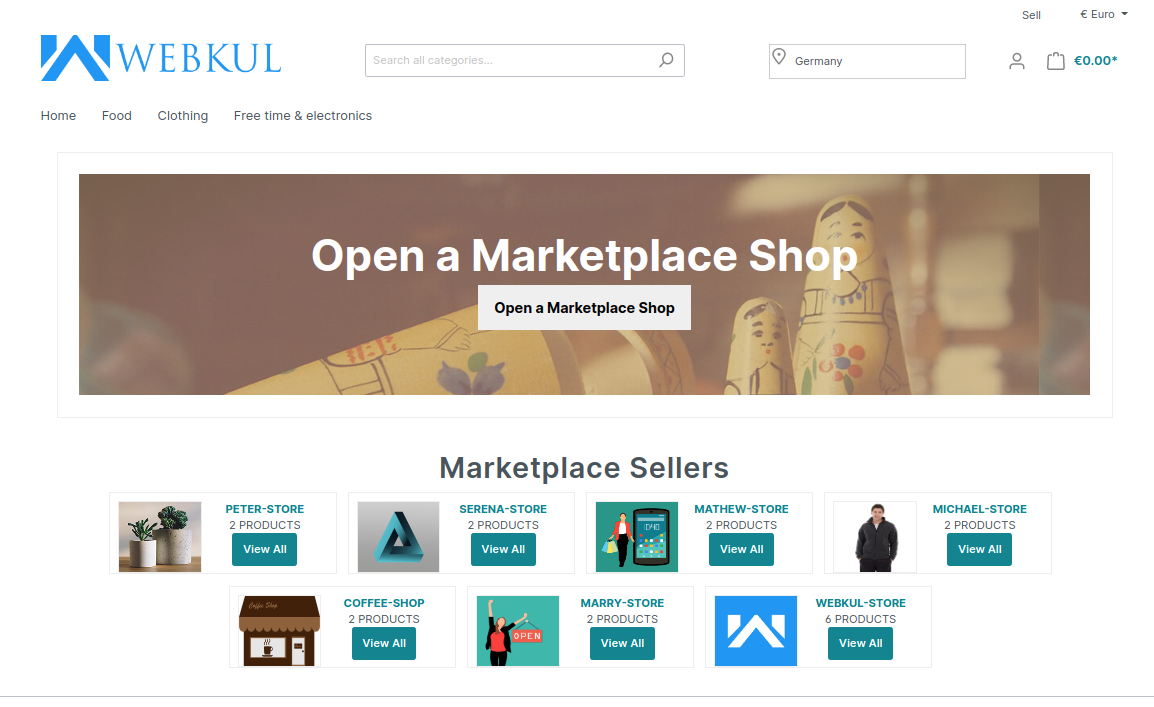
After adding location, the customer will come to the page displaying the list of sellers available in that area or locality added by the customer.
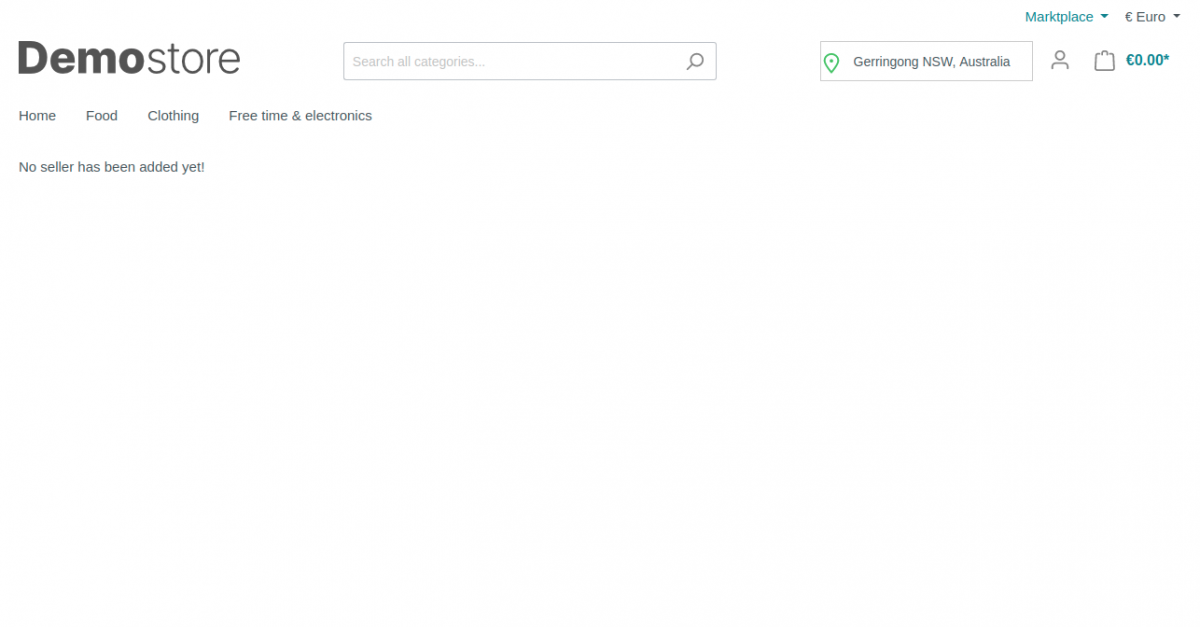
If there is no seller at the customer’s location then no seller will be visible to the customer and the message will be displayed as in the image below:
If there is a product in the cart and the customer changes the location. Then a pop-up notification will show stating “On Change location not available product will be empty from cart”.
If the products which are added to the cart do not exist in the new location then the products will get deleted from the cart.

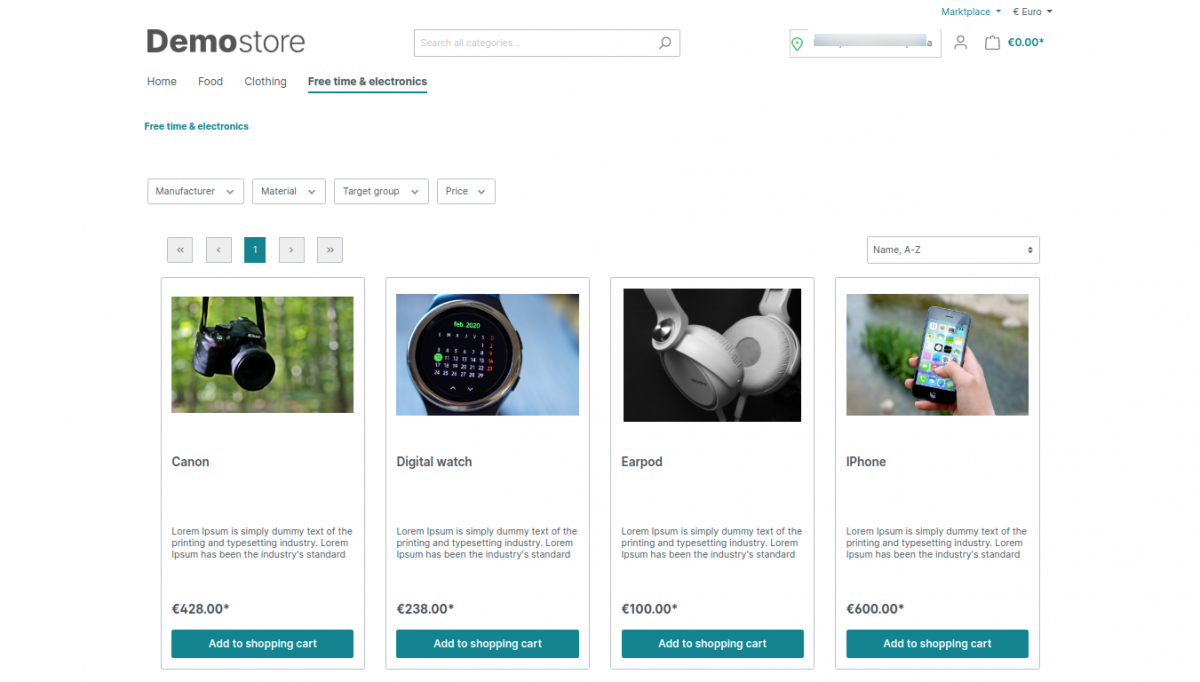
The customer can view the products that will be visible as per the location in each category. Select location product only will be visible. If the customer will change the location product does not exist in the new location then the products will not be visible on that category.
Support
That’s all about our Marketplace hyperlocal for Shopware 6 module. If you have still any queries, please create a support ticket at- https://webkul.uvdesk.com/en/customer/create-ticket.
Please explore our shopware development services and Quality shopware extensions.
Current Product Version - 1.0.3.
Supported Framework Version - Shopware 6.4.3.1

Be the first to comment.