PrestaShop Helpdesk: Provide customers with outstanding support by incorporating a helpdesk system into your PrestaShop store.
With PrestaShop Helpdesk, customers can create tickets regarding their orders, issues, queries, etc.
The module adds a dedicated tab in customers’ accounts from where they can view a list of all the tickets they have created, track ticket status, add comments to tickets, etc.
Create any number of support agents and let them handle tickets with ease.
With features like email notifications, the ability to assign tickets to specific agents, and defining ticket priority, PrestaShop Helpdesk helps you streamline customer support and ticket management.
Features of PrestaShop Helpdesk
- Allow customers to create tickets.
- Allow vistors to create ticket without creating an account.
- Customers can upload attachments while creating a ticket.
- Add multiple support agents and assign tickets to them.
- Grant access rights of helpdesk to support agents.
- Enable, disable, edit or delete agents.
- Add support groups and assign agents to them.
- Enable, disable, edit or delete groups.
- Add multiple query types and assign them to support groups.
- Enable, disable, edit or delete query types.
- Add multiple custom ticket statuses and map them to one another.
- Add priorities and set them on a ticket.
- View a list of all the tickets created by customers from the back office.
- Search for tickets using global filters i.e. ticket number, customer, and query type.
- Allow customers to search for tickets on the category page.
- Create tickets on behalf of customers.
- Agent/Admin can add an internal note to save vital information regarding ticket.
- Admin/agent can delete the ticket or mark it as spam.
- Admin can forward a ticket to the agent.
- Agent can assign a ticket to other agents from the ticket details page in the Back Office.
- Add predefined messages and send them to customers on a ticket.
- Send email to customer when a new ticket is created or ticket status is updated to closed or resolved and when the admin/agent creates a voucher from the ticket details page.
- Email to agents when a new ticket is created or customer replies on a ticket.
- Allow visitors/customer to create ticket from contact us page.
- Customers can also create ticket from the order details page and the tickets listing page.
- Add Google reCAPTCHA on create/reply ticket form for validation.
- Set the text and background color of helpdesk page title.
- Customer can also reply directly to the ticket from email.
How to Install PrestaShop Helpdesk
- Firstly, go to the module manager in the back office and click on ‘upload a module’.
- After that, drag and drop the module file or select the file from the system.
- In this way, the module installation will be successful.


After the successful installation of the module, few new tabs get available in the back office.
From here the admin can configure module settings, add & manage tickets, add agents, groups, etc.

PrestaShop Helpdesk Configuration
General Settings

Under General Settings, the admin can:
- Set background and text color of help desk page title.
- Select the file types that customers can upload while creating a ticket.
- Allow visitors to create a ticket.
- Choose whether visitors/customers can create ticket from contact us page.
- Allow customers to create ticket from order details page.
- Allow customers to search tickets on category page.
Allow visitors to create ticket
After the successful installation of the module, an option “Create ticket” gets available on the header. If allowed by the admin, then the visitors will get an option to create a ticket.

On clicking the option, a ticket creation form opens on the page for the visitors.

If disabled, then “Create ticket” option will not be available for the visitors.

Allow visitors/customer to create ticket from contact us page
Enable to allow visitors/customers to create ticket using default contact us form.

Allow customer to create ticket from order details page
If enabled, then customers can create ticket from the order details page using “ADD A MESSAGE” form.
On the order details page under “ADD A MESSAGE” section, a customer needs to select the product, enter the message, and click on the send button to create a ticket.

Ticket search on category page
If enabled, the customers can search for their tickets on the category page using the Ticket number.
Also, the customers can access the list of their tickets by clicking the “View All Tickets” button.

Set cron
Insert the url shown in the following screenshot in cron tasks manager to automatically import new emails as tickets.

Email Settings

Under email settings, the admin can configure the actions for which email will be sent to customers. The admin can:
- Choose to send email to customer when a new ticket is created, or the status of ticket is updated to closed or resolved, and when the admin/agent creates a voucher.
- Send email to support agents when new ticket is created or customer replies on a ticket.
SEO & URLs

Under SEO & URLs, the admin can:
- Enable or disable ticket SEO URL.
- Specify new ticket and view(reply) page URL.
Captcha Settings
Under Google reCAPTCHA, the admin can:
- Choose to display reCAPTCHA on create ticket and reply ticket form.
- Specify reCAPTCHA site and secret key.

Add reCAPTCHA on create/reply ticket form
If enabled, then reCAPTCHA will display while creating/replying a ticket.


How to Create reCAPTCHA Credentials
To get the Credentials of reCaptcha, the admin has to create/signup to their accounts from the link: https://www.google.com/recaptcha
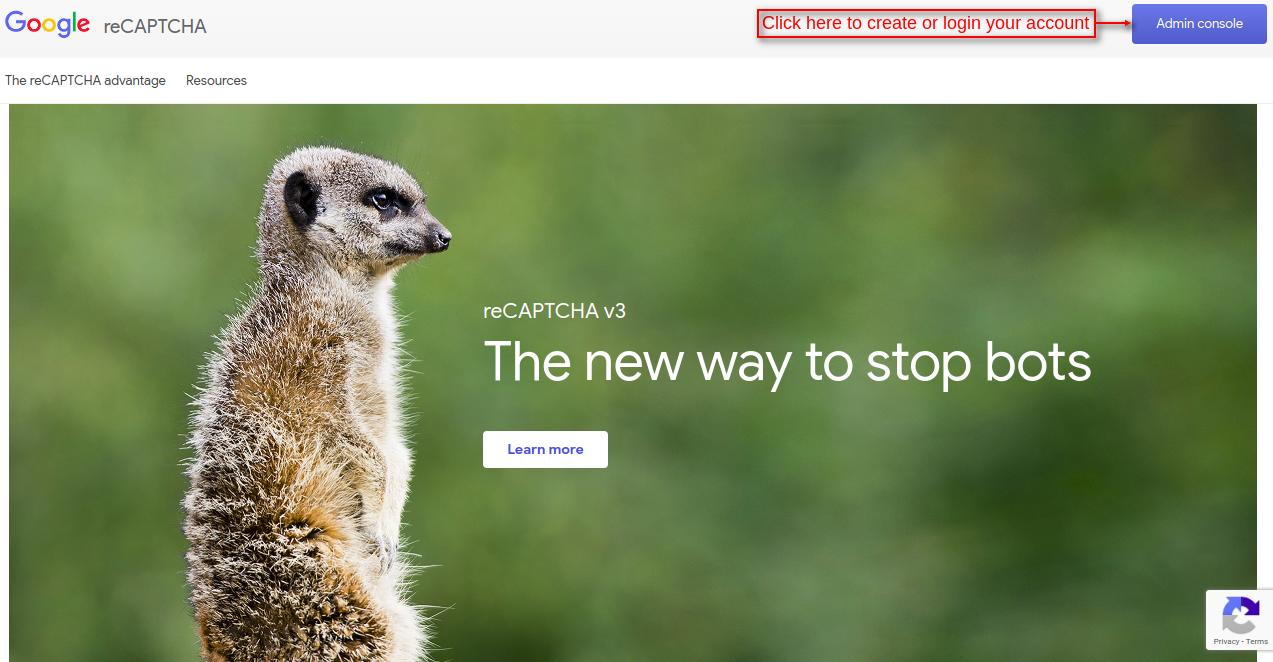
Admin needs to either create a new account or login into its existing account to move ahead.

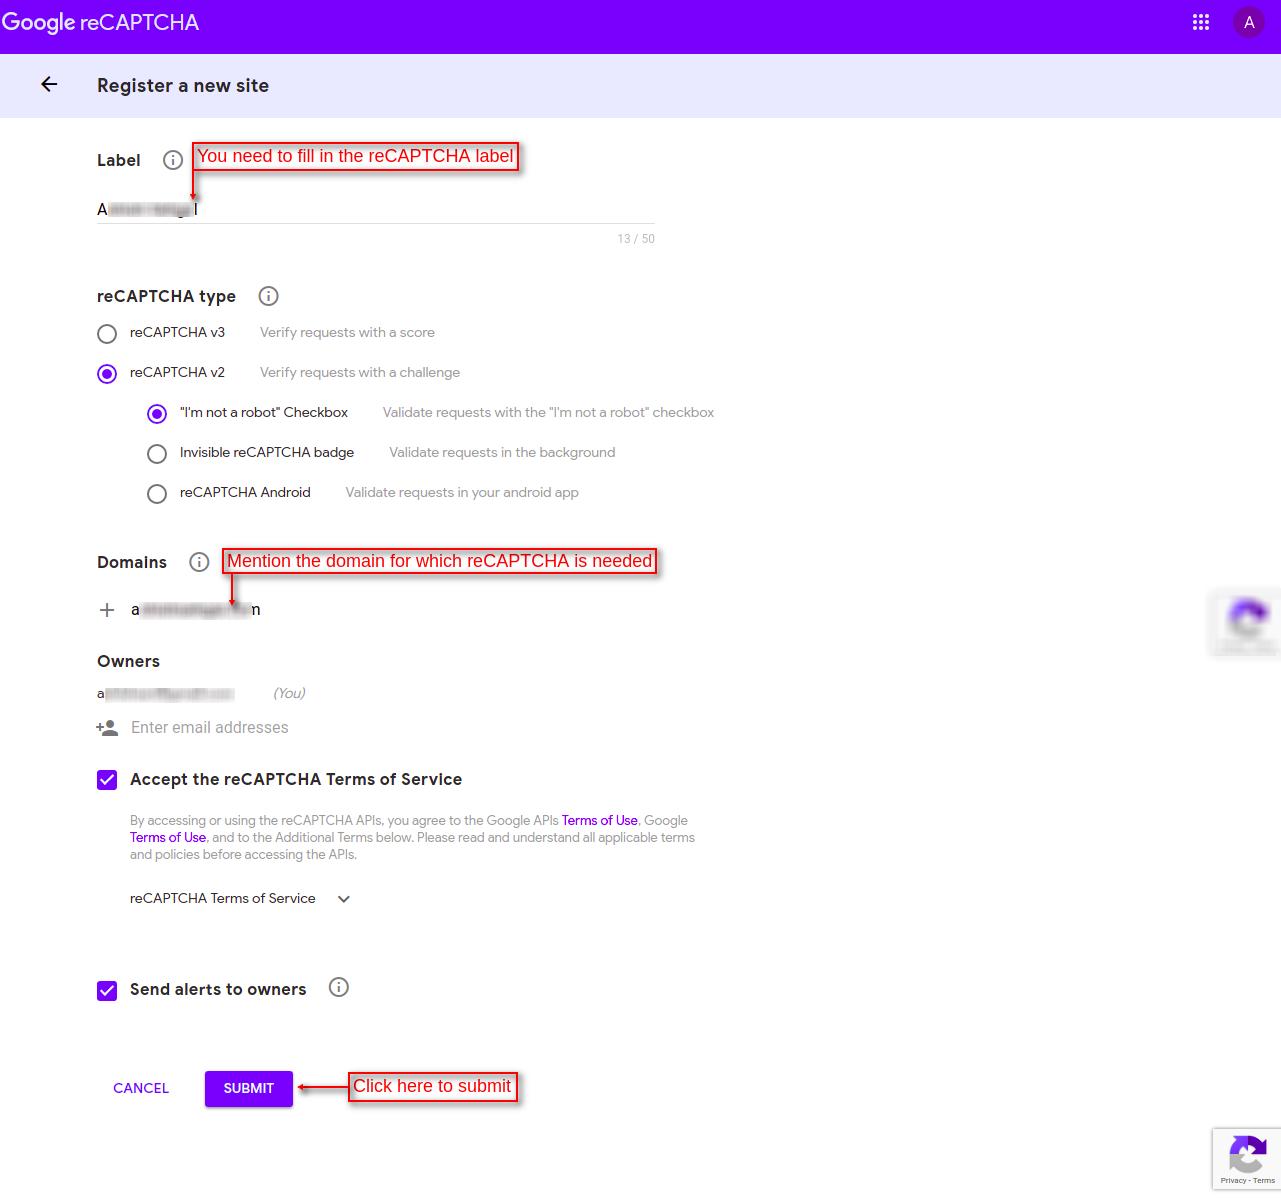
Once logged in, admin needs to fill necessary information to get the reCAPTCHA credentials.
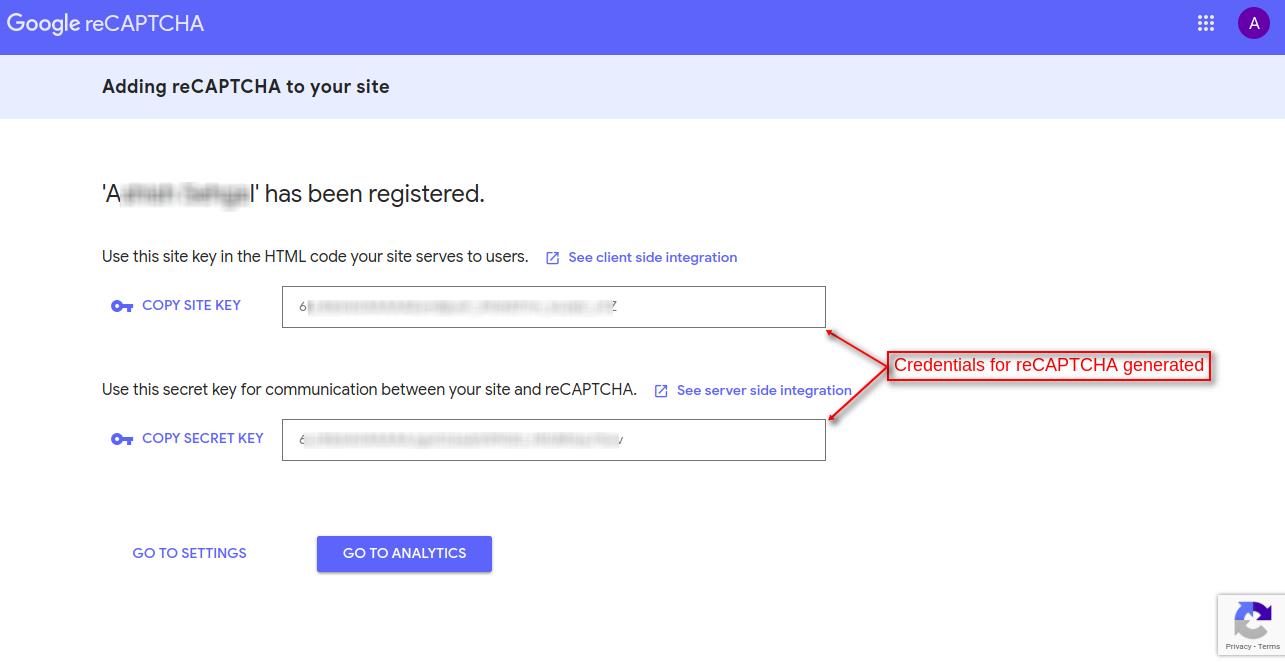
Once all the details are filled in, the credentials for reCAPTCHA will generate.
IMAP email server settings
After installing the module the admin needs to configure the IMAP email server settings from the “Customer Service” tab, which will create a new ticket for all the new received messages on email.

Create new ticket
Click on ‘Create new ticket’ button to add a ticket on customer’s behalf. By default, when the admin creates a ticket, its status will remain “OPEN”.

Agents
Under this tab, the admin can add agents and assign them to a group. Each group will associate with a query type. Any customer ticket with that query type will be handled by the agents of that group.
Note: Before creating agents, the admin has to create a profile on PrestaShop.
Go to Advanced Parameters -> Team -> Profiles

Click on ‘Add new profile’ button, enter profile name, and click on save.

Once the Profile has been created, they will display on the “Profiles” page.

Now, give the required permission to these profiles. Go to Advanced Parameters -> Team -> Permissions.


After creating profiles and assigning them the permissions, the admin now needs to add employees in PrestaShop. Go to Advanced Parameters -> Team -> Employees.

Fill the required details to add a new employee.


After creating employees, the admin can now add agents for help desk. Click on ‘Add new agent’ button under the ‘Agents’ tab.

On clicking the button, a form appears on the page where the admin needs to select the employee and his/her access rights.

Once added, the admin can view it under ‘Agents’ tab.

The admin can enable, disable, edit, or delete an agent.
Also, the admin can view the access rights of an agent by clicking on the ‘View’ button.

The admin can update the access rights of an agent by clicking on the ‘Edit’ button.

Group Management
After creating agents, the admin can assign these agents to groups.

Admin can create new groups by clicking on the “Add new group” button. Enter the name of group and select the agents to be assigned to the group.

Once added, the list of groups will display under “Groups”.

The admin can enable, disable, edit, or delete the group.
Ticket Status
The admin can add custom ticket statuses from the back office as per need. By default, the admin gets six ticket statuses. Also, the admin can edit or delete these default statuses.

Click on ‘Add new status’ to create new ticket status.

Status Mapping
Under this tab, the admin can map two statuses. By default, the admin will get the status mapped with their own status type. Such as open with open.

On editing the status, the admin can map a status to any other status.

Query Types
An eCommerce site can have any kind of queries such as pre-sale queries, post-sale queries, support-related queries, etc.
It is important to create the query type and assign them to a particular group so that only the agents of the assigned group can see the ticket of the particular type of query.
While creating a ticket on the store, customer will have to choose the suitable query type.

Click on ‘Add new query type’ button to create a new query type. Enter query type name and assign a group to it.

Predefined Messages
Under this tab, the admin can add predefined messages that he or agents can use to reply on a ticket.

Click on ‘Add new message’ to add a predefined message.

Once added, the admin can view it under ‘Predefined messages’ tab.

Priorities
Under this tab, admin can add the priorities that will display to him on the tickets in the back office.
Adding priorities will help admin identify specific tickets in a list of tickets that needs be handled first.

Click on ‘Add new priority’ button to add priority.

The admin can add a priority by adding the priority title and setting the background & text color of priority.
Once added, the admin can view it under “Priorities”.

The admin can enable, disable, edit, or delete the priority.
Customer End Flow
As discussed in the earlier section of the blog, customers can create ticket from header, contact us page, and order details page.

On clicking the ‘Create ticket’ option, a form appears on the page where the customer needs to select/fill the required details to create a ticket.

Note:-
Based on the query type, the ticket will display to the assigned group. The agents in the group will reply to this ticket.
All the tickets will display to the admin so that the admin can also reply to the tickets. Once the ticket is created, the ticket will display to the assigned group.
Go to Help Desk management-> All Tickets.
After the successful installation of the module, a new tab “Ticket List” gets available in customer’s account.

Customers can view a list of tickets they have created by clicking on “Ticket List” tab.

Under Ticket List tab, the customer can view:
- Status of ticket.
- Date and time of ticket creation.
Also, the customer can view ticket details by clicking on the ‘eye’ icon.

Tickets – Admin End Flow
Under Tickets, the admin can:
- View a list of all the tickets created by customers on the store.
- Check the tickets as per their status.
- Search for tickets locally as well as globally.
- Create new tickets on customers’ behalf.
- Date and time of ticket creation

Search Filters
PrestaShop Helpdesk provides two types of filters filters for ticket search. One is global filter and the second is local filter.
Global filters allow admin to search tickets from the whole database. With local search, the admin can search for tickets in the list.
Create ticket on customer behalf
The admin can also create ticket on behalf of customers by clicking on ‘Create new ticket’ button.

View Generated Tickets from Order listing page
The agent and admin can also check the ticket generated on any order. On clicking the ‘eye’ icon, the agent or admin gets redirected to the ticket details page.

View Ticket Details
The admin can view details of a ticket by clicking on the ticket ID or subject.
On the ticket details page, the admin can:
- Change the agent assigned to a ticket.
- Set the priority of a ticket.
- Change the status of ticket.
- Delete the ticket.
- Mark ticket as spam.
- Select the reply type.
- Select predefined message to send to customer.
- Specify the message to send to the customer.
- Add voucher.


In the above screenshot, we can view that the admin has changed the status of a ticket to ‘Answered’. Now, the ticket will display under the ‘Answered’ tab on the ticket list.

Customer can view the admin’s reply on the ticket.


Reply Type
There are three types of replies that can be made on a ticket.
Reply
Select this type to directly send a message to the customer
Internal Note
If the admin wants to save certain important information related to the ticket, then the he can use an internal note. This will not be visible to the customers.

Forward
This reply type lets the admin assign ticket to an agent.


Send Predefined Message
On the ticket details page, the admin/agent can select the predefined message they want to send to the customers.

Front End View

This was all about PrestaShop Helpdesk module. I hope this document will help you in checking the functionality of the module in a better way.
Also, do let us know about your views in the comments.
Support
For any kind of technical assistance or query, please raise a ticket or send us a mail at [email protected]
Also, please explore our Prestashop development services and vast range of quality Prestashop addons.
Current Product Version - 6.1.0
Supported Framework Version - 9.x.x, 8.x.x, 1.7.x.x

Be the first to comment.