With the help of this extension, you can integrate the Live Chat system into your Webkul Marketplace.
Magento 2 (Adobe Commerce) Marketplace Buyer Seller Chat allows customers to receive instant replies from sellers.
Each seller can do instant messaging with multiple customers at once. All the chat conversations are stored in the chat history section.
Please Note –
- To use Magento 2 Marketplace Buyer Seller Chat, you must have Magento 2 Multi Vendor Module extension installed.
- The Marketplace Buyer Seller Chat add-on works with Adobe Commerce Edition.
Watch the below video tutorial to understand the extension workflow:
Features
- Socket.IO and KnockoutJS based real-time chat system.
- Admin can stop or start the chat server from the back-end.
- Set marketplace chat system name to display on the storefront.
- The seller can send and receive chat messages from multiple buyers.
- The seller can block a customer from sending any new chat messages.
- Admin can see the blocked customers list.
- Upload a custom image file for the chat profile picture.
- Attach file attachments in the messages.
- Admin can set file size limit for attachments.
- Seller and buyer can change their chat status to online, busy, or offline.
- Supports emojis 🙂 😛
- Browser push notifications for new messages.
- Customers can do instant login and sign-up from the chat window.
- Seller and customers can view their chat conversation history.
- Admin can also view chat history.
- Buyer-Seller Chat works with mobile devices.
- Buyers get an email regarding new messages from the seller if the buyer is offline.
- Customers can able to check the chat history from the profile section.
- Seller can as minimize, scale page layout, and overlay the chat window.
- Module source code is 100% open for customization.
- The extension is compatible with the Hyva Theme.
Installation
To install this extension, please follow every step carefully as follows:
Step 1:
After extracting the downloaded zip file and you will get the src folder. Inside the src folder, you will find the app folder, copy the app folder to the Magento 2 root directory. Please view the below screenshot.

Step 2:
After uploading the module folder, you need to run the following commands in the Magento 2 root directory:
php bin/mageneto setup:upgrade
php bin/magento setup:di:compile
php bin/magento setup:static-content:deploy
php bin/magento indexer:reindex
php bin/magento cache:flush
#Please make sure Node is already installed on your server.
Run the following commands from the root directory of your Magento to install socket.io on your server.
npm init -y
npm i socket.io socketio-file-upload
npm update
npm install forever -g
to start: forever start server.js
to stop: forever stop server.js
After running the commands, you need to flush the cache and reindex all from the Magento 2 admin panel. Navigate through System>Cache Management. Click the Flush Magento Cache button as shown below: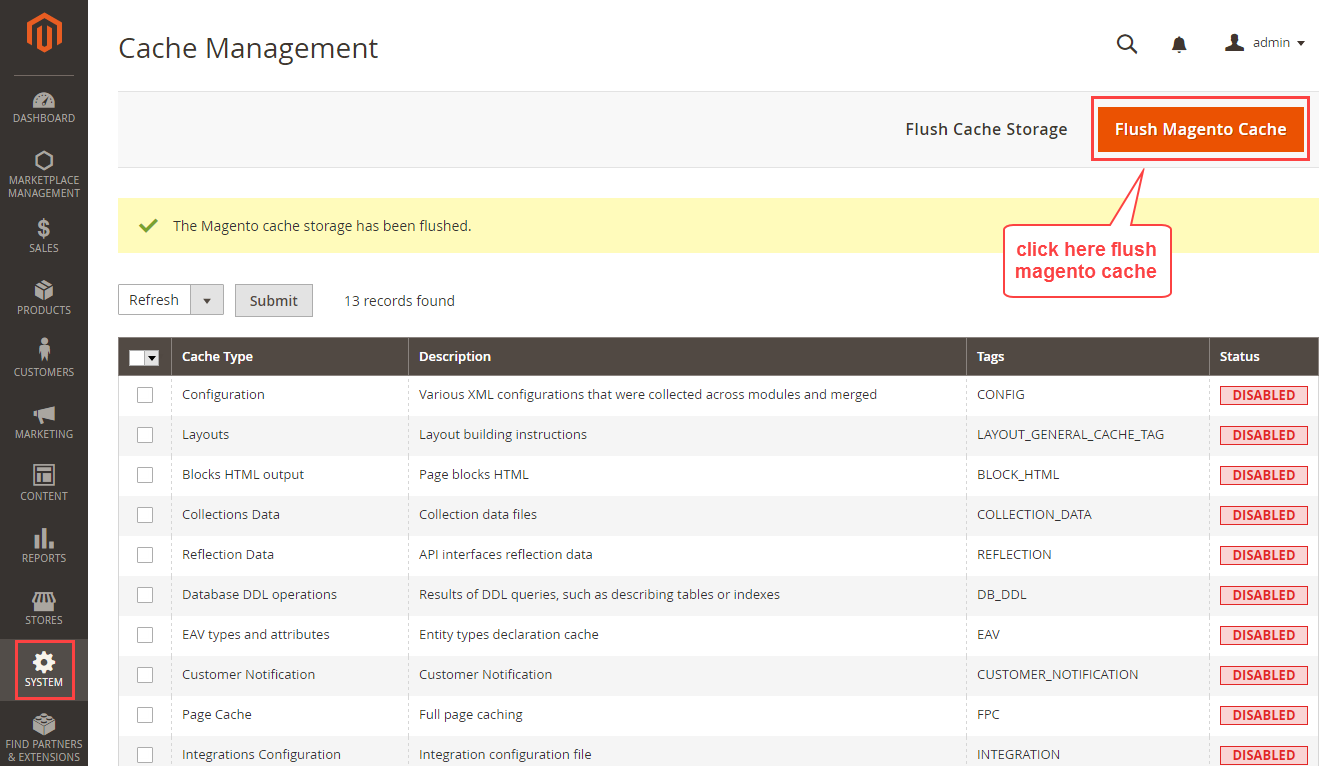
Chat Configuration
After the installation of the buyer-seller live chat module, the Adobe Commerce admin will navigate to Stores>Configuration>Webkul>Buyer Seller Chat. The following options will appear:

Server Settings
Host Name – Enter the hostname of your online store. eg. http://example.com/
Port Number – Enter any available port number for the chat system.
Start/Stop Server – To enable Buyer-Seller Chat, click the Start Server button. For disabling the Buyer-Seller Chat, please click Stop Server.
Chat Name – Set the storefront name for the Buyer-Seller Chat.
Maximum Allowed Size for File Attachment – The admin needs to mention a file size limit (in MB.) for sending attachments in the chat messages.
HTTPS Enabled – If your website is using HyperText Transfer Protocol Secure (HTTPS), please select Yes. If not, then please choose the No option. When the Yes option is selected, you need to provide the following server files.

Email Setting:
In this section, the admin can choose the email template that will be sent to the buyer when a seller answers to the buyer while the buyer is offline.

Customer Front-End
Once the Live Chat module has been configured, the chat window appears on all seller product pages.
Customers can see the chat option on a seller’s product page and start a conversation directly with that seller.
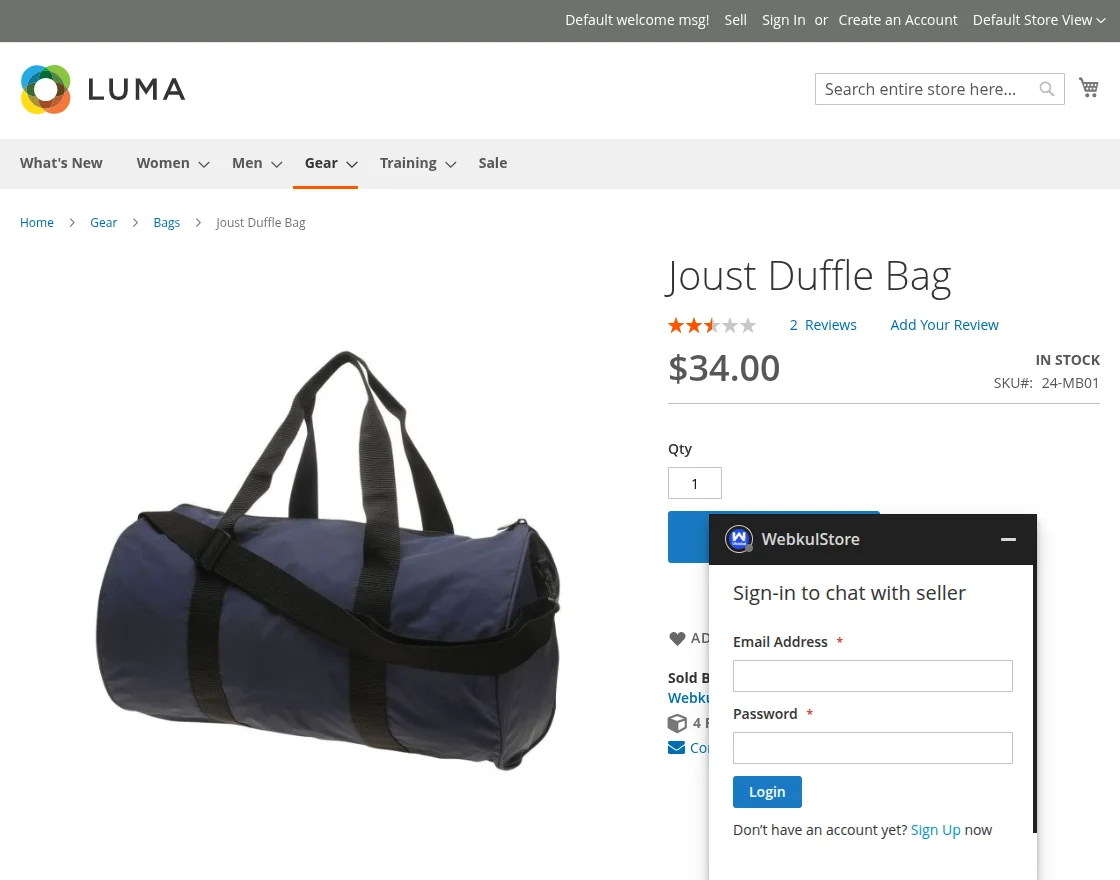
Login/Sign Up via Chat Window
If a customer is not logged into the store, the customer can do the login from the chat window also.
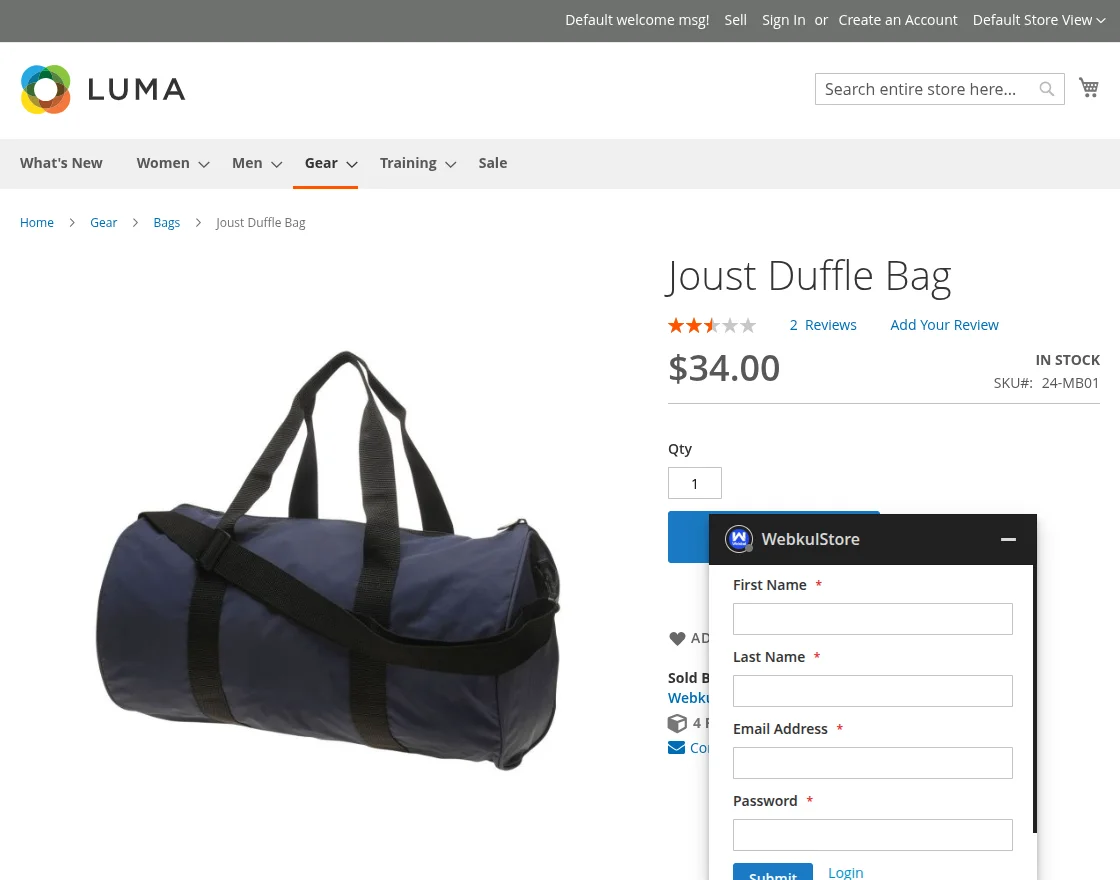
If a customer does not have an account in the store, that customer can create an account from the chat window. A customer just needs to enter a First Name, Last Name, Email Address, and Password.
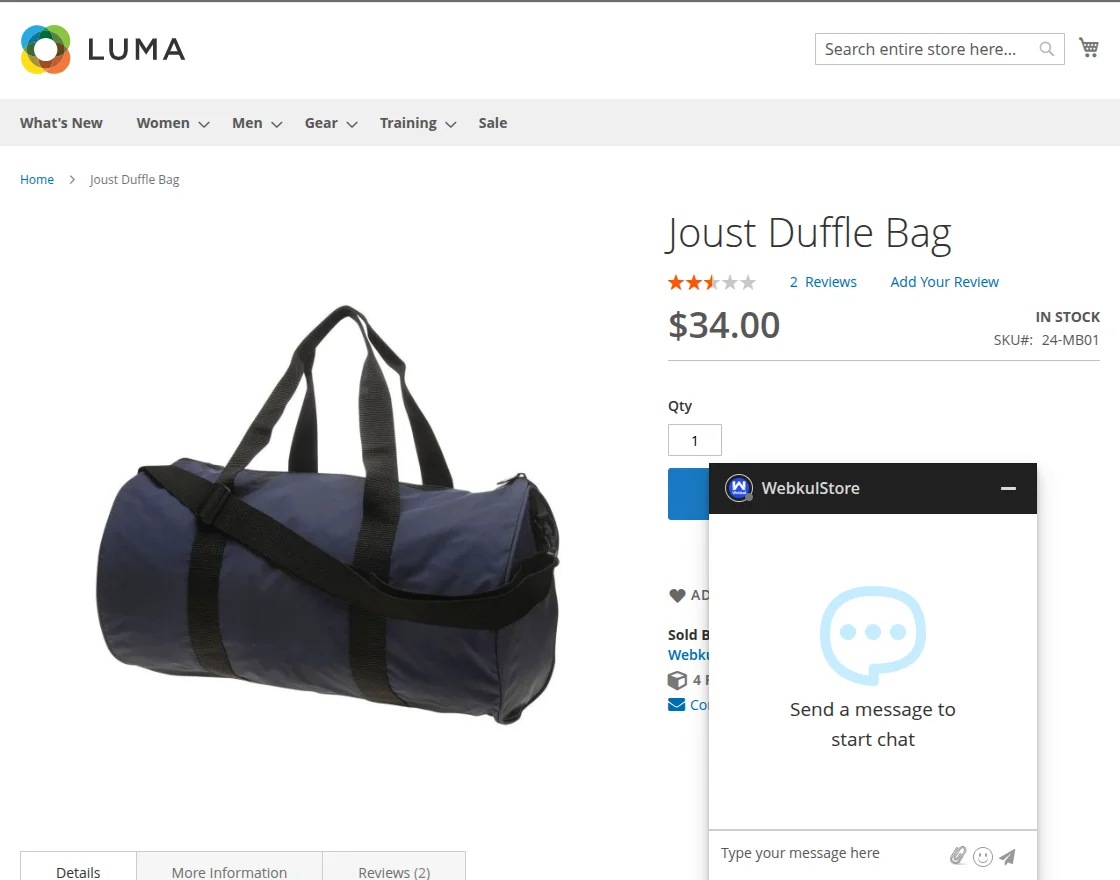
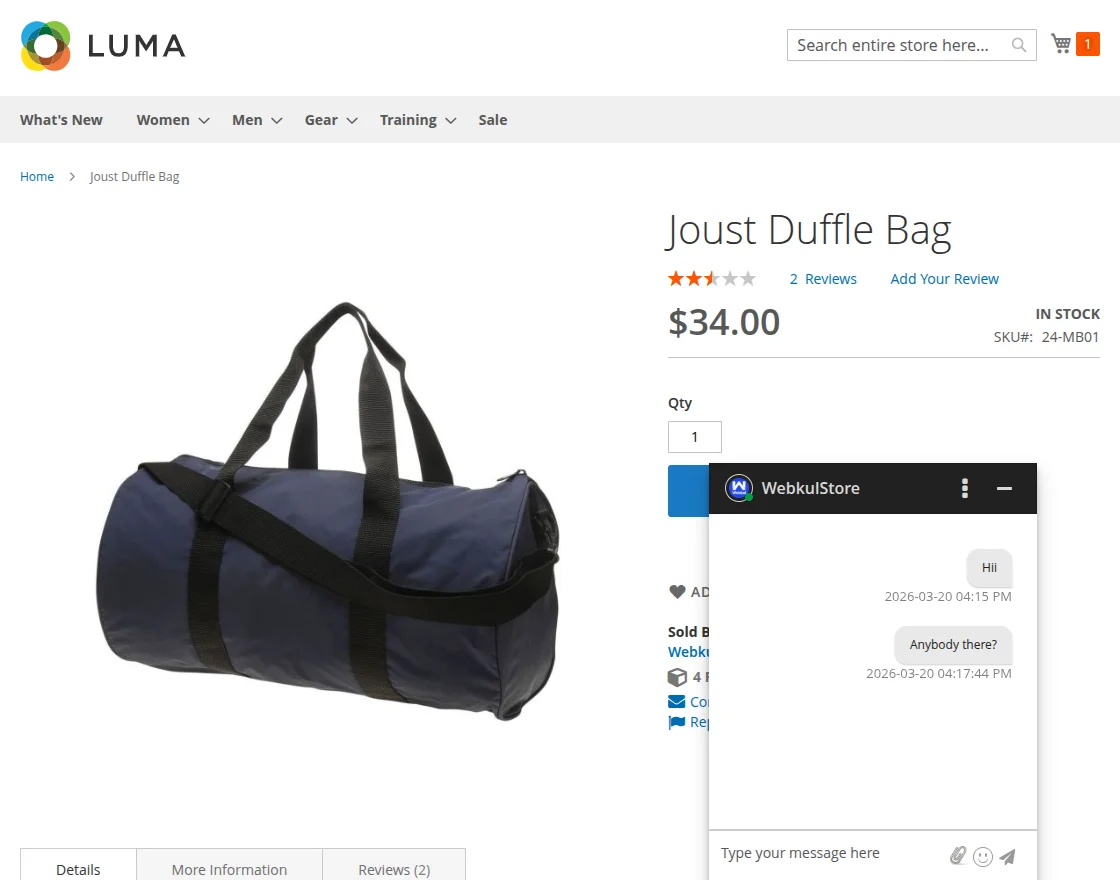
Start Chat
Now, the customer can type any message and click the Start Chat button, the message will be sent to the seller if the seller is online.
Please Note – Each seller will reply for their products only, which means one seller cannot reply to another seller’s product.
Seller Not Available
If the seller is not available for the live chat, the message will appear in the chat window. A customer can still send offline messages to a seller.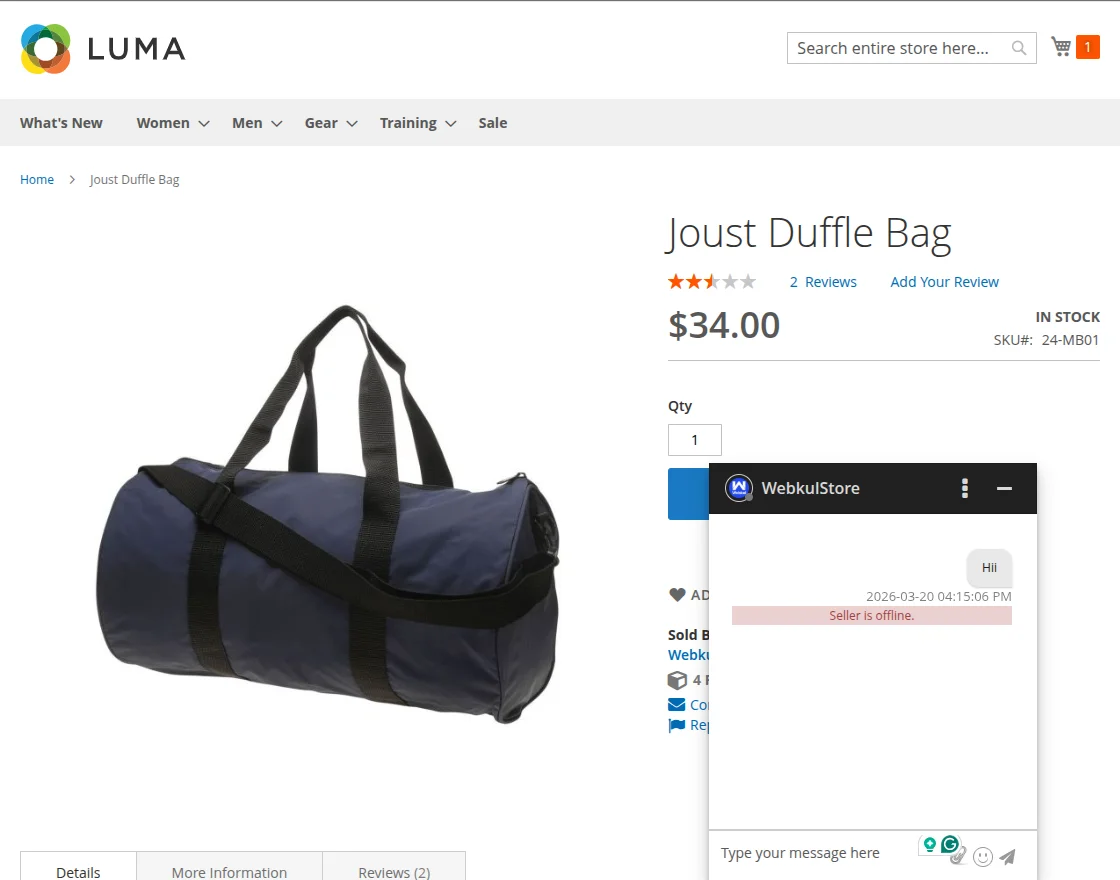
Once the chat is active, the customer can start sending messages to the seller. The customer can simply type the message and hit Enter key.
Chat Window Buttons
There are two buttons on top of the chat window as follows:
… Show/hide chat controls
– – Minimize the chat window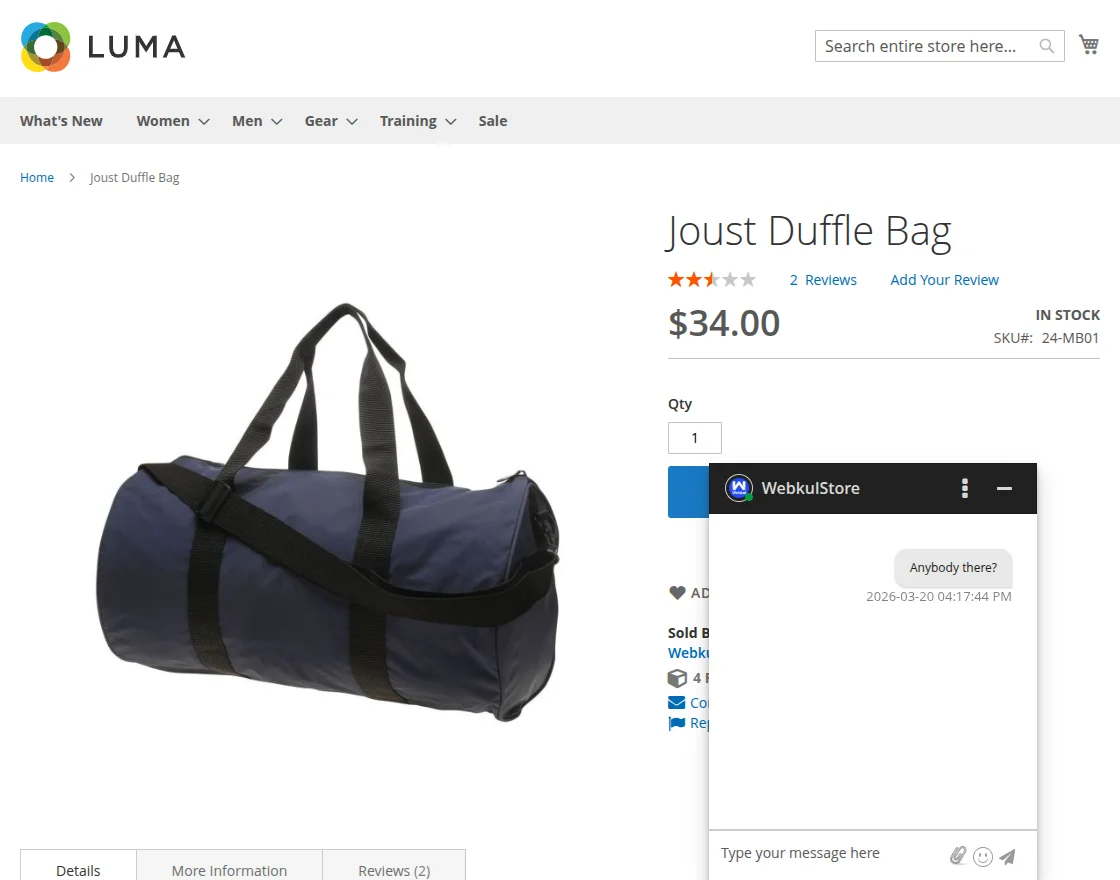
Upload Chat Profile Picture
The customer can upload a custom image file for the chat profile picture. First, click in the centre and browse the file then, click the Upload button.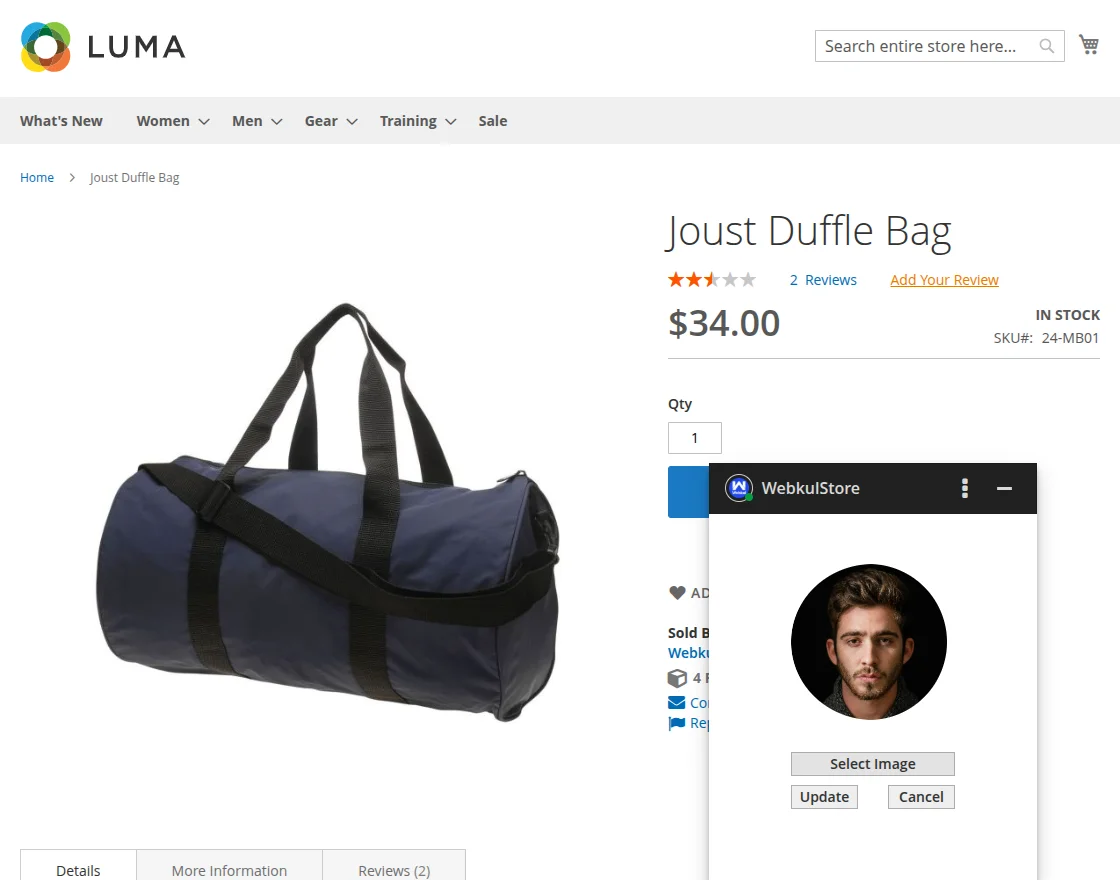
Chat Status
The customer can change the chat status to Online, Busy, or Offline.
Chat History
The customer can view the complete history of the chat conversation with the seller. There will be three options to view the chat history – Last 24 Hours, Last 7 Days, or Forever.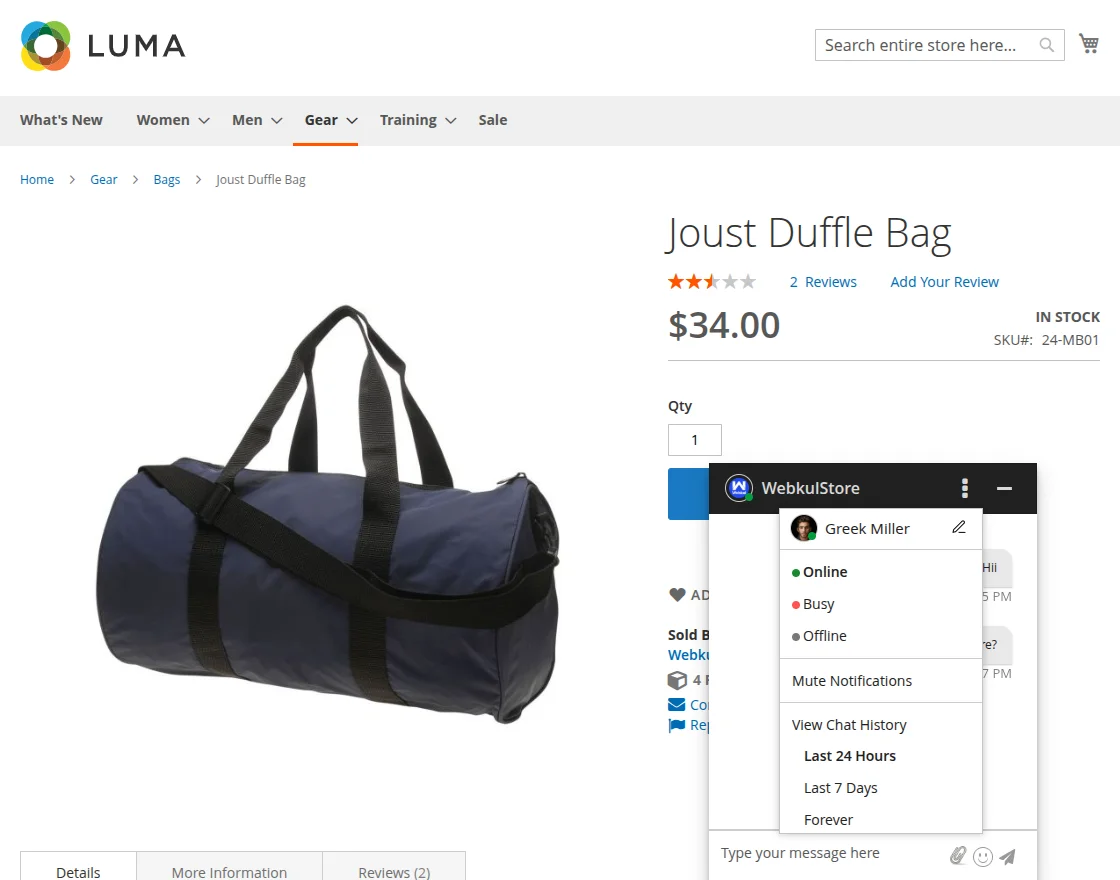
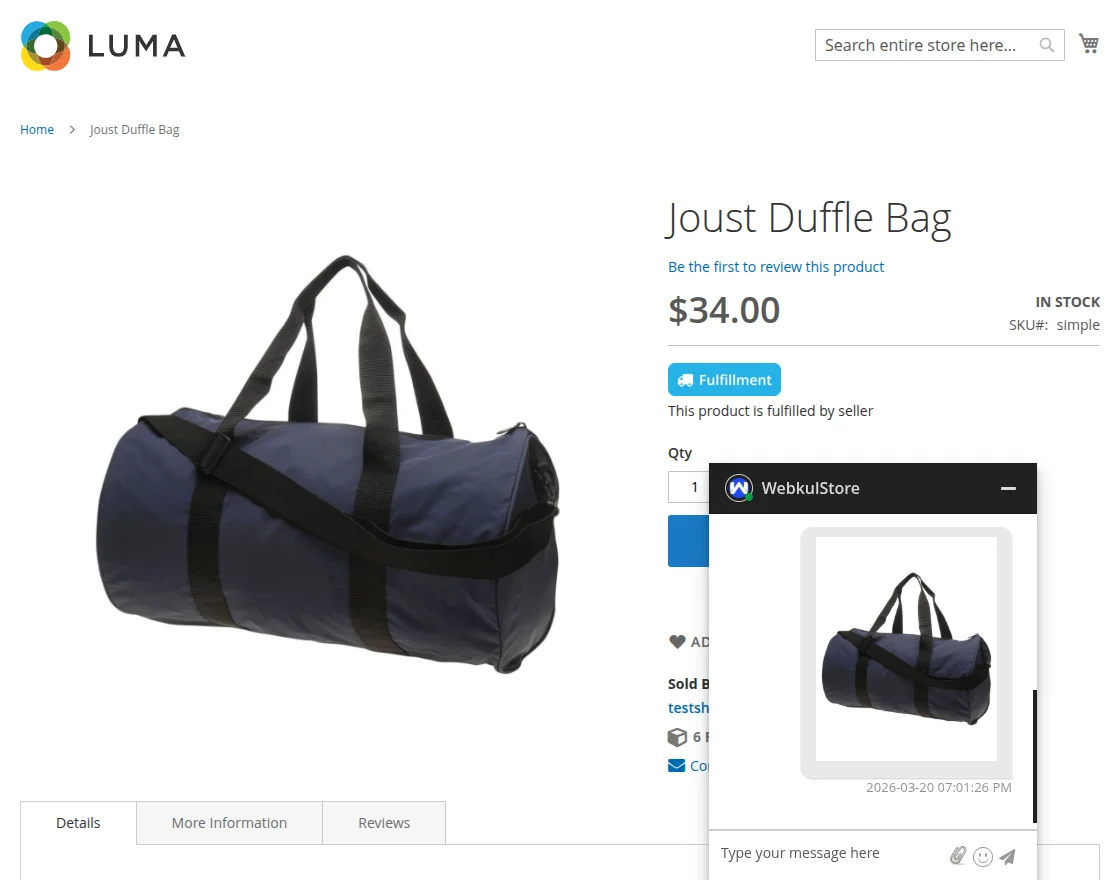
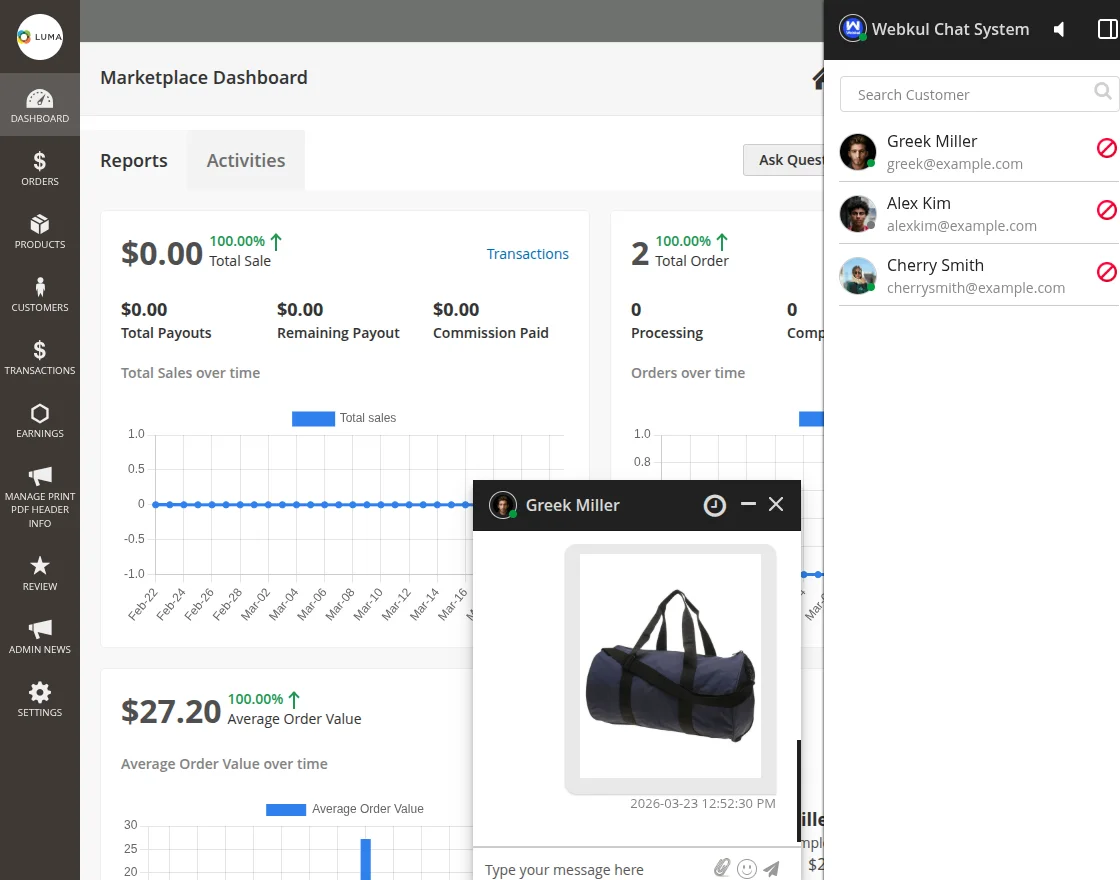
Send File Attachments
Both the customers and sellers can send and receive file attachments in the chat messages. You can also preview the image in the chat window.
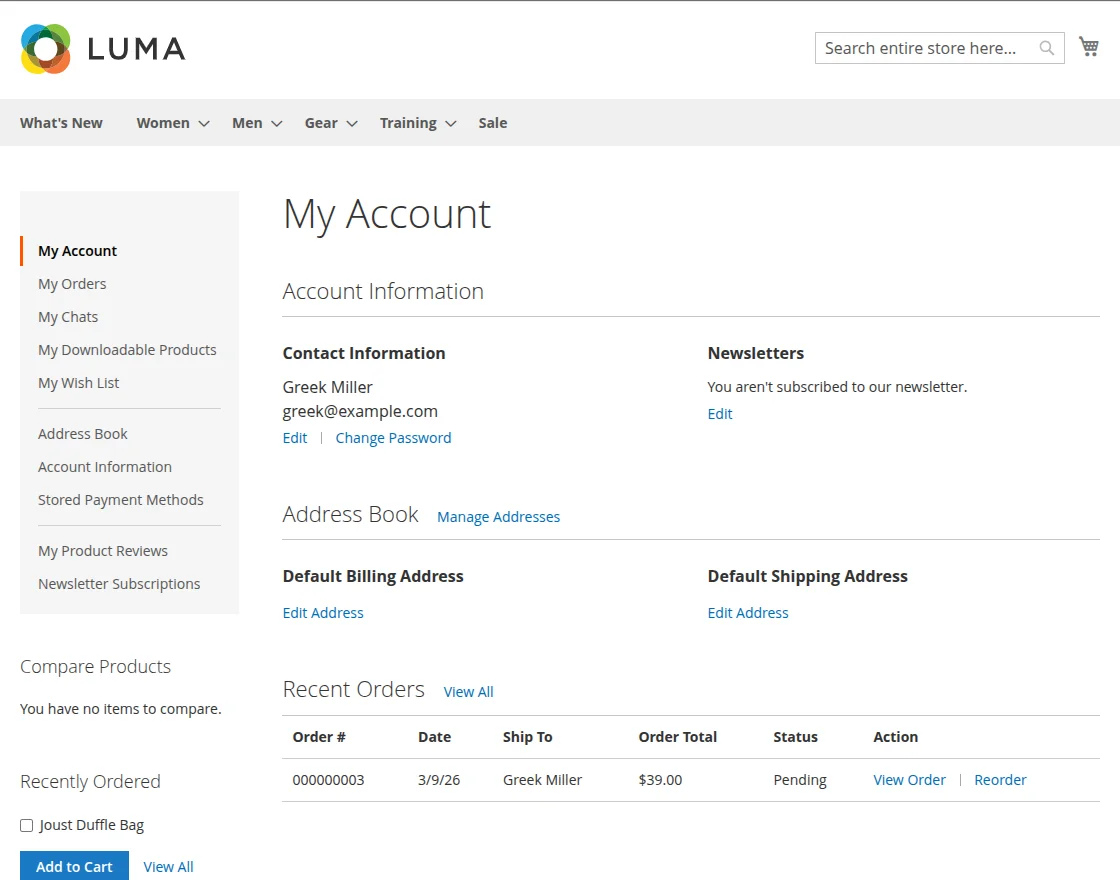
Customer Chat History
The customer can able to check the chat history in the profile section by visiting my account option as shown below.
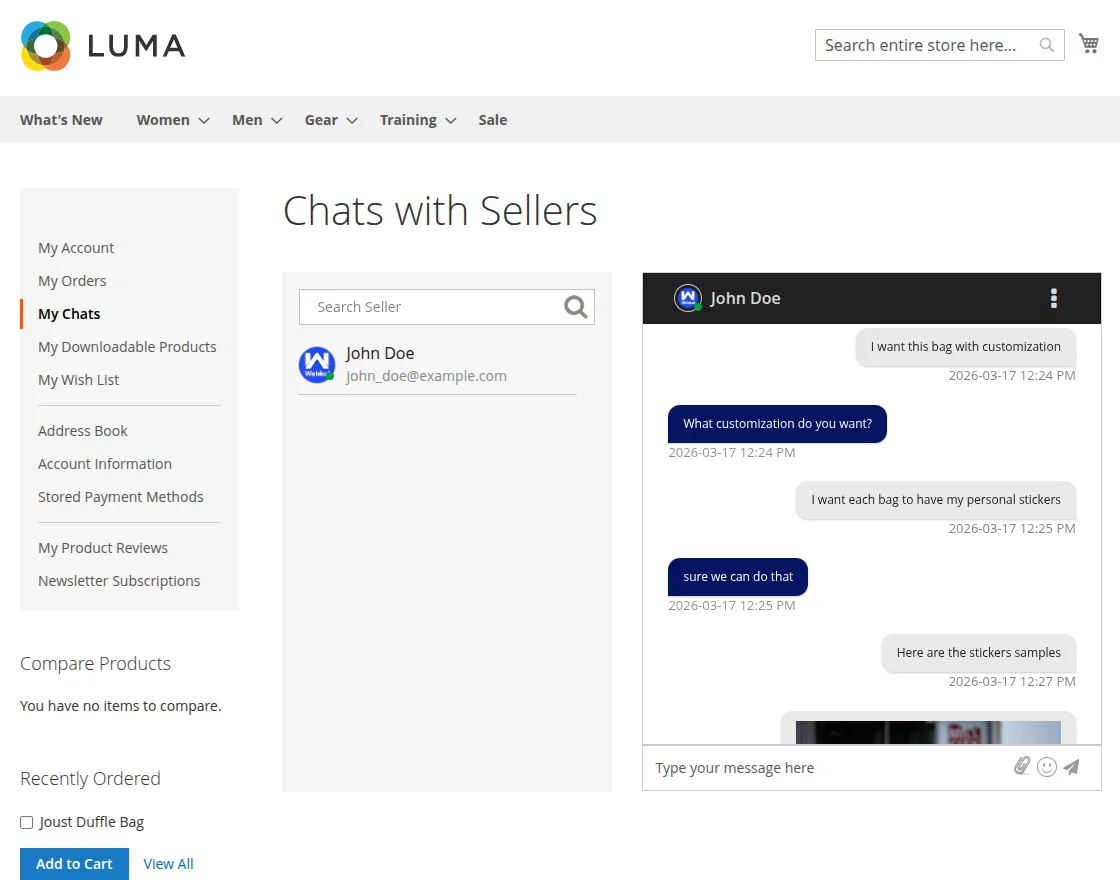
The customer can check the chat list from my chat section and also can able to type the message from this section.
Email Notifications
Buyers get an email notification regarding new messages from the seller if the buyer is offline.

Chat Notifications
The customer can also receive browser notifications for new chat messages. First, the customer needs to click Allow for showing the notifications from the online store. Please refer to the below image.
Please Note – Browser notifications and sound alerts work only on secure (HTTPS) websites.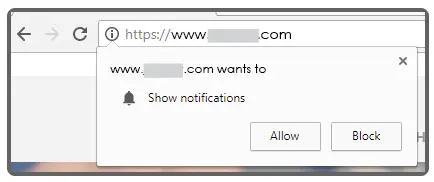
When any new message is received, a pop-up notification appears on the top. After a few seconds, it will disappear automatically.
Seller Front-End
After logging into the seller account, the seller will find the chat icon on the right-hand side of the page.

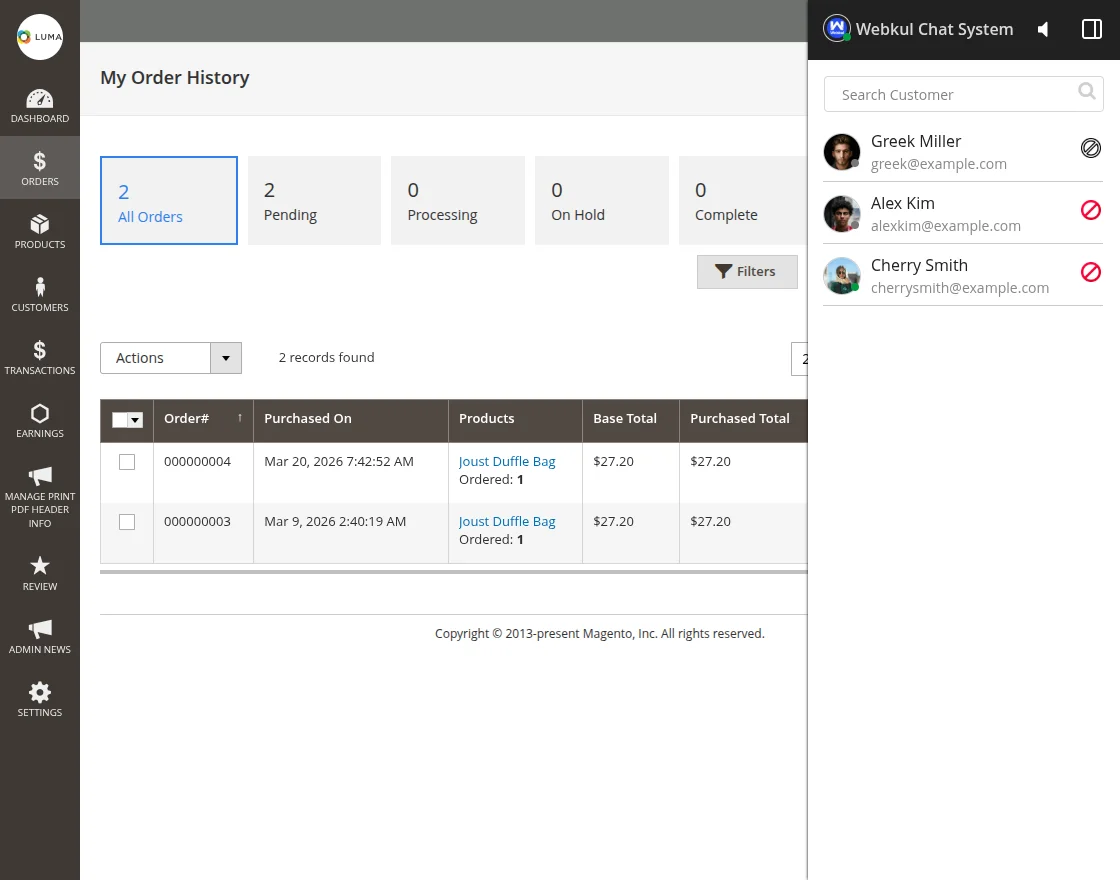
Seller Chat Panel
After clicking the chat tab, the seller chat panel will appear on the right. Here all the online customers who have initiated the chat with this seller will appear.
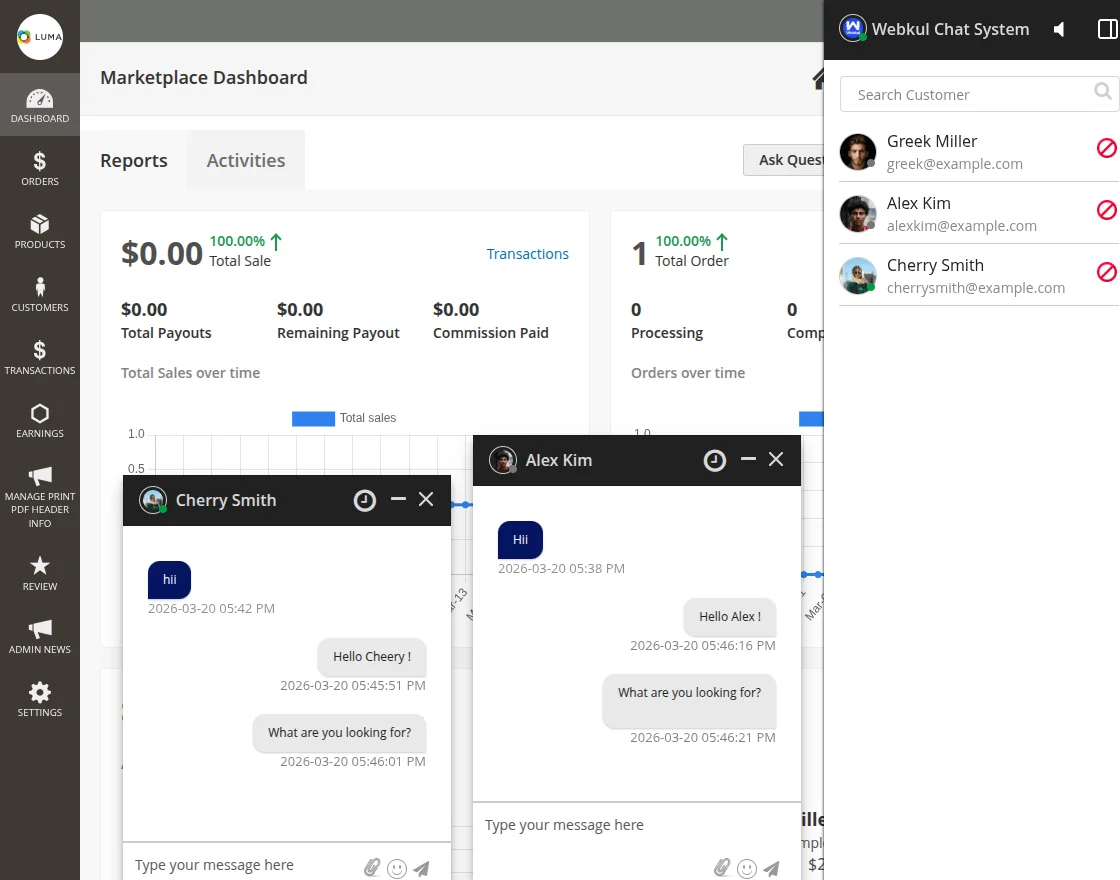
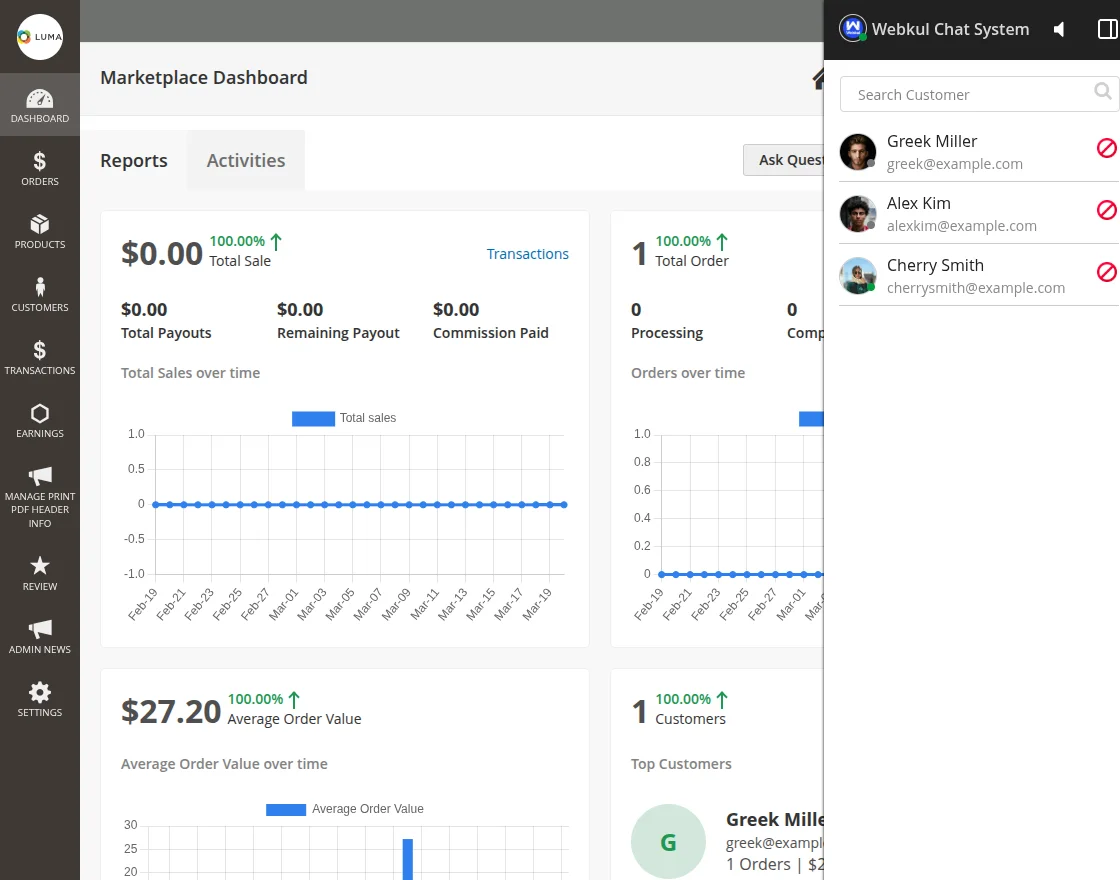 This side panel will be active and available on all the pages of the store for the sellers. The seller can even search for customers on the search bar. The seller can also chat with multiple customers in one instance.
Chat Notifications
When any customer sends a new message to the seller, the seller will receive the browser notifications on top.

Mute Sound Alerts
The seller can enable or disable the sound alerts for the new chat messages.

Upload Chat Profile Picture
The seller can upload a custom image file for the chat profile picture. First, the seller will click in the center and browse the file and then, click the Upload button.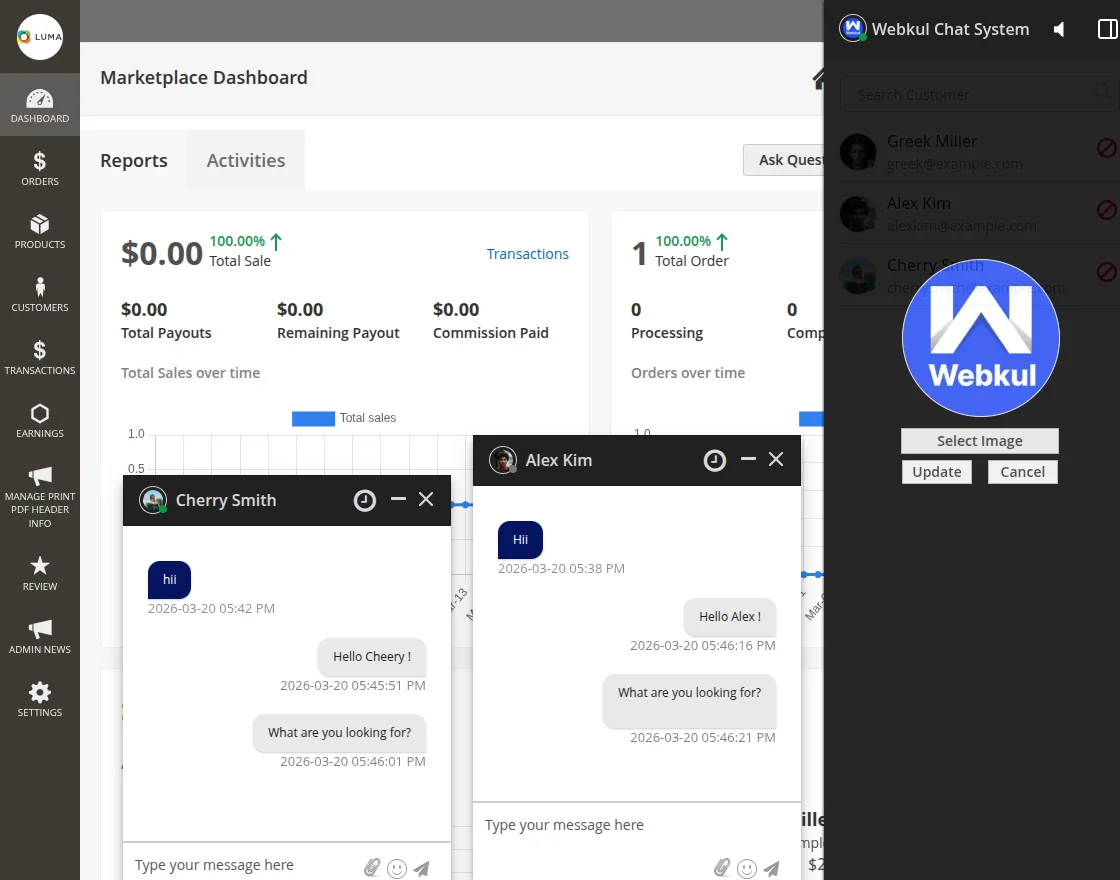
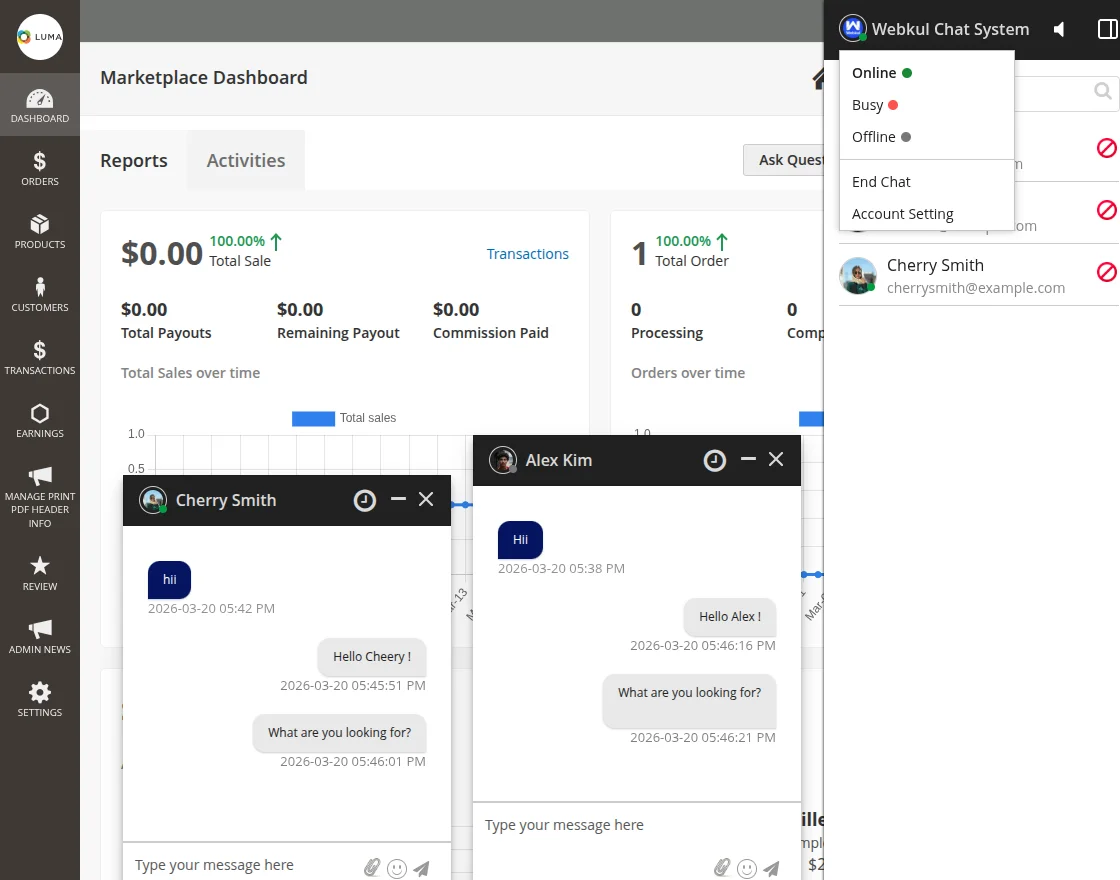
Chat Status
The seller can also change the chat status of the chat to either – Online, Busy, or Offline.
Customer Profile View
The seller can also visit the customer profile by chat box and also block/unblock the customer from the chat section.

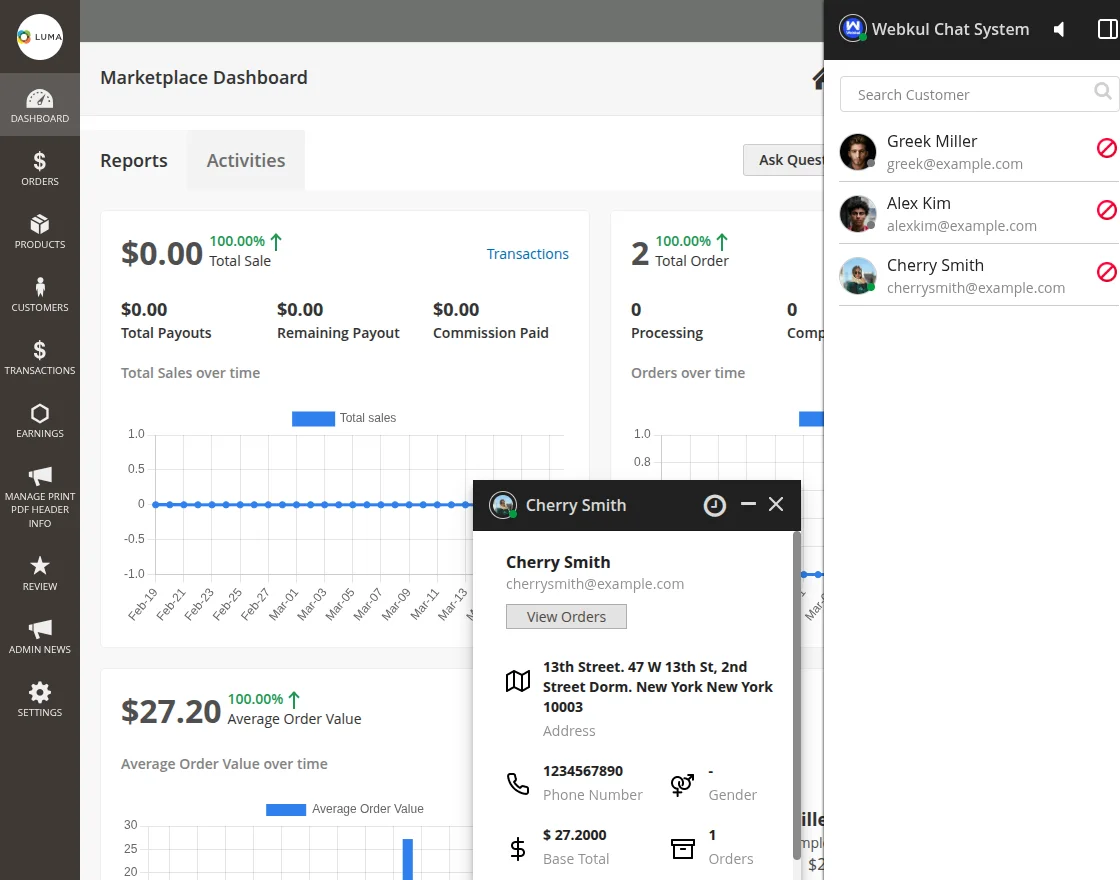
Customer Detail View
The seller can view the customer information by just simply clicking on the visit profile option, here the seller can able to check the address, phone number, gender, order count, and base total as shown below.
File Attachments
A seller can also send and receive file attachments in chat messages.
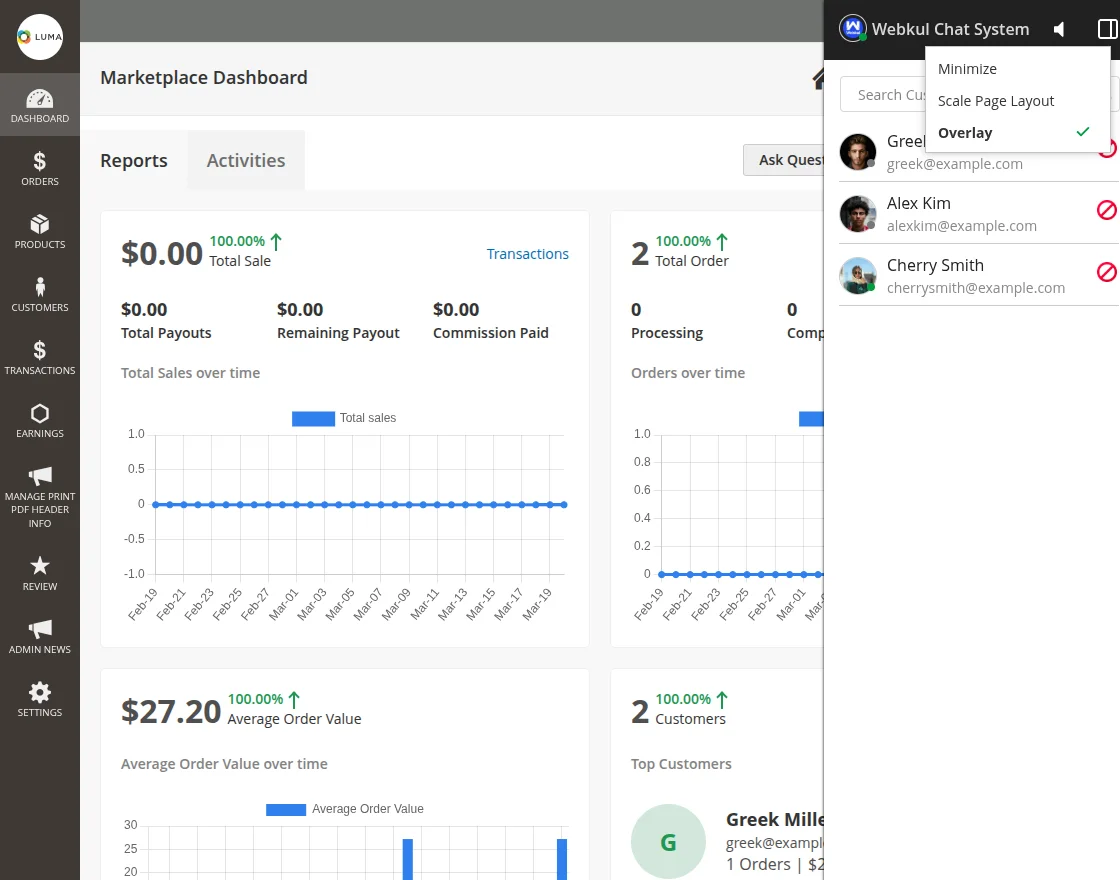
Chat Window Options
There are three options on top of the chat window minimize, scale page layout, and overlay, the seller can perform actions by using these options.
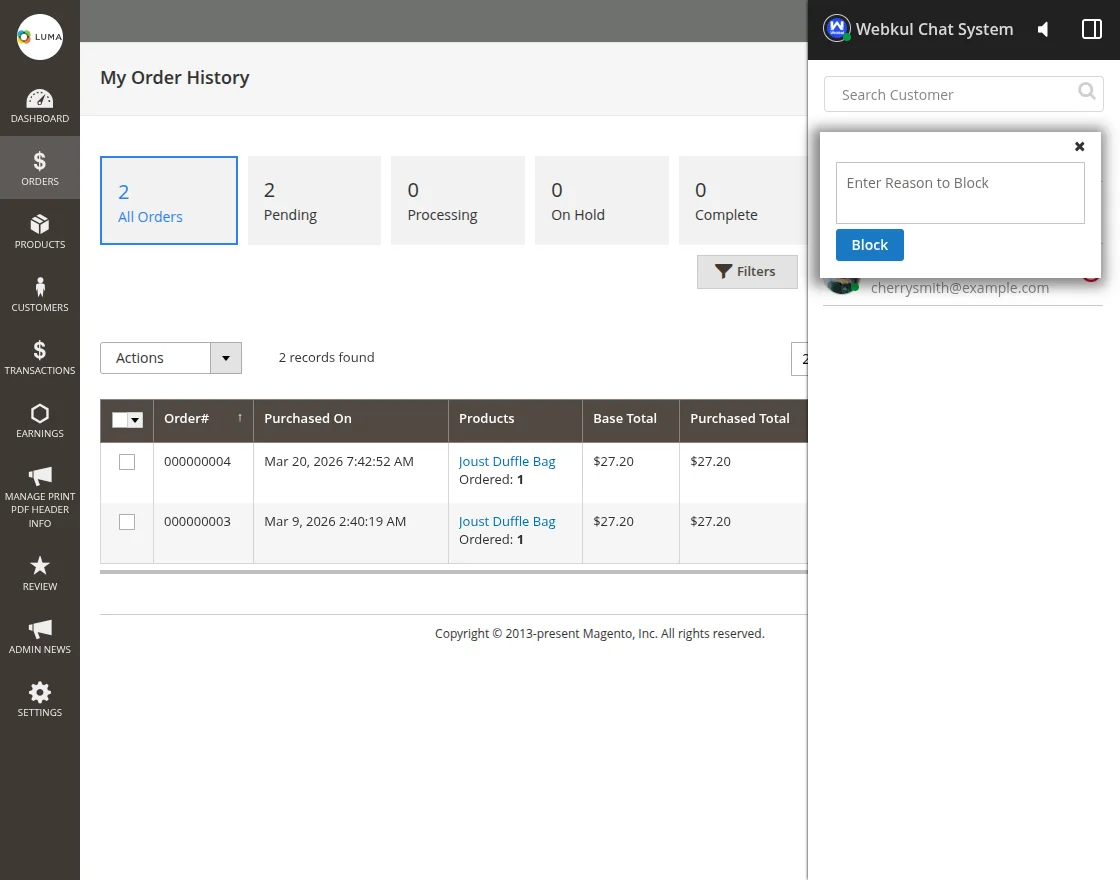
Block Customer
A seller can block a customer, using the block button. A blocked customer cannot send any further messages to a seller. A seller has to mention a reason for blocking a customer.
For unblocking a blocked customer, the seller can click Unblock icon.
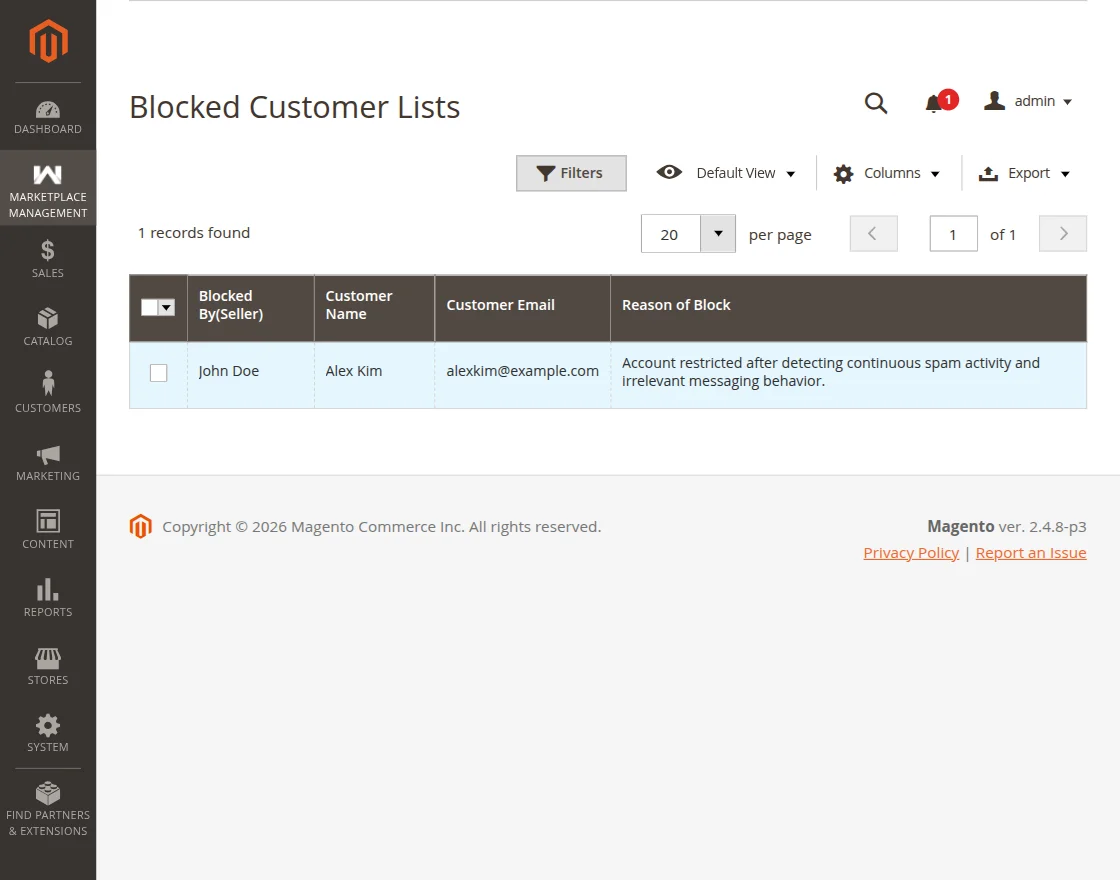
Admin Management for Magento 2 Marketplace Buyer Seller Chat
The admin can view the list of all the customers who have been blocked by the sellers. To do that, the admin can navigate to Marketplace Management>Block Customer List. The admin can see the seller name, customer name, customer email, and the reason for blocking.
View Chat History
The admin can also view the chat conversion history between the sellers and customers. The admin can filter out a particular customer by using the date, sender’s, and receiver’s name in the filters.

Marketplace Chat on Mobile
The Buyer-Seller Chat extension also works on mobile devices. So using this extension, the customers can send and receive real-time messages from the sellers.

That’s all for the Adobe Commerce Buyer Seller Chat Marketplace add-on. In case you need any further information or require customization, then feel free to create a ticket here https://webkul.uvdesk.com.
You can also check the Adobe Commerce Chat system for admin.
Current Product Version - 5.0.5-p1
Supported Framework Version - Magento 2.0.x, 2.1.x, 2.2.x,2.3.x, 2.4.x

2 comments
We request you to immediately email us at [email protected] with all the issues you’re facing so we can assist you out faster and better.
Thanks,
Team Webkul