Laravel marketplace mobile app provides full-fledged marketplace website options on the mobile app. It’s built on Flutter so it will provide you with a user-friendly experience.
Sellers can perform any action in the app like product addition, view orders, check customers and more.
Customer can create their account and check products, place orders, check order history, and more.
Note: To use the Laravel marketplace mobile app you need to install Laravel Multivendor Marketplace plugin first.
If you’re looking to enable custom ring builder option on your Laravel store, then you can check the Laravel Custom Ring Builder Extension
Features list of Laravel Marketplace Mobile App
- Individual Seller/Vendor Profiles: Each vendor enjoys a personalized micro site within the marketplace, enhancing their brand identity.
- Customization Options: Sellers can showcase their brand with banners and shop logos on their profiles, adding a professional touch.
- Product Management: Sellers can easily view and manage their product listings, streamlining their operations in Laravel Multi Vendor Marketplace
- Dedicated Product Collections: Each seller’s products are organized neatly in their individual product collection pages, enhancing the shopping experience.
- Feedback and Rating System: An interactive star rating system allows customers to provide feedback and rate sellers directly from their shop pages.
- Seller Support: A direct contact channel is provided for customers to reach out to sellers with queries or concerns.
- Product Assignment: Admins have the capability to assign products to sellers, facilitating product diversification.
- Seller Autonomy: Sellers can also self-assign products and manage their inventory.
- Interactive Seller Dashboard: A comprehensive dashboard provides sellers with real-time insights into their performance.
- Inventory Management: Sellers can check stock availability directly from their product listings.
- Moderation and Approval: Both vendors and admin benefit from moderation and approval features, maintaining marketplace integrity.
- Module Control: Admins can easily enable or disable the marketplace module as needed.
- Attractive Landing Page: A visually appealing landing page showcases the top four sellers, driving engagement.
Additional Features
- Customizable Shop URLs: Sellers have the flexibility to edit shop URLs for their profile pages, About Shop sections, and policies.
- Seller Profile Management: Admins can efficiently manage seller profiles, ensuring consistency and quality.
- Multilingual Support: All languages, including right-to-left languages like Hebrew and Arabic, are fully supported.
- Product Management: Sellers can edit and delete their products directly from their panels.
- Earnings Tracking: A dedicated earnings section provides sellers with detailed earning information by date, month, and year.
- Transaction Reporting: Sellers have access to transaction reports, enhancing financial transparency.
- Refund Tracking: Sellers can easily check the status of refunded orders.
- Currency Flexibility: The extension supports all currencies, ensuring global compatibility.
- Rule Support: Cart and catalog rules are seamlessly integrated into the marketplace.
- Rich Media Integration: Product videos can be added to listings, enhancing product presentation in Laravel Multi Vendor Marketplace.
- Inventory Management: Out-of-stock products are clearly indicated for better inventory control.
- Product Diversity: Sellers can create various product types, including bundles and grouped products, offering customers a diverse range of options.
- Product Type Control: Admins have the ability to define which product types sellers are allowed to create or assign, ensuring consistency across the platform.
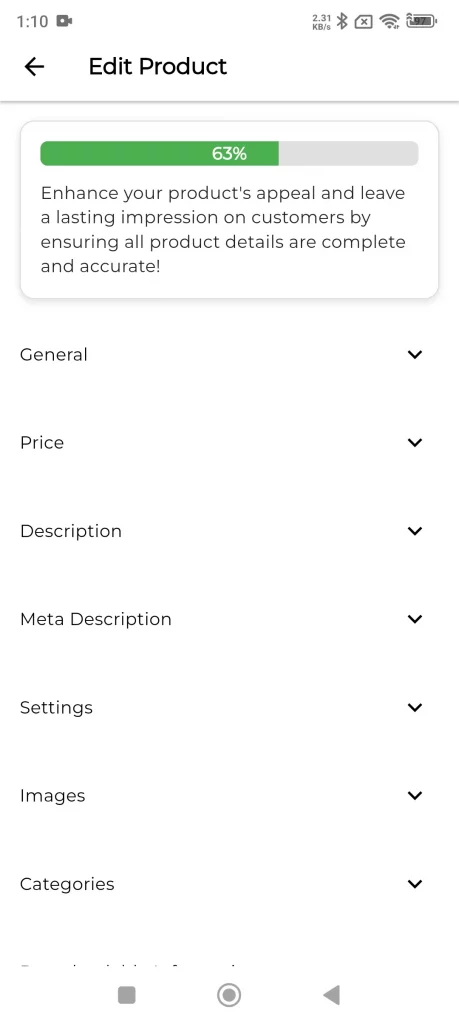
- Profile Score: A profile score is visible on the seller dashboard, indicating how much of their profile information is completed.
More Features
- Profile Information: Seller profiles include detailed information such as allowed product types, categories, payment methods, and shipping methods, providing clear guidelines.
- Product Reviews: Sellers can view customer reviews of their products through a dedicated menu, making it easier to monitor feedback.
- Seller Reviews: Sellers can access reviews about their store or services through a dedicated menu.
- Roles and Permissions: Sellers can create custom roles with specific permissions (e.g., access control lists) and assign them to sub-sellers, allowing granular management of actions.
- Sub-Sellers Management: Sellers can create sub-sellers, assign roles, and delegate store management tasks effectively.
- Communication Tools: Sellers and admins can communicate directly with each other, share attachments, and manage announcements or issue resolution through the admin panel.
- Comprehensive Reporting: Sellers now have access to detailed reports about their store. Including sales performance, commissions, top customers, top-selling products, and more, similar to admin-level reporting.
- Flag System: Admins have a dedicated page to view product flags and seller flags.
- Red Flag System: Admins can set limits for specific seller activities. If a seller exceeds these limits, a red flag is displayed on their collection page, alerting the admin team.
Installation of Laravel Marketplace Mobile App
Step 1: To install the Laravel Marketplace Mobile app on your server you need to install the Bagisto first.
Please follow the URL – Installation of Bagisto
Step 2: Now install the Bagisto API to configure the mobile app.
Bagisto GraphQL API
Laravel eCommerce headless APIs allow you to experience seamless and easily scalable storefront performance.
The open-source headless Laravel platform built on GraphQL-based Rest API delivers ultra-fast, dynamic, and personalized shopping experiences.
Read our documentation: Bagisto GraphQL API Docs
The Bagisto GraphQL API is made in collaboration with Ucraft Team
1. Requirements:
- Bagisto: v2.2.2
2. Installation:
To clone Bagisto GraphQL run the below command from the terminal:
composer require bagisto/graphql-api ^v2.2.2
- In the
app/Http/Kernel.phpfile, move the following middleware from thewebsection in themiddlewareGroupsarray to the globalmiddlewarearray:
\Illuminate\Cookie\Middleware\AddQueuedCookiesToResponse::class,
\Illuminate\Session\Middleware\StartSession::class,
- Add the following entries to your
.envfile to configure JWT settings:
JWT_TTL=525600
JWT_SHOW_BLACKLIST_EXCEPTION=true
- Run the command below to publish assets and configurations for Bagisto GraphQL:
php artisan bagisto-graphql:install
After installation, you can test your API through the GraphQL Playground. Visit:
http://your-domain.com/graphiql
Alternatively, you can test the API using Postman by accessing:
http://your-domain.com/graphql
That’s it, Now just execute the project on your specified domain.
Step 3: Now install the Bagisto Marketplace before installing the app on your server.
Please follow the link: Install Laravel Marketplace
You can also check the installation process in the Laravel Marketplace user guide.
Step 4: Now configure the Marketplace API to complete the process.
Bagisto Marketplace GraphQL API
Marketplace graphQL API to mutate and query the marketplace features like Seller Registration, Seller Info, Sellers List, Seller’s Transactions, Seller’s Orders, etc.
Requirements:
- Bagisto: v2.2.2
- Marketplace: v2.2.2
Installation:
Before this Package installation, make sure you already configured the Bagisto-Headless-Ecommerce package.
Bagisto Headless Ecommerce Installation
Follow Link: https://github.com/bagisto/headless-ecommerce#2-installation
Bagisto Marketplace Installation
After the installation of Bagisto and Bagisto Headless API, you need to set up the Marketplace module for the functioning of the Marketplace Module.
Follow Link: https://webkul.com/blog/laravel-multi-vendor-marketplace/
Step-1 Marketplace GraphQL Package Installation
After the installation of Bagisto and Bagisto Headless API, you need to add the Marketplace Package and after that, you need to add the Marketplace GraphQL API Package.
Below is the installation process:
Step-2 Package Installation
Unzip the respective extension zip and then merge the “packages” folder in the root directory of Bagisto.
- Goto composer.json file and add following line under ‘psr-4’:
"Webkul\\MarketplaceGraphQLAPI\\": "packages/Webkul/MarketplaceGraphQLAPI/src"
- Goto config/app.php file and add the following line under ‘providers’ index:
Webkul\MarketplaceGraphQLAPI\Providers\MarketplaceGraphQLAPIServiceProvider::class,
- Run the below commands from the instance root:
composer dump-autoload
php artisan optimize:clear
php artisan vendor:publish --provider="Webkul\MarketplaceGraphQLAPI\Providers\MarketplaceGraphQLAPIServiceProvider" --force
Laravel Marketplace Mobile App Configuration
Once you are on the Admin dashboard, click the Configure option which is there on the left-hand side in the menu bar following which you will be redirected to the Marketplace Configuration page.
Here you will be able to see the module version:

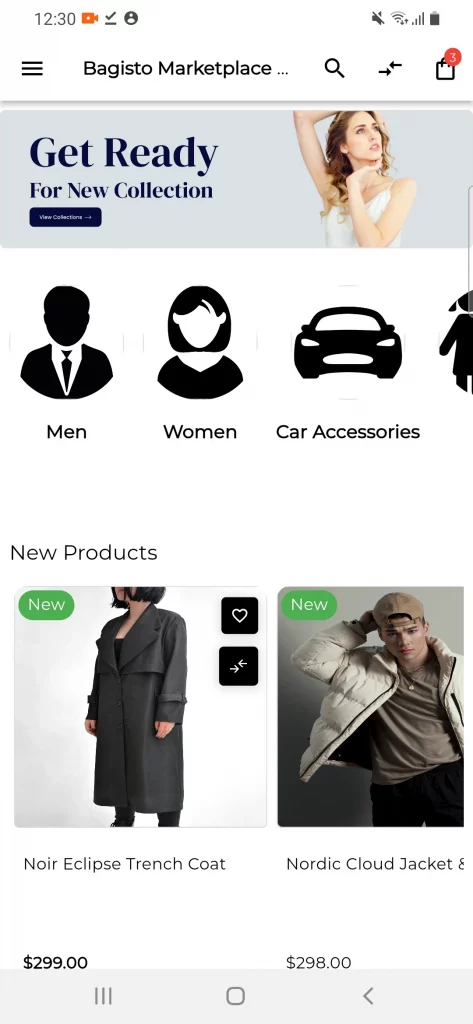
Landing Page
When a user installs the Laravel Marketplace mobile app on their mobile device it will redirect them to the main page of the mobile app.
So the customer can check various banners on the landing page and in the side menu bar multiple options will display.

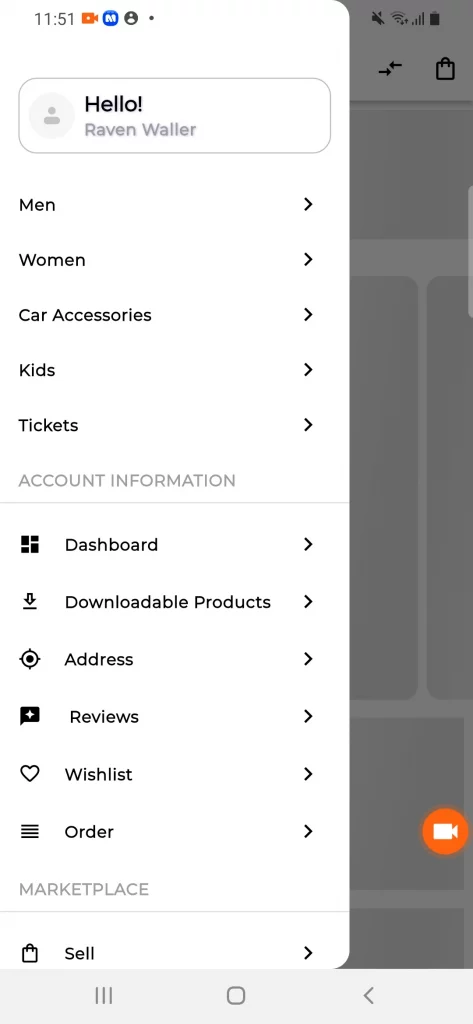
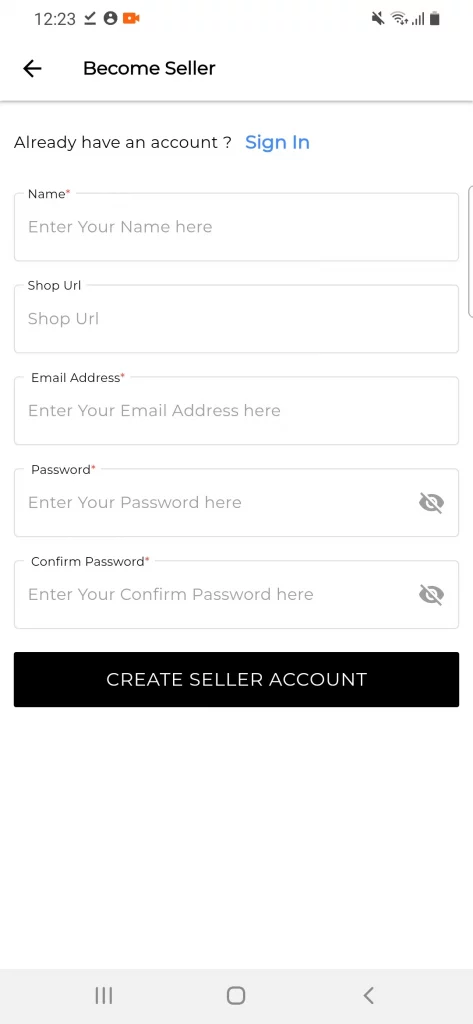
Signup and Login
The customer and seller can sign up or login into the application by choosing the option to sign up as a customer or seller. If they have an account they can directly click on the sign-in option.
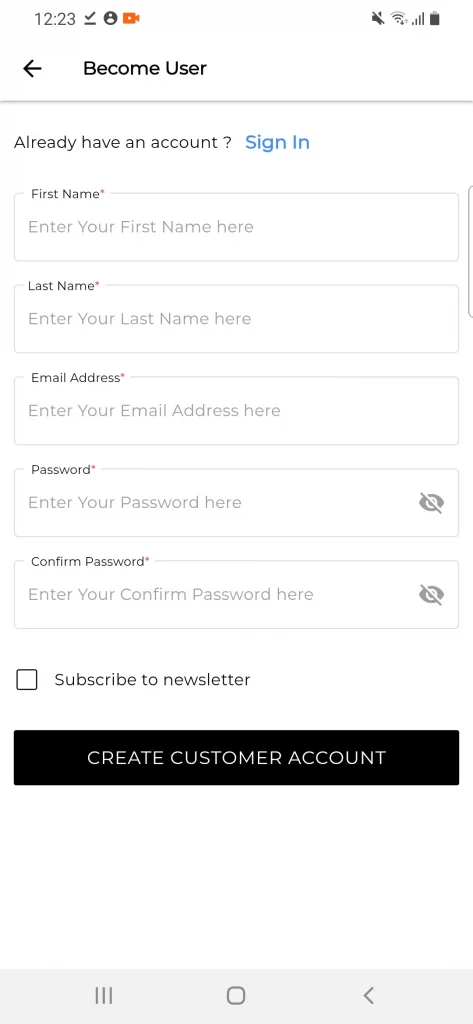

Sellers or customers can also log in with their social media accounts like Gmail and Facebook (paid add-on).
Product Page
The customer can check the product page and purchase the listed product. They can open the side menu bar and choose the desired category to purchase the product.


Customers can also add the product directly or they can view the product and add it to the cart then proceed with checkout.


Product Filter
If a customer wants to filter or sort the product based on different conditions they can apply the filters on the product page.


Recent Product
Here the customer can check the recently viewed products and can add to their cart directly by clicking on the Add to Cart button.

Checkout
In the checkout page customer will enter the billing, shipping, and payment details to complete the purchase.


Order Details and History
The user can check the order history and details in the order list section from the account information tab.


Compare List
The user can add the product in the compare to compare the product before purchasing it. The compare product list will be displayed in the account information section.


Wishlist
The user can add the product to the wishlist so they can purchase the product whenever they require it and they dont need to search for it.
The wishlist product list will be displayed in the account information section.


Account Information
Dashboard
In the dashboard section users can check the recent orders, addresses, and reviews.

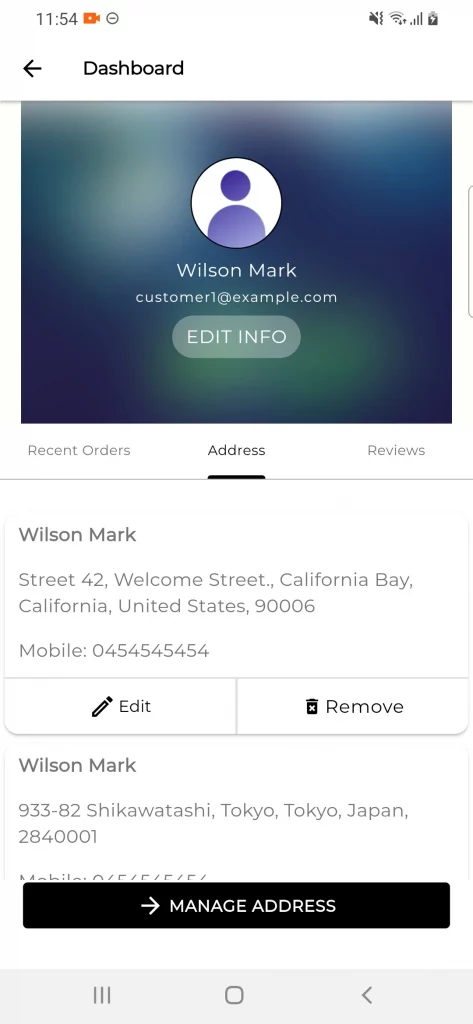
Address Book
The user can add, edit, and remove addresses for billing and shipping. They can also use their current location by hovering on the location icon.


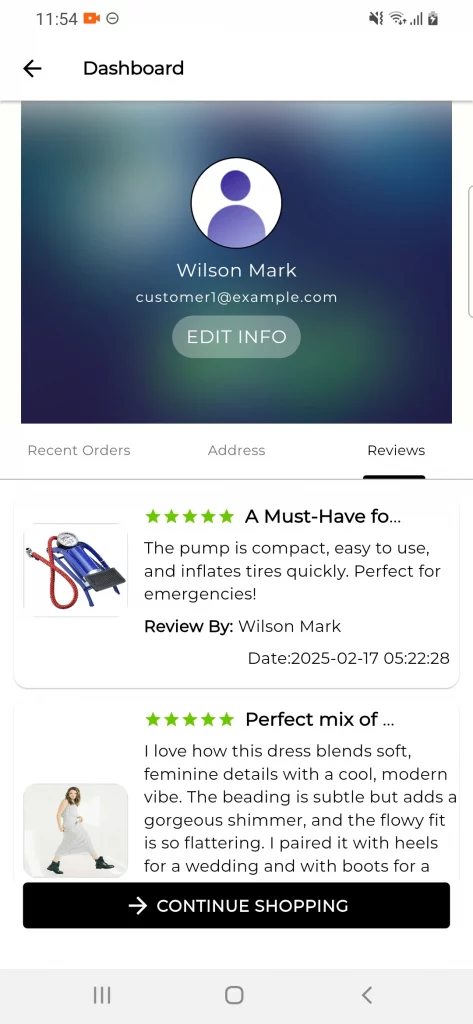
Reviews
The customer can post the review on any product with text and image and post it. The seller or customer can check the posted review in the review section. They can also delete the review from there.


Marketplace
Now the seller can use their separate dashboard to perform various seller actions. They will open the marketplace and click on the open shop button.
Seller End
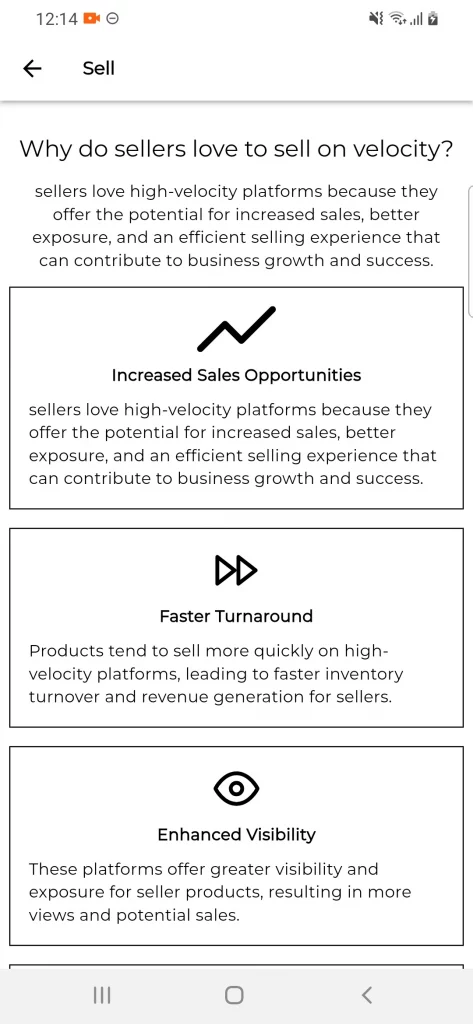
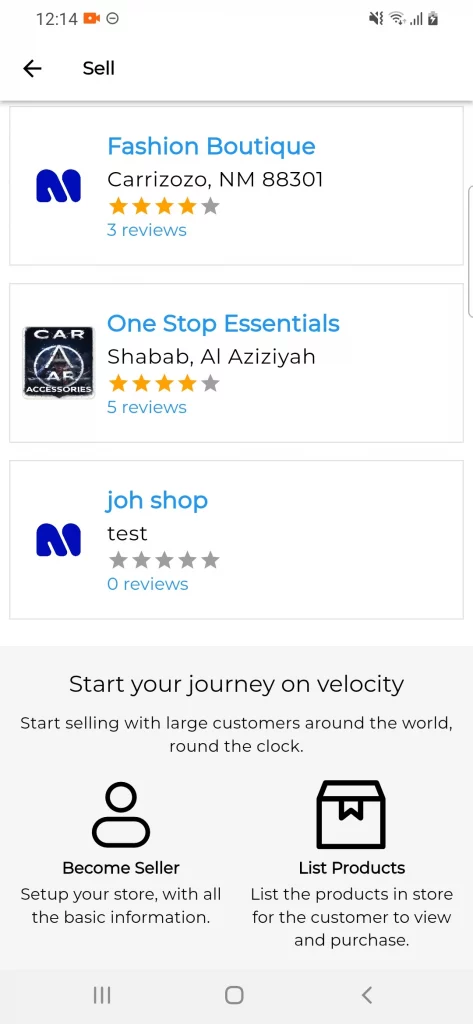
The Customer need to navigate to the sell option and then click on the Visit shop button.
Furthermore, customers can check the vendor list and open any vendor to check the seller details in the seller profile section.
They can check ratings, , seller collections, contact the seller, and report the seller.

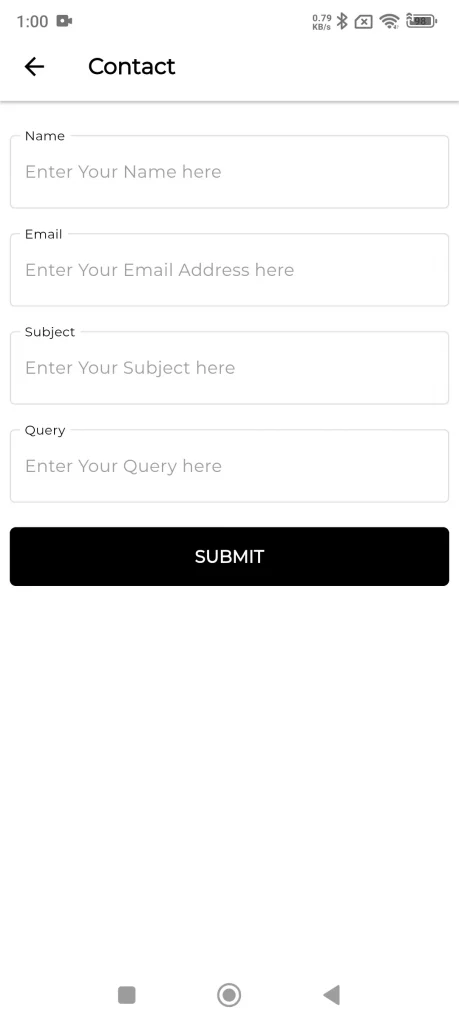
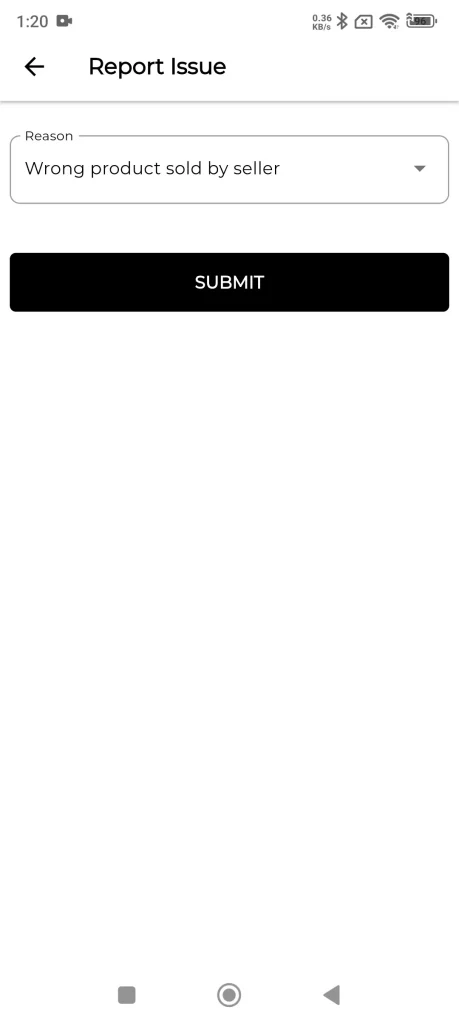
Seller Product, Contact Seller, Report Seller

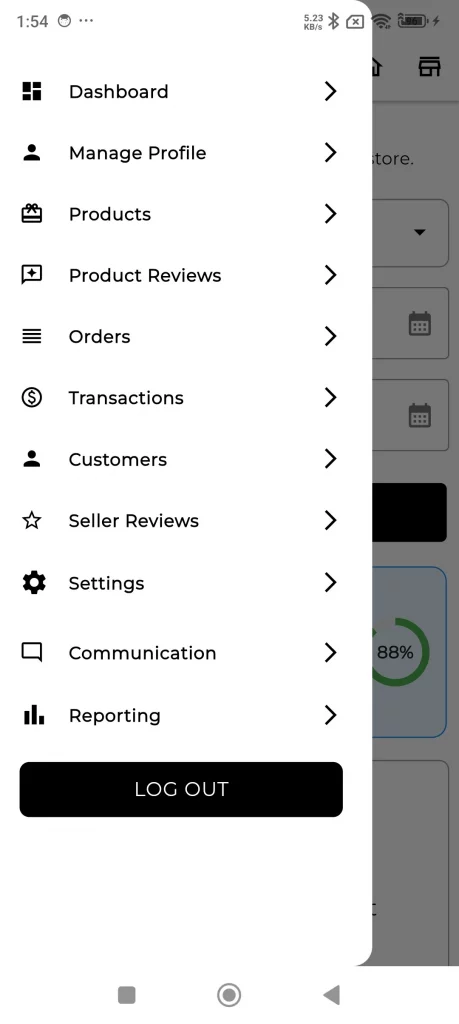
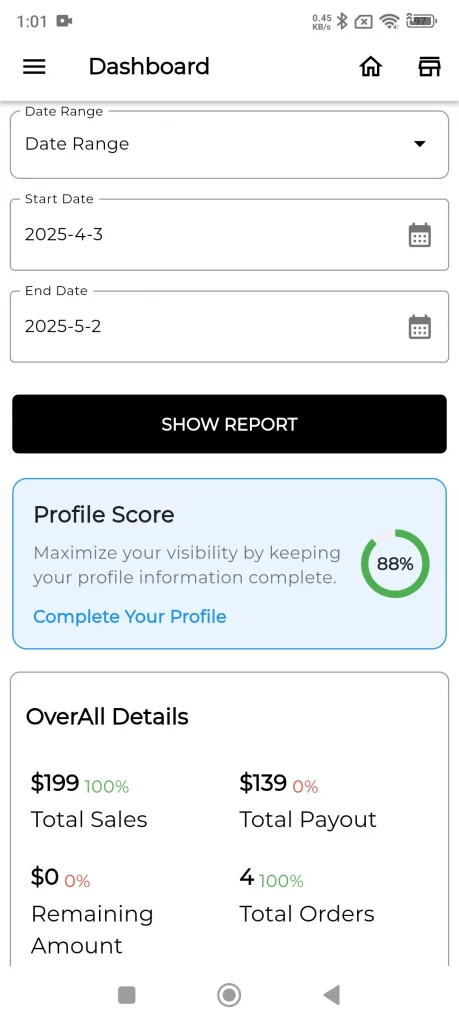
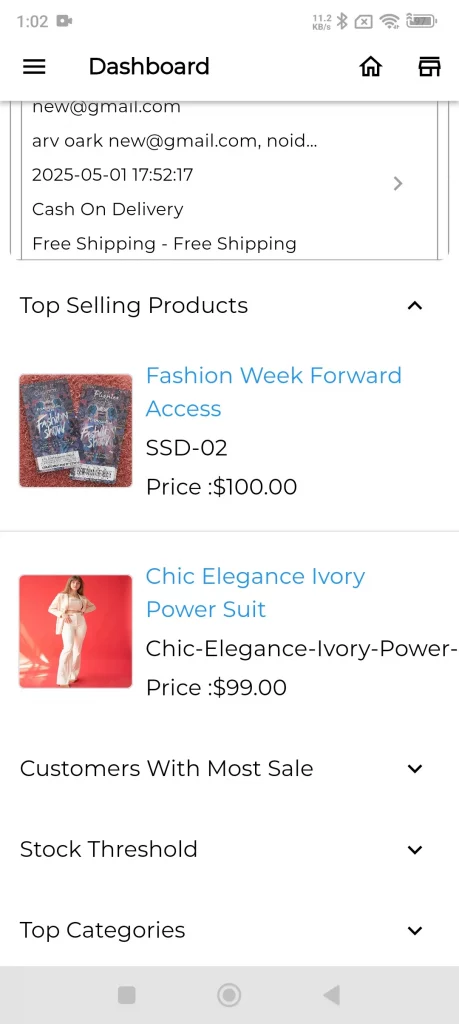
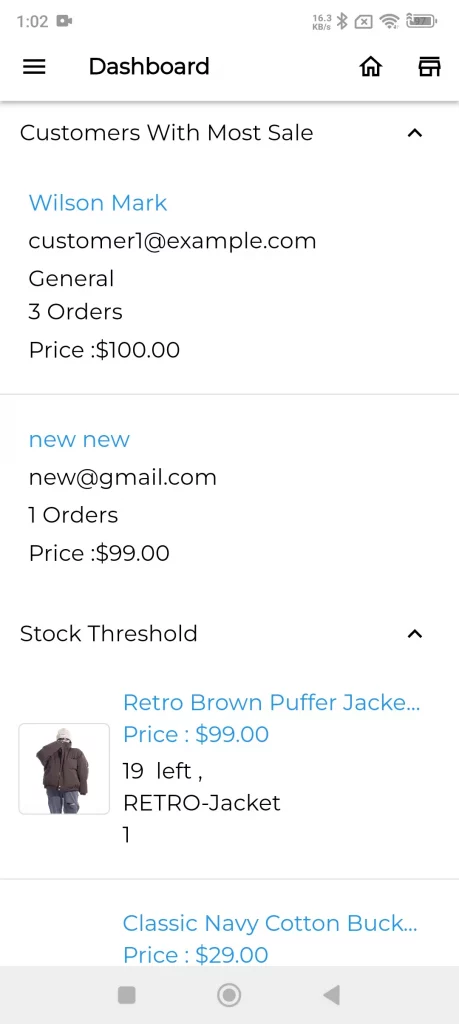
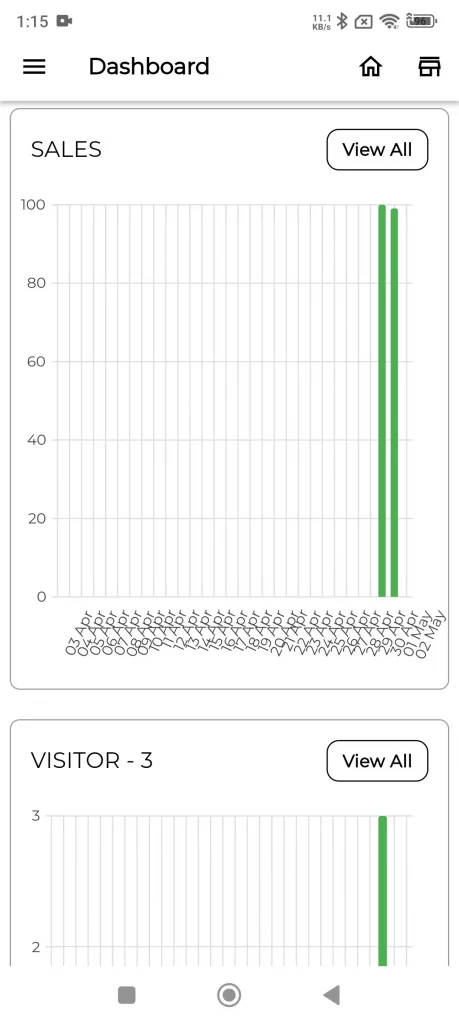
Seller Dashboard
The seller can check their dashboard by hovering on the seller dashboard option. Sellers can check top-selling products, customers with the most sales, and stock thresholds.
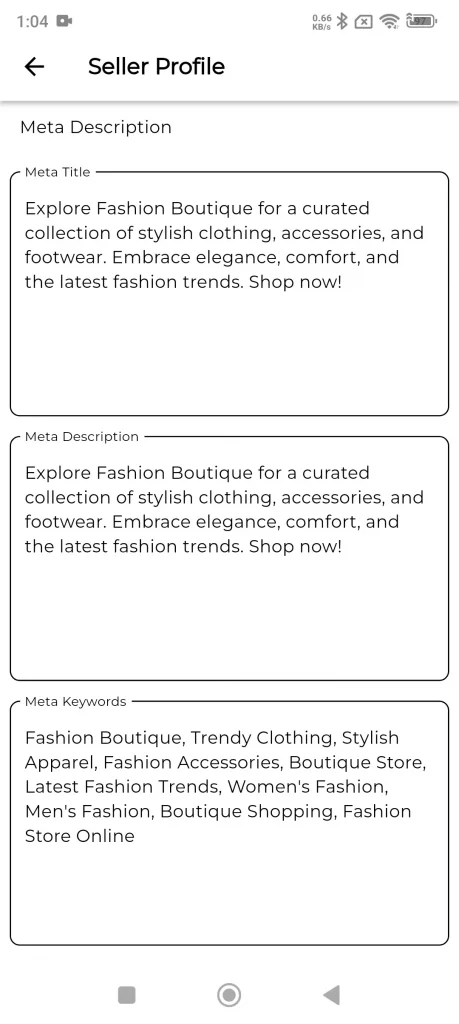
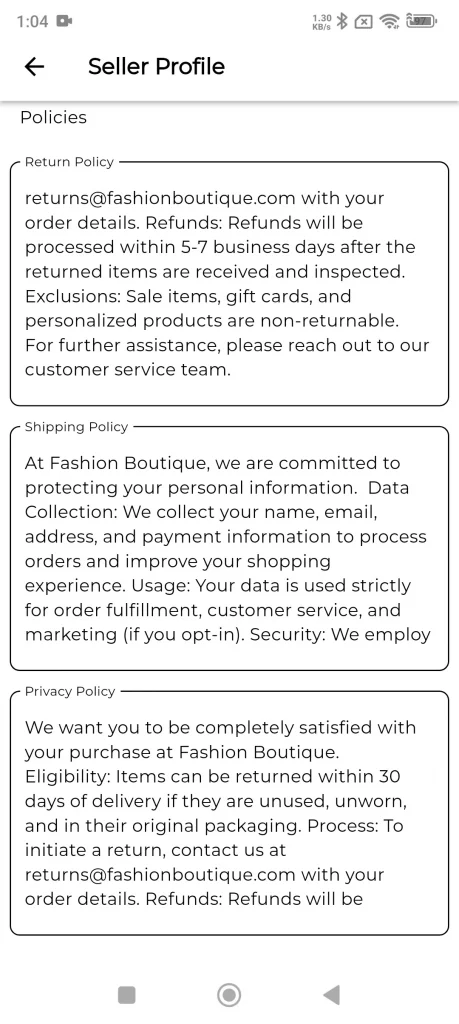
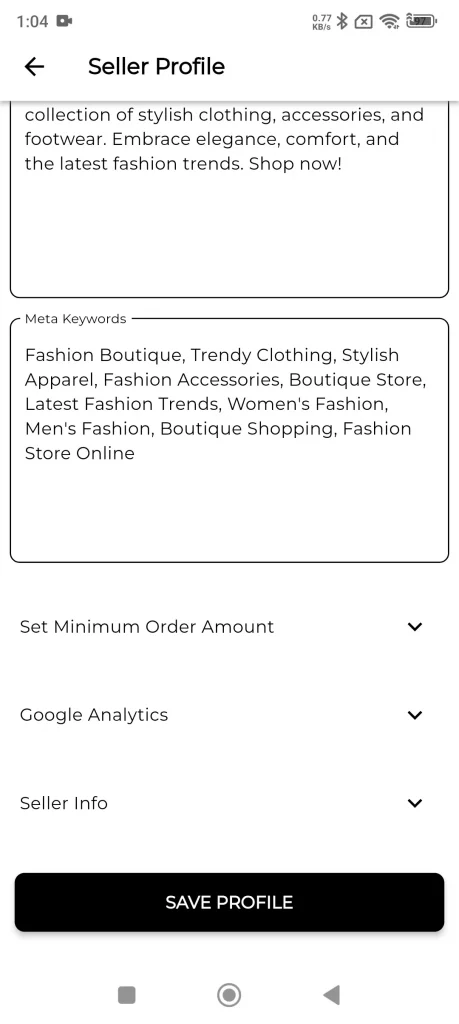
Seller Profile
The seller can move into their profile section and add multiple details like shop title, contact details, address, image & theme, about the shop, and social profiles.
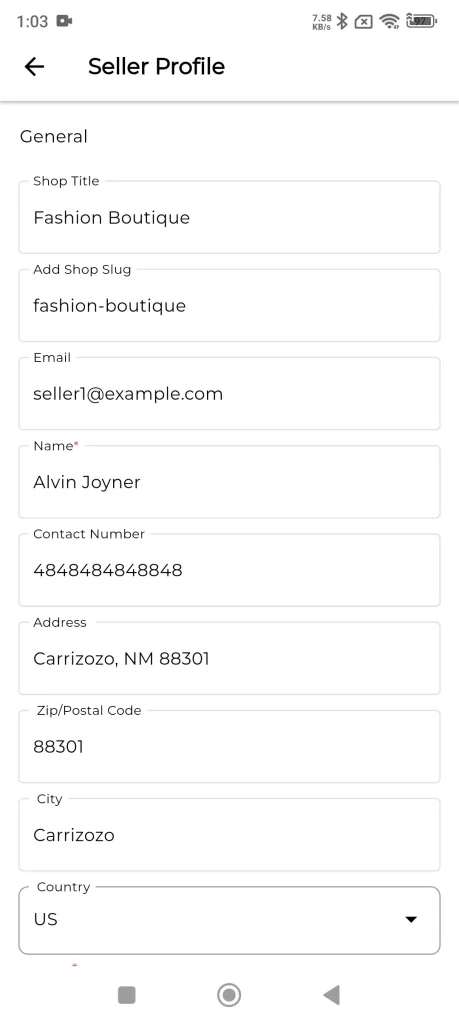
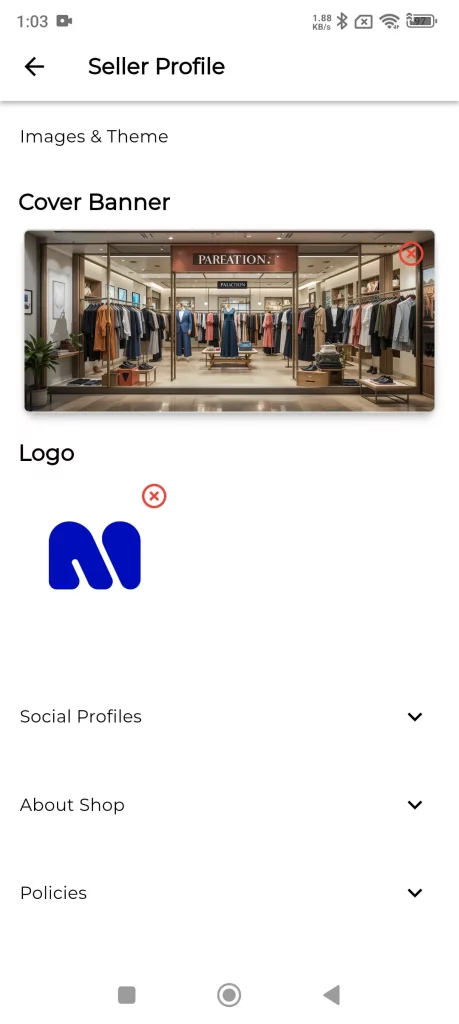
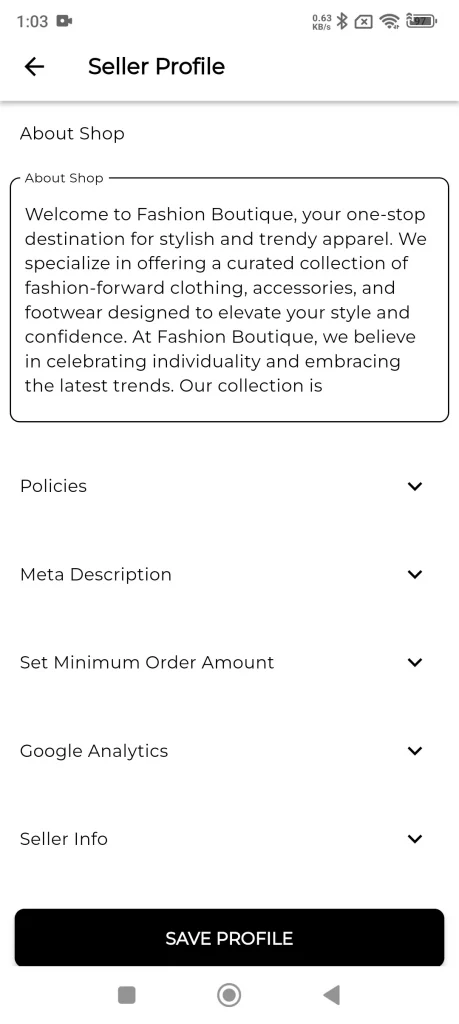
Furthermore, add SEO information, different return policies, set minimum order amount, and google analytics if required.
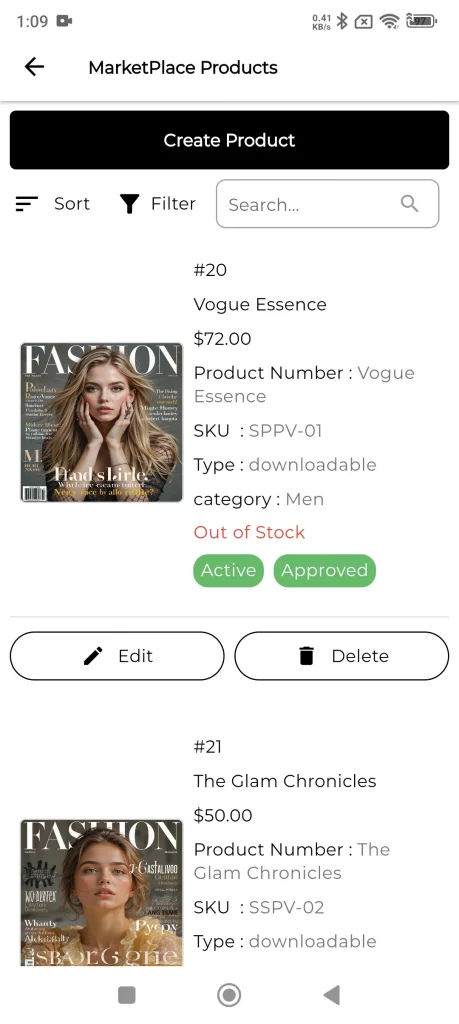
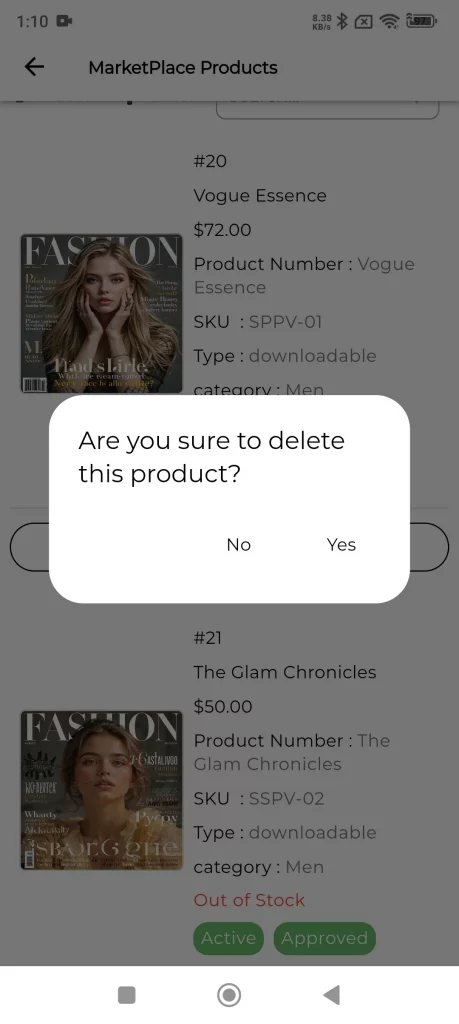
Marketplace Product
The seller can check their marketplace products from here. The seller can edit or remove any product in this list.
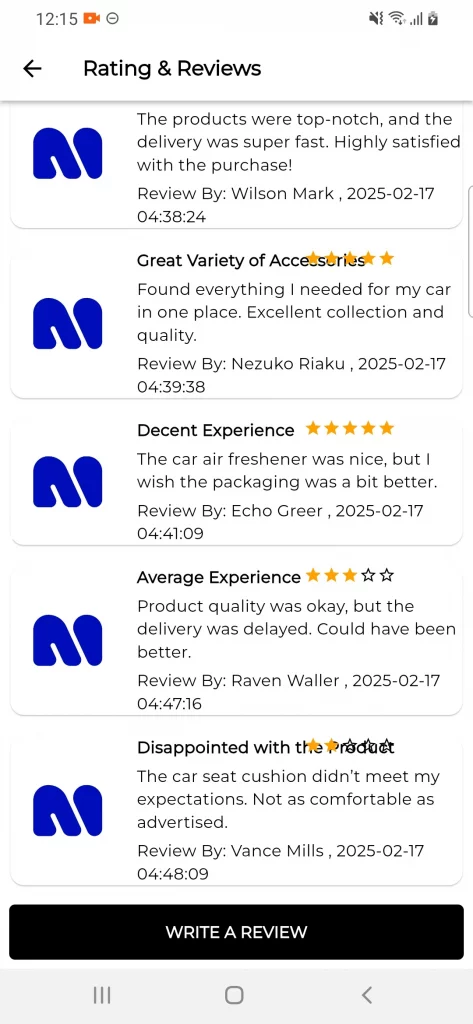
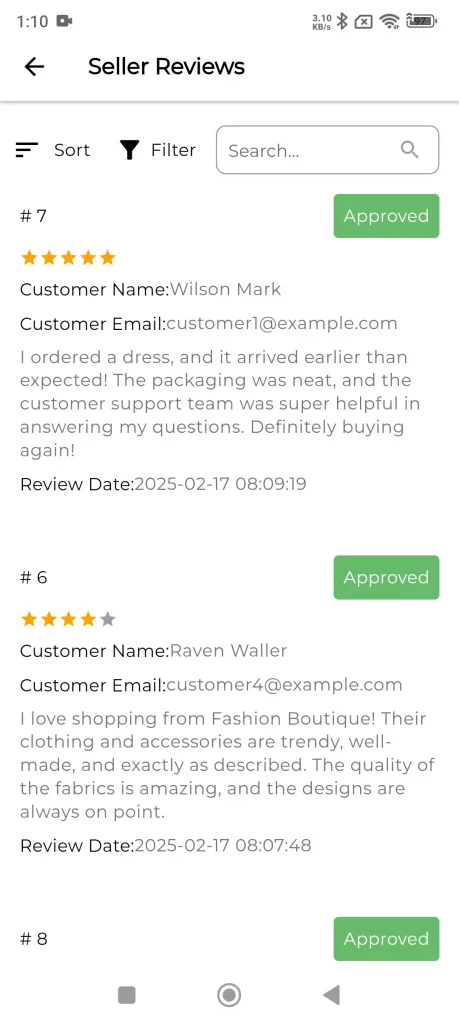
Marketplace Reviews
The seller can view the customer reviews on their store and product in this section.
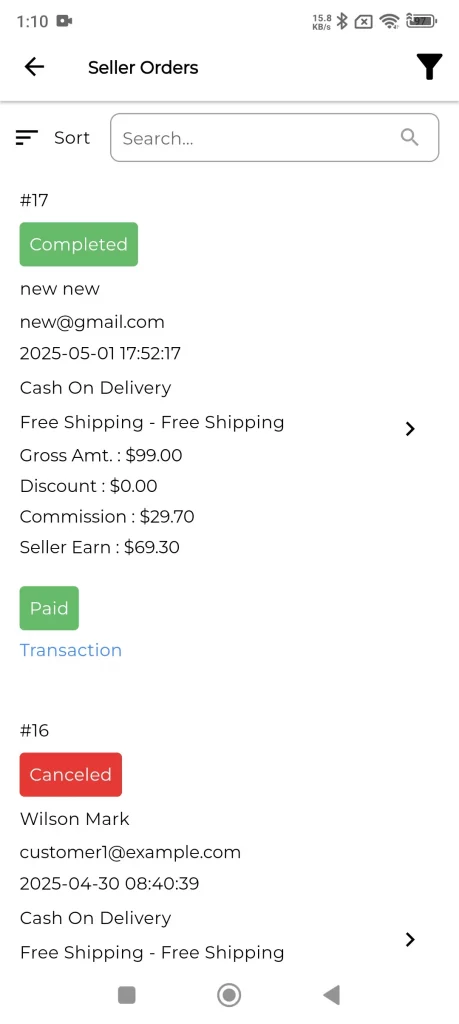
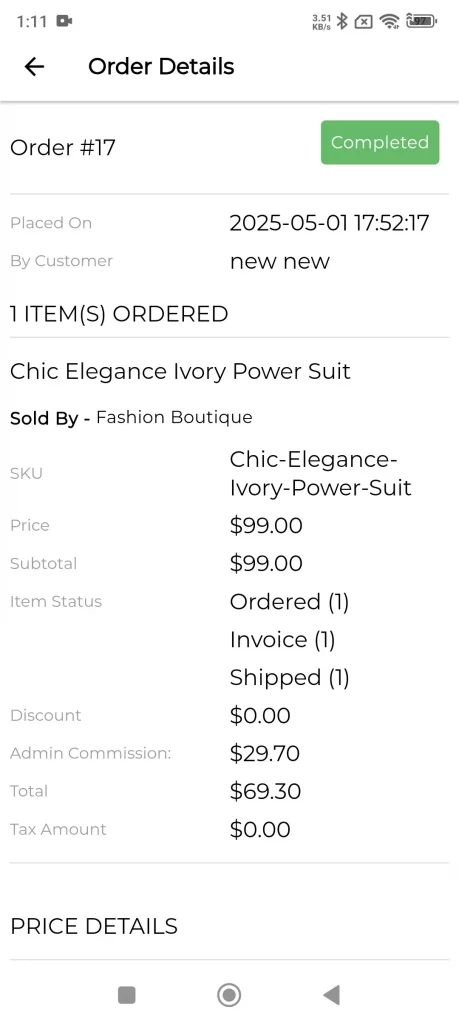
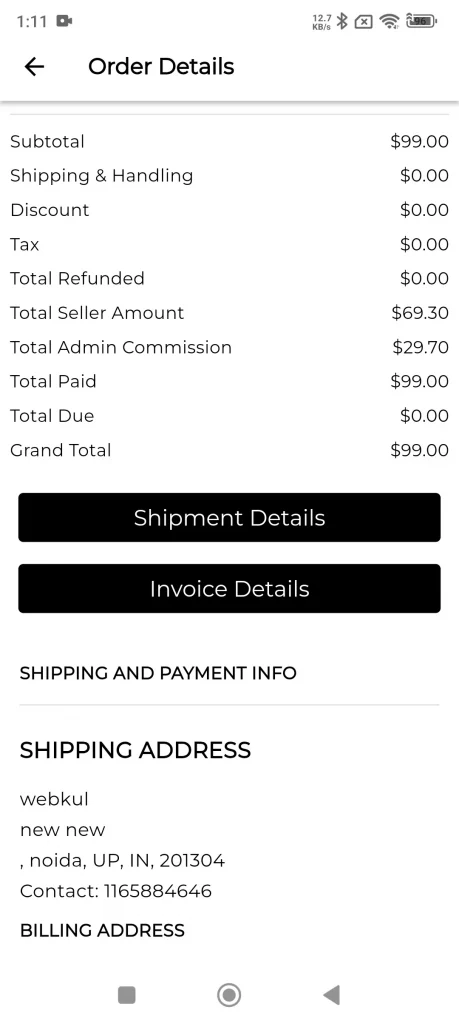
Marketplace Orders
The seller can check the orders in the section with order details by viewing it.
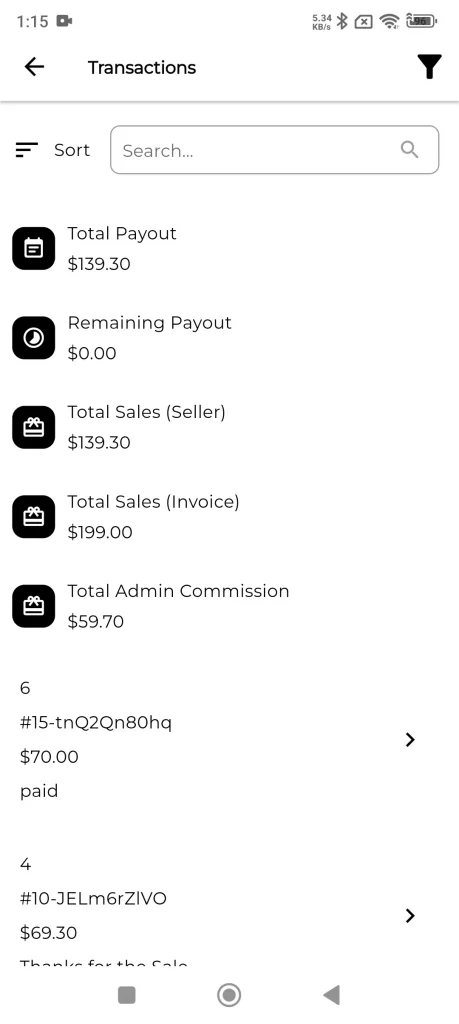
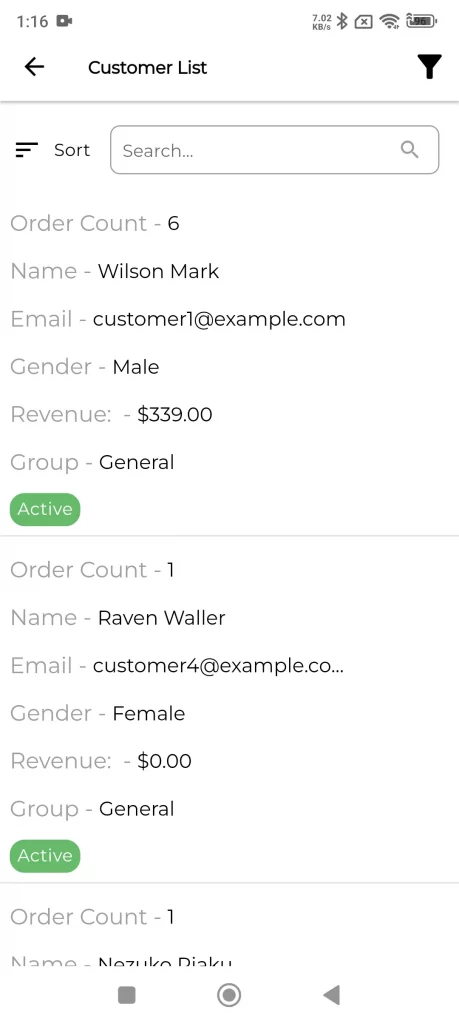
Seller Sales, Payment details, and Customers
The seller can check their sales report, payment details, and registered customers on their store from the listed options.
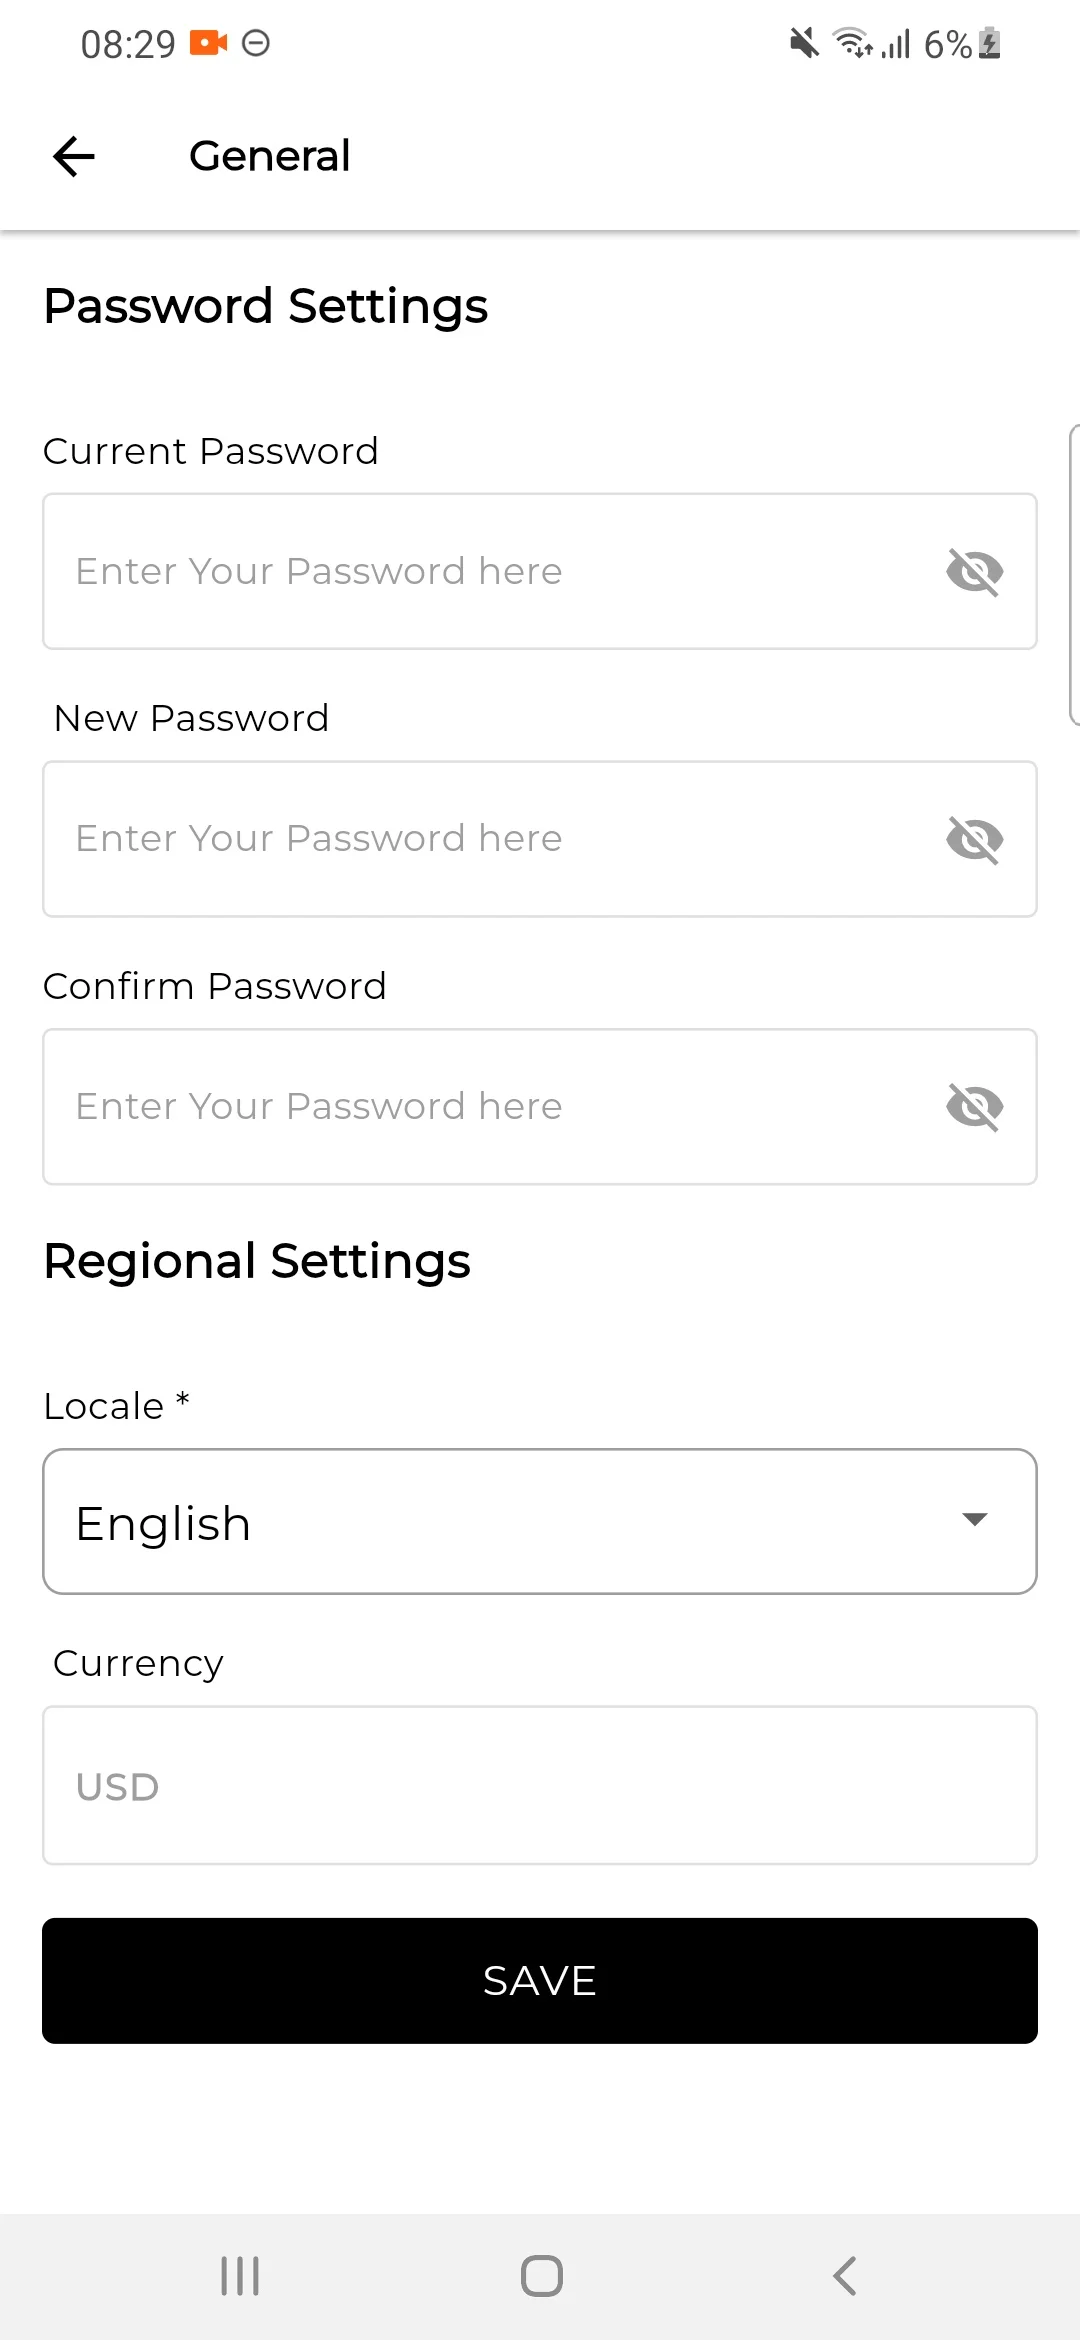
Settings
In General Section seller can change the password additionally seller can easily manage the locales & currency.
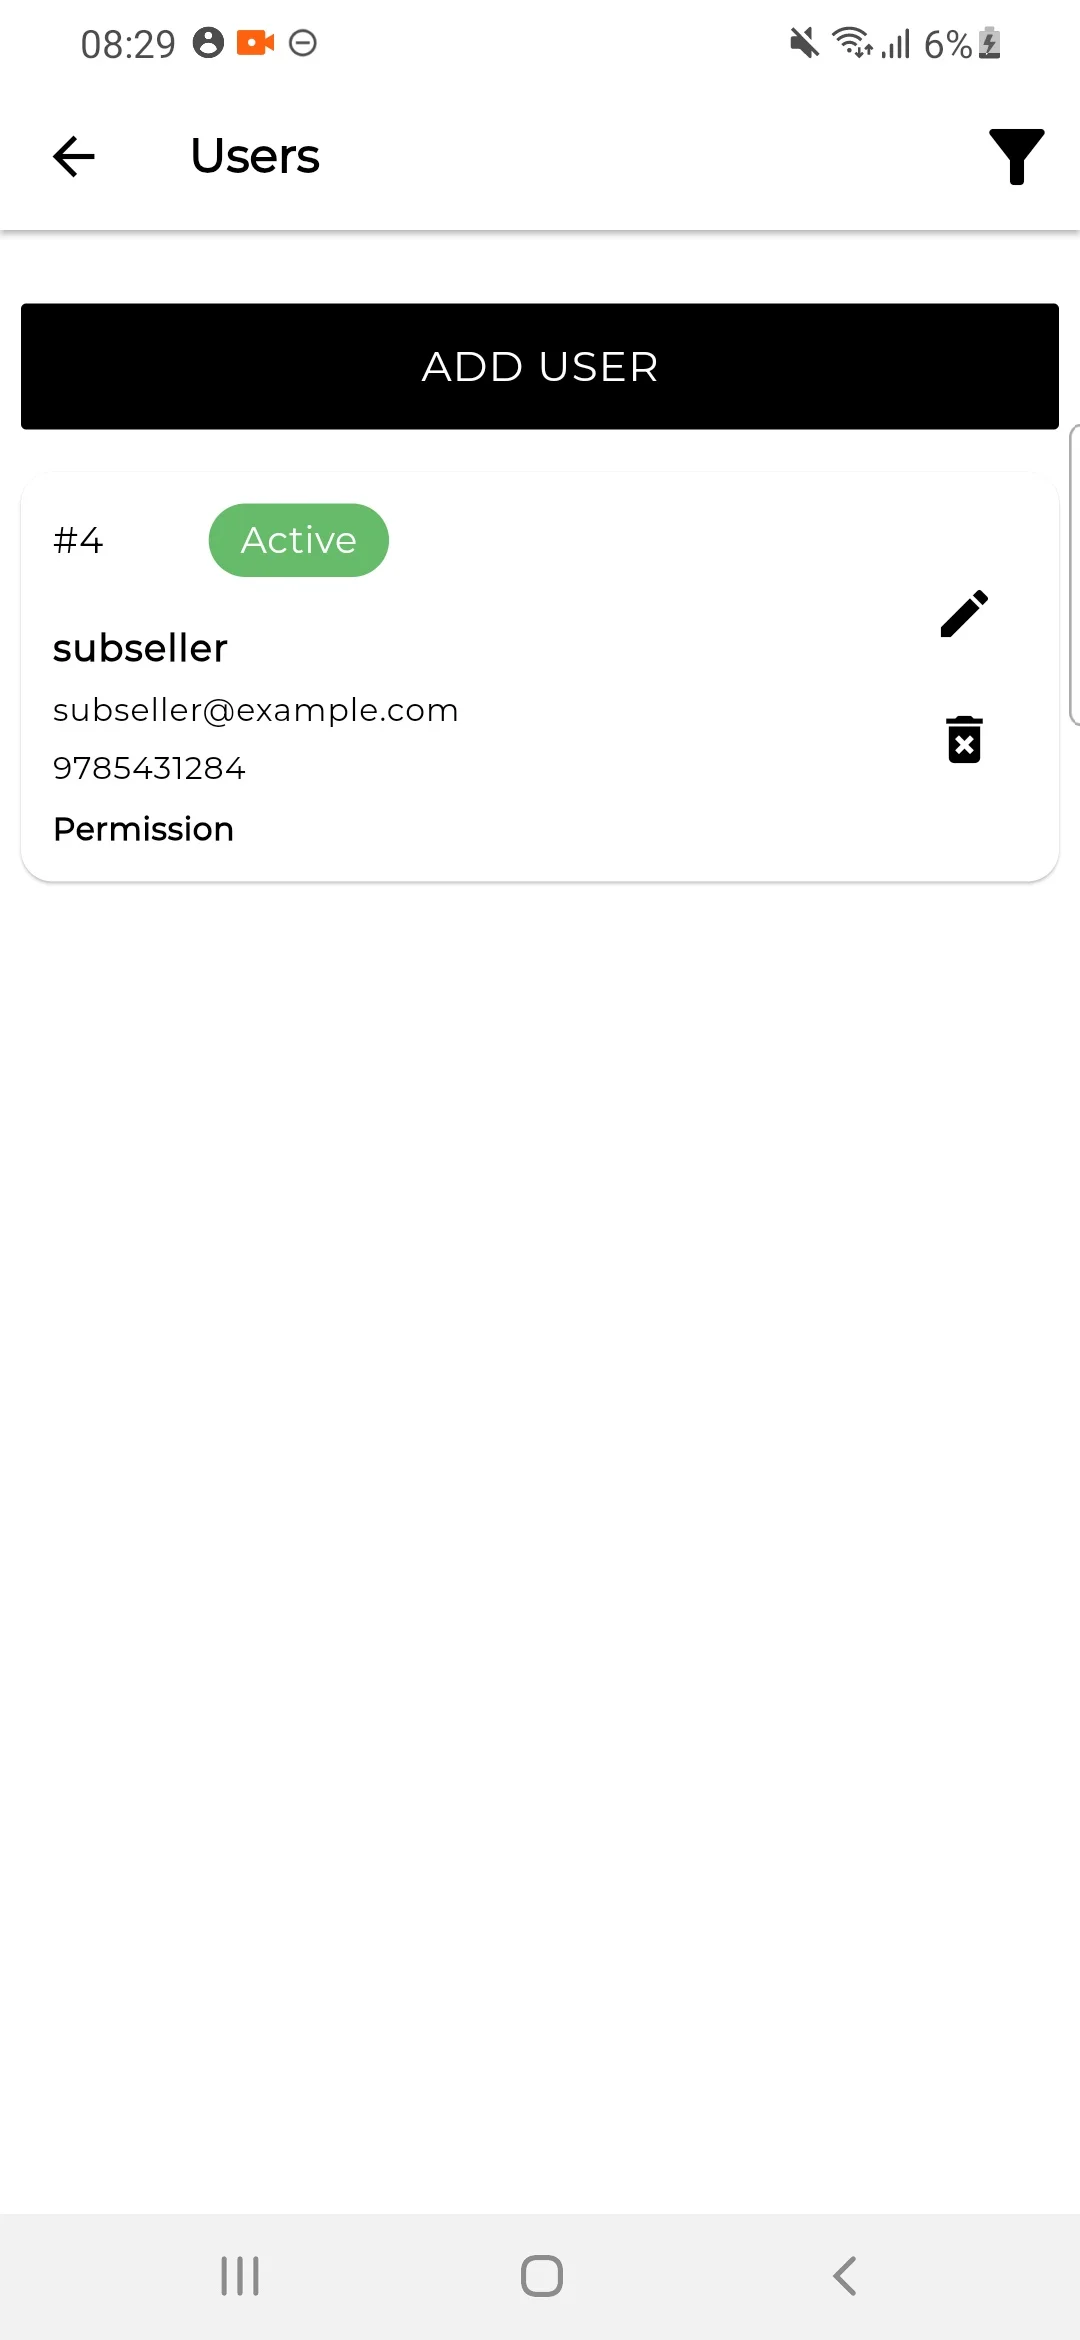
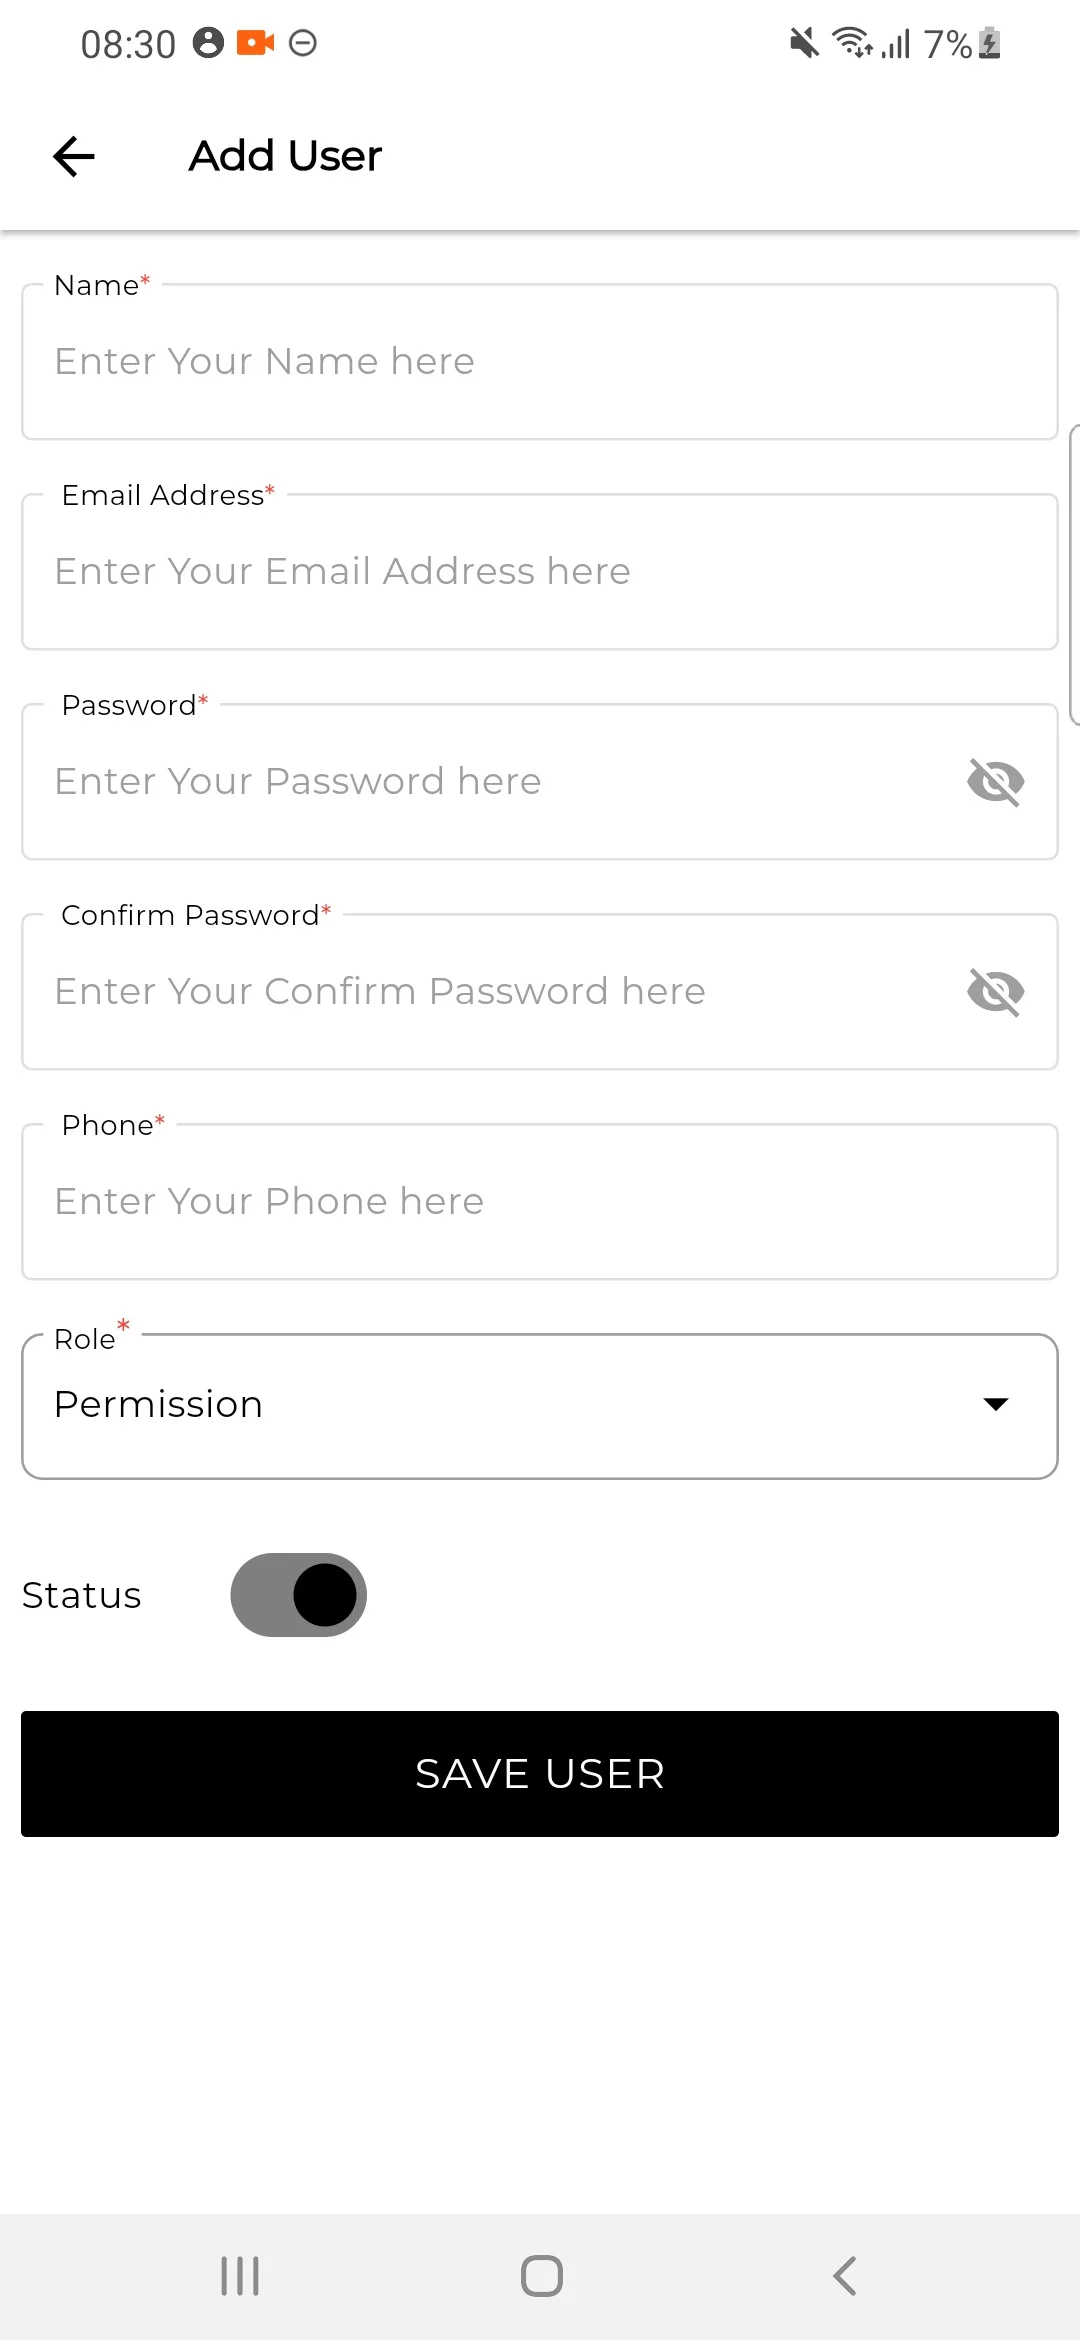
Users
Sellers can also create Sub-sellers. Under the Users Option on the left side seller can view all the sub-sellers.
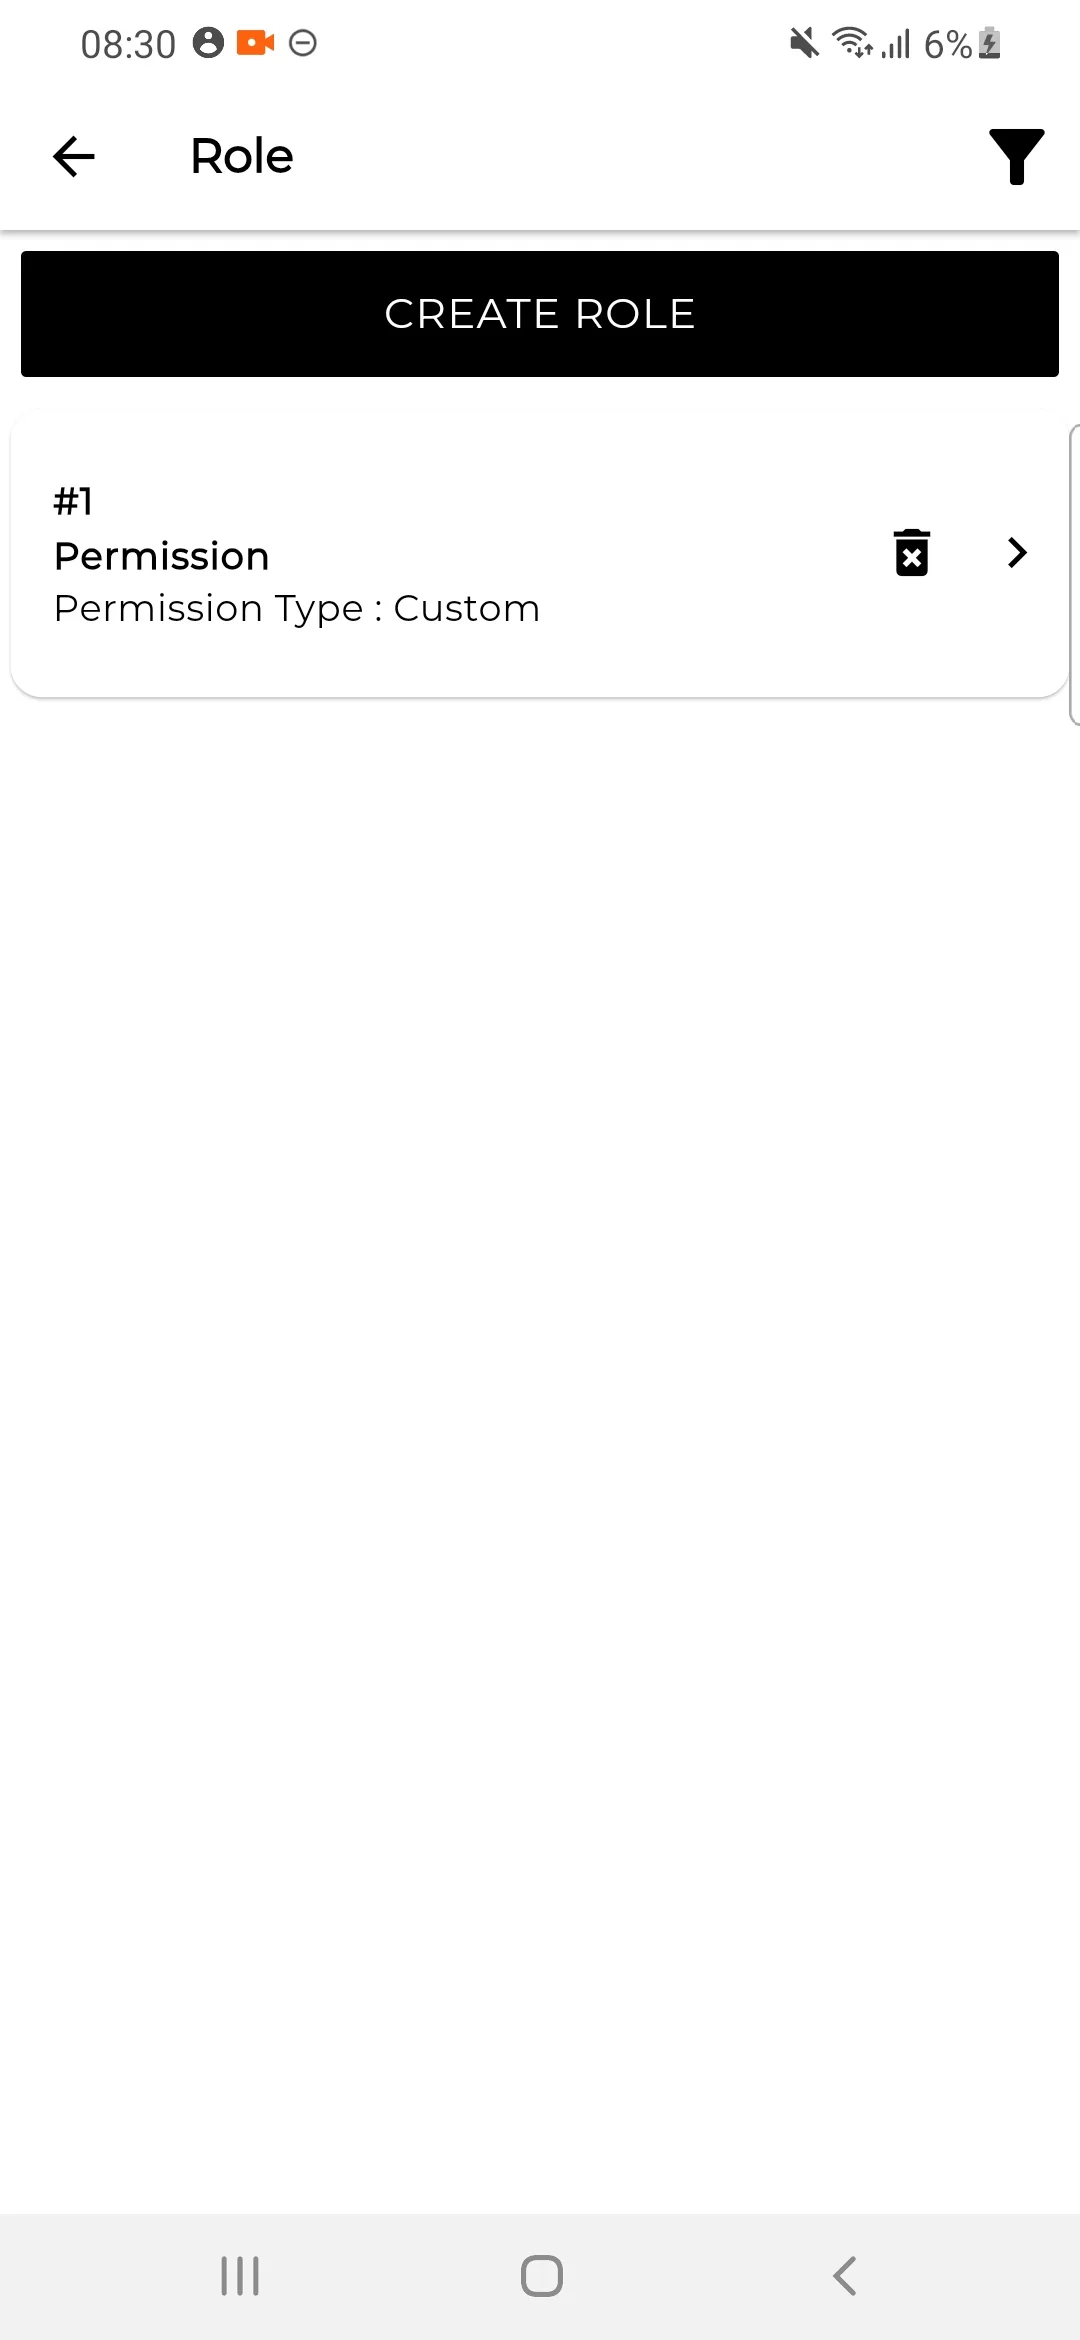
Role
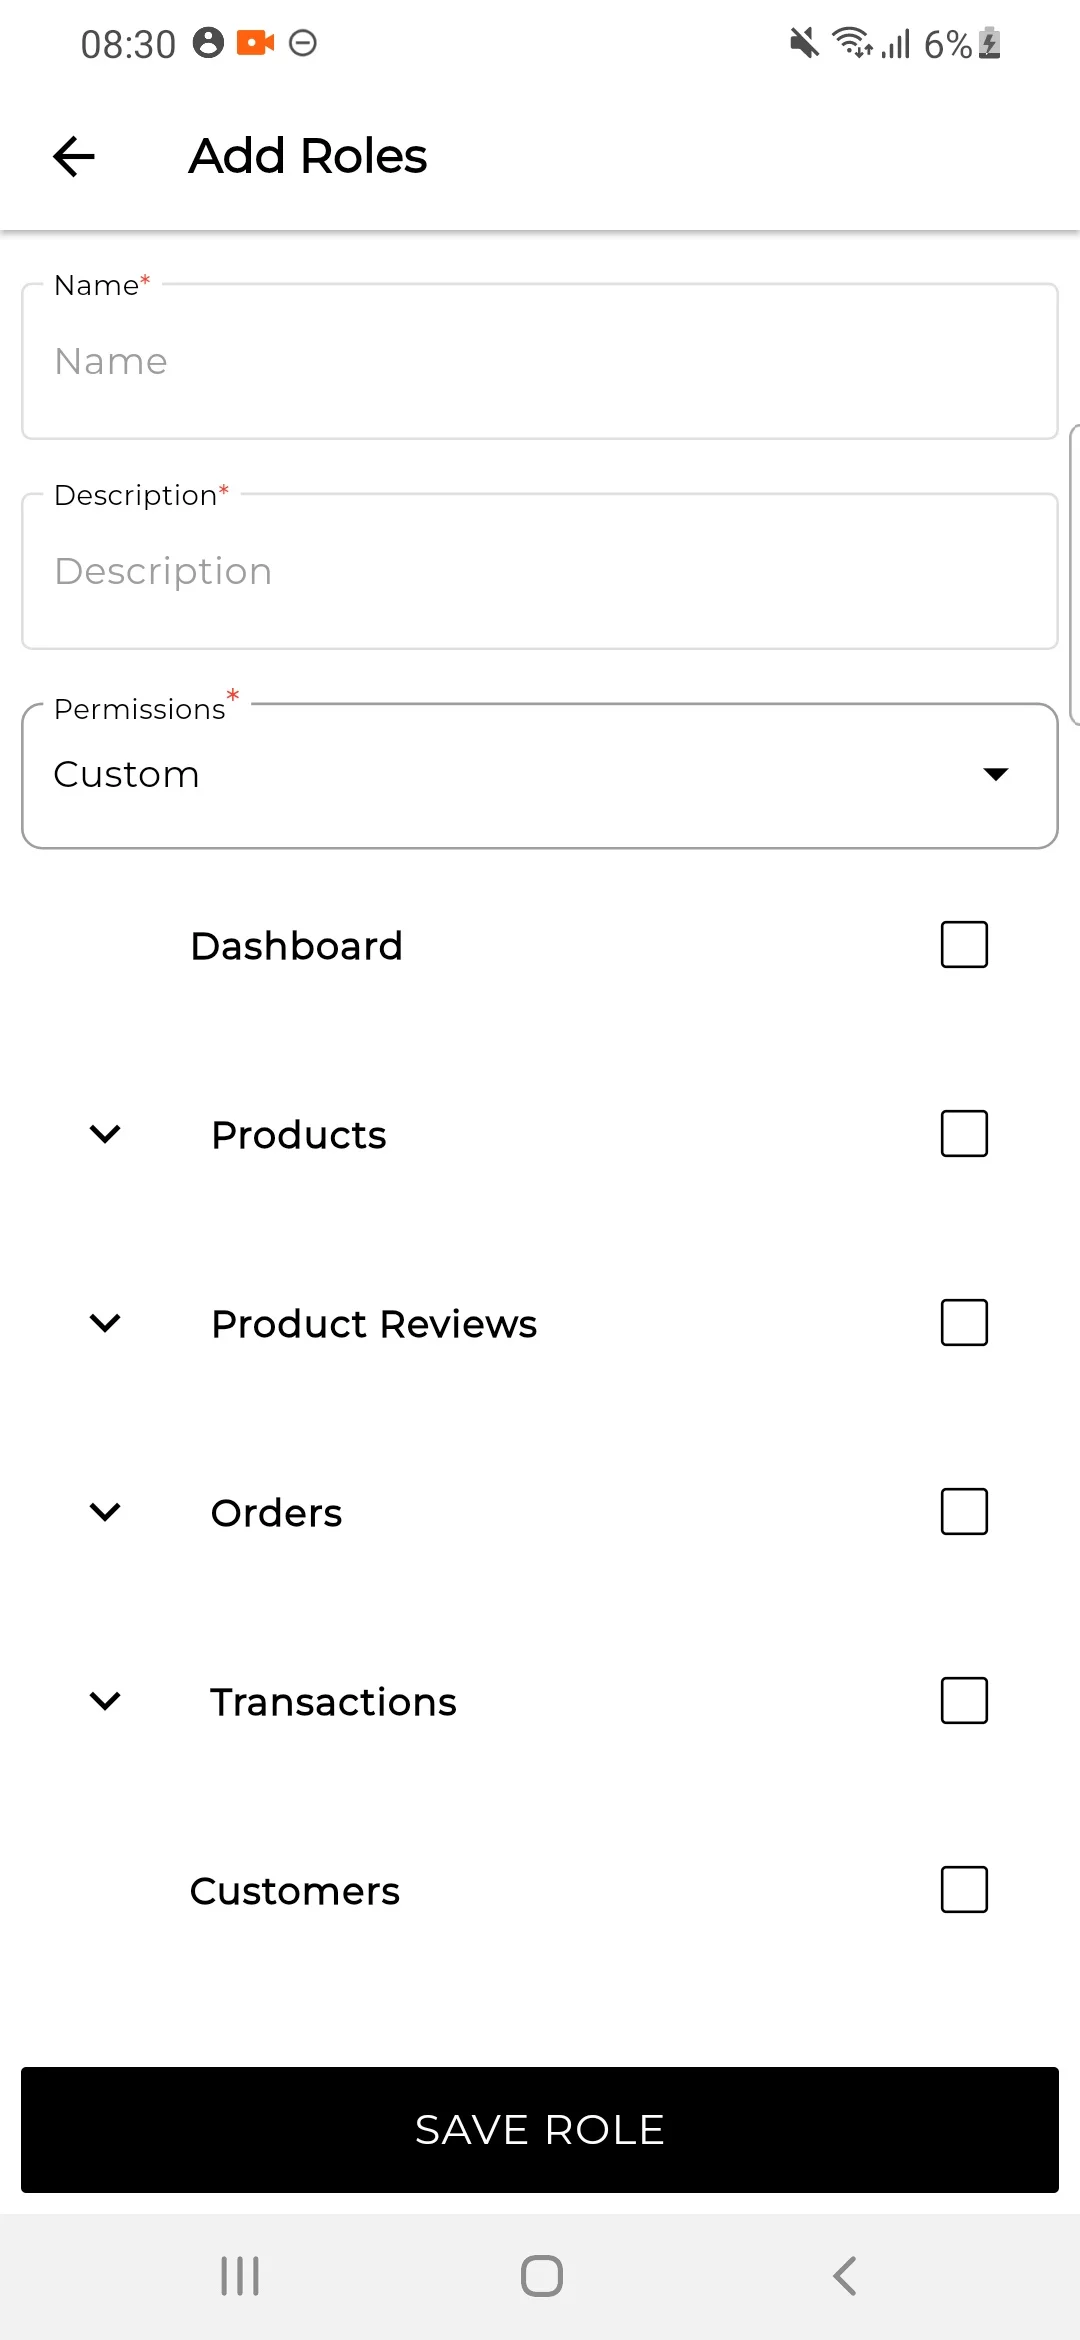
Sellers can create a custom role for creating the sub-seller. and view all the roles in the Role section.
To create a new role click on the Create Role Button. and select the fields that you want to give access to the users or sub-sellers.
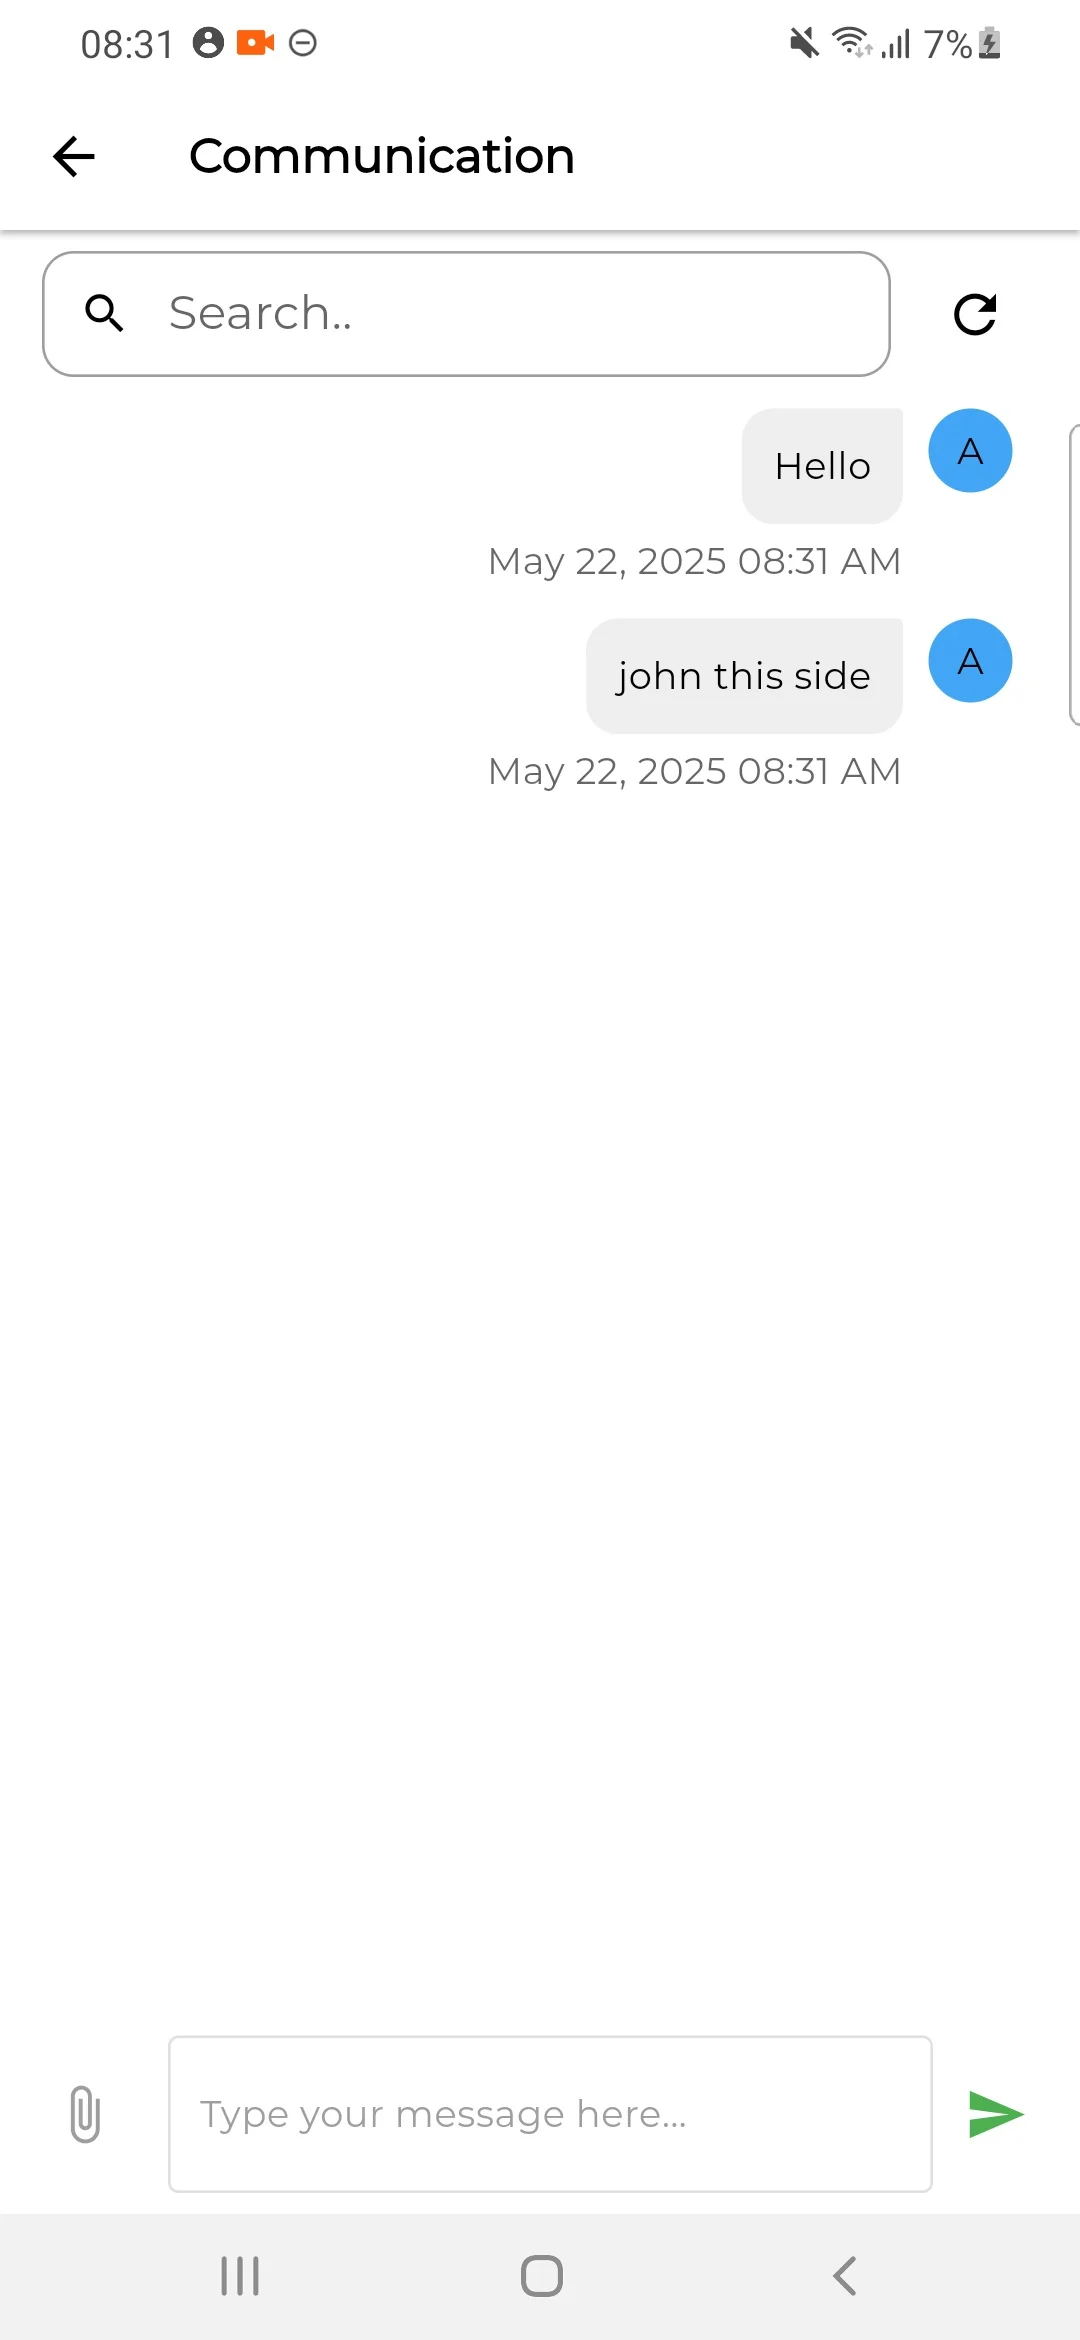
Communications
Now sellers can directly communicate with the admin of Laravel Multi Vendor Marketplace as shown in the image below
1) Sellers can able to send files and sort out the chat history as well as shown in the image below.
2) The Seller can also use the Search Bar to Search Messages the text will get highlighted accordingly check the below image for reference.
Sales Reporting
In the sales report seller can easily able to track
- Total Commission Paid
- Total Sales
- Purchase Funnels, Abandoned Carts
- Total Orders
- Average Order Value
- Tax Collected
- Refunds
Top Payment Methods.


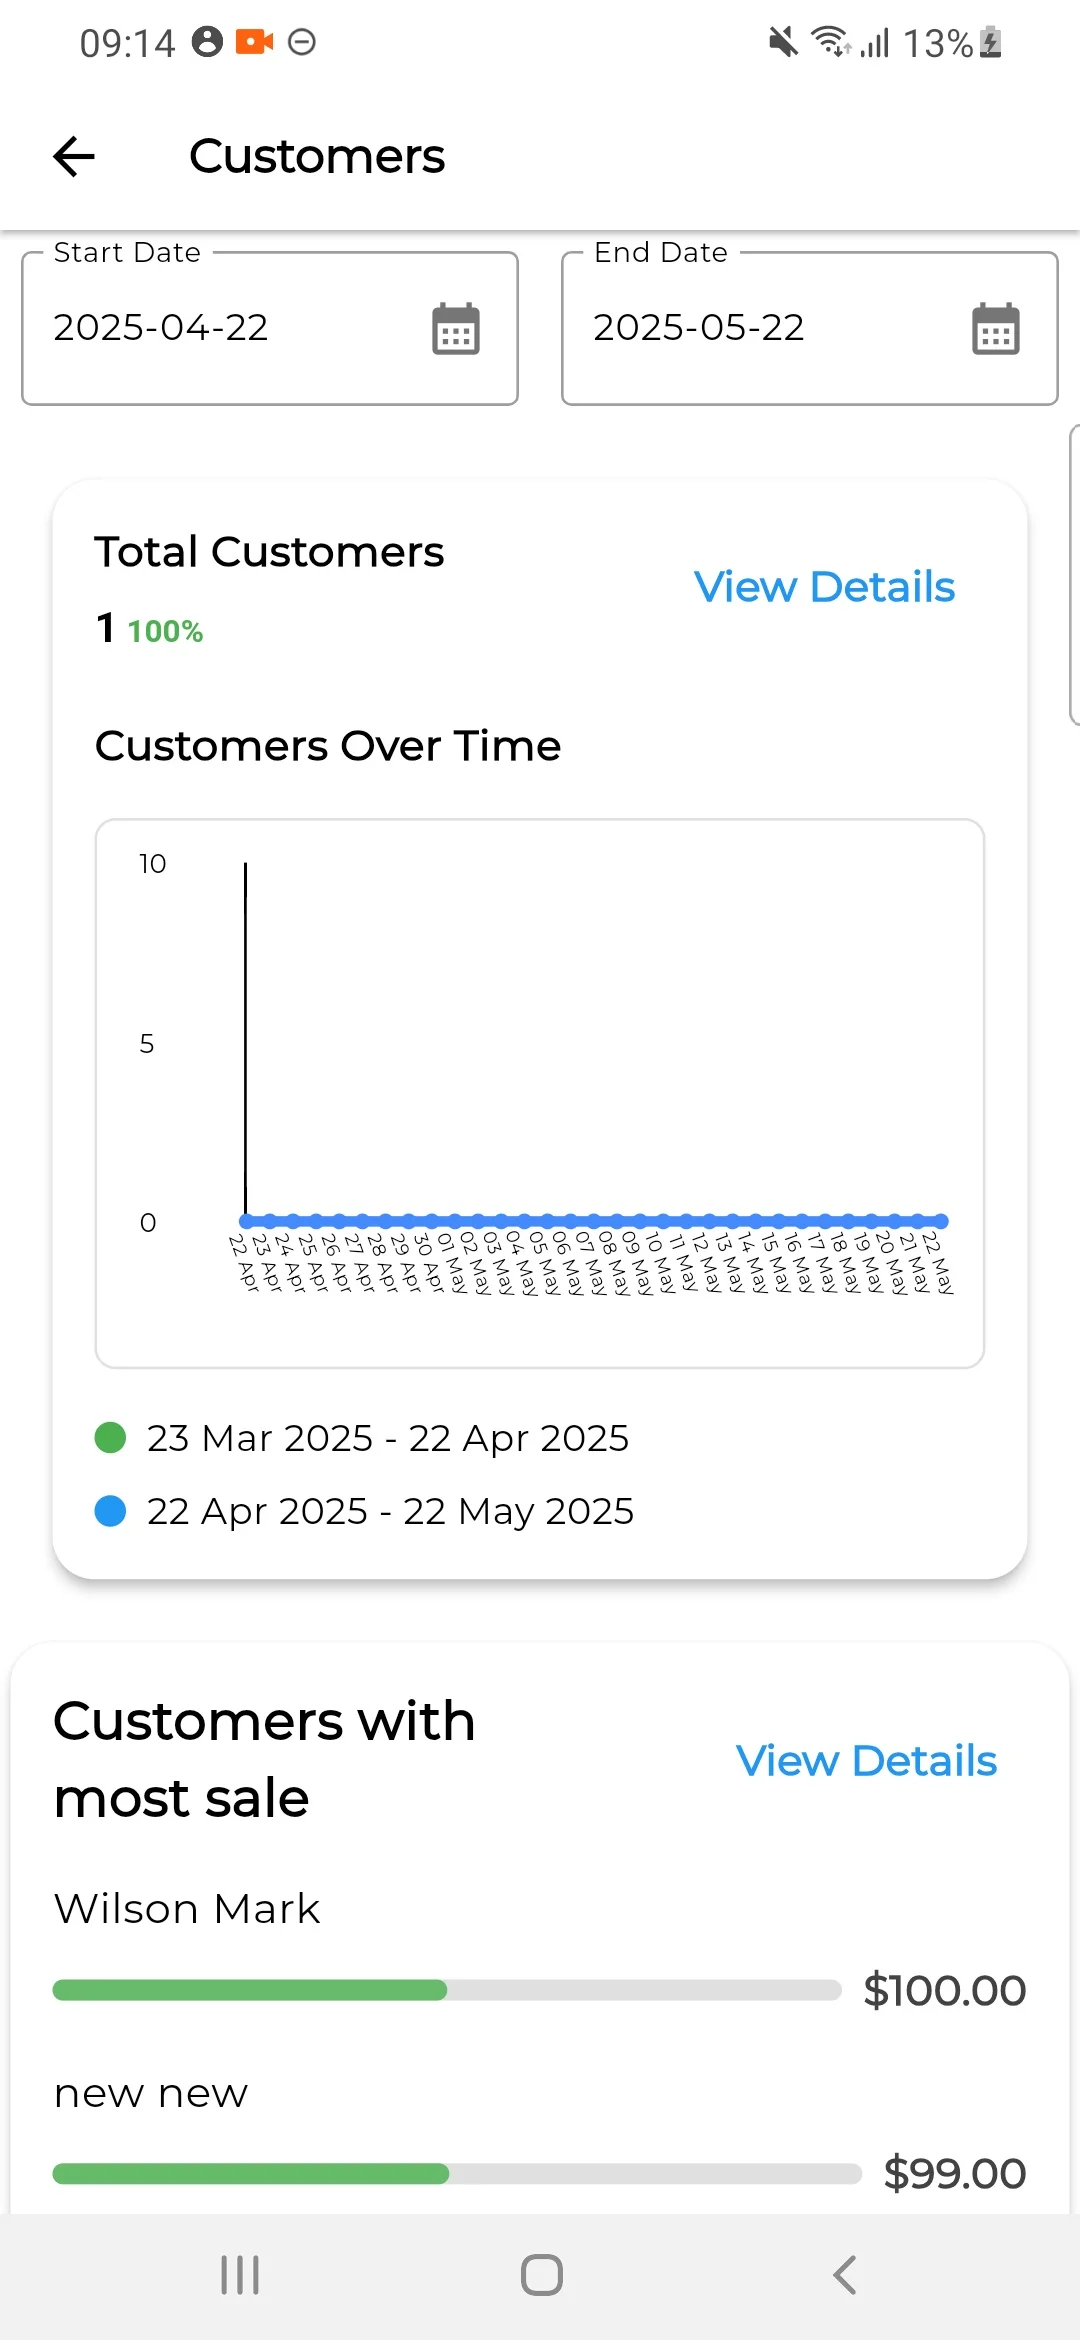
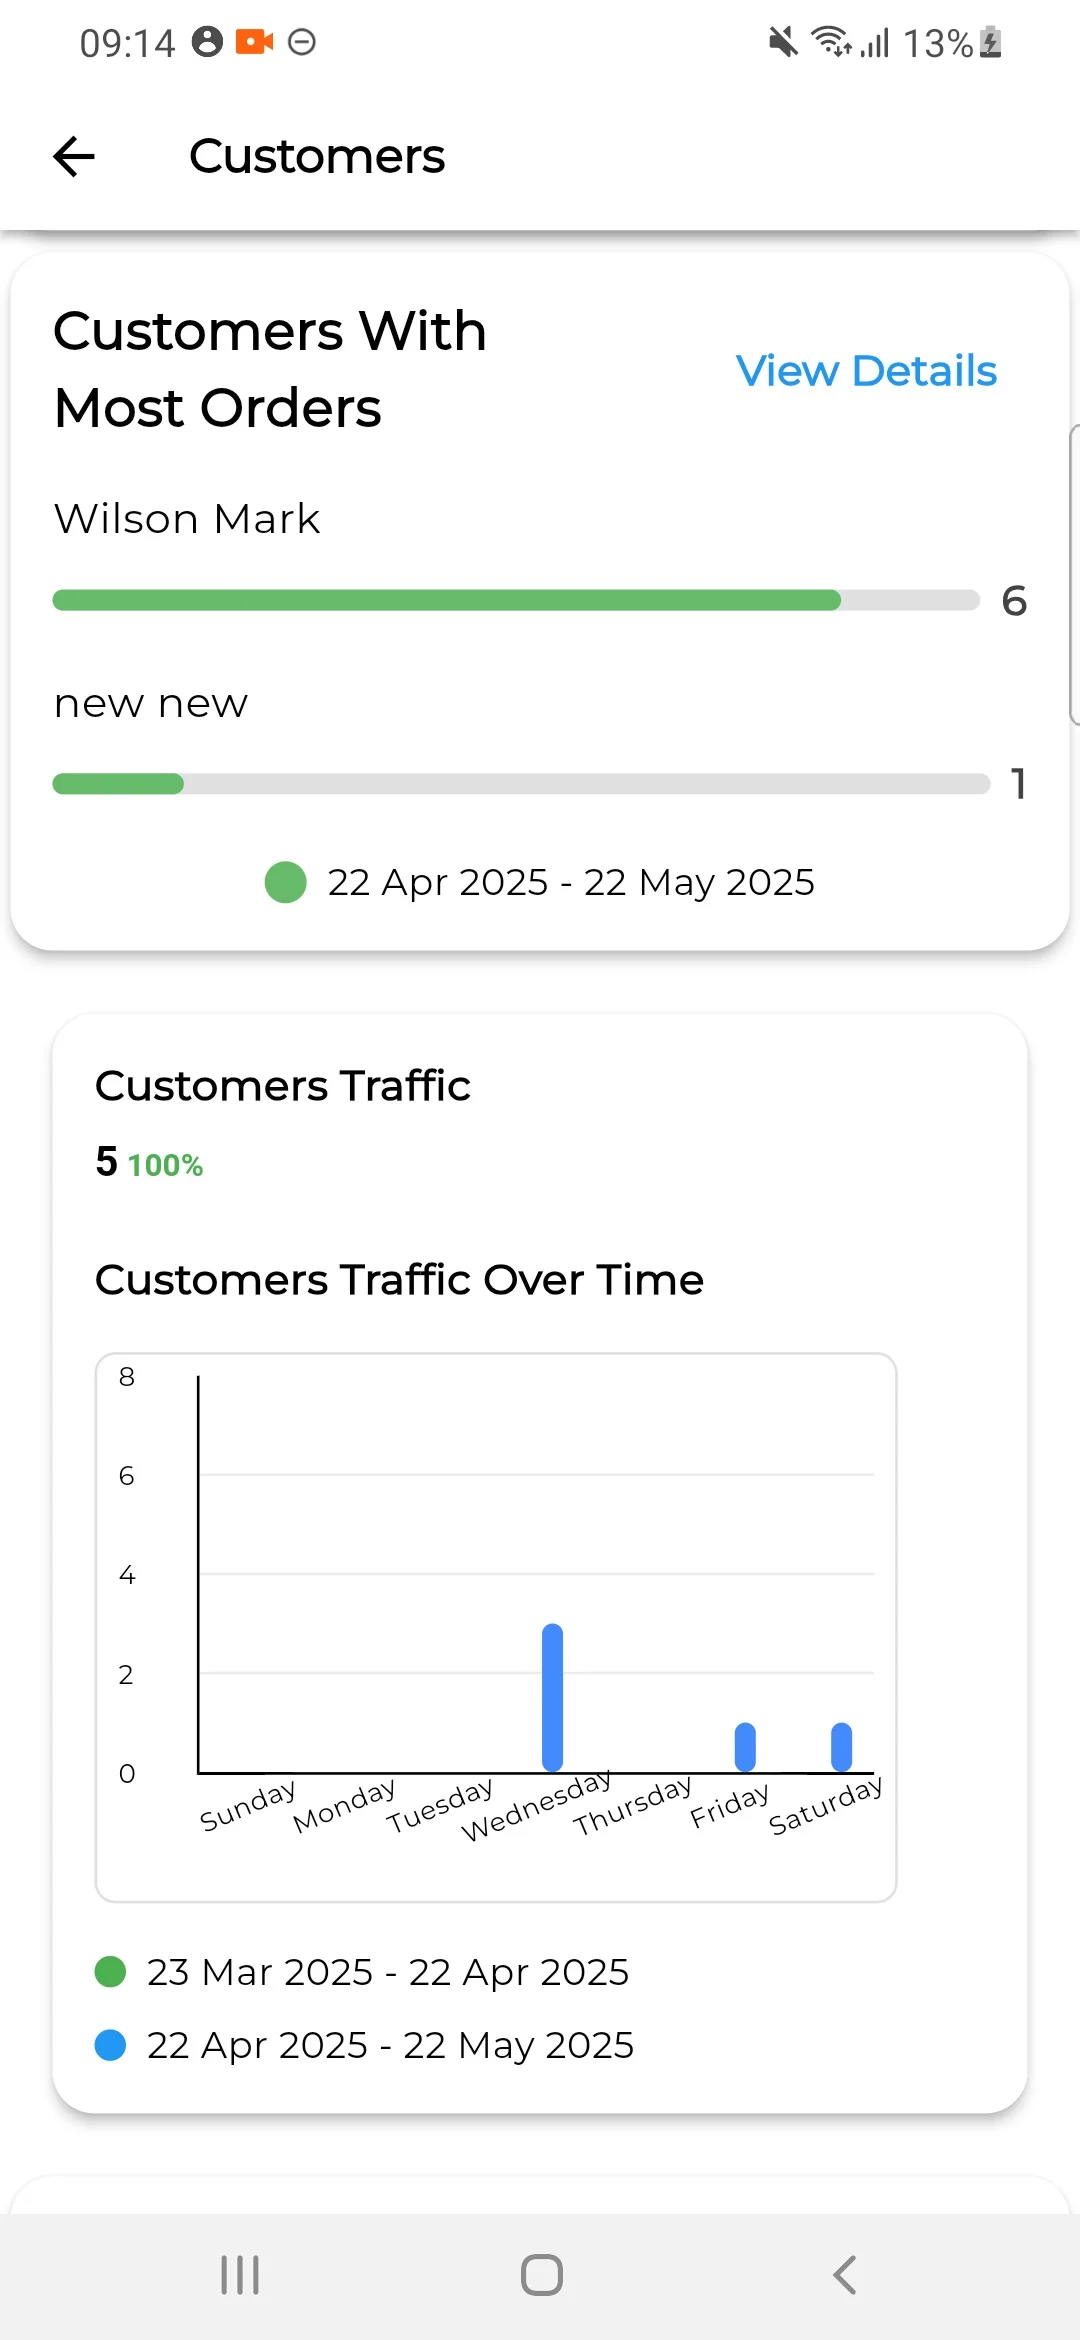
Customers
In the customers report seller can easily able to track
- Total Customers
- Customers With Most Sales
- Customers With Most Orders
- Customers Traffic
- Top Customer Groups
- Customers With the Most Reviews
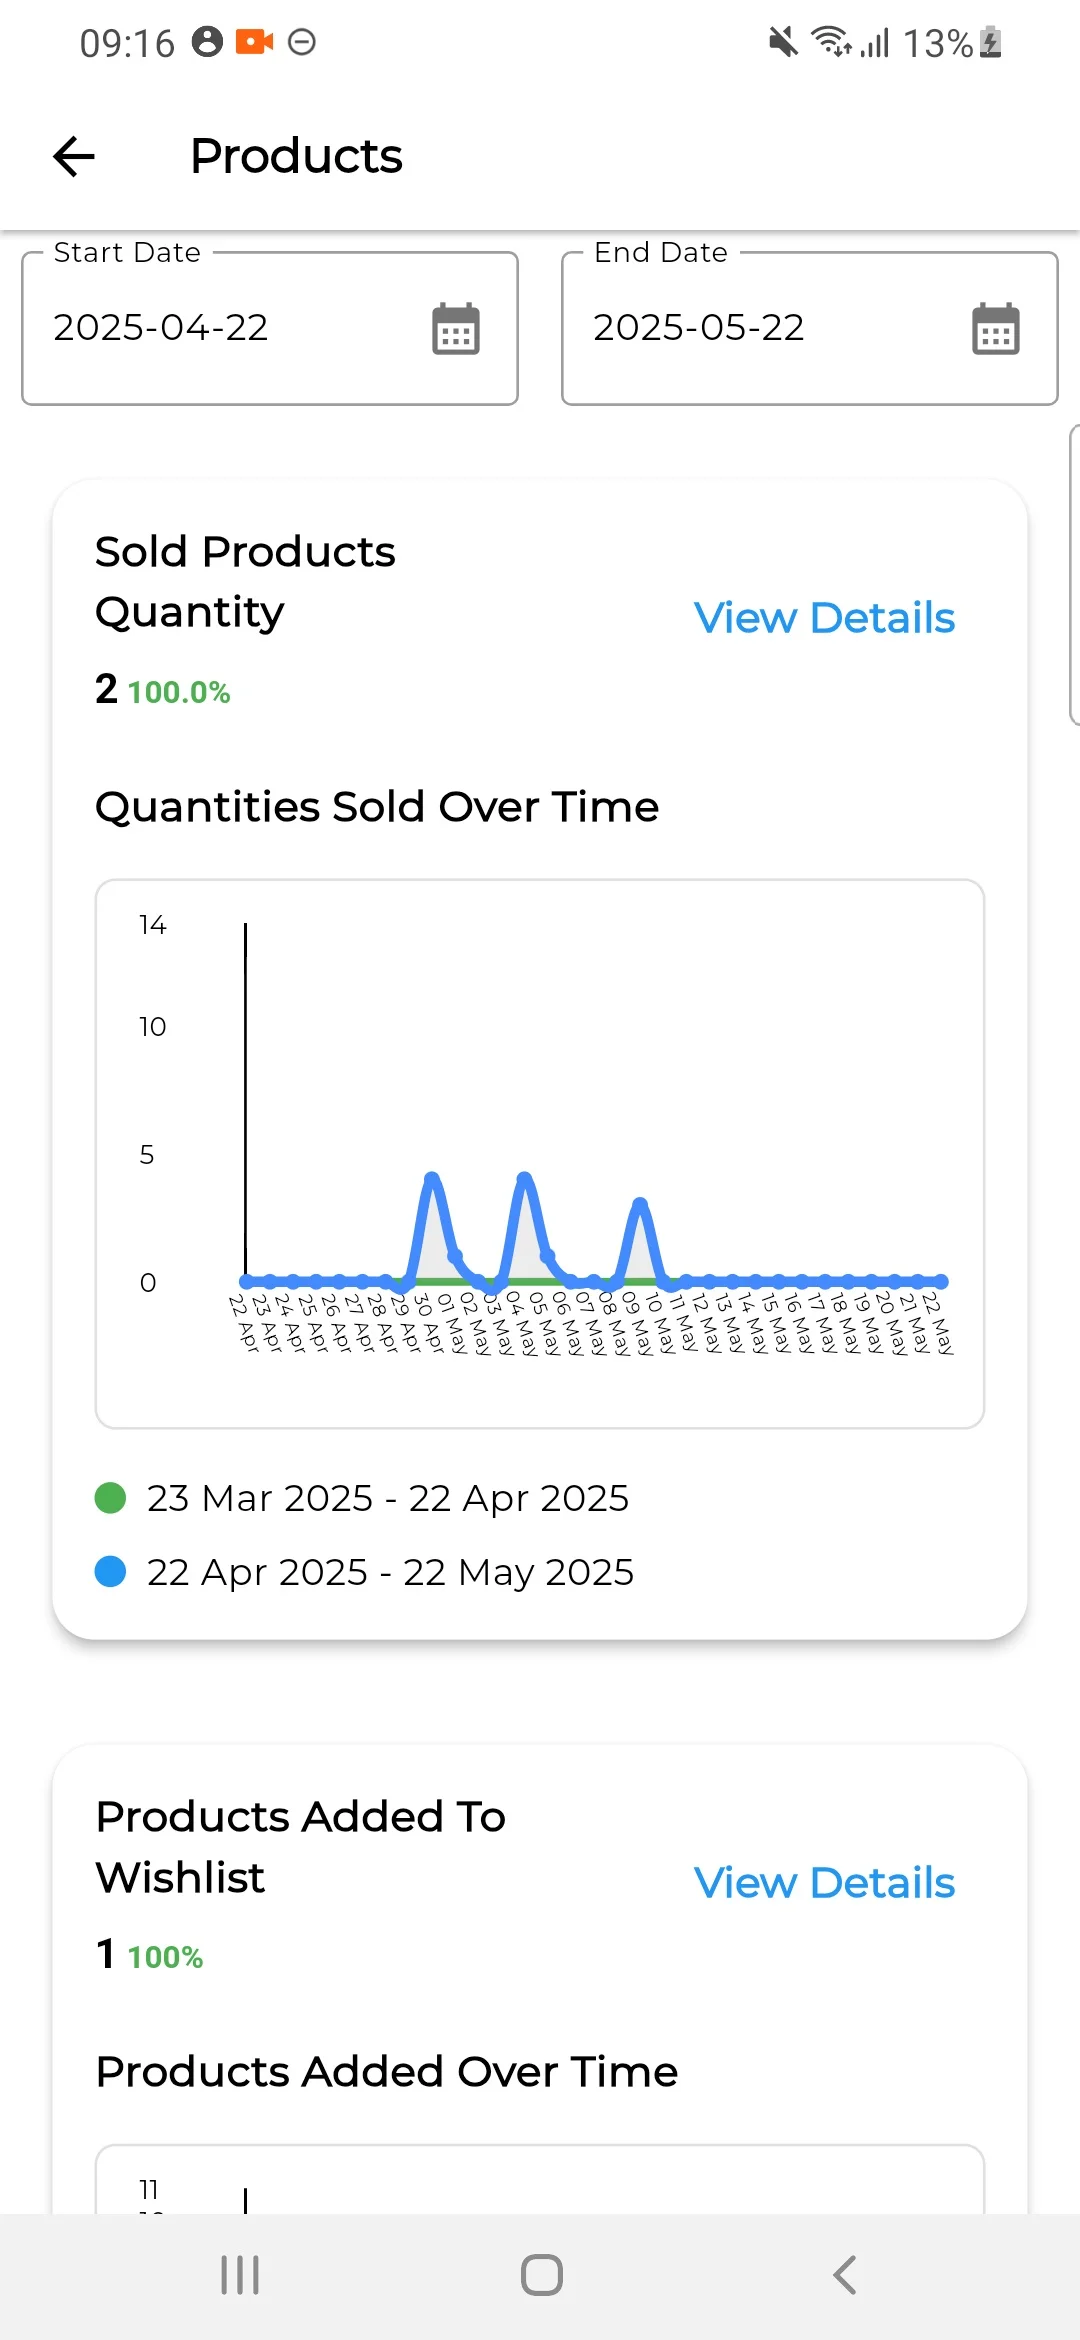
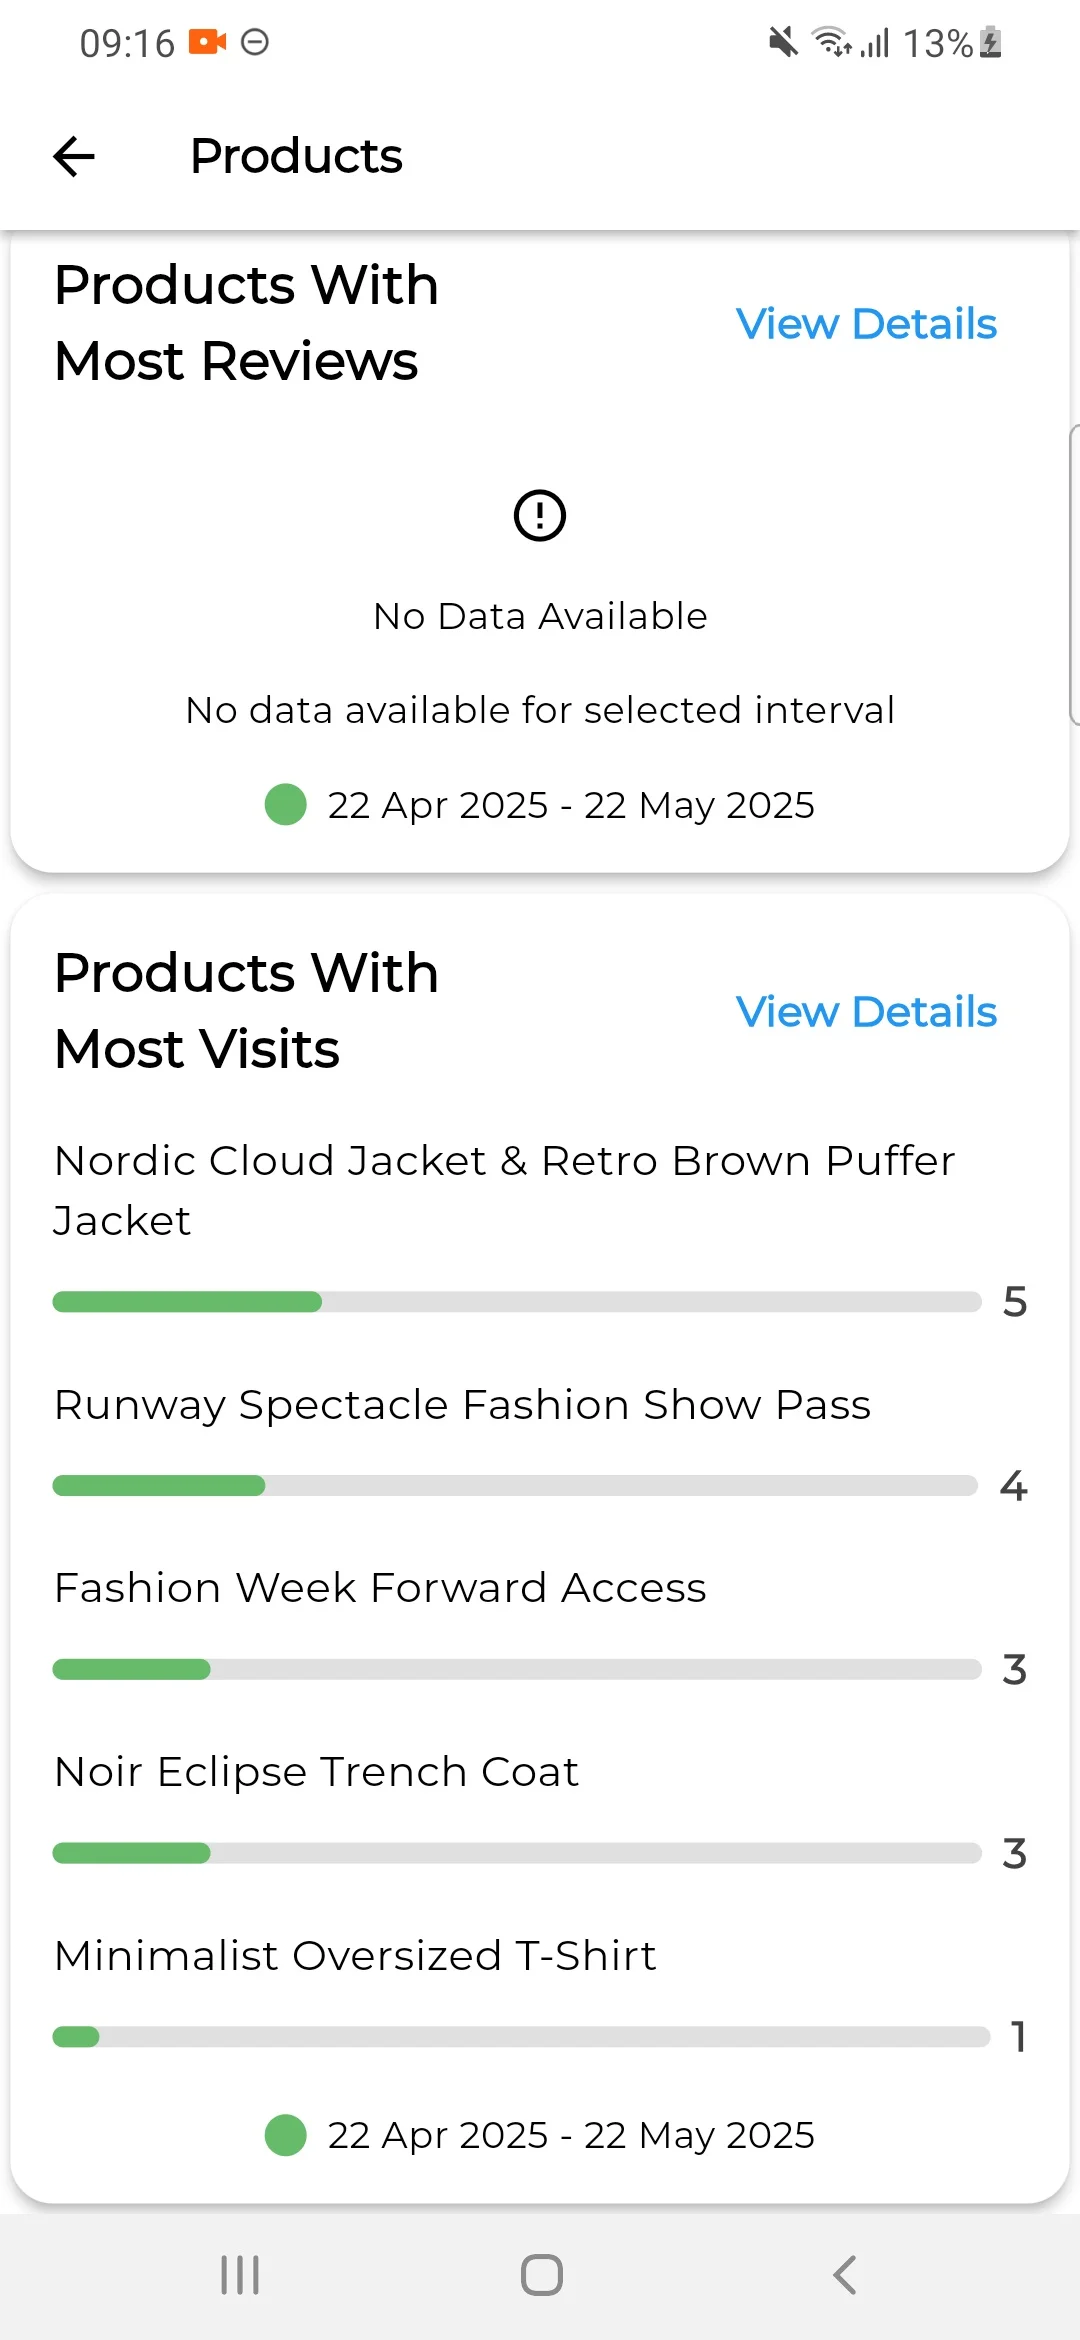
Products
In the products report seller can easily able to track
- Sold Products Quantity,
- Products Added To Wishlist
- Top Selling Products By Revenue
- Top Selling Products By Quantity
- Products With Most Reviews
- Products With Most Visits
Also, let us know your views to make the module better https://bagisto.uvdesk.com/en/.
If you’re looking to create a custom e-commerce website, it’s a great idea to check out our Laravel development services which will help you build a powerful and scalable online store.
You can also check our complete Bagisto Laravel Modules here.
Current Product Version - V2.2.2
Supported Framework Version - Bagisto v2.2.2

Be the first to comment.