CS-Cart Google Tag Manager add-on allows you to quickly and easily update tags and code snippets on your website that are intended for traffic analysis and marketing optimization.
Using this add-on the store owners can easily implement GTM on their website, which can then be used to manage and deploy various tracking tags.
So with the CS-Cart Google Tag Manager, store owners can collect valuable data on how their customers interact with their website, which can be used to make informed decisions about marketing and advertising campaigns.
Note: Before installing the add-on, extract the downloaded package.
- Install the License Manager add-on first.
- Then install the required add-on.
- Follow the license activation steps to generate your license key.
Features
- The admin can easily configure the Google Tag Manager within their CS-Cart store.
- Add your Container ID as required.
- Admin can check some customer events (Select Item, View Item List, Add to wishlist, Remove product from cart, Checkout begin, Shipping Methods, Payment Methods, Return Order).
- The add-on supports CS-Cart Ultimate and CS-Cart Multivendor as well.
Installation Procedure
After you download the add-on, you get one zip file and the install.txt file. Please read it carefully and follow it.
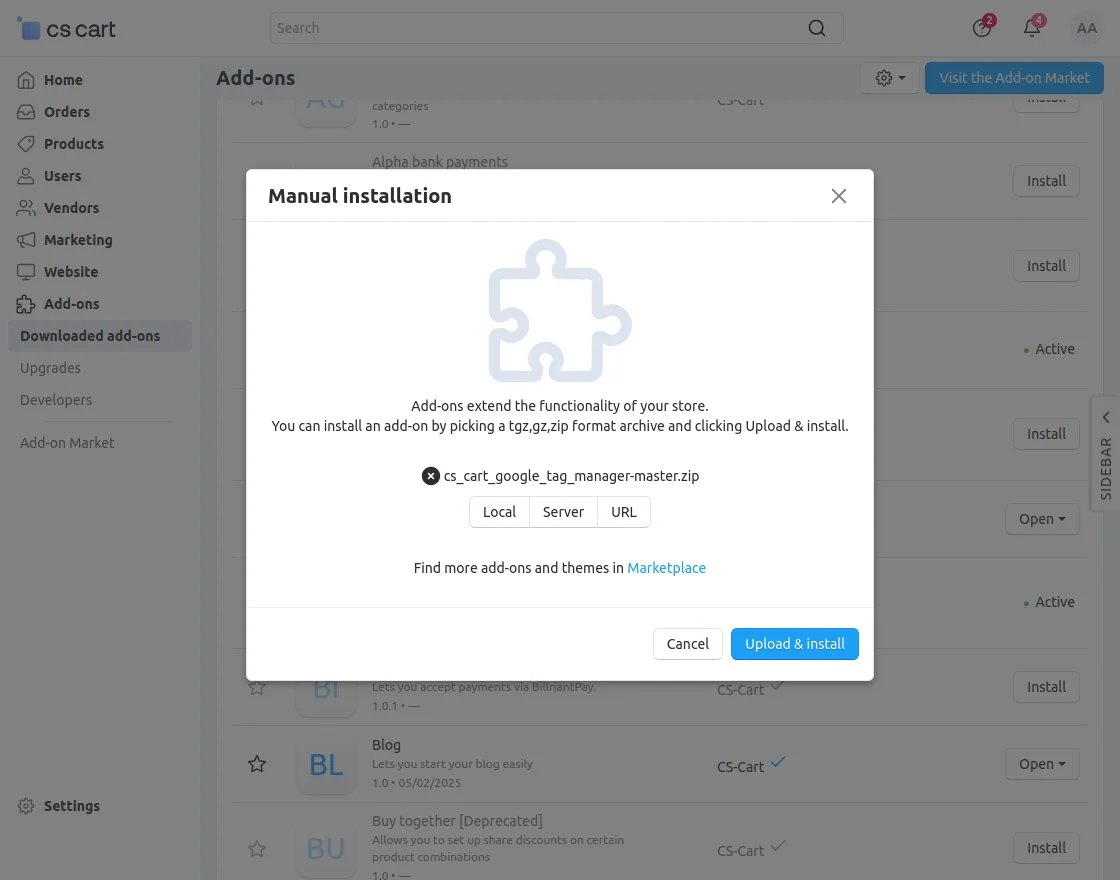
Now, navigate to the admin backend panel via Add-ons->Manage add-ons and tap on the cog icon and then tap the Manual installation option.
Thereafter a pop-up comes up, on that click on “Local” to browse the zip file, and then click on the “Upload & install” button.
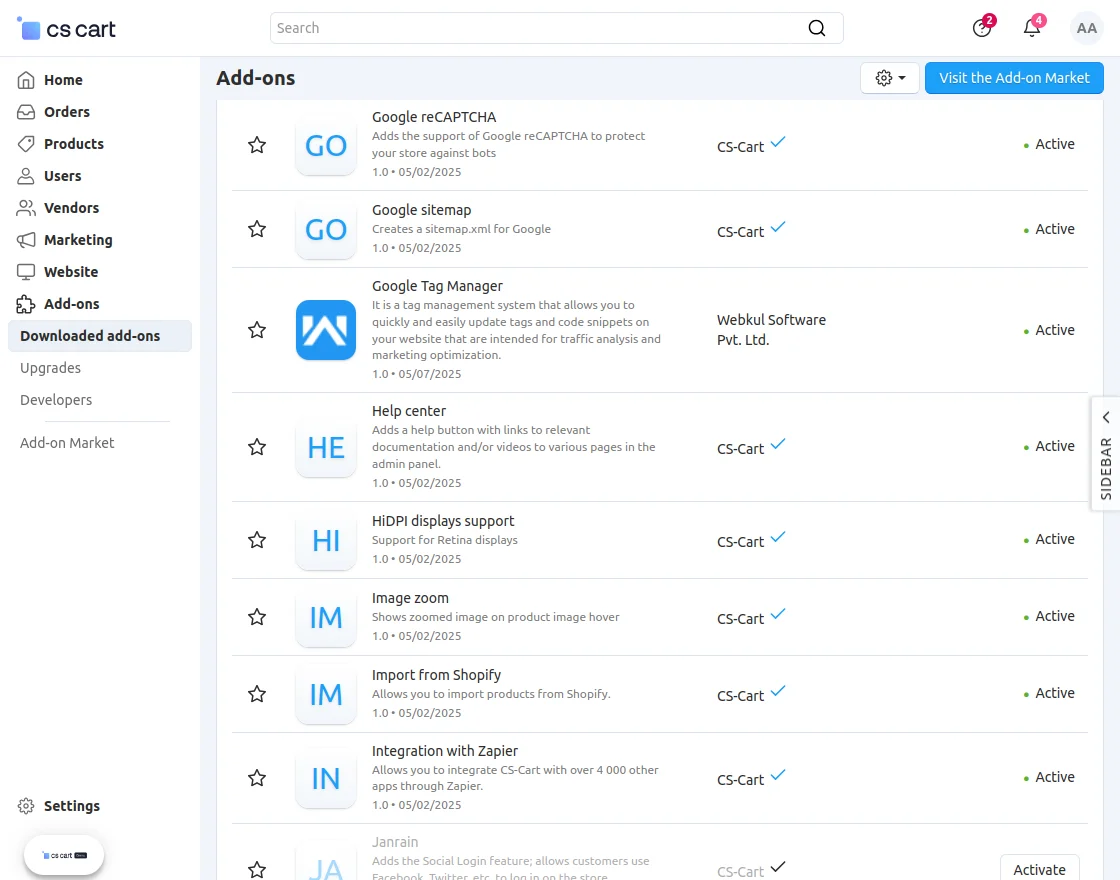
After installation of the add-on, you will find the “Google Tag Manager” in the list of available add-ons.
Initial Configuration
After the successful installation of the CS-Cart Google Tag Manager add-on, the admin can configure the plugin’s settings.
Now, navigate to the Add-ons section and tap on the Google Tag Manager add-on. Then go to the settings tab.
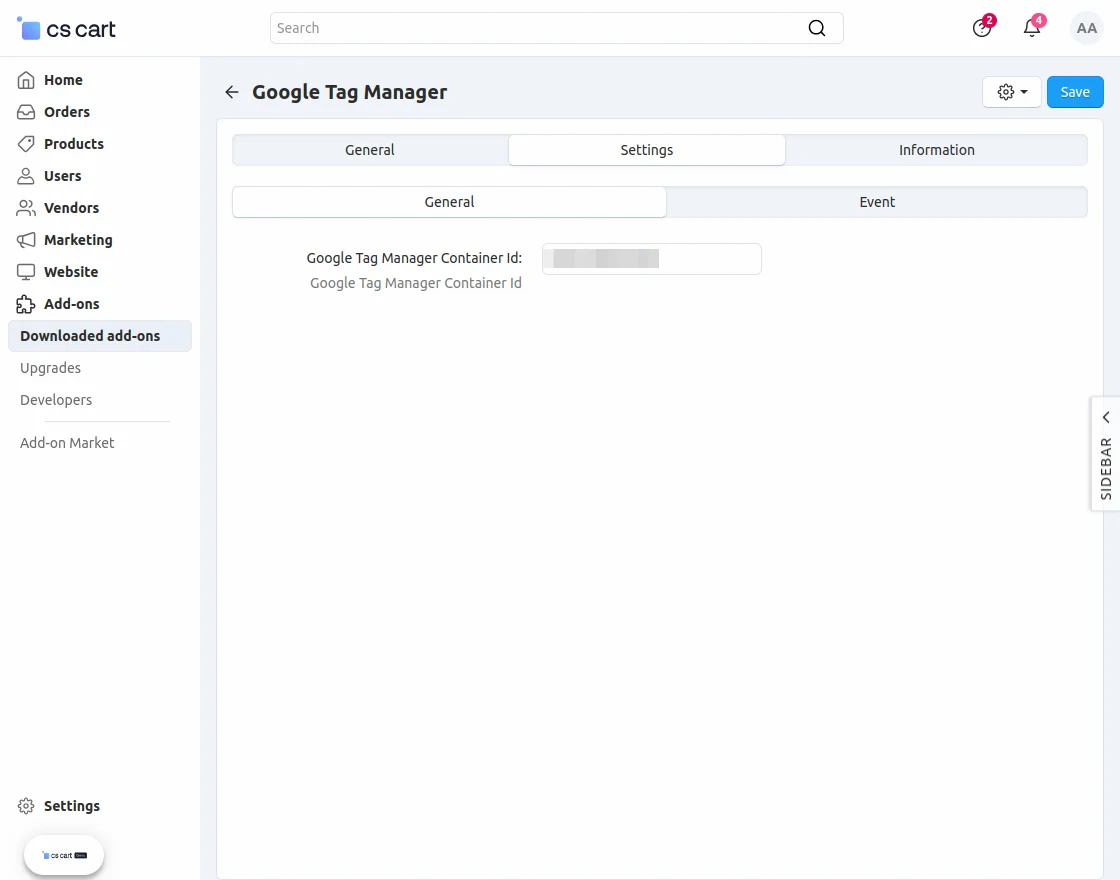
General
Here, the admin will –
Google Tag Manager Container Id:
Enter your GTM container id within this section and tap on the Save button at the top right-hand corner.
Event
Here, the admin will select the event tags for which the Google Analytics should work for the website.
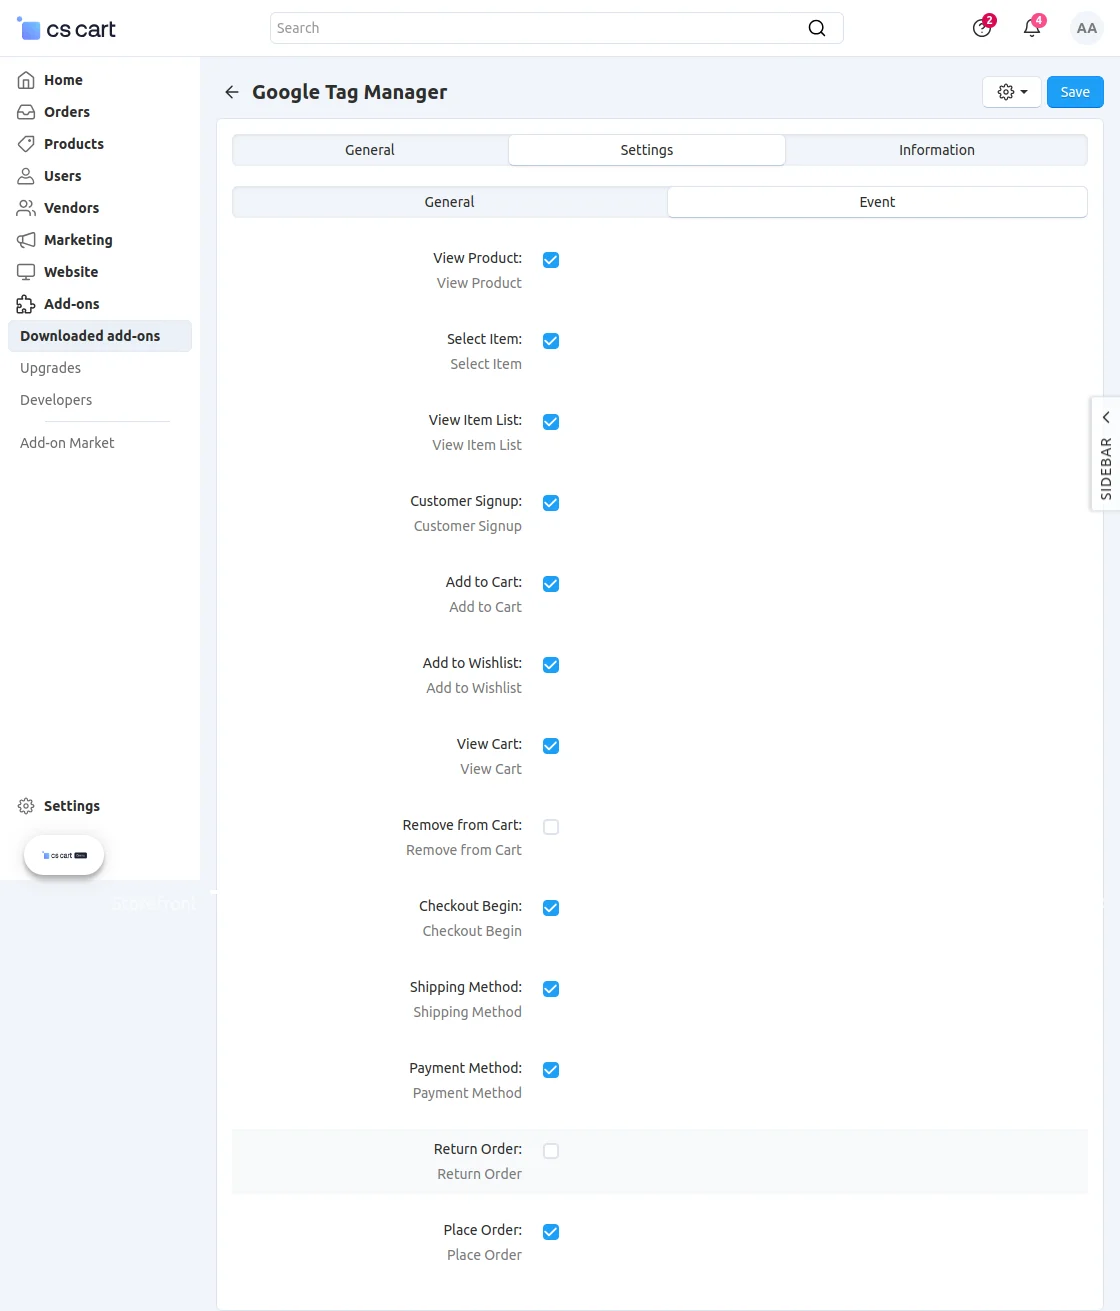
The admin can choose events from the available ones:
View product, Customer Signup, Add to Cart, View Cart, Select item, Add to Wishlist, Remove from Cart, Checkout Begin, Shipping Method, Payment Method, Return Order, and Place Order.
How to get the Container ID?
To get the container ID, you must log in to your GTM console and create an account first. After logging in to the GTM console you can see the below screen.
Here, tap on the Create Account button to create an account first.

Now, enter the Account name, choose the country, set the Container name(the website URL without Https:// where you want to use Google Analytics),
Choose the target platform(choose Web), and tap the Create button after that.

After tapping on the Create button you will see a popup. Accept the terms and conditions and tap on the Yes button after that as shown below in the snapshot.

Now, you can see the Container ID that needs to be entered in the admin configuration.
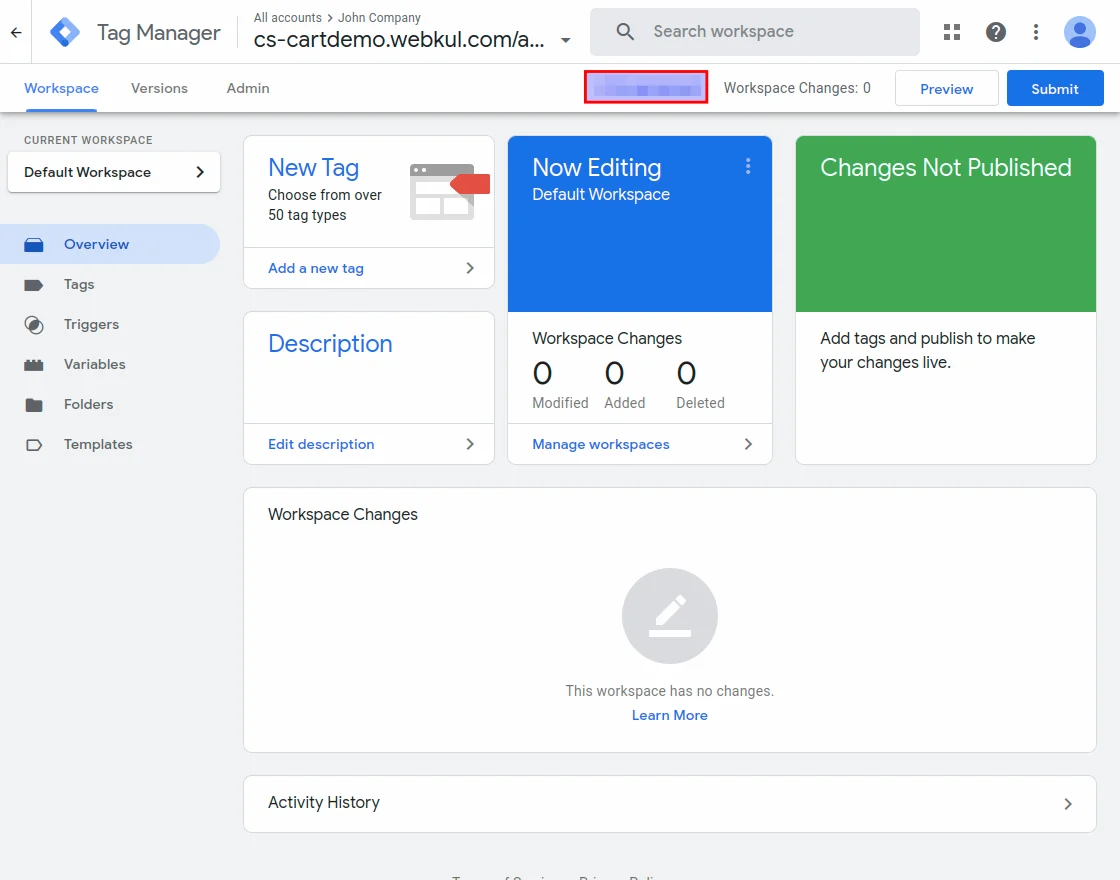
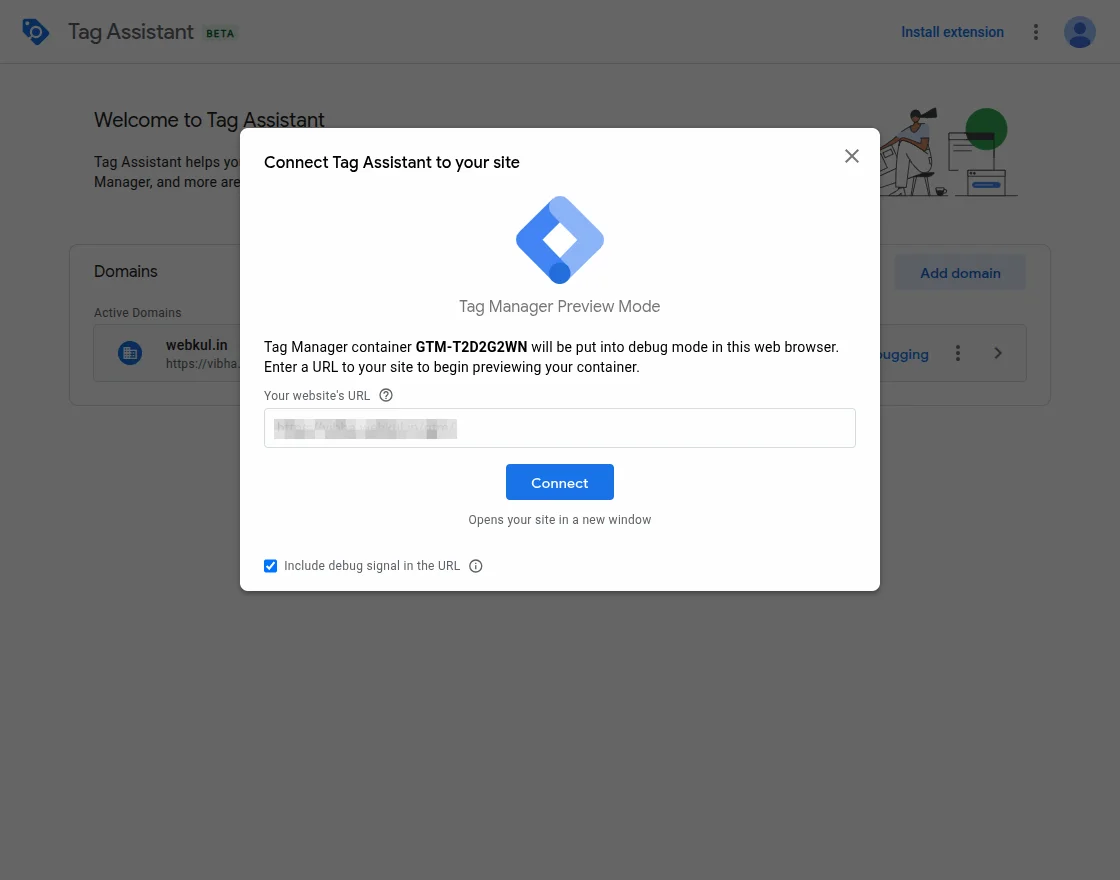
Also, you can click on preview and enter your website’s URL to begin previewing your container.
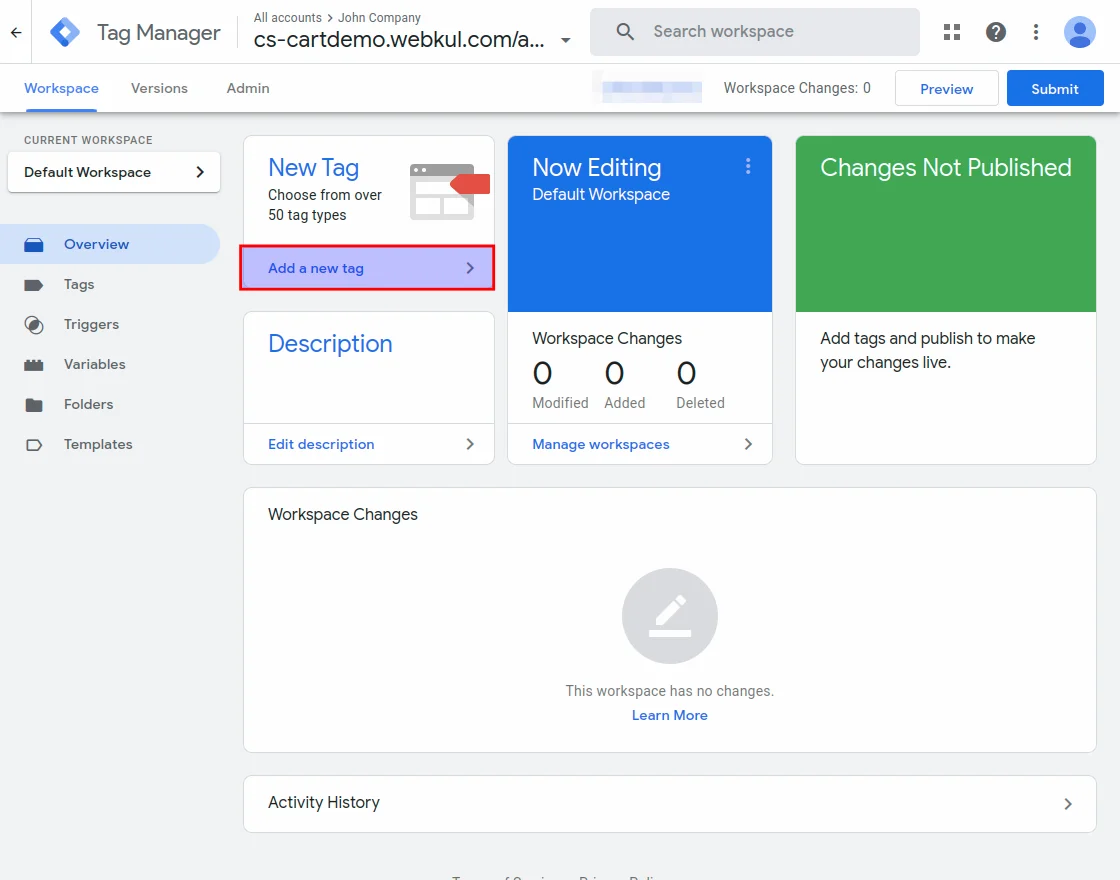
How to add a New Tag?
To add a new tag, navigate to the GTM console and tap on the Add New Tag option.
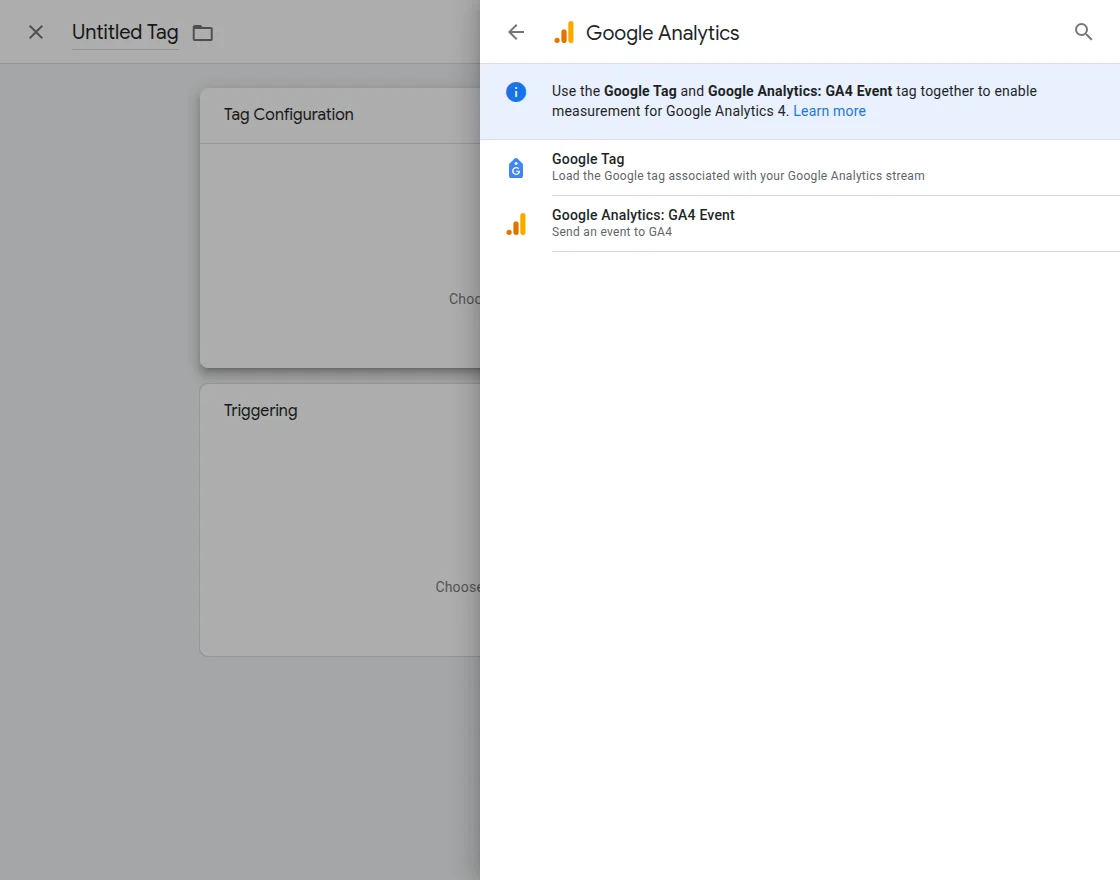
This brings up the section to select the Tag Configuration. Here, for the tag configuration, tap the Choose a tag type to begin setup.

Here, select Google Analytics –

Now, choose Google Analytics: GA4 Event.
After selecting GA4 Event Analytics, enter the measurement ID and event name.
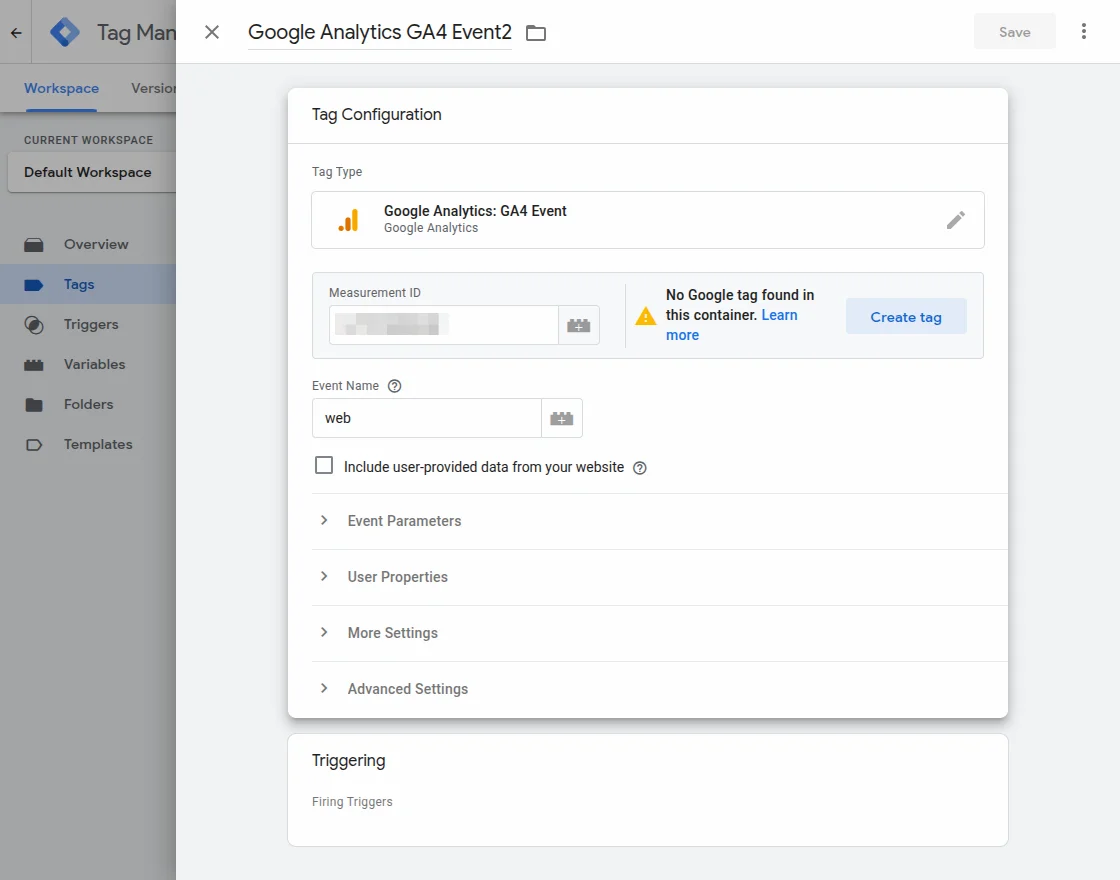
After entering the Measurement ID, tap on the save button on the top right-hand side.
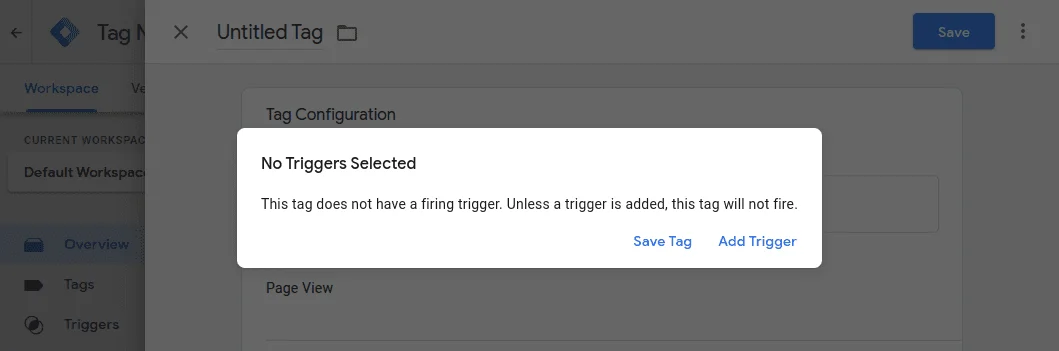
This brings up the section asking to add the triggers, tap the Add Trigger option.
After that select the All pages check box and tap Add button. The events that are selected in the plugins event section will be registered for the pages.

Lastly, tap the Save button.
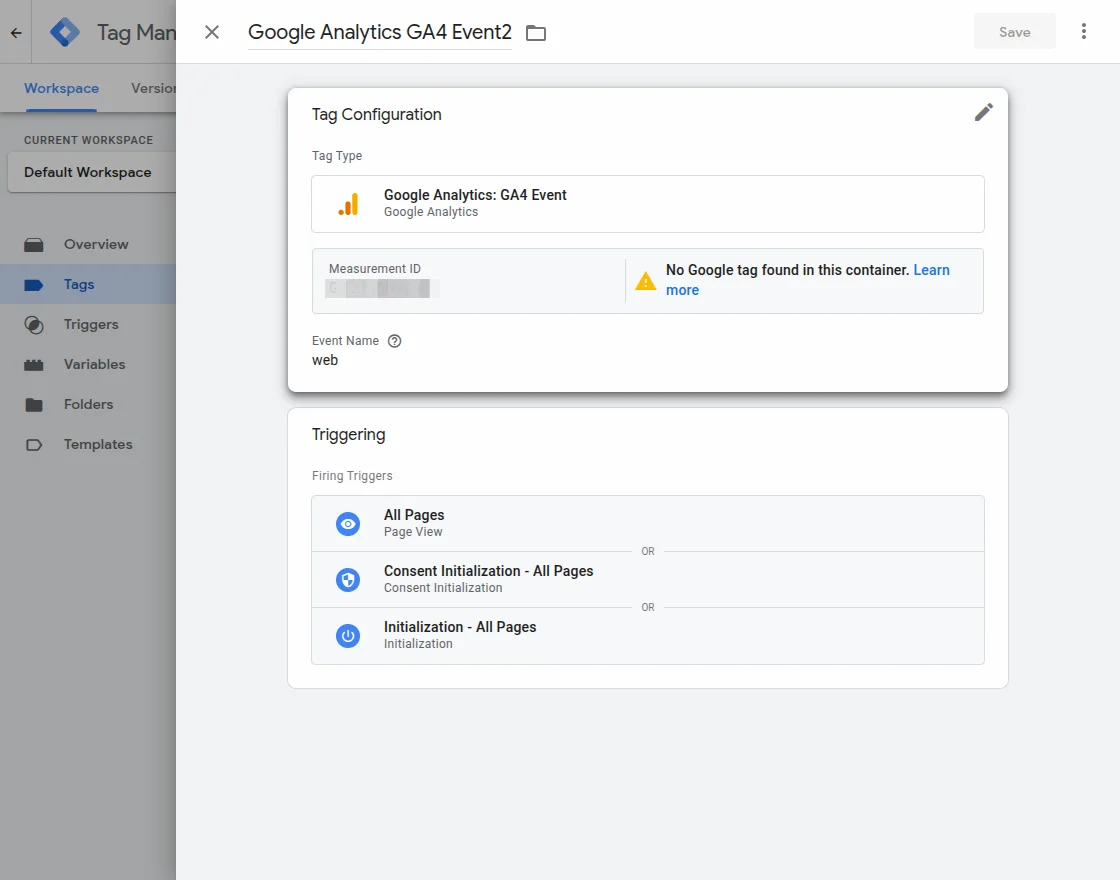
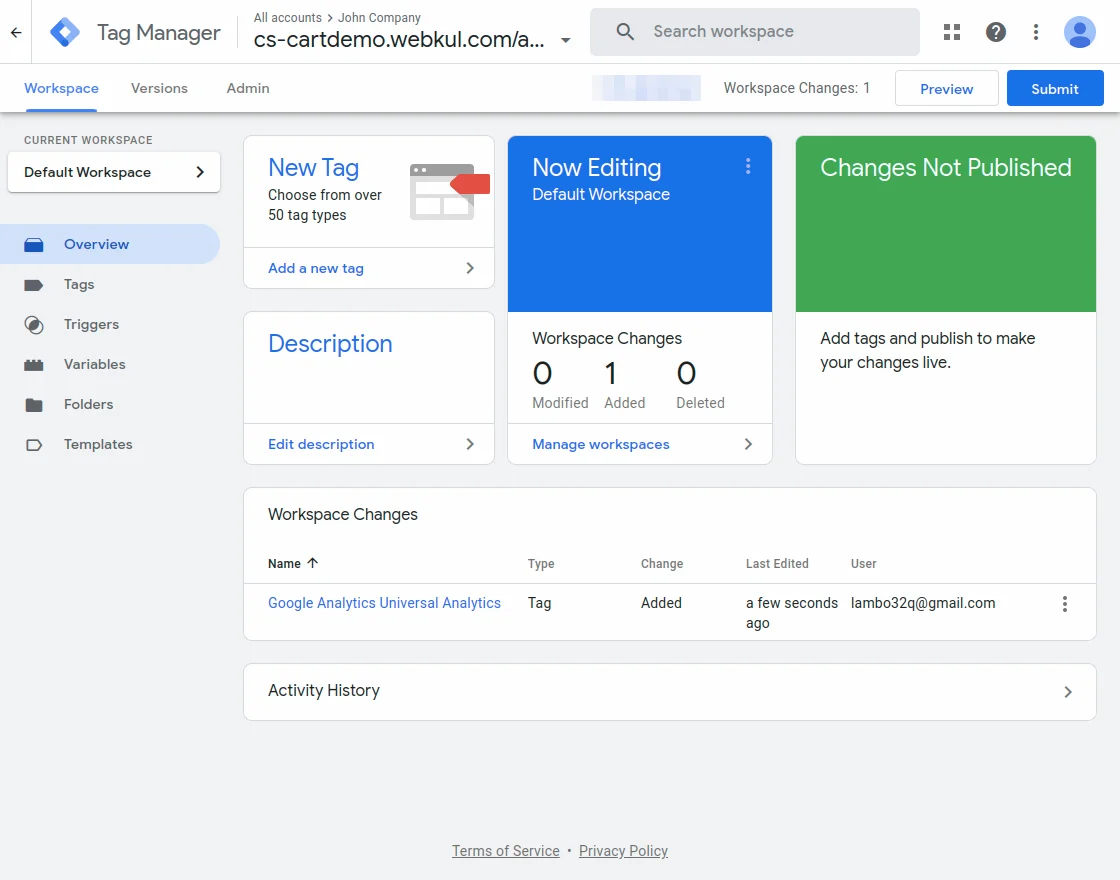
The admin can then see the created tag as required.
Getting the Measurement ID from Google Analytics Dashboard
Login to your Google Analytics console using the same Gmail id that you used for the GTM console login. After that create an account by tapping on the Start Measuring Tab as mentioned below.

This brings up the section to create an account at Google Analytics.
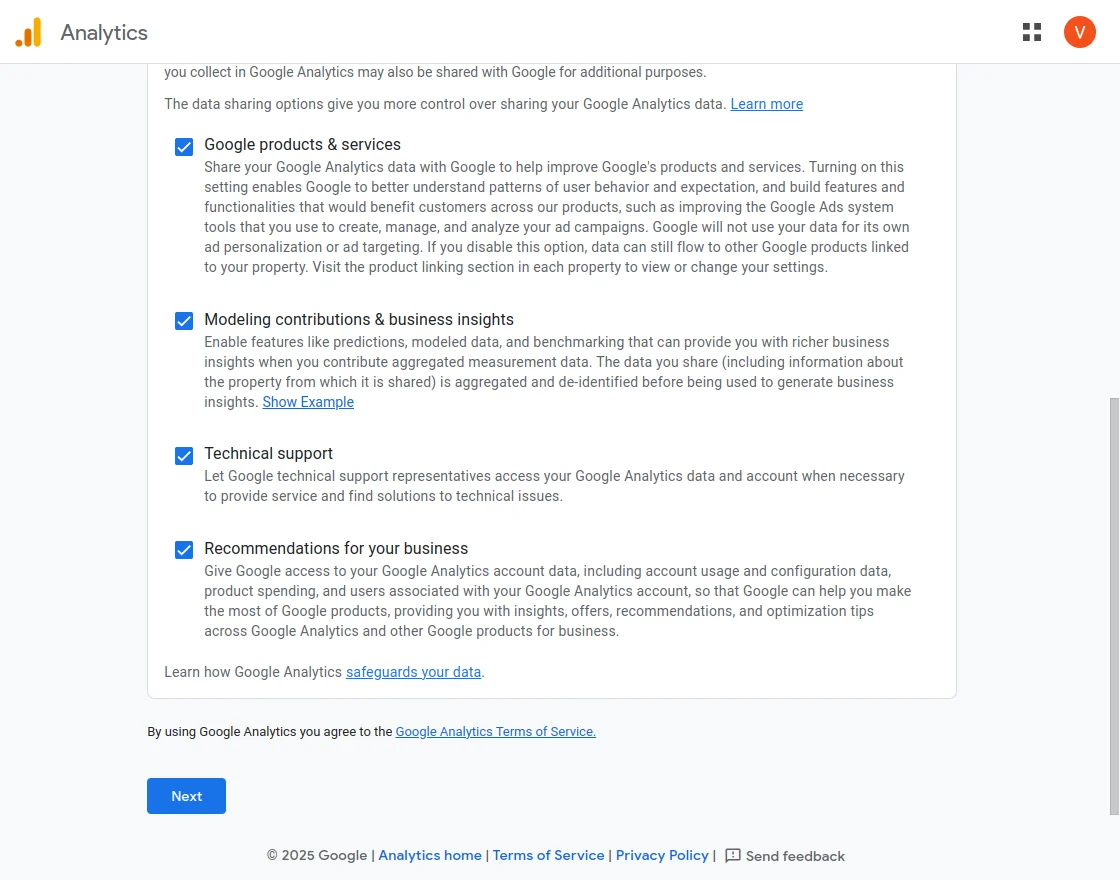
Here, enter the required details which include the – Account name, select the Google products & services checkbox, and then tap the Next button to set the property setup.
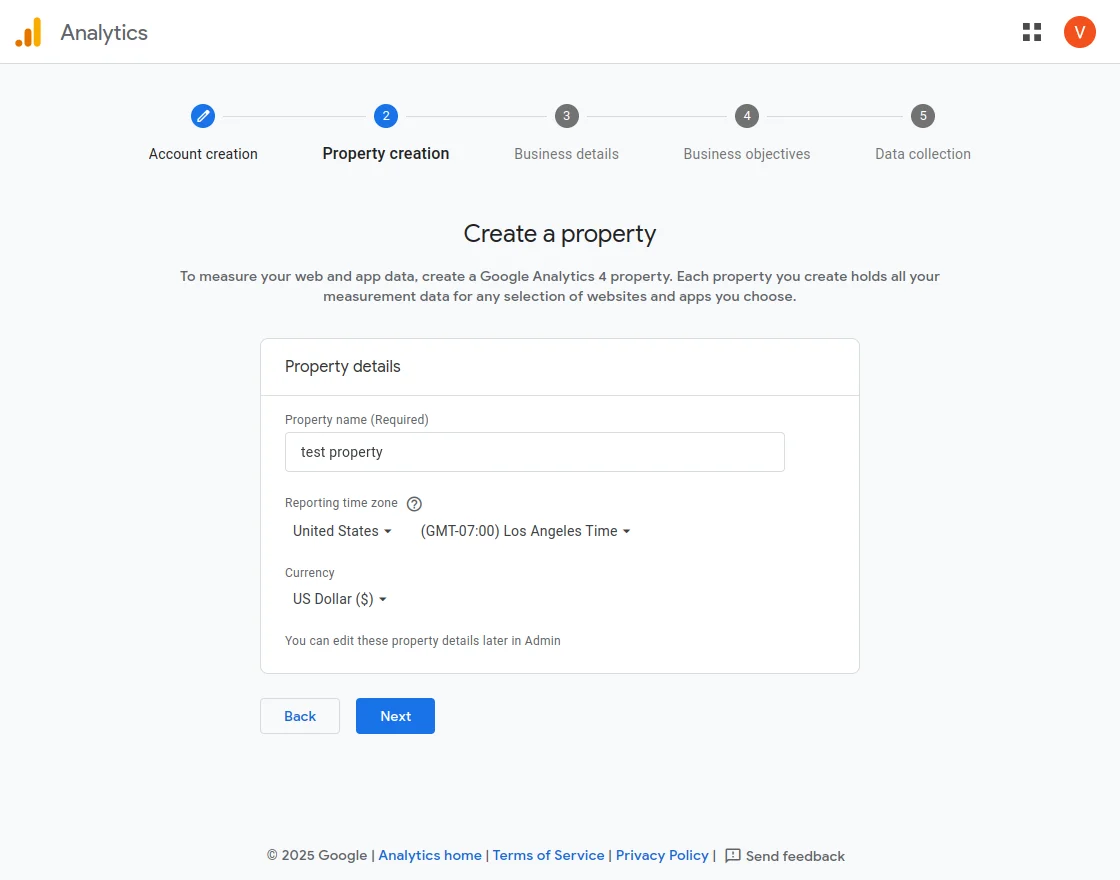
Under Property setup set the property name.
Under the about your business section select the appropriate options and tap on the Create button after that.

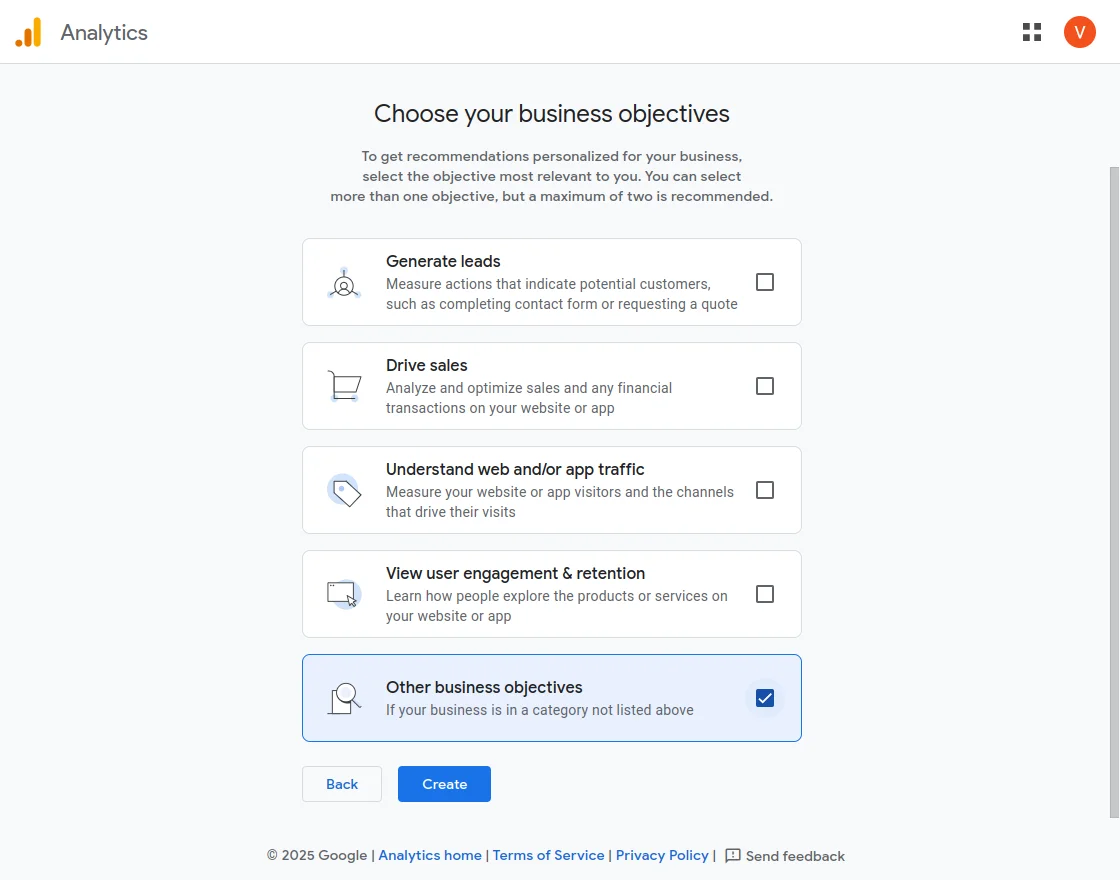
Now, select the business objective.
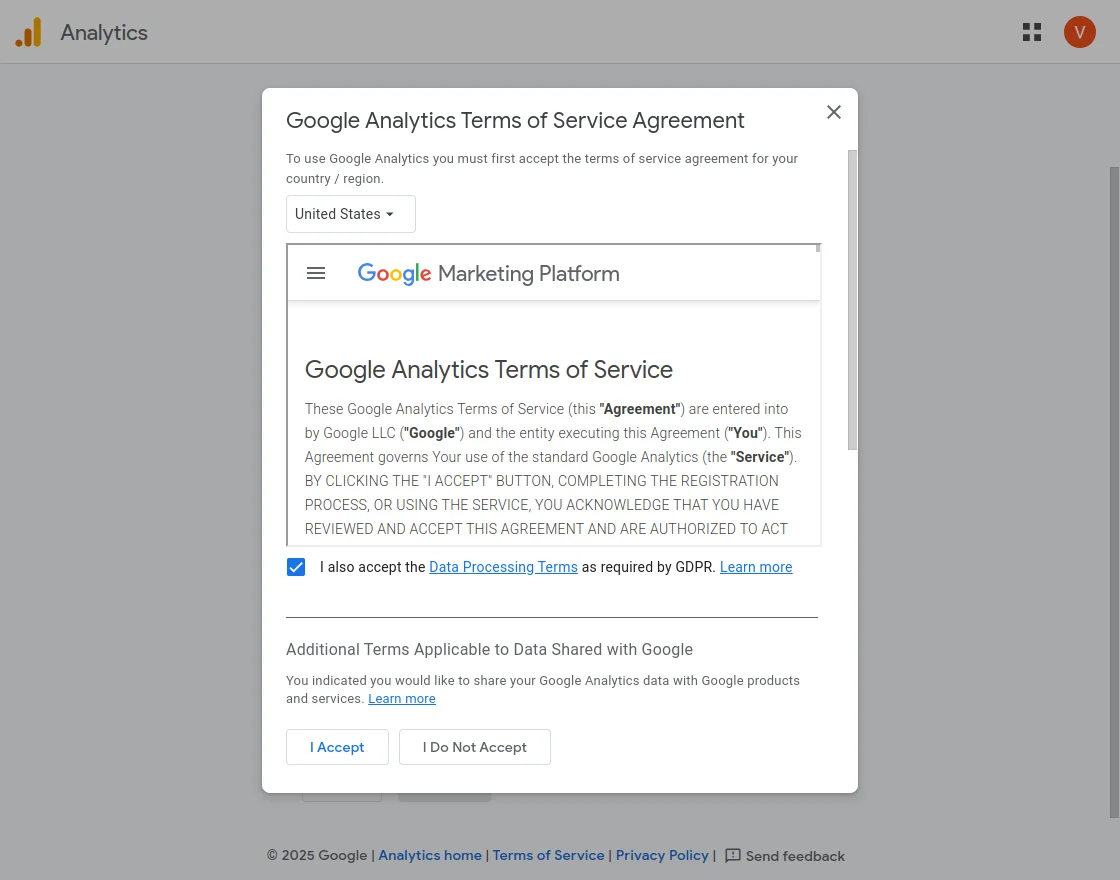
After tapping on the create button above you will see a pop-up just select the terms and conditions and tap I Accept button.
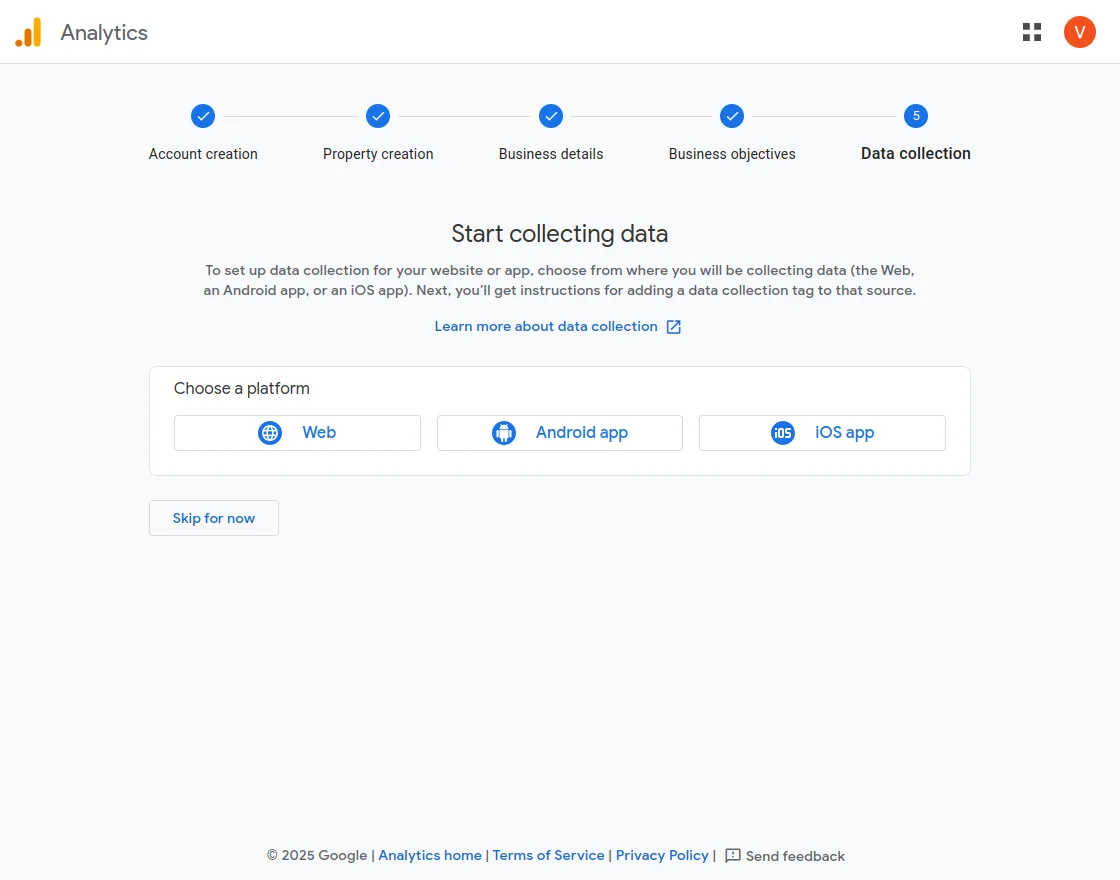
After that, select the platform to start collecting data.
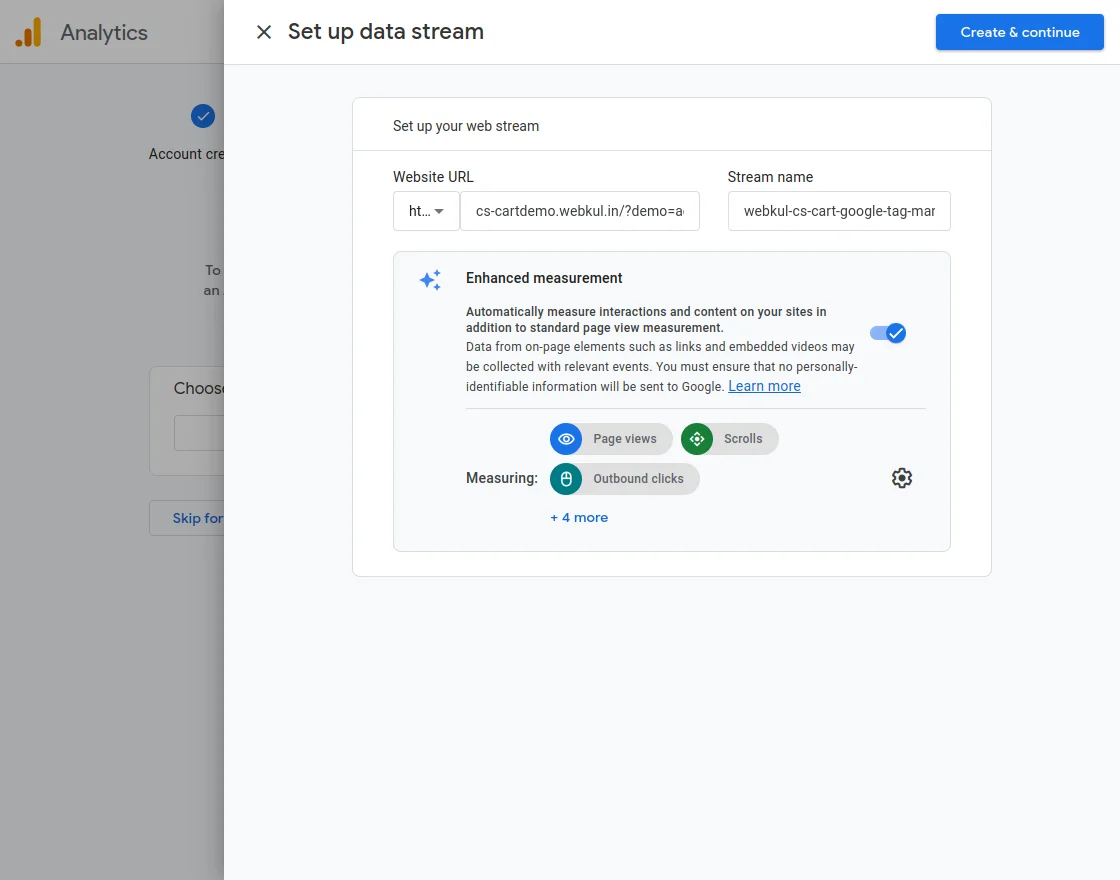
Now, enter the website URL and stream name.
Lastly, you will be able to see the web stream details, including the measurement ID.
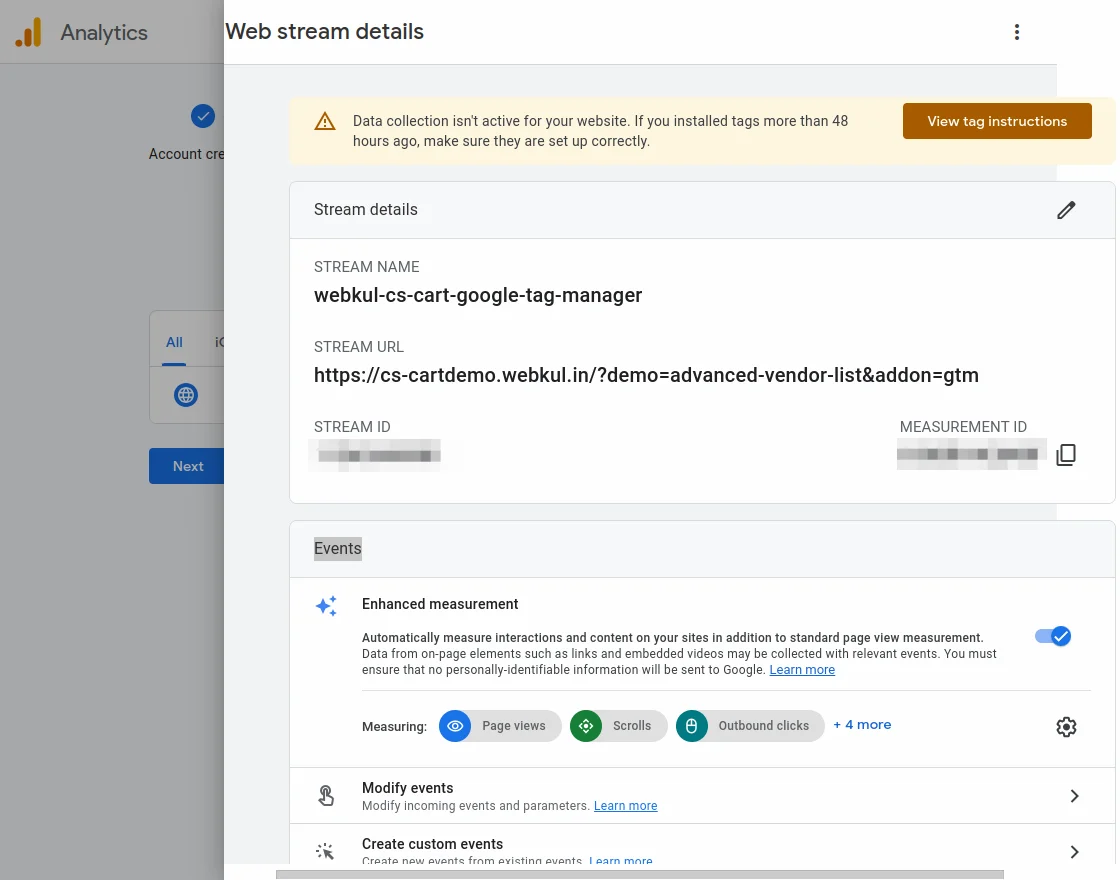
Now, enter this measurement ID in the GTM console section.
Admin View – Data in Data Layer
Sign Up: The admin can view the sign up event data in the data layer.

Order Place: The admin can view the order place event data in the data layer.

View Cart: The admin can view the view cart event data in the data layer.

Add To Cart: The admin can view the add-to-cart event data in the data layer.

Product View: The admin can view the product view event data in the data layer.

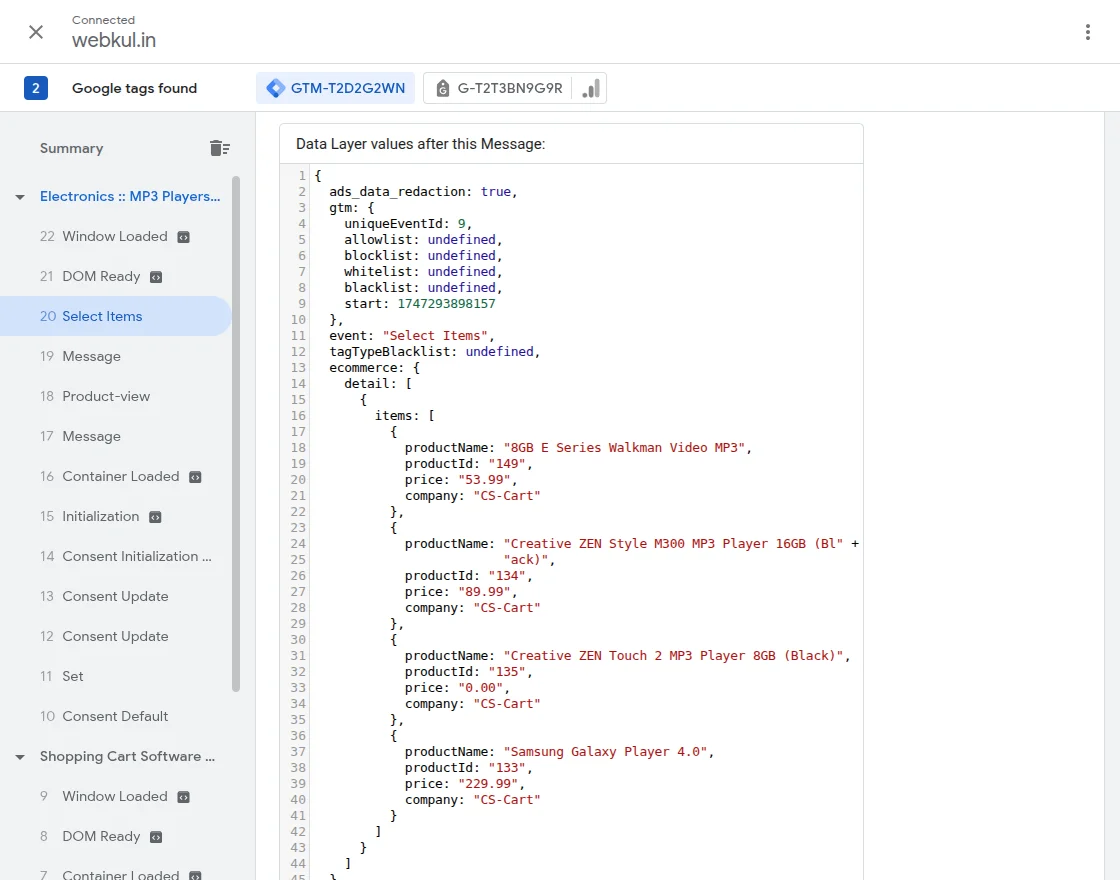
Select item: The admin can view the select item event data in the data layer.
Checkout Begin: The admin can view the checkout begin event data in the data layer.

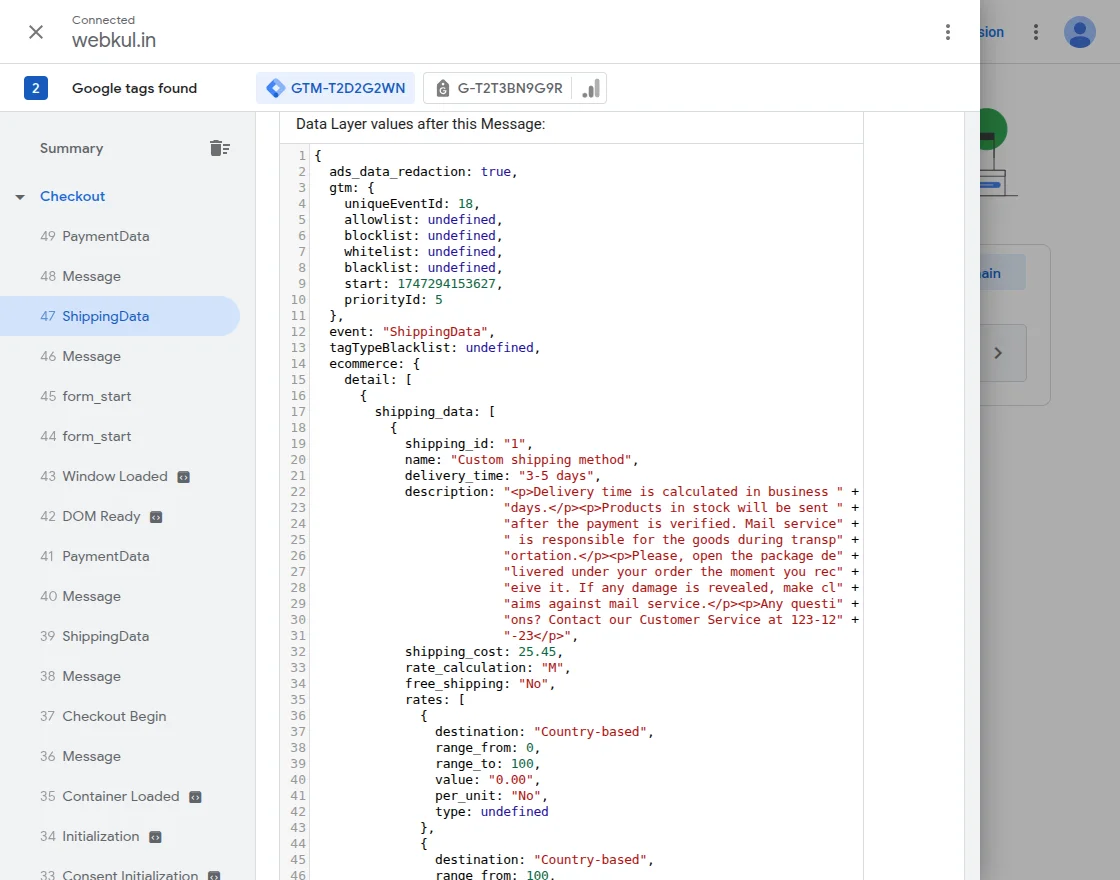
Shipping Method: The admin can view the shipping method event data in the data layer.
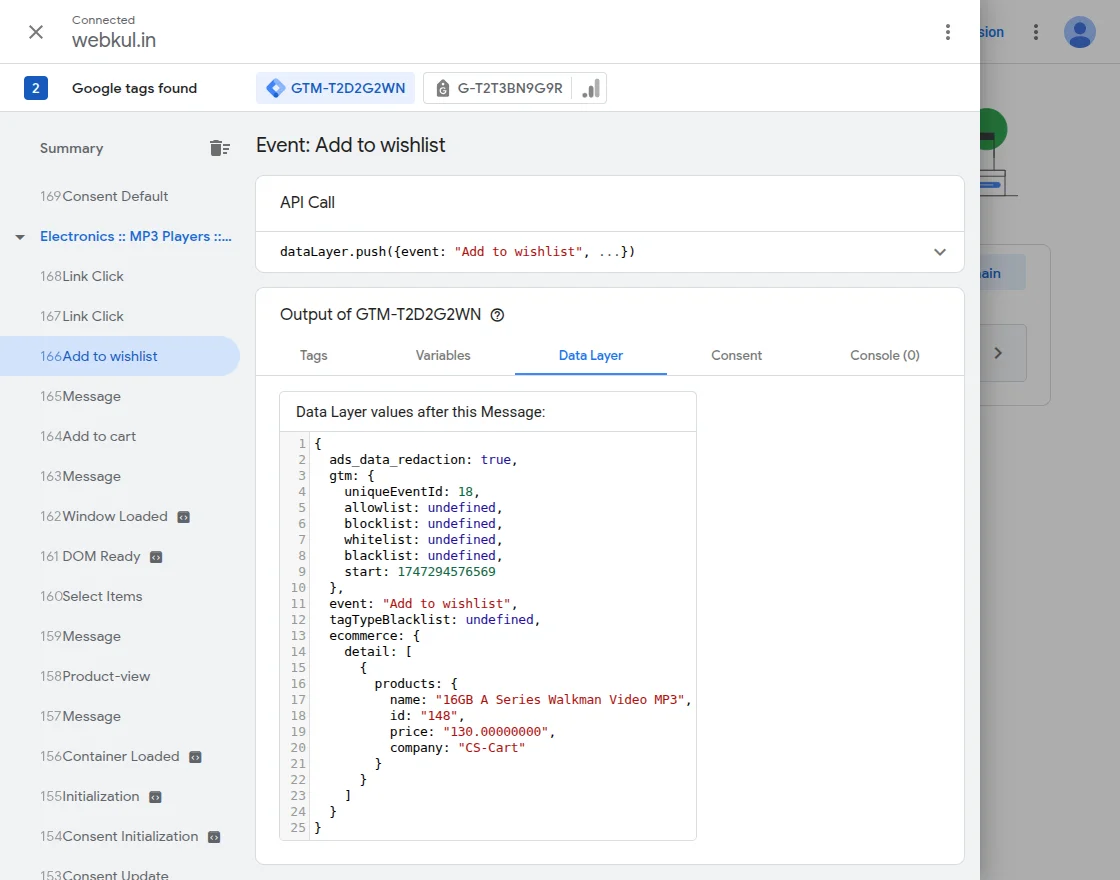
Add to Wishlist: The admin can view the add to wishlist event data in the data layer.
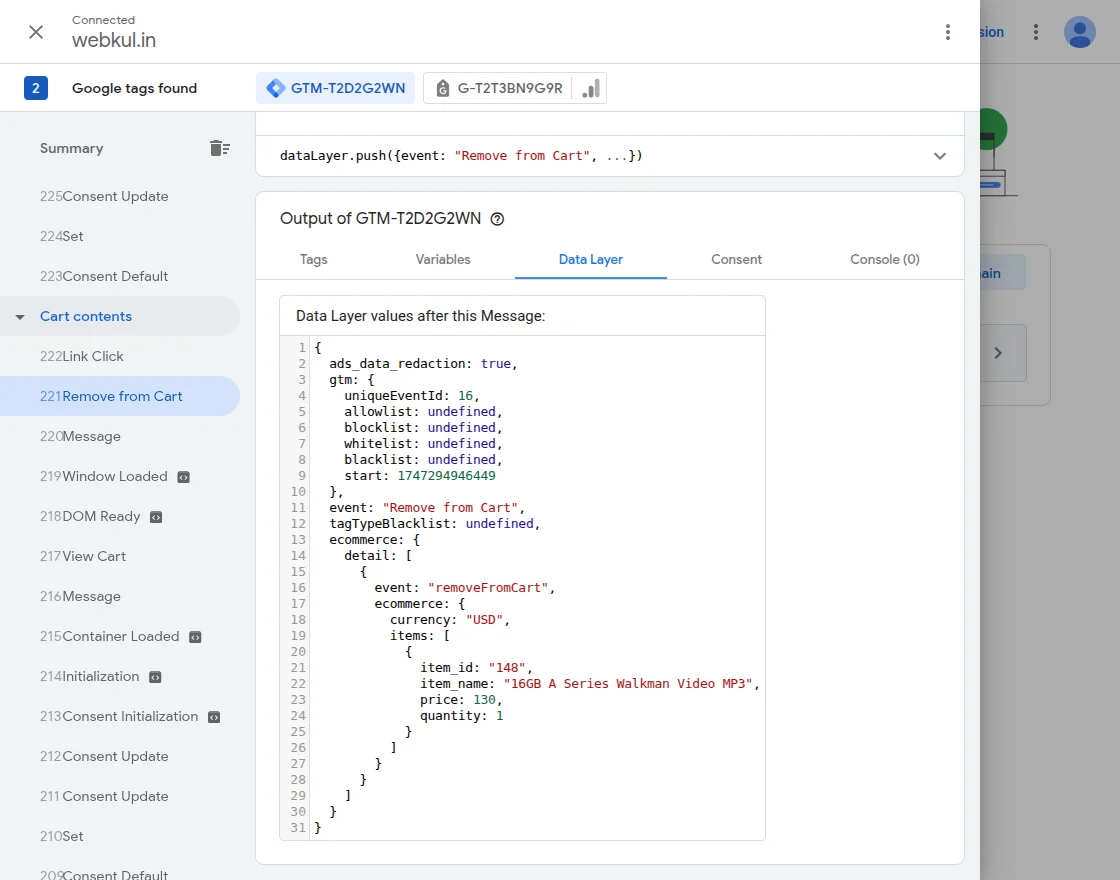
Remove From Cart: The admin can view the remove from cart event data in the data layer.
That’s all about the CS-Cart Google Tag Manager add-on.
Support
If you need any technical assistance, please reach us by mail at [email protected].
Also, discover various solutions to add more features and enhance your online store by visiting the WooCommerce plugins page.
Additionally, if you require expert assistance or want to develop custom unique functionality Hire WooCommerce Developers for your project.
Current Product Version - 1.2
Supported Framework Version - 4.16.x - 4.18.x

Be the first to comment.