CS-Cart Advanced RMA add-on extends the functionality of the default CS-Cart RMA addon to a great extent.
Note: This addon works along with the default CS-Cart RMA addon.
Features
- Functionality to add/edit the pickup location at the customer end for easy return.
- Admin can set and display the return period for each category separately.
- Option to add attachment while claiming for a refund or replacement at customer end.
- Option to choose refund methods like Reward Point, Gift Certificate, etc. at customer end.
- Easy to configure and manage at the admin end.
- Well integrated with CS-Cart Multi-Vendor.
- The cancel refund policy can be managed by the admin.
- Admin can manage the refund limits.
- Add support for Multi store, Multi-vendor, and multilingual.
- Admin can add refund option on subcategories.
- Admin can create and print the shipping labels for the returned orders.
- Admin can reply to chat threads created by the customer for any queries.
- Functionality to add and configure the refund policy by admin in the backend.
- Admin can add custom fields at the backend and set them as mandates for the customer.
- Direct return option at the customer end through a dedicated button.
- Guest users can also place a return request for their order.
Video Tutorial
Installation
After downloading the CS-Cart Advanced RMA add-on, you’ll get one zip file, one install.txt file, and a relevant User Guide manual doc.
Read it carefully for proper configuration.
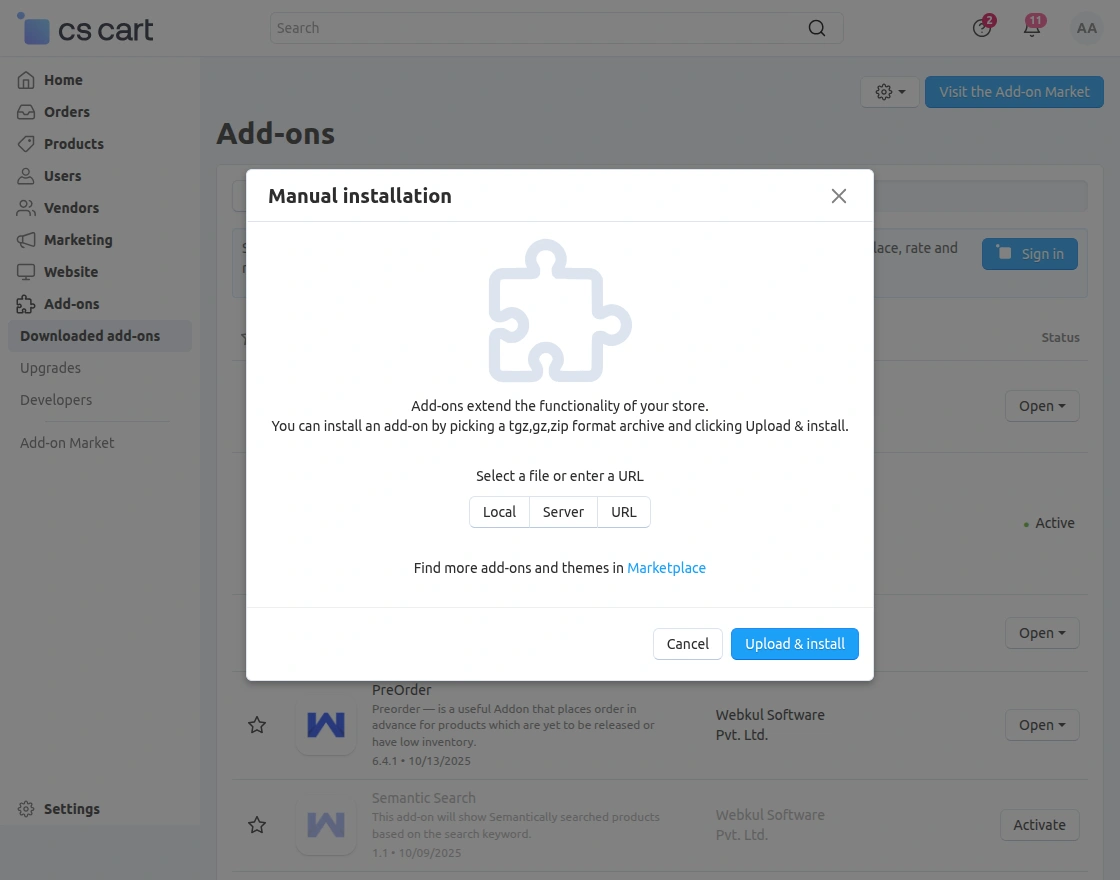
Go to Manage Add-ons, and click on “Manual Installation” as shown below in the snapshot.

Click on “Local” to browse the zip file, and then click on “Upload & Install” as shown below in the snapshot.
Add-On Configuration
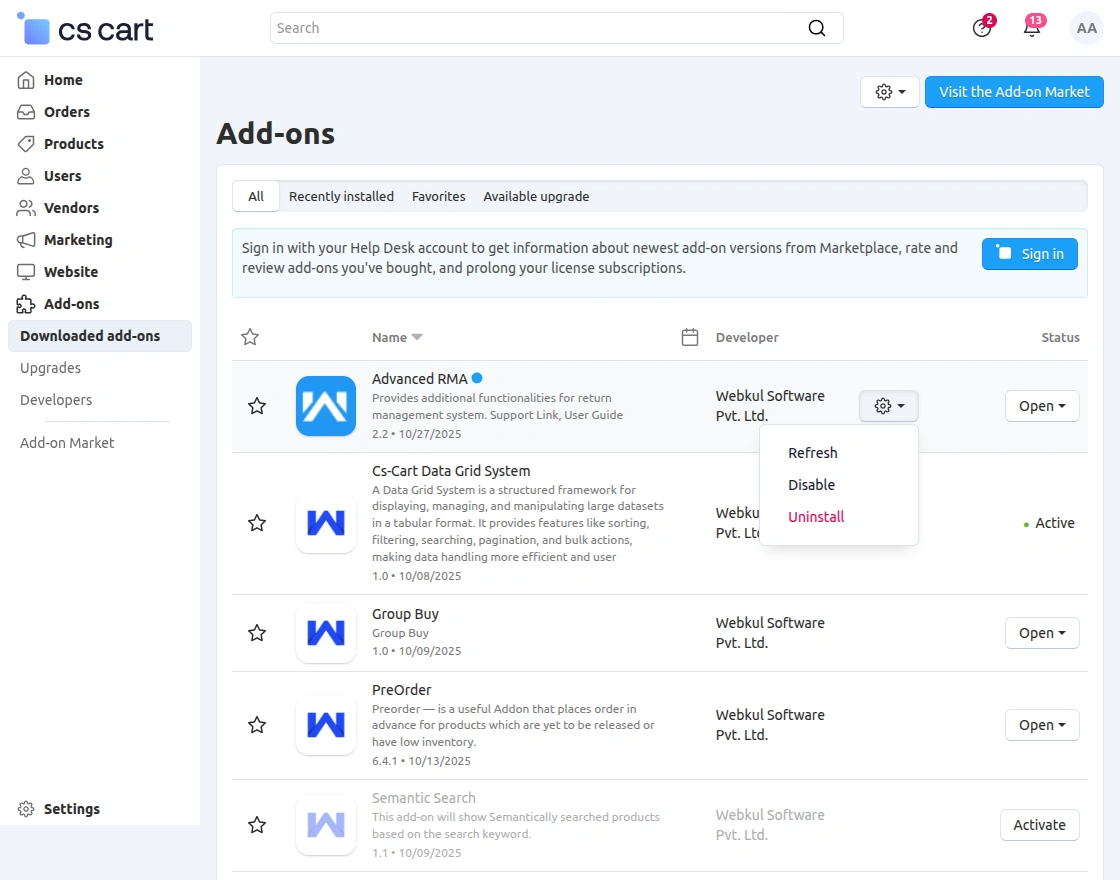
After installing the add-on, you will find CS-Cart Advanced RMA in the list of available add-ons. We will then configure the settings.
Click on “settings” to enable, disable, install, or refresh.
Make sure the add-on is activated, as shown in the snapshot below:
Module Configuration | Admin
To configure the module, go to the Add-Ons >> Developers >> Webkul Software Pvt Ltd. >> Advanced RMA >> Settings.
Configuration
The ‘Settings’ tab option allows the admin to configure various advanced RMA functions as described below:
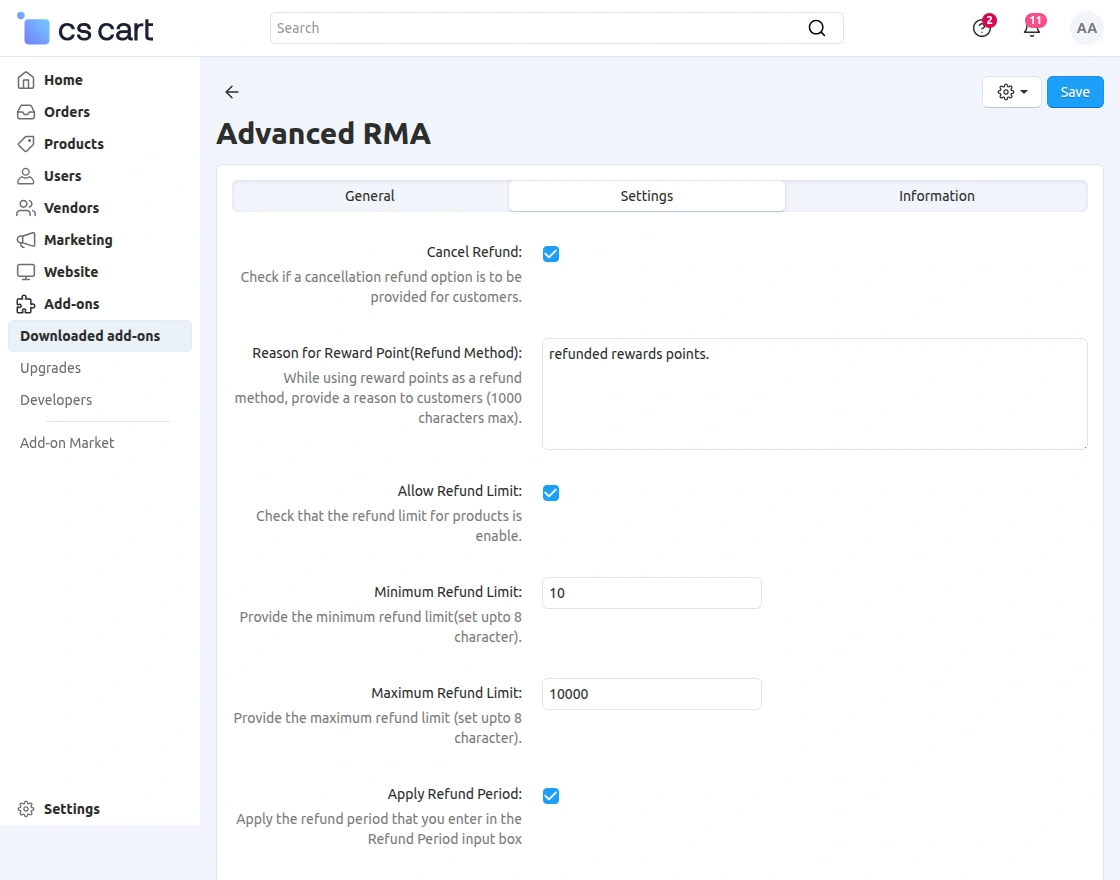
Cancel Refund: If the option is enabled then the customer can cancel the refund request.
Reason for Reward Point: The admin can provide the reason for using the reward point as a refund method.
Allow Refund Limit: The admin can set the refund limit on the product.
Minimum Refund Limit: Minimum refund limit can be set here for products.
Maximum Refund Limit: Maximum refund limit can be set here for products.
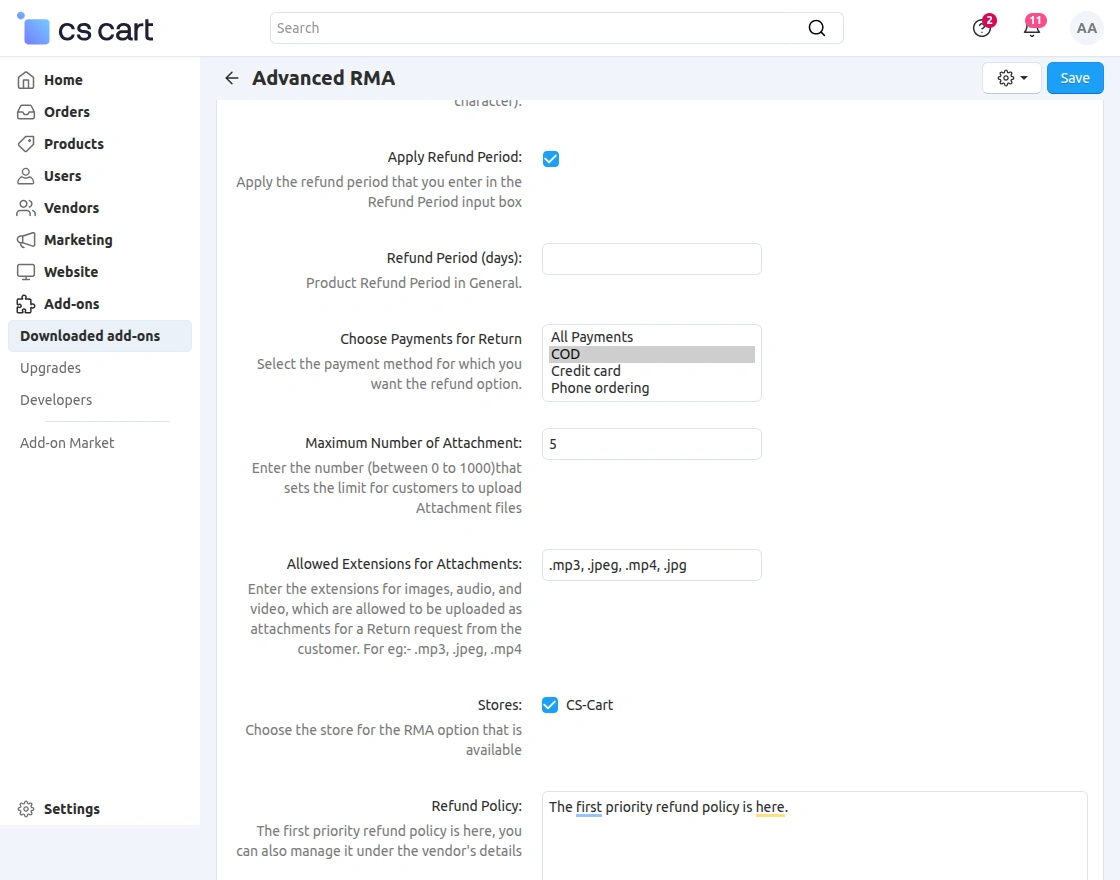
Apply Refund Period: The admin can enable the refund period on the product.
Refund Period: The admin can set the general refund period of the products.
Choose Payment for Return: The admin can choose the payment option for the return amount.
Maximum Number of Attachment: The admin can set the number for refund attachment files.
Allowed Extension for Attachments: The admin can select the attachment file type here like .mp3, .jpeg, .mp4, .png, .jpg, etc.
Stores: The admin can select from different store views available to set up the RMA option.
Back End View
Admin adds a return period for a specific category:
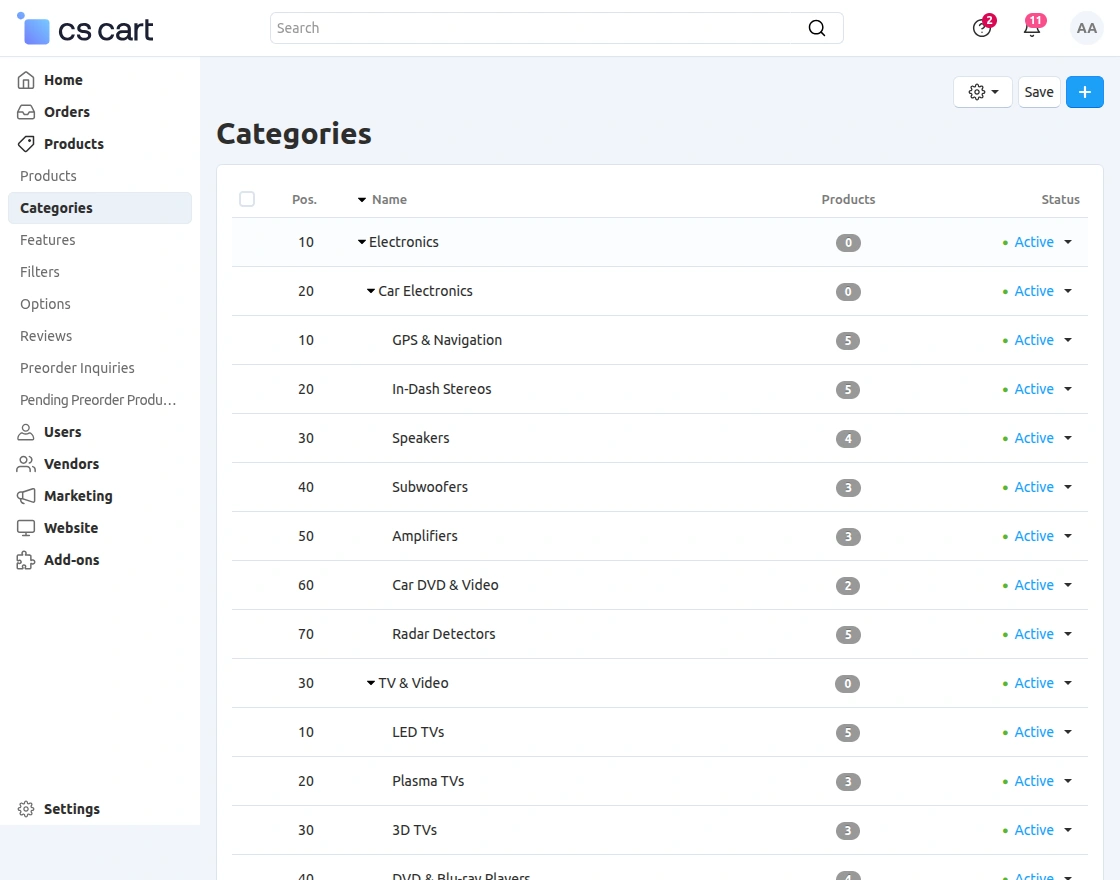
Go to “Products -> Categories” and click on the desired category.
Furthermore, Click on “Add-ons”, Enter the number of days for “Return Period” and Save. This return period will be applicable to all the products under that specific category.
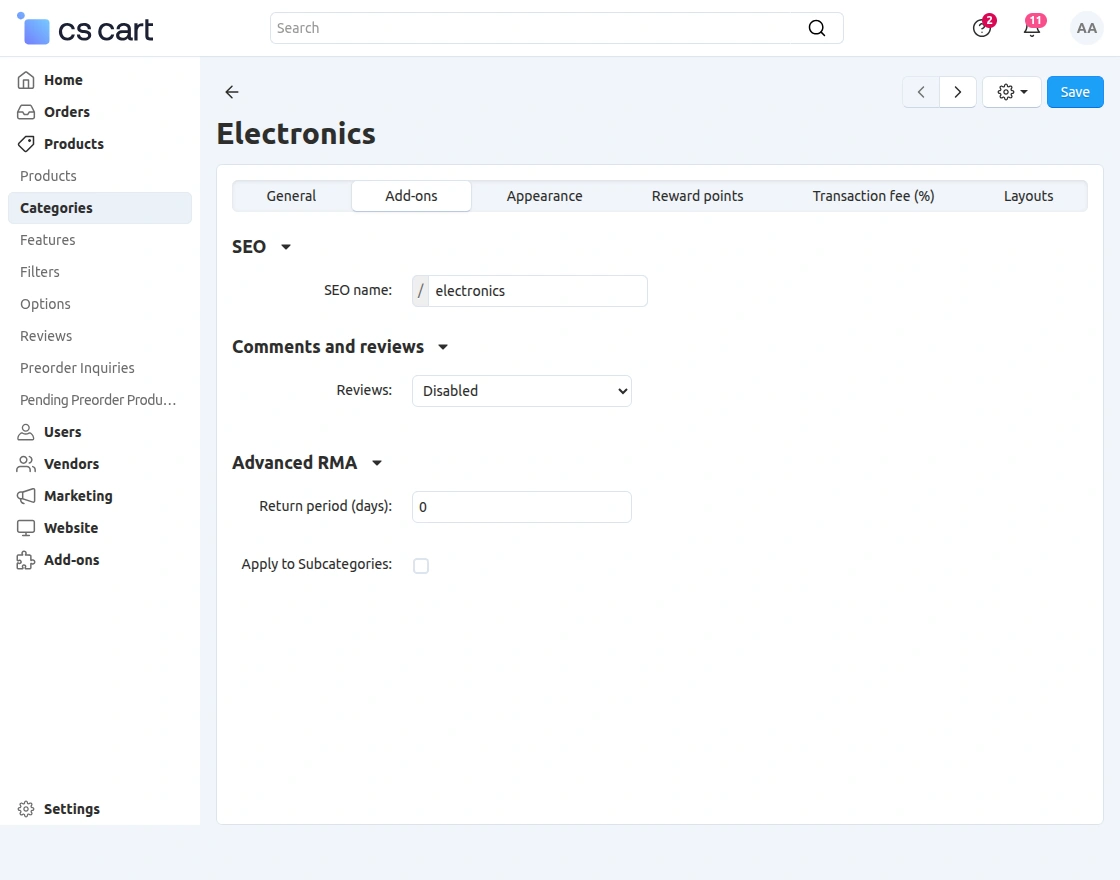
The admin can also apply the RMA on subcategories.
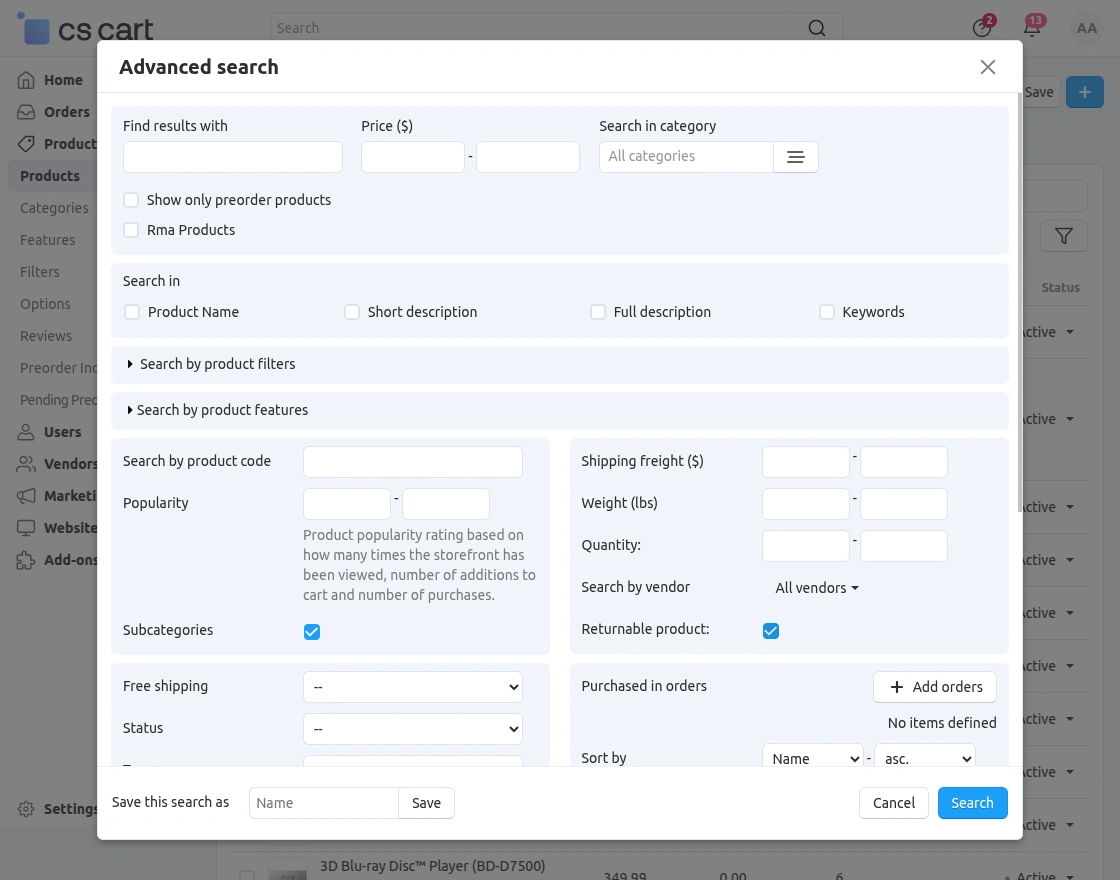
If the admin will click on the returnable product option then only the returnable products will display in the product list.

Once the return days are updated in the configuration it will also reflect on an individual product in the add-on section.
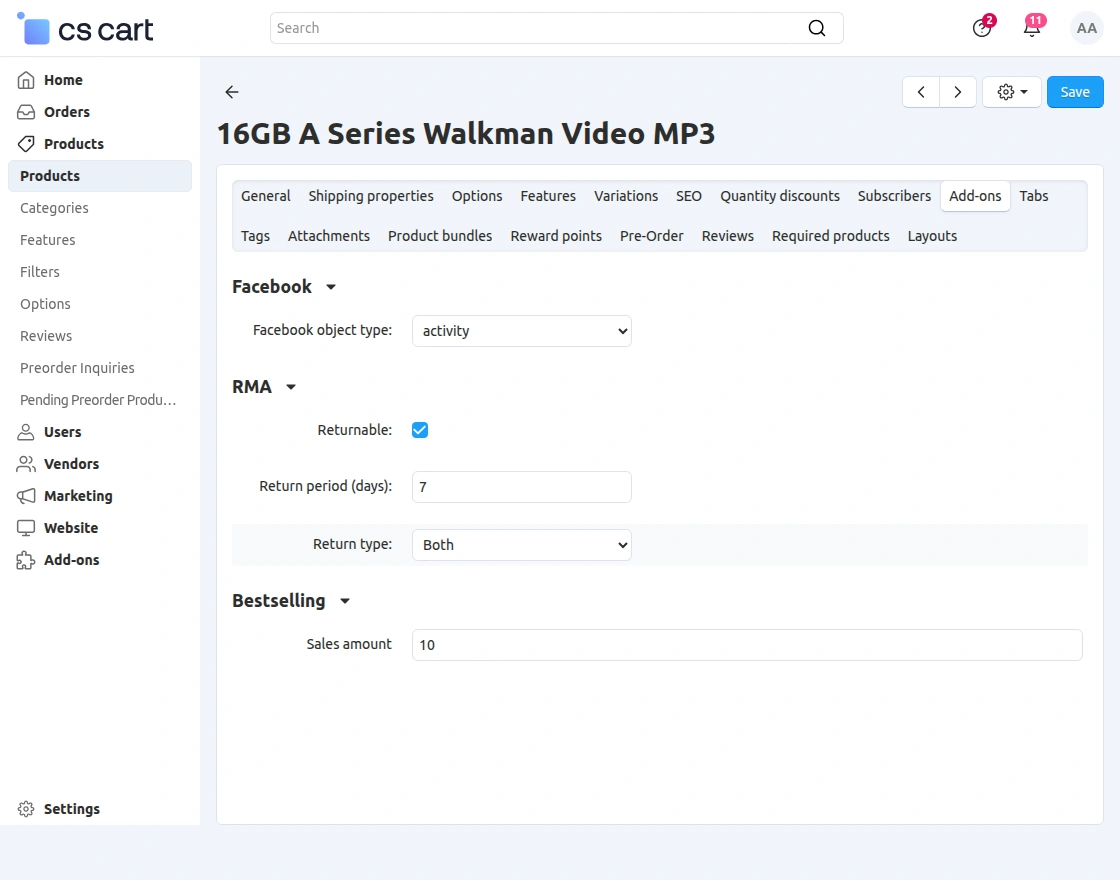
Here, the admin can also choose the return type as both, replace the item, and refundable accordingly, it will reflect on the front panel.
Return Request Management At the Backend
Now, the admin can view and manage all the return requests from the backend panel by navigating to Orders > Return Requests, as shown below in the snapshot.
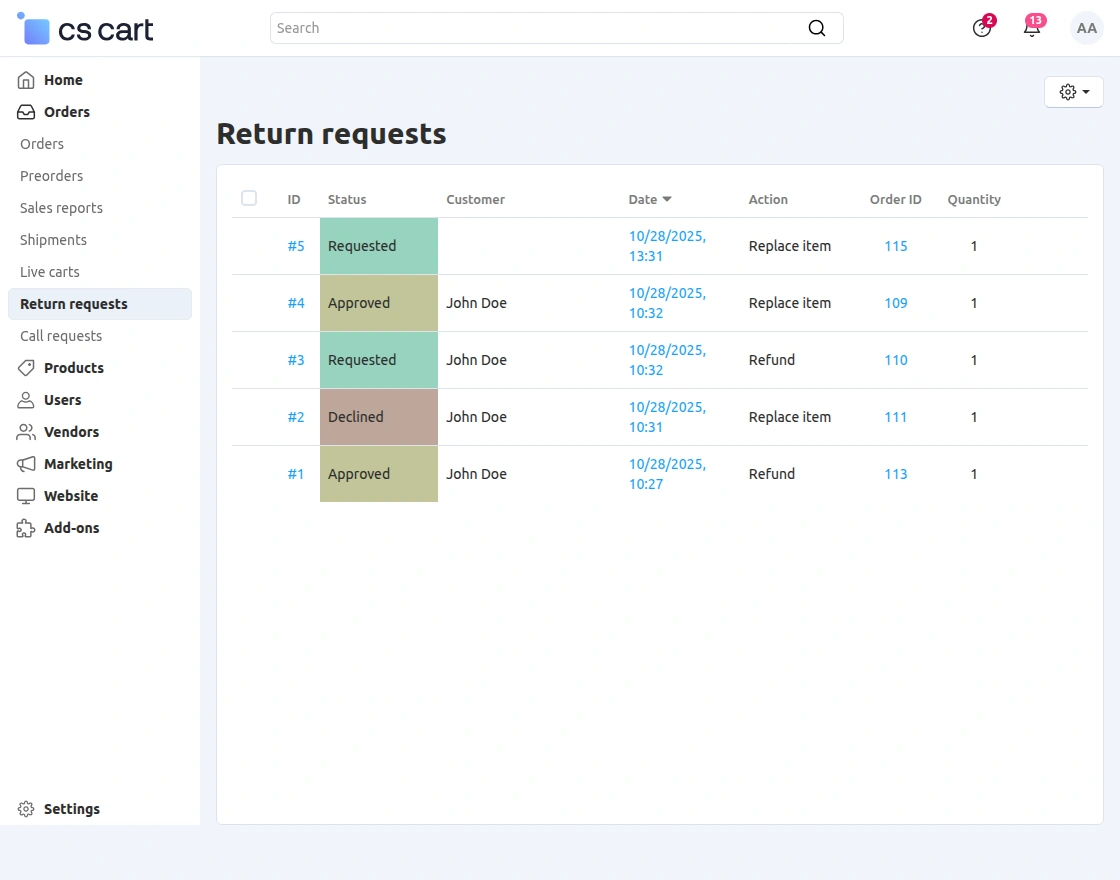
Thus, the admin gets redirected to the Return Information page by clicking on any specific request ID.
Here, the admin can view detailed information such as pickup details, attachments, and refund methods, as shown in the image below.

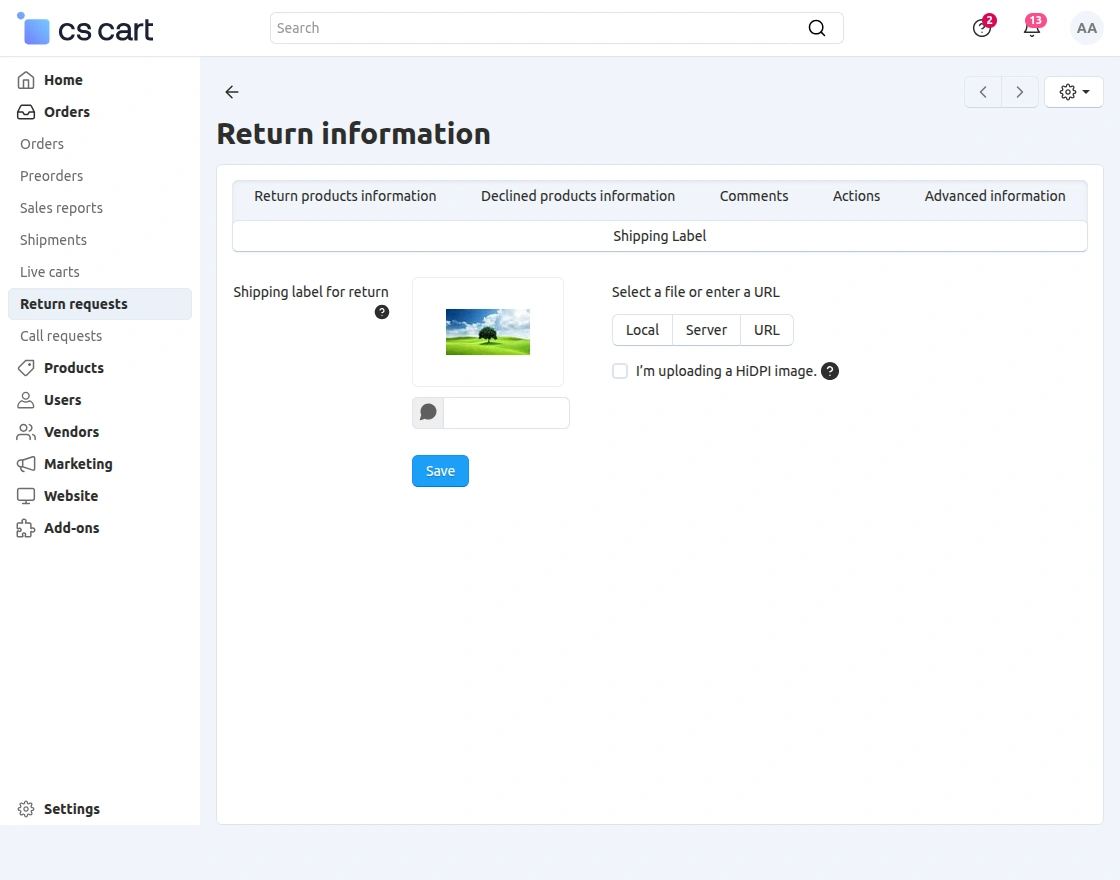
Shipping Label
The admin can generate the shipping label for any returned product and print it on the product.
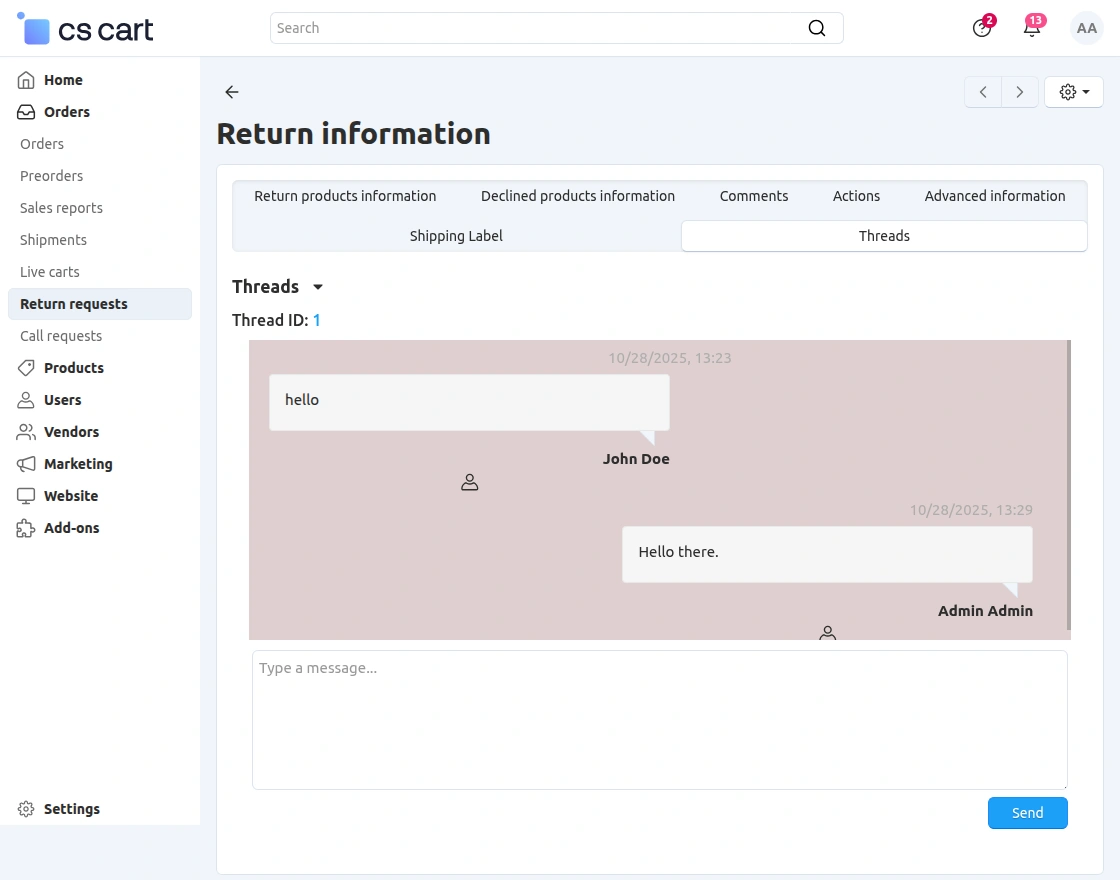
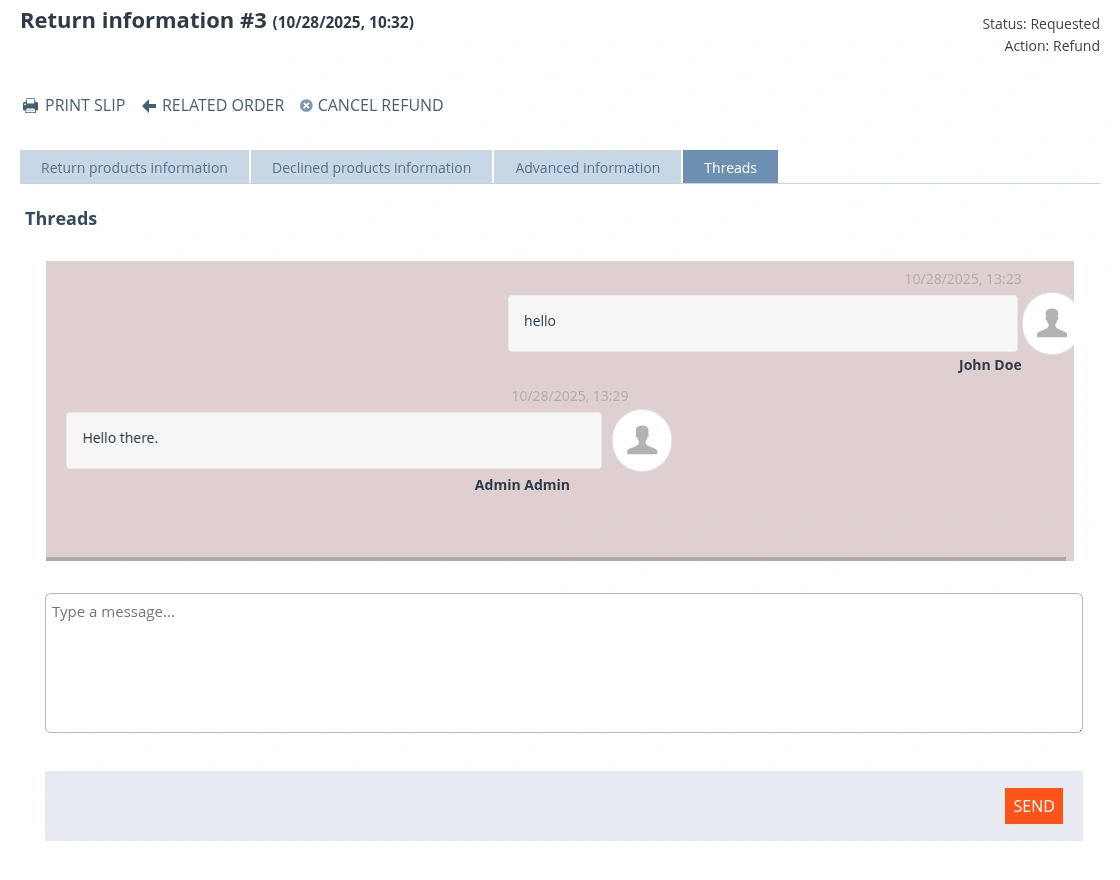
Chat Threads | Admin End
The admin can view the chat initiated by the customer for any returned product by navigating to Orders > Return Requests > Click on the order ID.
On the return information page, under the ‘Threads‘ option, the chat thread/conversation will open, allowing the admin to reply to the customer’s queries.
Custom Fields | Admin End
The admin can add custom fields in the backend to request any additional information required from the customer by navigating to Website > Custom fields for RMA
Then the admin needs to set the name of the custom field, select the input type from the dropdown, set the requirement mandate, and status as active or not as shown below: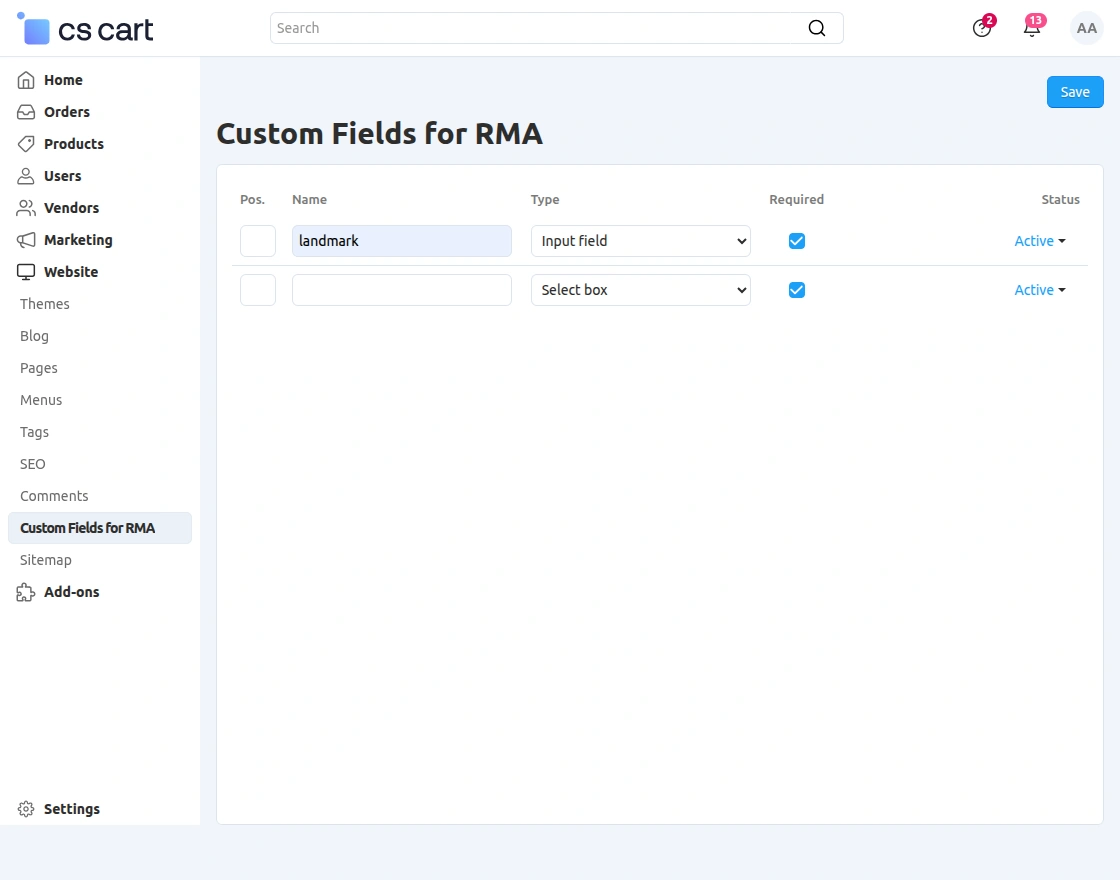
Refund Policy | Admin End
The admin can set up refund policy guidelines for the storefront individually from the backend.
To do this, navigate to Add-Ons > Developers > Webkul Software Pvt. Ltd. > Advanced RMA > Refund Policy.
After configuring the policy, the admin needs to click Save to apply the changes.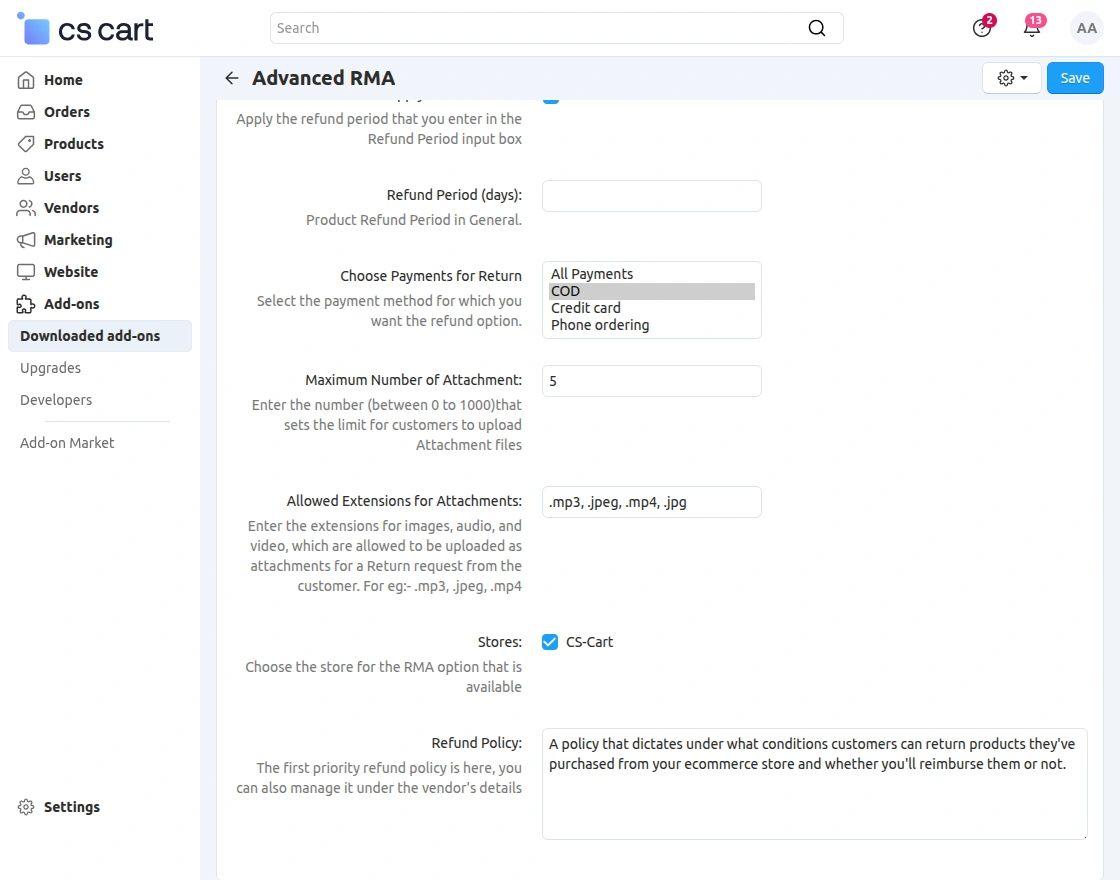
Front End View
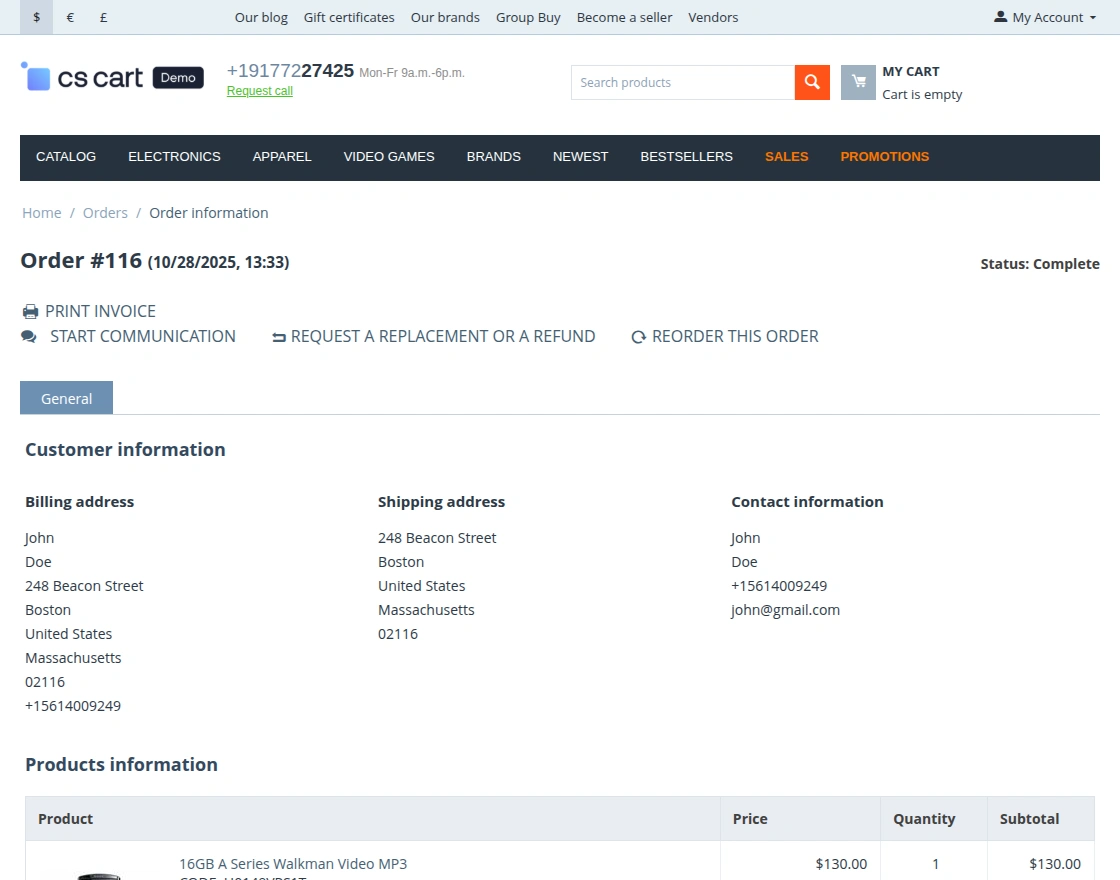
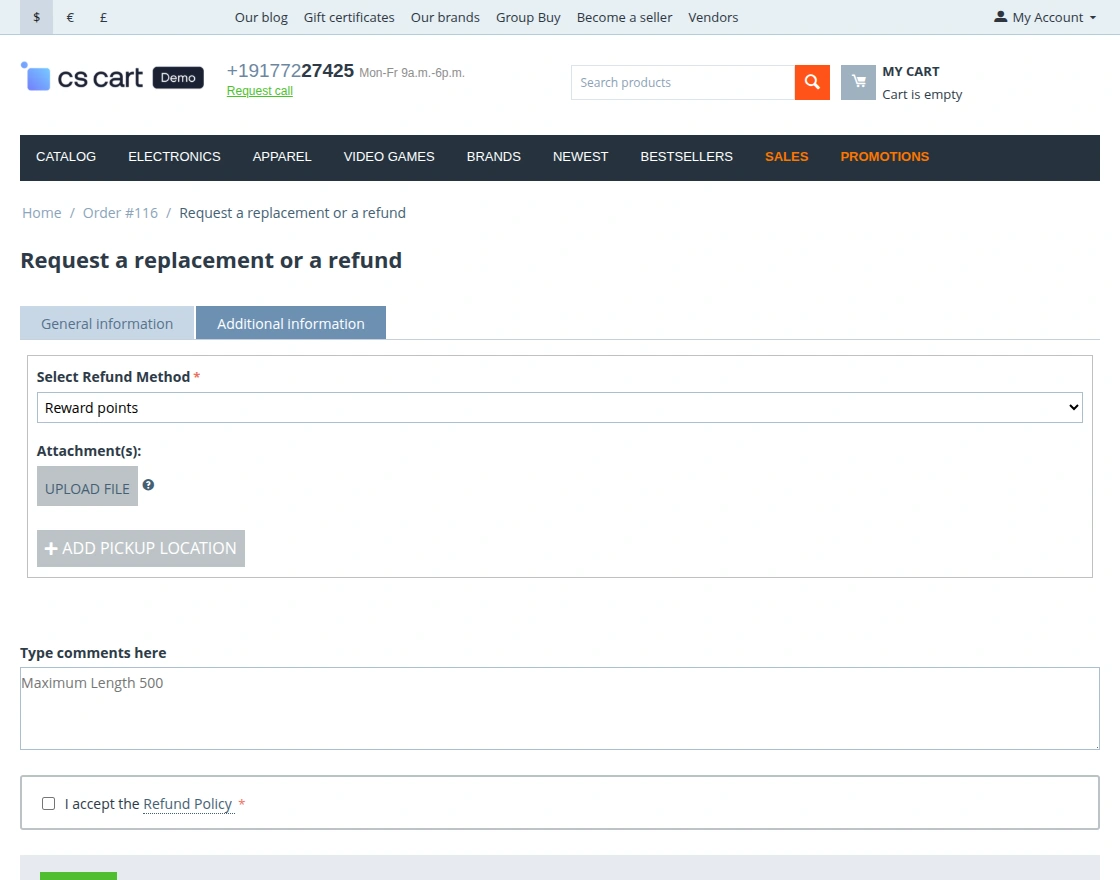
Customers will be able to view “REQUEST A REPLACEMENT OR A REFUND” in order information as per the RMA settings made at the admin end.
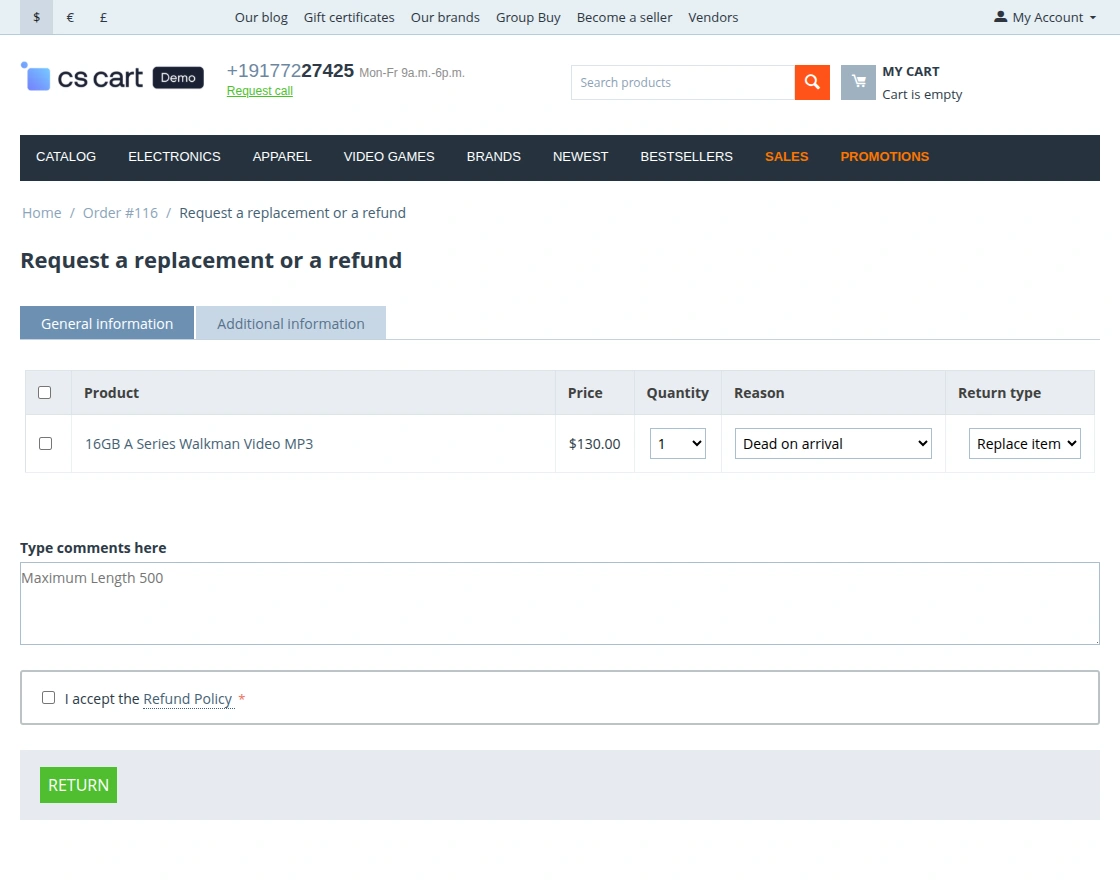
 Once the customer requests a refund or replacement, they will be prompted to choose between the two options.
Accordingly, the fields under the Additional Information tab will vary, while the General Information view remains the same as in the default RMA add-on, as shown below.
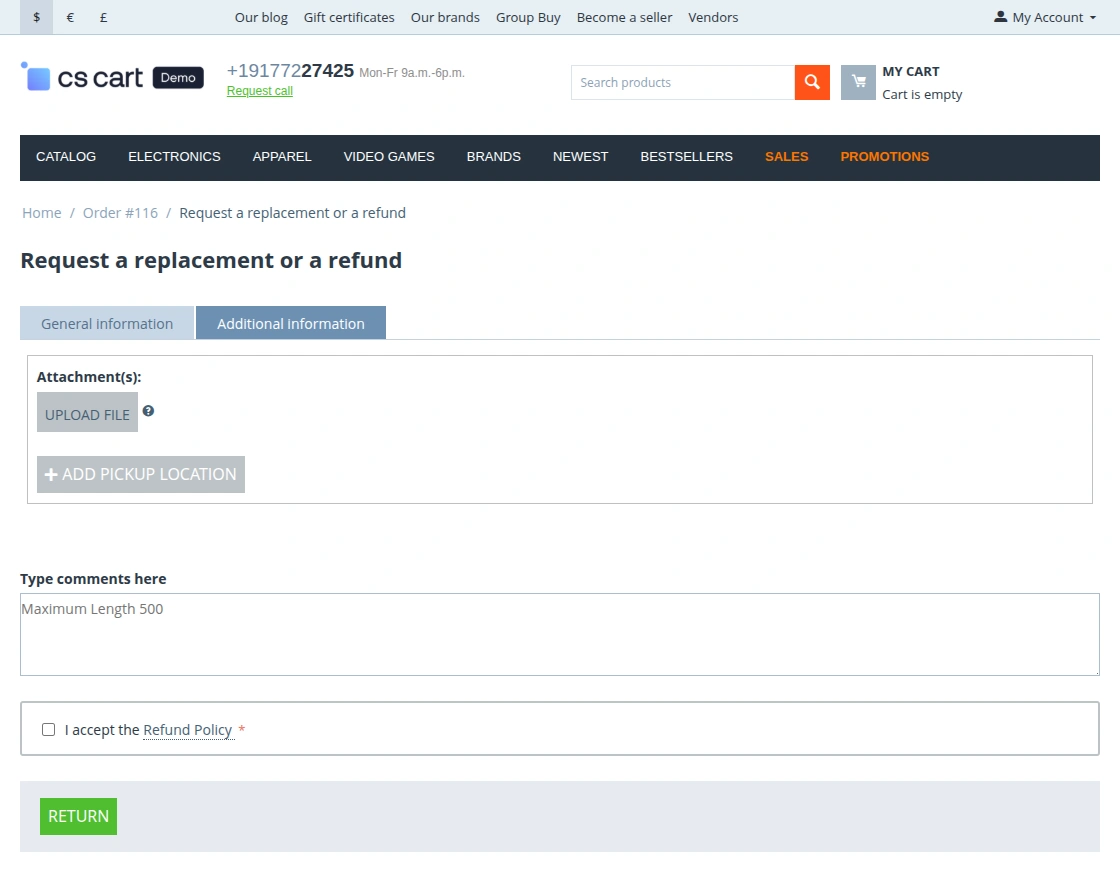
On Choosing Replace Item option, the Additional information provides the option to :
- Upload extra attachments.
- Add/ Edit Pick-up location.
So, by editing the fields and clicking on the Return button a customer can submit the return request for a replacement.
But if the customer chooses the Refund option then he/she gets the option to choose the way he/she wants a refund (Via Reward Points, Gifts certificate) as shown below.
Hence, the rest of the fields to upload files and add pick-up locations remain the same as shown below:
Custom Fields | Customer End
The custom field will appear on the return pickup page at the customer’s end, as shown below.
If the admin has set it as required, the customer must fill in the custom field information to proceed further.

Chat Threads | Customer End
The customer can initiate a chat for any product return request by navigating to My Account > Return Requests and clicking on the Order ID.
Under the Threads option, they can ask their queries directly to the store owner.
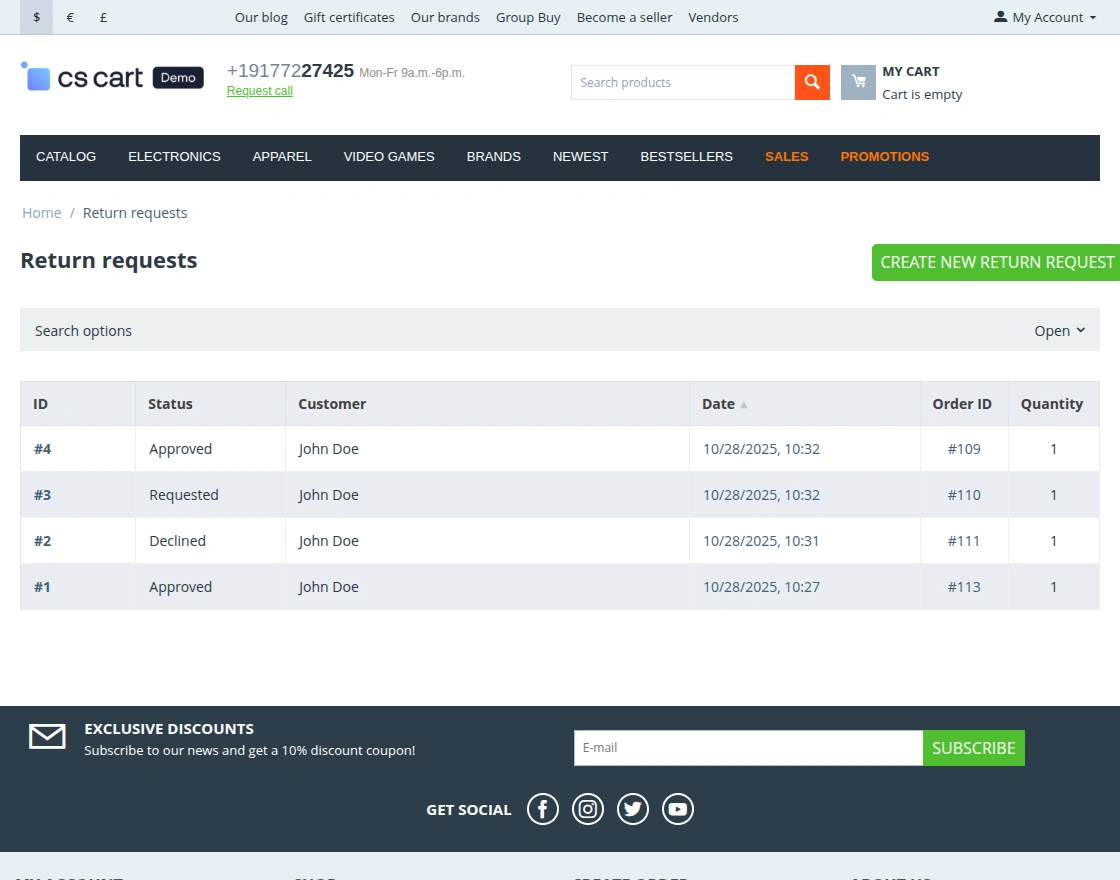
Create Return Requests Directly
The customer can place a return request for any product by logging into their account and navigating to My Account > Return Requests.
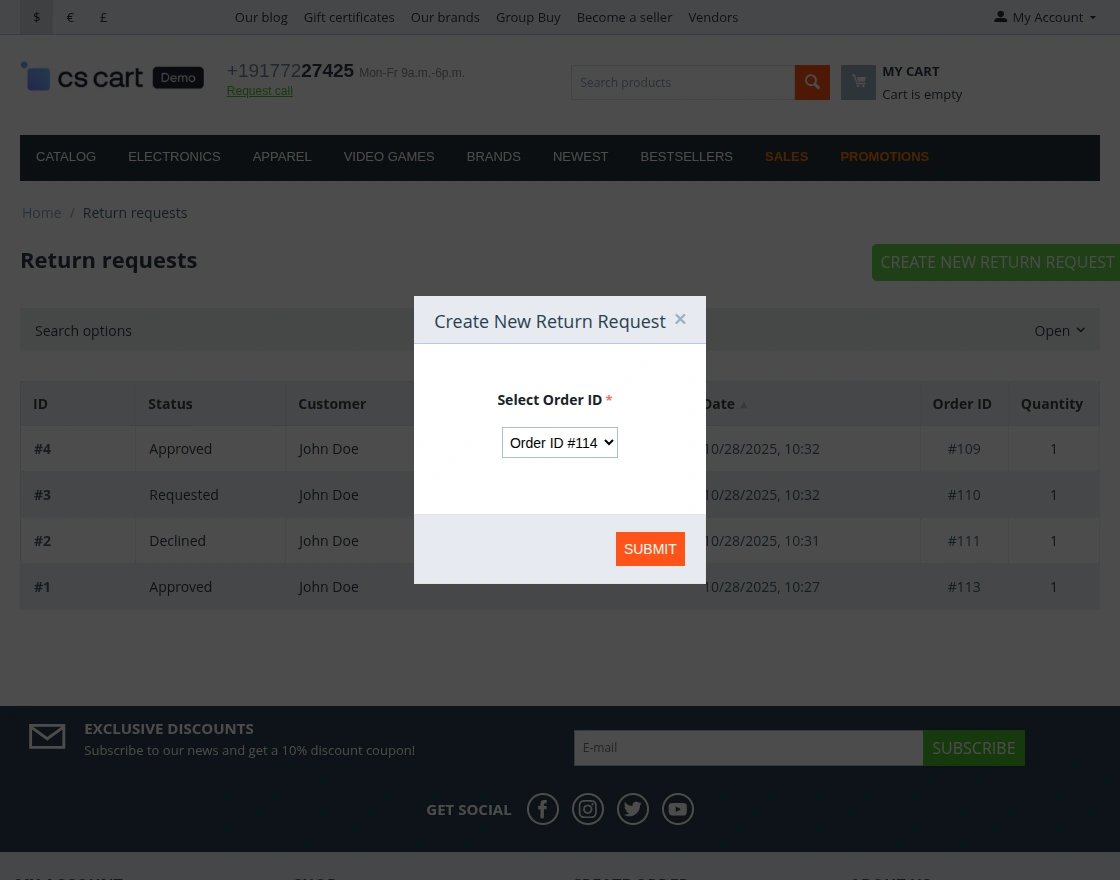
Then, they need to click on the Create New Return Request button.
After that, the customer must select the Order ID for which they want to create the return request and click Save.
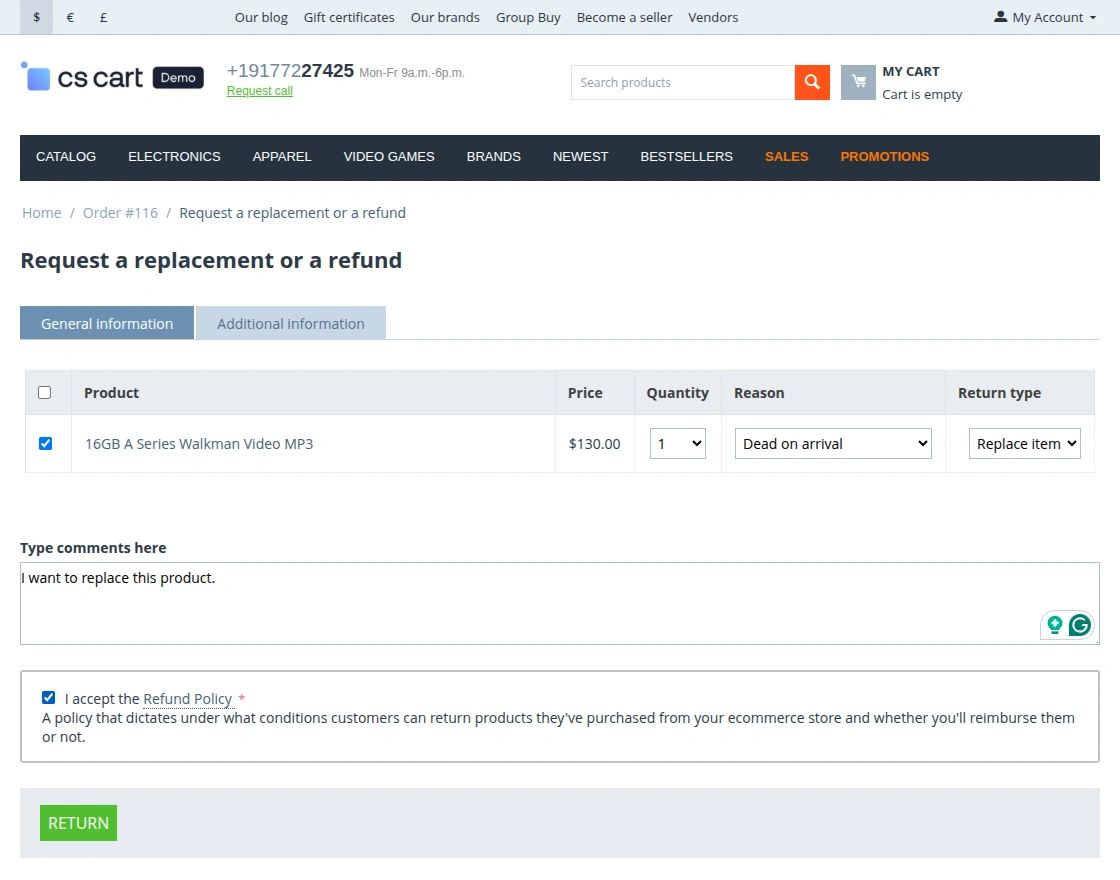
Refund Policy | Customer End
The “I accept the Refund Policy” option ensures customers agree to the store’s refund terms before submitting the request.
Customers need to accept the refund policy terms to place a return request.
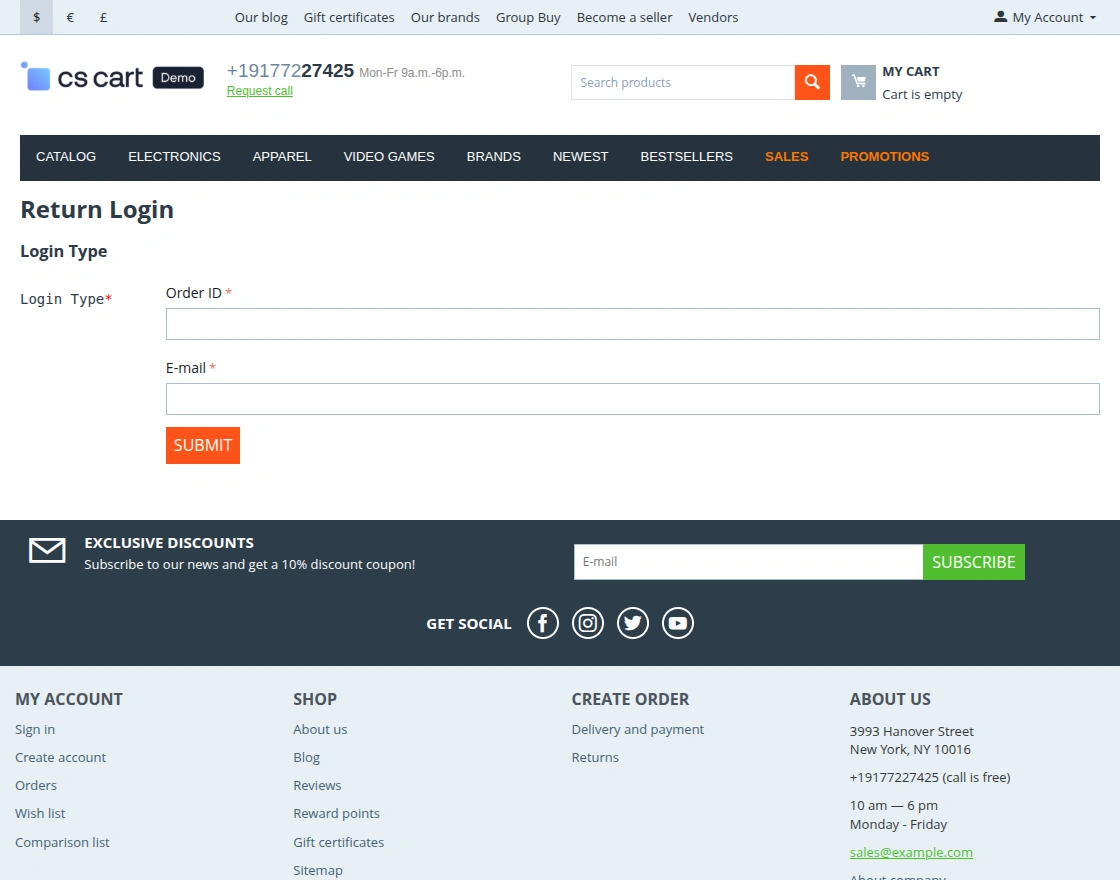
Return Without Login
Both registered and guest users can access the Return Login page by entering their Order ID and Email to request a product return or replacement.
Support
If you have any questions, suggestions, or customization requests, feel free to contact us at [email protected] or submit a ticket at webkul.uvdesk.com.
Explore our premium-quality CS Cart Extensions to enhance your store functionality.
You can also explore our CS-Cart Development Services and Quality CS-Cart add-ons.
Current Product Version - 2.1
Supported Framework Version - 4.18

2 comments
Greetings!!
I would like to inform you that yes, it works for guest customers as well.
For any other assistance, you can generate a ticket on- http://webkul.uvdesk.com
Thanks!!