The Bagisto Google Shopping Feed module lets you connect your Bagisto store with Google Shopping, submit product data, and map product attributes to sync your store items with Google Shopping feeds.
Automatic feed update on product save. Map the bagisto online store categories to Google Shopping feed categories.
Features of Bagisto Google Shopping Feed
- Google Shopping feed modules enable admin to export their shop products to the Google Shopping feed.
- The module has a feature to map the Google category to the shop category.
- The module also enables mapping of the shop product attribute to the Google attribute. So that the product is published on the Google Shopping feed
How to install the module?
Step 1: Unzip and Merge Folder
Unzip the respective extension zip and then merge the “packages” folders into the project root directory.

Step 2: Register Service Provider
Open the config/app.php file and add the following line under the ‘providers’ array:
Webkul\GoogleShoppingFeed\Providers\GShoppingFeedServiceProvider::class,
Step 3: Update Composer Autoload
Open the composer.json file and add the following line under the ‘psr-4’ section:
"Webkul\\GoogleShoppingFeed\\": "packages/Webkul/GoogleShoppingFeed/src"
Step 4: Configure Vite
Go to the config\bagisto-vite and add the following array under viters
'google_feed' => [

    'hot_file'                 => 'google-feed-default-vite.hot',

    'build_directory'          => 'themes/google_feed/default/build',

    'package_assets_directory' => 'src/Resources/assets',

],
Step 5: Run Setup Commands
Run the following commands in your terminal to complete the setup:
composer dump-autoload
php artisan route:cache
php artisan config:cache
php artisan migrate
composer require google/apiclient:"^2.7"
composer require phpoffice/phpspreadsheet
php artisan db:seed --class=Webkul\\GoogleShoppingFeed\\Database\\Seeders\\DatabaseSeeder
php artisan vendor:publish --provider="Webkul\GoogleShoppingFeed\Providers\GShoppingFeedServiceProvider" --force
Step 6: build the frontend assets
After running the above commands, you also need to build the frontend assets. Navigate to the package path and run the following commands:
cd packages/Webkul/GoogleShoppingFeed
npm install
npm run build
How to get the Credentials – Client ID and Client Secret
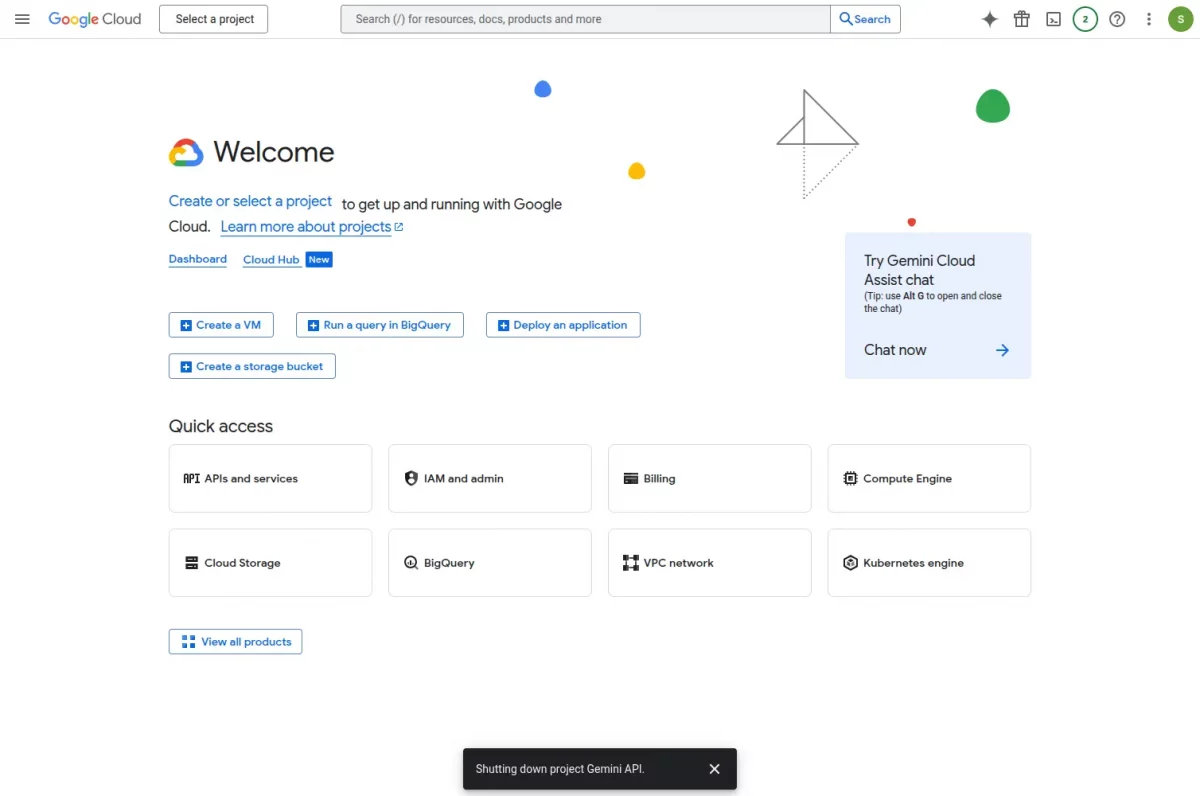
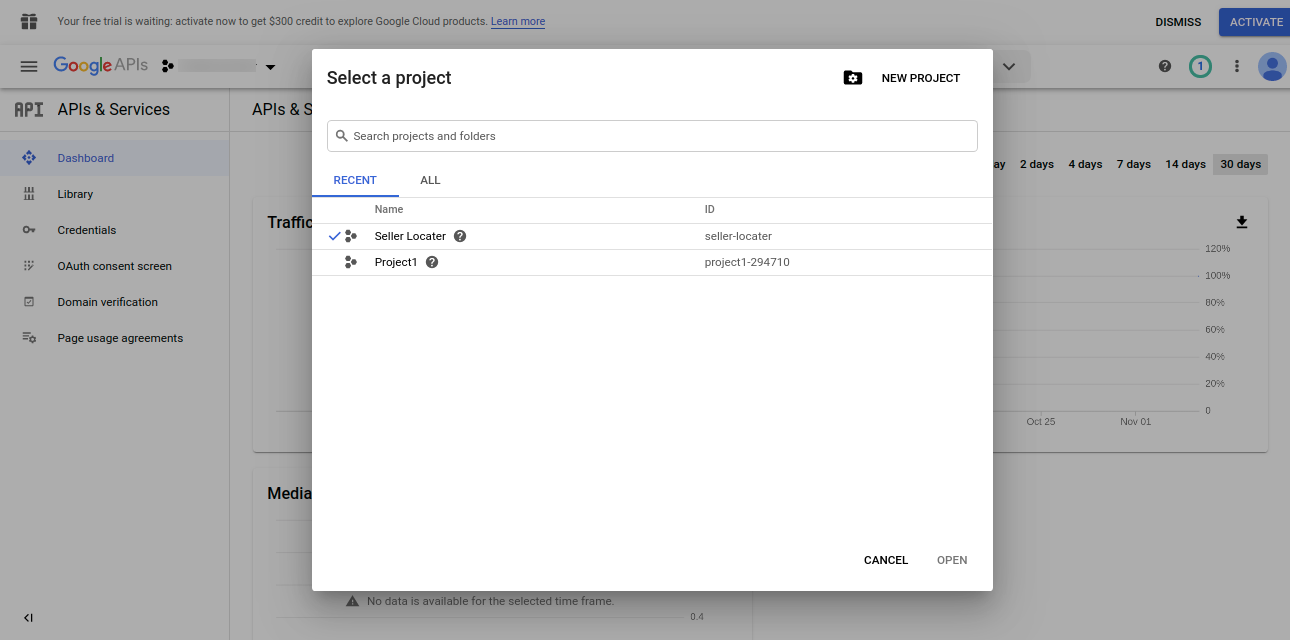
1: Go to Google Developers Console and log in using your Gmail Id. After login click a dropdown arrow for the Select a Project option.
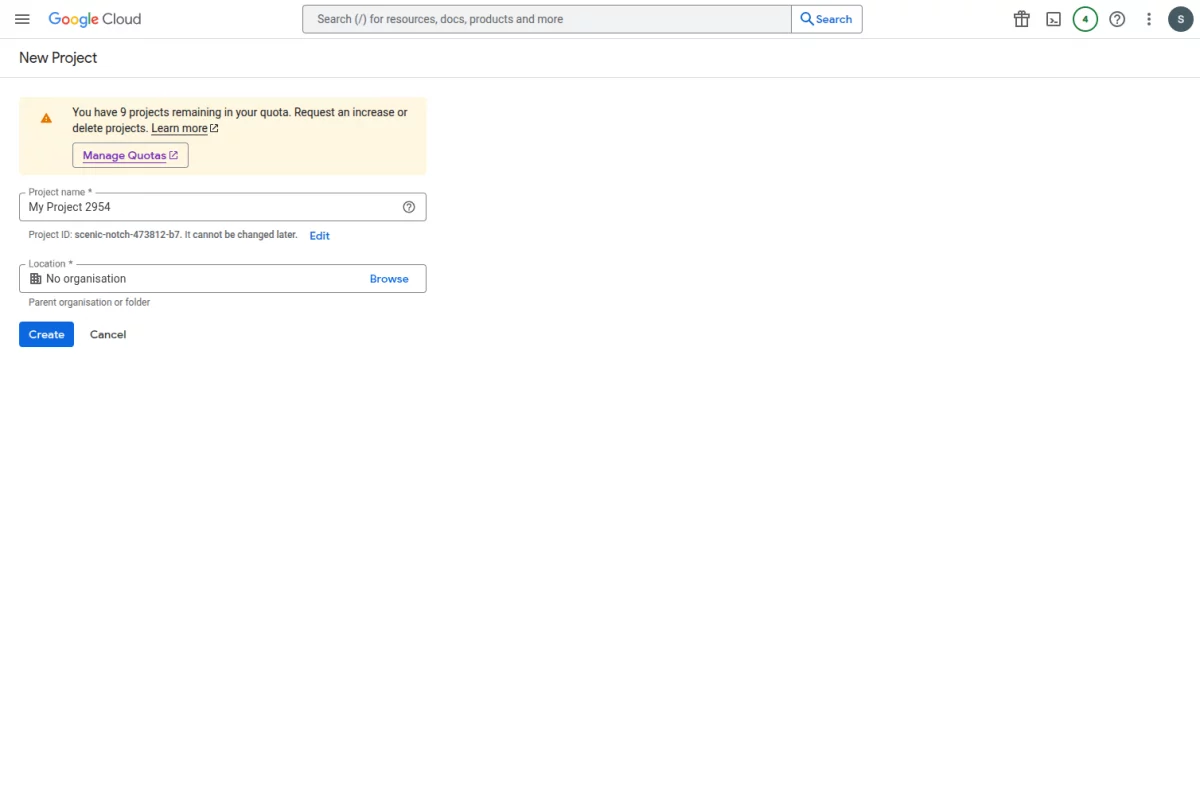
2: Click the NEW PROJECT option.
3: Enter your project name and select the location and click the Create button.
4: Select your created project and then click ENABLE APIS & SERVICES button.

5: In the search box type Shopping.

6: The results will populate and then select – Content API for Shopping.

8. On clicking the same, another page, Content API for Shopping will become visible as shown below.

9. After clicking on the “Enable” button now select the created app and then click on the Create Credentials button.

10: Now select OAuth client ID.

11: On the next screen to create an OAuth client ID, you must first set a product type on the consent screen. Click on the “Configure consent screen”.

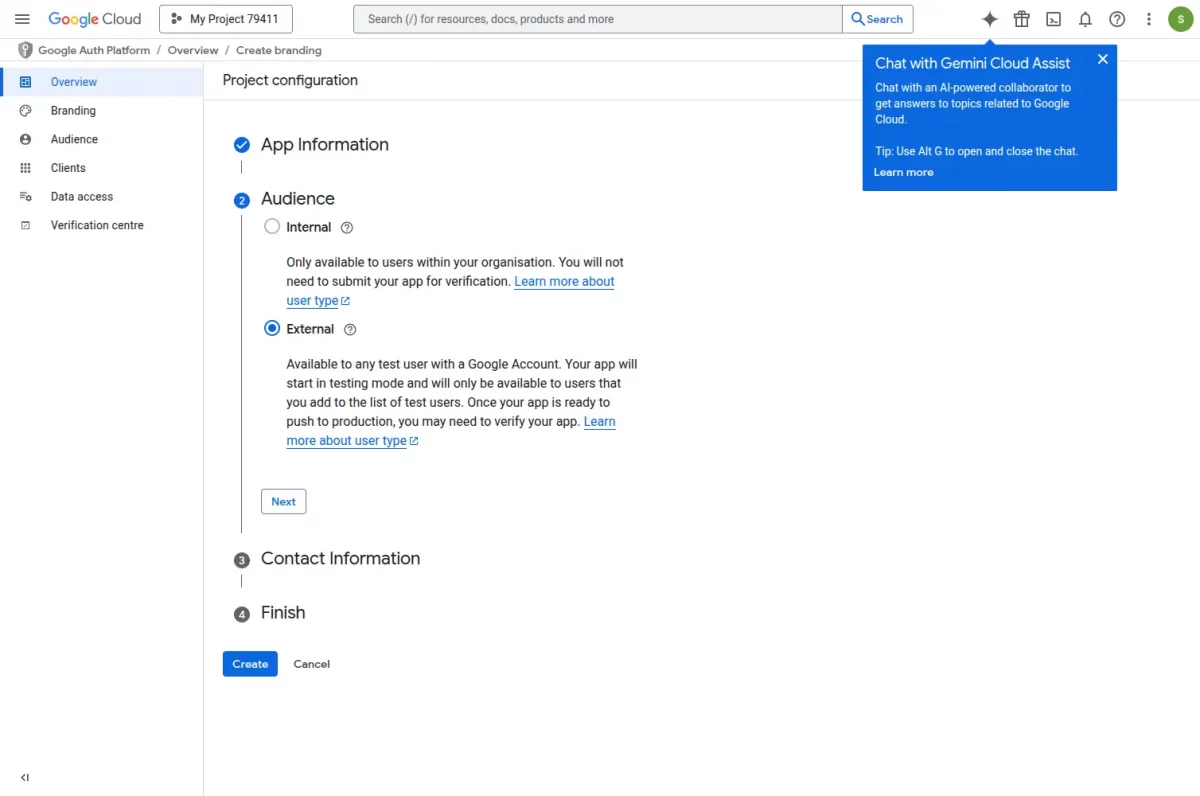
12. From the OAuth consent screen, select how you want to configure and register your app, and specify your target users accordingly. You can only associate one app with your project.
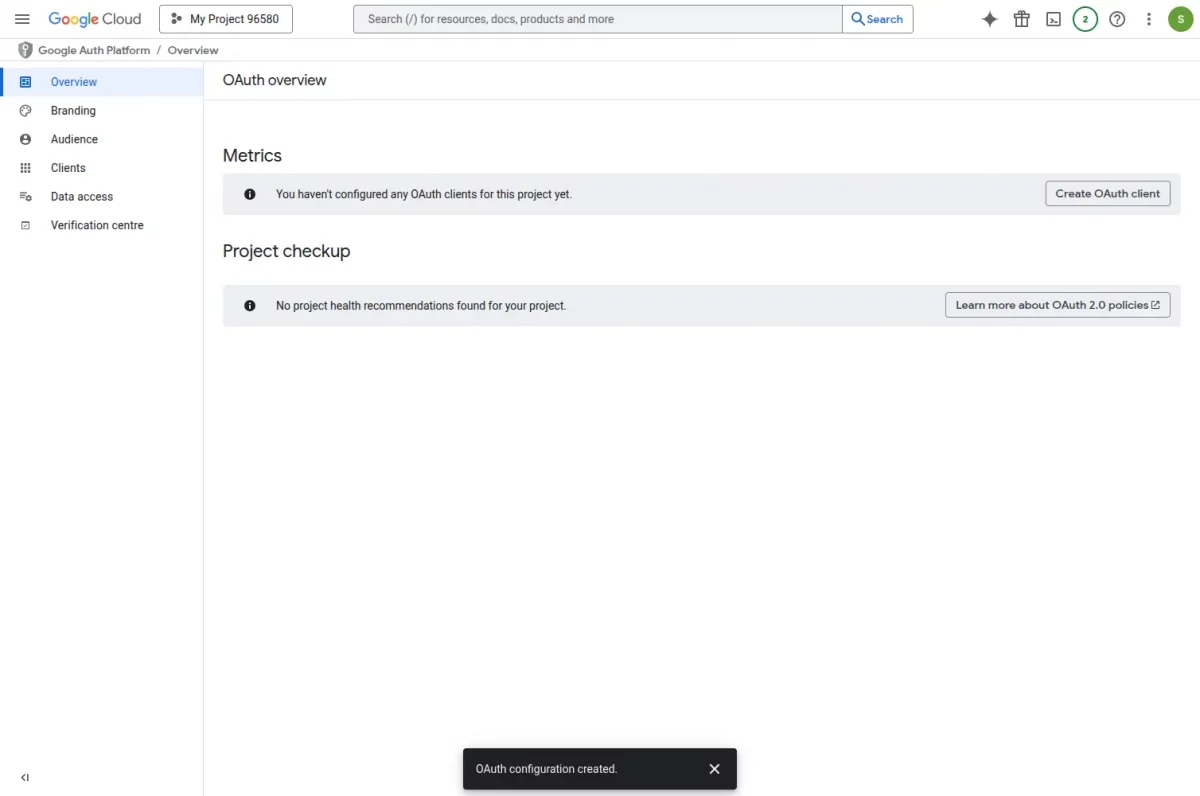
13. After entering all details, click “Create.” The OAuth overview screen appears. Then click “Create OAuth client” to complete the setup for the Google Shopping API.
14. Create OAuth client: You can see the create client page .
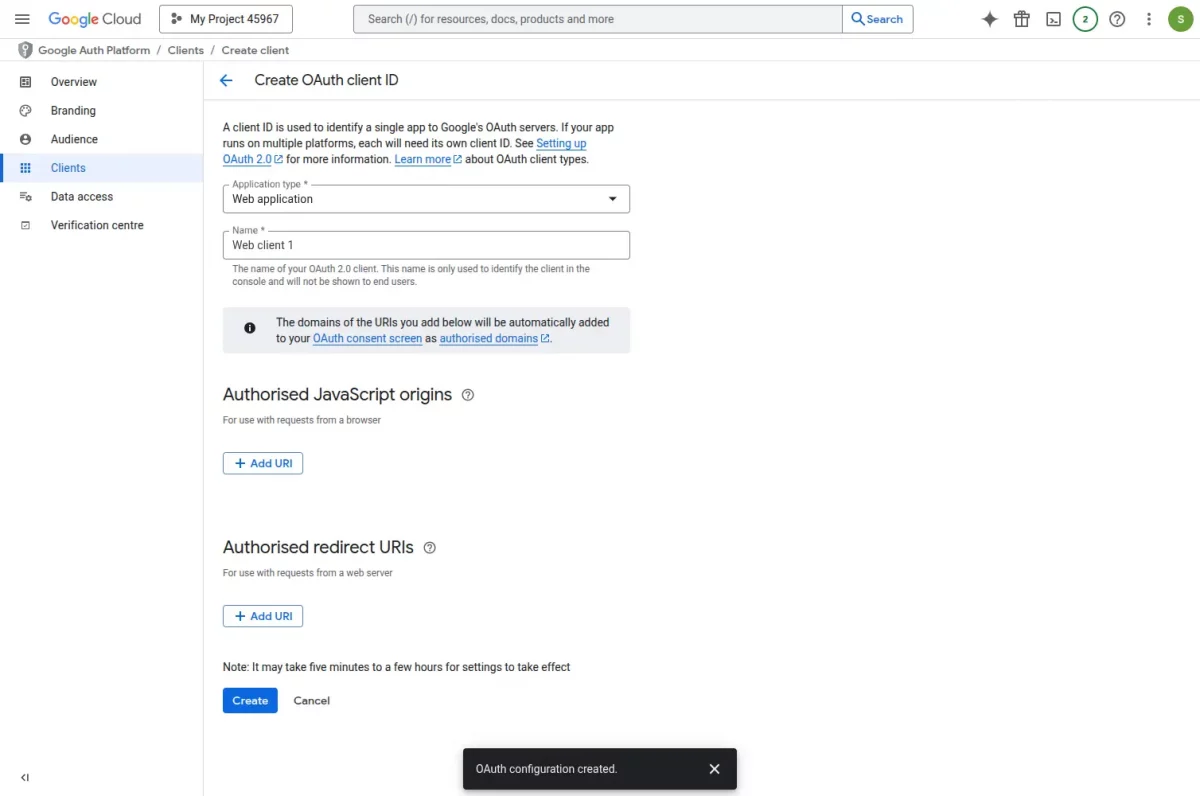
Fill all the details:
Application type: Select the type of application (e.g., Web application).
Name: Enter a name to identify the OAuth client.
Authorised JavaScript origins: Add allowed website domains for browser requests.
Authorised redirect URIs: Add the URL where users are redirected after login.
Note :- Enter the following URL in the “Authorised redirect URIs” field:
https://domain-example.com/admin/google-shopping-feed/auth/redirect
Replace domain with your own domain name before clicking “Create” to finish the setup.
Finally, click the “Create” button to complete the setup.
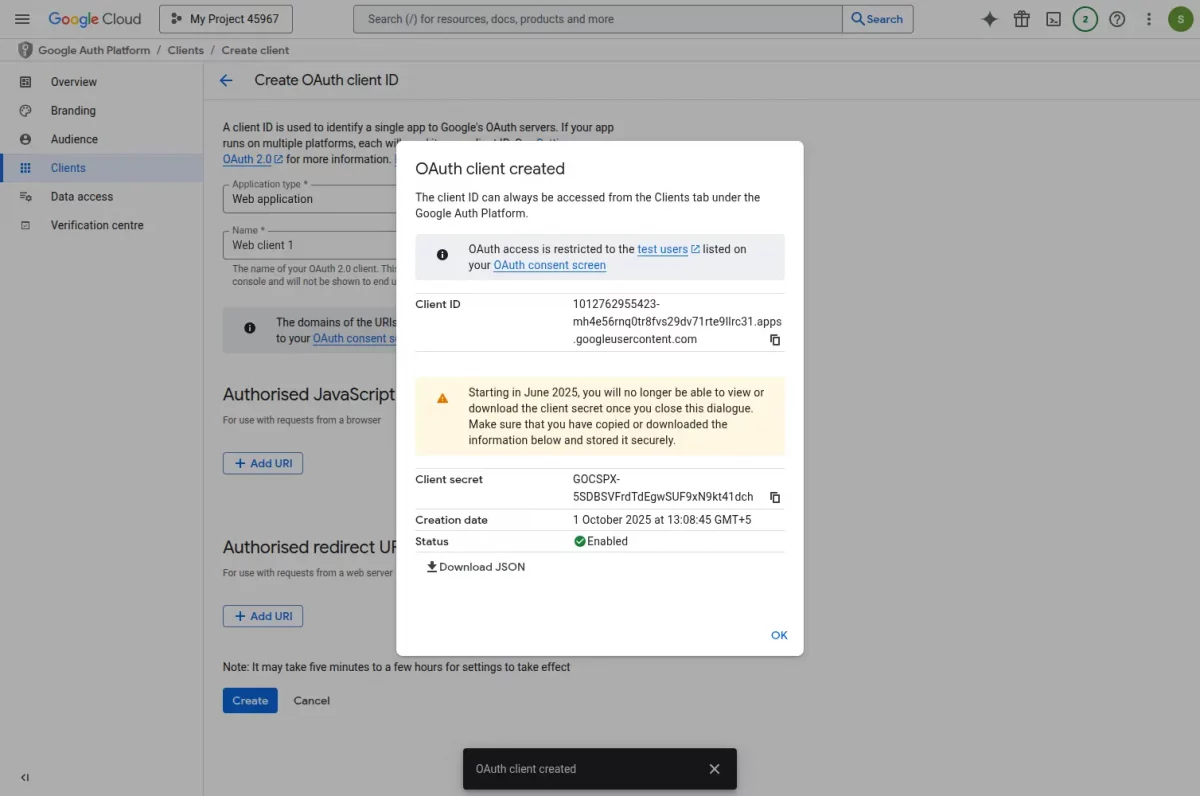
15. Once you click the “Create” button, a pop-up will display your Client ID and Client Secret. These credentials are essential for configuring the Google Shopping API in Bagisto.
Copy client id and client secret key into the module configuration settings.
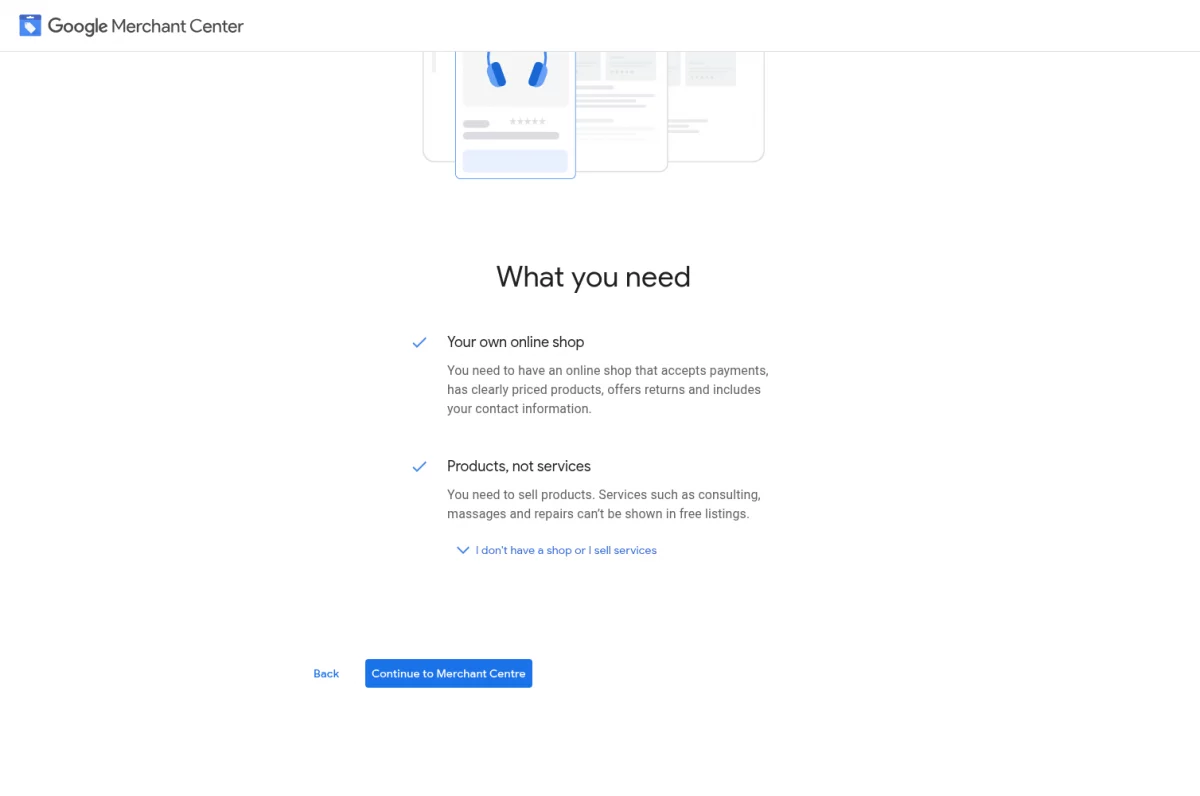
Sign Up for Google Merchant:
1) Go to Merchant Center and click on Sign-Up.

2) Login with your Gmail address used for credentials.

3) Add your business information, tell Google about your business
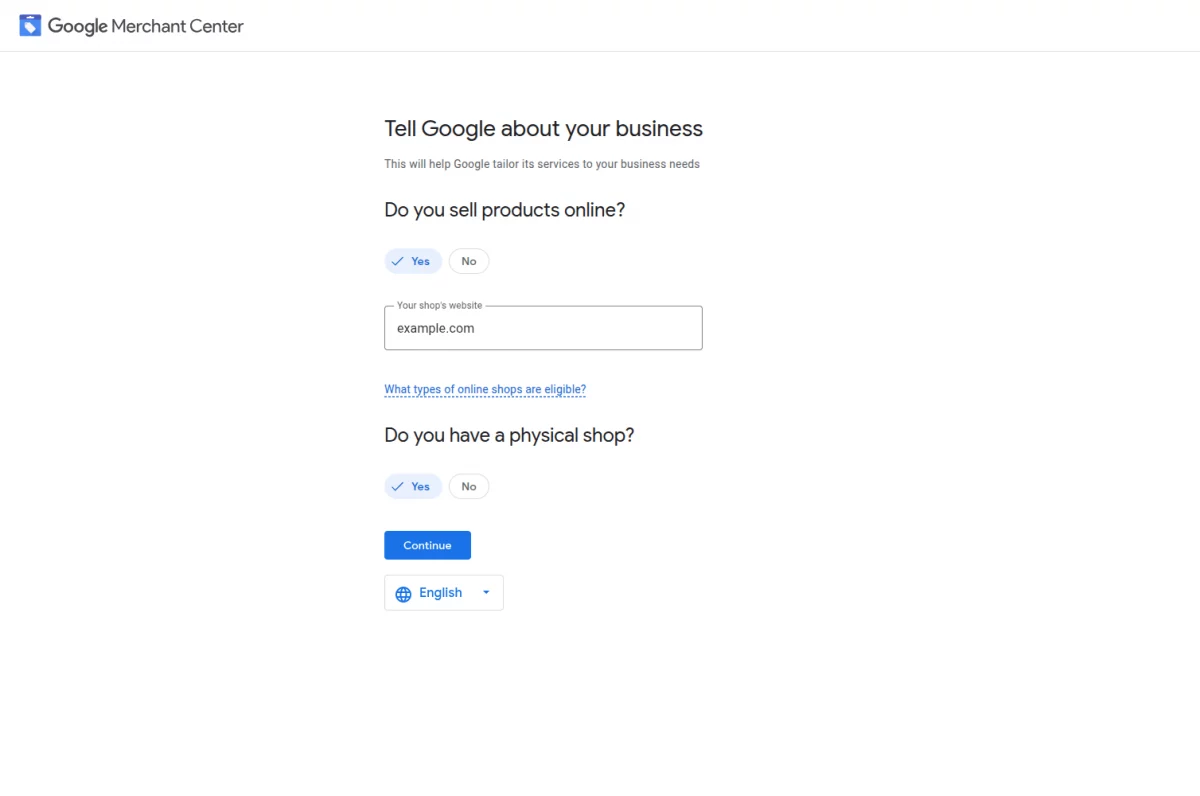
4) Click on continue to merchant centre
5) Enter business Information than click on continue to merchant account

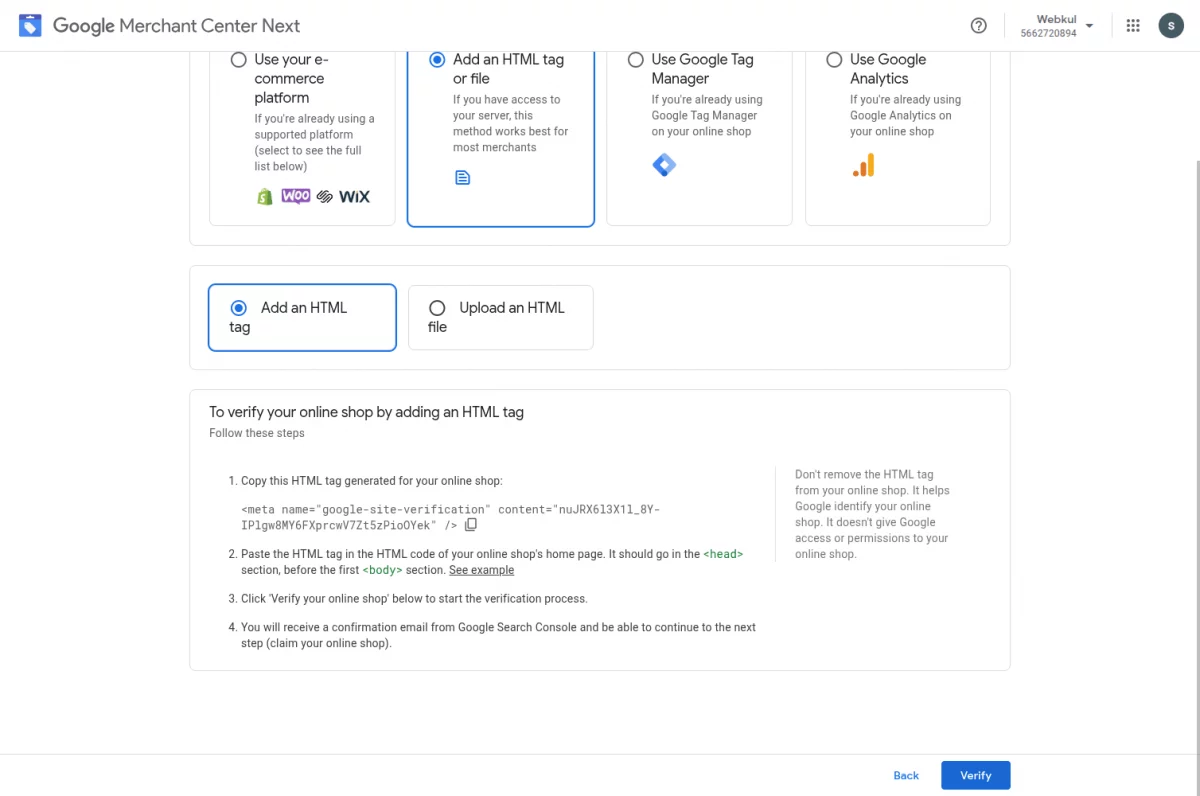
6) Verify and claim your website URL using the HTML file method and upload it to your Bagisto installation.
Navigate: 7) packages/Webkul/Shop/src/Resources/views/components/layouts/header/desktop/index.blade.php in your Bagisto project.
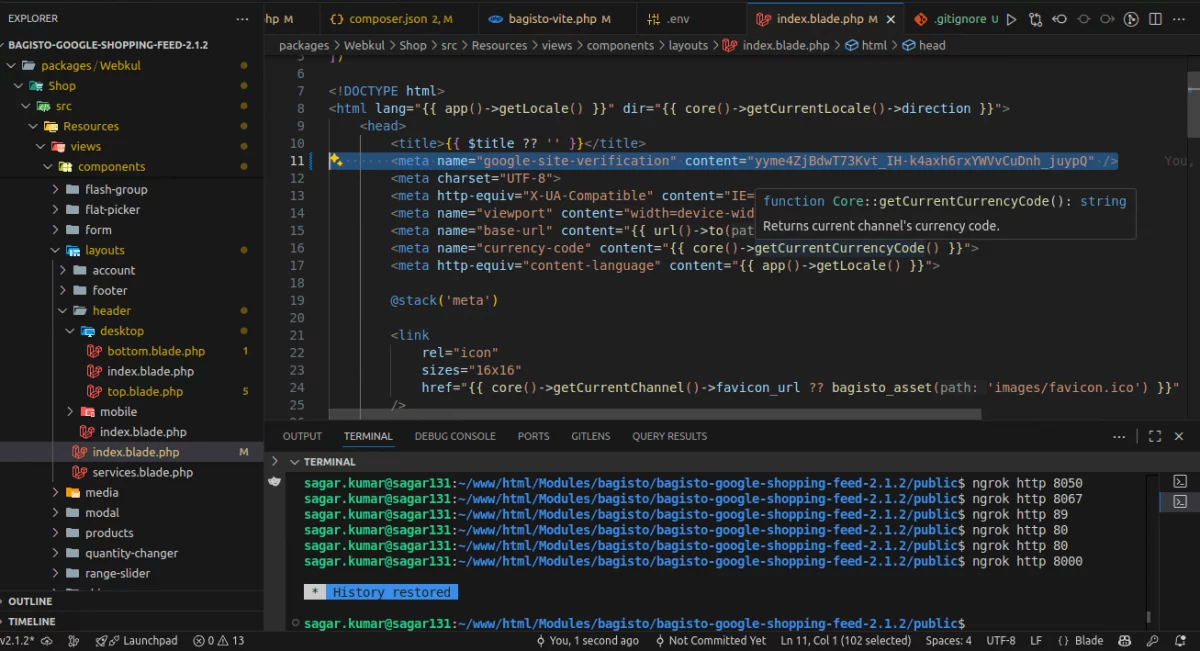
8) Copy the following HTML meta tag and paste it inside the <head> section of your index.blade.php file: Than click on verify button.
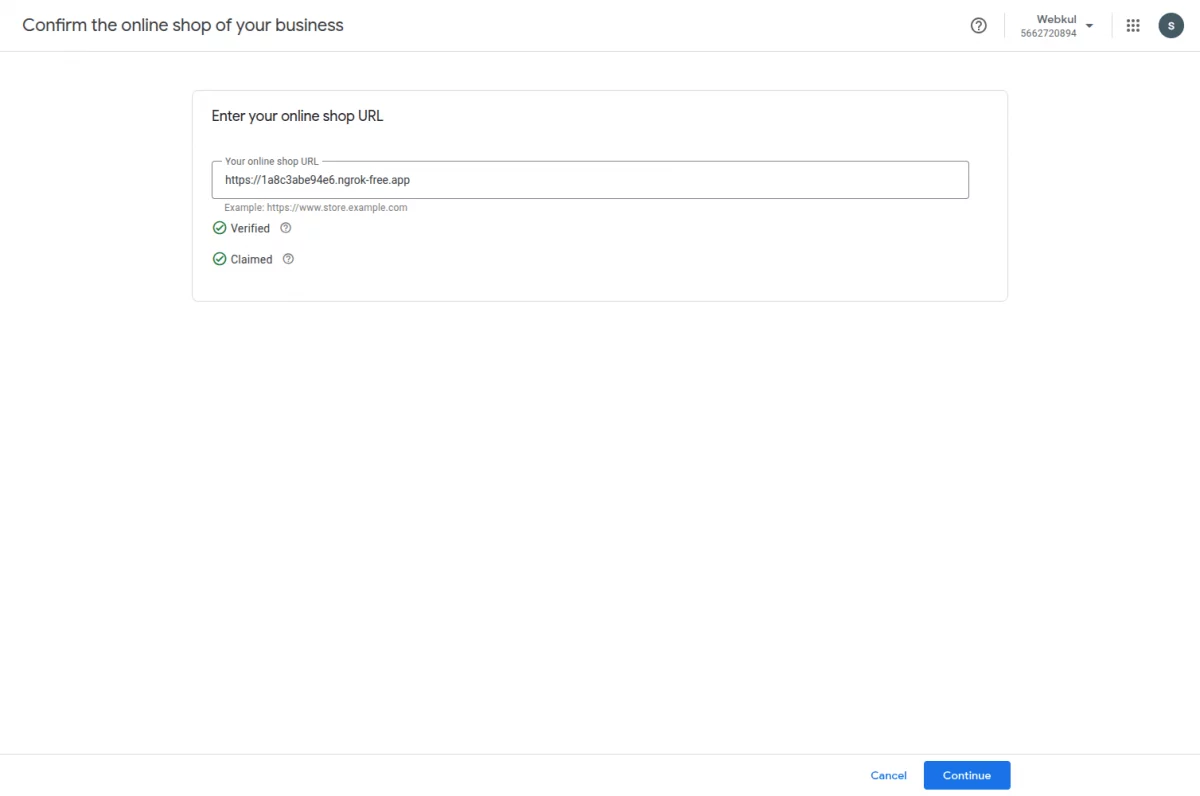
Click on continue button.
Admin Configuration
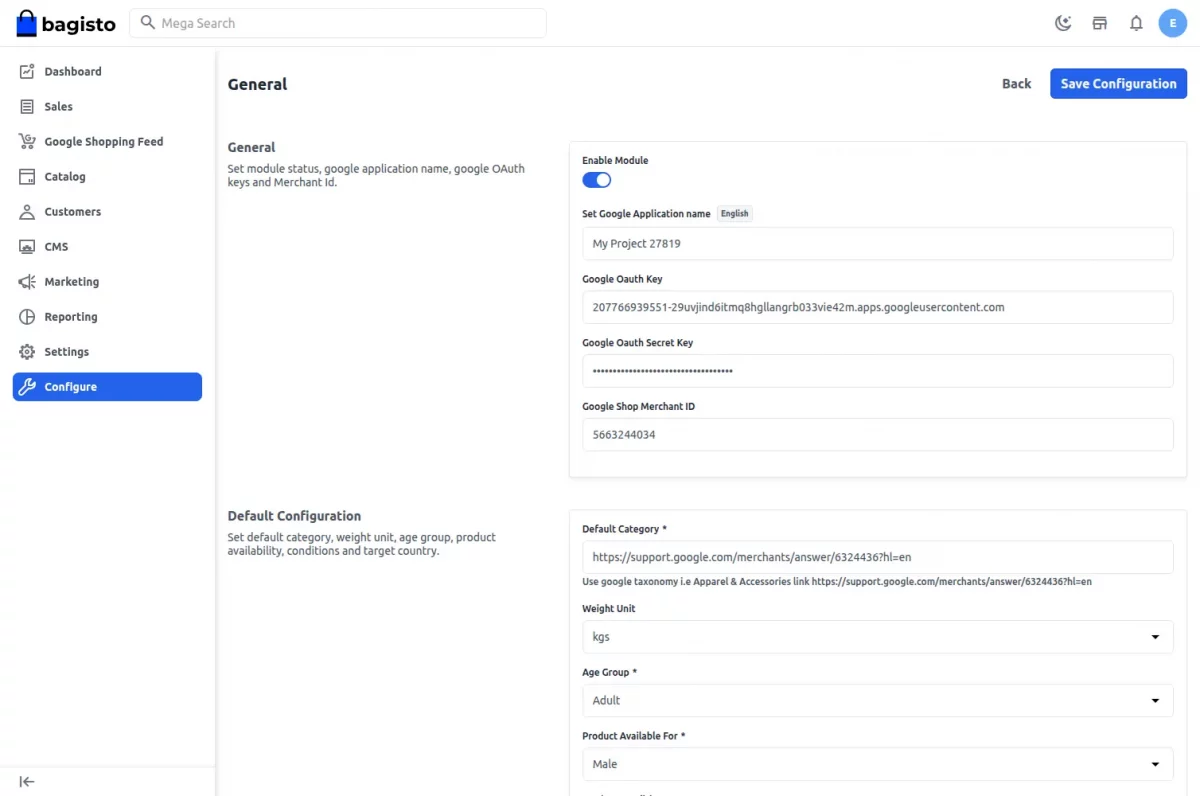
Navigate to Configure > Google Shopping Feed and fill details like Google Oauth Key, Google Oauth Secret Key, Google Shop Merchant ID and default configuration. Click Save.
The admin can view the Google Shopping Feed option in the sidebar menu.

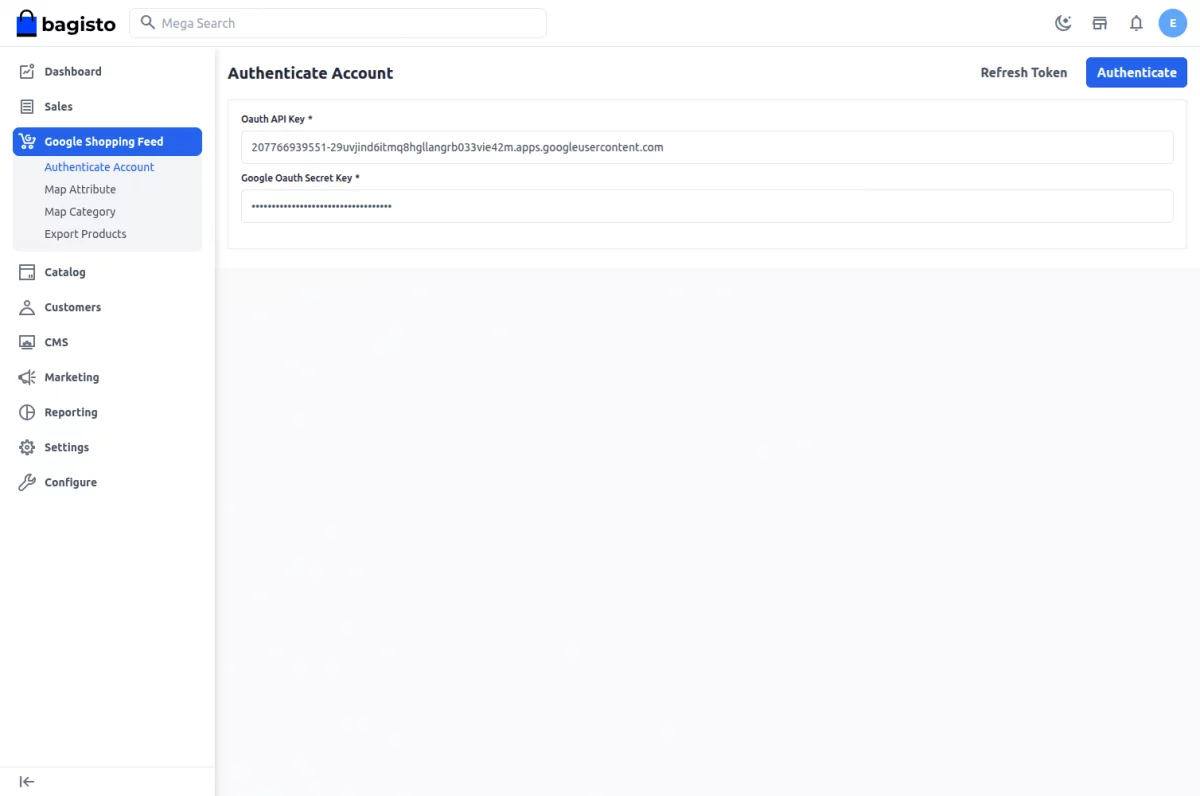
Authenticate the account using the Oauth API Key.
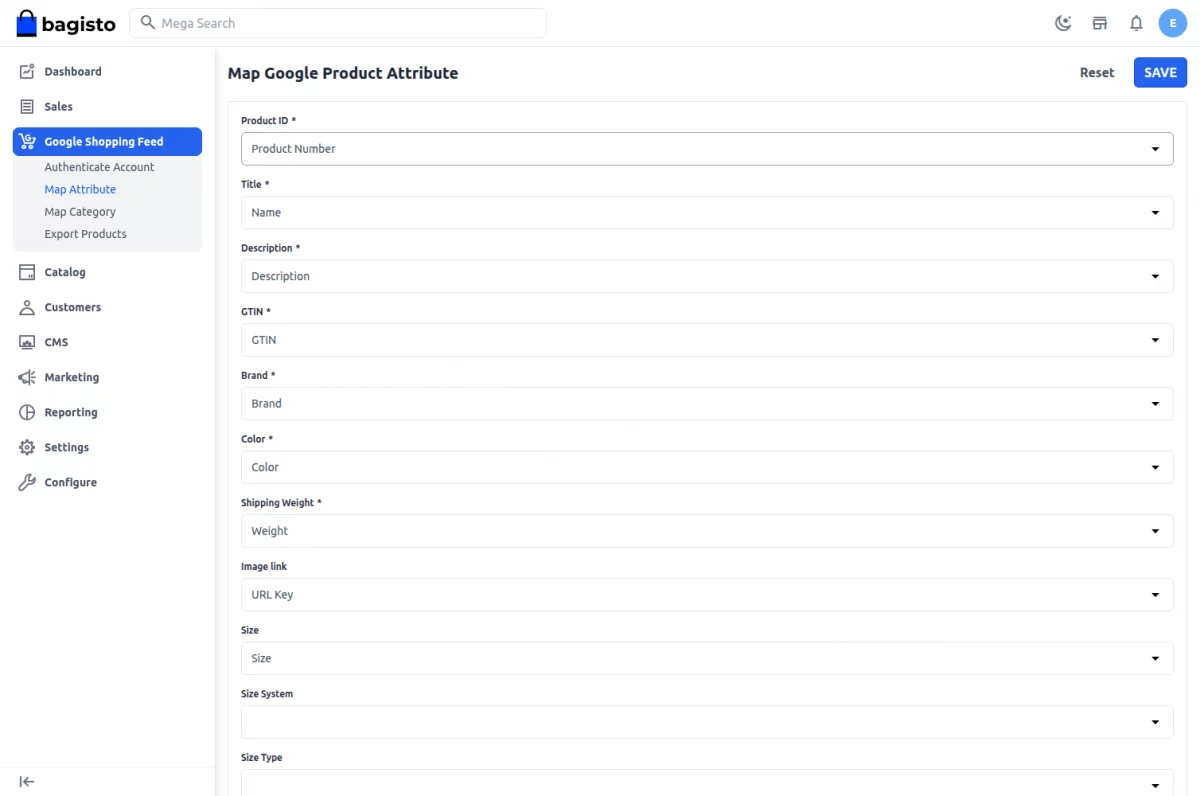
Map the Google Merchant Account attributes with your Bagisto store attributes. Map values, reset, and save mapping as required.
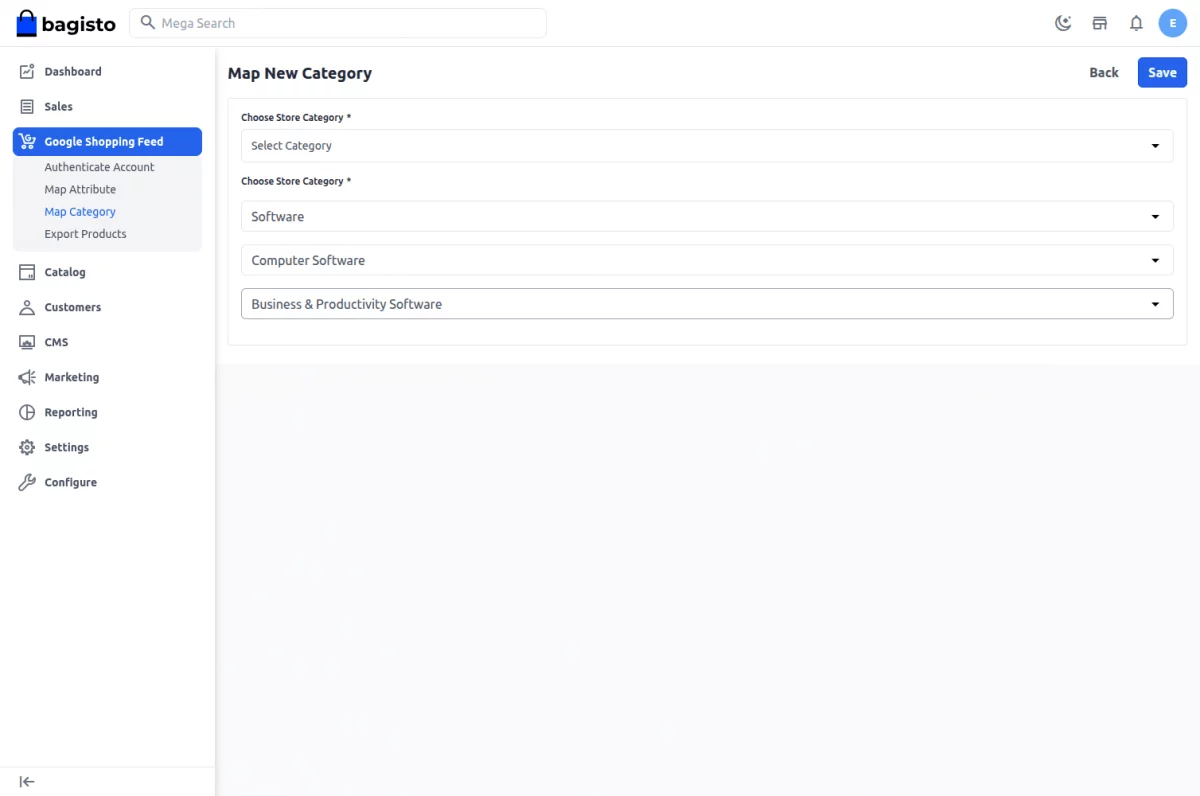
Category MAP All mapped categories are visible:
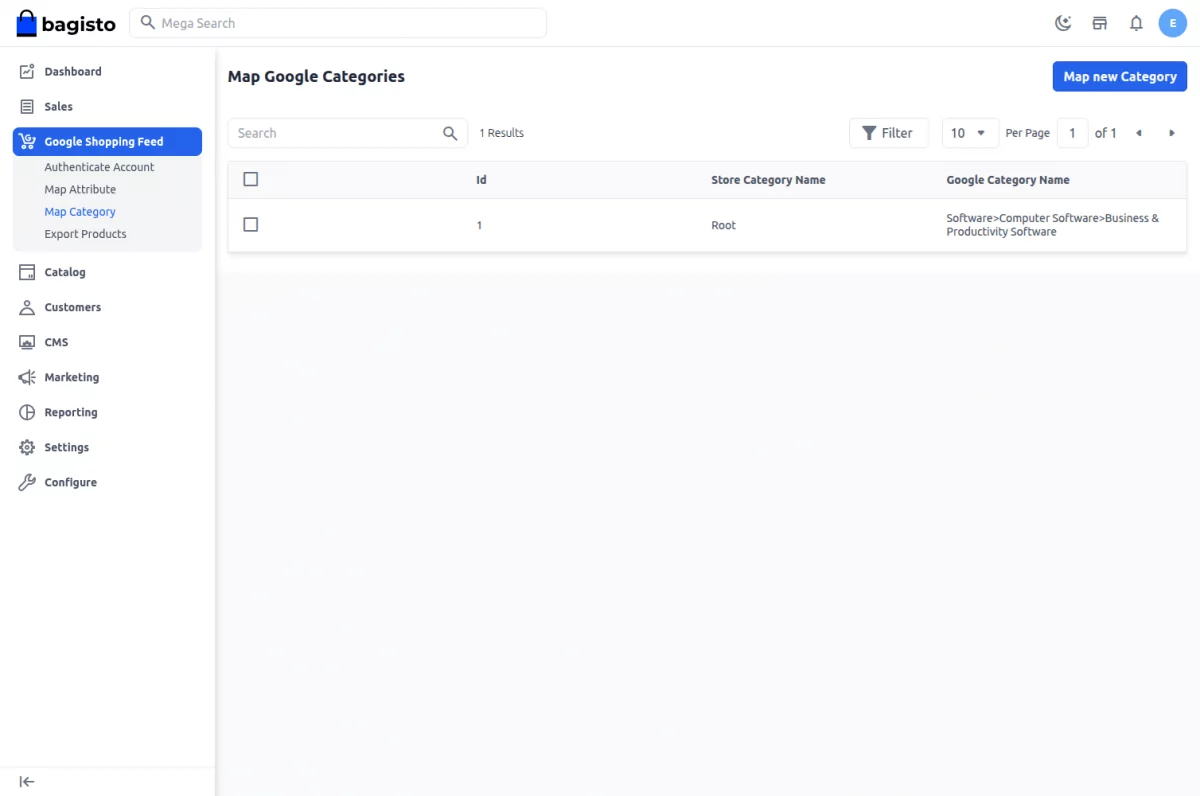
To map a new category, click Map New Category, select store category, corresponding Google Shopping category, and click Save. You can also do many-to-many mapping and delete mapped categories.
Products
Export products by clicking the export product button:

Workflow at Google Merchant
After configuration, mapping, and product export, the exported products will be visible under Products > List in Google Merchant Account.

Support
For queries, reach out to us at [email protected] or raise a ticket at our HelpDesk System.
Please explore our Laravel Development Services and Bagisto Extensions.
Current Product Version - 2.1.2
Supported Framework Version - Bagisto v2.1.2

Be the first to comment.