UnoPim Job Scheduler lets you easily create and manage scheduled jobs from a simple admin panel.
It allows you to run jobs automatically at a fixed time, such as daily, weekly, or monthly. These jobs can import or export products and categories in UnoPim, helping save time and reduce manual work.
You can also create custom schedules by setting a specific cron timing for a job. Once configured, the scheduler runs the job automatically at the defined time without manual action.
Features
- Schedule import and export jobs using cron expressions
- Create and manage jobs from the UnoPim admin panel
- Run jobs automatically based on the configured schedule
- Set retry attempts and cancel all running jobs when needed
- View job execution history and logs
- Get notifications when a job finishes or fails
- Secure access with role-based permissions
- Manage multiple scheduled jobs from one place
- Simple and easy-to-use interface
Basic Requirement
- This module works with UnoPim version v1.0.0
- For the UnoPim installation, make sure your server meets these system requirement
Installation
Download and unzip the extension, then merge the “packages” folder into the project’s root directory.
- Go to composer.json, add the following line under ‘autoload psr-4’:
"Webkul\\JobScheduler\\": "packages/Webkul/JobScheduler/src/"
- Run the command:
composer dump-autoload
- Go to config/app.php and add the following line under ‘providers’:
Webkul\JobScheduler\Providers\JobSchedulerServiceProvider::class,
- Run the installer command:
php artisan job-scheduler:install
- Alternatively, run migrations manually:
php artisan migrate --path=packages/Webkul/JobScheduler/Database/Migration
Set Up the Cron Entry
- Add a single crontab entry on your server. This is the only cron entry needed — Laravel’s scheduler handles the rest:
* * * * * cd /path/to/your/unopim && php artisan schedule:run >> /dev/null 2>&1
- To edit your crontab:
crontab -e
- Job executions are dispatched to the
job-schedulerqueue. Start a worker for this queue:
php artisan queue:work --queue=job-scheduler
- For production, use a process supervisor like Supervisor:
[program:job-scheduler-worker]
process_name=%(program_name)s_%(process_num)02d
command=php /path/to/your/unopim/artisan queue:work --queue=job-scheduler --sleep=3 --tries=3 --max-time=3600
autostart=true
autorestart=true
stopasgroup=true
killasgroup=true
numprocs=2
redirect_stderr=true
stdout_logfile=/path/to/your/unopim/storage/logs/job-scheduler-worker.log
Set up a Schedule Job in UnoPim
After successfully installing the module in UnoPim, you will see the Job Scheduler option on the left side of the Navigation panel.
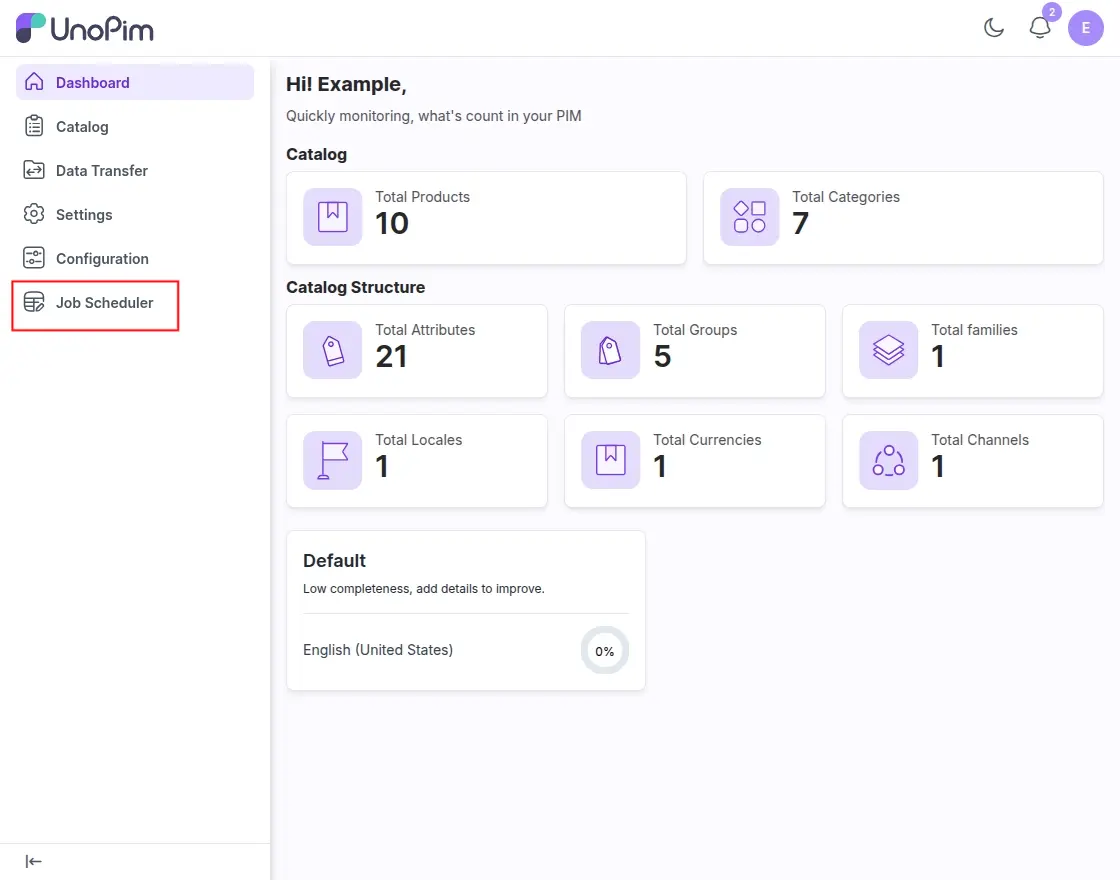
Click on Job Scheduler. Here, you can see three sub-options:
- Scheduled Jobs
- Execution History
- Execution Logs
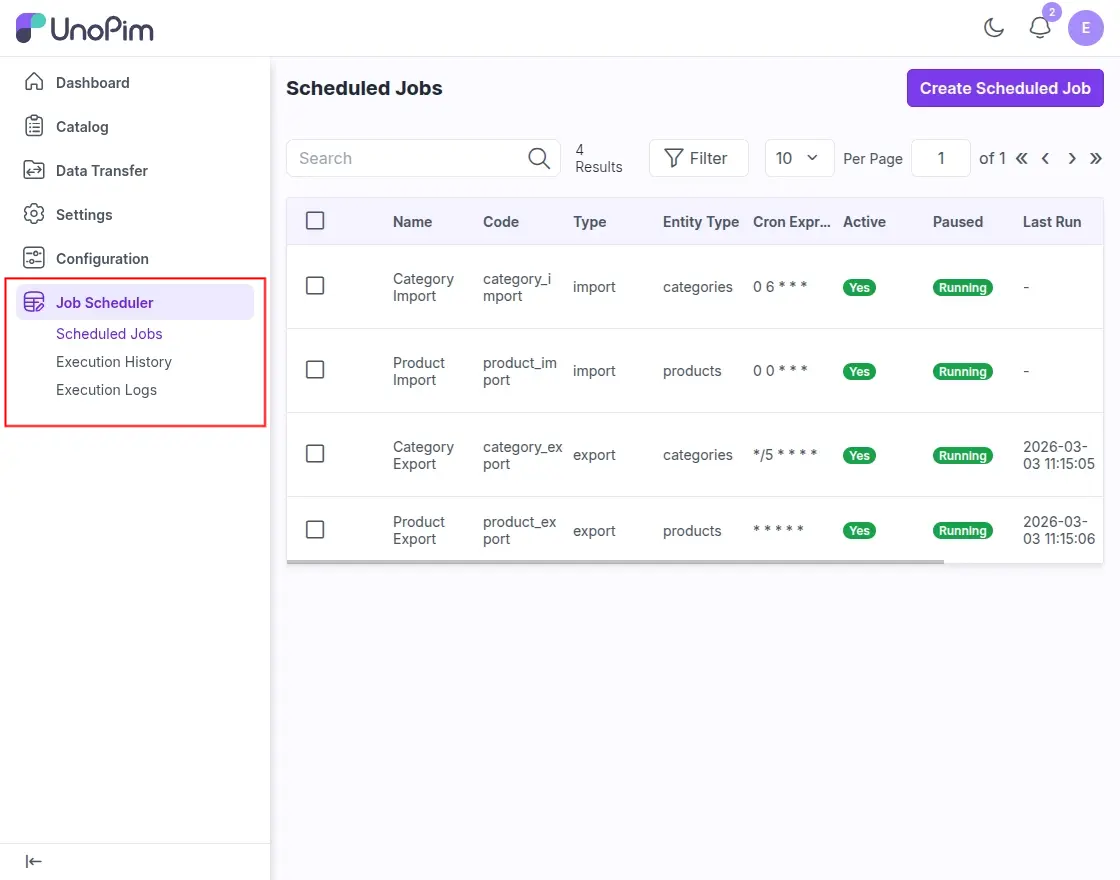
Click on the Create Scheduled Job to create a new job with a scheduled time. A form will open where you need to fill in the following details:
- Name: Enter the job name.
- Code: Enter the job code. It is automatically generated when you type the name (for example, if the name is Category Export, the code will be generated as category_export), but you can change it if needed.
- Type: Select the job type, such as Import or Export.
- Entity Type: Choose the data type for the job, such as Products or Categories.
- Job Instance: Select the existing job instance that you want to schedule.
- Status: Enable or disable the job using the Active option.
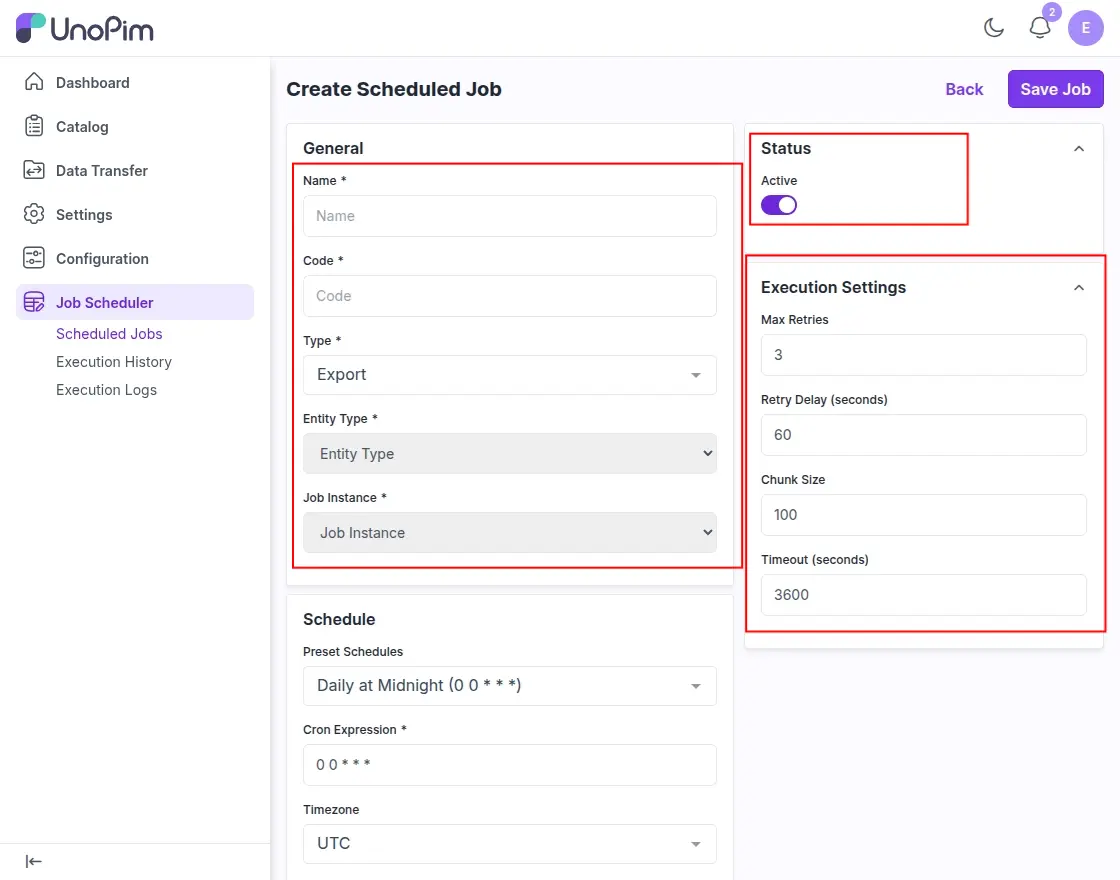
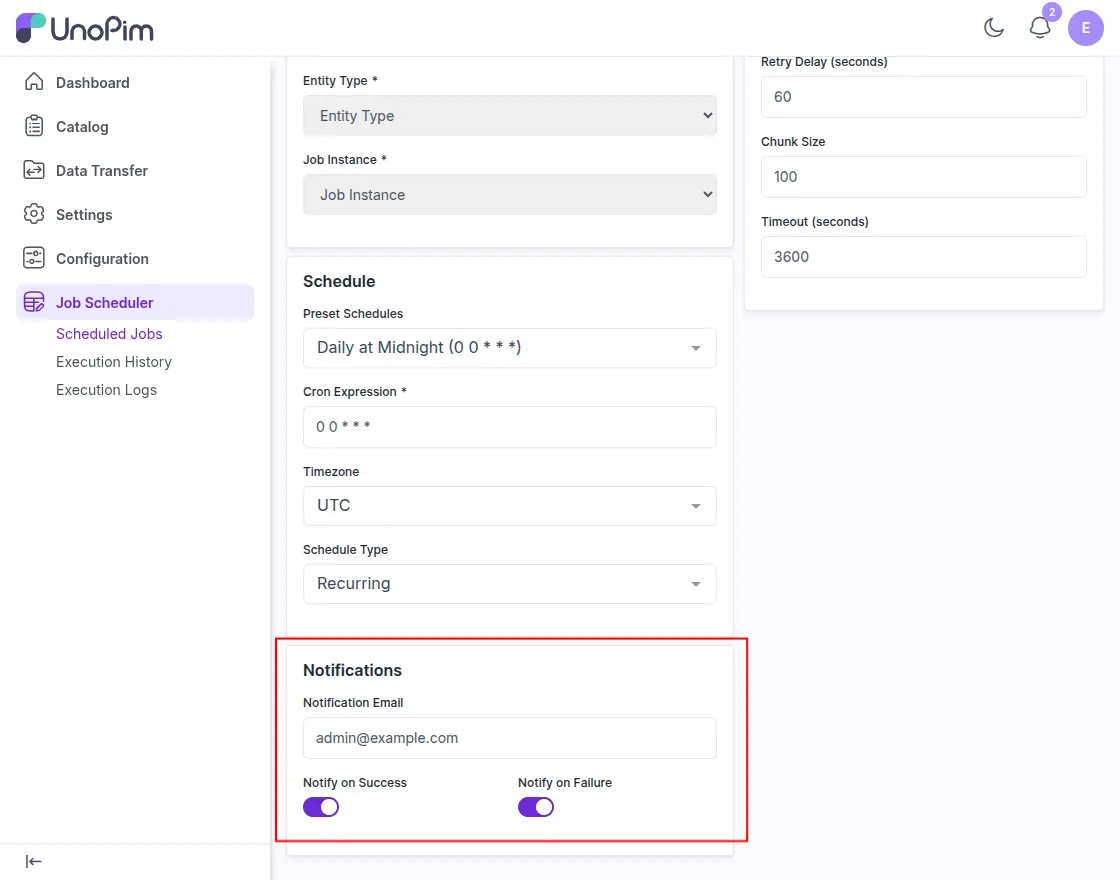
You can also configure execution settings like retry attempts, retry delay, chunk size, and timeout for the job.
Note: Before selecting a Job Instance, make sure the job is already created in UnoPim → Data Transfer → Import/Export. Only existing import or export jobs from the Job Tracker can be scheduled here.
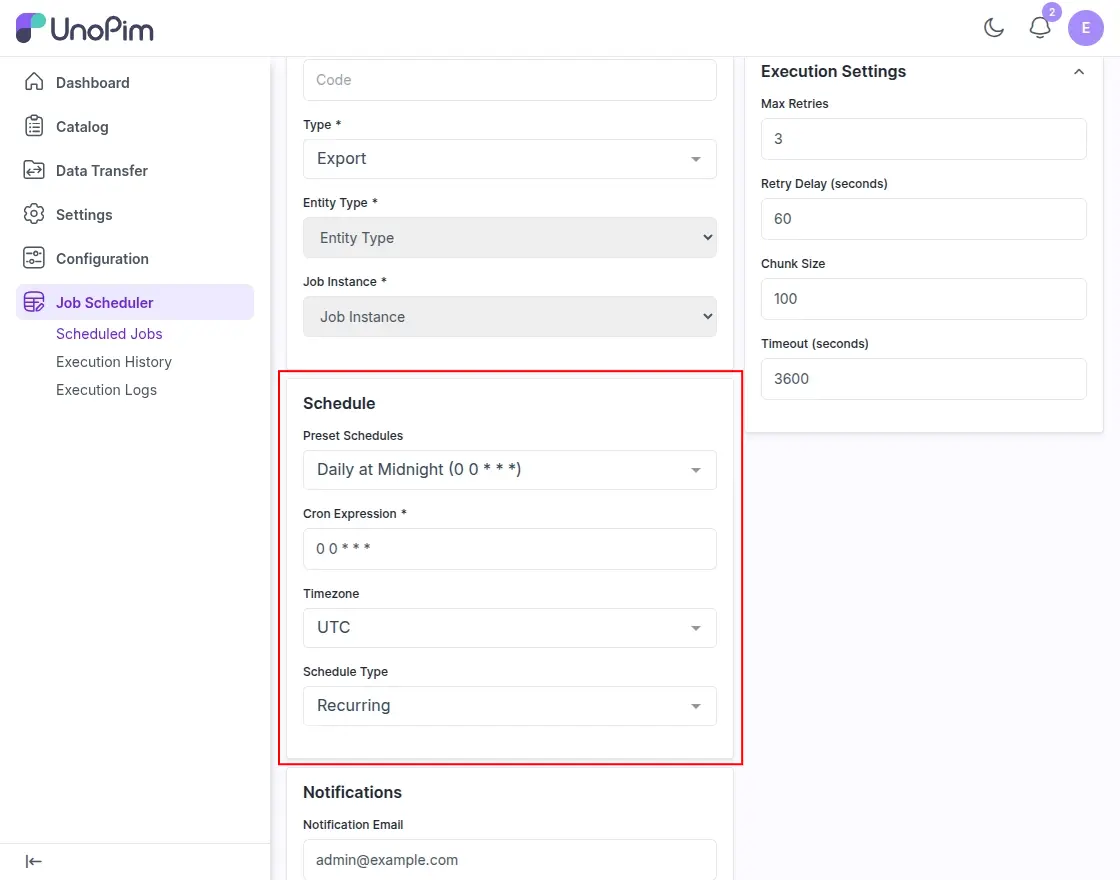
Schedule Settings
- Preset Schedules: Select when the job should run. The available options include:
- Every Minute (** * * * ***)
- Every 5 Minutes (*/5 * * * *)
- Every 15 Minutes (*/15 * * * *)
- Every 30 Minutes (*/30 * * * *)
- Hourly (0 * * * *)
- Daily at Midnight (0 0 * * *)
- Daily at 6 AM (0 6 * * *)
- Weekly on Monday (0 0 * * 1)
- Monthly (0 0 1 * *)
- Custom – Enter your own cron expression.
- Cron Expression: This field is automatically filled based on the preset schedule you select. If you choose Custom, you can manually enter the cron expression.
- Timezone: Select the timezone in which the job should run so the schedule follows the correct local time.
- Schedule Type:
- Recurring: The job runs repeatedly based on the selected schedule.
- One-time: The job runs only once at the scheduled time.
Notification Settings
- Notification Email: Enter the email address where job notifications should be sent.
- Notify on Success: Enable this option to receive an email when the job completes successfully.
- Notify on Failure: Enable this option to receive an email if the job fails.
Click on “Save Job” to save the scheduled job and apply the configured settings.
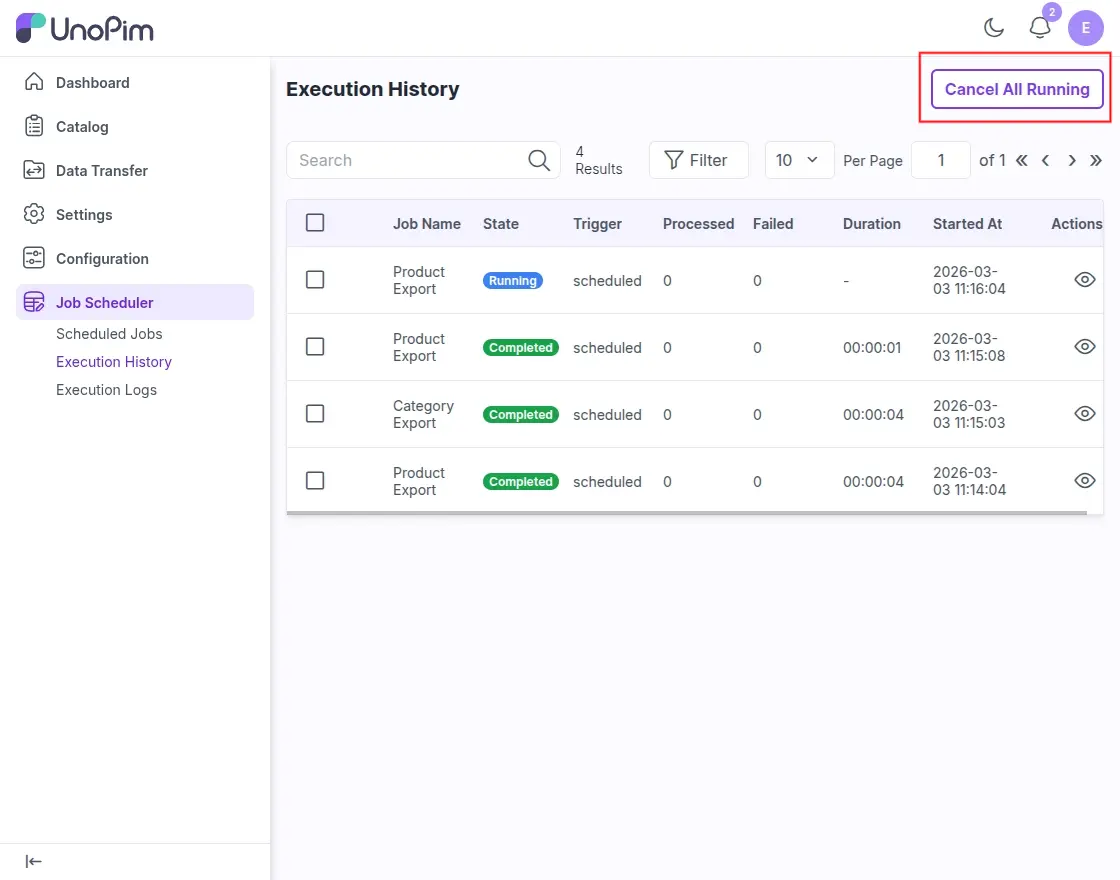
Execution History
Execution History section shows the record of all scheduled jobs that have run in the system. It helps administrators monitor job activity and check the status of each job execution.
- Job Name: Displays the name of the scheduled job (for example, Product Export or Category Export).
- State: Shows the current status of the job, such as Running, Completed, or Failed.
- Trigger: Indicates how the job was started, such as scheduled.
- Processed: Displays the number of records that were processed during the job execution.
- Failed: Shows the number of records that failed during the process.
- Duration: Displays how long the job took to complete.
- Started At: Shows the date and time when the job started running.
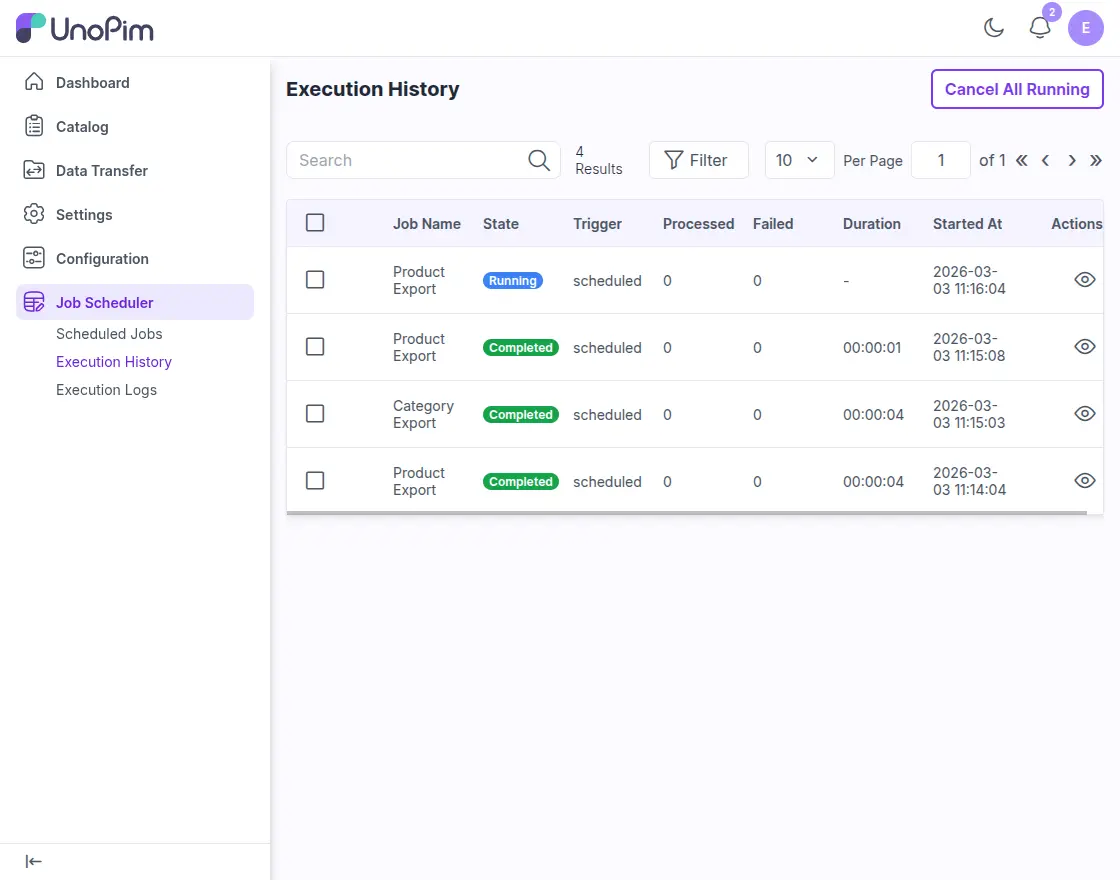
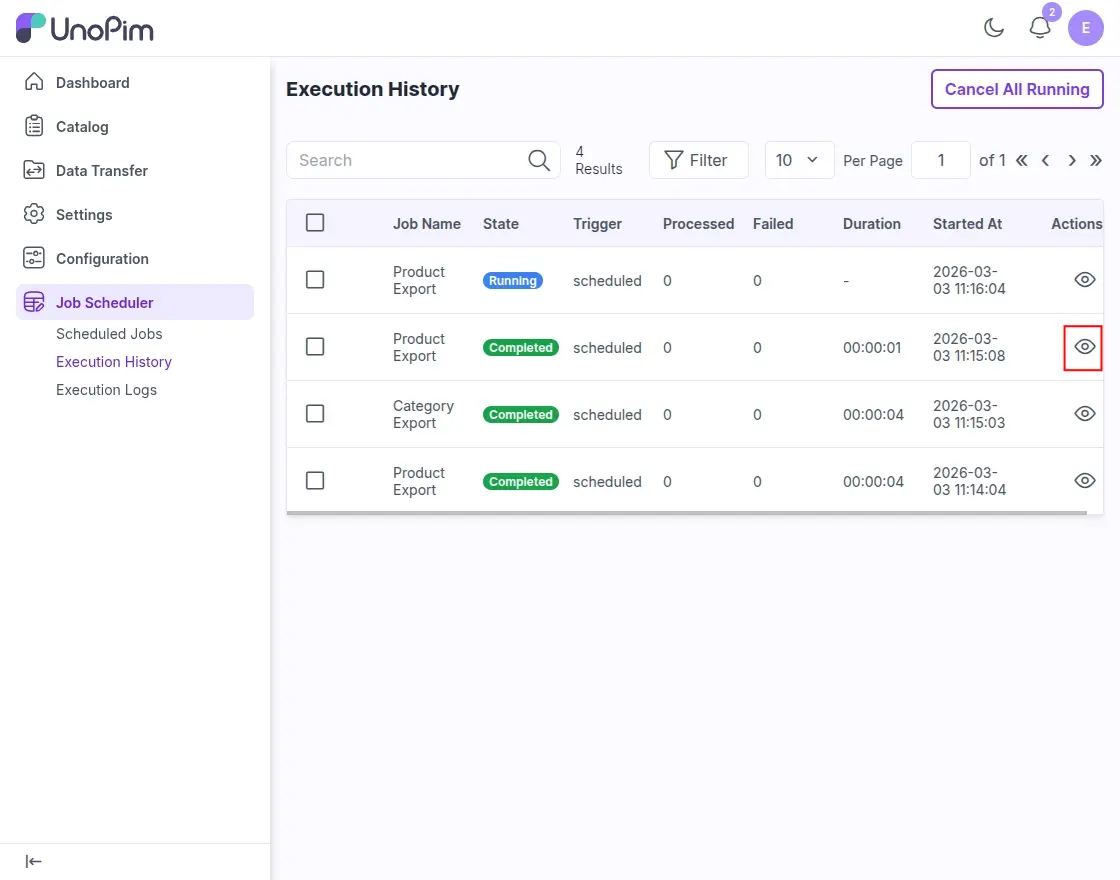
- Actions: Click the view icon to see more details about that job execution.
You can click “Cancel All Running” to stop all jobs that are currently running.
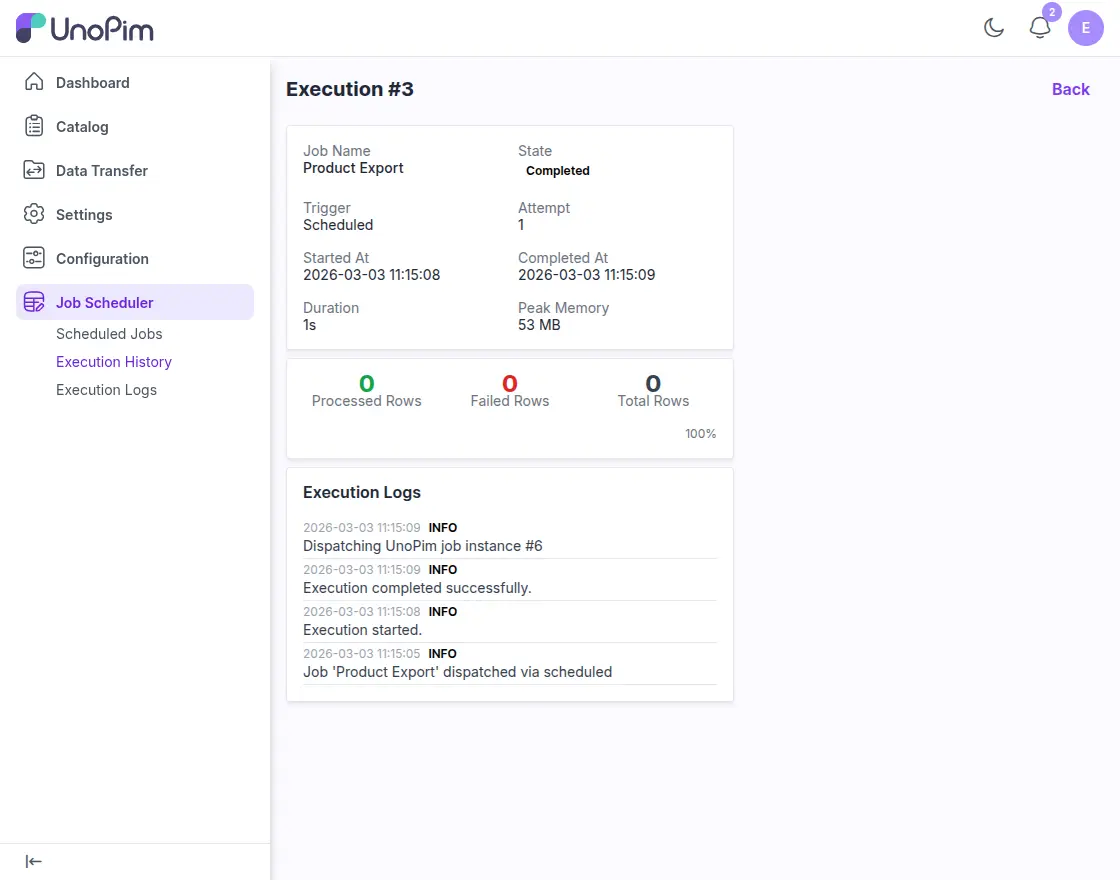
Execution Logs
Execution Logs section shows detailed log messages for each job execution. It helps administrators understand what happened during a job run and quickly find any issues.
- Job Name: Shows the name of the job, such as Product Export or Category Export.
- Execution: Displays the execution ID of the job run. Each job run has a unique execution number.
- Level: Shows the log level, such as INFO, which indicates normal job activity.
- Message: Displays the log message describing what happened during the job, such as when the execution started or completed.
- Row #: Shows the row number related to the log message (if applicable).
- Logged At: Displays the date and time when the log entry was created.
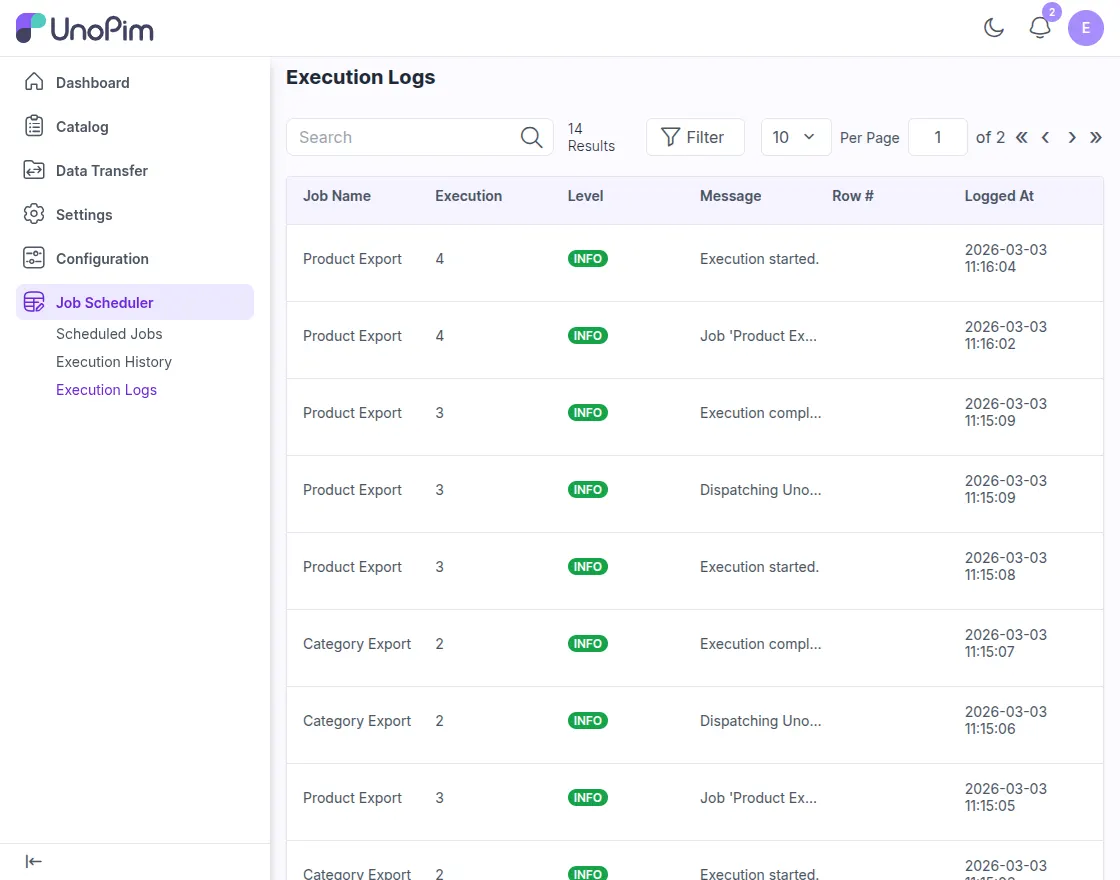
You can use this section to track job activity, review execution steps, and identify any errors during the job process.
Support
So, that was a bit about the User Guide of UnoPim Job Scheduler. For any queries or doubts, reach out to us at [email protected]. You can also raise a ticket at our HelpDesk System.
Learn more about UnoPim and explore our UnoPim extensions.
Current Product Version - 1.0.0 || 1.1.0
Supported Framework Version - UnoPim v1.0.0 || v2.0.0

Be the first to comment.