WooCommerce POS Barcode RFGun plugin facilitates the POS agent to search products and add them to the POS cart using an RFgun to scan product barcodes.
Android based RFGun connects to the WooCommerce POS through an application. It uses a node server socket.
Using this plugin, the POS agent can scan and add products from anywhere and process the checkout faster.
Looking for a point of sale system for your WooCommerce WCFM Marketplace? Check out our WooCommerce WCFM Marketplace Point of Sale extension.
Apart from this, you can check the WooCommerce POS Complimentary Goods which lets the admin set rules and add complimentary goods in POS cart.
Note
- This module is compatible with WooCommerce’s new High-Performance Order Storage (HPOS) feature.
- This plugin is compatible with WooCommerce’s latest feature Cart and Checkout blocks.
- We provide a production version of the plugin. If you want a development version then you can get it at an additional cost. Please contact [email protected] for it.
Features
- Scan product barcode while POS cursor is in search bar to search product in POS.
- To add product in POS cart, scan barcode normally.
- Scan a product barcode multiple times to increase quantity in cart.
- Product barcode is generated from admin backend.
- Barcodes can be scanned from anywhere using RFGun as it is not physically connected with POS.
- RFGun android application is included with the plugin.
- Product name and image is displayed on RFGun after product barcode scanning.
- WooCommerce POS Barcode RFGun is not multisite compatible.
Installation
The user will get a zip file which they have to upload in the “Add New” menu option in the WordPress admin panel.
For this, login to the WordPress Admin Panel, and Under the Dashboard hover your mouse over the “Plugins” menu option. This brings out a Sub-Menu and then selects the “Add New” option.

After that, you will see an option on the top of your page that is “Upload Plugin”, click the option to upload the zip file.

Then click on the “Upload Plugin” option, below that you will see a button “Choose File” click on the button to browse for the zip file as per the snapshot below.

Post browsing the file, click the “Install Now” button to install the plugin as per the snapshot.

Now, when the plugin is installed correctly, you will see the success message. Additionally, an option to activate the plugin.
Click on “Activate Plugin” to activate the installed plugin.

Module Translation
Know how to translate the module.
NOTE: To generate JSON from your translations, save your translation file in the default WordPress languages directory then run the following command in the same directory:
Note xx_YY refers to the locale (eg. en_US)
“`wp i18n make-json wc_pos-xx_YY.po –no-purge
Flush Rewrite Rules
The admin has to flush the permalink by navigating to Settings > Permalinks so that the links to the WooCommerce Marketplace Select and Sell store work correctly.

Plugin Activation
Check how to activate your WooCommerce plugin through the purchase code.
Configuration – WooCommerce POS Barcode RFGun
After the successfull installation of the WooCommerce POS Barcode RFGun plugin, the admin first has to configure the Node Server. They’ll navigate to Point of Sale>Settings>Node Server.
Here. they’ll get the following sections,
Node Server Configuration
- Node Server (Domain/IP) Address: Enter the domain/ip without http or prefix.
- Node Server Port: Node server will start on this port.
- Server HTTPS Status: Enable or disable the HTTPS server status if ssl is installed in site.
- Node Server Timeout: Retry Timeout for node server.
- Start/Stop Server: Button to start or stop the server.

Node Server SSL Keys (If HTTPS)
- SSL Certificate Keys: Input the SSL Certificate keys.
- SSL Private Keys: Input the SSL private keys.

Next, when the node server is connected successfully, it displays the server status checklist. They all have to be green for the connection to take place. It is displayed as per the image below,

Now, after the server is configured, let’s check the RFGun application and its working with the POS panel.
RFGun and POS Panel Workflow
Initially, the POS agent has to install the android application on the android based RFGun. The application is provided with the plugin.
After the app installs, the POS agent will open it and fill the required information on the Login page as per the image below,
RFGun POS Application
Enter the following details,
- Website URL
- Username
- Password

Once the app is successfully connects with POS Node Server socket, POS agent will then tap on Login to log on to the app.
Now the RFGun is ready to use. POS agent can either use the Trigger provided in the RFGun or tap on Scan Product to start the barcode scanner. Next, scan the product barcode as per requirement.
1) Place the cursor on POS panel to search for products by scanning barcode.
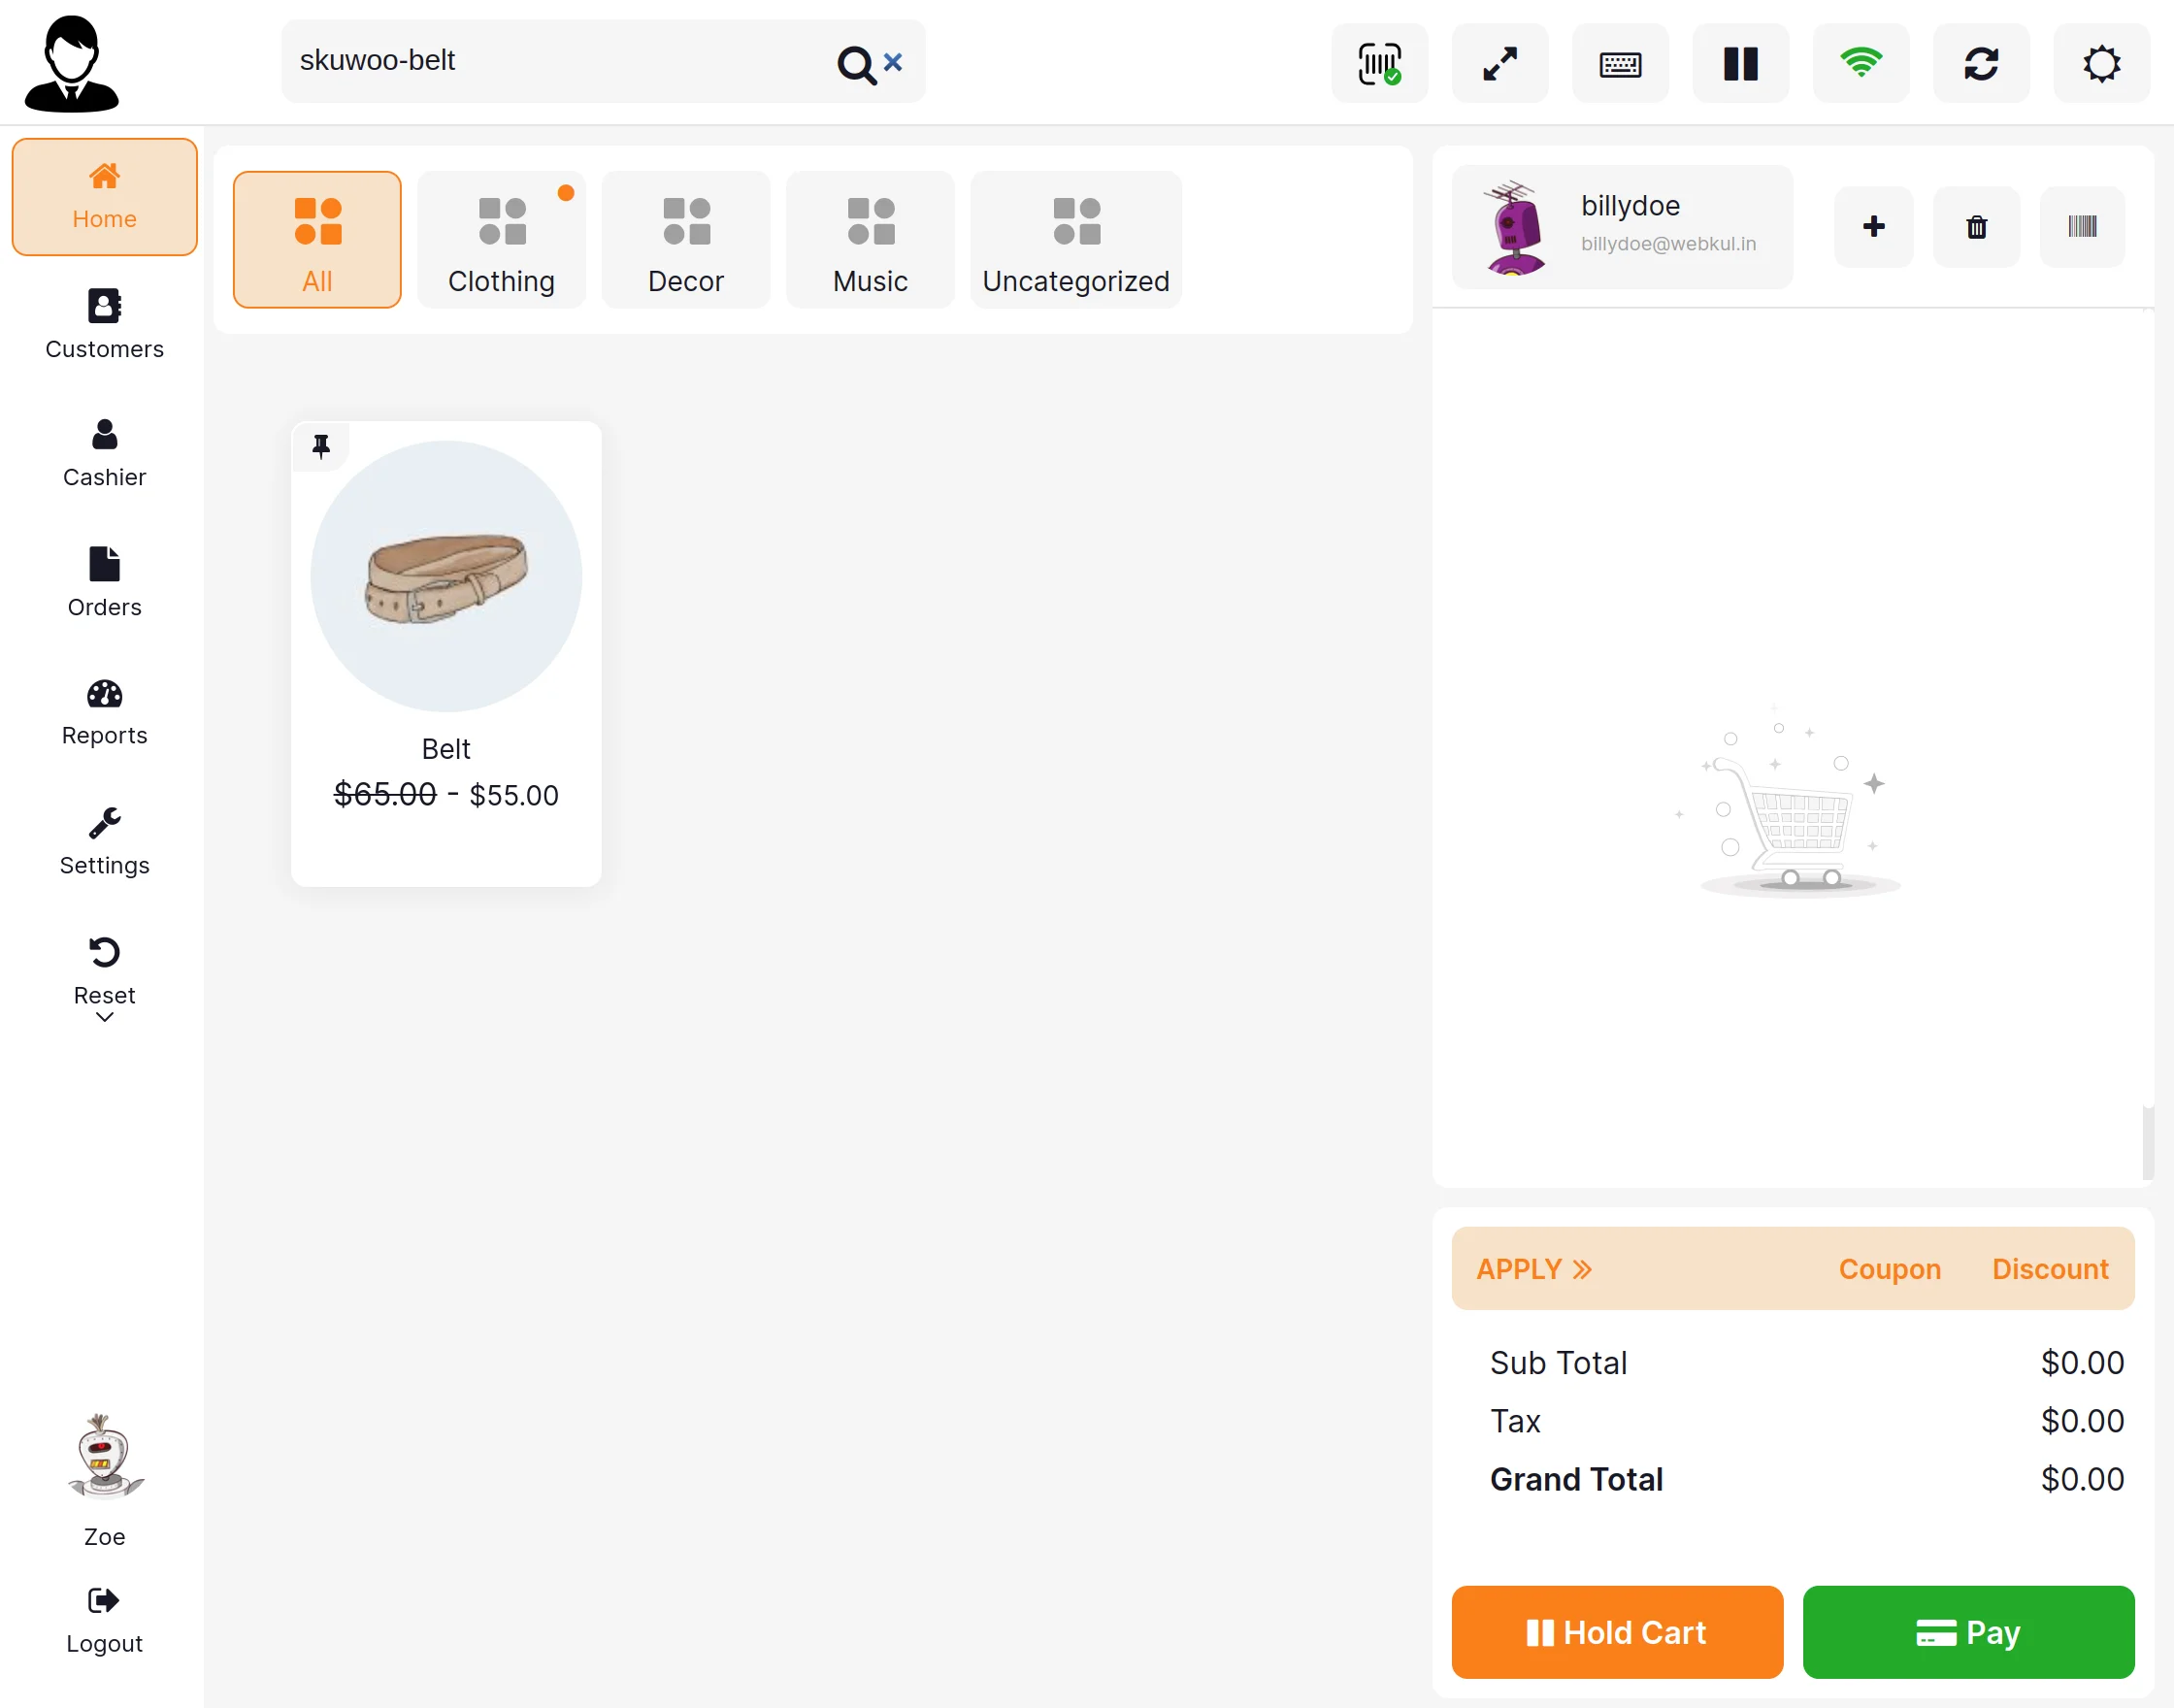
2) Scan barcode without cursor on search bar to add product to POS cart.

3) Scan the same barcode multiple times to increase product quantity in cart.
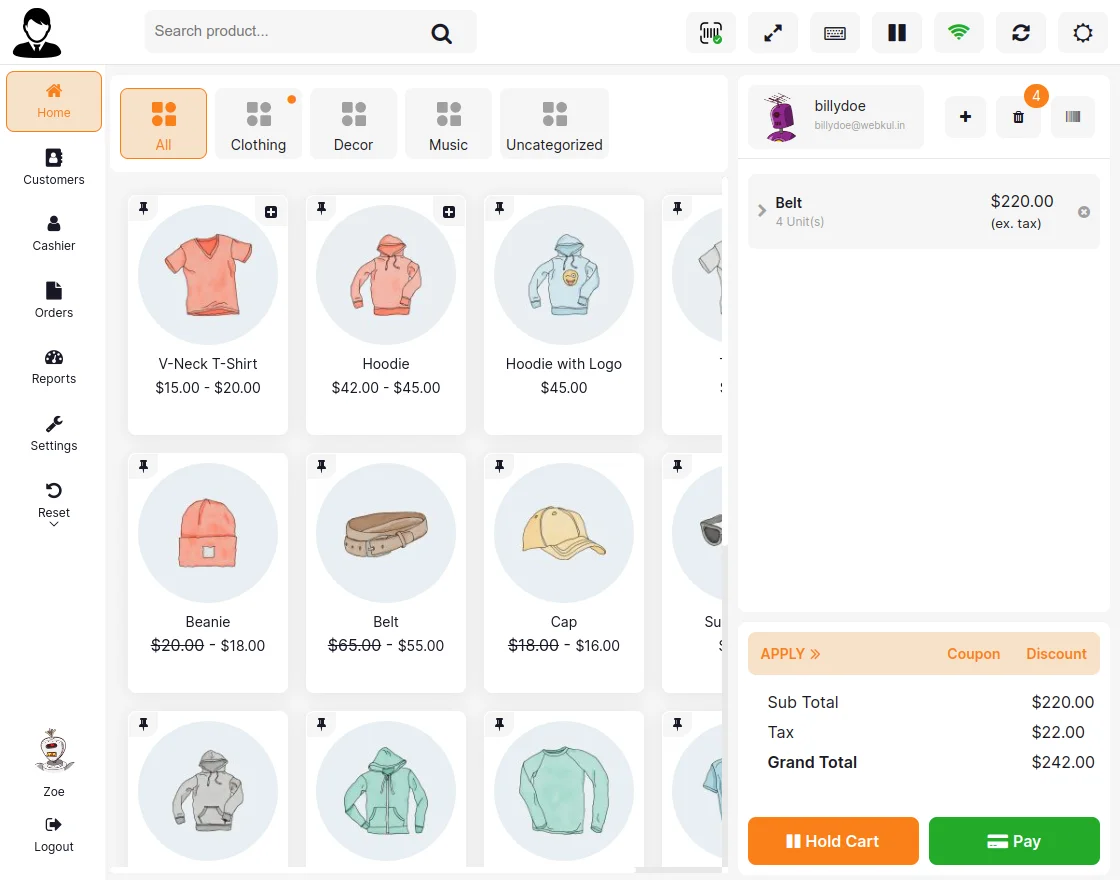
Once, a product barcode scans, the product’s name and image appear on the RFGun application as well.
Product Barcode Scanned
Product Image and Name displayed on the RFGun application

Support
So that is much about the WooCommerce POS Barcode RFGun plugin.
If you have any more queries or require further assistance, please reach out to us through [email protected] or raise a ticket.
You can also check our WooCommerce Marketplace Development Services.
Current Product Version - 1.0.1
Supported Framework Version - Wordpress: 6.7 WooCommerce: 9.4 WooCommerce Point Of sale - 6.0.0 POS RFGUN Socket Search Addon: 1.0.1

Be the first to comment.