UnoPim Azure Integration module connects Microsoft Azure Blob Storage with UnoPim, allowing you to securely store and manage product assets in the cloud with ease.
Azure Blob is Microsoft’s cloud object storage. It handles large amounts of unstructured data like images and videos. Ideal for managing product media in UnoPim.
You can also check the UnoPim AWS Integration. It helps store images and PDFs safely and efficiently in the cloud.
Features
- Integrate UnoPim Catalog with Microsoft Azure Blob Storage.
- Store and manage all product assets securely in the cloud.
- Directly upload product media (images and PDFs) to Azure Blob Storage.
- Easily migrate existing media files from local storage to Azure Blob Storage.
- Option to remove local media files after successful migration.
- View Azure Blob URLs directly on the product page and access assets without local downloads.
- Fully compatible with the latest UnoPim version.
- Export product data with public image URLs in CSV, XLS, and XLSX formats.
Prerequisites
Before you begin, make sure you have the following:
- UnoPim is installed and running on your system.
- Microsoft Azure account with Blob Storage enabled.
- Access to your Azure Storage Account Name and Access Key.
Installation
Download and unzip the extension, then merge the “packages” folder into the project’s root directory.
- Go to config/app.php and add the following line under ‘providers’:
Webkul\AzureBlob\Providers\AzureBlobServiceProvider::class,
- In composer.json, add the following line under ‘psr-4’:
"Webkul\AzureBlob\": "packages/Webkul/AzureBlob/src"
Run the following commands to complete the setup:
- Dump Composer Autoload
composer dump-autoload
- Module Installation Command
php artisan azure-blob-package:install
- Clear Application Cache
php artisan optimize:clear
Set up Credentials in UnoPIM
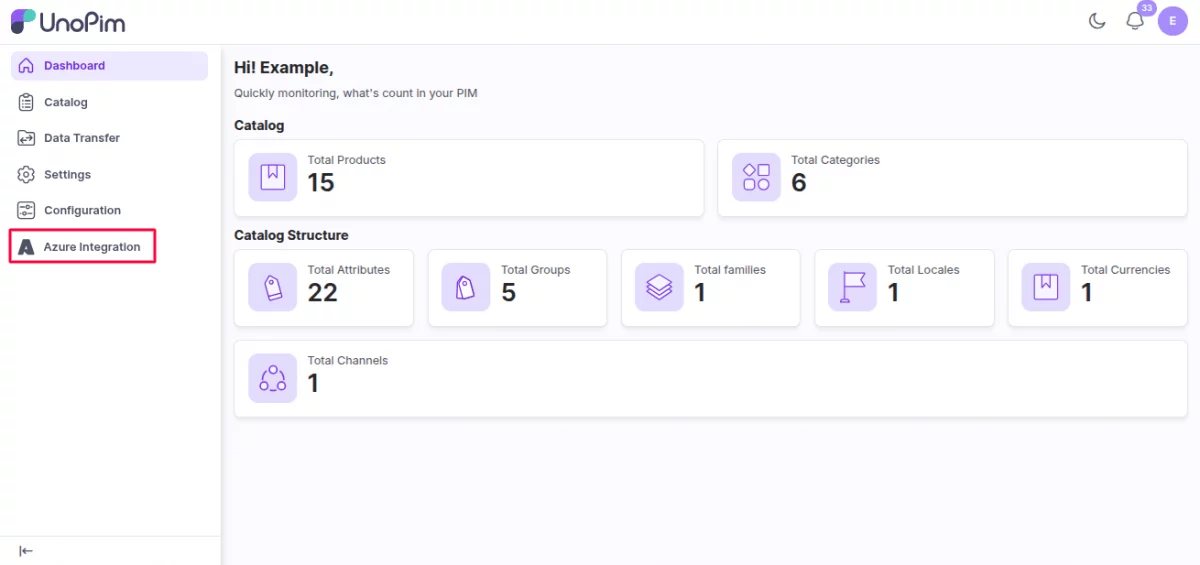
After installing the module, log in to UnoPim, and you will see the Azure Integration option on the left side of the Navigation panel.
Go to Azure Integration > Documentation. Here you can see the Azure Blob Storage Documentation.

Navigate to the Credential option. Azure Integration > Credential: After that, you need to fill in the following details for your Azure blob storage.
- Account Name
- Account Key
- Container Name
- Endpoint Suffix
Then, click on Save Credential to save the credential.
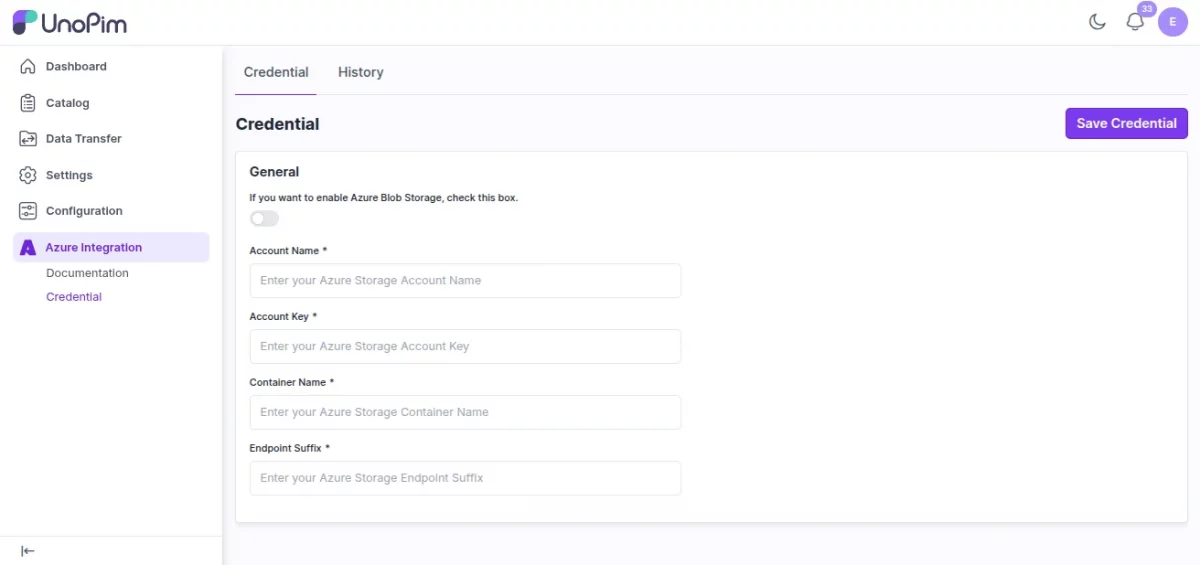
Toggle the Boolean button to enable and disable the Credential.

Note: If the credential is enabled, then the media files(images, PDFs) will directly upload to Azure blob storage and have an Azure blob storage URL.
Otherwise, if the credential is disabled, then media files(images, PDFs) will be stored in your local storage.
Migrating Existing Media Files to Azure with UnoPim Azure Integration
If you already have product media stored locally in UnoPim, you don’t need to manually re-upload them to Azure Blob Storage.
The integration provides artisan commands to help you migrate all your existing media files seamlessly.
Note: Make sure that your Azure credentials are properly configured and saved, and enabled in UnoPim before running these commands. If the credential is disabled, the migration will fail.

Move Existing Files to Azure
To move all your existing local media files from UnoPim to Azure Blob Storage, run the following command:
php artisan azure_integration:move_existing_files
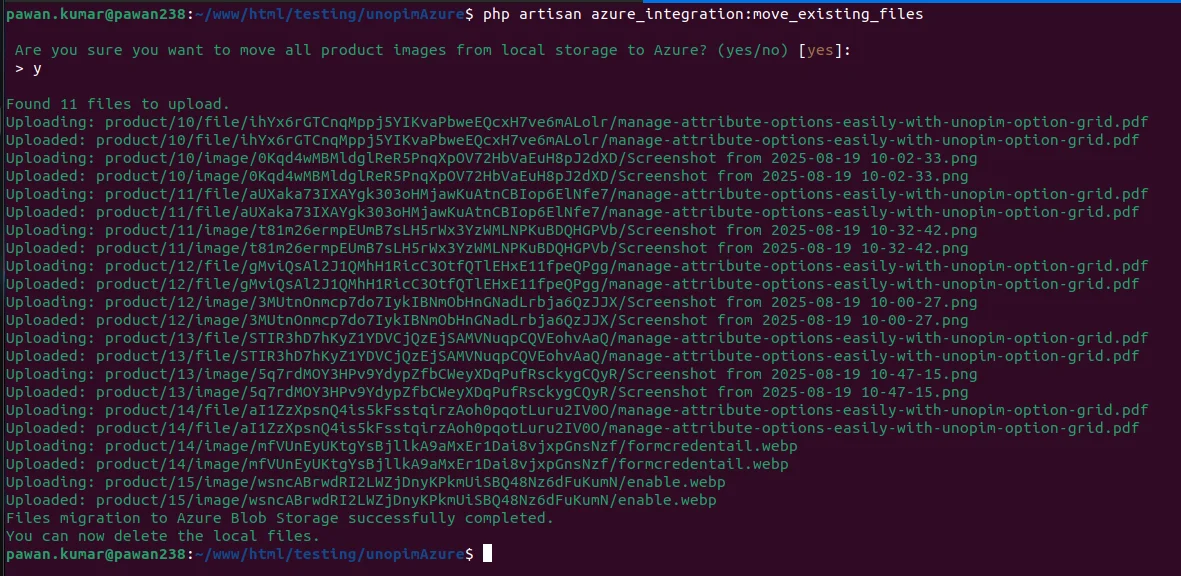
This will transfer all the files from your UnoPim local storage to the configured Azure container.
Remove Local Media After Migration
Once the files are successfully moved to Azure, if you no longer want to keep duplicates in your local storage, you can remove them using:
php artisan azure_integration:remove_media_files
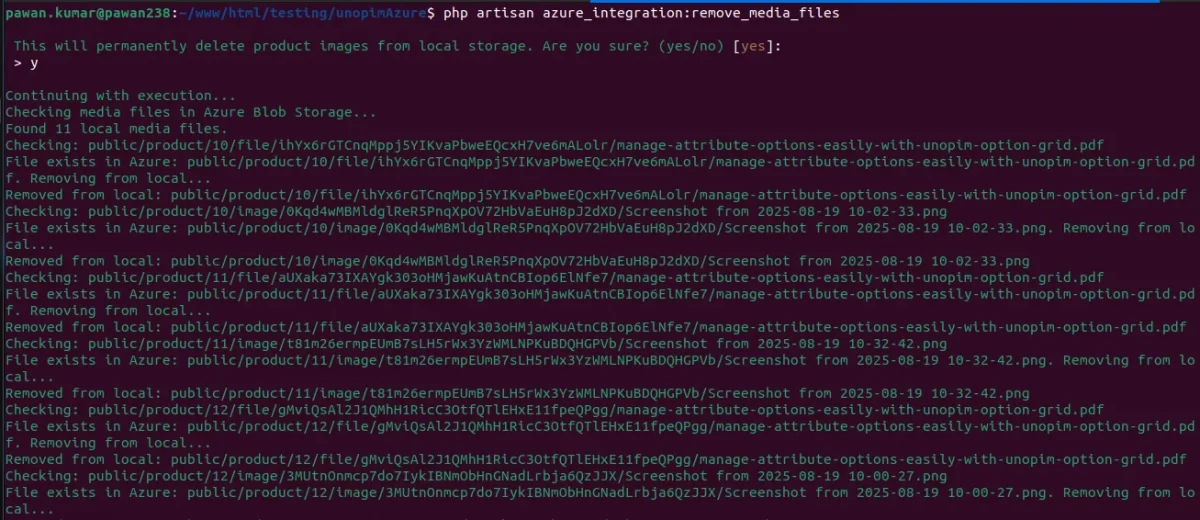
This helps free up space on your server while ensuring all product assets are securely stored in Azure Blob Storage.
Create Products in UnoPim Azure Integration
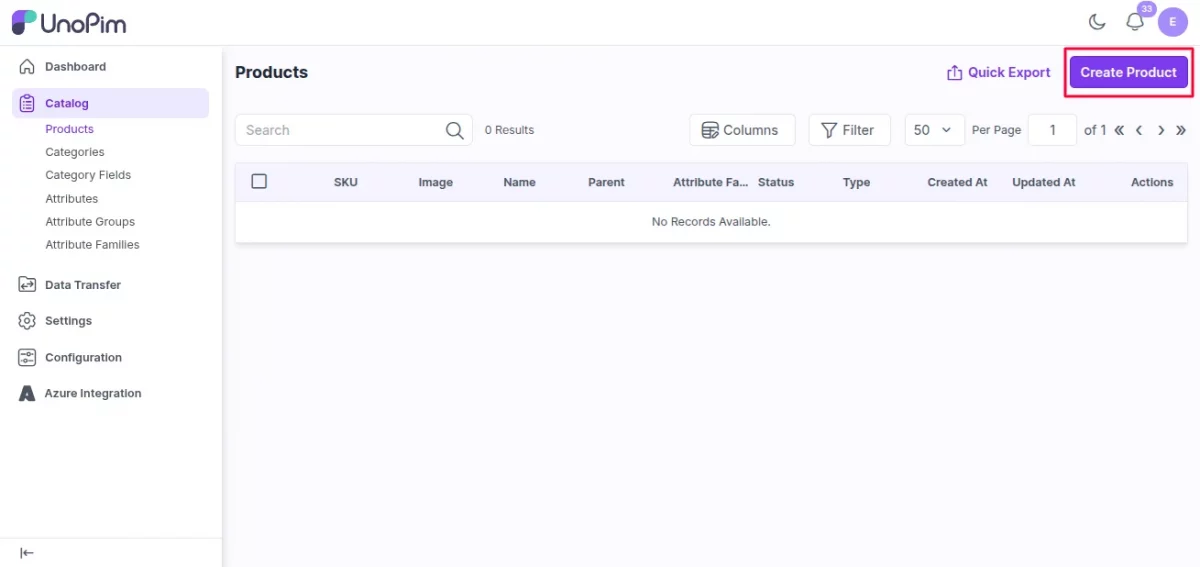
To create a product in UnoPim, navigate to Catalog > Products and then click the Create Product button.
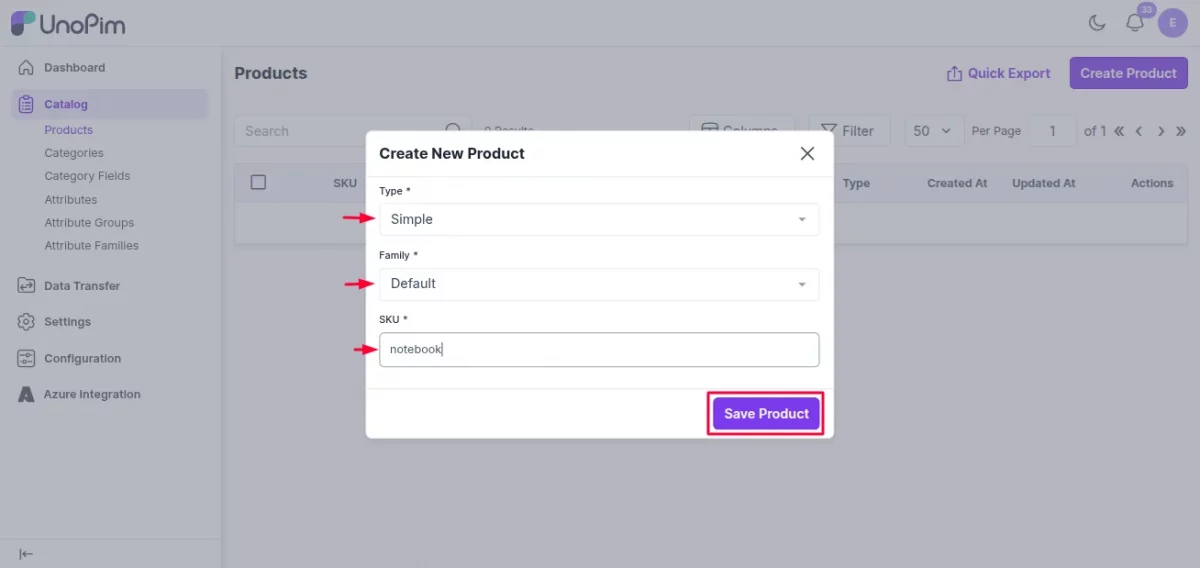
Here, a new page will open. Now select the
Product Type:- Simple/Configurable
Family:- a family named Default is already available
SKU :- Fill the SKU.
and then click on the Save Product button to save the product.
Note: The SKU must be unique.
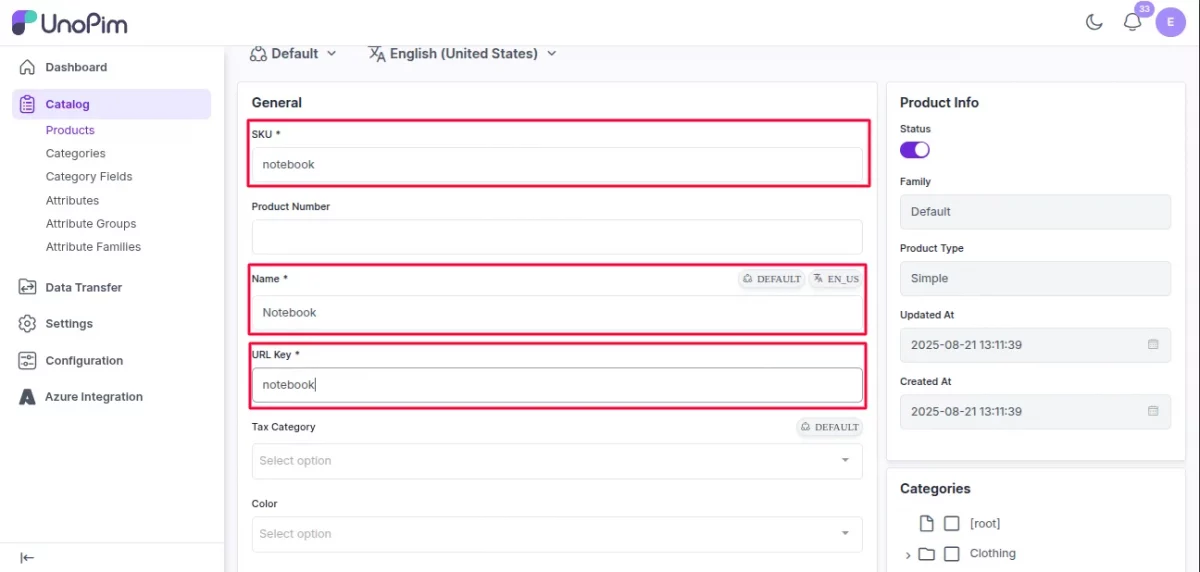
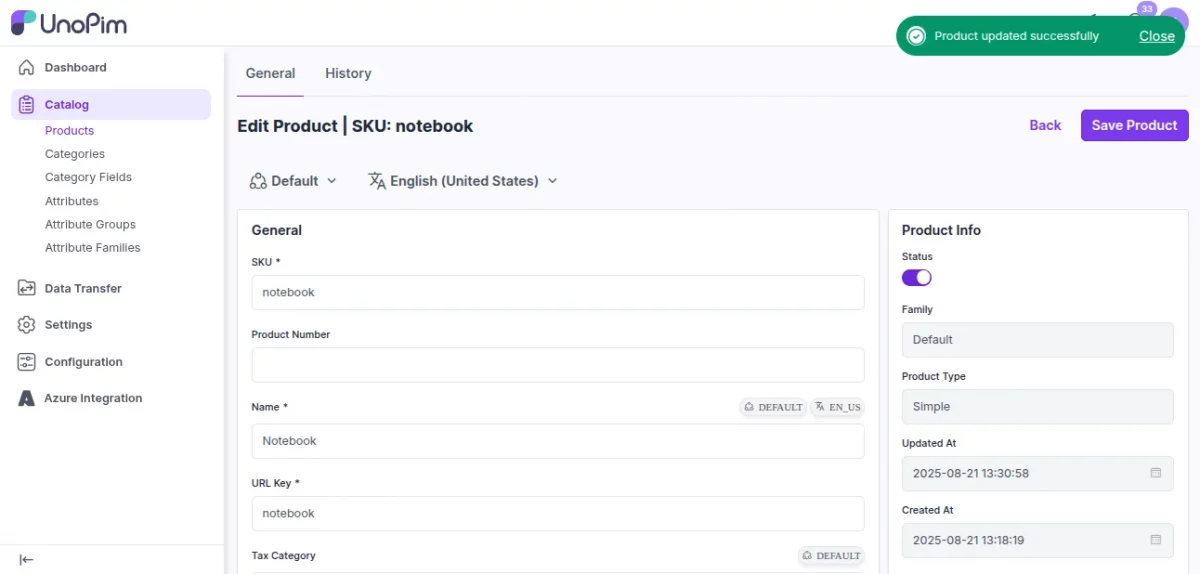
Afterward, it will redirect to the product edit page, where you fill in all the required fields, like:
SKU: SKU entered during product creation will be automatically filled and displayed on the Product Edit Page.
Name: Product name must be entered manually during creation and will be displayed on the Product Edit Page.
URL Key: URL key entered during product creation will be automatically filled and displayed on the Product Edit Page.
Short Description: Short description must be entered manually during product creation and will be displayed on the Product Edit Page.
Description: Product description must be entered manually during product creation and will be displayed on the Product Edit Page.
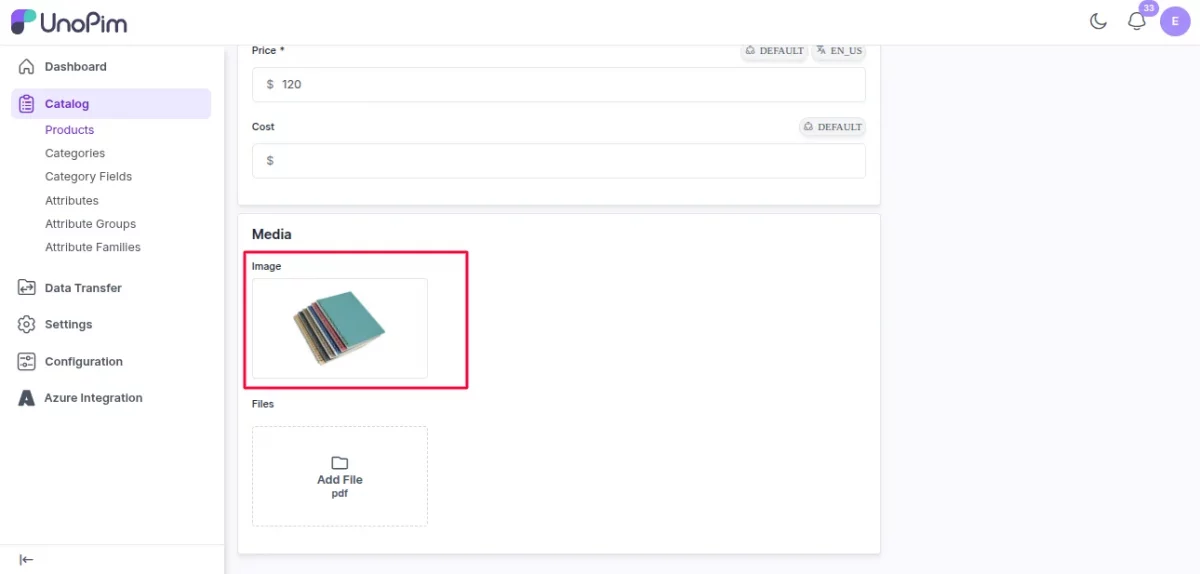
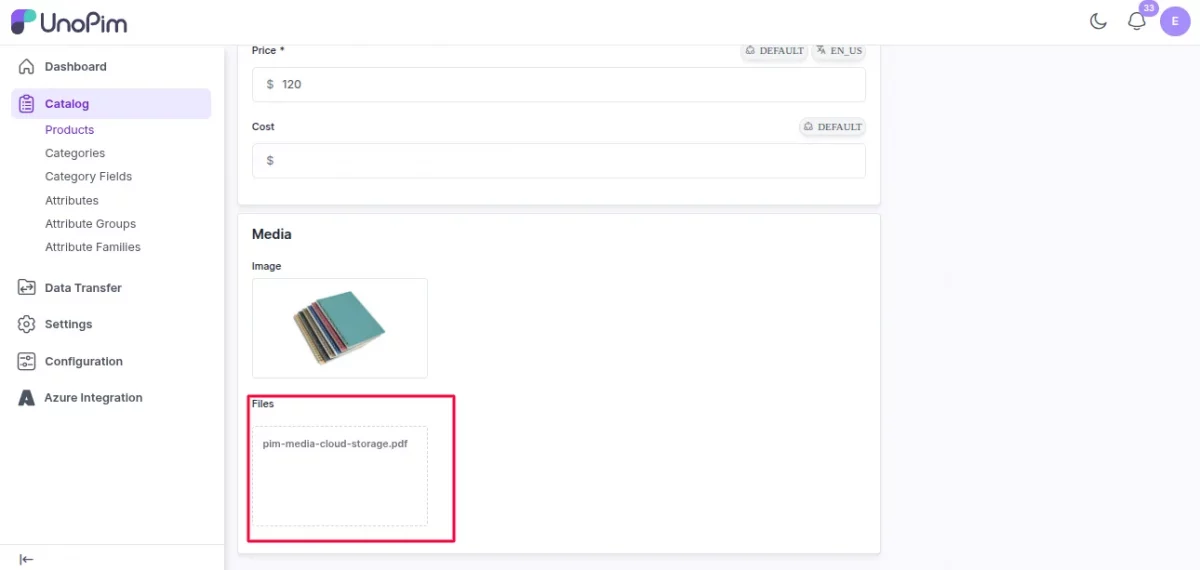
Price: Price must be entered manually during product creation and will be displayed on the Product Edit Page.
In the image attribute field, select an image.
Select a PDF file in the File Attribute field.
After that, click on the Save Product button at the top.
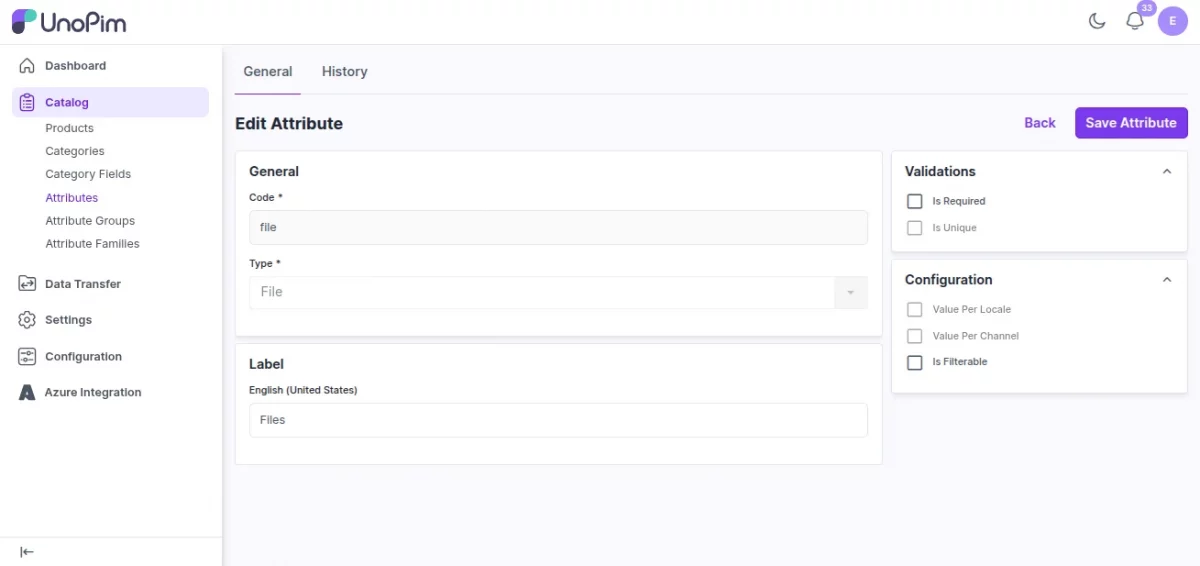
Note: First, you have to create a file type attribute from the Catalog > Attributes and then click on the Create Attribute button to create a new attribute.
Enter the Code and the Type field, select File, and then enter Label/Name, and then click on the Save Attribute button. Currently, the File type attribute in the unopim supports only PDF files.
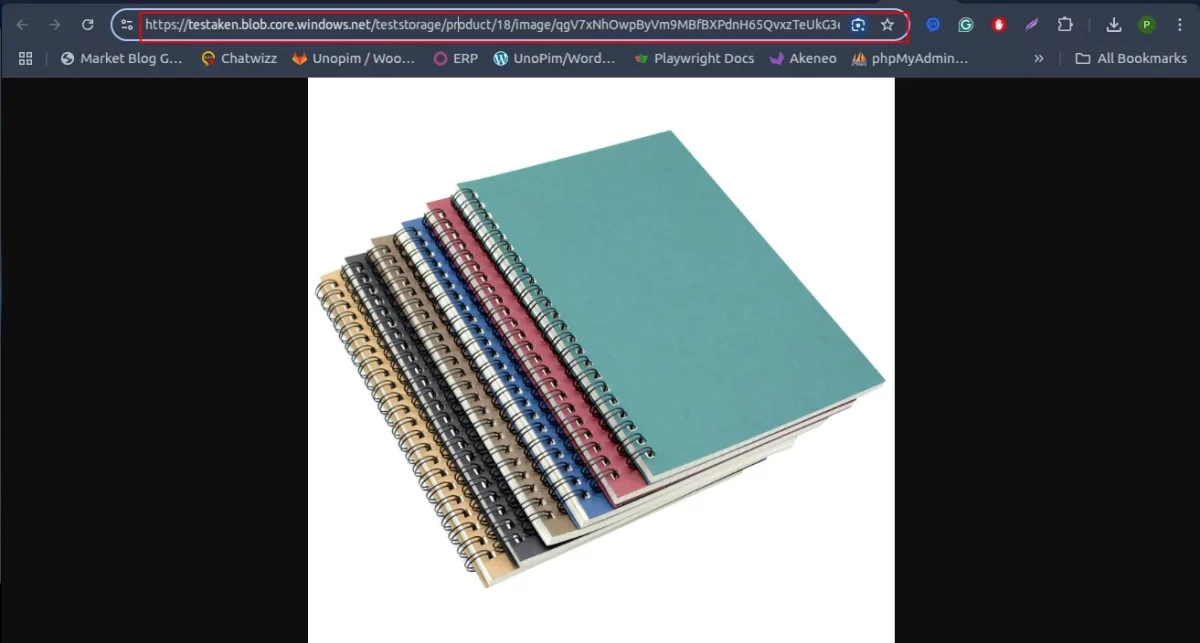
Now you can see that the image and file have an Azure blob storage URL.
Support
So, that was much about the User Guide for UnoPim Azure Integration. For any queries or doubts, reach out to us at [email protected]. You can also raise a ticket at our HelpDesk System.
Current Product Version - 1.0.0
Supported Framework Version - UnoPim 0.3.2

Be the first to comment.