CS-Cart AI Model Image helps store owners create realistic product model images using AI without the need for photoshoots or professional models.
This helps customers visualize products better, improves engagement, and ensures consistent, realistic product presentation across the store.
Admins and vendors can generate and save AI model images from the backend, while customers can create their own images directly from the storefront.
The add-on improves product presentation, keeps visuals consistent, and allows admins to configure AI model and API settings from the backend for smooth image generation.
Features
- Supports AI-generated model images for product display.
- Admins and vendors can generate and save AI model images directly from the product edit page.
- Customers can create model images from the storefront product page.
- Supports customizable model attributes such as color, gender, age, body type, and skin tone.
- Creates realistic product visuals without requiring photoshoots or professional models.
- Provides quick image generation with simple model settings for instant results.
- Improves product presentation, consistency, and customer engagement.
- Admins can configure AI model settings and API keys from the backend to ensure smooth image generation.d.
Installation
To install CS-Cart AI Model Image, follow these steps:
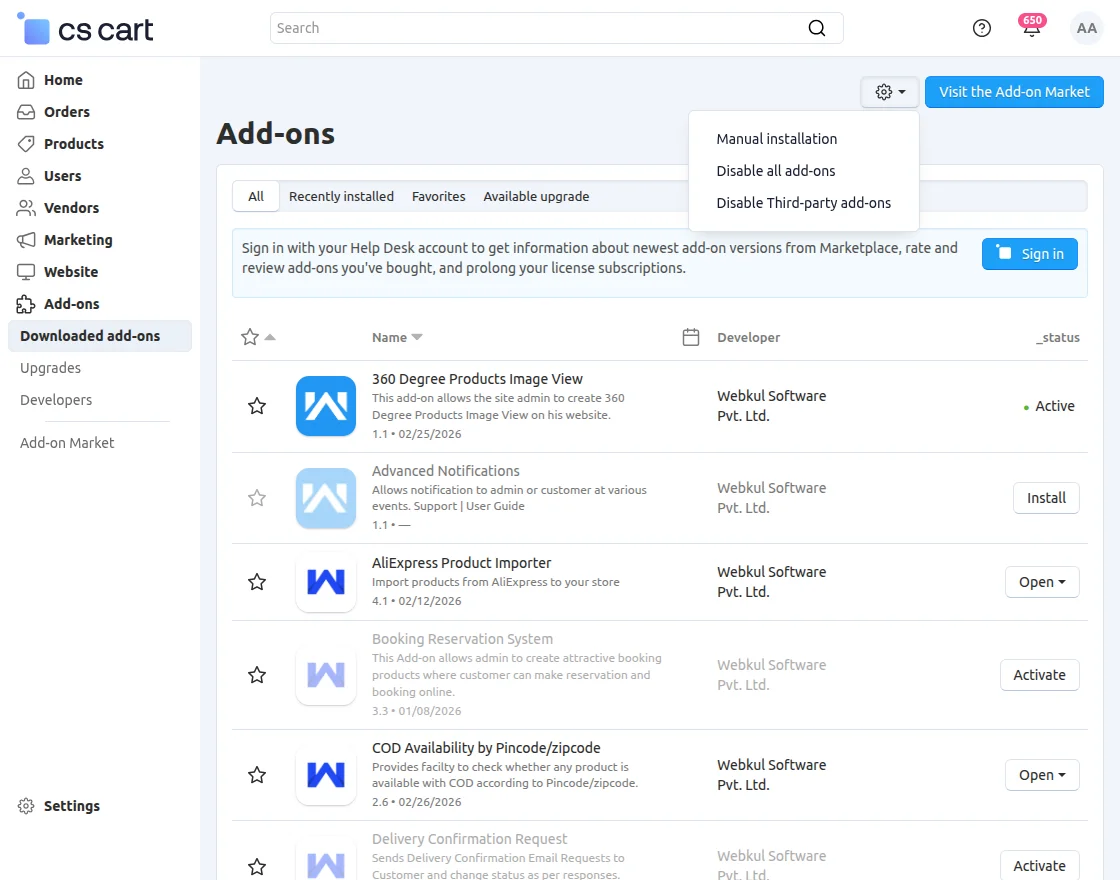
- Go to Manage Add-ons, click on the gear drop-down, and select Manual Installation.
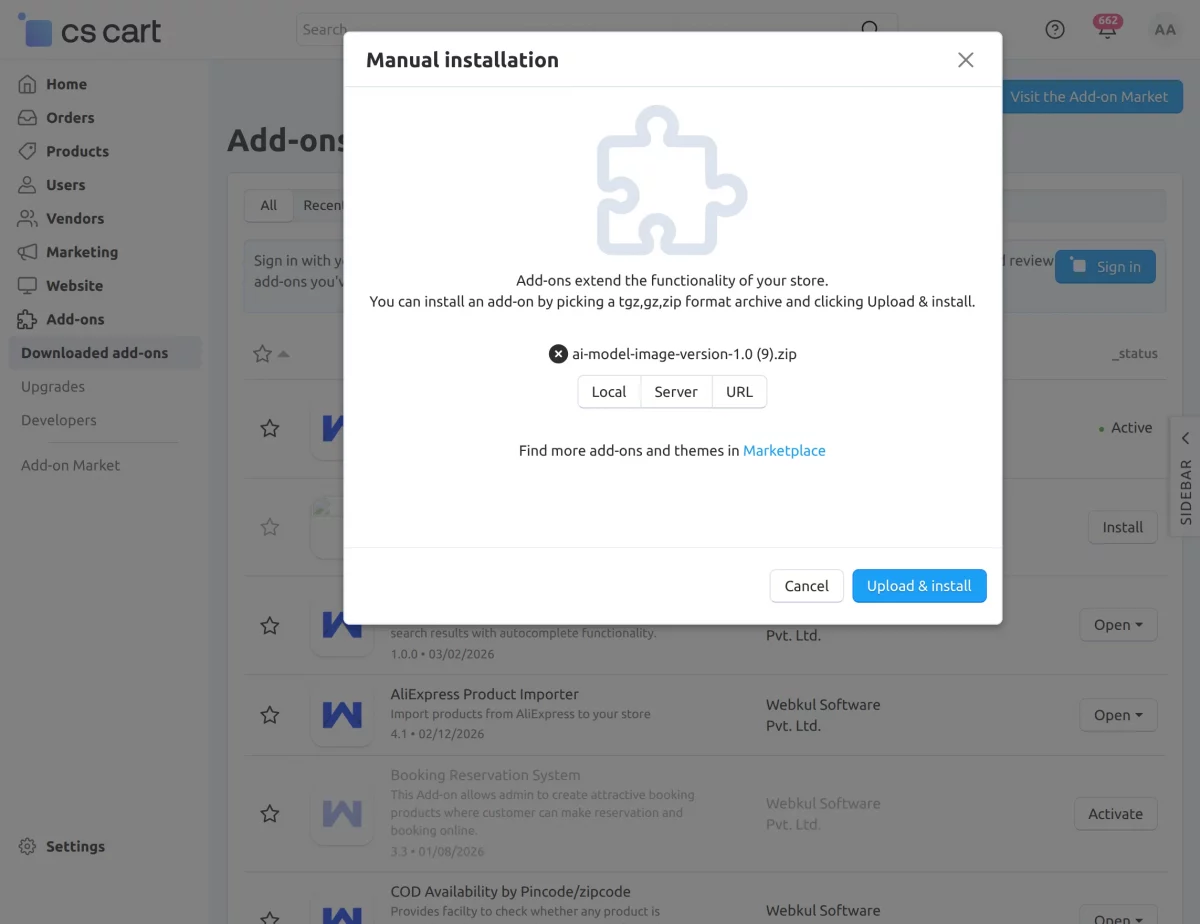
2. Select the zip File and click on Upload&install.
Add-on Configuration
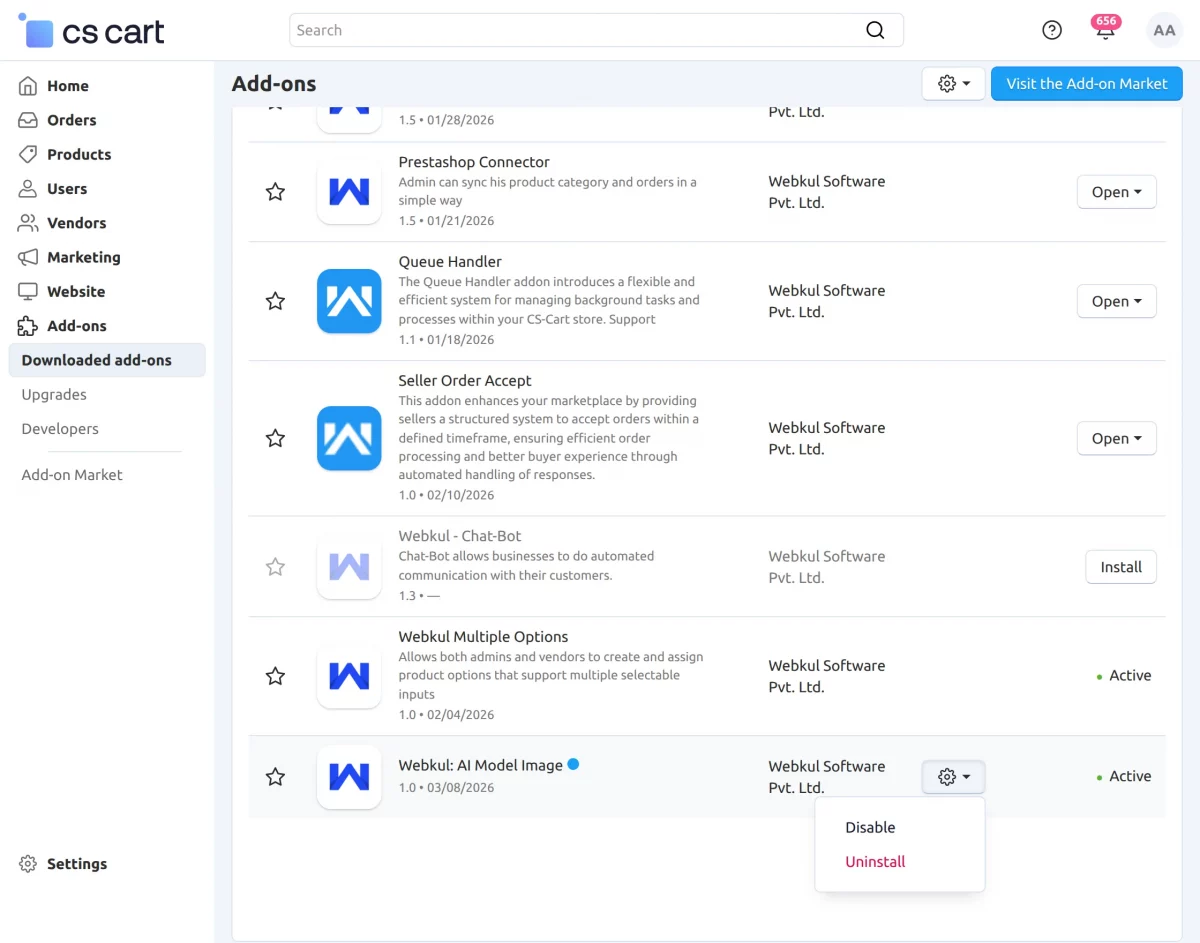
After installation of the add-on, you will find Webkul: AI Model Image in the list of available add-ons.
Click on “settings” to enable, disable, install, or refresh.
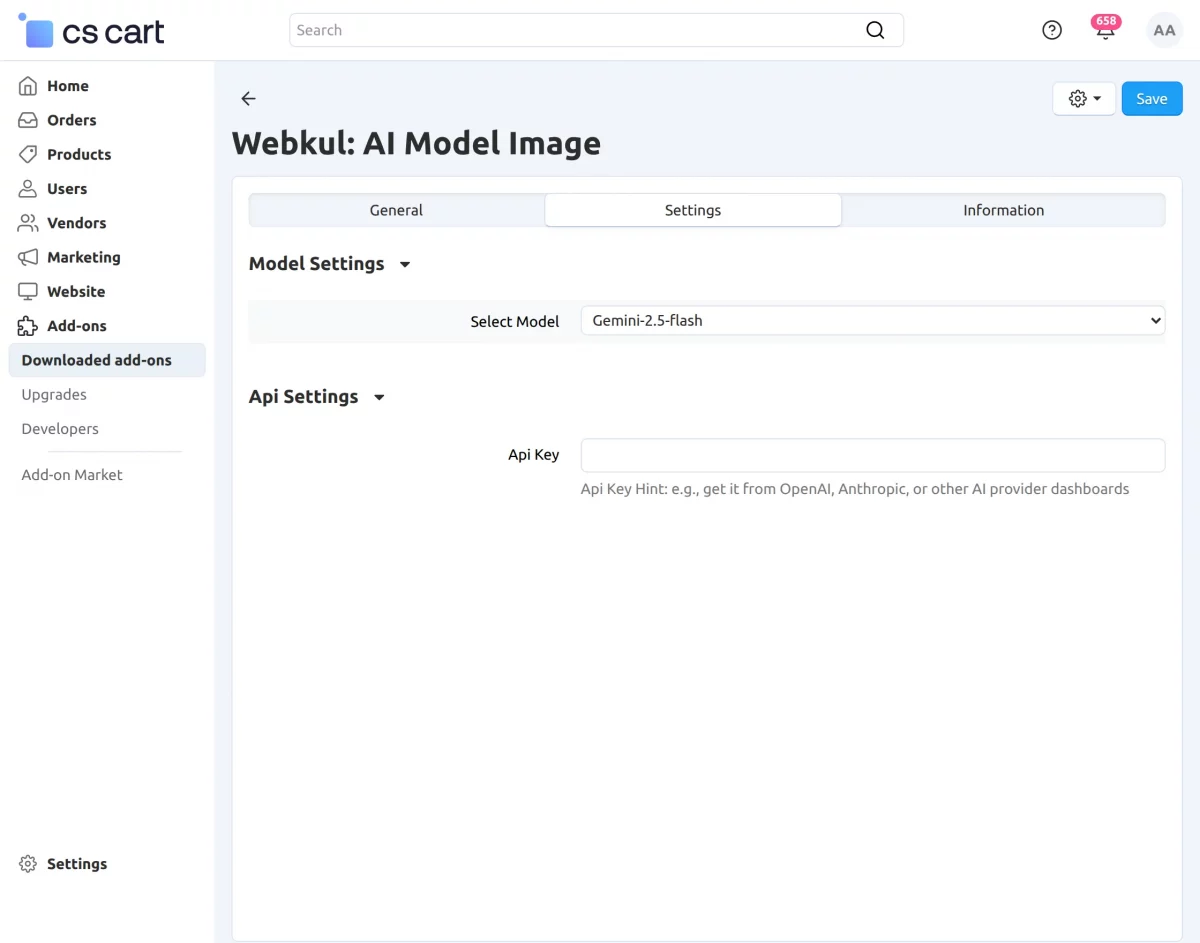
Settings Section of CS-Cart AI Model Image
Inside the General section, you need to configure the following fields:
- Select Model – Choose the AI model to generate images, e.g., Gemini-2.5-flash or Qwen-Image-Edit.
- API Key – Enter the API key required for the selected AI model.
- Qwen API Endpoint – Specify the endpoint URL for sending image generation requests when using the Qwen model. This field appears only when the Qwen model is selected.
After configuring the settings section, admins can go to the product edit page to generate AI model images.
On the product page in the admin panel, there are two ways to generate product images:
AI-Based Model Image –
Generate realistic product images using AI by selecting model attributes.
For AI-based generation, admins can customize the following attributes:
- Age – Choose the approximate age of the model.
- Gender – Select the model’s gender.
- Body Type – Pick the body type to match the product fit.
- Skin Color – Select the skin tone of the model.
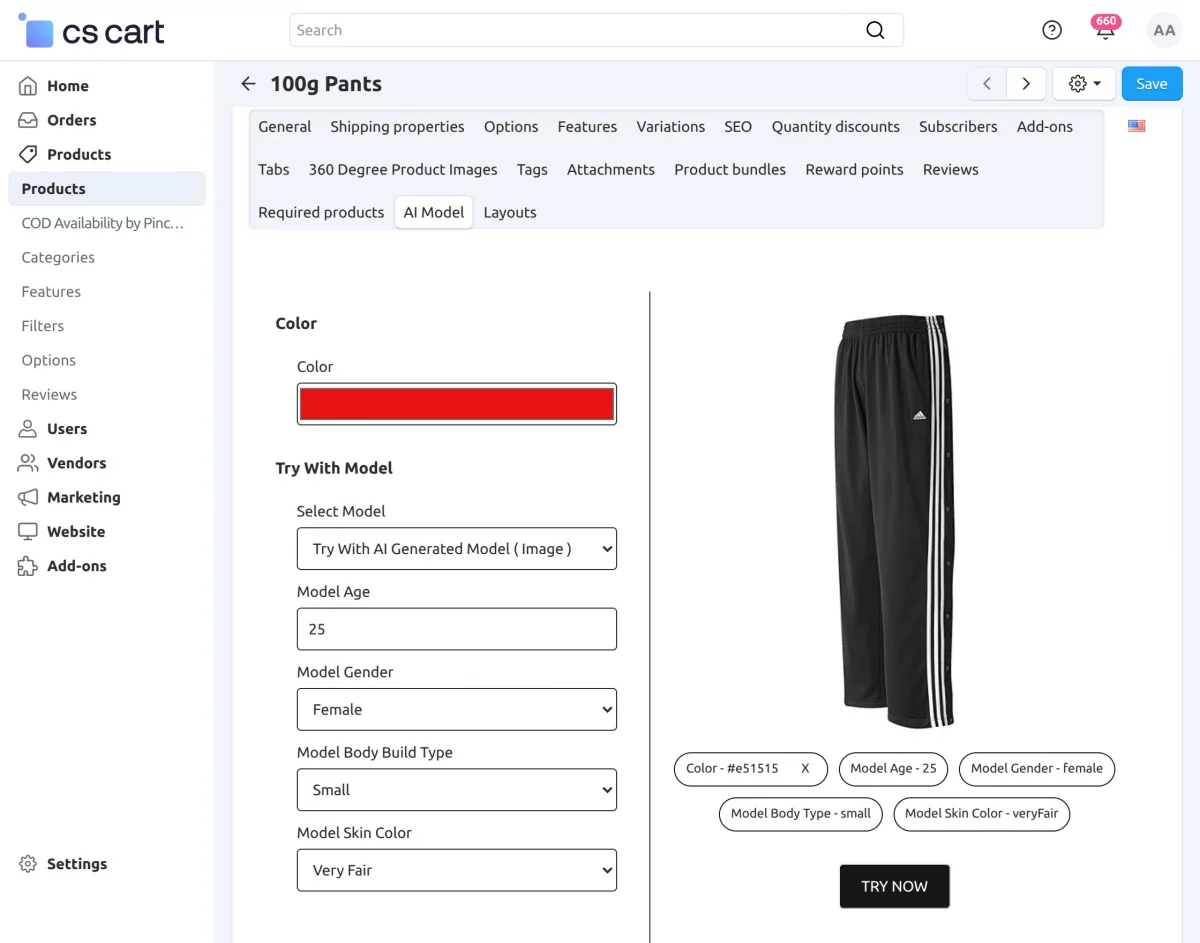
After selecting all the model attributes, click on the “TRY NOW” button.
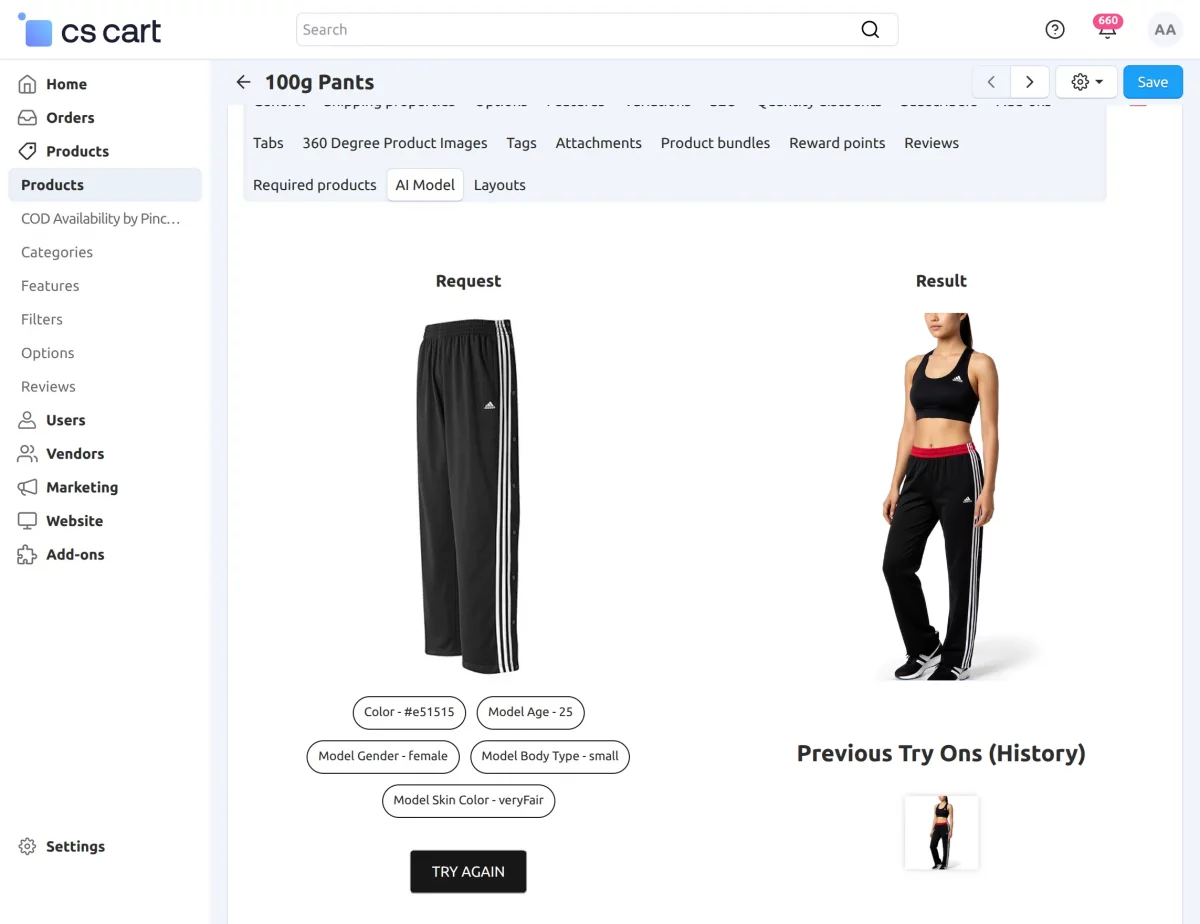
The AI will generate the model image instantly based on the chosen attributes.
You can preview the generated image immediately and, if satisfied, save it directly to the product gallery.
This process allows admins to quickly create realistic product visuals without needing photoshoots or external models.
2. Custom Model Image –
Upload or choose your own model image to create the product visual.
Customers can also generate product images using their own model images.
On the product page, they can click the “TRY NOW” button to open the image creator.
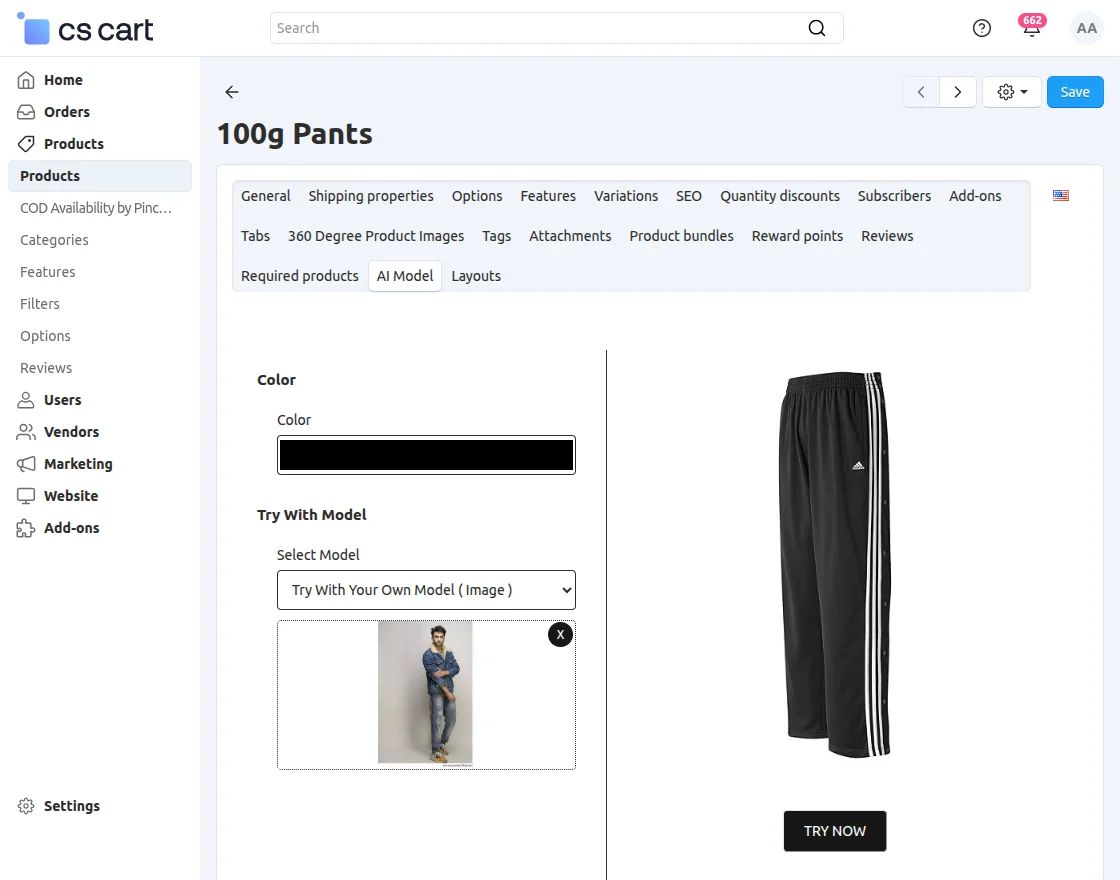
The system will apply the product onto the selected model image, allowing customers to see how the product looks in a realistic scenario.
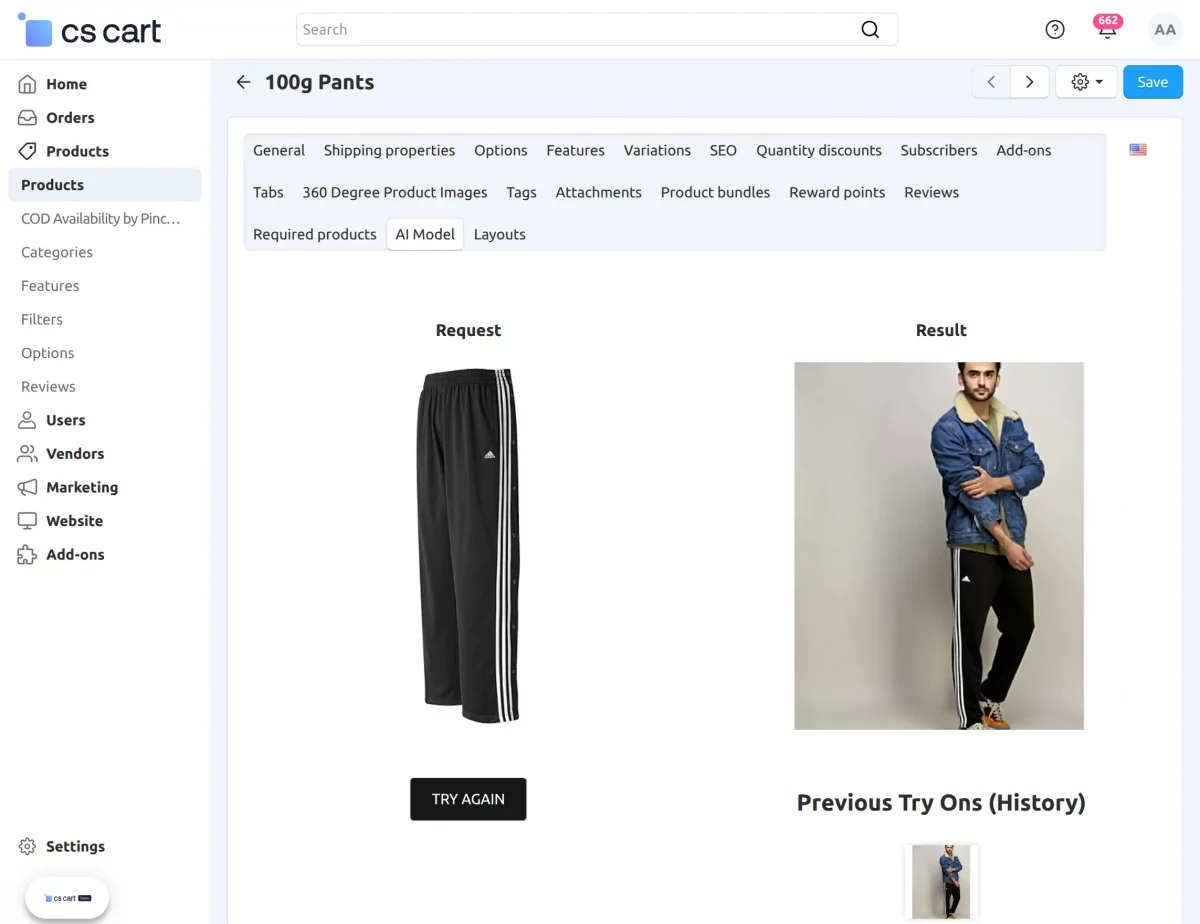
Admins can add the generated AI or custom model image to the product images list by clicking the “Add Generated Image” button.
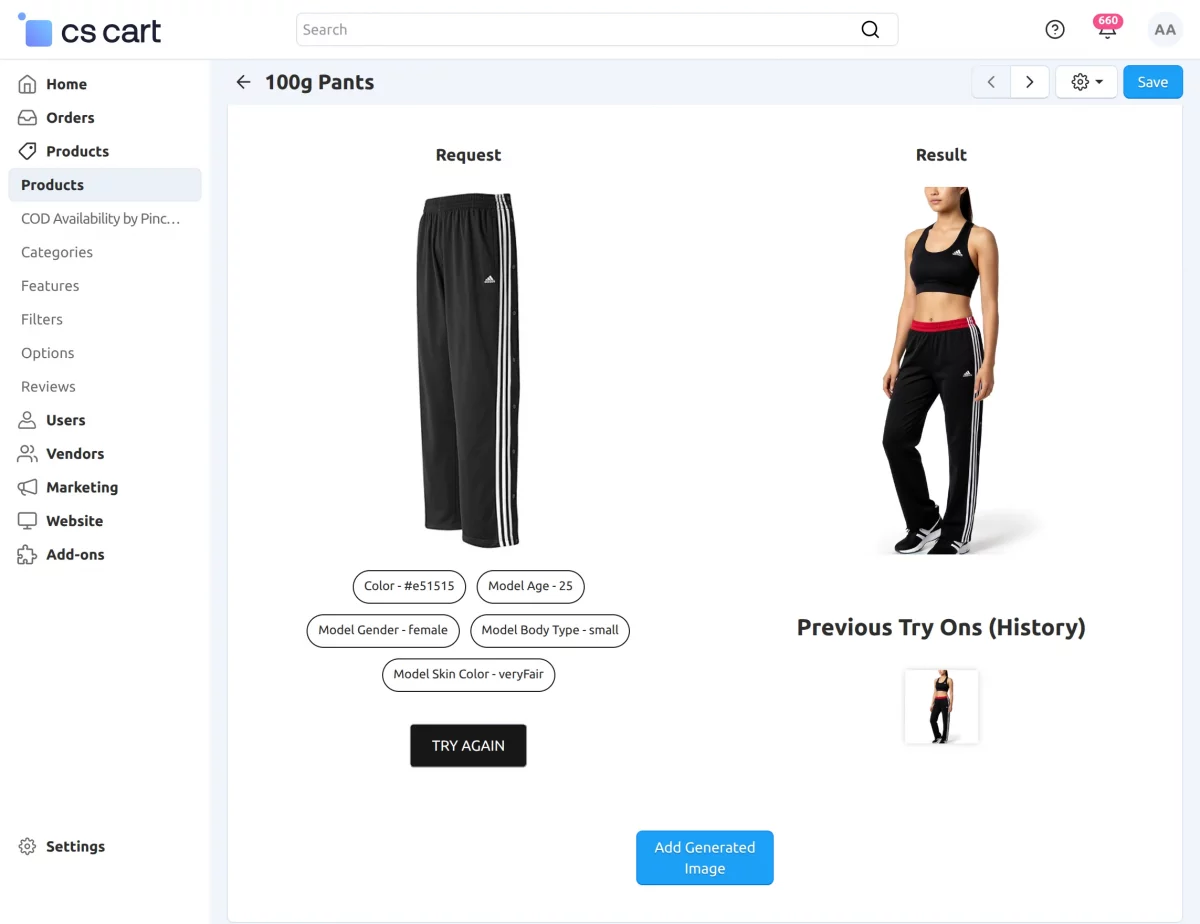
Once added, the image will appear alongside other product images on the storefront, giving customers more visuals to view before making a purchase.
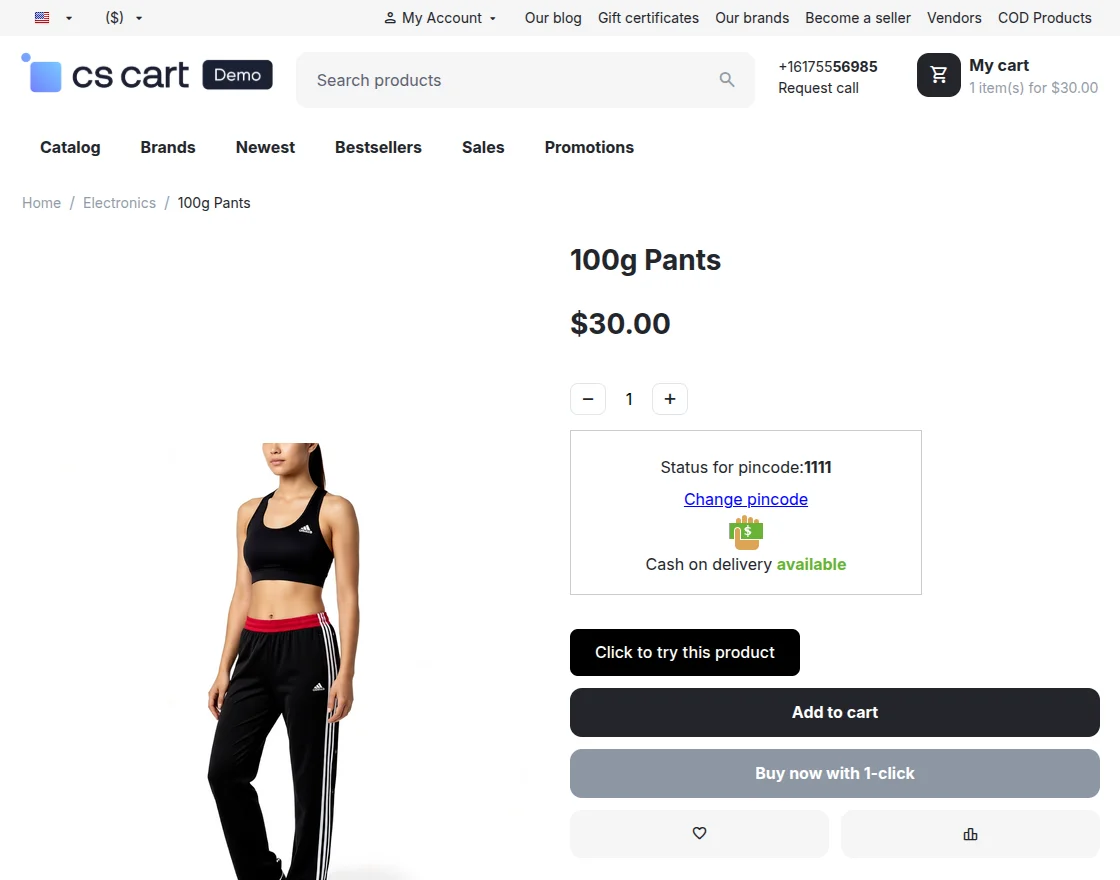
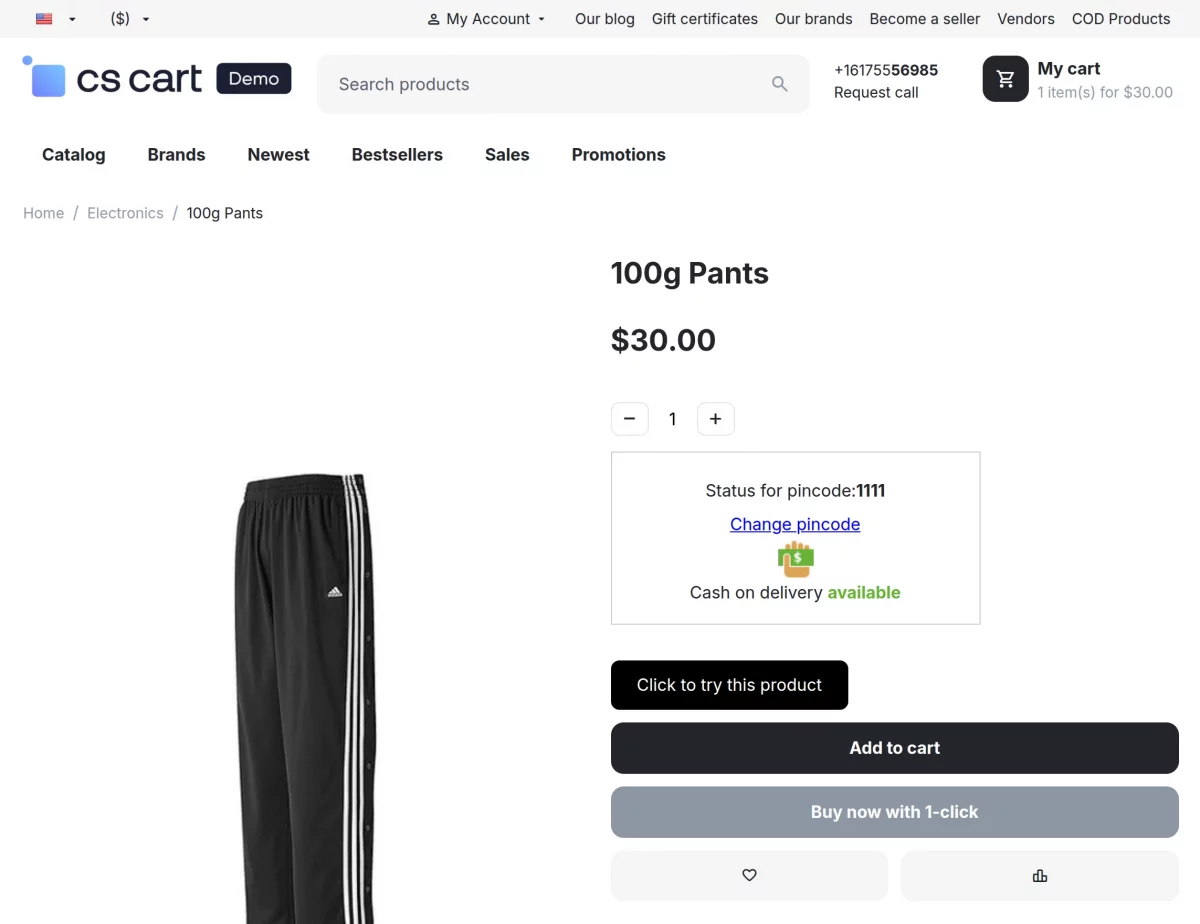
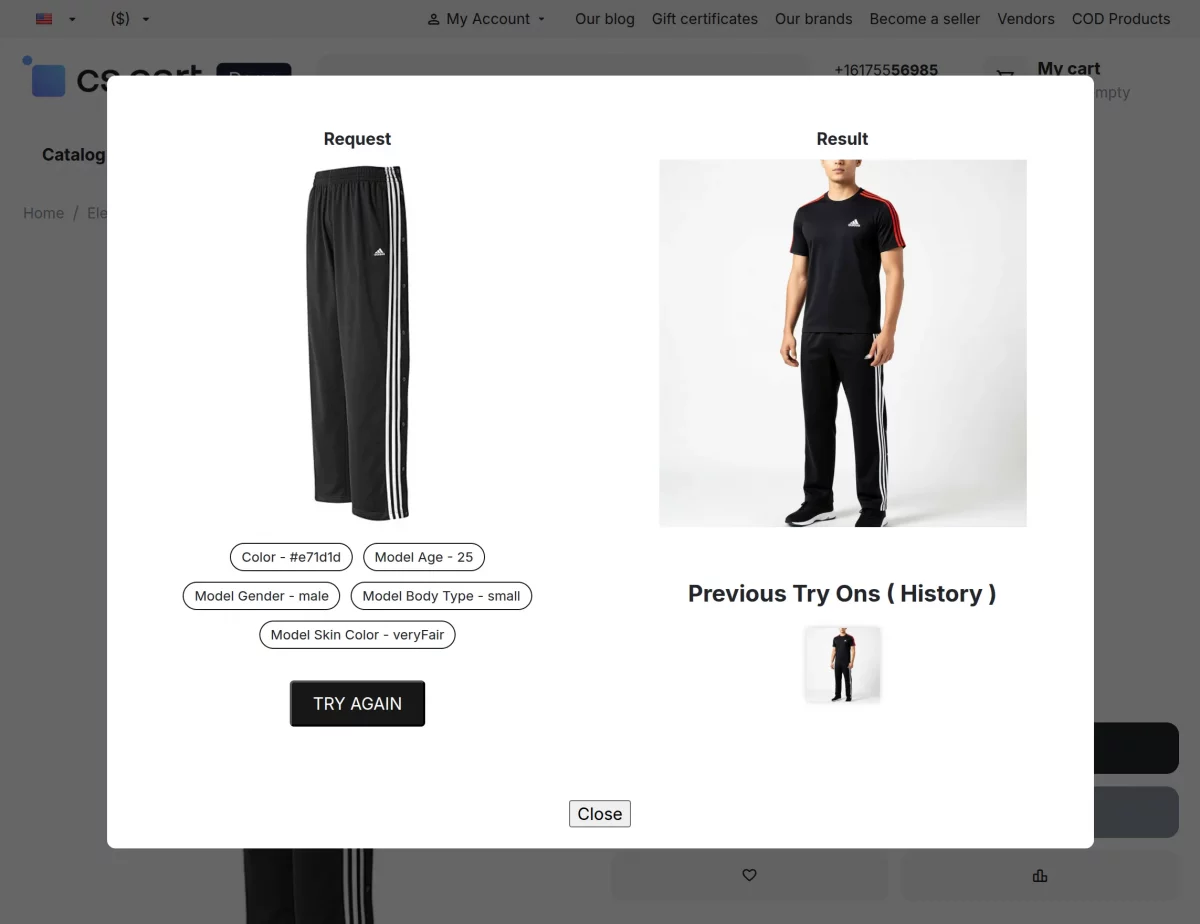
Generate AI and Custom Model Images on the Storefront
On the storefront product page, customers can generate product images by clicking the “Click to Try This Product” button.
This opens the image generation interface, similar to the admin panel, where customers can choose between two modes:
Custom Model Image: Customers can upload or select their own model image.
AI-Generated Model Image – Customers can select model attributes.
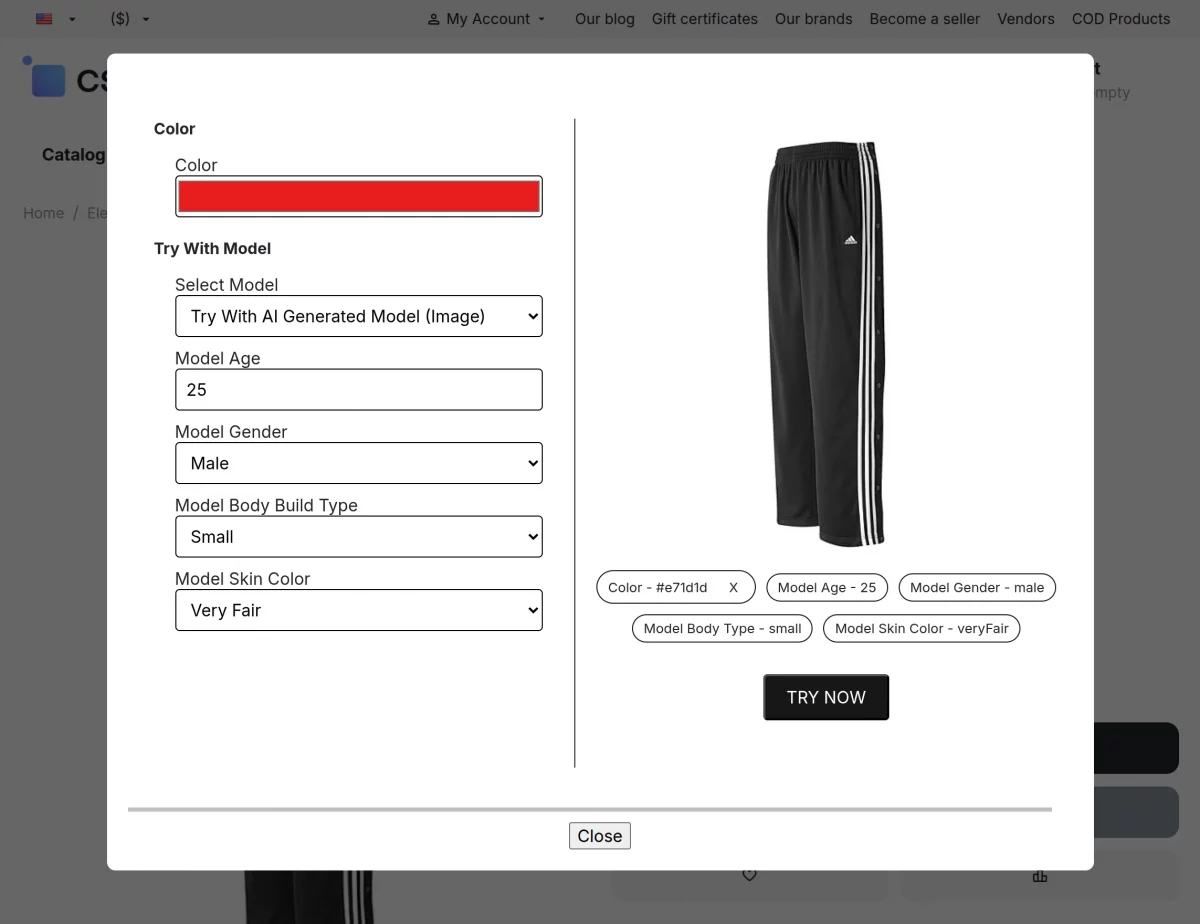
After setting the attributes, clicking “TRY NOW” generates a realistic AI model image instantly.
Just like admins, vendors can also generate product images from their vendor panel on the product page.
They can use both modes: AI-generated model images by selecting attributes like age, gender, body type, and skin color, or custom model images by uploading or choosing their own model image.
Vendors can preview the generated image and, if satisfied, click “Add Generated Image” to include it in the product images list on the storefront.
This allows vendors to create realistic product visuals quickly, improving product presentation and helping customers make better buying decisions.
Support
For assistance with CS-Cart AI Model Image setup or customization, contact [email protected] or Webkul Support.
Discover more powerful CS-Cart extensions to enhance your store’s functionality!
Current Product Version - 1.0
Supported Framework Version - 4.16.x, 4.17.x, 4.18.x, 4.19.x

Be the first to comment.