Product Syncing via FTP File URL for the WooCommerce plugin lets the store admin seamlessly manage product syncing by importing and exporting products directly from XML and CSV URLs or FTP/SFTP.
It also supports manual file uploads, giving the admin more options to bring products into their WooCommerce store easily through the Product Import and Product Syncing process.
With Product Syncing, the admin can preview product details before importing, helping them check accuracy and avoid mistakes in the product catalog during Product Import.
The plugin automatically updates existing products to prevent duplicates, keeping the store’s inventory well-organized and up-to-date as part of the Product Syncing and Import functionality.
Detailed logs allow the admin to monitor Product Imports and Syncing, track progress, and fix any issues quickly
Additionally, it lets admins export all products in CSV or XML format for backups, data transfers, and store management, ensuring smooth Product Syncing between different systems.
NOTE: This plugin is now compatible with WooCommerce’s latest High-Performance Order Storage (HPOS) and Cart and Checkout block.
Features
- Bulk Import products directly into WooCommerce from XML and CSV URLs.
- Supports importing via FTP/SFTP for seamless product transfers.
- Allows manual file uploads for flexible product import management.
- Automatically updates existing products to prevent duplicates.
- Enables product preview before importing to ensure accuracy.
- Retains product tags during imports for better organization.
- Exports all store products in CSV or XML format.
- Simplifies large-scale product imports with minimal manual effort.
Check out the Shiprocket Shipping for WooCommerce plugin to seamlessly integrate Shiprocket logistics into your WooCommerce store.
Installation
The user will get a zip file, which he has to upload to the “Add New Plugin” menu option in the WordPress admin panel.
For this log in to the WordPress Admin Panel and under the Dashboard, hover your mouse over the “Plugins” menu optio,n which brings out a Sub-Menu, and then select the “Add New Plugin” option.

After that, you will see an option on the top of your page that is “Upload Plugin”, click the option to upload the zip file.
After that, click on the “Upload Plugin” option, you will see a button “Choose File” click on the button to browse for the zip file as per the snapshot below.

Therefore, to browse the file, click the “Install Now” button to install the plugin.
When the plugin is installed correctly, you will see the success message and an option to activate the plugin.

After that, click on “Activate Plugin” to activate the installed plugin.
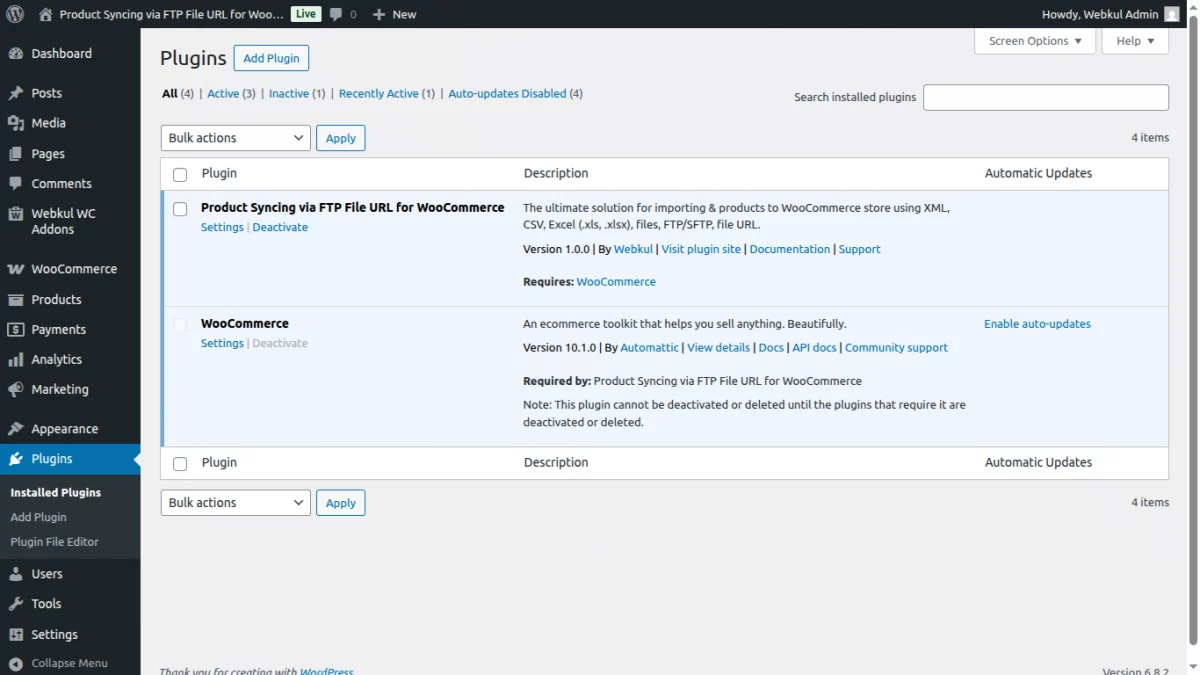
Thus, in this way, WooCommerce Product Import – XML CSV URLs plugin installation is completed.
Module Activation and Update
Check how to activate your WooCommerce plugin through the purchase code, and how to get updates on Webkul modules directly on the Plugins page.
Module Translation
To know how to translate the module, you can click here.
Module Configuration | Admin
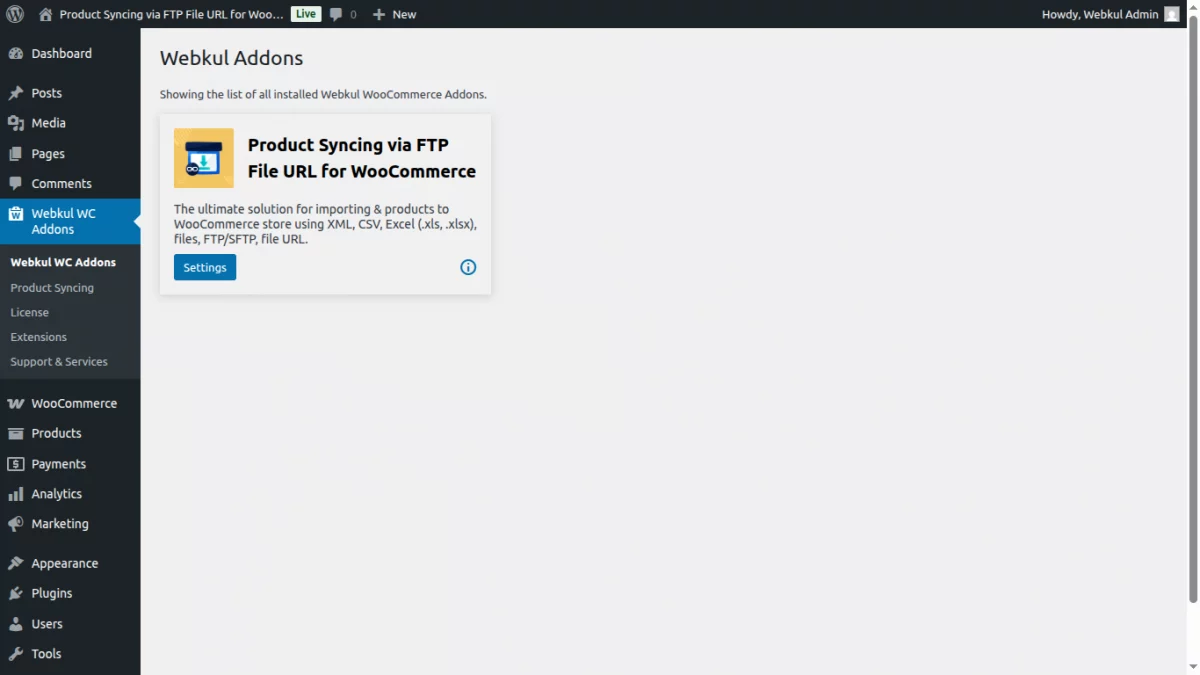
After installing the module, the admin can access the ‘Webkul WC Addons‘ menu to manage the Product Import – XML CSV URLs addon.
This ‘Webkul WC Addons’ section displays a list of all installed Webkul WooCommerce addons.
After navigating to WooCommerce Easy Import/Export -> Settings, the store admin gets to see ‘All Imports‘ and ‘All Exports‘ tabs as shown below.
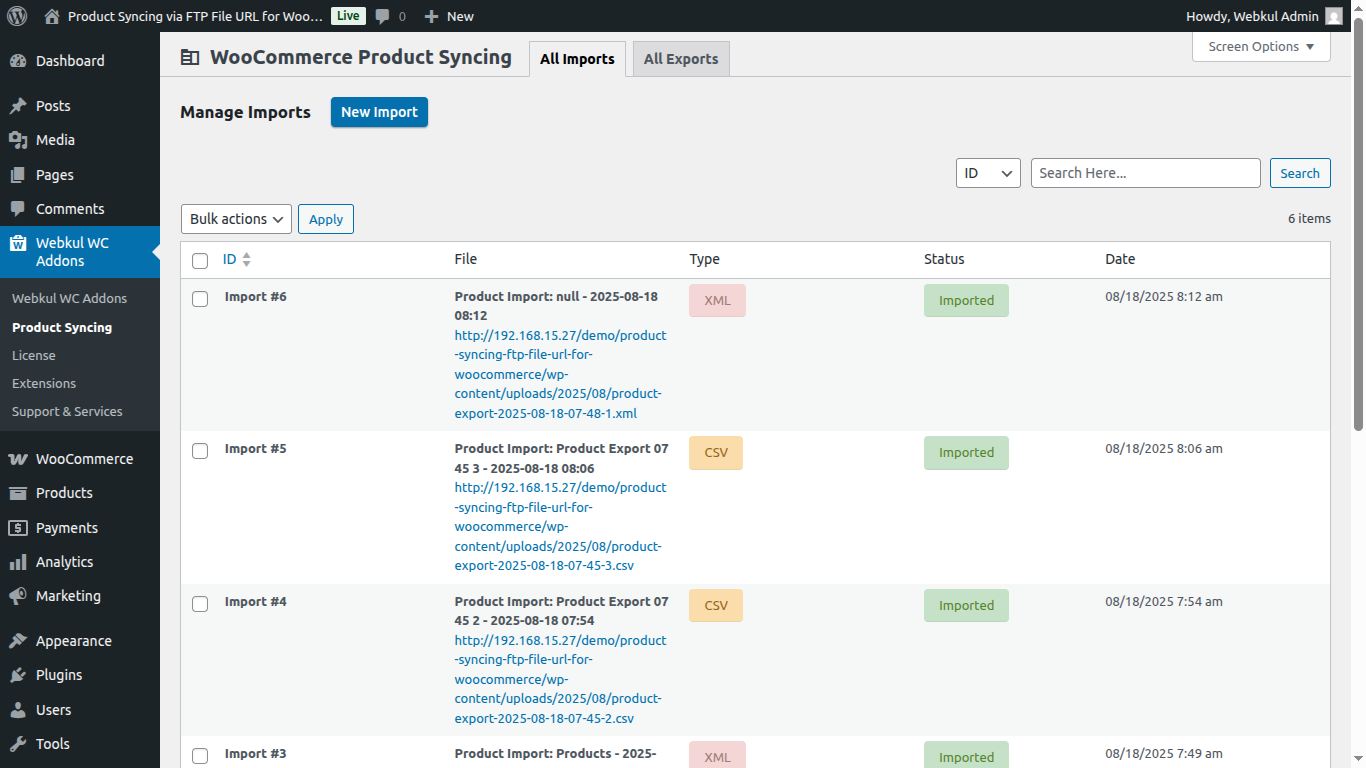
Under the All Imports tab, the admin can manage imports by clicking the ‘New Import‘ button
Let’s take a closer look at how this plugin transforms product management.
Easy Import-Export for WooCommerce supports multiple product import methods to suit different business needs, including:

- SFTP/FTP Import – Securely import product data from a remote server.
- URL-Based Product Import – Automatically fetch product feeds from a provided URL.
- CSV File Upload – Manually upload product data using a structured CSV file.
- XML File Upload – Import complex product data using XML format.
1. Product Syncing – Import from SFTP/FTP
Import product data directly from remote servers via SFTP or FTP. This is ideal for businesses that work with external vendors or suppliers who maintain product feeds on their own servers.
- Fully automated import via scheduled jobs
- No manual uploads required
- Perfect for large-scale, recurring catalog updates
Before starting the import process, make sure to download the sample CSV and XML files. These samples will guide you in formatting your product data correctly, ensuring a smooth and error-free import.
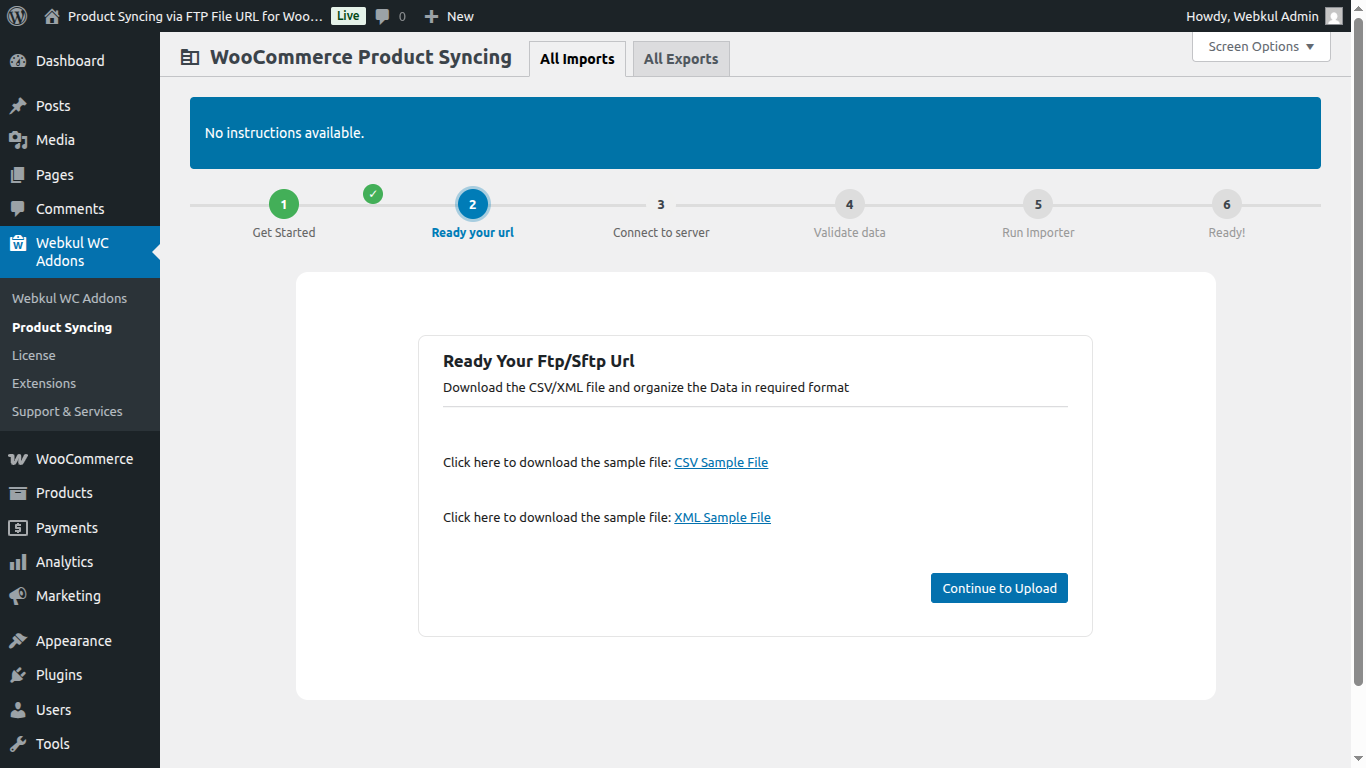
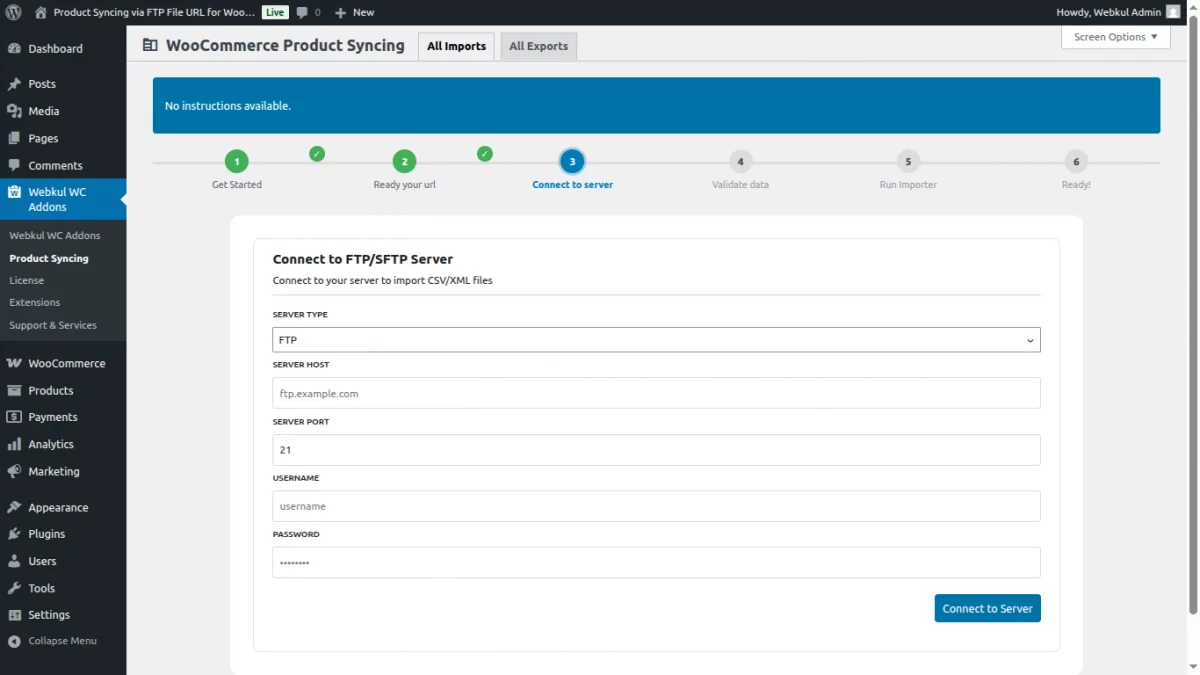
To import your product data via CSV or XML files, follow the steps below to connect to your FTP/SFTP server:
1. Fill in the required server credentials:
- Server Type: Select
FTPorSFTPbased on your server configuration. - Server Host: Enter the IP address or domain of your server (e.g.,
x.xxx.xxx.xx). - Server Port: Enter the port number (commonly
21for FTP or22for SFTP). - Username: Provide your server login username (e.g.,
server_username). - Password: Enter your server password.
- Private Key (Optional): Paste your private key content here if your server uses key-based authentication.
2. Once all the details are entered correctly, click on the “Connect to Server” button.
The system will attempt to establish a connection and retrieve the CSV/XML files from the specified server for import.
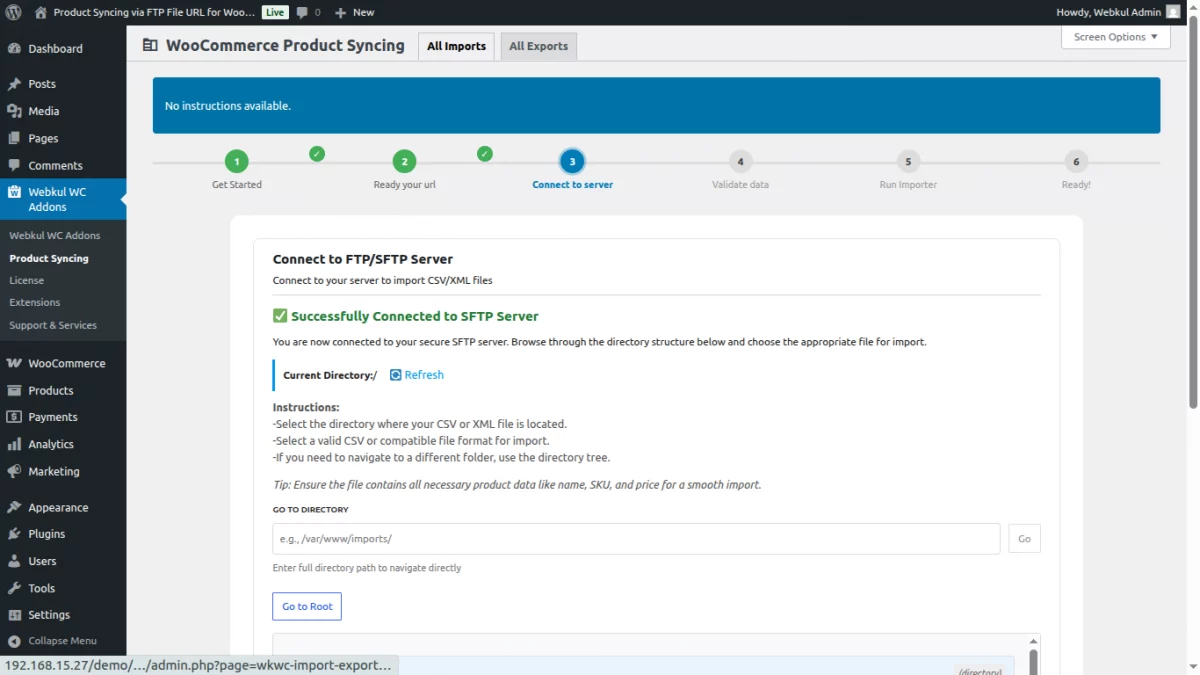
Once the connection to the FTP/SFTP server is established, you’ll see a confirmation on the screen.
You can now easily locate and select the file you want to import:
- Use the search bar to directly enter the file path or location (e.g.,
/uploads/products.csvor/feeds/latest-products.xml). - The system will quickly fetch the file if the path is valid and the file exists on the connected server.
This feature streamlines the import process—no need to manually browse large directories. Just enter the path and proceed to the next step.
It will then display a preview of all the products from the file downloaded via the URL, allowing the admin to review the product details before importing.
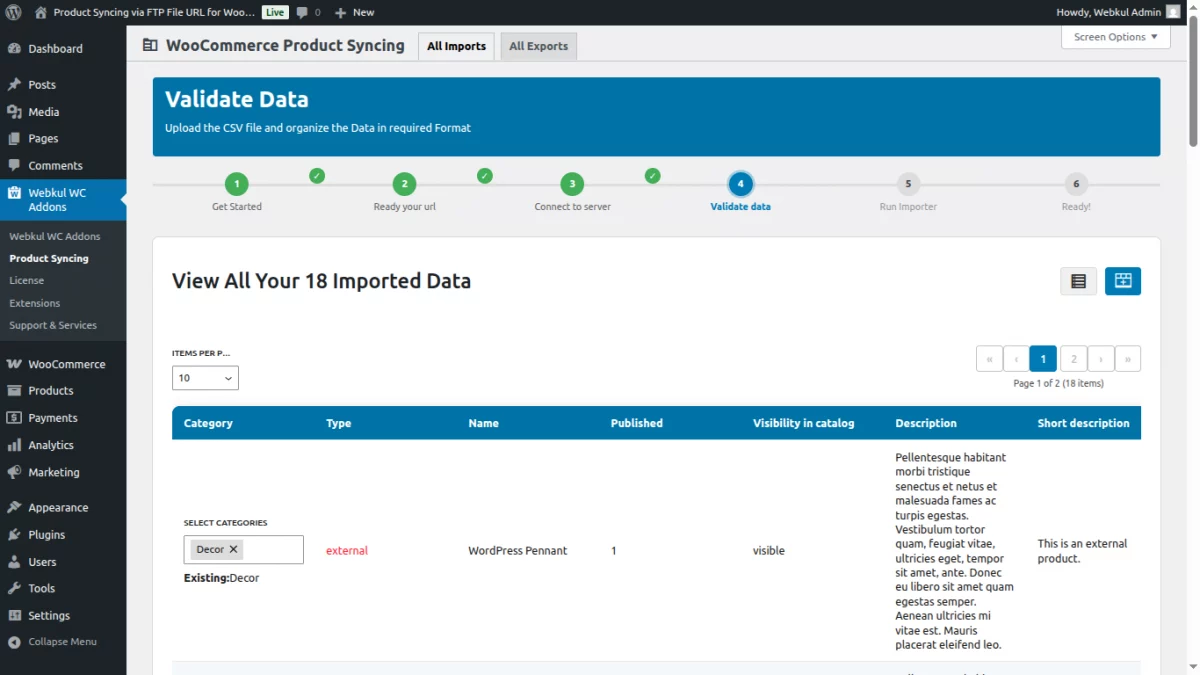
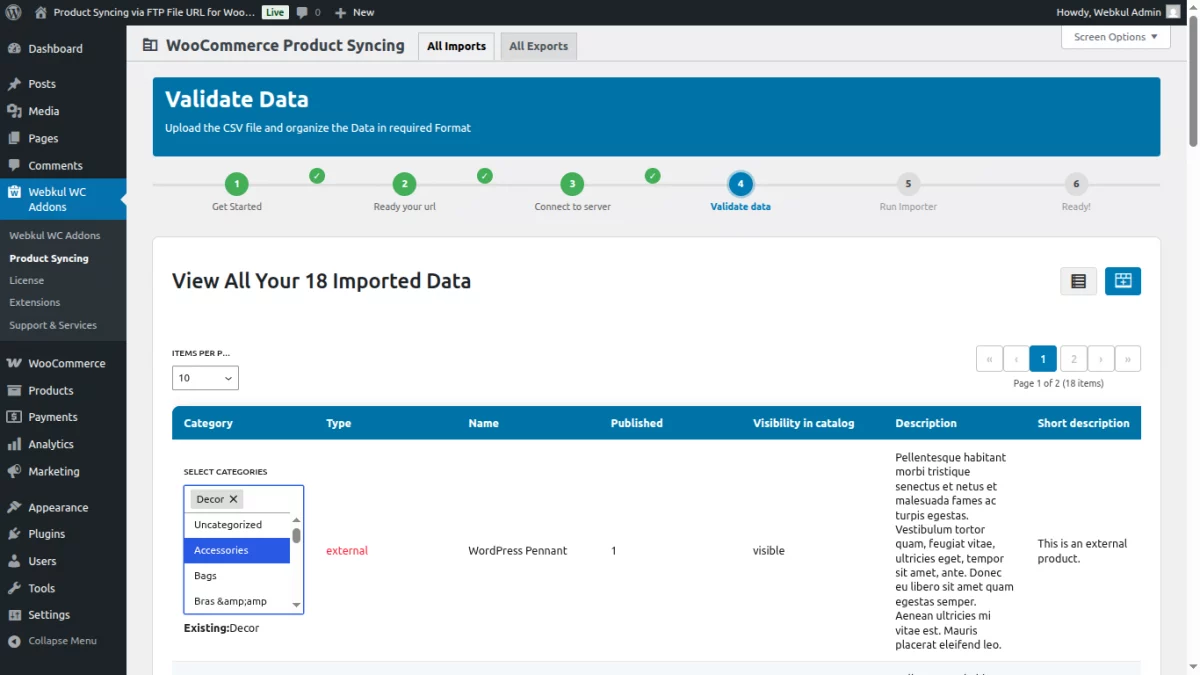
Some imported products are currently not assigned to any category.
Before proceeding with the import, it is important to categorize these products properly to ensure they are organized and visible in your store.
2. Product Syncing – Import From URL
Fetch and import product feeds from a direct CSV or XML URL then click on Process file button
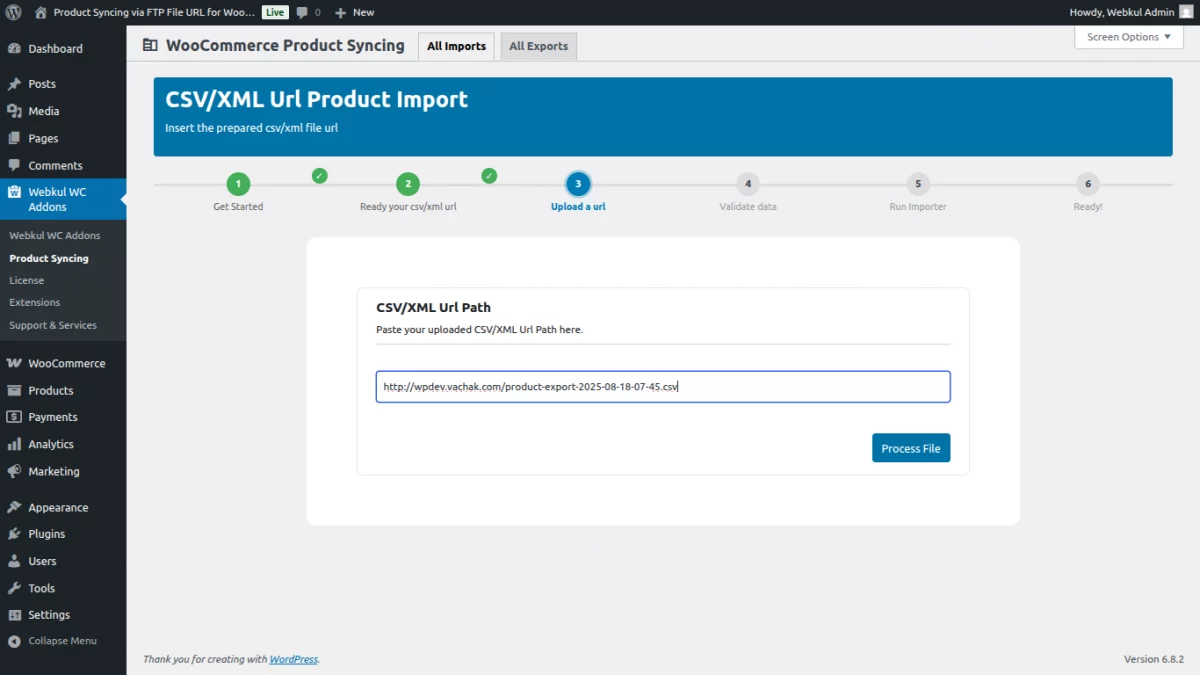
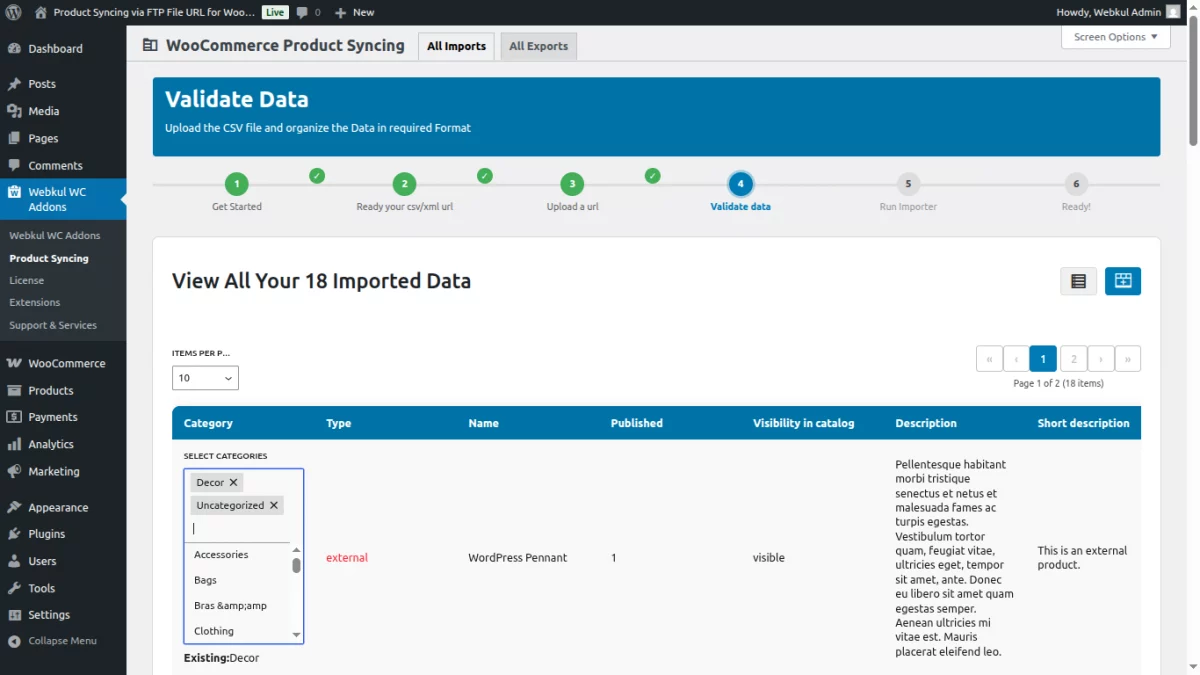
It will then display a preview of all the products from the file downloaded via the URL, allowing the admin to review the product details before importing.

Some imported products are currently not assigned to any category.
Before proceeding with the import, it is important to categorize these products properly to ensure they are organized and visible in your store.
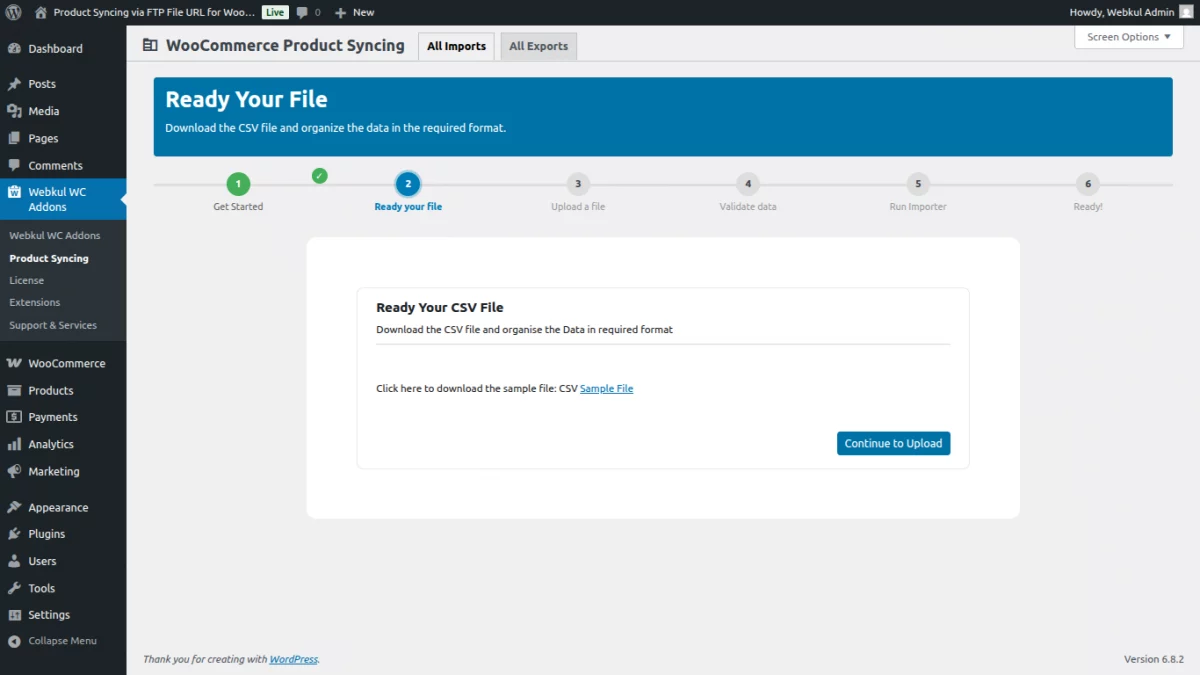
3. Product Syncing – Import using CSV
After selecting the ‘Upload CSV’ option, the store admin can bulk import products into the WooCommerce store by manually uploading a CSV.
Before starting the import process, make sure to download the sample CSV and XML files. These samples will guide you in formatting your product data correctly, ensuring a smooth and error-free import.
After selecting the ‘Upload a File’ option, the store admin can bulk import products into the WooCommerce store by manually uploading a CSV.
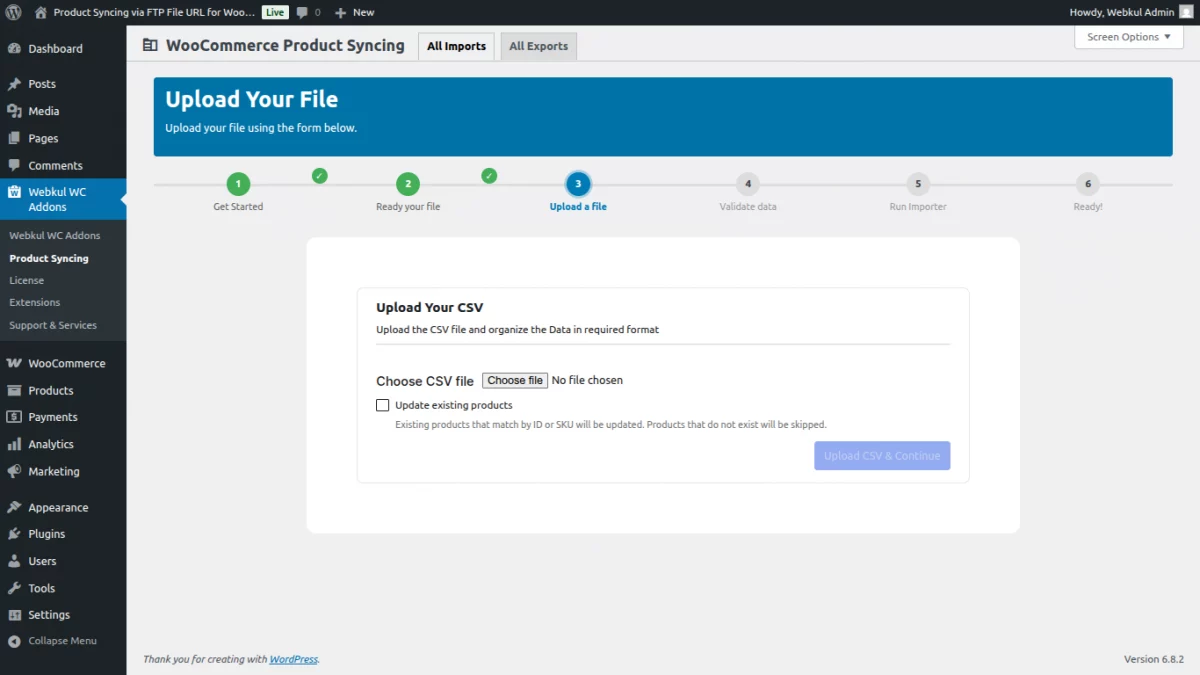

It will then display a preview of all the products from the file via the CSV.
The admin to review the product details before importing also select a category for those products for which a category is not assigned.

4. Product Import using XML
Import product data via XML files with full support for WooCommerce product fields.
Before starting the import process, make sure to download the sample CSV and XML files. These samples will guide you in formatting your product data correctly, ensuring a smooth and error-free import.
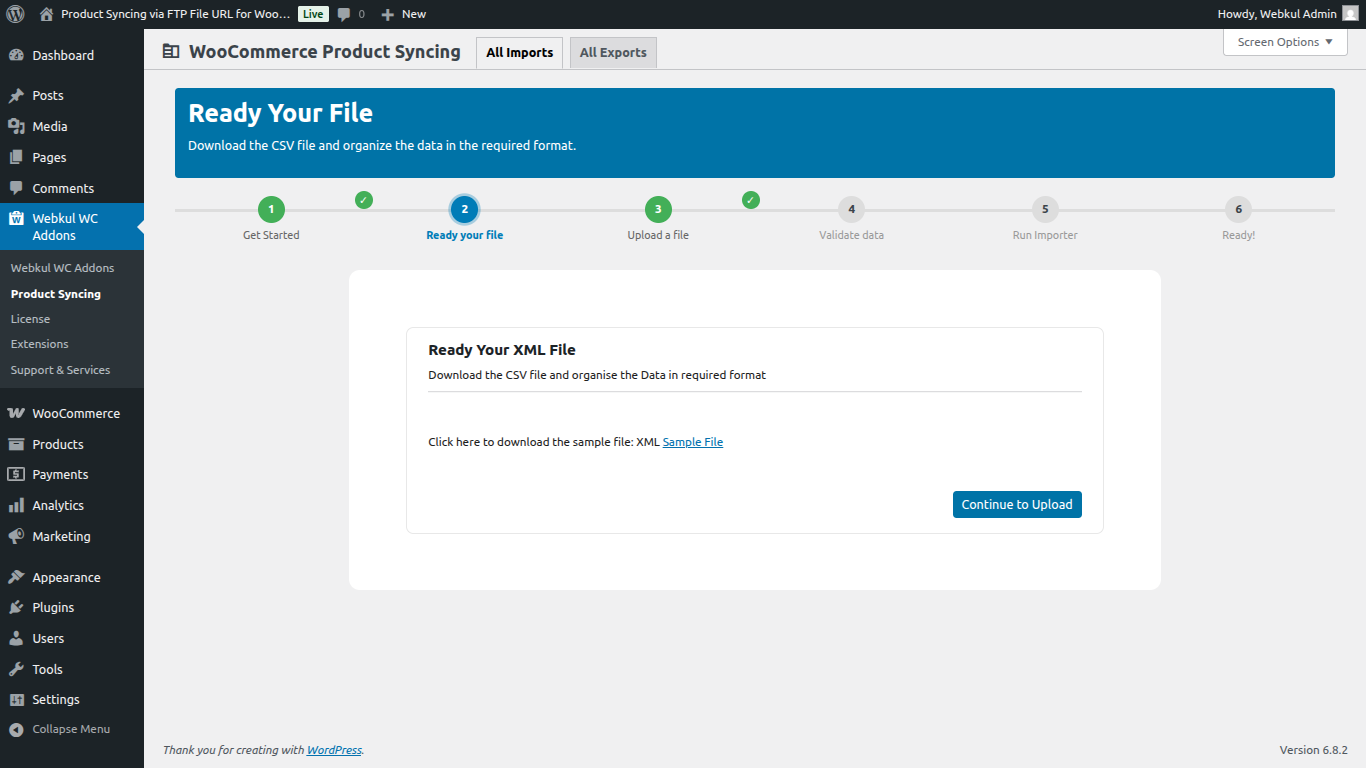
After selecting the ‘Upload a File’ option, the store admin can bulk import products into the WooCommerce store by manually uploading an XML.

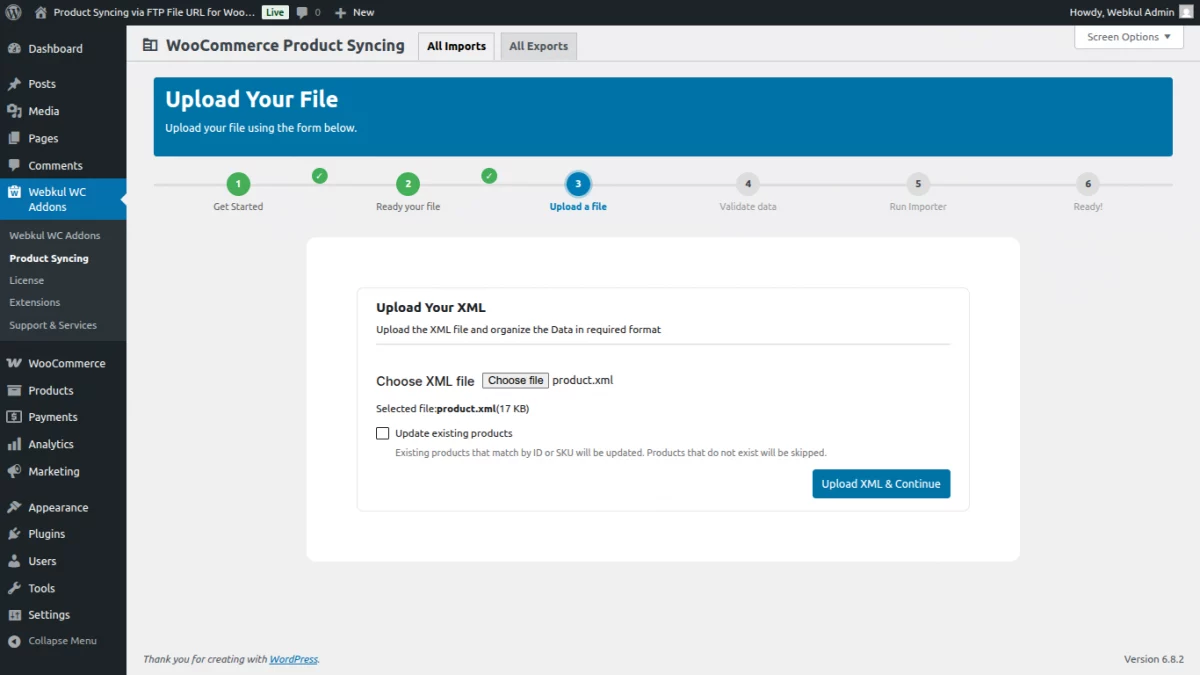
Now, select products xml file and click on Upload XML & Continue.

Now, click on the Continue to Import button
After validating the products, proceed with the import. The remaining steps are the same for all import types.
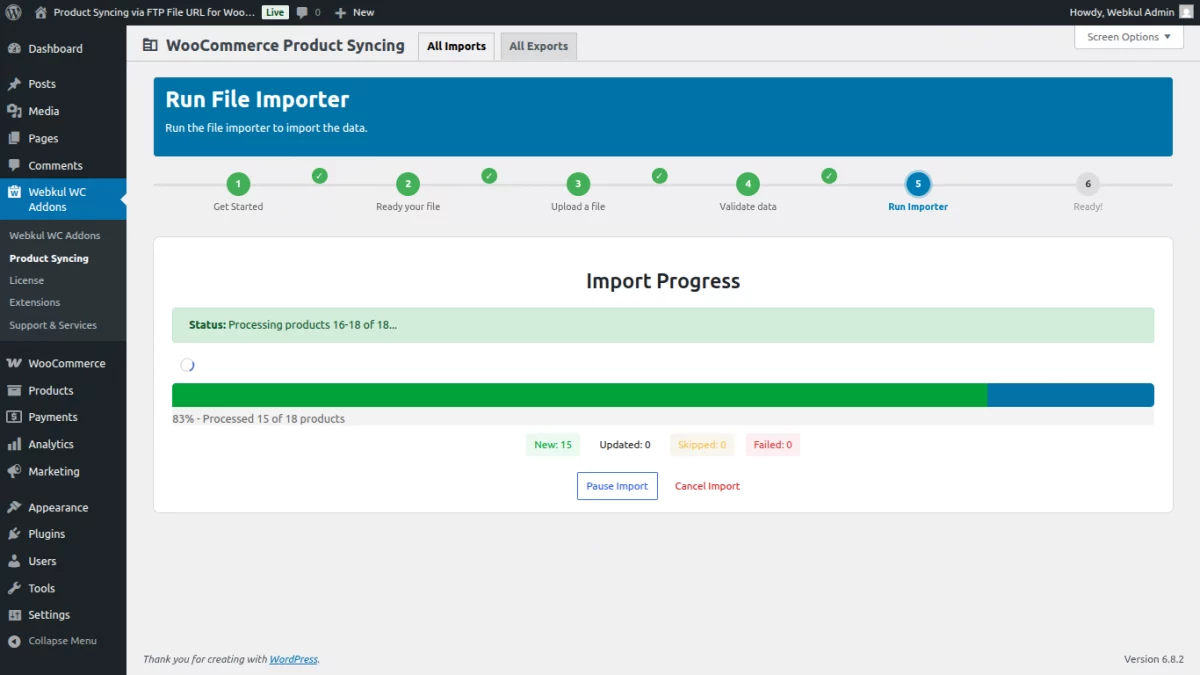
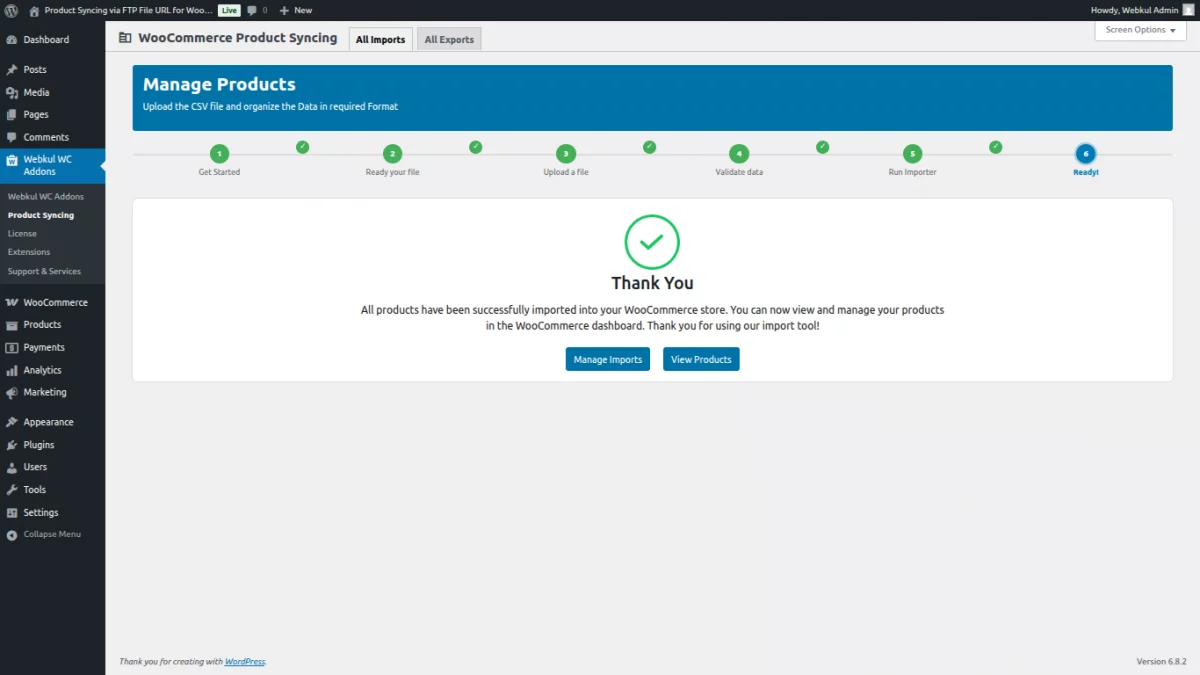
You can now see the summary of imported products, including the number of failed, added, updated, and skipped items.
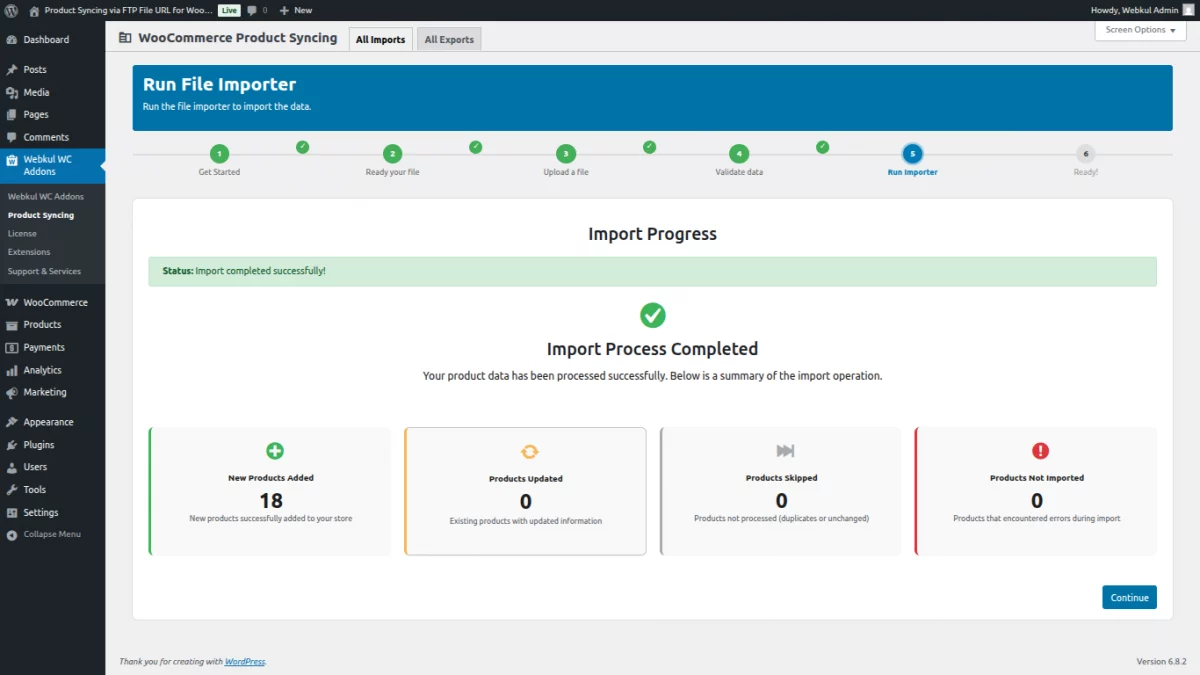
The import process is complete. All products have been imported.
Exporting the Products
The store admin can also export all WooCommerce products into CSV or XML file formats using this plugin.
Managing your WooCommerce product catalog efficiently often requires exporting product data. The WooCommerce Easy Import/Export plugin makes this process simple, especially with CSV/XML file support.
In this guide, we’ll walk you through the step-by-step process of exporting WooCommerce products into a CSV/XML file using this powerful plugin
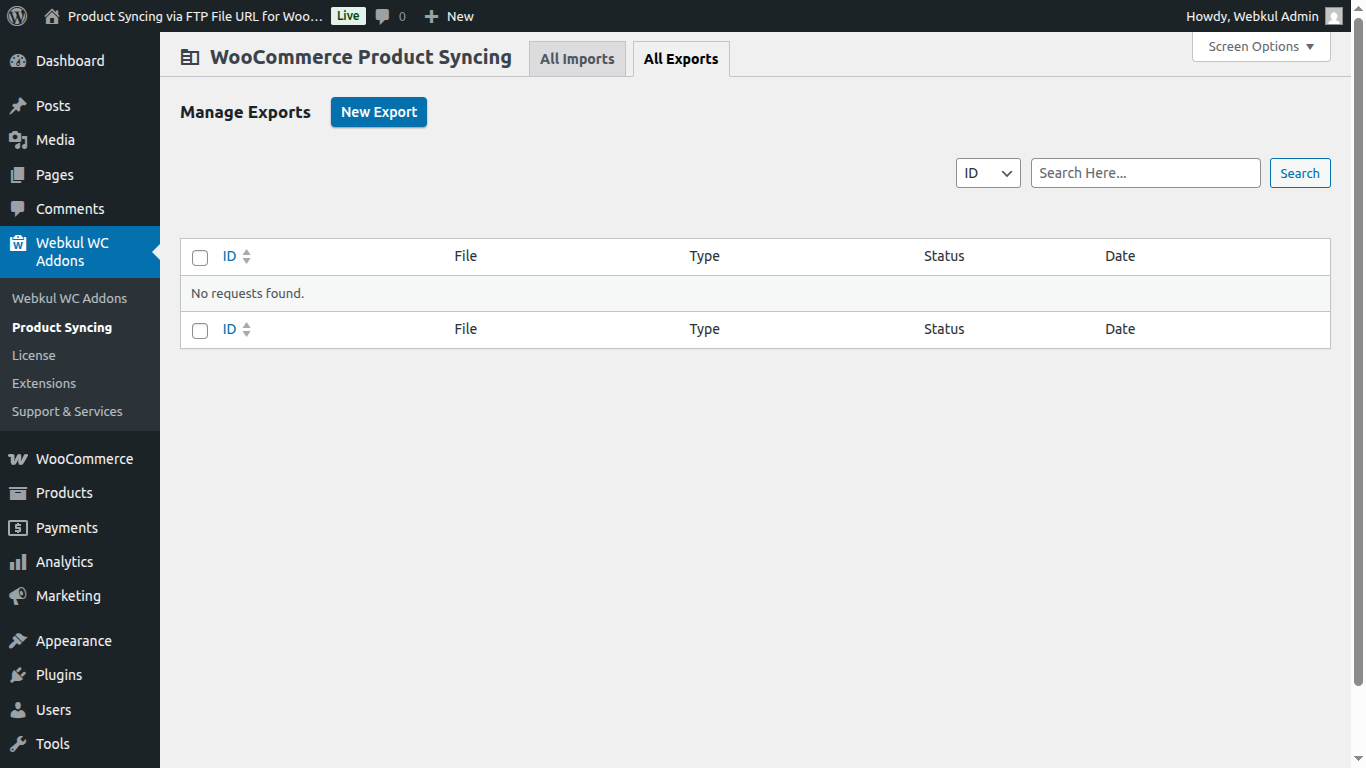
Under the All Exports tab, the admin can manage exports by clicking the ‘New Export‘ button
1. Product Syncing – Export CSV
The store admin simply selects the required format to export all WooCommerce products — Export as CSV or Export as XML file.

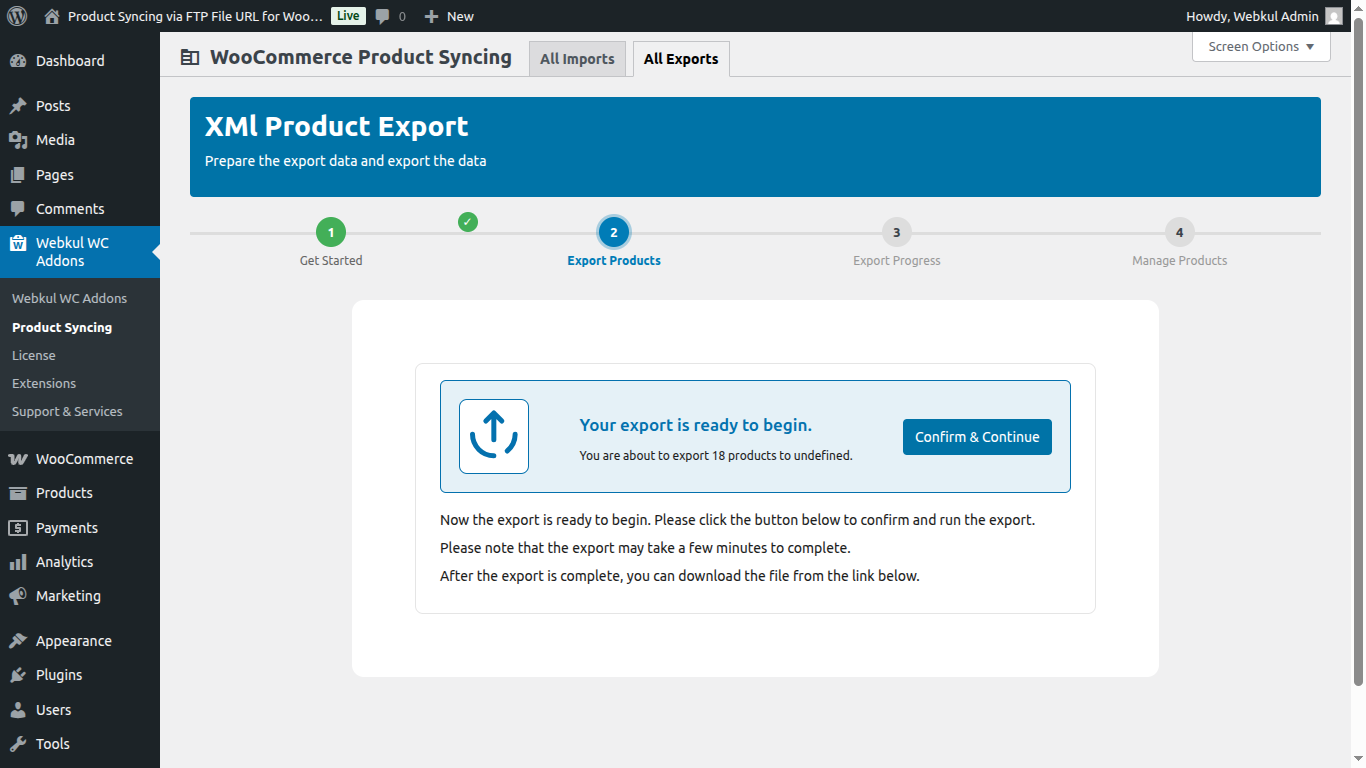
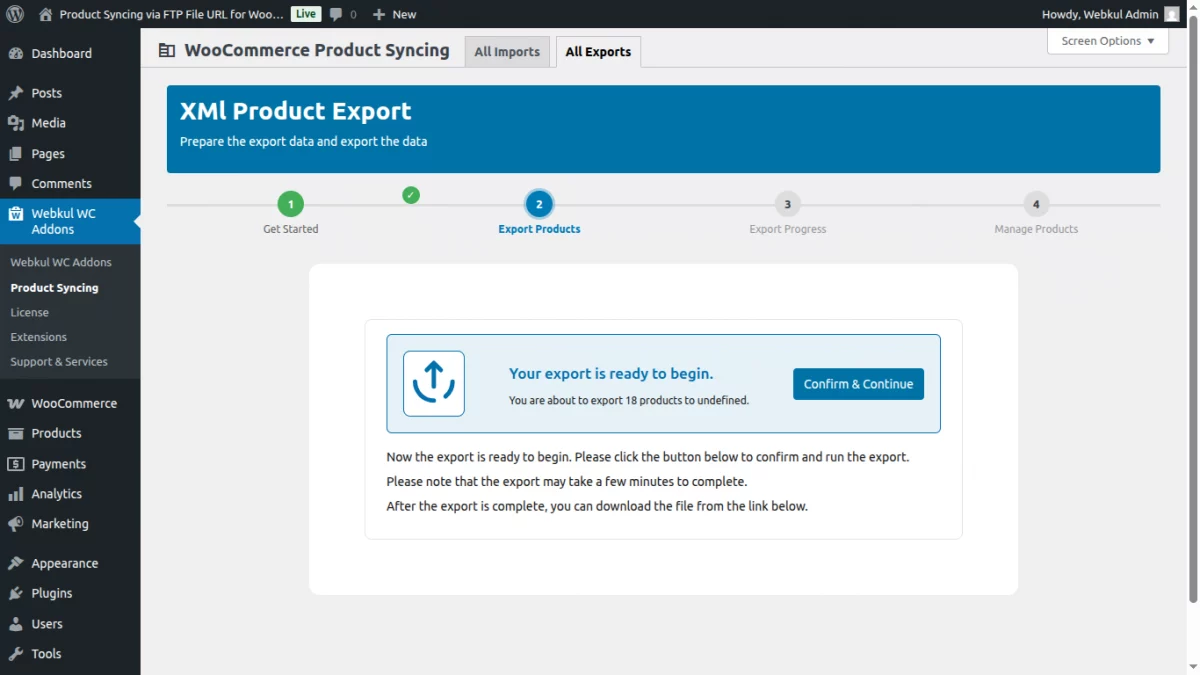
After selecting the export type, the admin clicks the ‘Confirm & Continue’ button to proceed to the next step, where the product data is prepared for export.
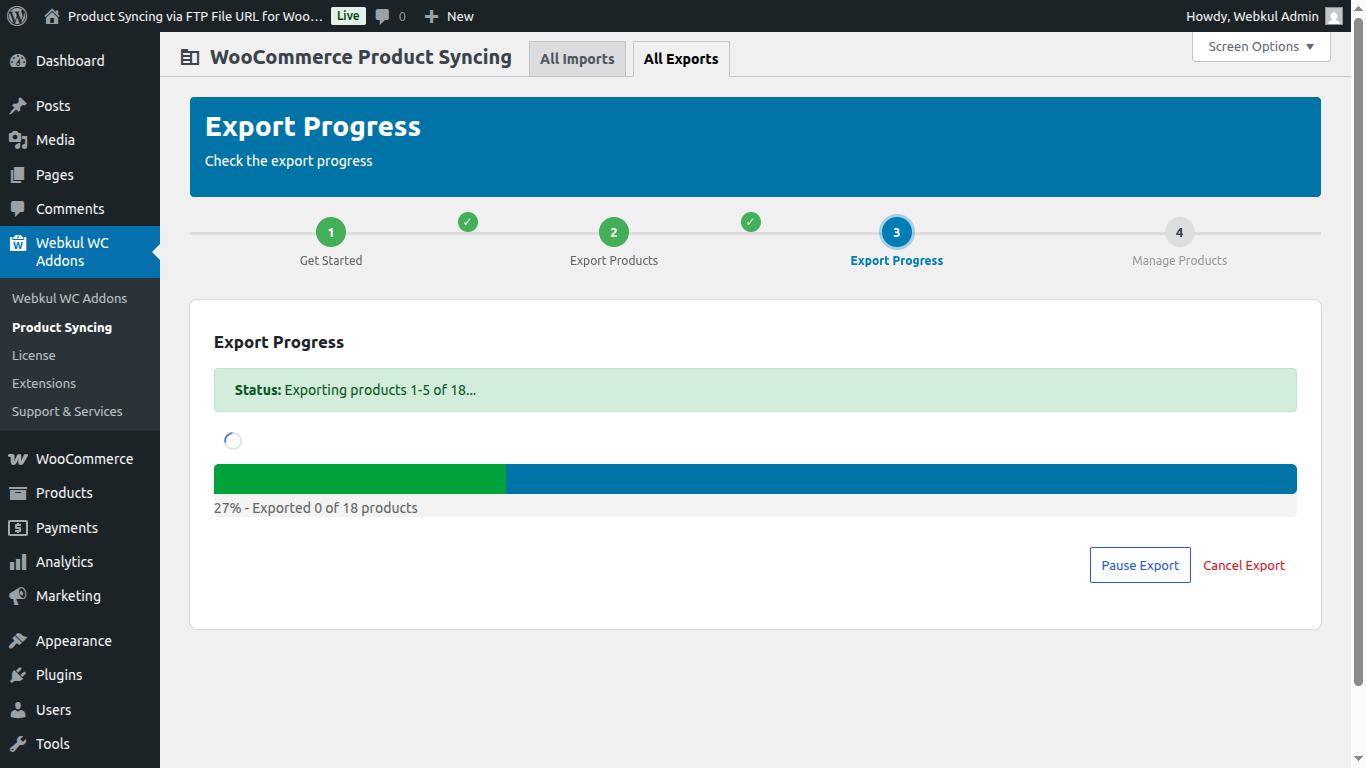
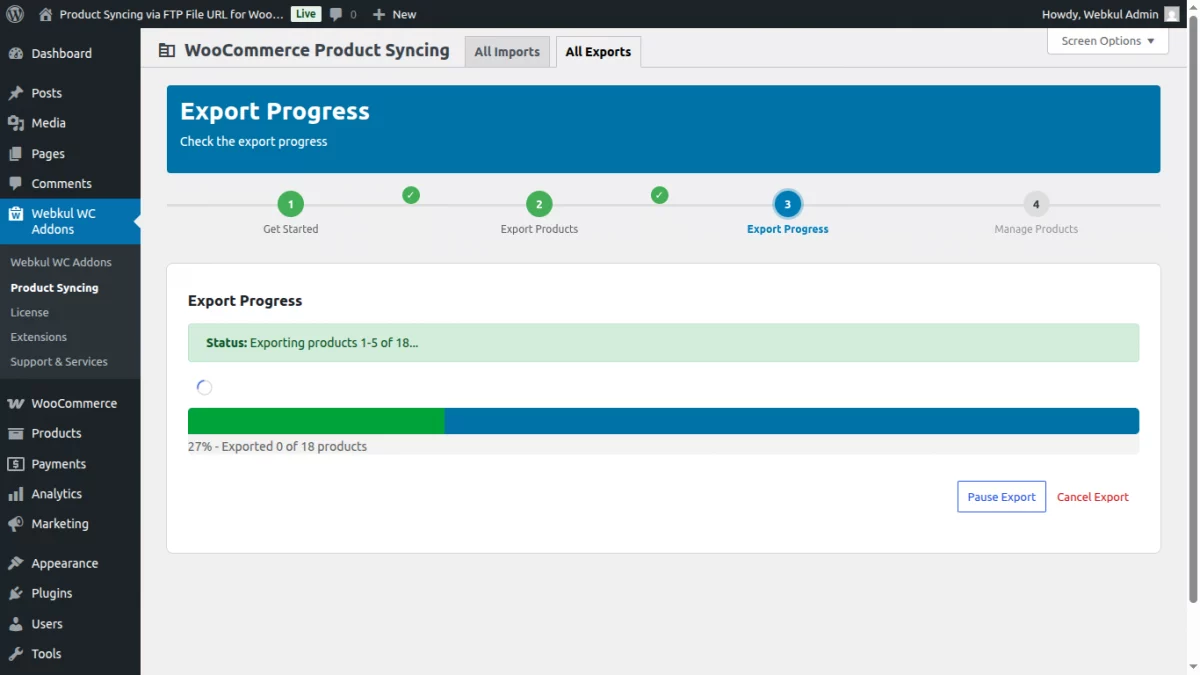
Once the system has prepared all product data, A progress bar will show the real-time export status. You can pause or cancel the process anytime if needed.
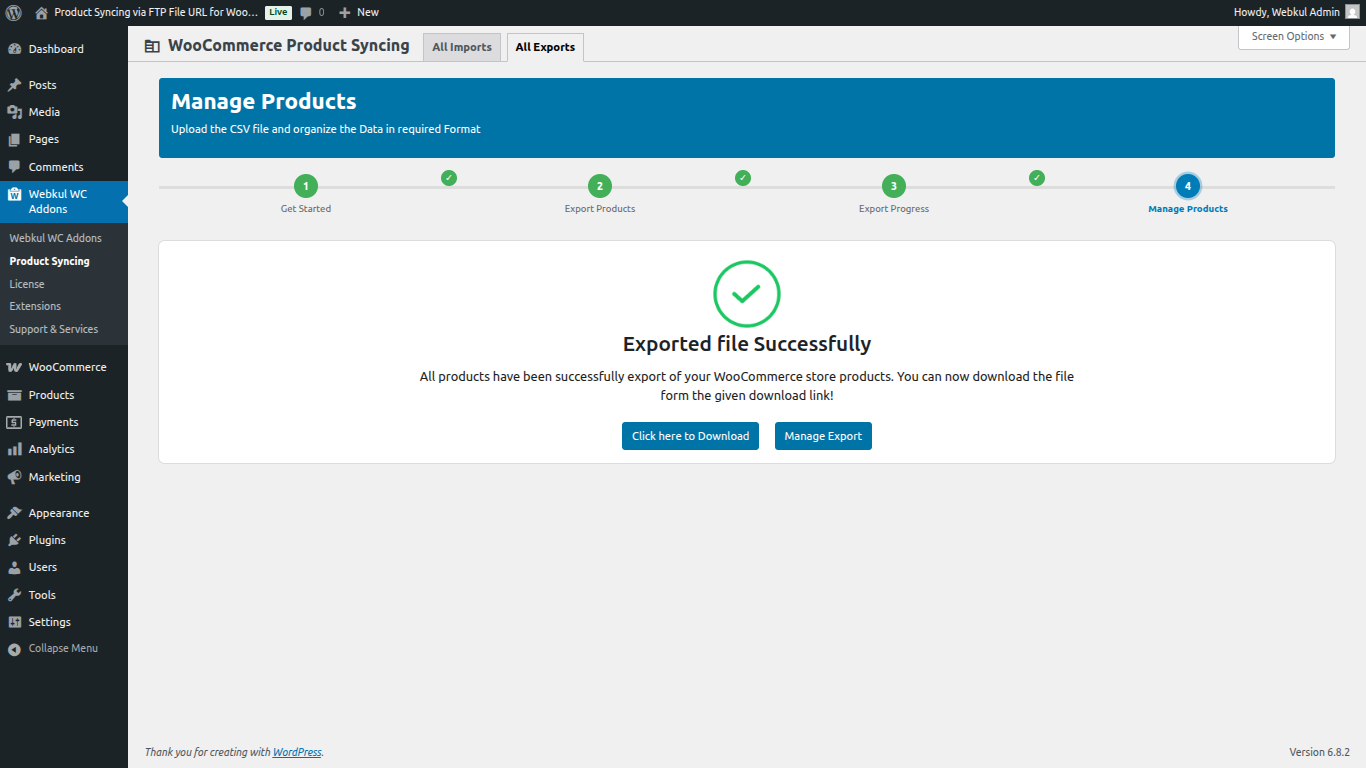
The admin clicks ‘Continue,’ and then selects ‘Continue ‘ on the next screen to begin the export process.
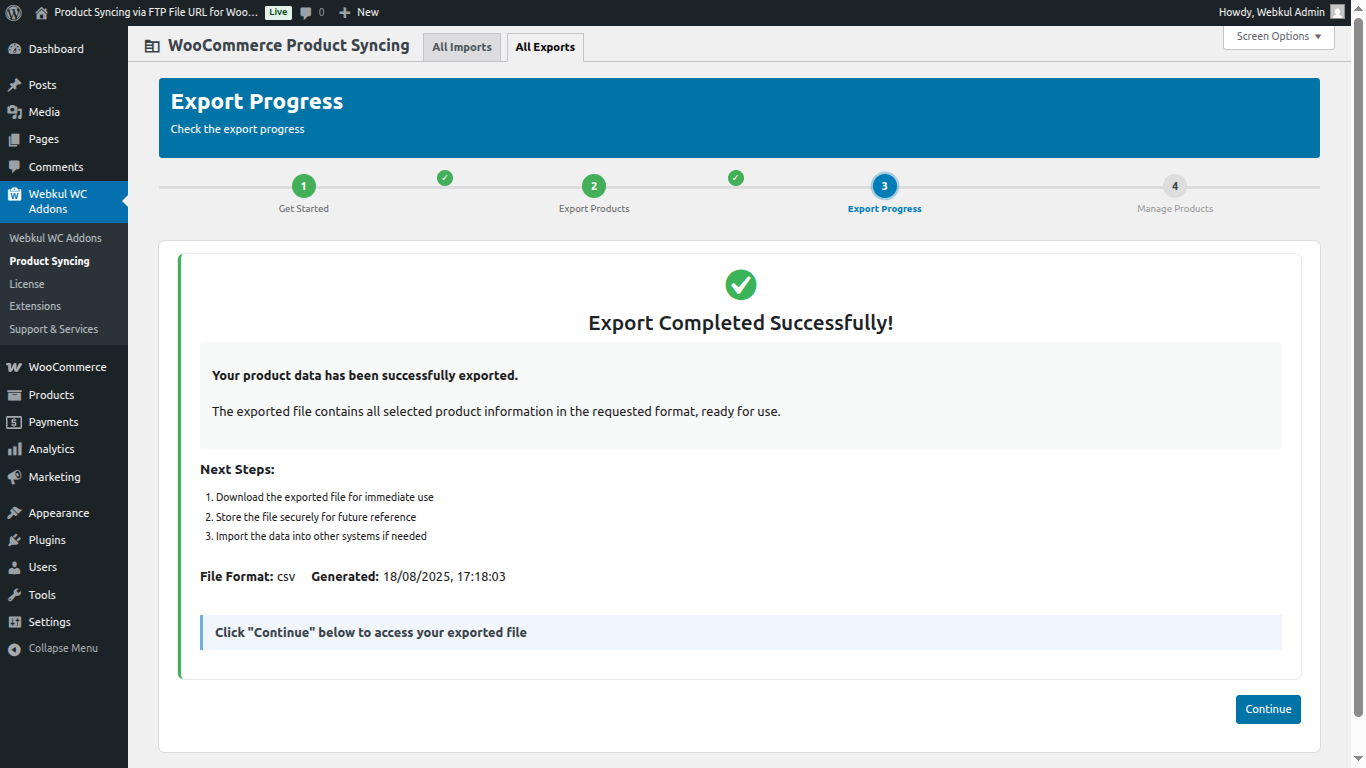
Once the export is complete, you’ll see a confirmation message. The CSV file is now ready for download.
You’ll get useful next steps such as:
2. Export XML
Exporting WooCommerce products in XML format is ideal when you need structured data.
After selecting the export type, the admin clicks the ‘Confirm & Continue’ button to proceed to the next step, where the product data is prepared for export.
You’ll now see the Export Progress screen showing:
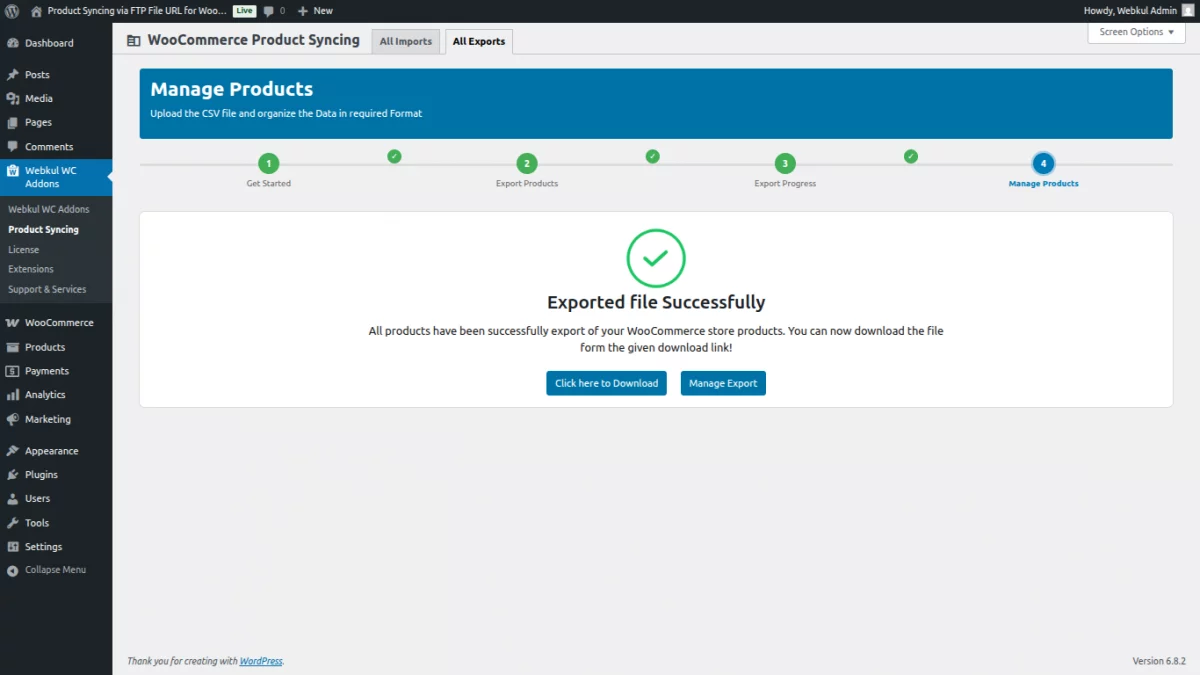
Once done, the plugin displays a success message:“Export Completed Successfully!”
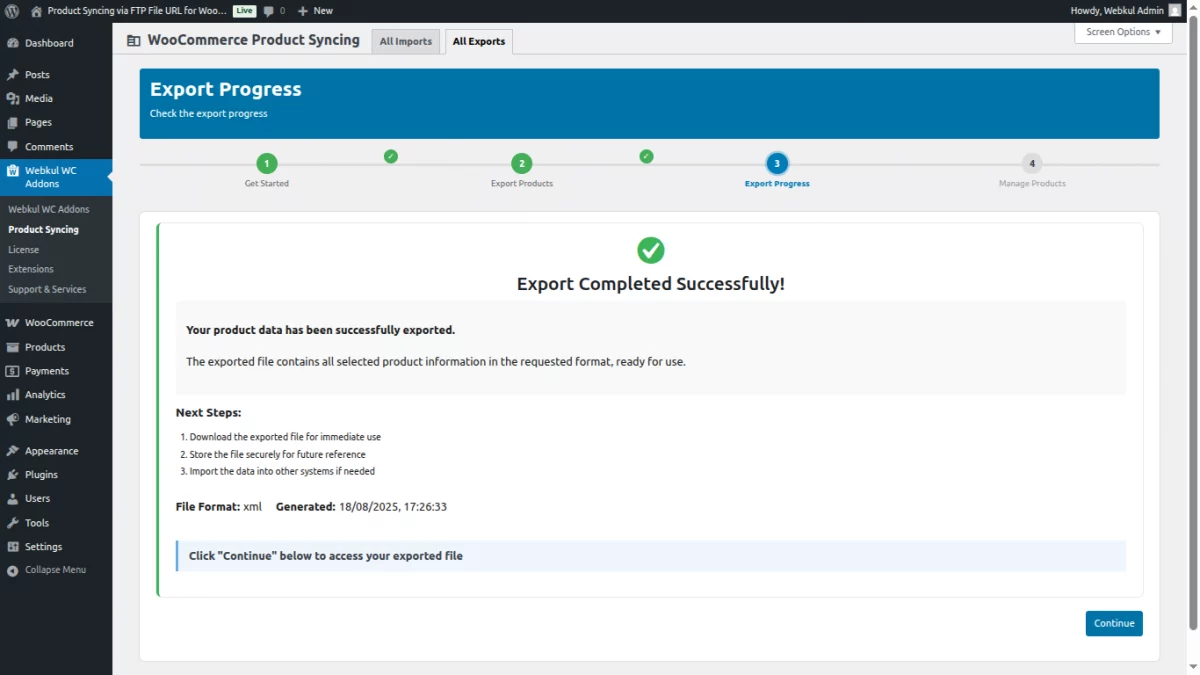
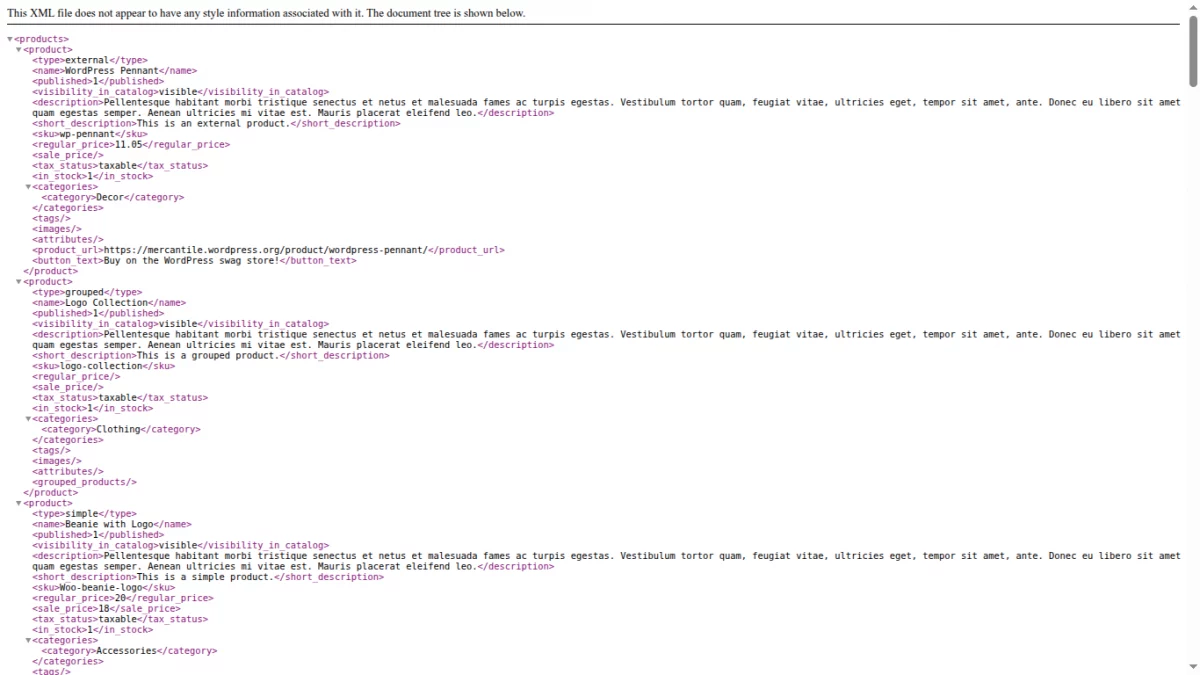
Use the Click here to Download button to get your XML file instantly,now add XML structure code.
Copy the XML structure and create an XML file for product import.
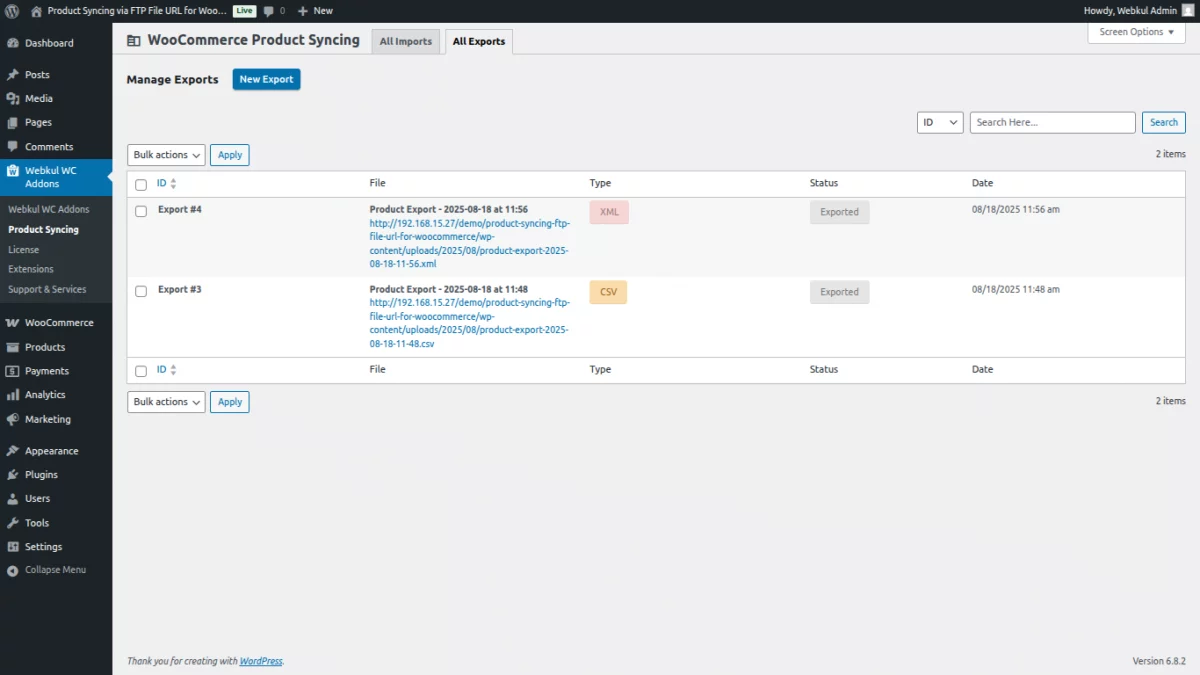
Refer to the export logs in the screenshot below.
Thus, that’s all for the WooCommerce Product Import – XML CSV URLs plugin. Still, have any issues, feel free to add a ticket and let us know your views at webkul.uvdesk.com.
Check more such kinds of relevant WooCommerce Plugins.
Current Product Version - 1.0.1
Supported Framework Version - WordPress: 6.8, Woocommerce: 10.x.x

Be the first to comment.