Introduction
Odoo POS Target Management helps businesses streamline sales tracking by setting clear and achievable goals. The module ensures transparency and boosts team motivation.
With an interactive dashboard, managers can monitor progress, compare employee performance, and identify top sellers. It encourages friendly competition and consistent sales growth.
Odoo POS Target Management simplifies workflow by providing tools to assign targets, track achievements, and reward top performers. Graphical insights make sales performance tracking efficient.
Features
- It provides a dashboard that allows businesses to track sales targets and monitor progress.
- Users can track sales progress with interactive charts and graphs.
- Employees who achieve their targets are automatically recognized with badges and rewards.
- With Odoo POS Target Management, businesses can create sales teams, assign roles, and set sales goals.
- It enables businesses to define sales targets based on product count, order value, or revenue.
- The system provides insights into employee performance.
- Managers can access up-to-date sales data, helping them make quick decisions.
Installation
- Once you purchase Odoo POS Target Management from Webkul store, you will receive a link to download the module’s zip file.
- Extract the file on your system after the download finishes. As a result, you will be able to see a folder named ‘pos_target_management’
- Copy and paste this folder inside your Odoo Add-Ons path.
- Now, open Odoo App and click on the Settings menu. Here, click on Activate Developer Mode.
- Then, open the Apps menu and click on ‘Update Modules List.’
- In the search bar, remove all the filters and search ‘pos_target_management’
- You will be able to see the module in the search results. Click on ‘Install’ to install it.
Workflow
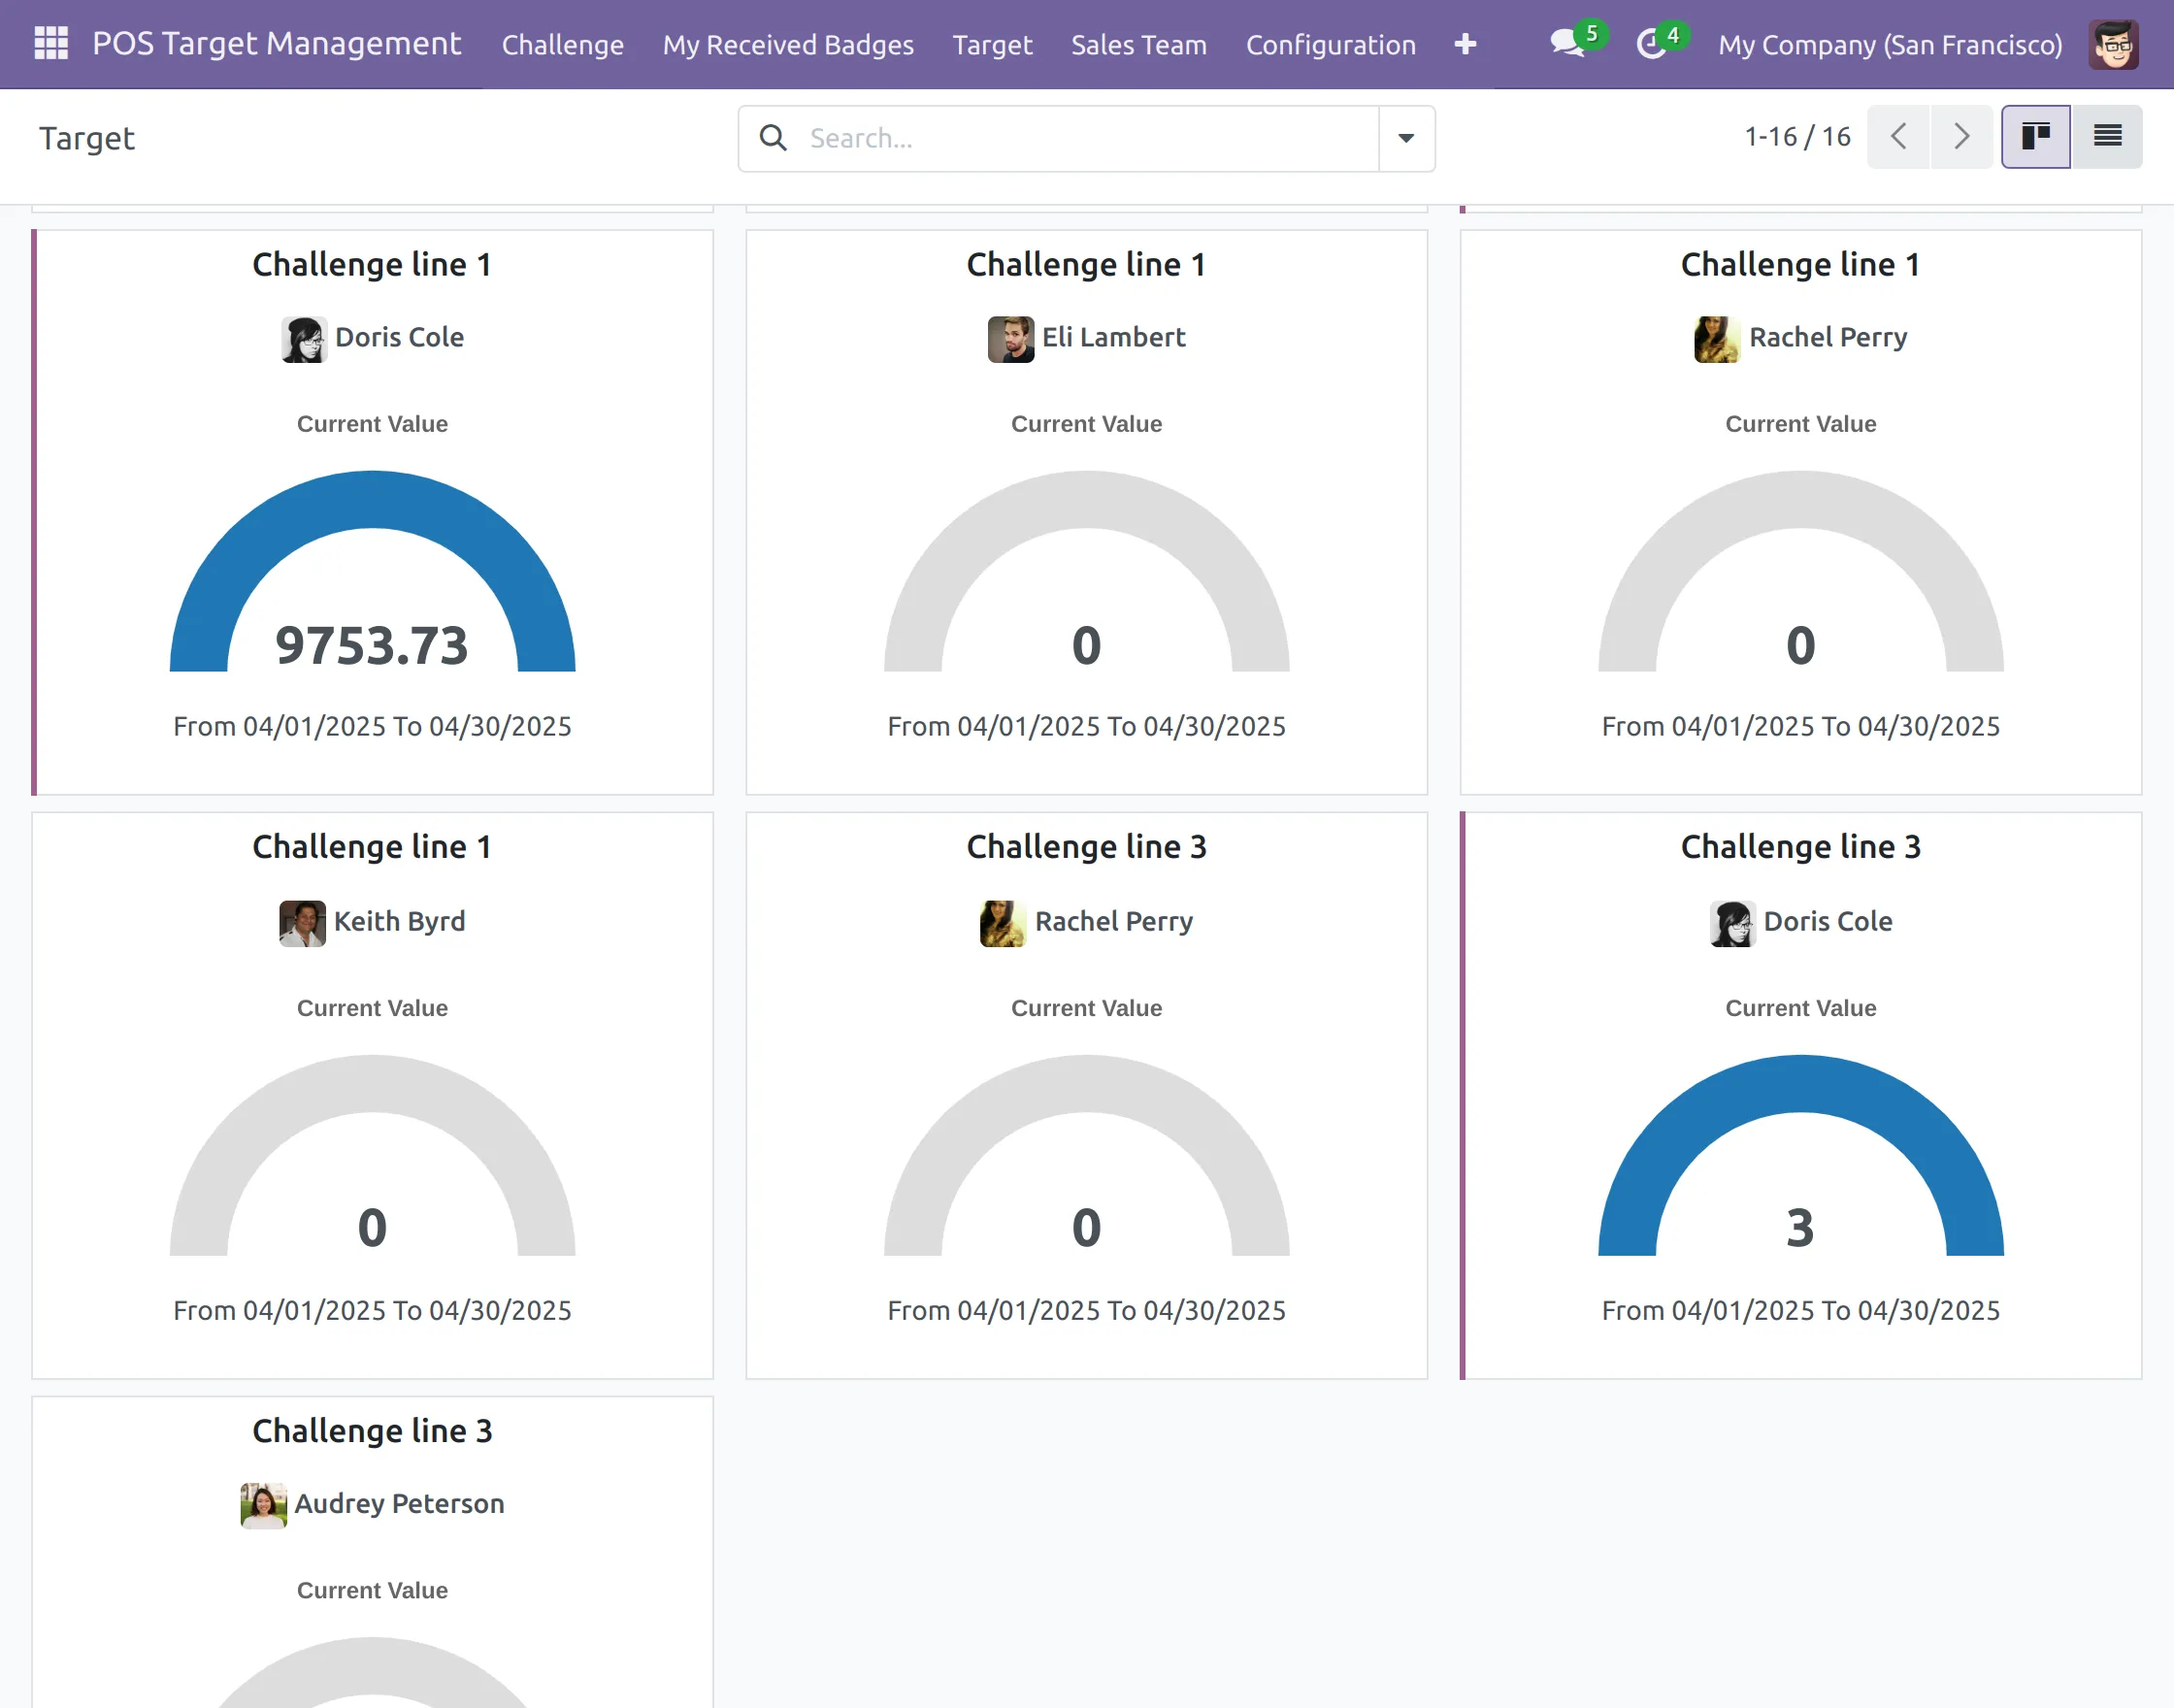
- After installing Odoo POS Target Management, users can access the Target Dashboard to track completed challenges, ongoing goals, and granted badges through interactive charts and metrics.

2. Users can also create challenges by going to the challenges section.

3. They can also check the progress of a target by clicking on the Target option.
4. Additionally, users can view received badges in the My Received Badges section.

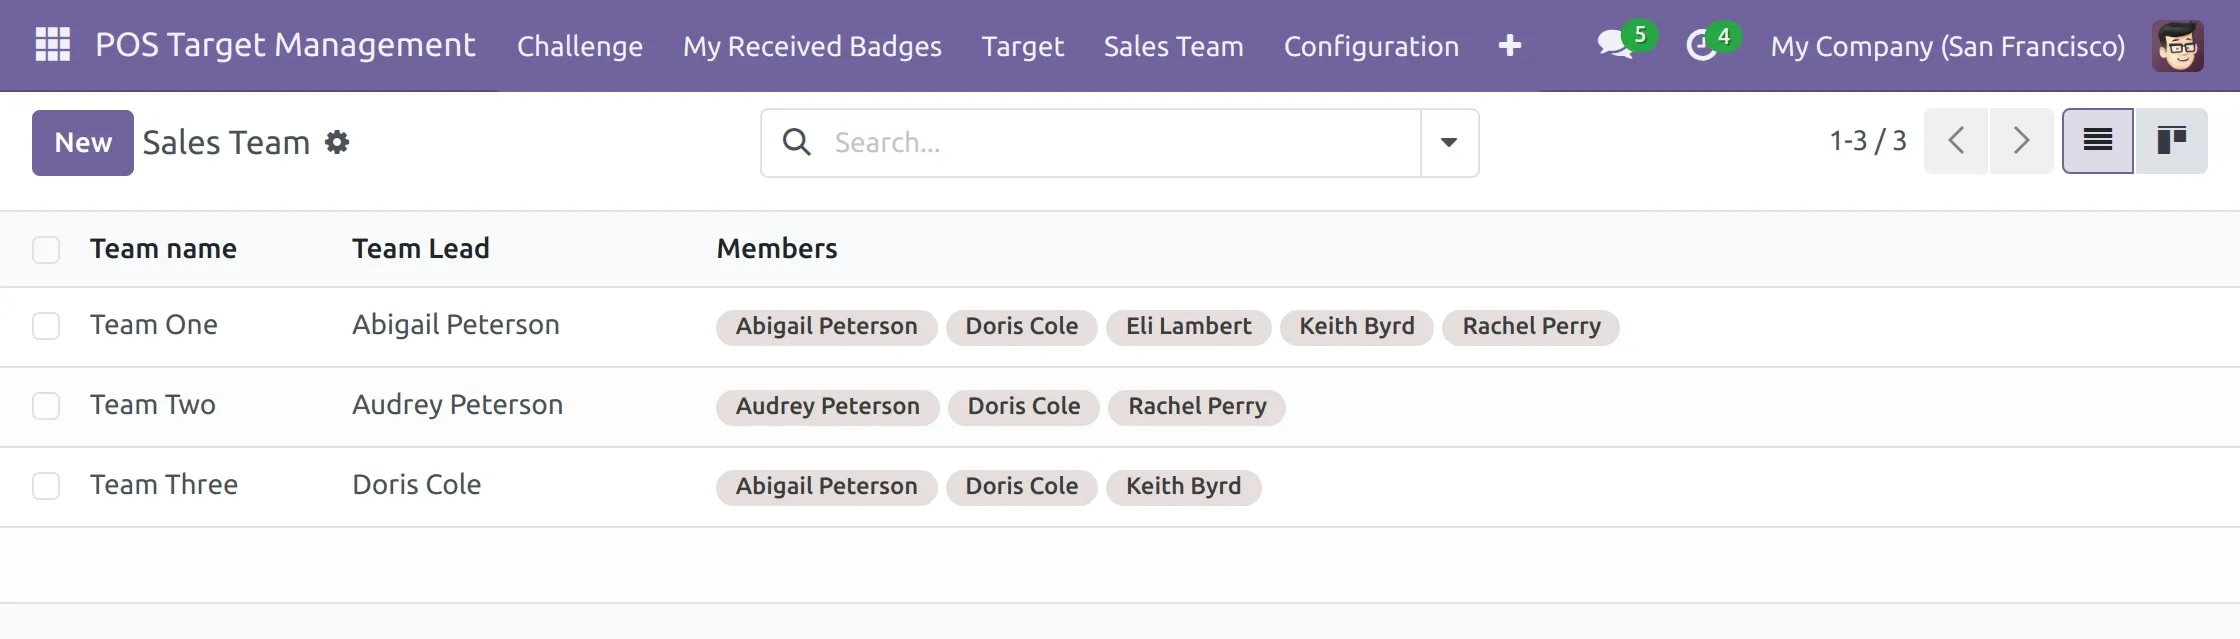
5. Users can see the available sales teams and create new ones if needed.
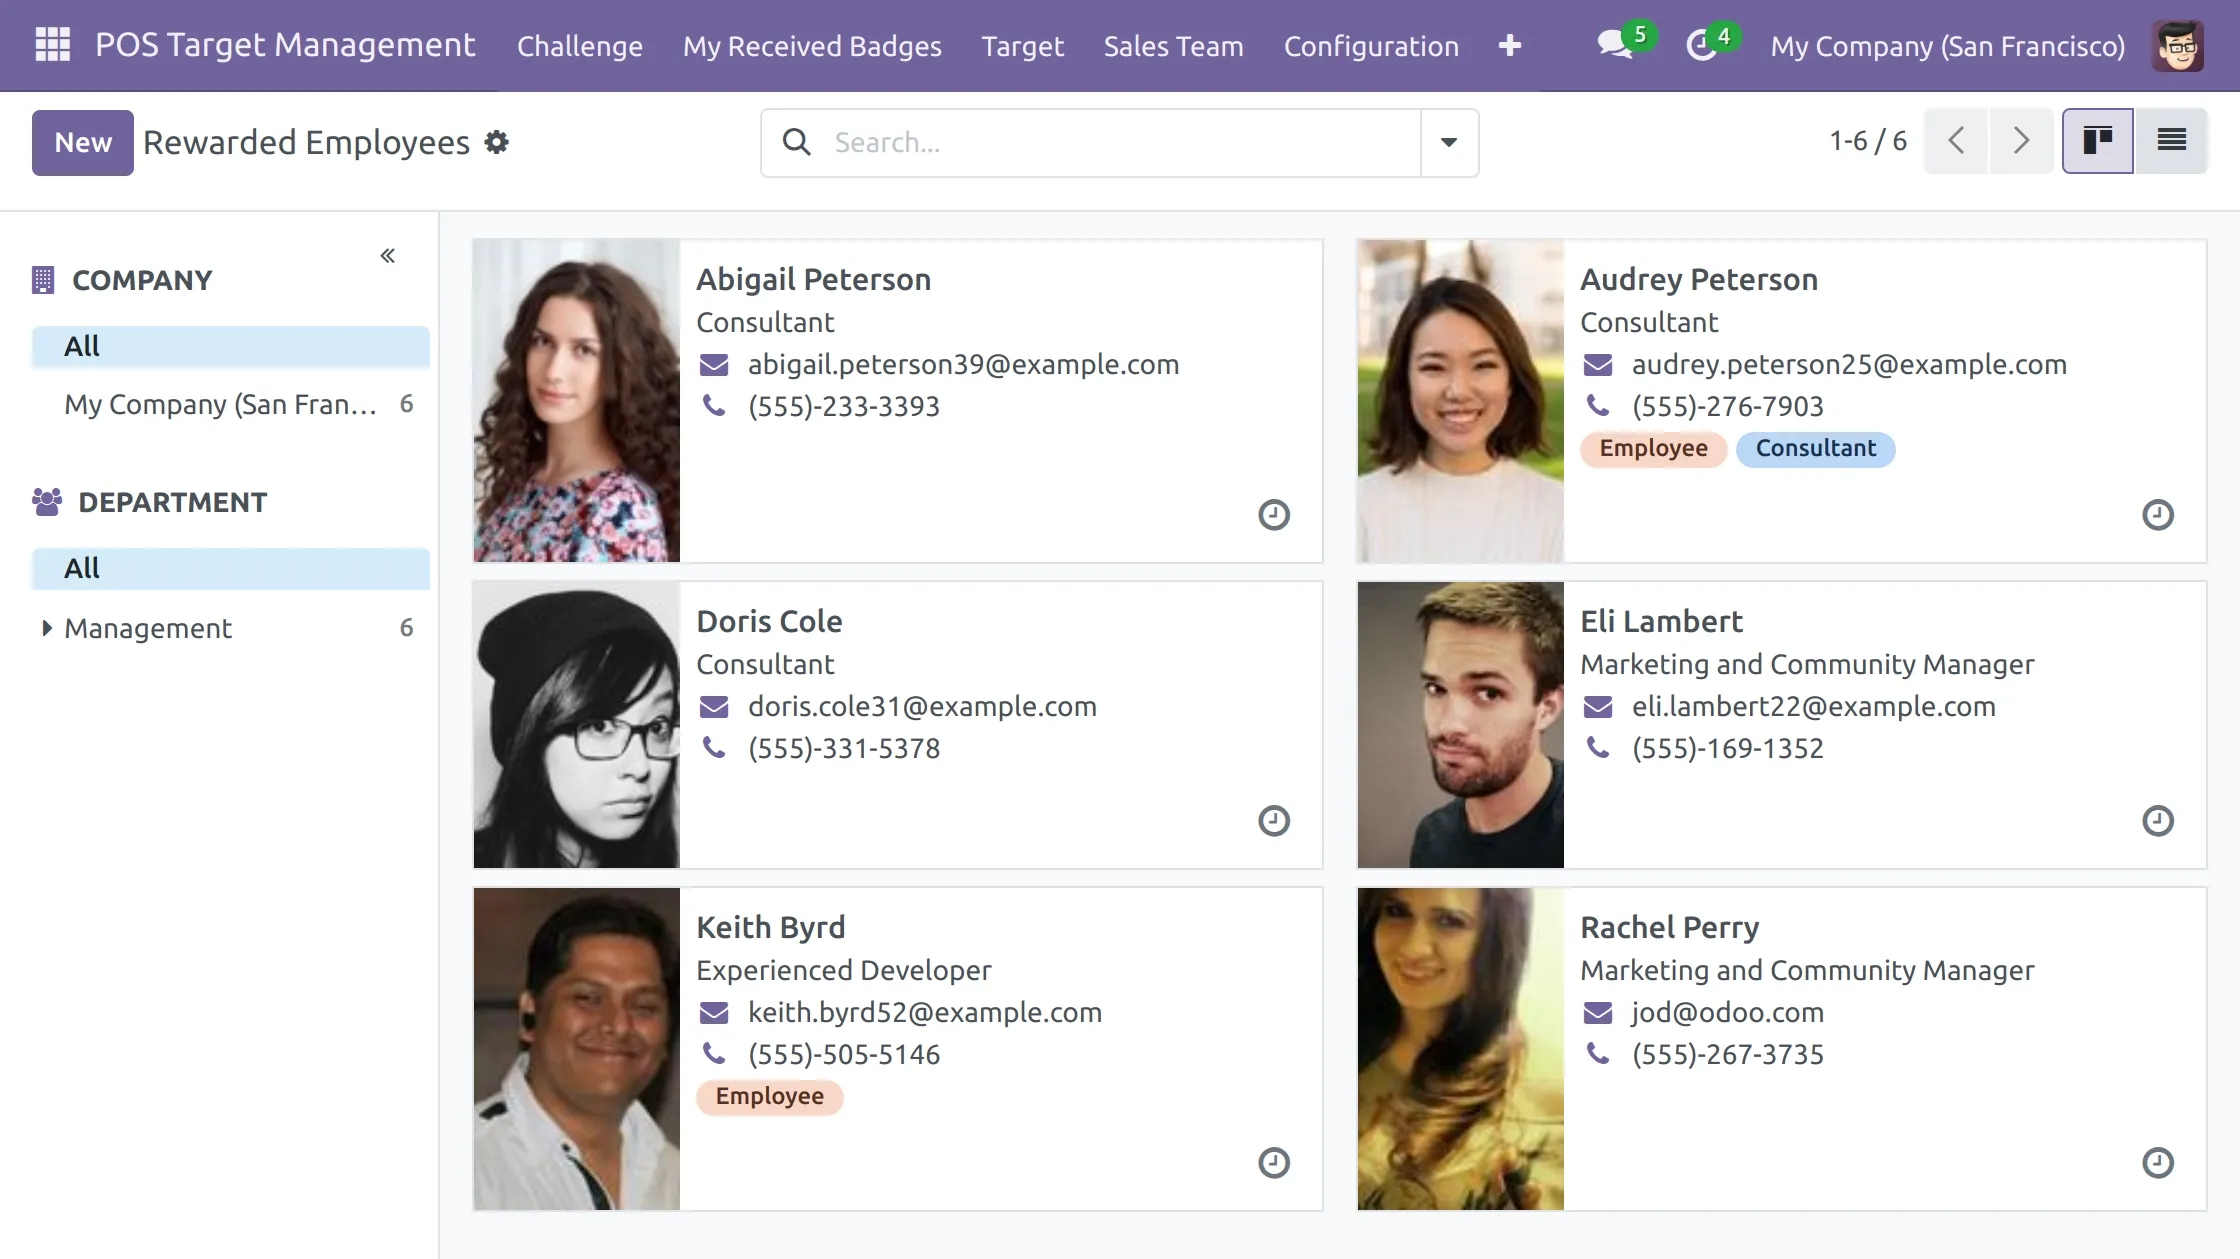
6. This module also allows users to view rewarded employees and create new ones by navigating to Configuration >> Rewarded Employees.
7. Users can add a new Target Definition and view existing ones by navigating to Configuration >> Target Definition.

8. Users can assign badges to employees based on completed challenges, with weightage for impact.
9. Badges can also be categorized into different levels to measure employee recognition and progress.
Need Help?
Hope you find the guide helpful! Please feel free to share your feedback in the comments below.
If you still have any issues/queries regarding the same, please raise a ticket at the UV Desk.
In case of any further queries, contact us at our support mail.
Thanks for paying attention!!
Current Product Version - 1.0.0
Supported Framework Version - V19.0, V18.0, V17.0

Be the first to comment.