Introduction
Odoo Payment Payplug Apple Pay allows merchants to accept Apple Pay payments directly on the website checkout using Payplug.
It helps customers complete Apple Pay payments without leaving the checkout page. It works with the Payplug payment provider and follows the normal checkout workflow.
The module manages Apple Pay domain verification, payment start, and status updates automatically. It ensures smooth Apple Pay payment processing and proper order confirmation.
Prerequisites for using Odoo Payment Payplug Apple Pay
Odoo Payment Payplug Apple Pay works in conjunction with the following module:
Website Payplug Payment Gateway
You must install the above-mentioned module to use the Odoo Payment Payplug Apple Pay.
Features
- Apple Pay payments on website checkout allow customers to complete payments directly from the checkout page.
- Inline Apple Pay payment flow lets customers pay without leaving or refreshing the checkout page.
- Backend Apple Pay domain verification allows merchants to upload the verification file from the admin panel.
- Automatic Apple Pay payment updates ensure the payment status changes after each successful transaction.
- Native checkout confirmation workflow works smoothly with the standard order confirmation process.
- Centralized Apple Pay transaction records store all Apple Pay payments in the backend for tracking.
- Payplug-based extends the Payplug payment provider to support Apple Pay payments.
Installation
- Once you purchase the App from the Webkul store, you will receive a link to download the module’s zip file.
- Extract the file on your system after the download finishes. As a result, you will be able to see a folder named- ‘payment_payplug_applepay’.
- Copy and paste this folder inside your Odoo Add-Ons path.
- Now, open Odoo App and click on the Settings menu. Here, click on Activate Developer Mode.
- Then, open the Apps menu and click on ‘Update Modules List.’
- In the search bar, remove all the filters and search ‘payment_payplug_applepay’.
- You will be able to see the module in the search results. Click on ‘Activate’ to install it.
WORKFLOW
Configuration of Odoo Payment Payplug Apple Pay
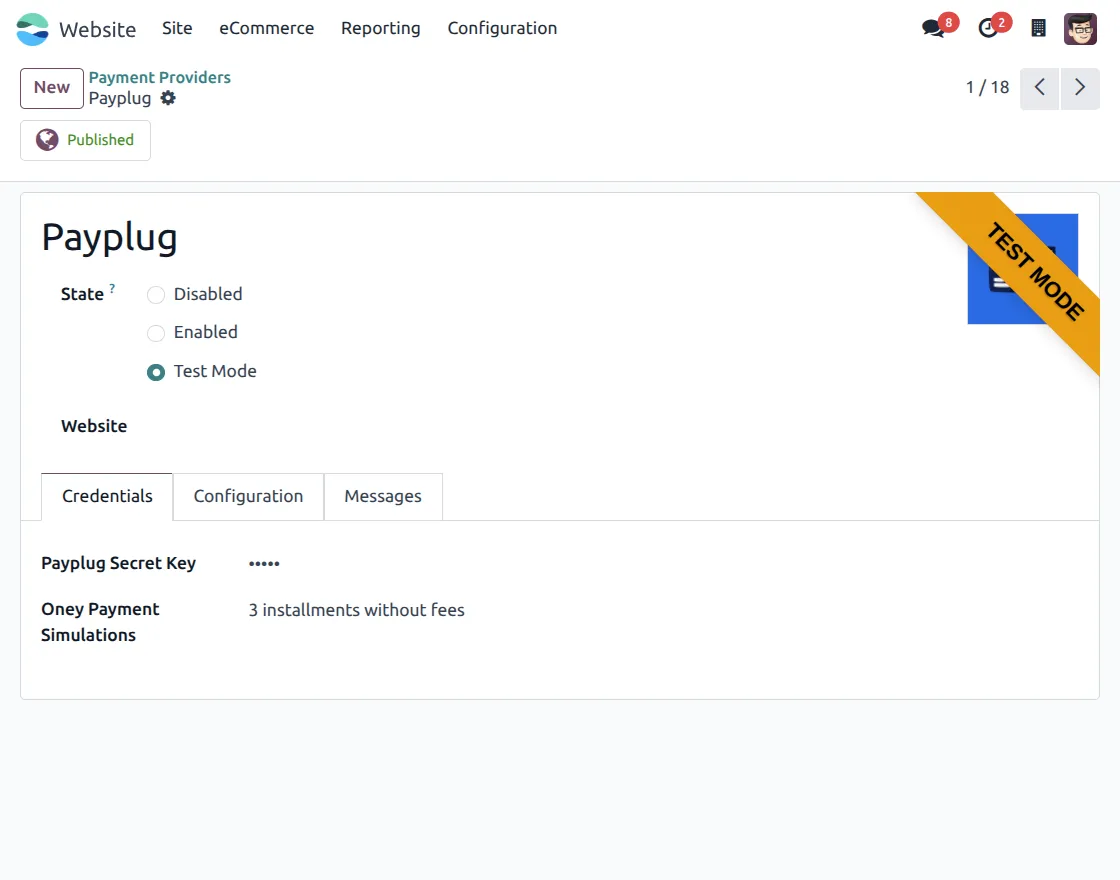
1. Go to Website → Configuration → Payment Providers and open the Payplug payment provider. Set the provider state to Enabled or Test Mode, then save the settings to activate it.
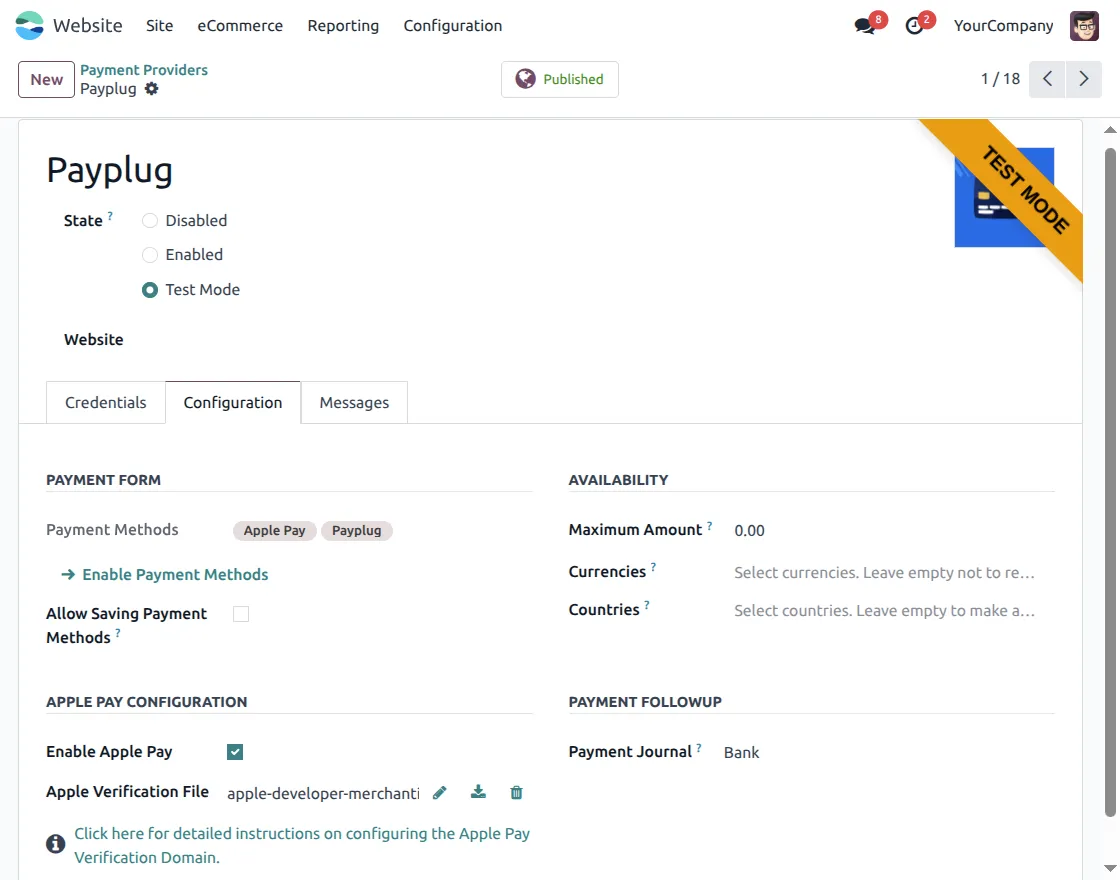
2. Open the Configuration tab inside Payplug settings. Enable Apple Pay, then upload the Apple Pay domain verification file from the backend and save the changes.
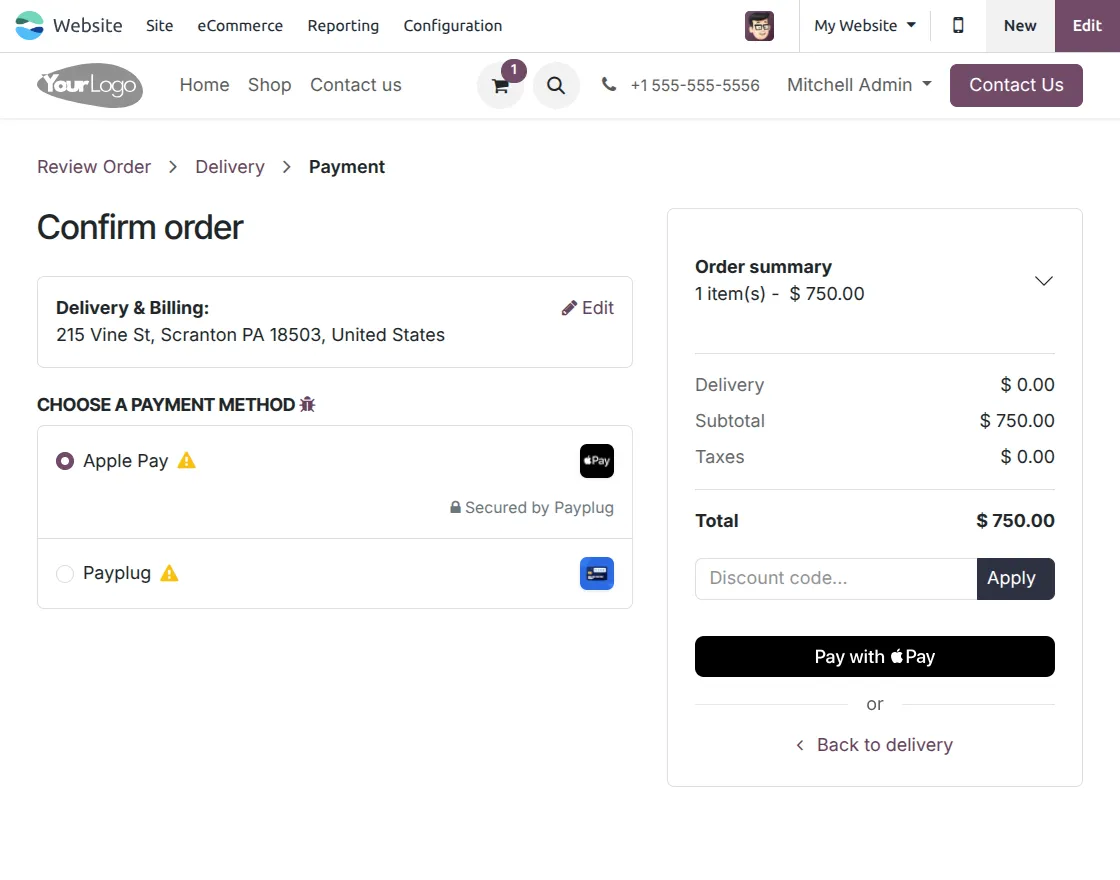
3. Go to your website and proceed to the checkout process until the Payment step. You will see Apple Pay as a payment option; select it and click Pay with Apple Pay to continue.
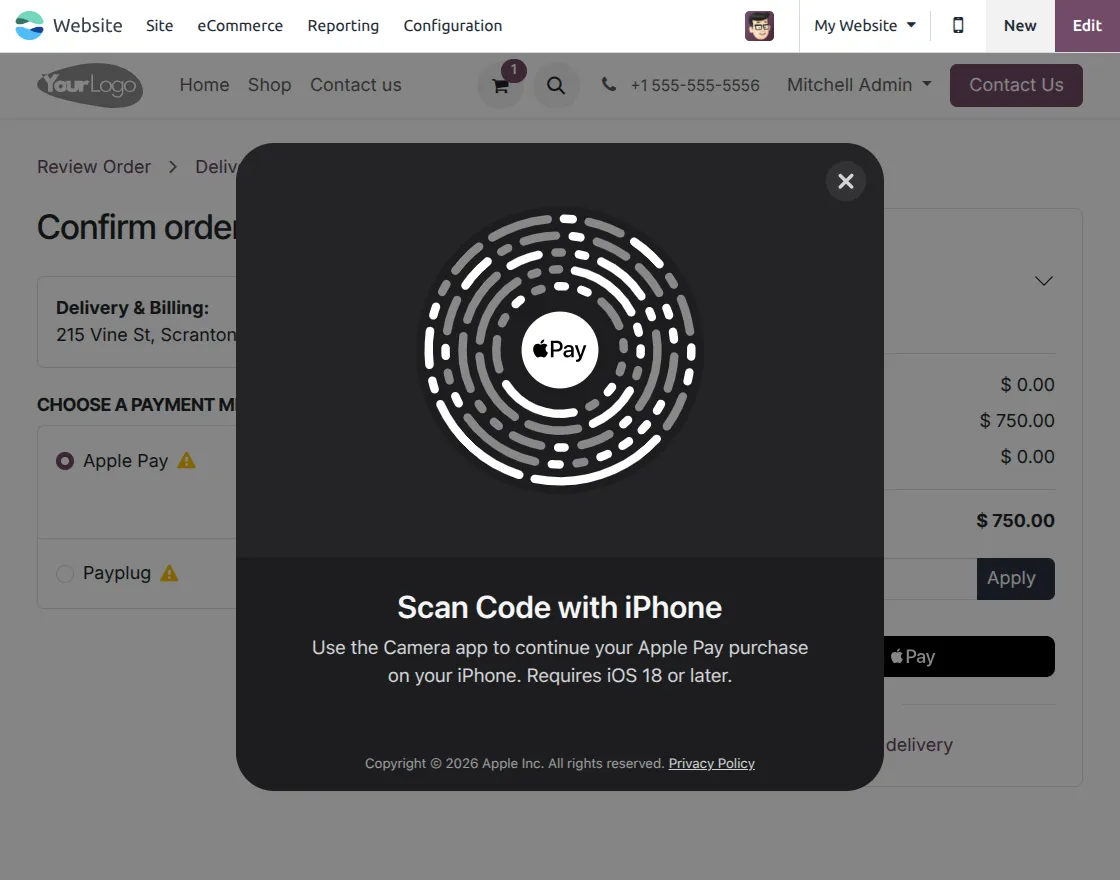
4. After clicking Pay with Apple Pay, a scan code pop-up will appear on the screen. Scan the code on your iPhone to approve the payment and complete the order.
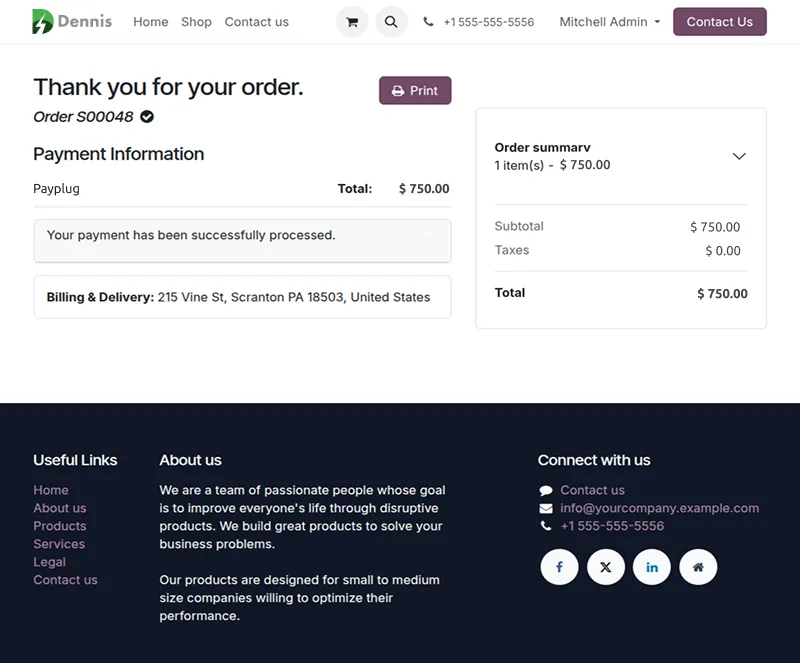
5. After successful payment, the system shows a confirmation page with order details. The payment status is updated, and the order is confirmed successfully.
Need Help?
Hope you find guide helpful! Please feel free to share your feedback in the comments below.
If you still have any issues/queries, please create a ticket at the UV Desk.
I hope this helps. In case of any further queries, contact us at our support mail.
Thanks for paying attention!!
Current Product Version - 1.0.0
Supported Framework Version - Odoo 17,18

Be the first to comment.