Introduction
Odoo Envia Shipping Integration connects your Odoo system with Envia to manage shipping tasks from one place. It helps you fetch live shipping rates, create shipments, print labels, and track deliveries directly in Odoo.
This module removes the need to switch between courier websites. All shipping actions are handled inside Odoo, which saves time and reduces manual errors.
With multi-carrier support, you can compare services, costs, and delivery times before confirming an order, making shipping faster and more reliable.
Features
- Multi-carrier shipping support through Envia
- Real-time shipping rate calculation
- Easy delivery carrier configuration
- Shipment creation directly from Odoo
- Automatic shipping label generation
- Shipment cancellation before pickup
- Shipment Details in Chatter
Installation
- Once you purchase the App from Webkul store, you will receive a link to download module’s zip file.
- Extract the file on your system after download finishes. As a result, you will be able to see a folder named- ‘envia_shipping_integration’.
- Copy and paste this folder inside your Odoo Add-Ons path.
- Now, open Odoo App and click on the Settings menu. Here, click on Activate Developer Mode.
- Then, open Apps menu and click on ‘Update Modules List.’
- In the search bar, remove all the filters and search ‘envia_delivery_carrier’.
- You will be able to see the module in the search results. Click on ‘Activate’ to install it.
Workflow
Configuration of Odoo Envia Shipping Integration
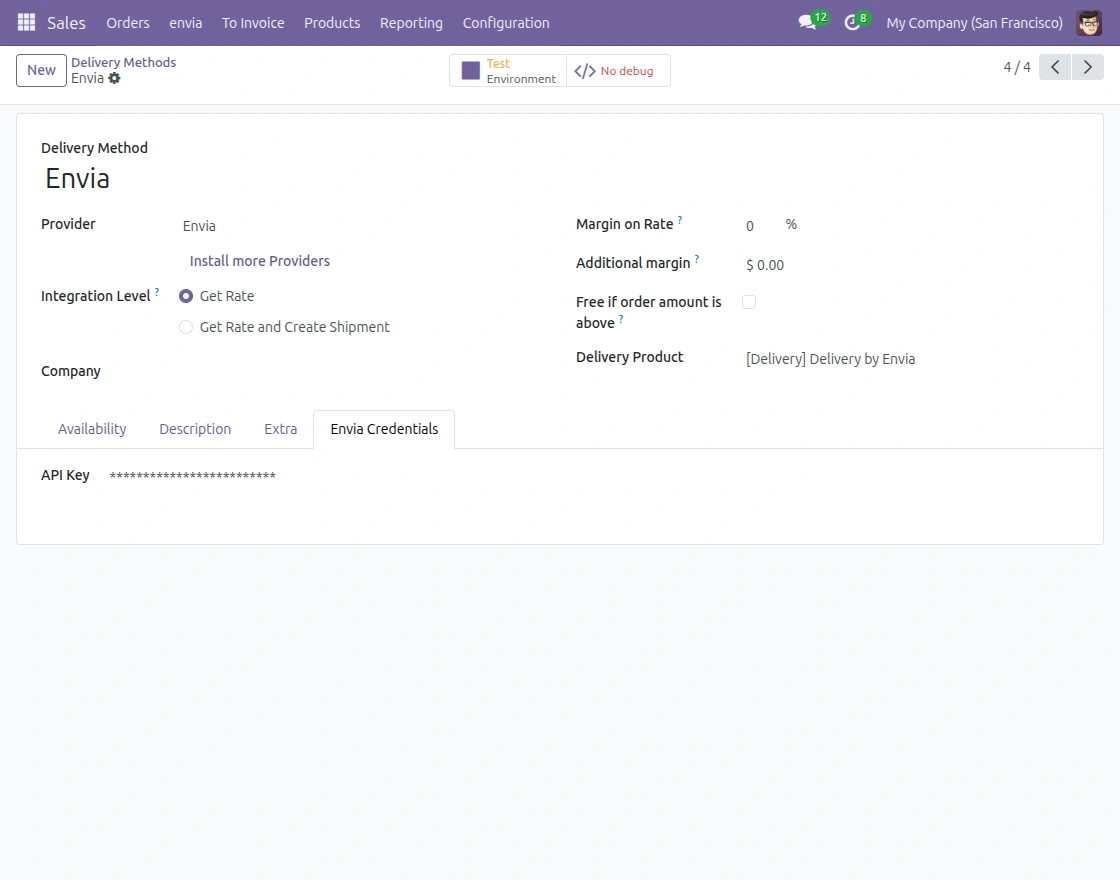
1. Open Inventory and go to Configuration, then select Delivery Method and create a new delivery carrier for Envia Shipping Integration.
Enter the Envia API Key.
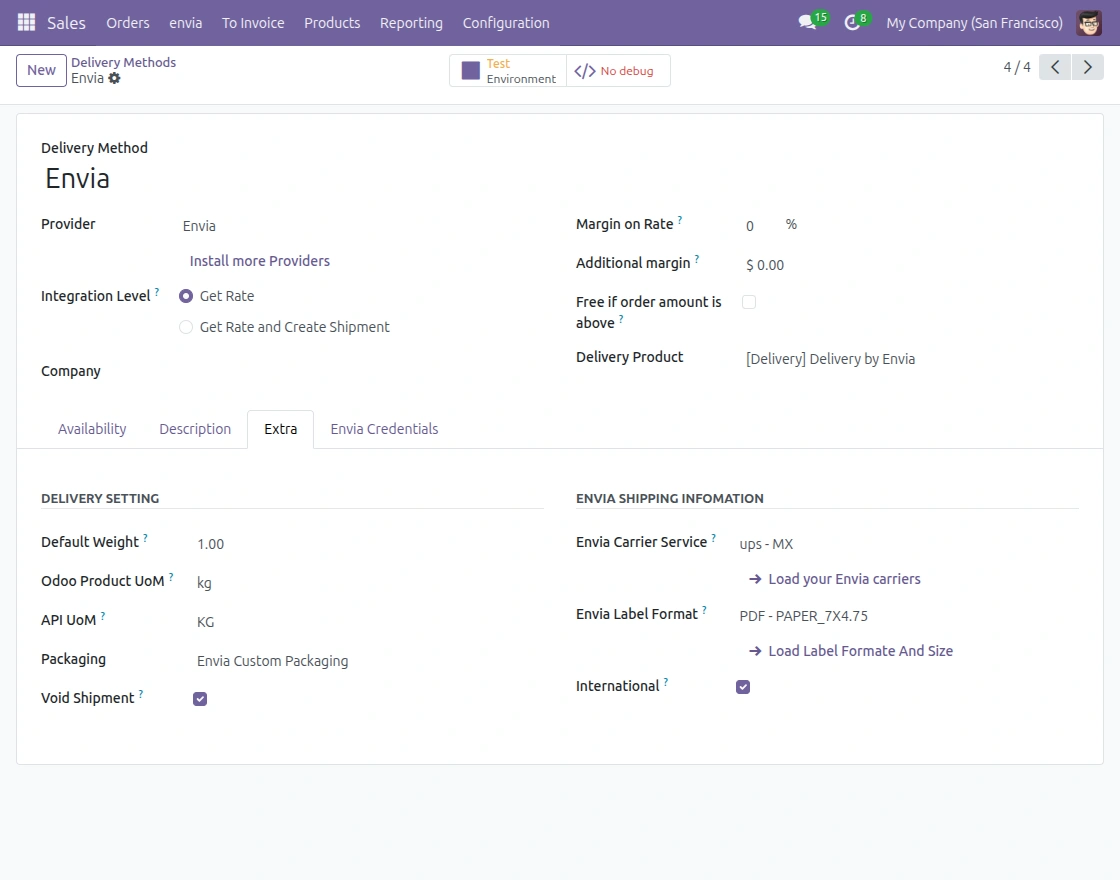
2. Open the Extra tab inside the Envia delivery method.
Set Carrier service, default weight, product UoM, Label format, and enable void shipment, international if needed.
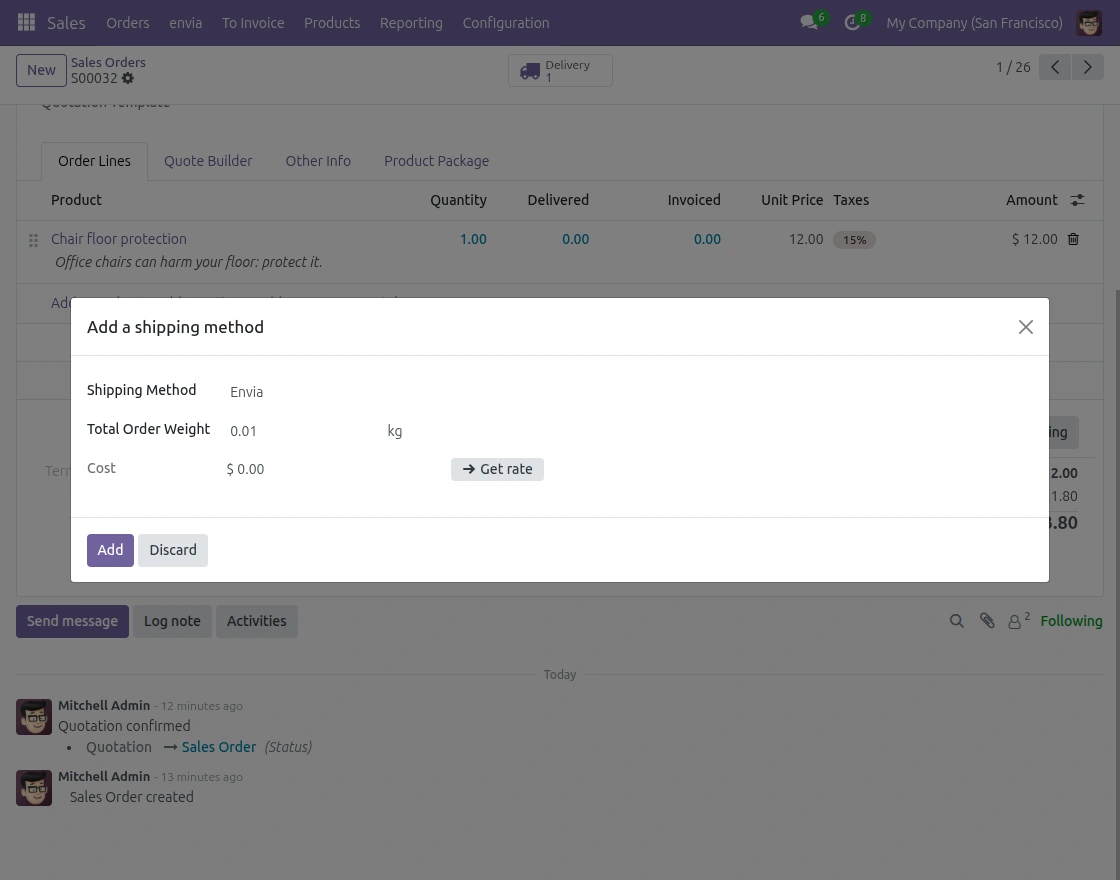
3. Open a sales order and click Add Shipping Method. Choose Envia and click Get Rate.
4. Click Select on the carrier service that best matches your delivery requirement.
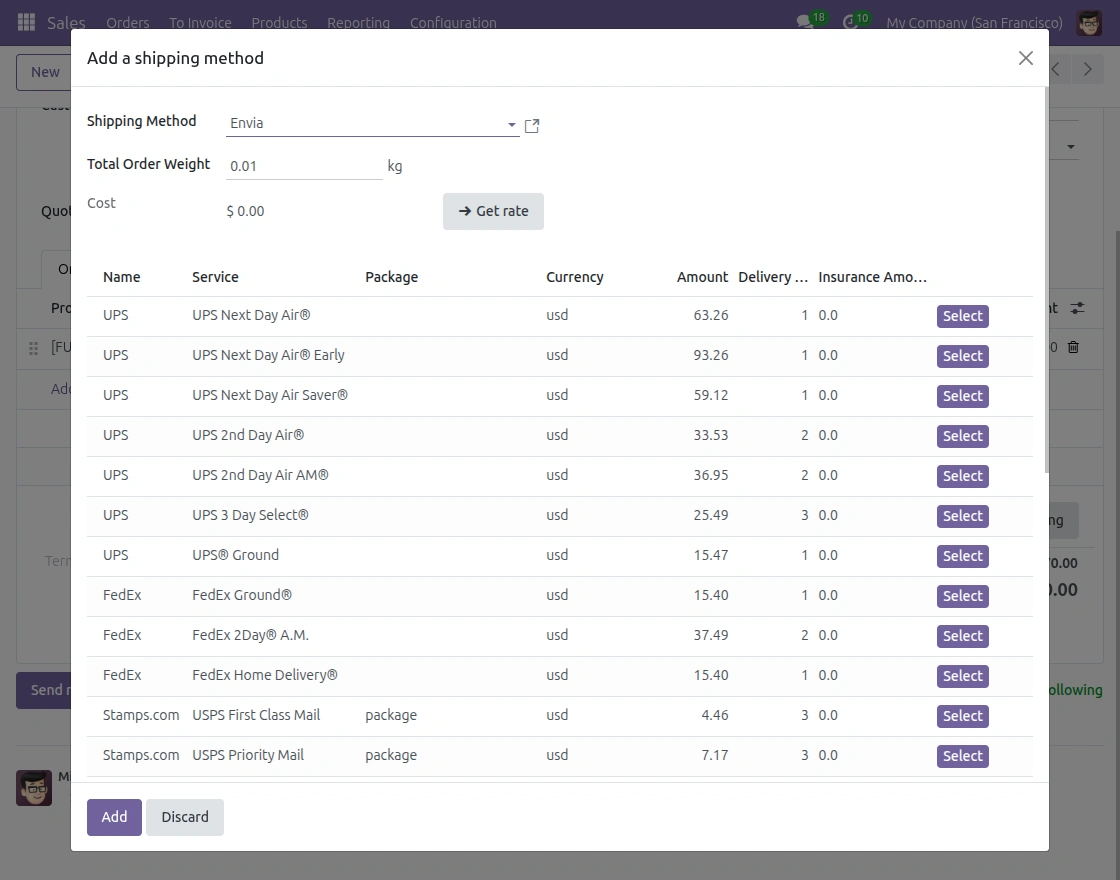
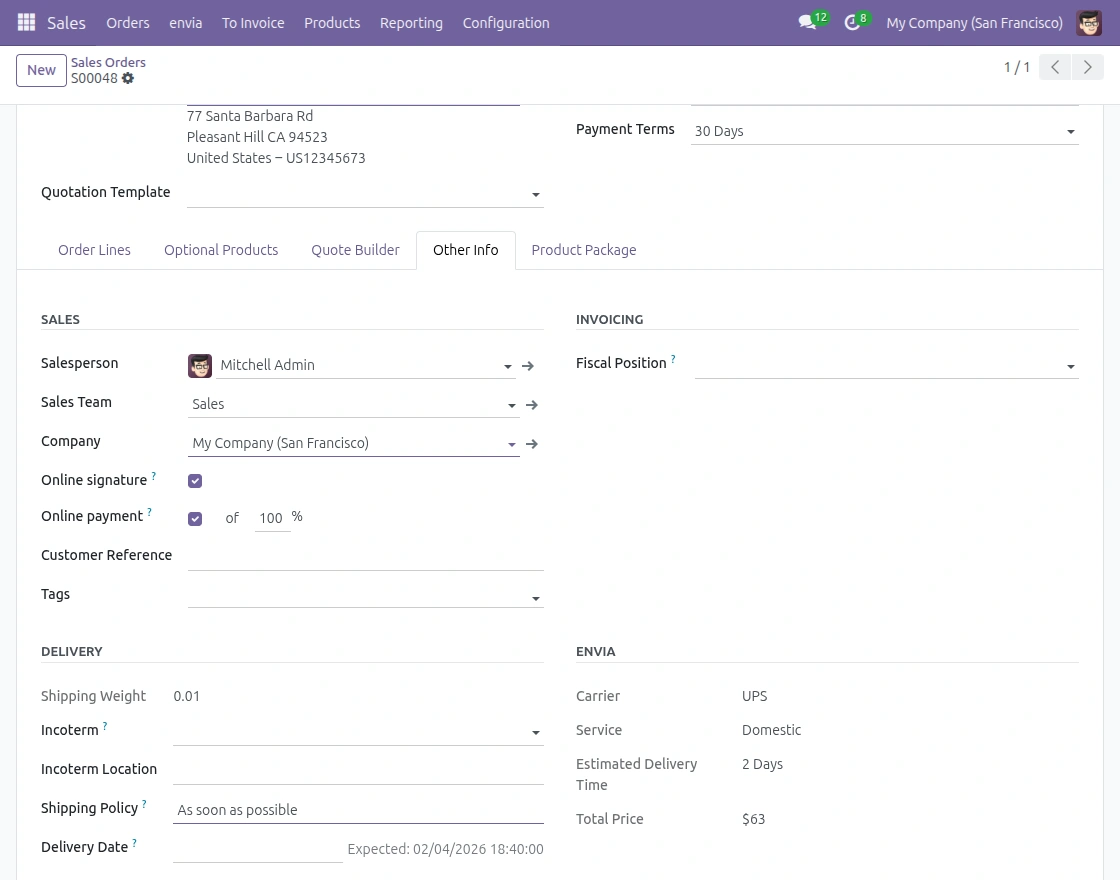
5. Here shows the carrier name, service type, estimated delivery time, total shipping price and other details for easy reference.
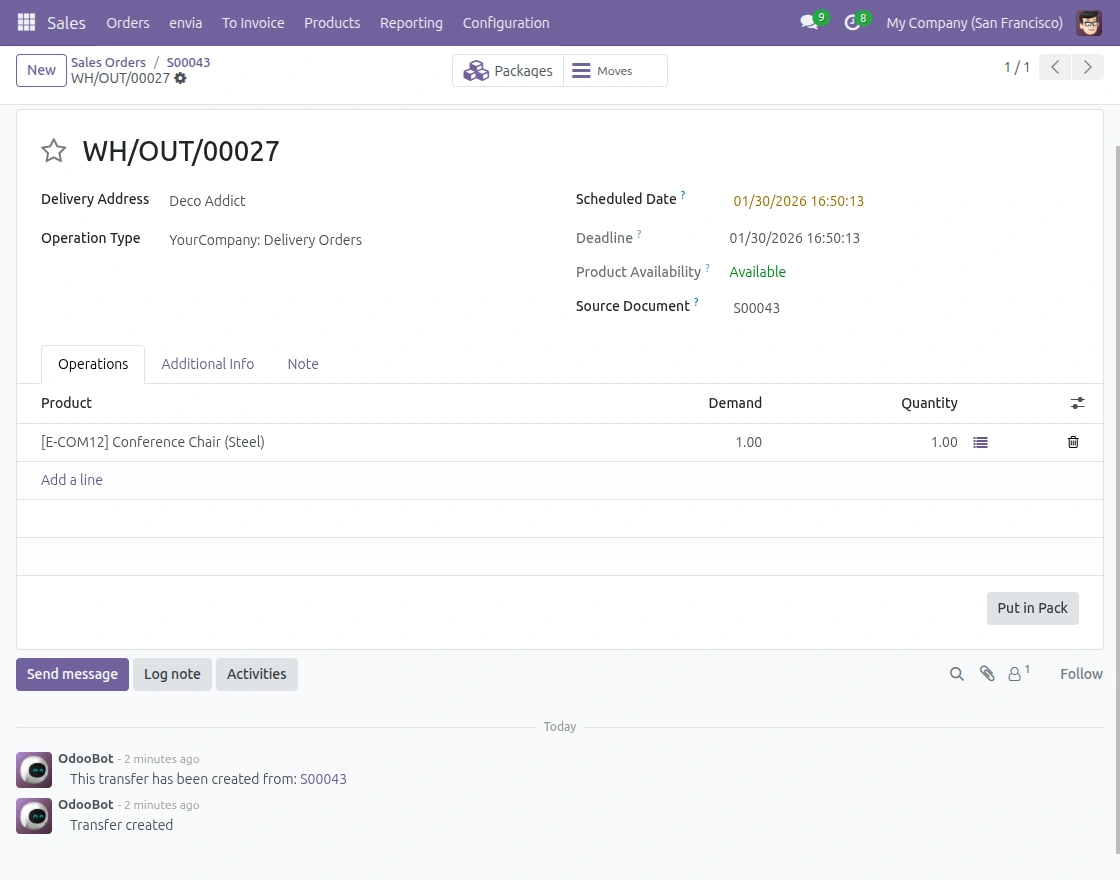
6. Click Put in Pack to place the selected products into a shipping package. Packing the items prepares the delivery order for shipment creation and label generation.
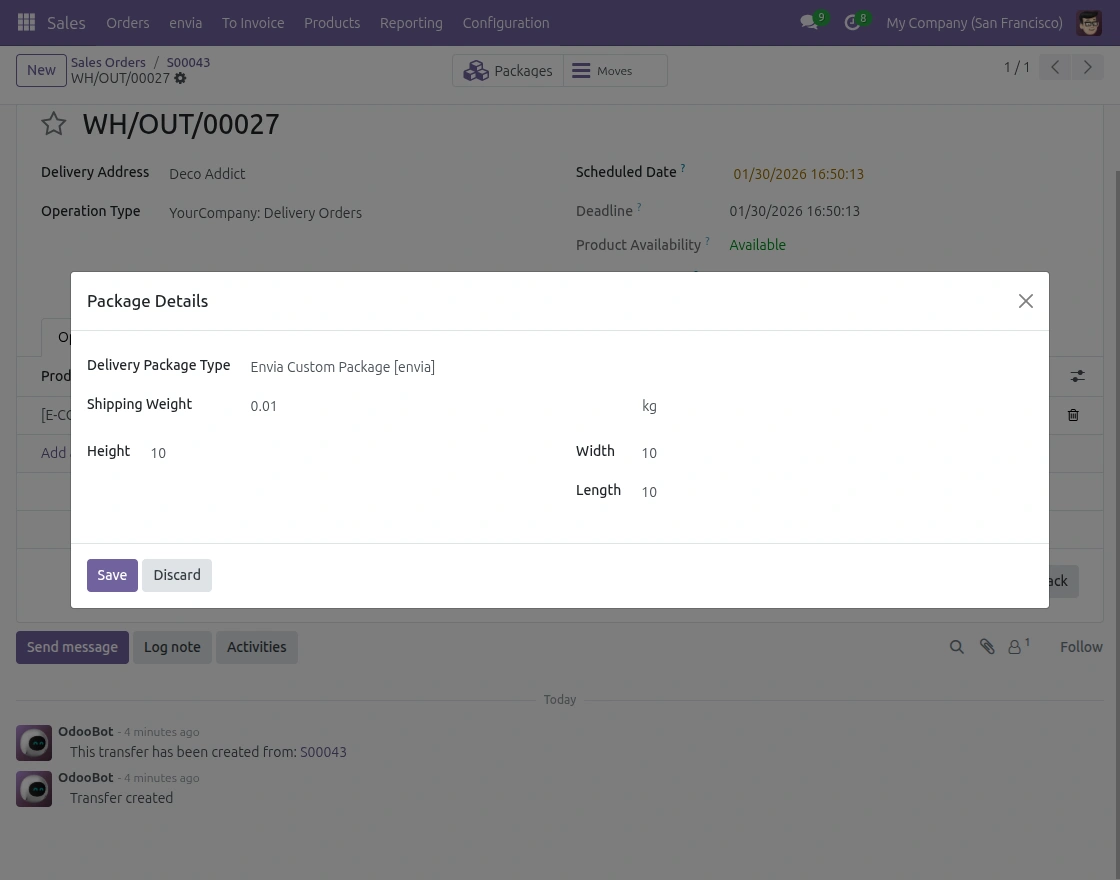
7. It lets users review and confirm package information before proceeding with delivery.Click Save to apply the package details.
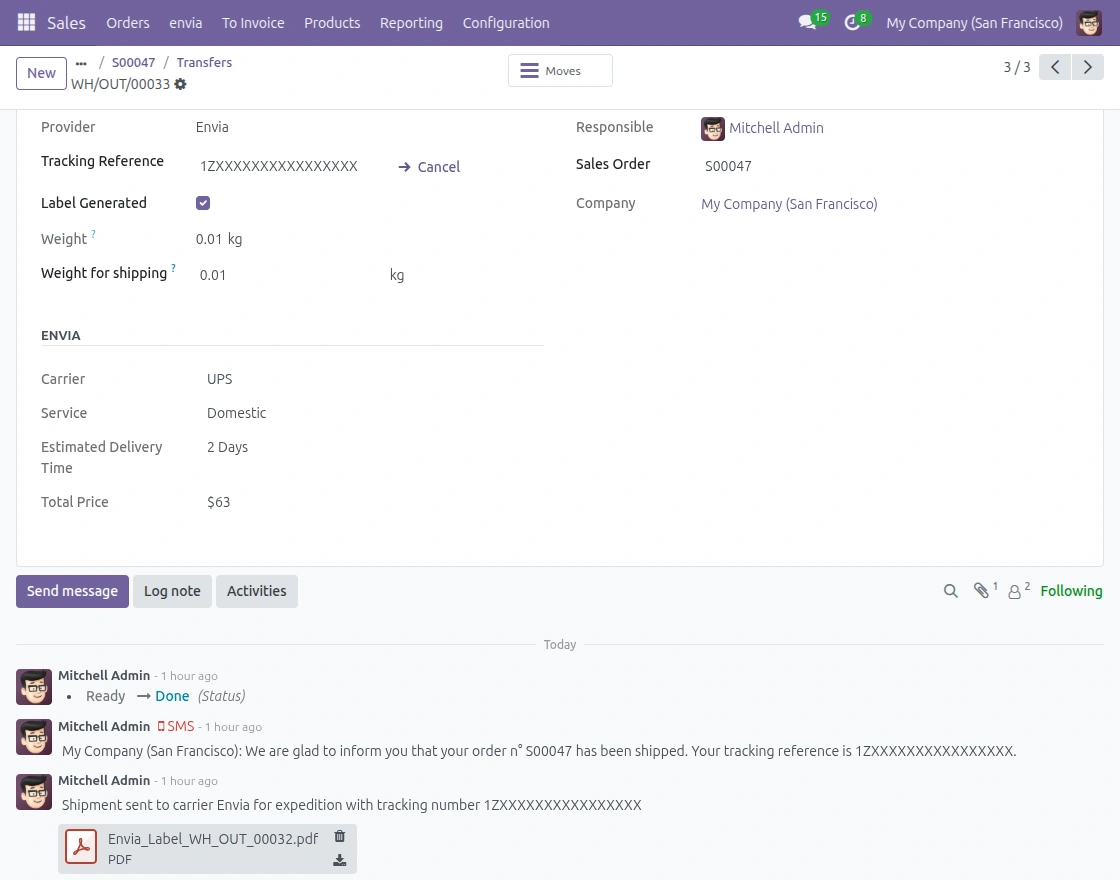
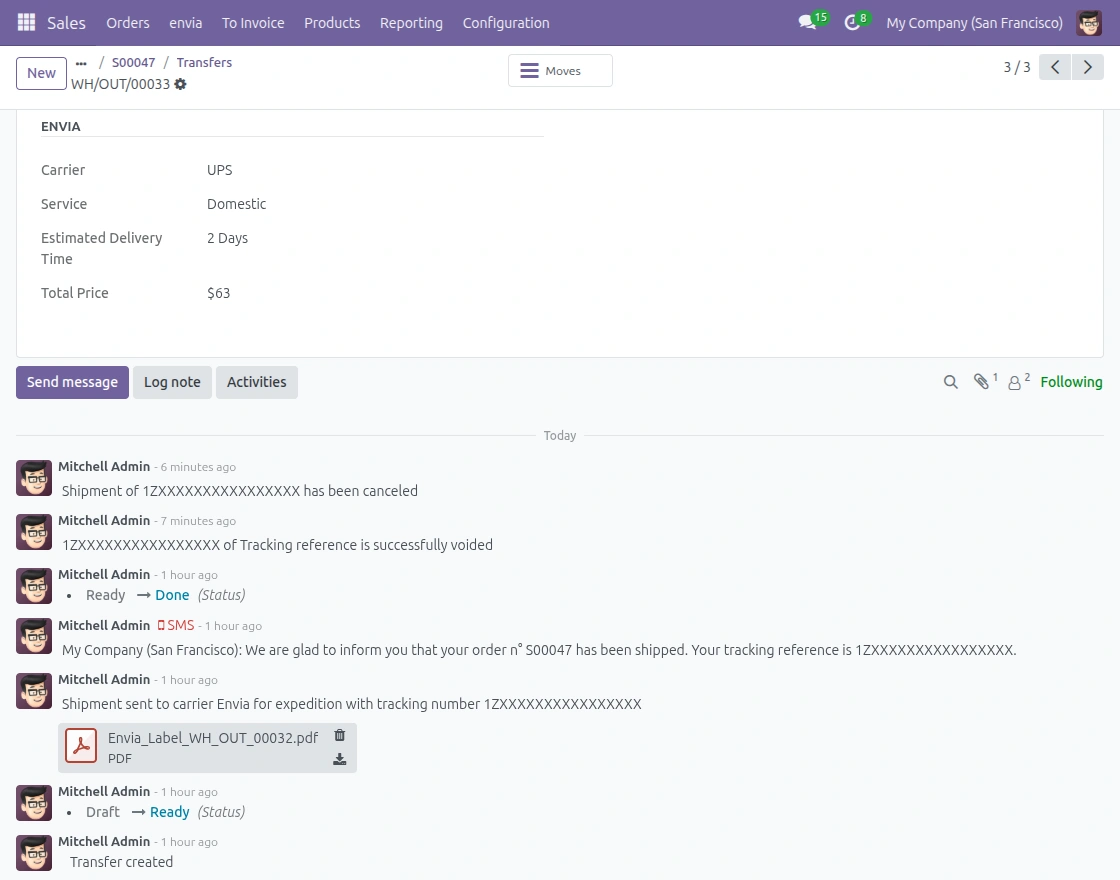
8. Once the shipment is Validated, Here you can see the Envia carrier, tracking reference number, service level, price, and label, Estimate time. In the Chatter Section, you can download the generated shipping label PDF.
9. For Order Cancellation, click on Cancel. Envia Shipping Integration updates the delivery order automatically.You can see the “Shipment has been canceled” message in the Chatter section.
Need Help?
Hope you find guide helpful! Please feel free to share your feedback in the comments below.
If you still have any issues/queries, please create a ticket at the UV Desk.
I hope this helps. In case of any further queries, contact us at our support mail.
Thanks for paying attention!!
Current Product Version - 1.0.0
Supported Framework Version - Odoo 19,18,17

Be the first to comment.