Introduction
Odoo Print Direct streamlines the printing process by directly sending raw print commands to various types of printers, including Network, ZPL, PDF, WiFi, Bluetooth, USB, and other standard printers.
This module eliminates the need for IoT or POS boxes, simplifies the setup process, and helps reduce operational costs, making it ideal for high-demand environments.
It enables seamless, automatic printing from Odoo to multiple printers, with no manual downloads, third-party software, or subscriptions required.
Additionally, attachments can be printed directly, ensuring a truly hassle-free experience.
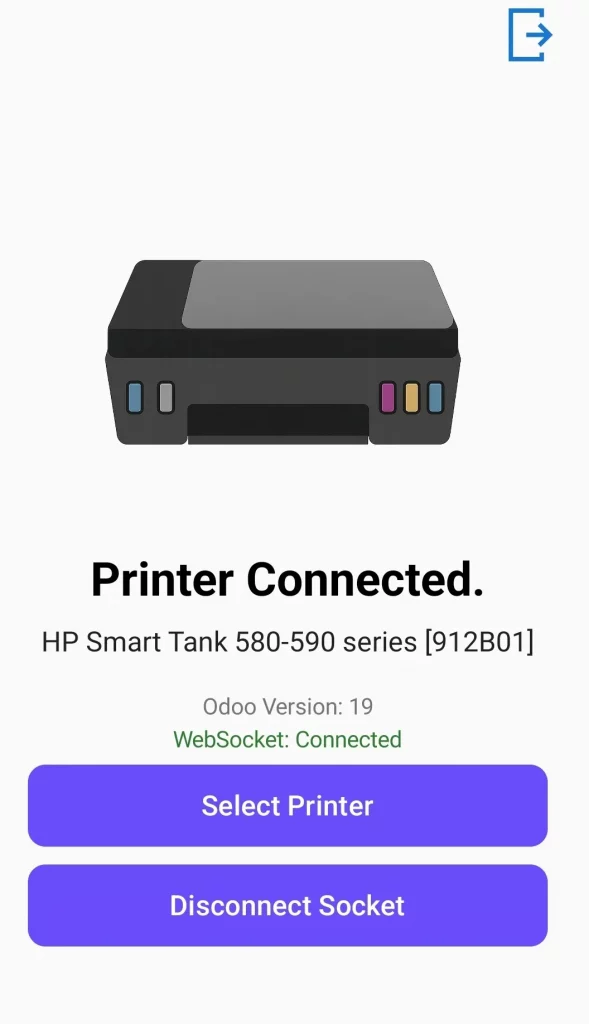
NOTE: Odoo Print Direct now supports mobile printing from both Android and iOS Devices.
Users can conveniently trigger and manage print jobs from their Mobile/Tablets using the official app available on the Google Play Store and the App Store.
Check the video mentioned below for a brief overview of the module functionality:
Features
- Print documents directly from Odoo without downloading files.
- Supports multiple printer types, including ZPL, ESCPOS, Network, WiFi/Bluetooth, and standard printers.
- Automatically detects connected printers for easy configuration.
- Print attachments such as invoices, labels, and reports directly.
- Configure multiple printers for different reports and workflows.
- Create rule-based and advanced automation rules for printing.
- Print attachments (PDF & ZPL) directly, eliminating manual downloads and extra steps.
- Trigger printing directly from Android and iOS devices connected to the printers.
- Eliminates extra hardware (IoT Boxes) and third-party software, reducing costs and simplifying setup.
Installation
- Once you purchase the App from Webkul store, you will receive the link to download the zip file of the module.
- Extract the file on your system after the download finishes. As a result, you will be able to see a folder named- ‘wk_odoo_direct_print’
- Copy and paste this folder inside your Odoo Add-Ons path.
- Now, open Odoo App and click on the Settings menu. Here, click on Activate the Developer Mode.
- Then, open the Apps menu and click on ‘Update Modules List.’
- In the search bar, remove all the filters and search ‘wk_odoo_direct_print’
- You will be able to see the module in the search results. Click on ‘Activate’ to install it.
Workflow
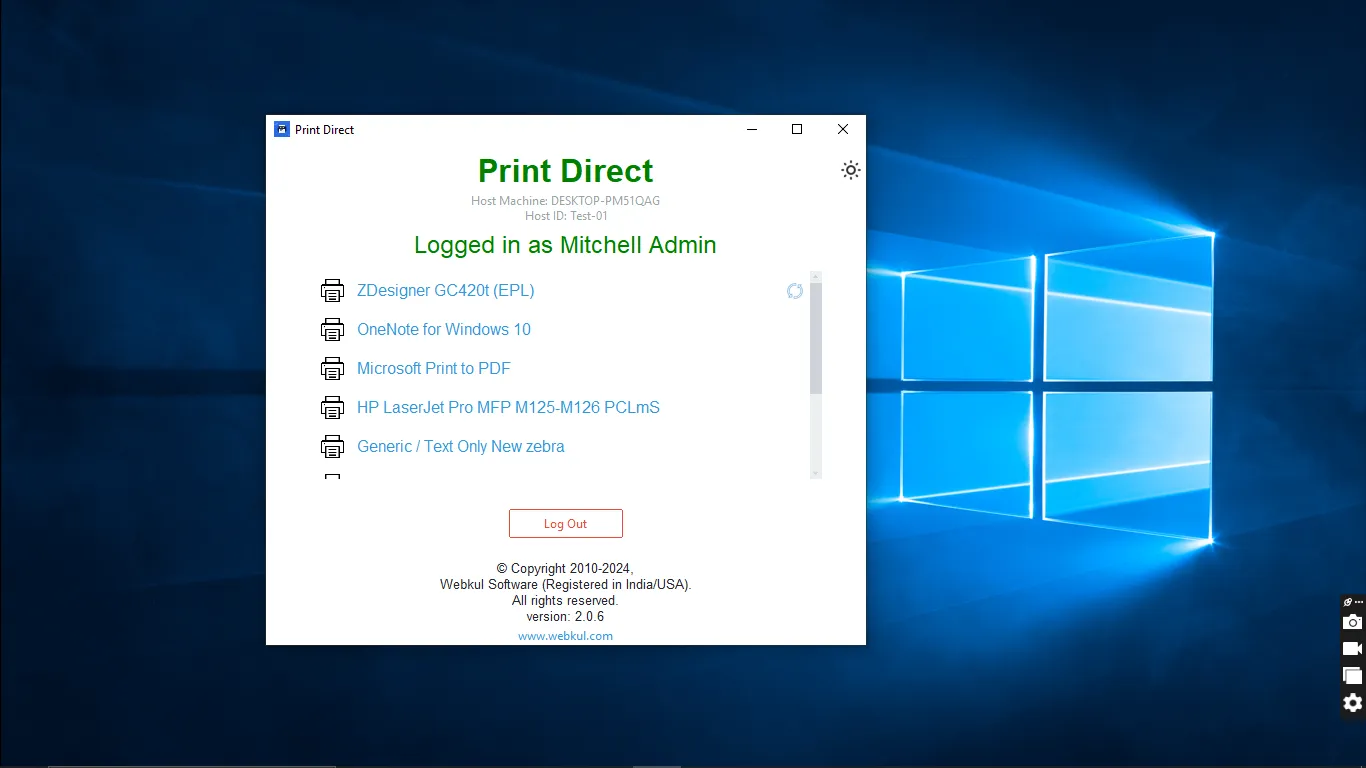
- After installing Odoo Print Direct desktop application on your system, enter the required details and connect to the app.

2. Once connected, users can see the list of printers displayed on the app.
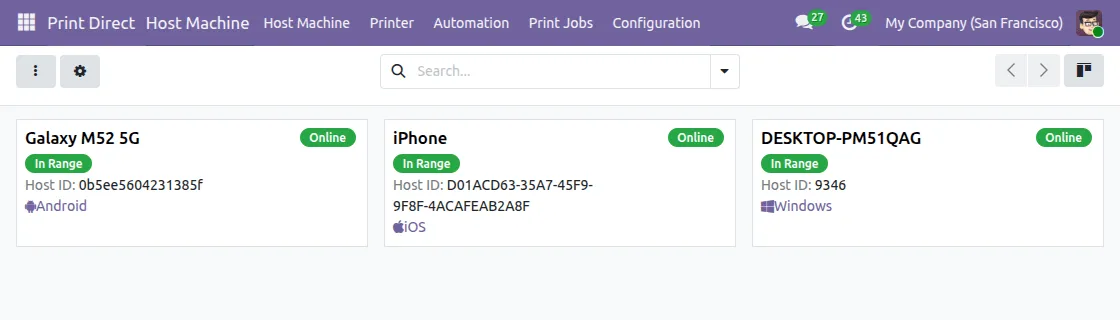
3. After this, Log into website and navigate to Menu > Print Direct > View list of Host Machine, then open the connected host machine.
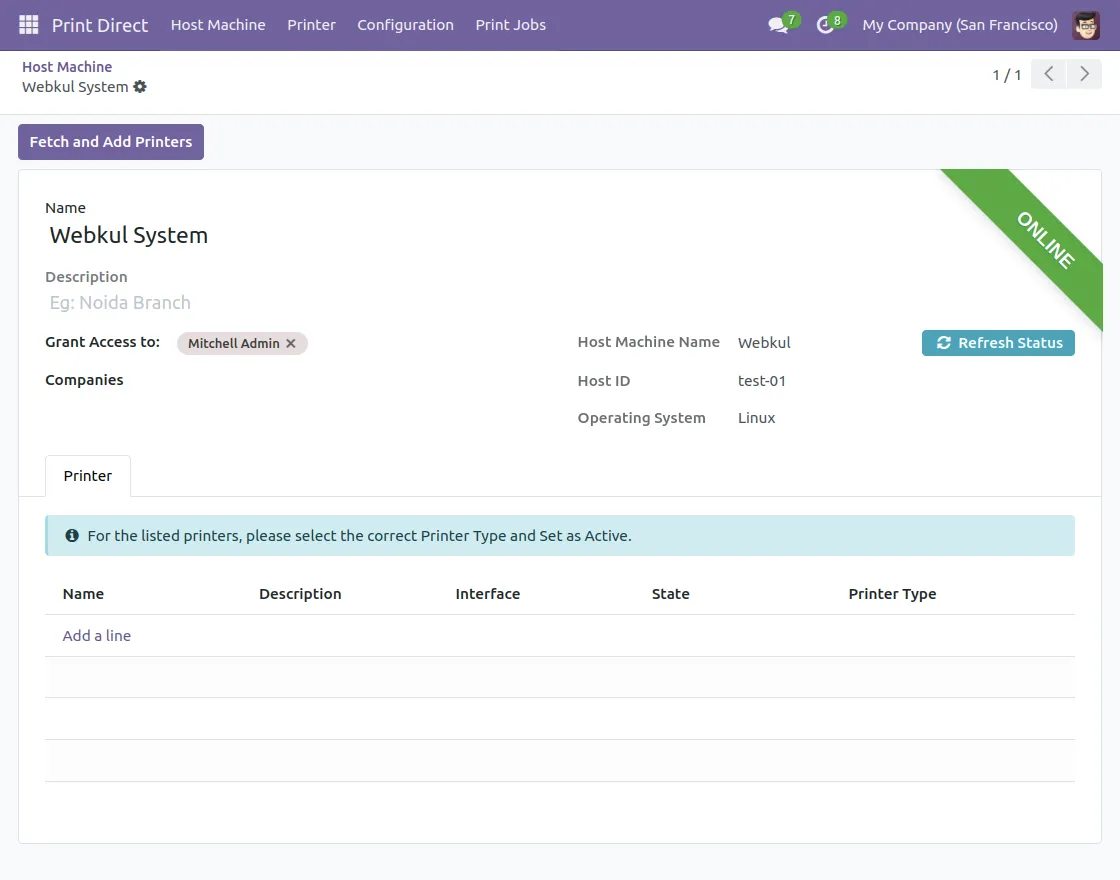
4. Click on Fetch Printers to retrieve the list of available printers.
5. After fetching the list of the printers, users need to Select the required printers and mark them as Active.
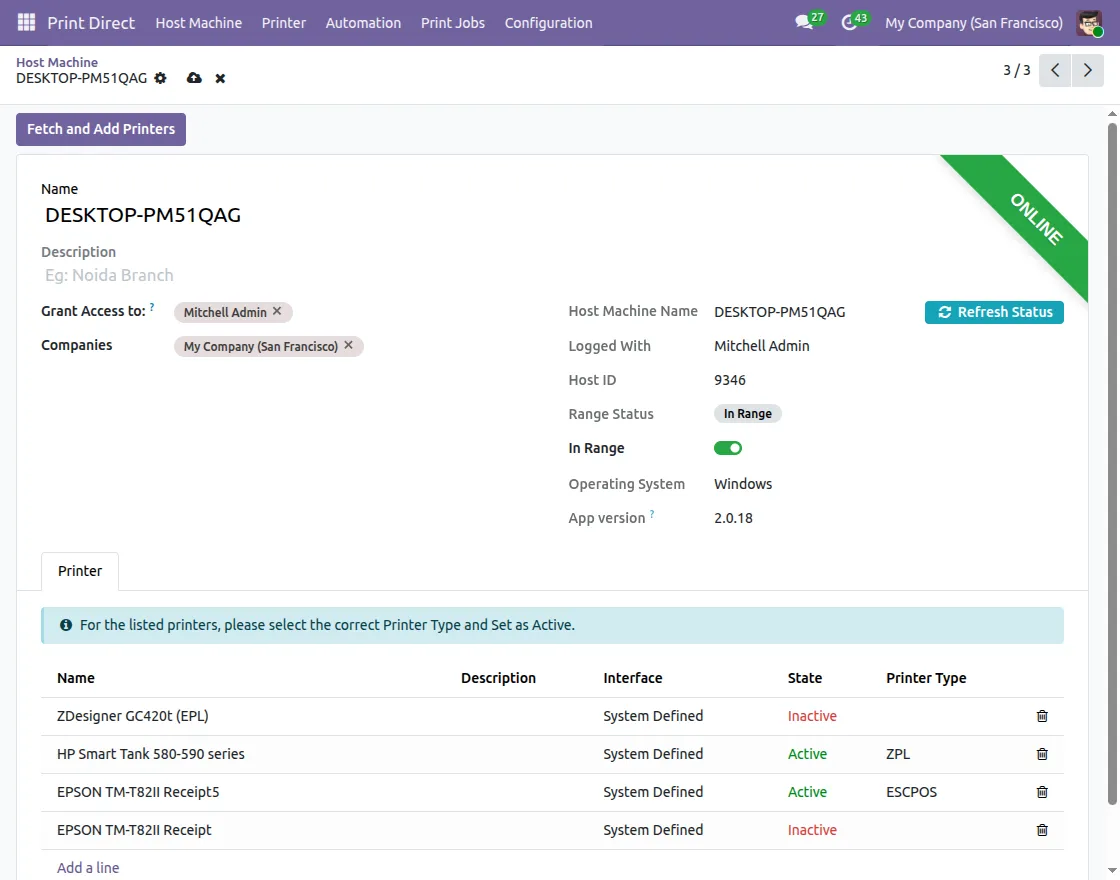
6. Choose the printer and add printer type, and reports, click on Set Active and Save it.
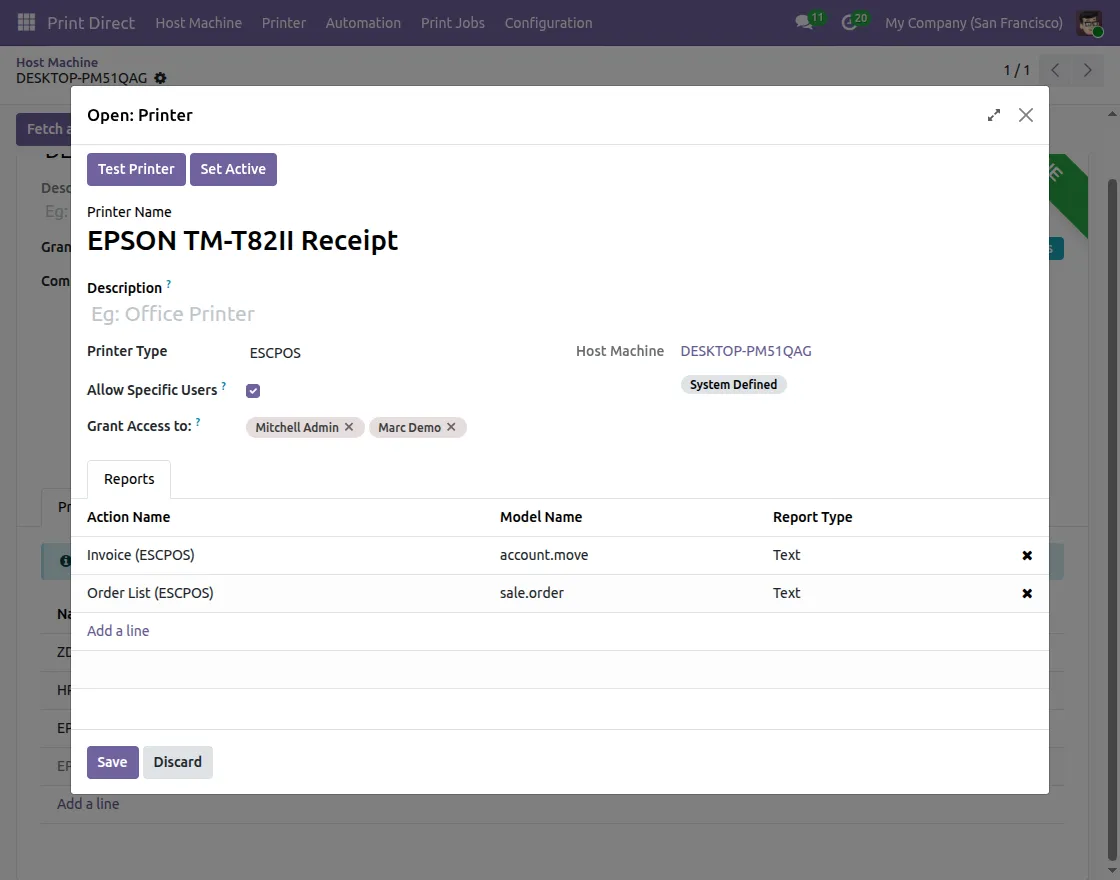
7. Once the printers are Active, click on Printers option to check the list of Printers.

8. Next, navigate to Invoicing > choose an Invoice > Settings > Print >Iinvoice (ESCPOS). Printer will print the receipt.

9. For printing labels navigate to Inventory > Products > Lots/Serial No. > Choose Lots/Serial No. > Settings > Print > Lots/Serial Number (ZPL). Printer will print the labels.

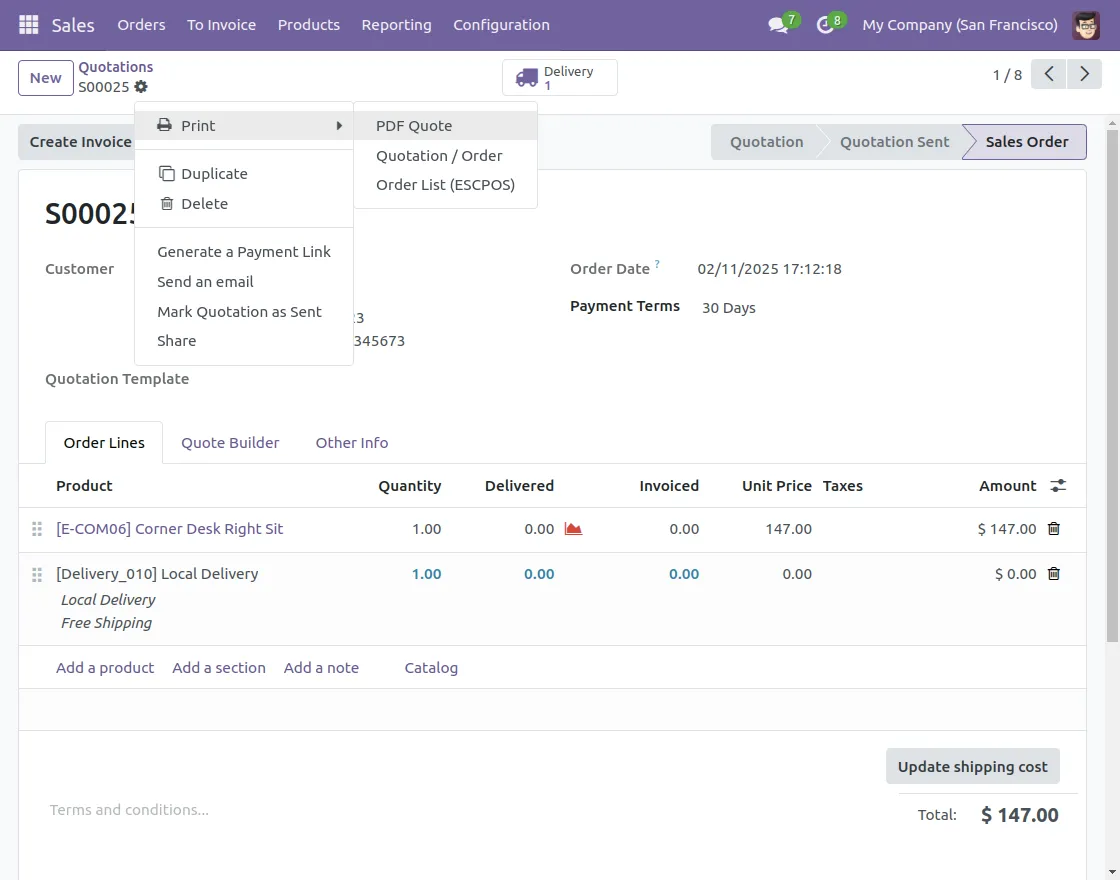
10. For printing PDF Sales > choose the Order > Settings> Print > PDF Quote to print the PDF of your Quotation. Printer will generate the quotation.
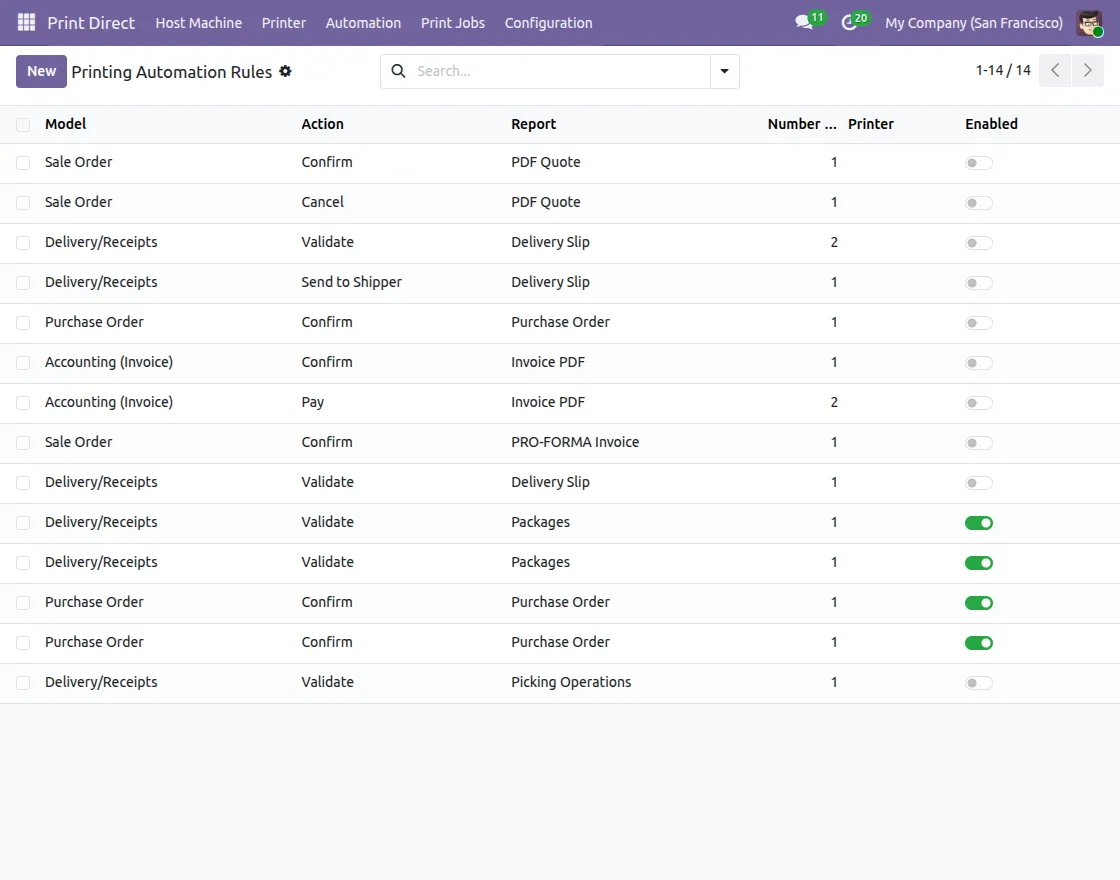
11. Printing Automation Setup:
A) Create rule-based automation to print documents automatically when specific actions like confirm, validate, or pay are performed.
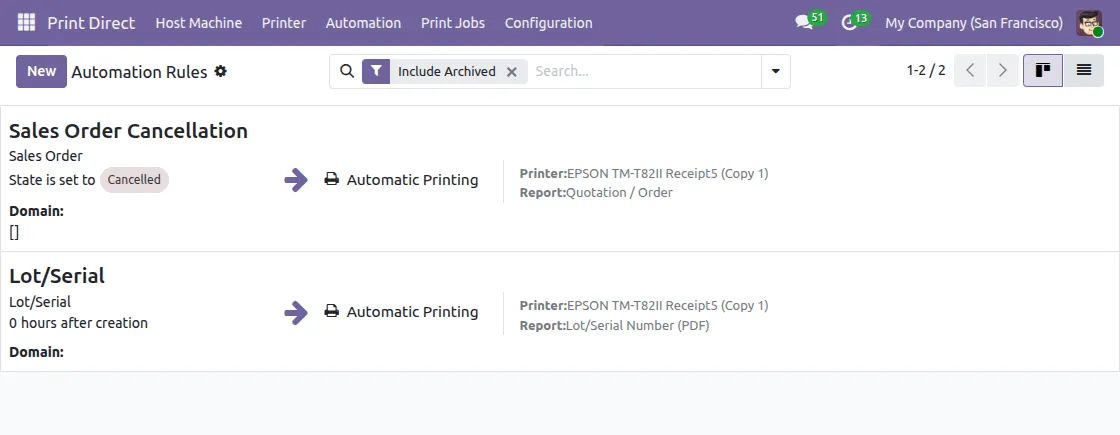
B) Create domain-based automation rules to trigger printing when custom conditions or record values are matched.
12. Use Android or iOS devices to trigger printing through connected WiFi or Bluetooth printers.
Note: OTG connectivity on iOS devices is supported only with MFi-certified printers.
Printing Attachment
13. To configure navigate to Print Direct > Configuration > Default printer for Attachment. Here users can set the attachment type as per the files that need to be printed.

14. Enter the required details and save the configuration.

15. For printing PDF attachments navigate to Sales and choose Order to print attachment. Click on print icon and the printer will print the attachment.

16. Likewise, users can also print the labels by configuring and selecting the appropriate order to print the attachment from.
NEED HELP?
We hope you find this guide helpful! Feel free to share your feedback in the comments below
If you have any issues or queries, please raise a ticket at the UV Desk or contact us at [email protected] .
Thank you for your time!
Current Product Version - 2.0.13
Supported Framework Version - Odoo V16, V17, V18, V19

How can I configure and use the desktop printing tool on mobile devices such as tablets and smartphones?
Is there an official method or workaround to make the printing feature work properly on Android or iOS devices?
Thank you in advance!