Magento 2 3D Product Configurator module allows the store owners to add a 3D view of their product.
So the customer can view the 3D product and feel the real experience with the product. It will work with variations of the product.
Features
- Allows admin to add 3d models to the product.
- Allows admin to add custom options(Swatches and Variations) on the product page.
- Allow customers to shop for products based on 3d view.
- It works only with simple and configurable products.
- Swatch has only two field type Radio button and dropdown option.
- It works only with GLTF files.
- The minimum size of the file should be 2MB.
- It also works with the multistore view.
Check the video mentioned below for an overview of the workflow of Magento 2 3D Product Configurator
Installation
#Download Module
Firstly, you need to log in to Webkul Store, go to My Account>My Purchased Products section, verify and then download and extract the contents of this zip folder on the system.
#Upload Folder
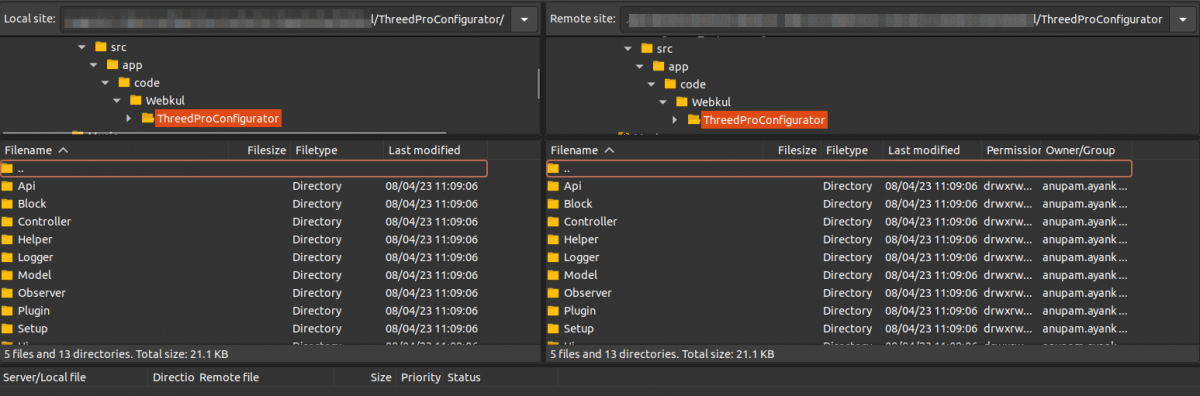
Once the module zip for Magento 2 3D pro configurator is extracted, follow path src>app and then copy the app folder into the Magento 2 root directory on the server as shown below:

Run Commands
You need to run the following commands:
php bin/magento setup:upgrade
php bin/magento setup:di:compile
php bin/magento setup:static-content:deploy
php bin/magento indexer:reindex
php bin/magento cache:flush
Language Translation
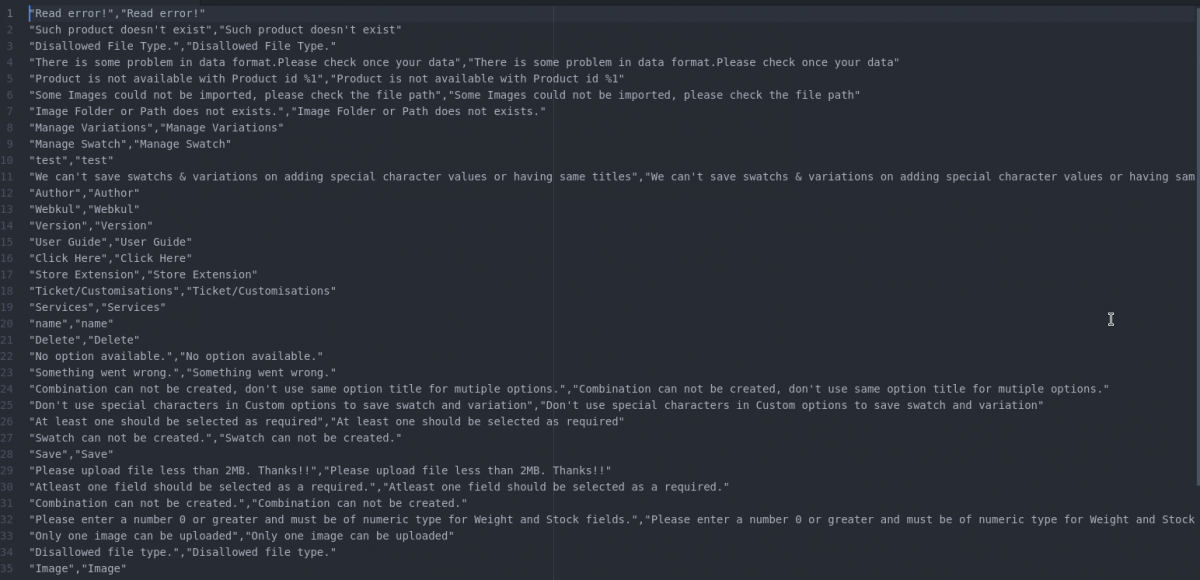
For translating the module language, navigate through src/app/code/Webkul/ThreedProConfigurator/i18n and edit the en_US.csv file. Thereafter, rename the CSV as “en_SA.csv” and translate all right side content after the comma in the Arabic language. After editing the CSV, save it.
Now, upload it to the path src/app/code/Webkul/ThreedProConfigurator/i18n where the installation of Magento 2 is on the server. The module gets translated into the Arabic Language. It supports both RTL and LTR languages.
The user can edit the CSV like the image below.
Initial Configuration
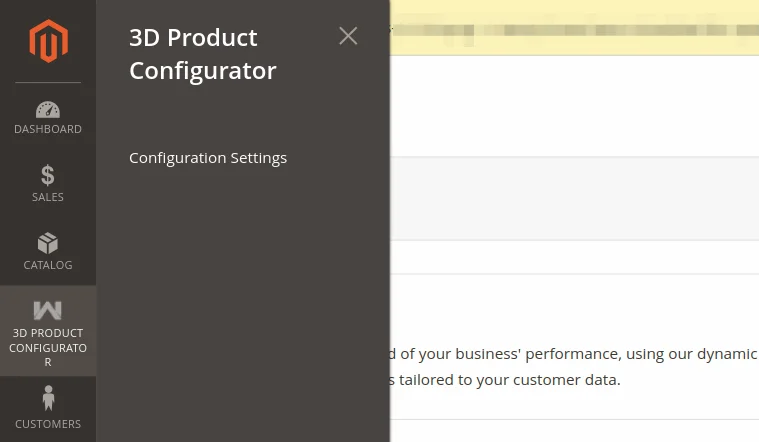
After successful module installation configure the module from store > configuration> 3D product configurator.
The admin can also navigate through 3D Product Configurator->Configuration Settings.
After reaching the respective section, below page appears for configuration settings.
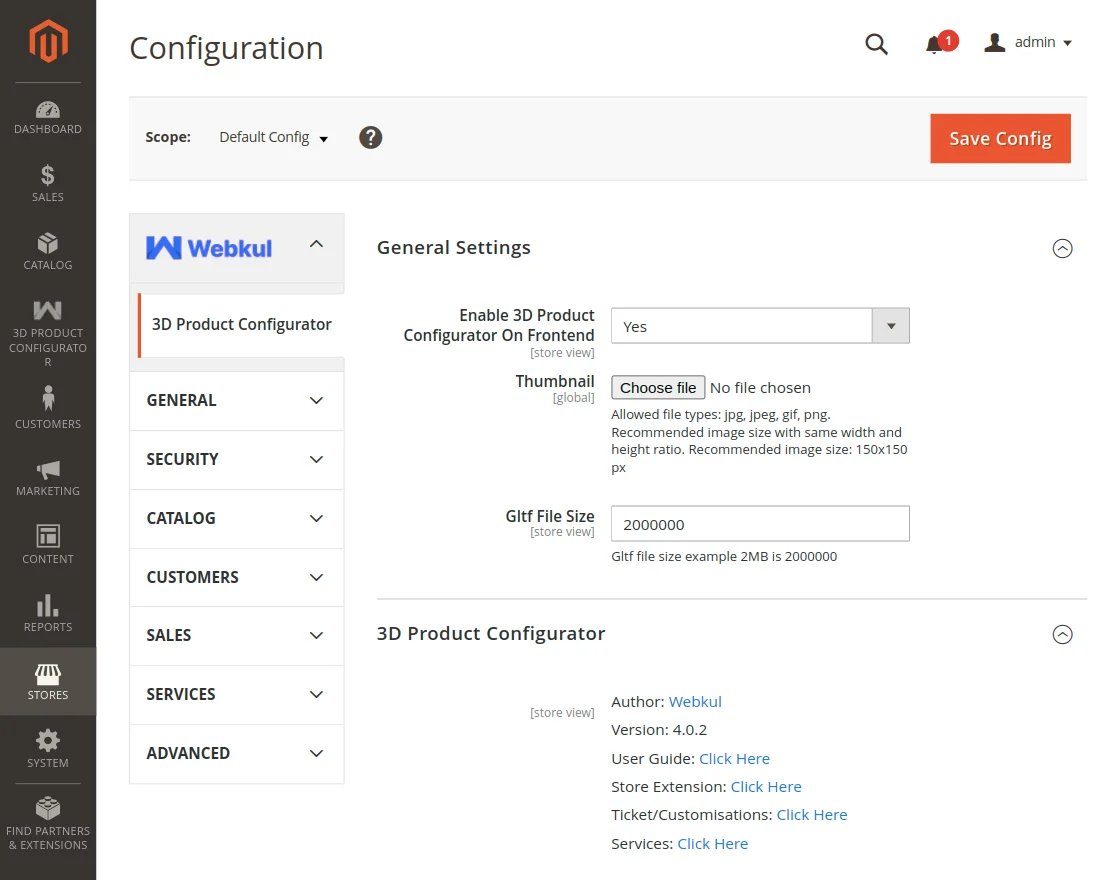
Enable 3D Product Configurator On Frontend – To enable the 3D product option on frontend admin needs to enable this.
Thumbnail – The admin can add any image here that will apply globally. If not set then a product will take default.png if present in the uploaded ZIP file else the default image from Magento will be visible.
Note: Allowed file types are jpg, jpeg, gif, and png.
Recommended image size with the same width and height ratio.
Recommended image size: 150×150 px
GLTF File Size – The admin can set the GLTF file size that can be uploaded.
Set 3D Product Model
The admin needs to create or edit any product, to display the 3D image of any product on the product page. Navigate the product page in the backend catalog > product.

Now add any new product or edit any previous one.

Here, an option is available to upload the Zip file of the product 3D model.
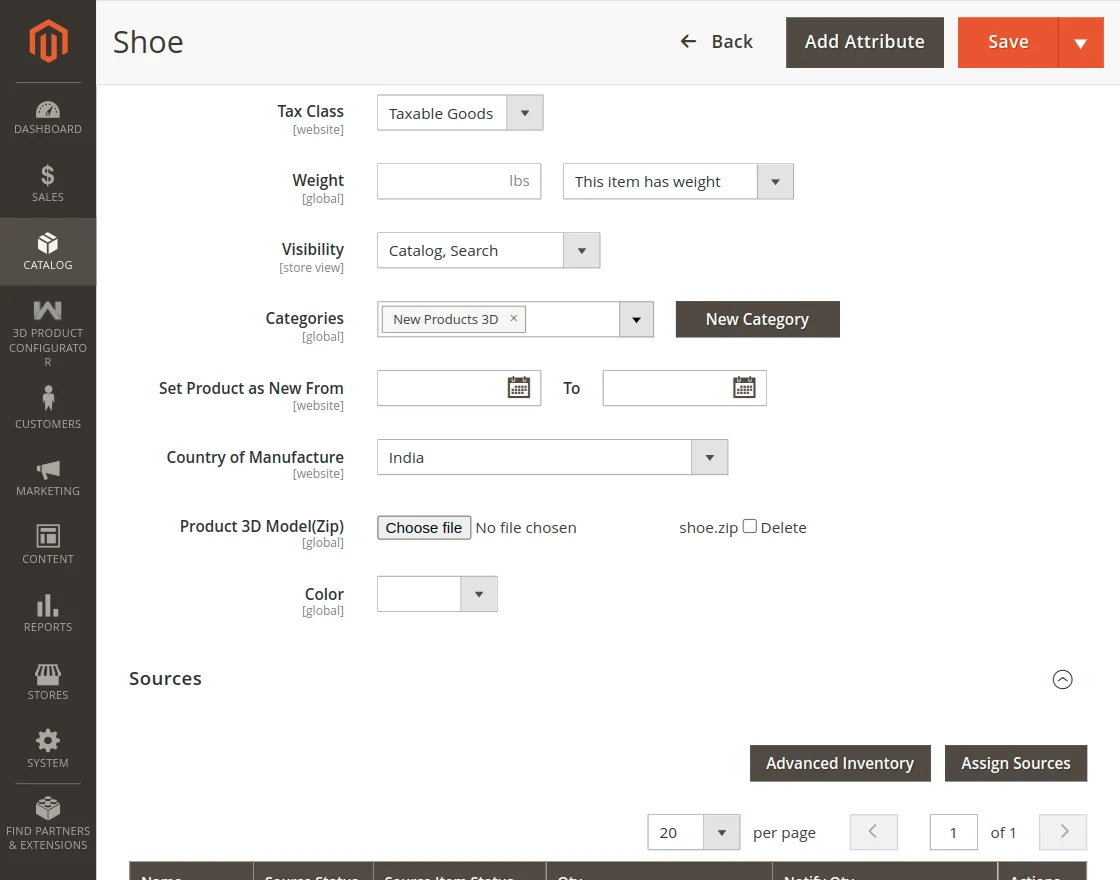
Note: The admin can upload the Zip file of the product.
Note – the nomenclature of the uploaded zip file should be the same as the model name for correct configurations. For example – If the model file name is xyz.gltf then the zip file name should also be xyz.zip
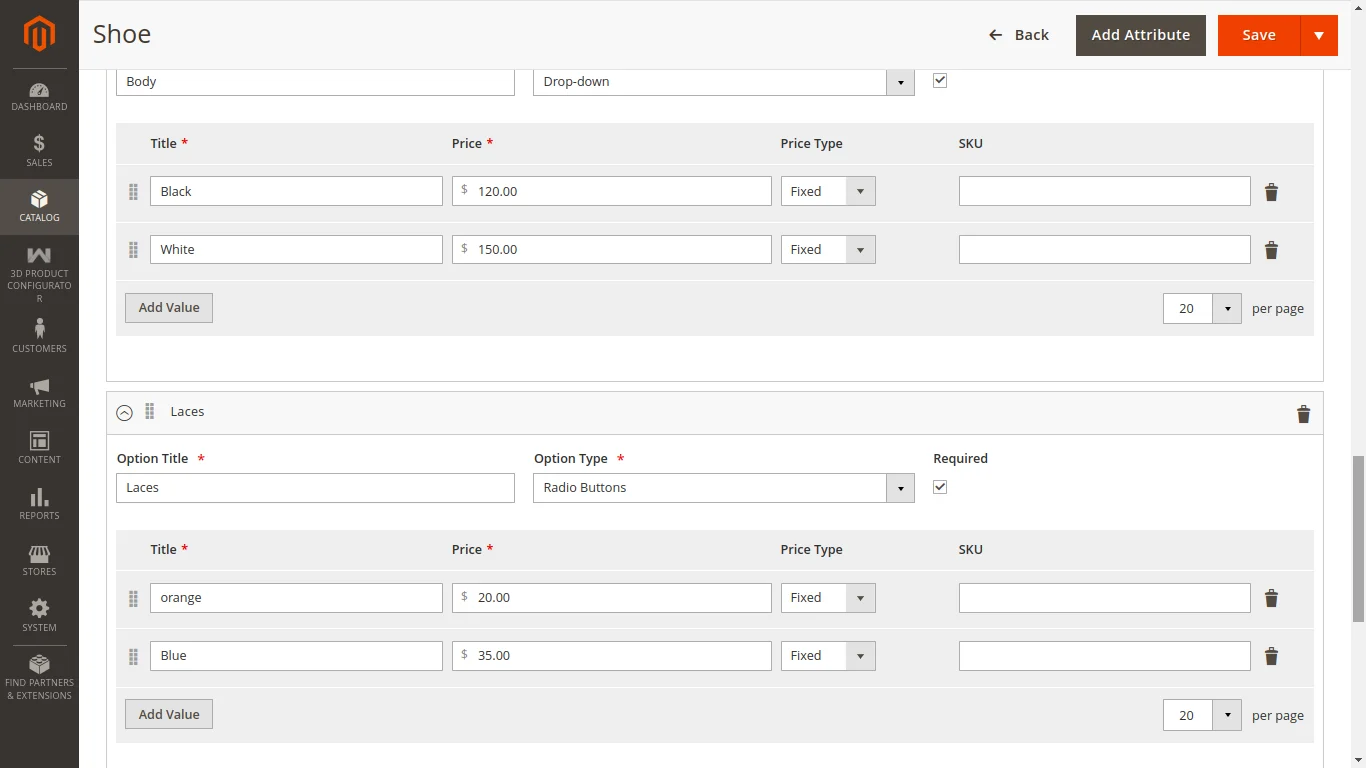
Now navigate to the customizable option and here admin can add options for the 3D product view.
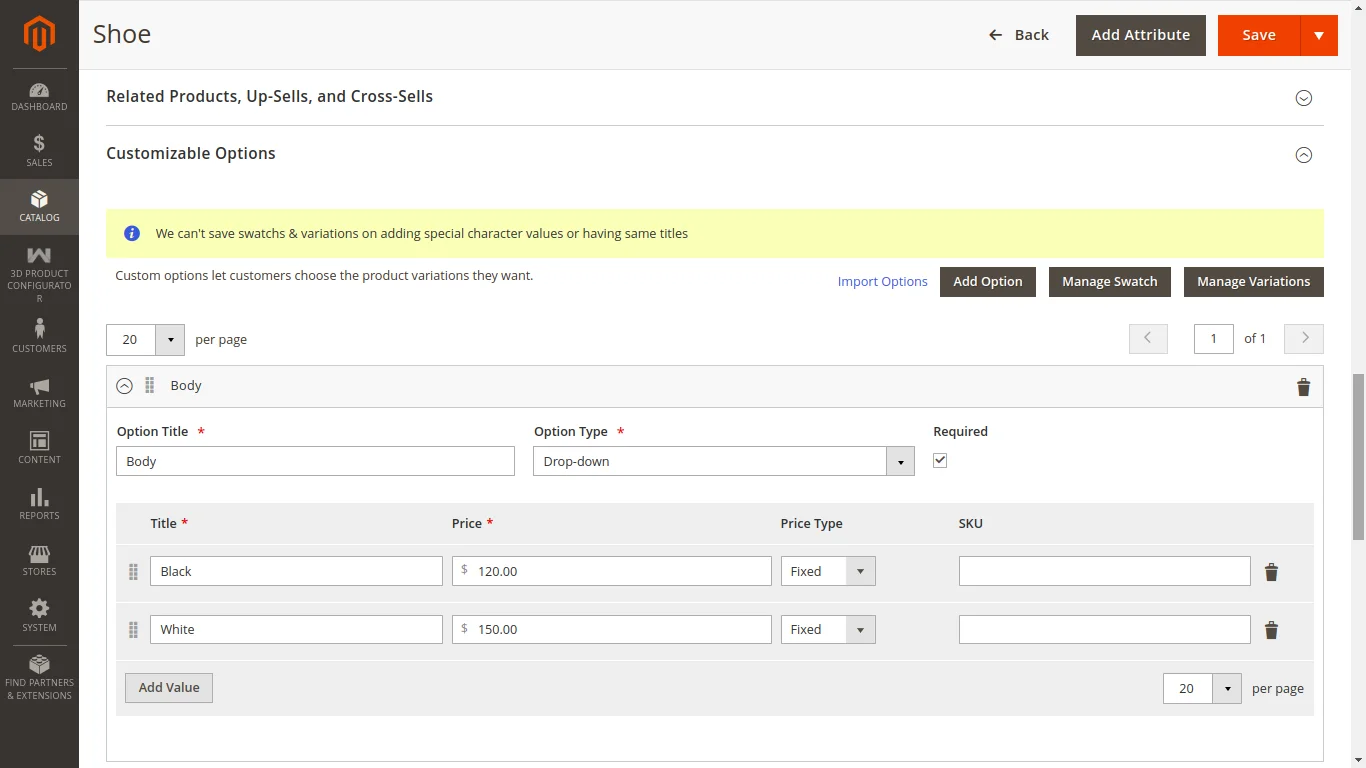
These options will work as a variation of the product. Admin needs to enter the option title, type, then add value for that option.
Note: Only two option types will work for this module drop-down and radio button.
Once the option gets created then the admin can move forward to add swatch value to the options. They need to click on the manage swatch button and a window will open.

Admin needs to select the option and save it. Without selection, the variation part will not work. So this should be selected and saved.
Note: After this product information should be saved as well to configure the swatch variation.
Once it’s saved admin can manage the product variation by the Manage Variations button.
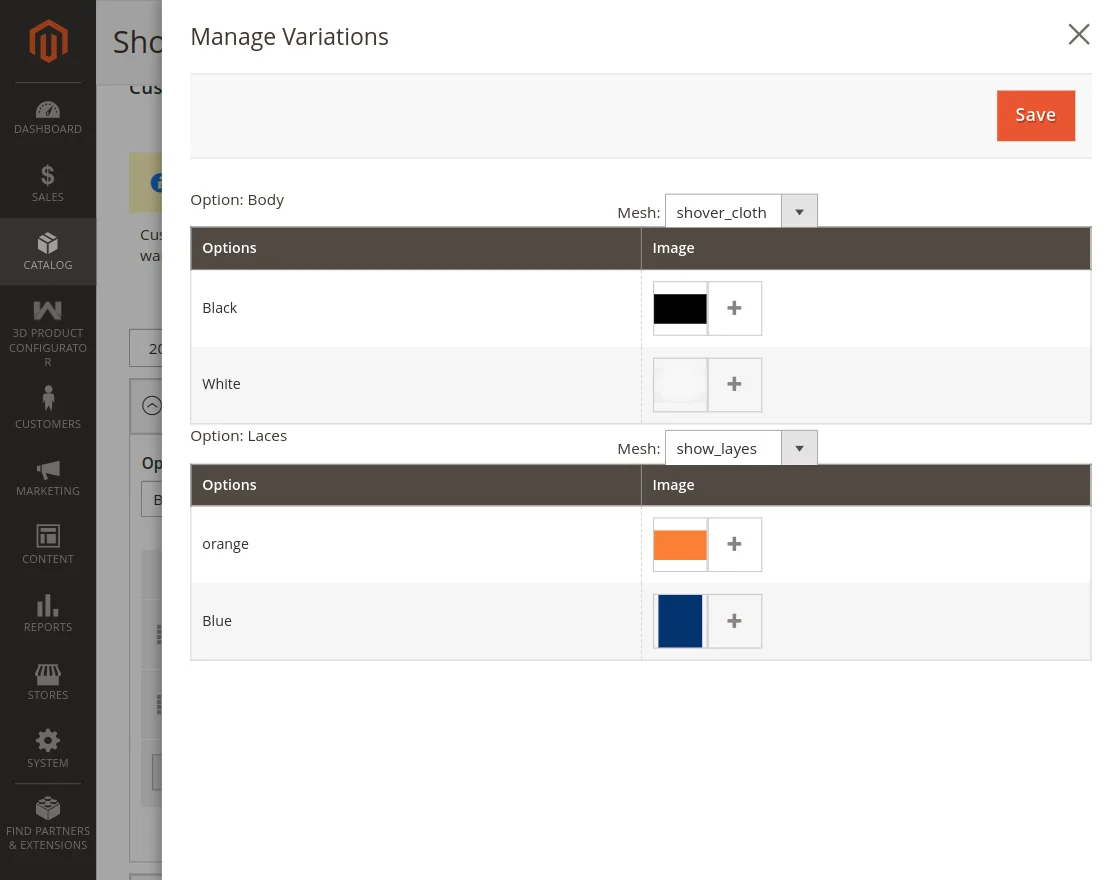
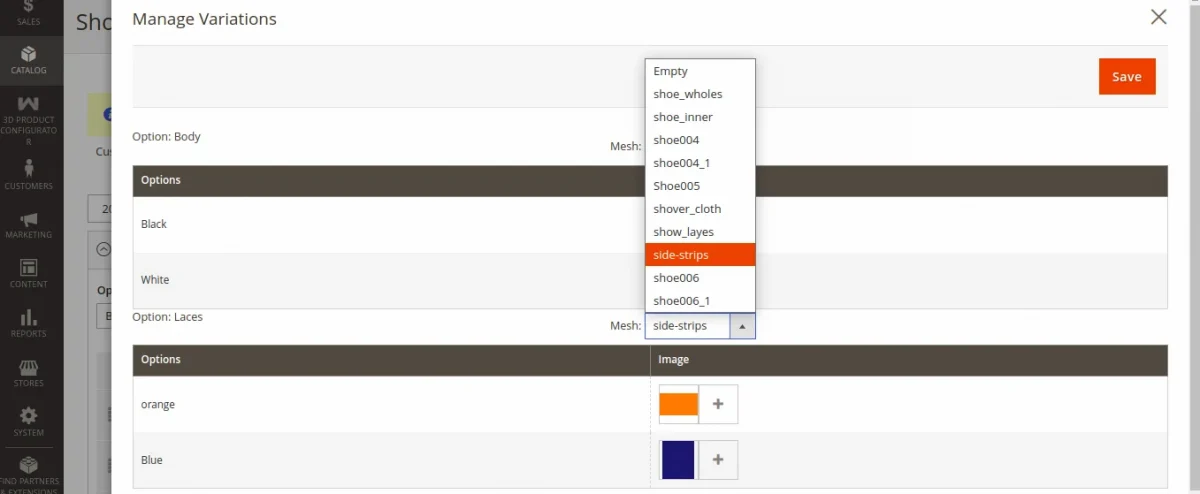
When click on the button a new page will open where the admin can add the option images. The images can be added separately for each option.
Admin also needs to enter the mesh value of the option from the drop-down list.
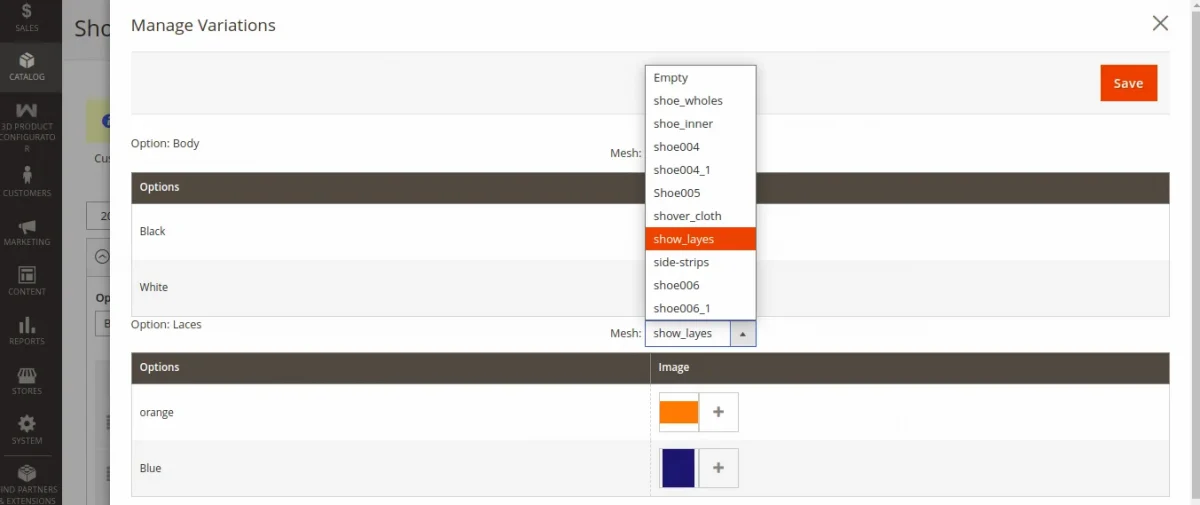
This mesh value needs to be added separately for each option.
Once these settings are completed the customer can see the 3D product image on the frontend.
Customer end Workflow
The customer will open the store and move to the product page.
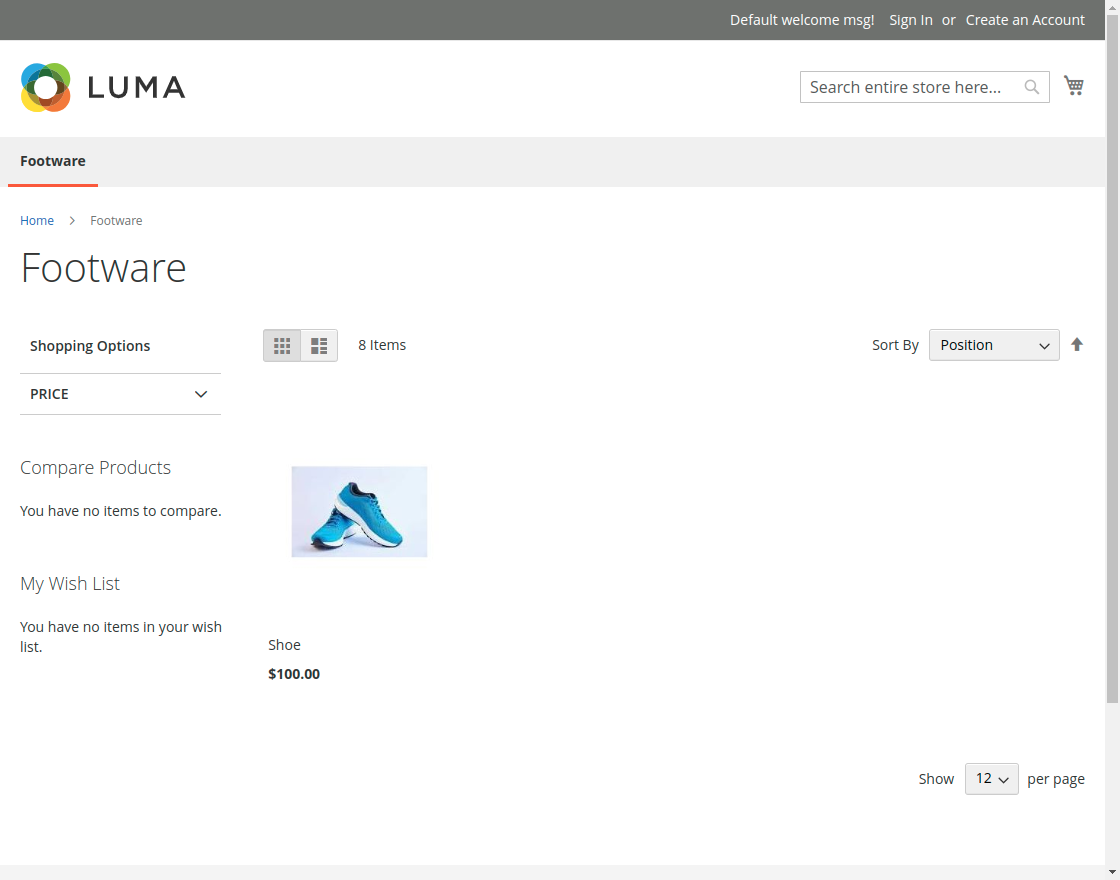
When customers choose the product it will land them on the product page.

When the user clicks on the 3D product image, it will open a popup for selecting variations for the product.

Customers can choose the desired option and the image will show variation accordingly.
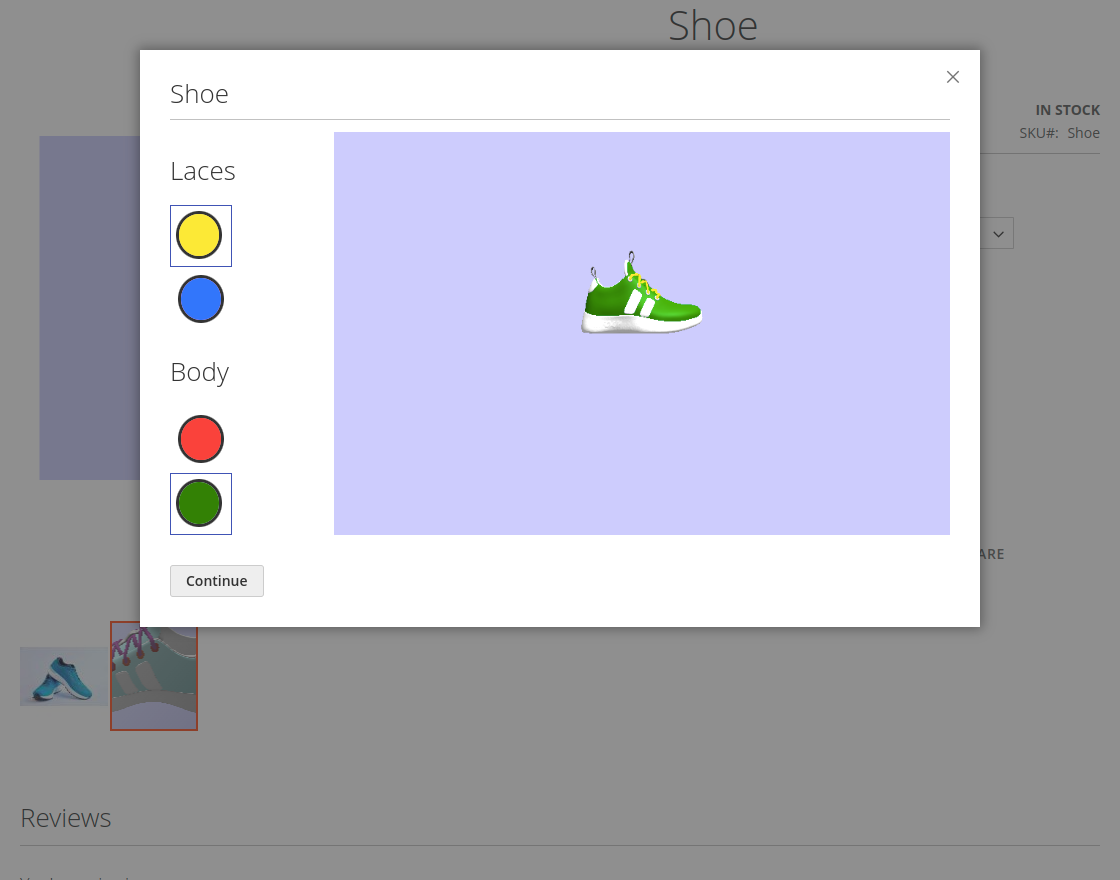
Customers can also rotate the image and zoom in or out too.

When click on the continue button the product price will increase as per the selected variation.
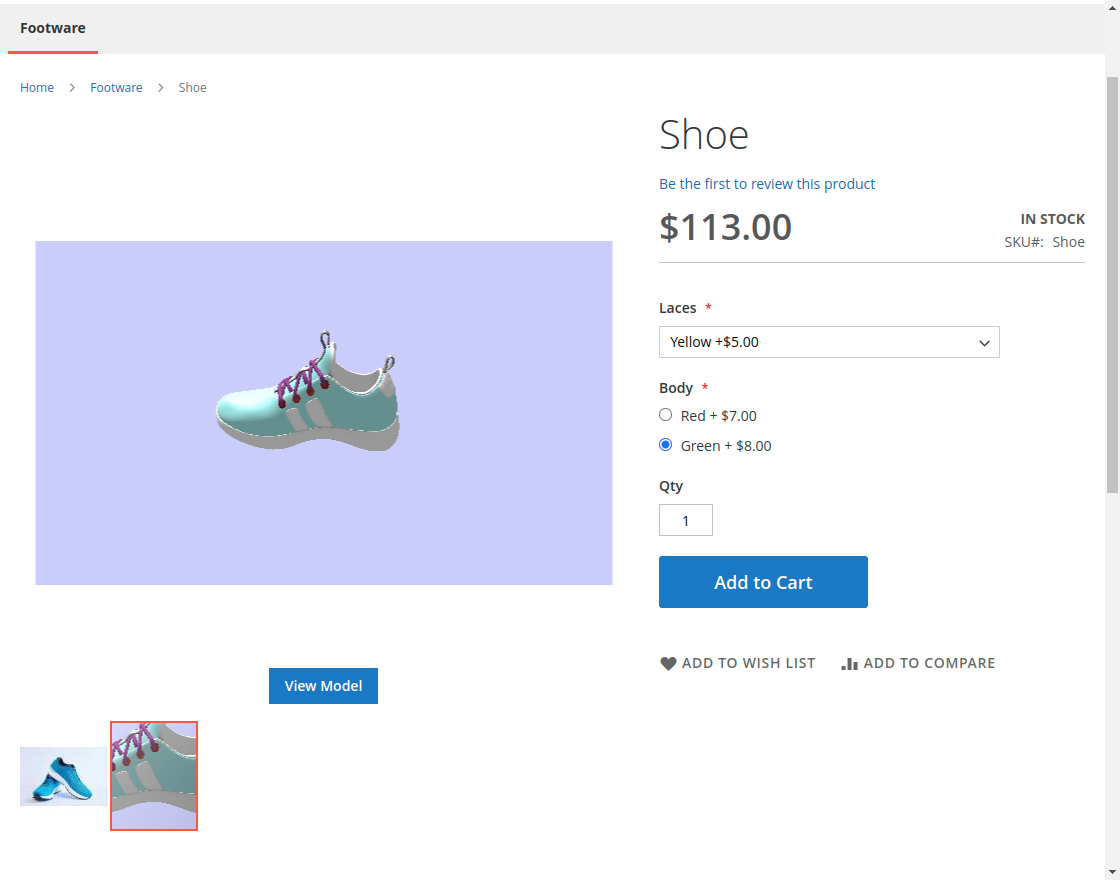
Note: If the customer wants to change the variation again then they can click on the View model button and the variation window will open again.
If the customer chooses an option from the product details section then the variation will select and it will work as a configurable product.
Now the customer can proceed with the checkout with their selected product variation.
Support
That is all about the Magento 2 3D product configurator module. If you have any queries regarding the plugin send an email to [email protected].
Moreover, if you require development assistance, you can Hire Magento 2 Developers for your project work.
Also, check our complete range of Magento 2 extensions. that add more features and functionalities to your online store.
Current Product Version - 4.0.2
Supported Framework Version - 2.4.6

Be the first to comment.