Krayin inventory transfer extension allows the Krayin CRM users to transfer inventories between the same or different warehouses.
The inventory transfer can be of partial or full transfer. While transferring the inventory between two warehouse it can be picked, loaded, in transit, and received.
Also, to manage the purchase orders you can check the Krayin Purchase order extension.
Features
- Bin to Bin Transfer – Easily transfer inventory items between different bins within the same warehouse.
- Partial Inventory Picking Feature
- Partial Inventory receiving Feature.
- Warehouse to Warehouse Transfer – Facilitate smooth and efficient transfer of inventory between different warehouse locations.
- Monitor stock levels across warehouses to ensure optimal distribution and avoid stock-outs or overstocking.
- Change log Feature to track every work handled on Inventory Transfer.
- Add notes, Files and can Print the Inventory Print.
Installation
To install the Krayin Inventory Transfer Extension, follow these detailed steps:
Extract and Merge Files:
- Unzip the extension package.
- Merge the
packagesfolder from the extension into the root directory of your Krayin CRM project.
Update Composer Autoload:
"Webkul\InventoryTransfer\": "packages/Webkul/InventoryTransfer/src"
- Open the
composer.jsonfile in your project root. - Under the
'psr-4'section, add the following line to ensure proper autoloading of the extension:
"Webkul\\InventoryTransfer\\": "packages/Webkul/InventoryTransfer/src"
Register the Service Provider:
- In the
config/app.phpfile, locate the'providers'array. - Add the following line to register the Inventory Transfer Service Provider:
Webkul\InventoryTransfer\Providers\InventoryTransferServiceProvider::class,
Register the Module Service Provider:
- In the
config/concord.phpfile, locate the'modules'array. - Add the following line to register the Inventory Transfer Service Provider:
Webkul\InventoryTransfer\Providers\ModuleServiceProvider::class,
Configure Vite Assets:
- Open the
config/krayin-vite.phpfile. - Under the
'viters'section, add the following configuration for the Inventory Transfer extension:
'inventory_transfer' => [
'hot_file' => 'inventory-transfer-vite.hot',
'build_directory' => 'inventory-transfer/build',
'package_assets_directory' => 'src/Resources/assets',
],
Update Composer Autoload:
- Run the following command to refresh the Composer autoload files:
composer dump-autoload
Run Database Migrations:
– Execute the following command to migrate the necessary tables into your database:
php artisan migrate
Seed the Database:
- Seed the necessary data by running:
php artisan db:seed --class=\Webkul\InventoryTransfer\Database\Seeders\DatabaseSeeder
Publish Static Assets:
- Finally, publish the extension’s static assets to the public directory with the following command:
php artisan vendor:publish --provider=\Webkul\InventoryTransfer\Providers\InventoryTransferServiceProvider
Initial Configuration
Login to the admin backend and navigate through Settings->Warehouse.
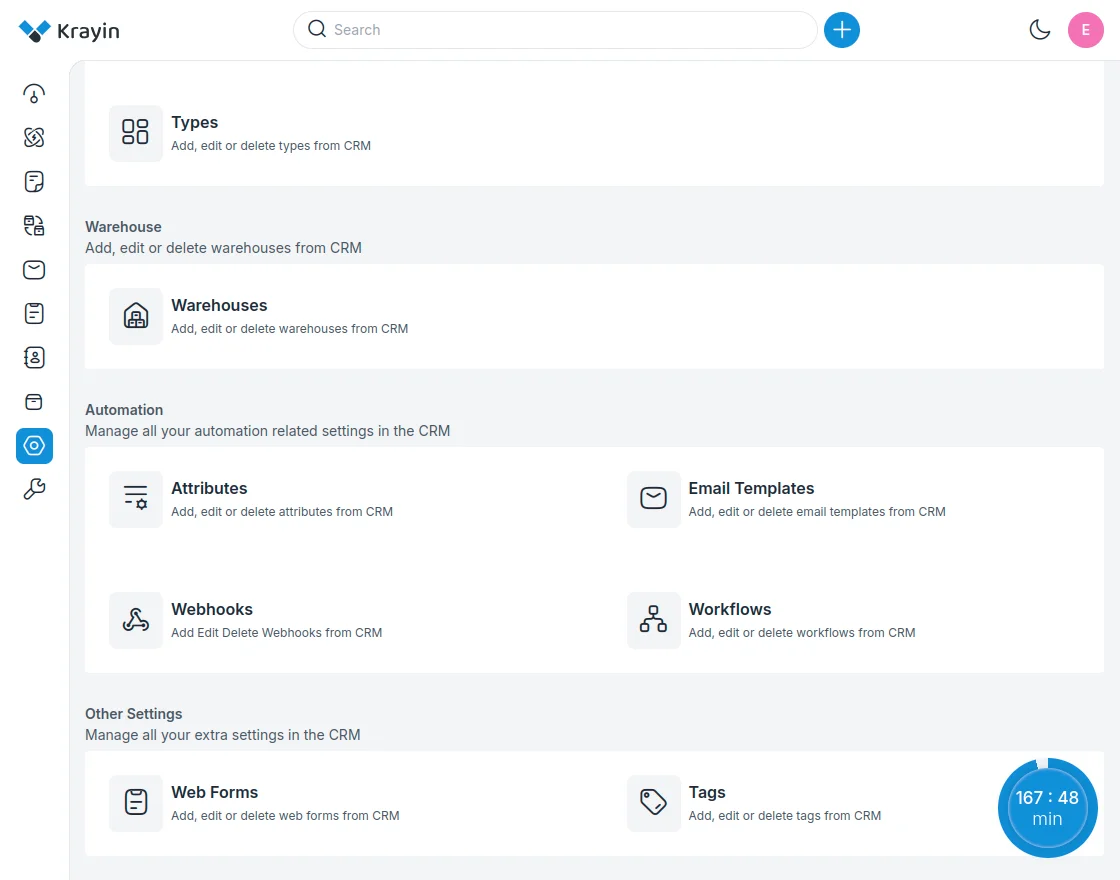
Here, add and manage warehouses as required.
Create a warehouse and will be listed under the respective section.

Now, for a respective warehouse tap the view button and navigate to the Location section.

Here, the user has to add the warehouse rows and column locations.
To do so, tap the add location button.

Now, enter the name for the location like row1column2shelve1(r1c2s1) and save it.
The saved location is visible for the warehouse.

Assign Warehouse Location – Products
Navigate to product listings and tap the view option for the respective product.

Now, go to the inventory section and tap the assign link for the respective warehouse.

Enter the product’s location within the warehouse, and tap Save button after that.

Lastly, the location of warehouse is assigned to the product.
Bin to Bin – Inventory Transfer within the Same Warehouse
Navigate through Inventory Transfers->Create Inventory Transfer and create a new transfer.

Now, select from and to warehouse inventory transfer along side add the reference number.

The bin to bin inventory transfer is creates in pending state.

Steps:
Add Products –
Tap the add products option to add the product inventory to transfer to the same warehouse.

Now set the product locations and tap add.

After the product is added, it displayed as below.

Pick Products:
Tap the pick products option. Also, you can add a note or attachment along side or cancel the transfer.

Enter pick quantity and tap Save after that.

Tap, receive inventory to receive the inventory and assign to same warehouse other location.

The inventory is received.

The respective inventory transfer shows status as received.

Inventory Transfer – Between Different Warehouses
Navigate through Inventory Transfers->Create Inventory Transfer and create a new transfer.
Now, select the from and to warehouses and set a reference number and tap the save button.

The inventory transfer section appears.

Steps:
Add Products –
Tap the add products option to add the product inventory to transfer to other warehouse.

Now set the product locations.

After the product is added, it displayed as below.

Pick Products:
Tap the pick products option. Also, you can add a note or attachment along side or cancel the transfer.

Partial Shipment and full shipment option available.
Partial:
For shipping the partial inventory, enter the pick quantity and tap the Save.

Inventory transfer is created successfully.

Now, tap the Load Inventory option and enter the description and Save.

You can see the inventory showing as loaded.

Now, tap Send Inventory option and enter shipping method and tracking number and Save.

Transfer will be updated successfully.

The other warehouse user will now receive the inventory by tapping receive inventory option.

After that, inventory needs to be assigned a location within the warehouse and tap Save.

Now, you can see the inventory is partially received.

The user can see the partially received status for the received partial inventory.

Remaining Inventory Transfer:
Tap the Pick inventory button and the remaining inventory left auto fills, tap save.

Inventory transfer for completion initiates.

While loading the inventory add the description for the same, and tap Save.

After loading the inventory, you can see the success message for the same.

Add shipping method and tracking number and tap save.

Receive inventory and assign warehouse location for the inventory.

After save, the inventory is receive and transfers.

The receiving user can now check that the inventory transfer is fully complete.

Support
So, that was much about the Krayin inventory transfer extension
Current Product Version - 2.0.2
Supported Framework Version - 2.0.2

Be the first to comment.