CS-Cart Stripe Recurring Payment lets you use CS-Cart’s Recurring Payment Access with the Stripe Payment Gateway for subscription billing.
Customers can choose a subscription plan on the product page and then complete payment securely through Stripe.
Stripe supports Pay with Link and Amazon Pay for quick and convenient checkout.
Customers can also pay using Card, US Bank Account, or Cash App Pay.
By combining Recurring Payment Access with Stripe, CS-Cart merchants can easily sell subscription-based products.
Note: To use recurring payments with the Stripe payment Gateway, you must have both the CS-Cart Recurring Payment Access add-on and the CS-Cart Stripe Payment Gateway add-on installed in your store.
Features
- Well integrated with CS-Cart & CS-Cart Multi-Vendor.
- Allows admin to enable recurring payment access for selected products.
- Displays subscription cycles like Daily, Weekly, Monthly, and Yearly on product page.
- Seamlessly connects recurring access with the Stripe Payment Gateway.
- Supports Pay with Link, Amazon Pay, Cards, US Bank (ACH), and Cash App Pay.
- Supports major cards such as Visa, Mastercard, American Express, Discover, and JCB.
- Recurring availability depends on Stripe payment method configuration.
- Easy to configure and manage from the CS-Cart admin setting.
- Provides secure, flexible, and scalable subscription billing for CS-Cart stores.
Installation
After downloading the CS-Cart Recurring Payment Access add-on, you’ll get one zip file, one install.txt file, and a relevant User Guide manual doc.
Read it carefully for proper configuration.
Go to Manage Add-ons, and click on “Manual Installation” as shown below in the snapshot.

A pop-up window will appear. Click on Local, browse the zip file, and then click the Upload & Install button.

Once installed, you will find the Recurring Payment Access option in your list of available add-ons.

Initial Configuration
After successfully installing both the Recurring Payment Access and Stripe Payment Gateway add-ons, the admin can configure them together to enable recurring payments for products.
Go to the Add-ons > Developers > Webkul Software Pvt. Ltd. > Stripe Payment Gateway section and open the Settings tab.

Enter the credentials provided by “Stripe” as shown below in the snapshot. There is also an option to enable Save Card feature.
If you enable this, then only the customer will get the option to save the card at the front end otherwise not.
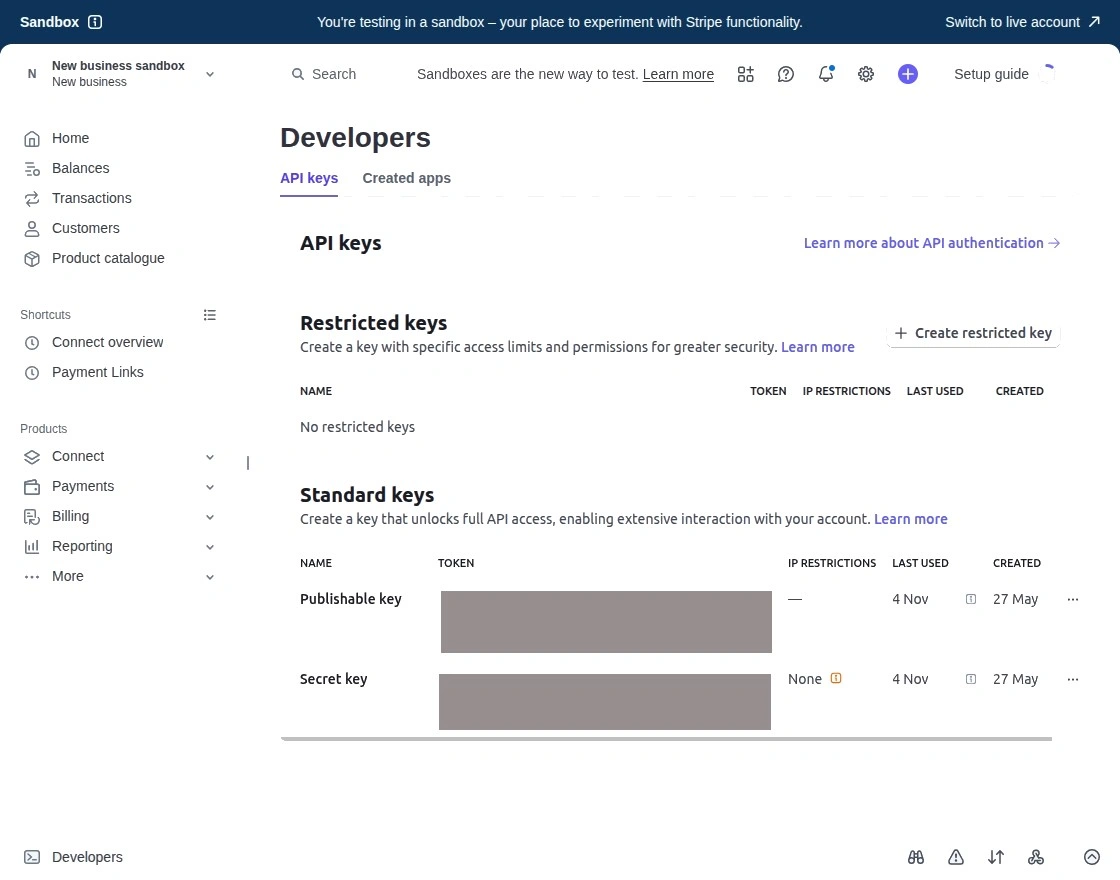
How to get Stripe Credentials:
To get the stripe credentials, firstly you need to create a developer account at the stripe site. Under the “Developers” Tab, you will find the API keys.
Configuration of Stripe Payment Gateway
For using Stripe in the Stripe Payment Gateway form, create a new payment method. Click on “Payment methods” under Setting as shown below in the snapshot.

Click on “+ Add new payment method” to generate a new payment method as shown below in the snapshot.

Set the parameters as shown below in the snapshot

- Set the name of the payment method.
- For checkout choose the processor as “Stripe Payment Gateway“.
Click on “Configure” and set the parameters as shown below in the snapshot.

- Select the default currency for stripe payment. If any user selects any non-supported stripe currency then the default currency will get applied instead of the non-supported chosen currency.
- Set “Enable Stripe Capture” as “YES” to capture the payment.
- Select “YES” to save the Stripe response at the backend.
- Select the order status for different stripe payment responses.
- Click on Save button to add the payment method.
Finally, this is how Stripe is added in your CS-Cart Store.

Recurring Payment Access | Configuration

Here, under the settings, the admin can:
- Choose Stripe as the recurring payment method for products.
- Enable or disable recurring options depending on the payment method setup.
Recurring Payment Method – Visible on Product Edit Page
After enabling Stripe as the recurring payment method, it will be visible on the product edit page.

The admin can then:
- Set recurring types such as daily, weekly, monthly, or yearly.
- Define the initial payment amount.
- Set the recurring amount for the product.
Finally, click Save to apply the settings.
Recurring Payment Method – Visible on Storefront
Once the Stripe recurring payment option is enabled, customers can see it on the storefront.
On the product listing page, the subscription-type product will be highlighted.
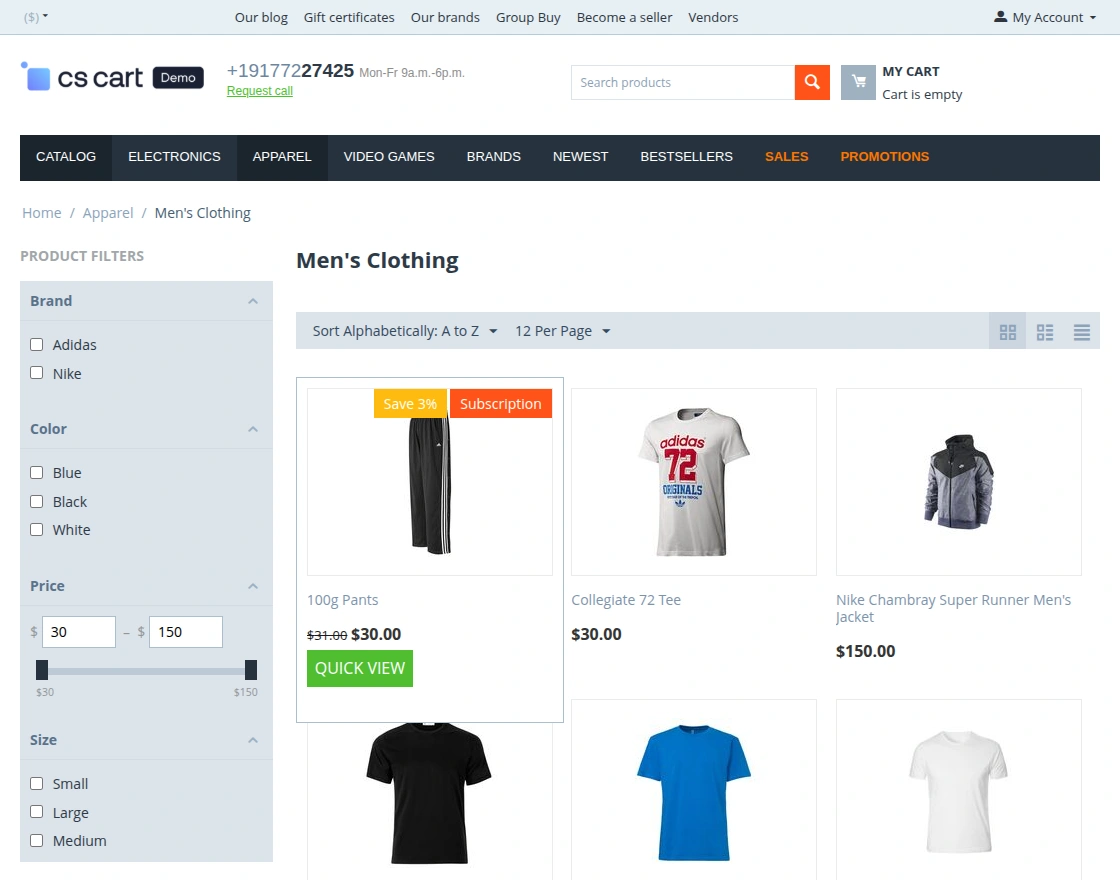
When the customer clicks Quick View, they can see the subscription option.

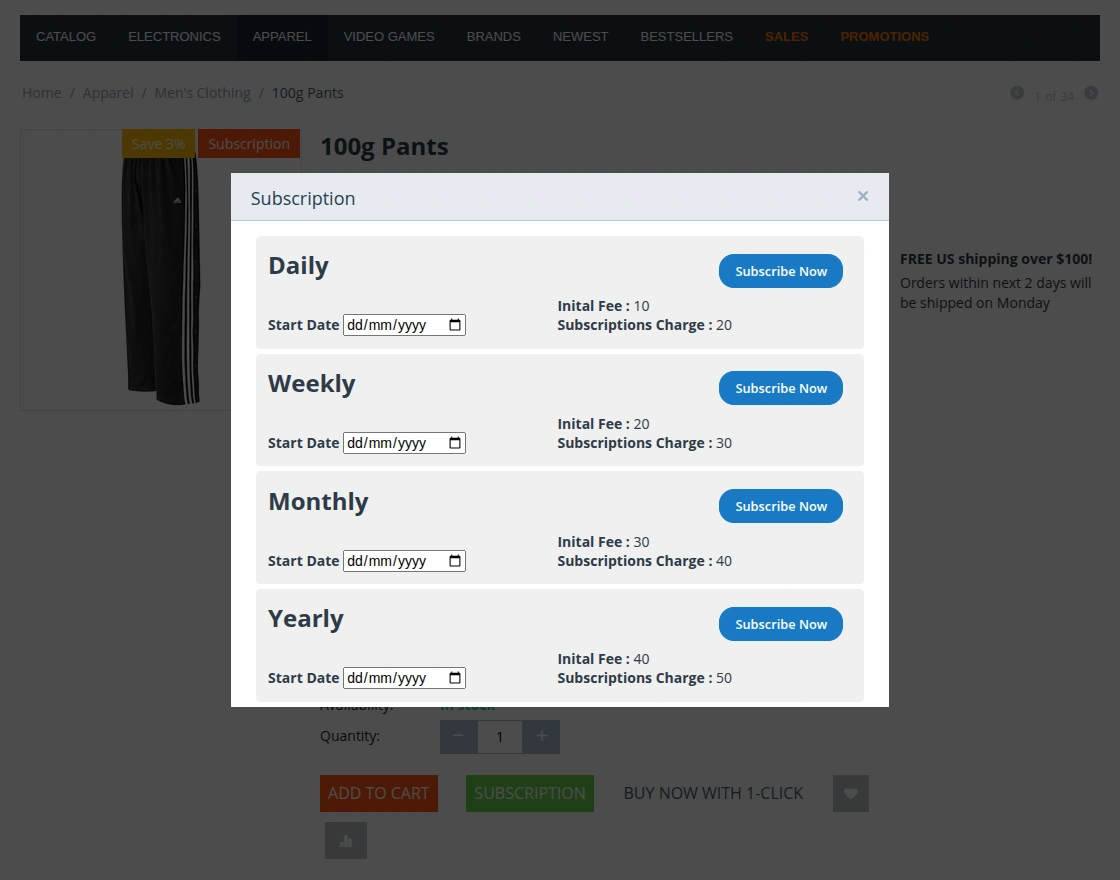
The same option is also visible on the product detail page.

After clicking the Subscription button, a pop-up appears allowing the customer to select the subscription frequency and then click Subscribe Now.
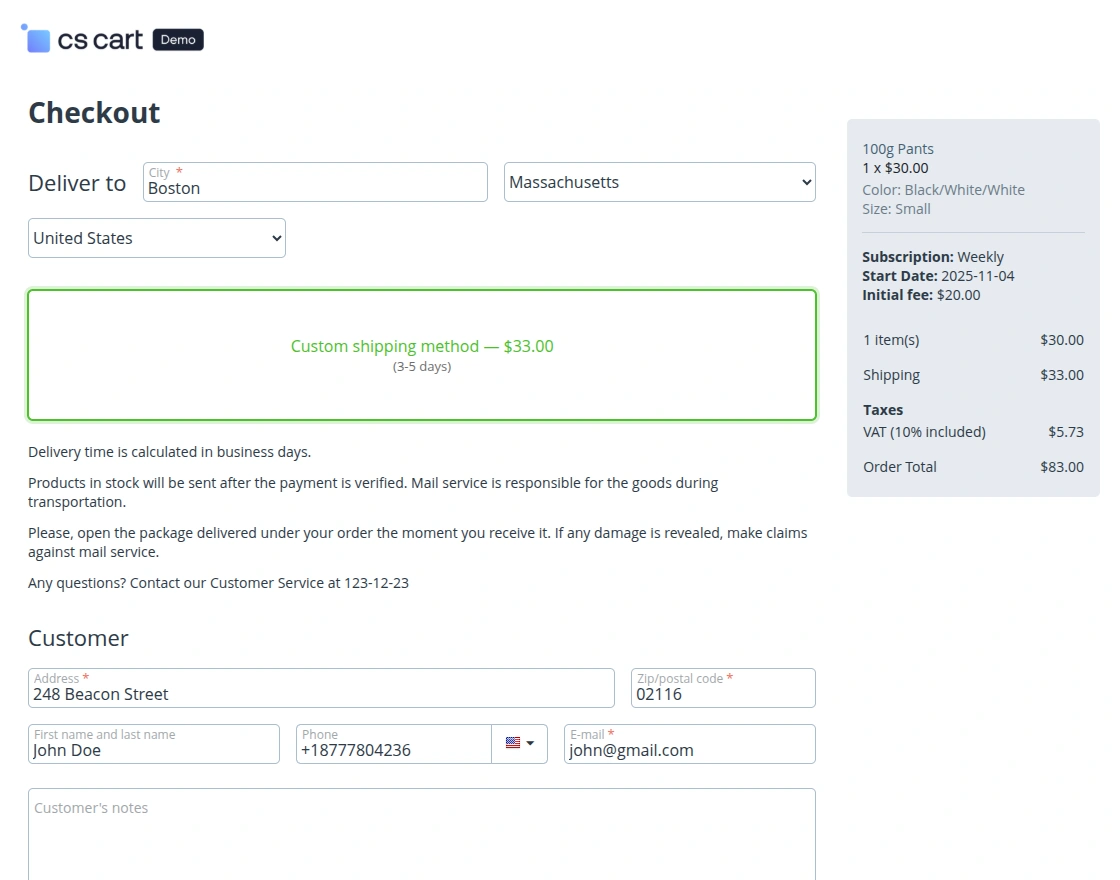
When the customer select the subscription plan then it come to payment of the subscription and redirect to the checkout page.
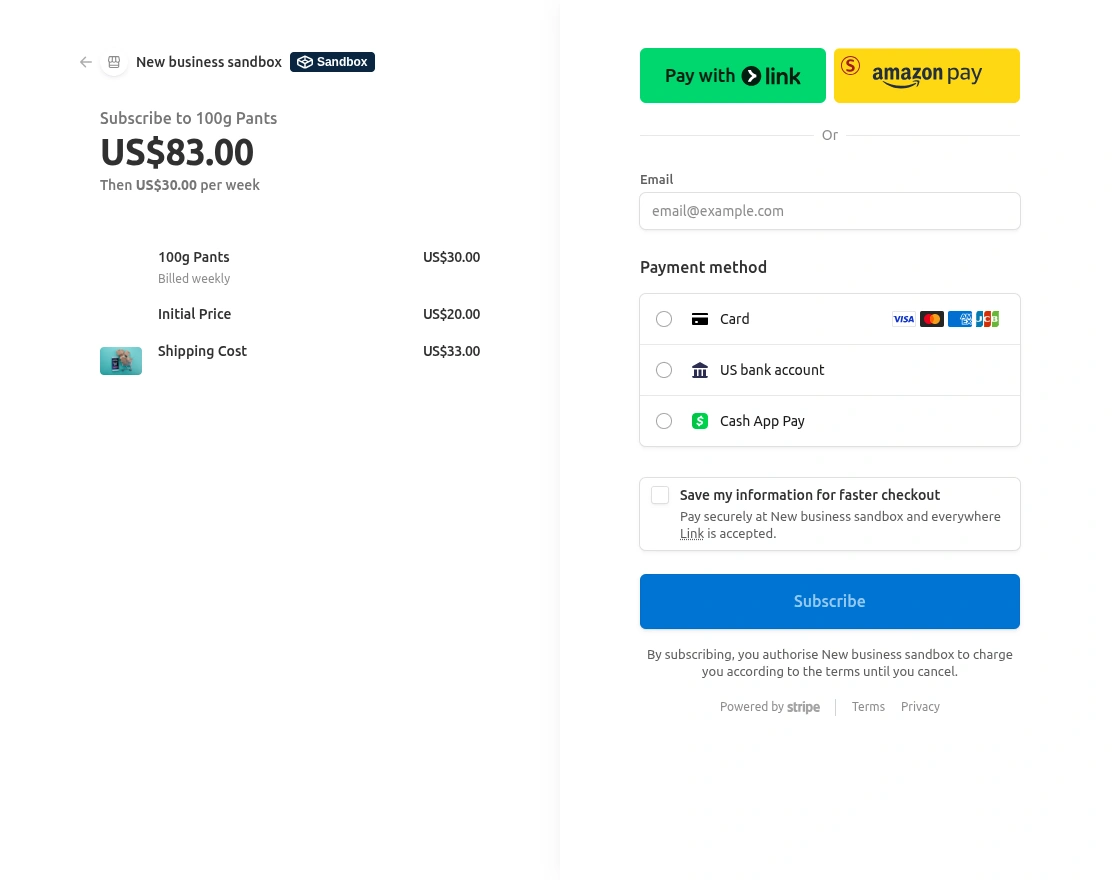
At checkout, customers can view the initial payment amount they need to pay.

After clicking on Place Order, the customer is redirected to the Stripe Checkout page, where they can enter their email address, choose a payment method, and click Subscribe to complete the purchase.
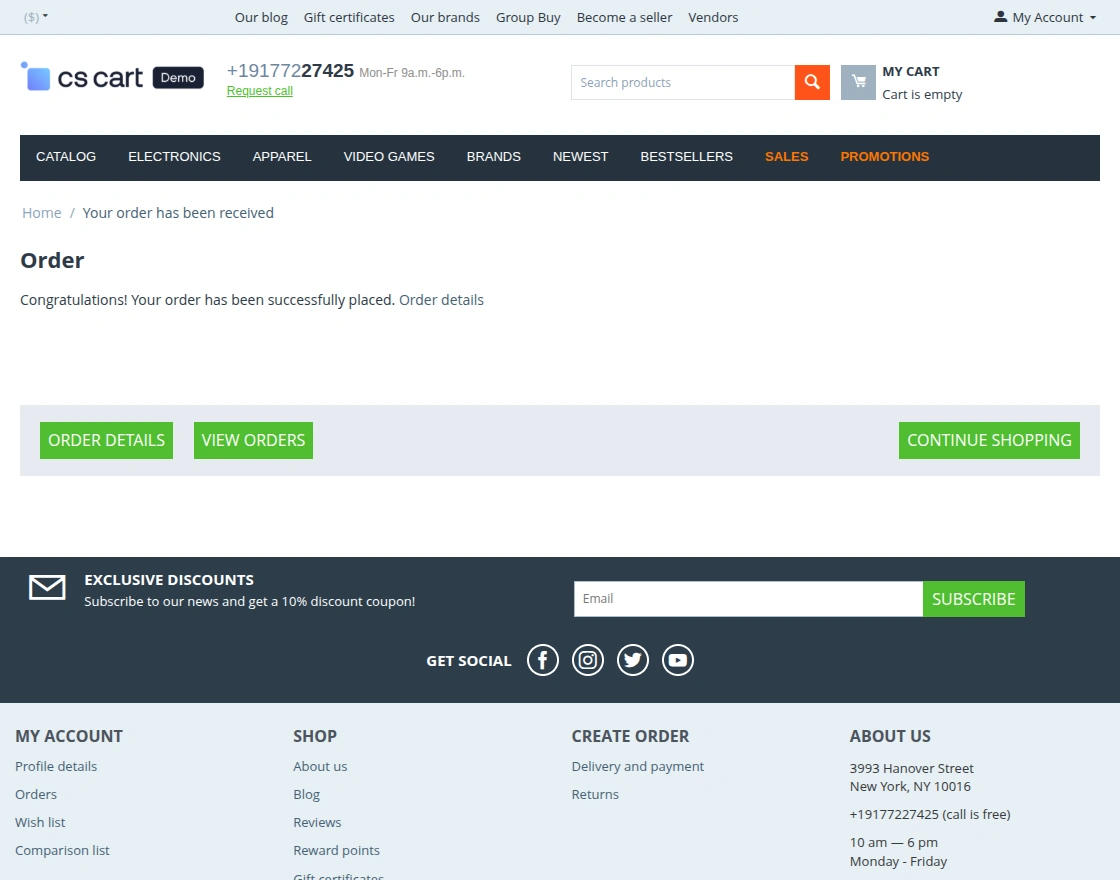
After clicking on the Subscribe button, buyer will get order confirmation.
Cancellation of Subscription:
For the cancellation, customer have to log in with thier account and then select that order from the Order list then click on the Cancel Subscription.
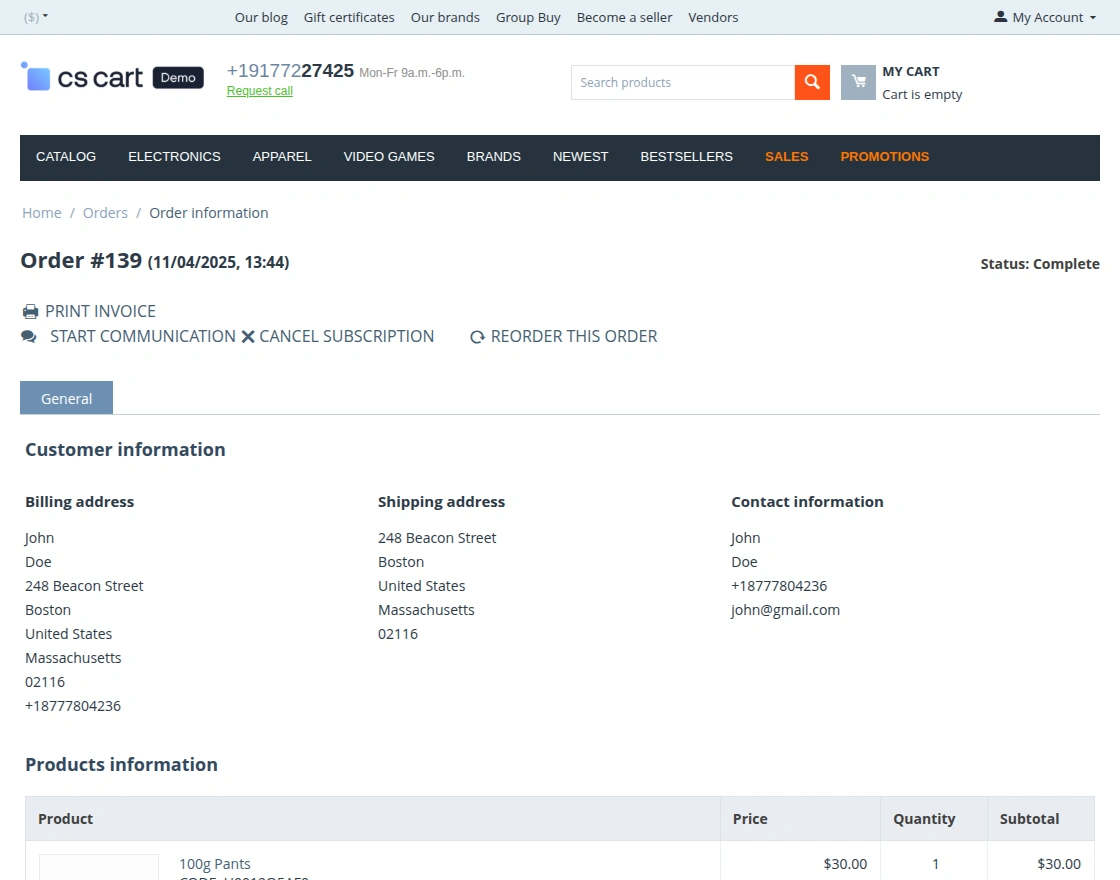
After clicking on the Cancellation button, the subscription gets cancelled by the customer itself.

Support
If you have any questions, suggestions, or customization requests, feel free to contact us at [email protected] or submit a ticket at webkul.uvdesk.com.
Explore our premium-quality CS Cart Extensions to enhance your store functionality.
You can also explore our CS-Cart Development Services and Quality CS-Cart add-ons.

Be the first to comment.