Introduction
ERPNext Multi-Channel Connector helps you link multiple online stores with ERPNext. It imports products, customers, and orders into ERPNext to simplify data handling.
The connector keeps stock, order status, and customer information up to date across channels. It reduces manual work and ensures accurate records for your business.
It supports feeds for products, customers, and orders, as well as automatic stock and status sync.
Features
- Import Categories from Ecom to ERPNext. Quickly sync all Ecom categories into ERPNext to maintain the same catalog structure.
- Import & Update Attributes, Attribute Values, and Attribute Sets. Fetch and update Ecom attributes, values, and sets to ensure correct product variant configuration.
- Import Simple & Configurable Products with Mapping. Import simple/configurable products from Ecom and auto-map them to ERPNext items.
- Import & Update Customer Records. Synchronize Ecom customers into ERPNext with automatic updates for profile changes.
- Import Sales Orders with Status-Based Evaluation. Bring Ecom orders into ERPNext while evaluating each order based on its status.
- Auto Order Status Sync (ERPNext → Ecom). Automatically update Magento order statuses based on ERPNext workflow changes.
- Auto Stock Update (ERPNext → Ecom). Sync stock levels from ERPNext to Magento in real time to avoid overselling.
- Auto Feed Evaluation. Automatically process imported feeds (product, customer, order) and convert them into ERPNext records.
- Export Categories, Attributes & Products from ERPNext to Ecom. Push ERPNext products, categories, and attributes to Ecom for seamless two-way syncs.
Installation
- After purchasing the app from the Webkul store, you will receive a link to download the module ZIP file.
- Extract the downloaded ZIP file, and you will see a folder named ‘erpnext_multichannel_connector’.
- Set up the module in your Git repository.
- If the app is hosted on GitHub, fetch it using the command:
bench get-app --branch main https://github.com/your_account/erpnext_multichannel_connector.git
- (Replace “main” with your branch name and replace the “HTTPs URL” with your HTTPS clone URL.)
- Install the app on your site using the command:
bench --site <your-site_name> install-app erpnext_multichannel_connector
- Finally, run the “bench migrate” command to complete the installation.
Workflow
Below is the complete workflow of the ERPNext Multi-Channel Connector, following your screenshots in the correct sequence.
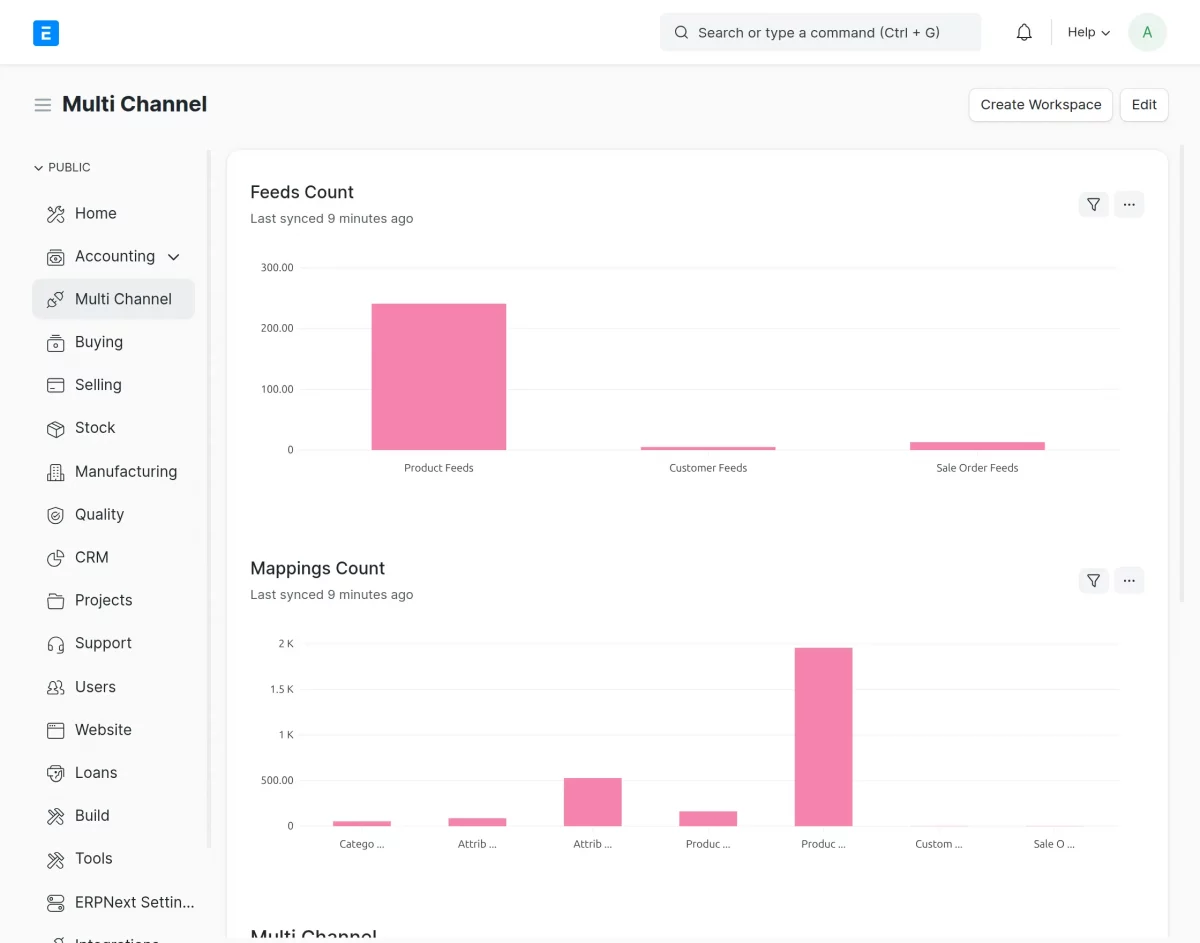
1. ERPNext Multichannel Dashboard: The dashboard shows a quick view of product feeds, customer feeds, and order feeds. It also displays mapping counts for easy tracking.
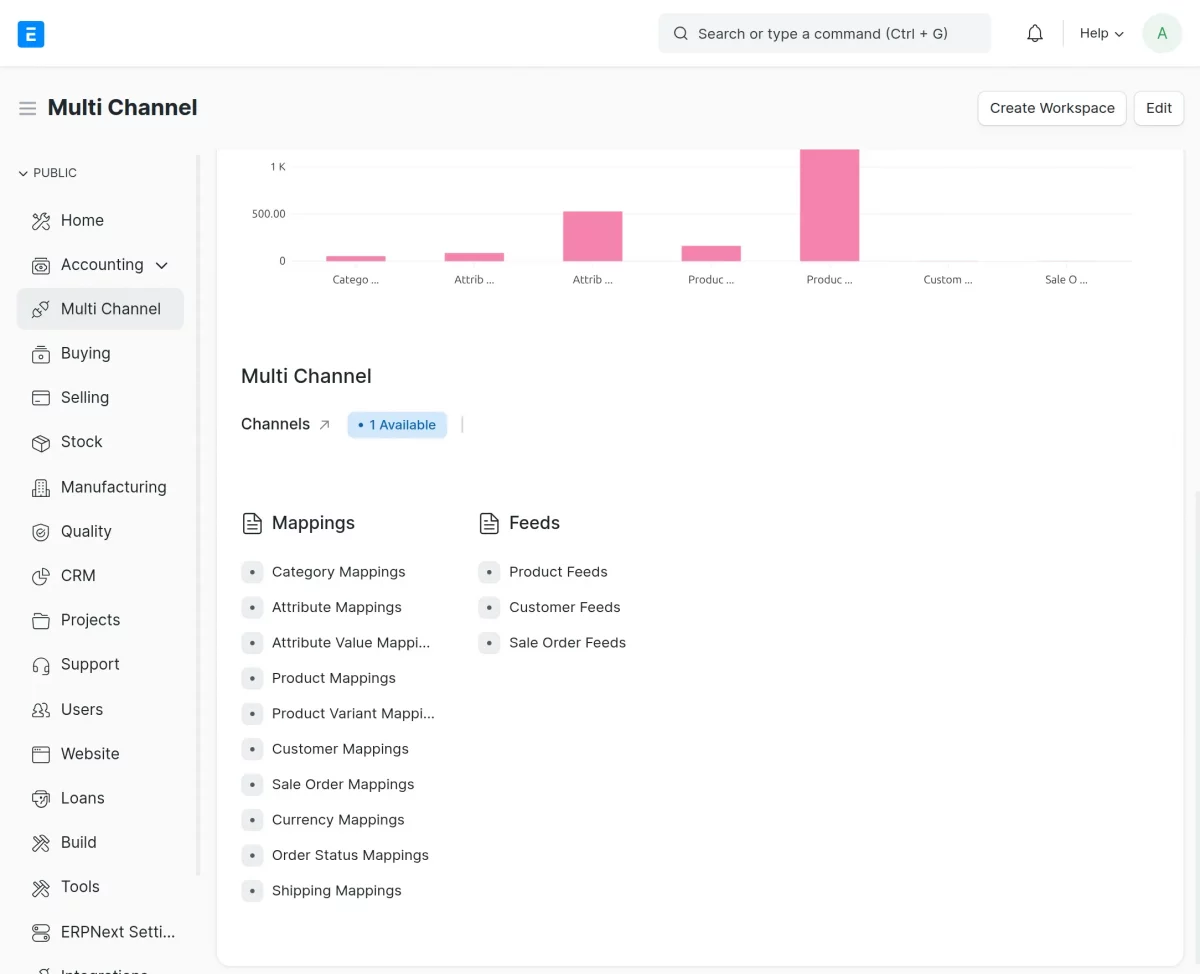
2. Feature and Functionality Panel: This section lists all available mapping and feed types such as Category Mapping, Attribute Mapping, Product Mapping, Customer Mapping, Order Status Mapping, and Feed panels.
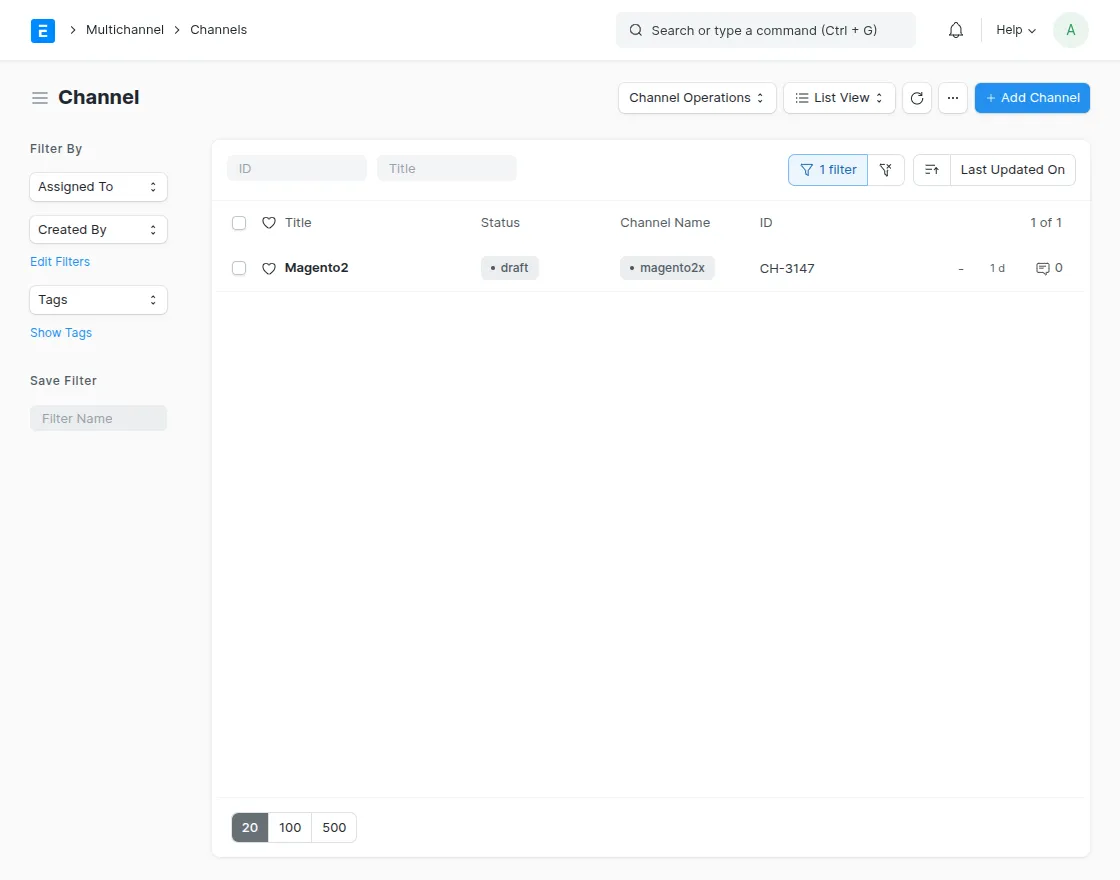
3. Channel Setup: Used to create a new Magento channel instance. Start the connection setup by entering channel details.
Multi-Channel → Channels → Create
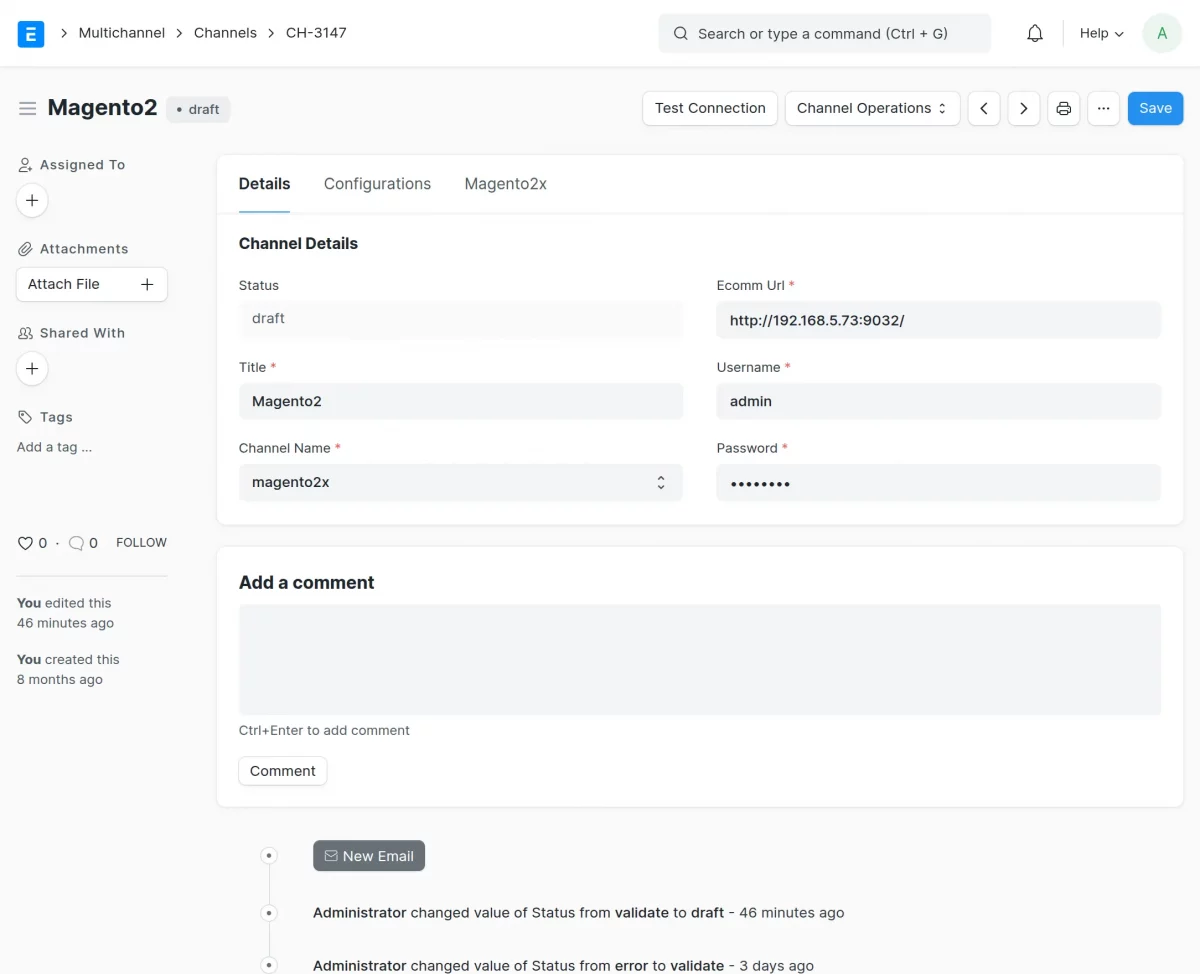
4. Instance Configuration (Channel Details): You can enter the channel URL, title, username, and password. After saving the details, you can validate the connection.
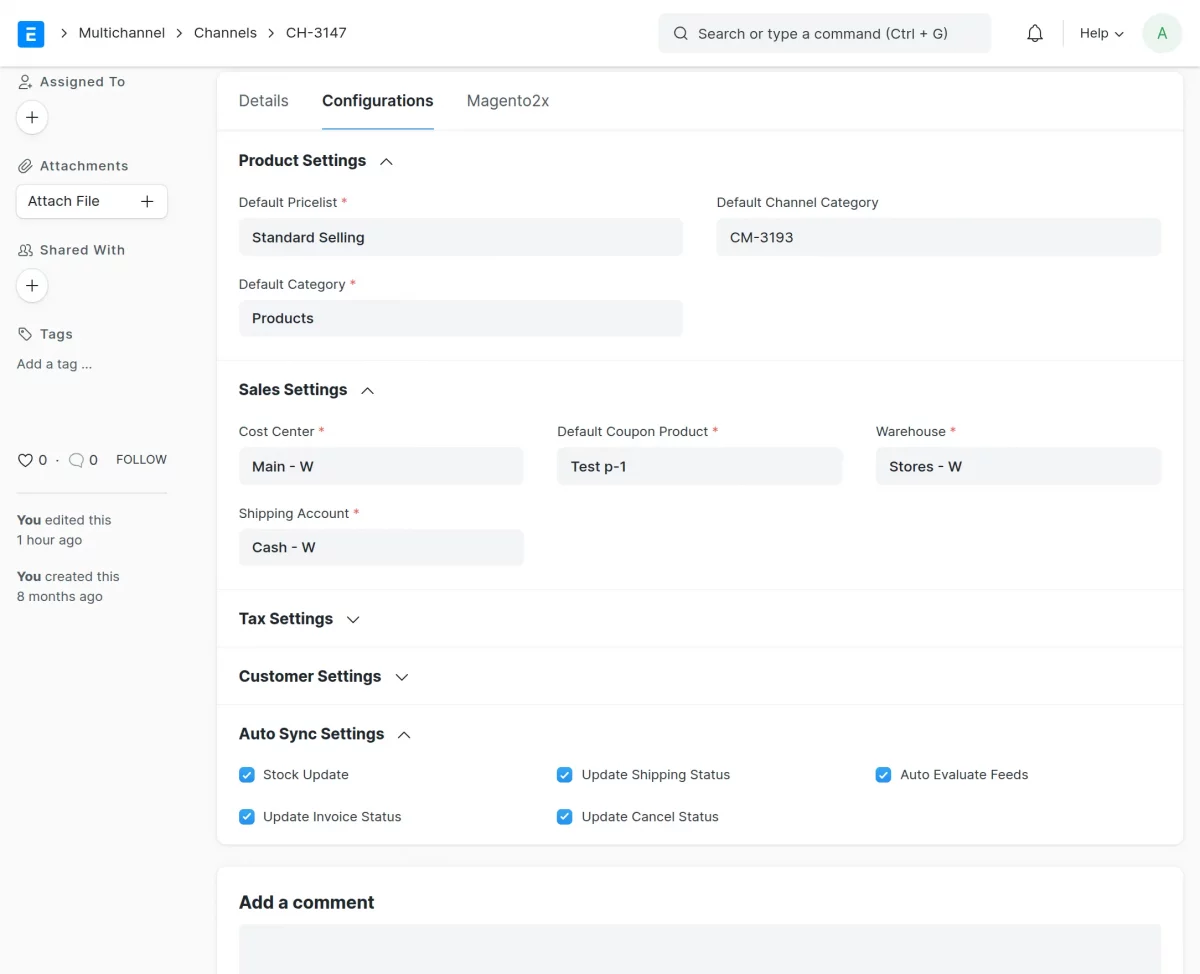
5. Configuration for Sales, Tax, Customer, and Auto Sync: This includes the pricelist, warehouse, cost center, shipping account, default category, and auto sync settings.
You can enable stock update, invoice update, shipping update, cancel update, and auto feed evaluation.
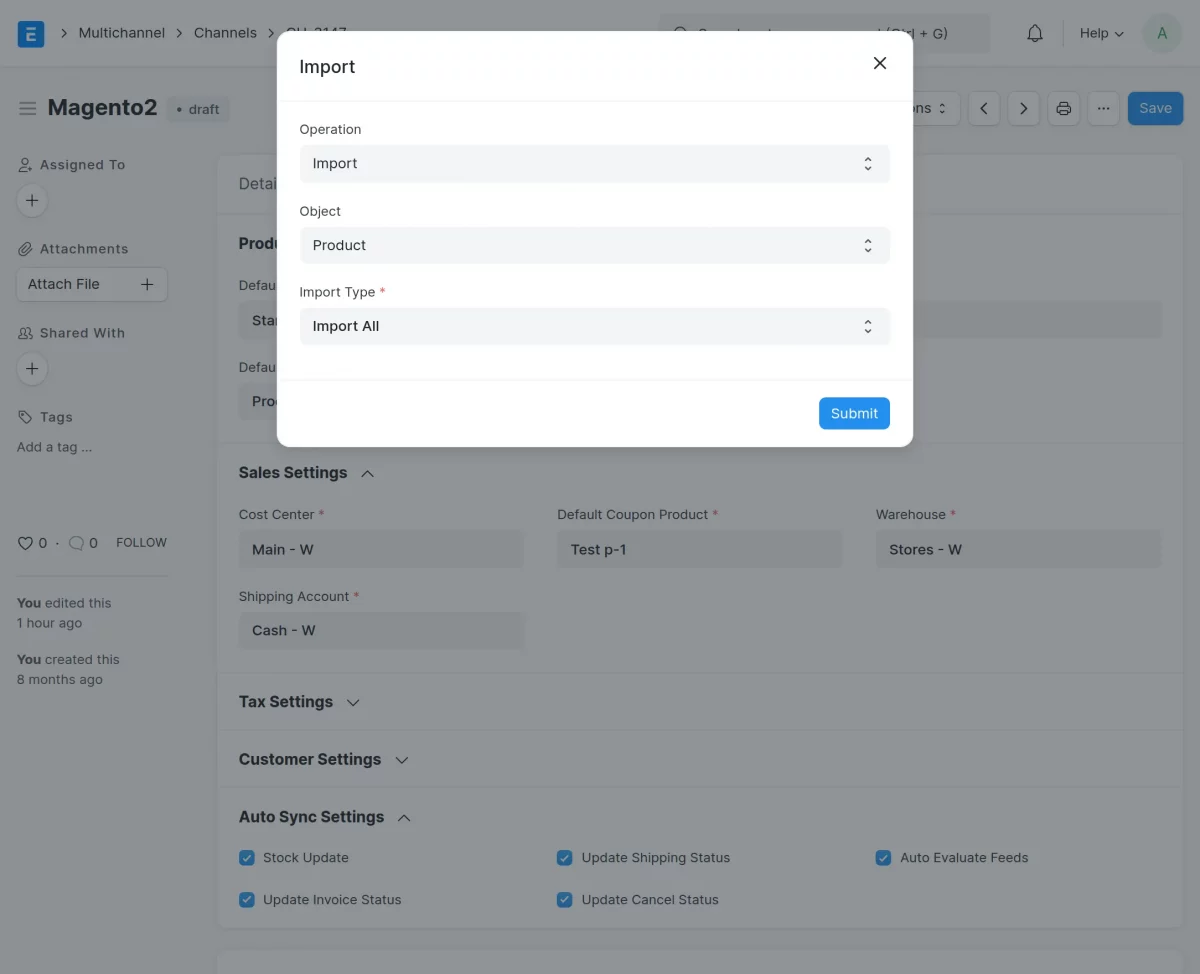
6. Import Operation (Ecomm → ERPNext): You can import categories, attributes, products, customers, and orders. Product imports create product feed records for review.
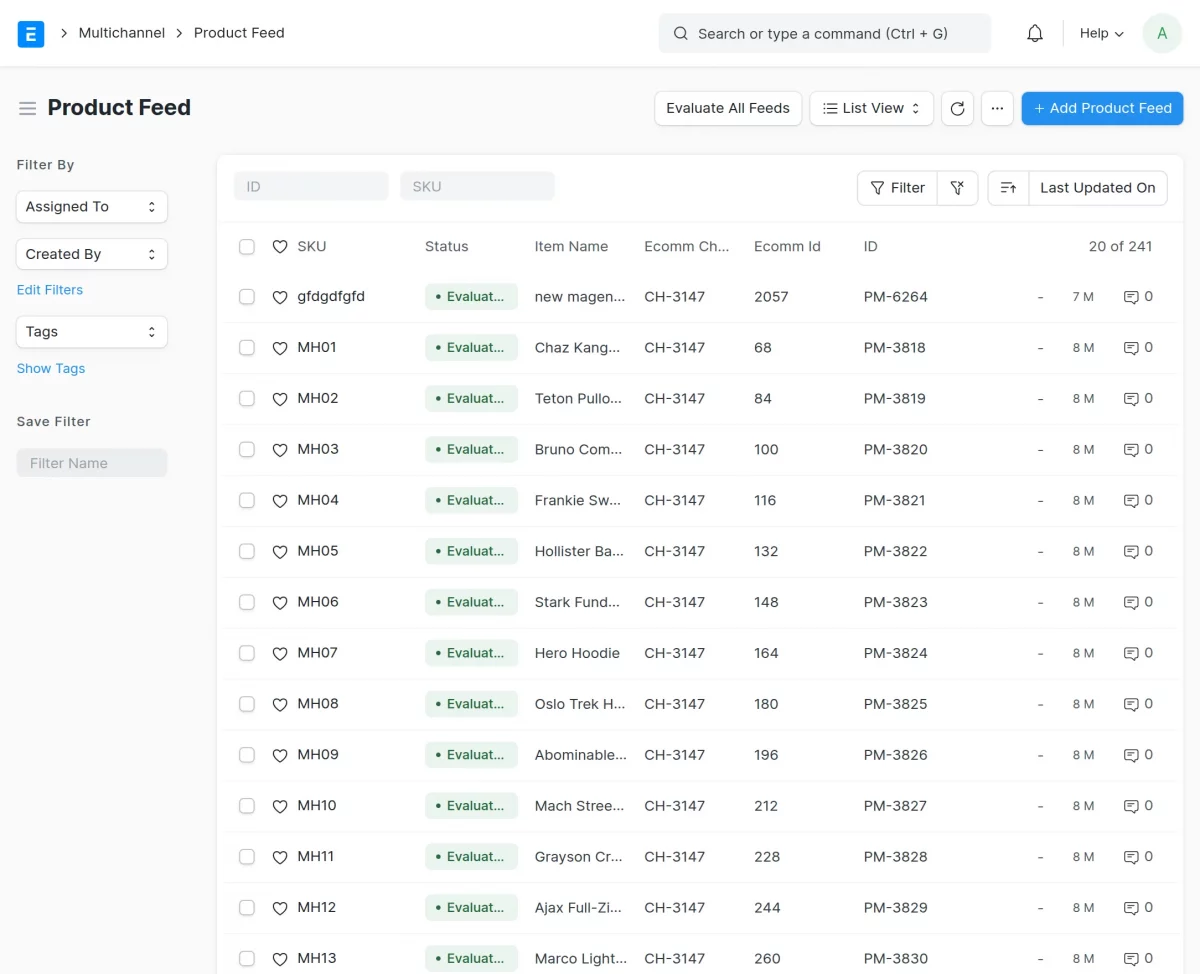
7. Product Feed: Imported products appear in the product feed list. You can evaluate feeds in bulk or individually to create or update products in ERPNext.
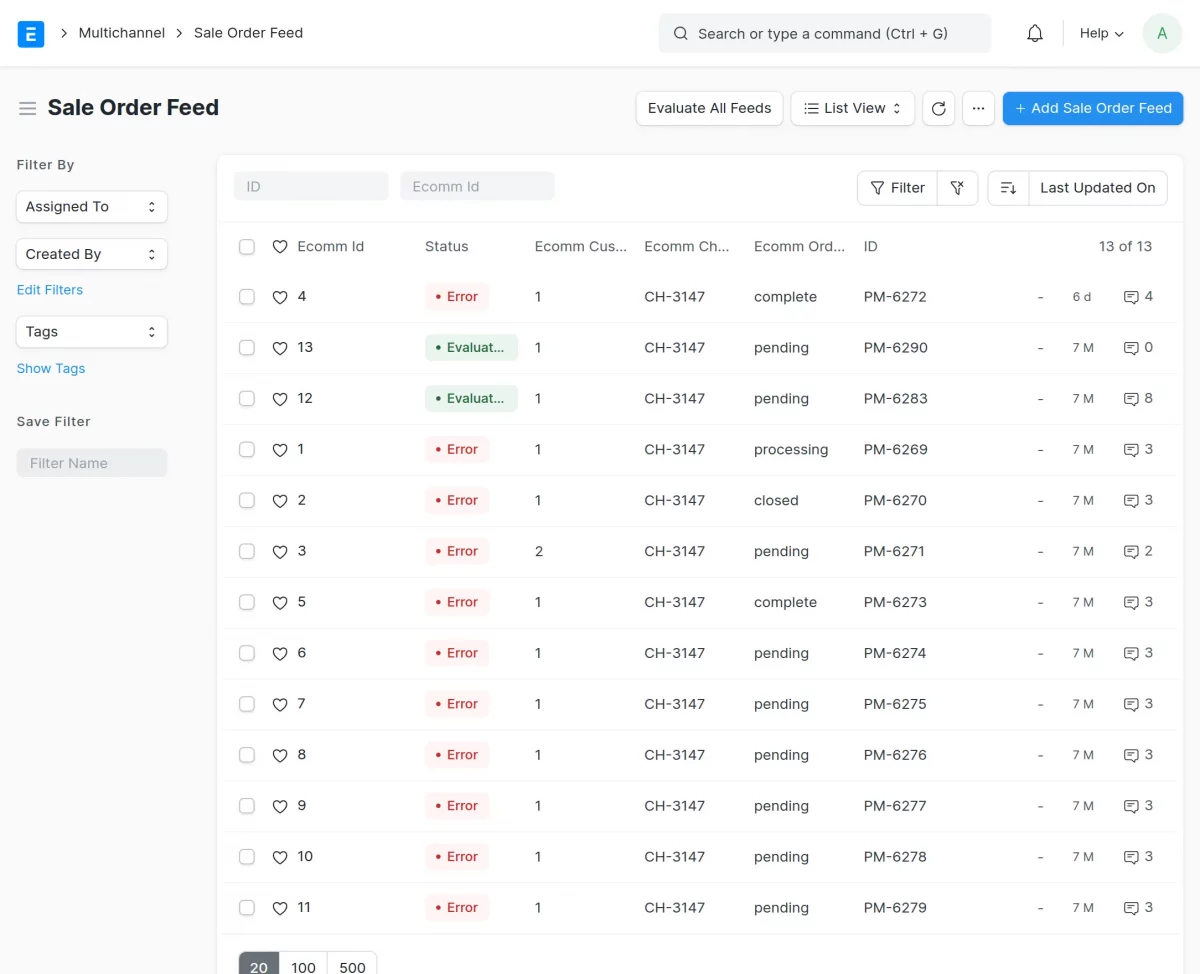
8. Sales Order Feed: Imported orders create sales order feed records. You must evaluate the feeds to generate ERPNext sales orders.
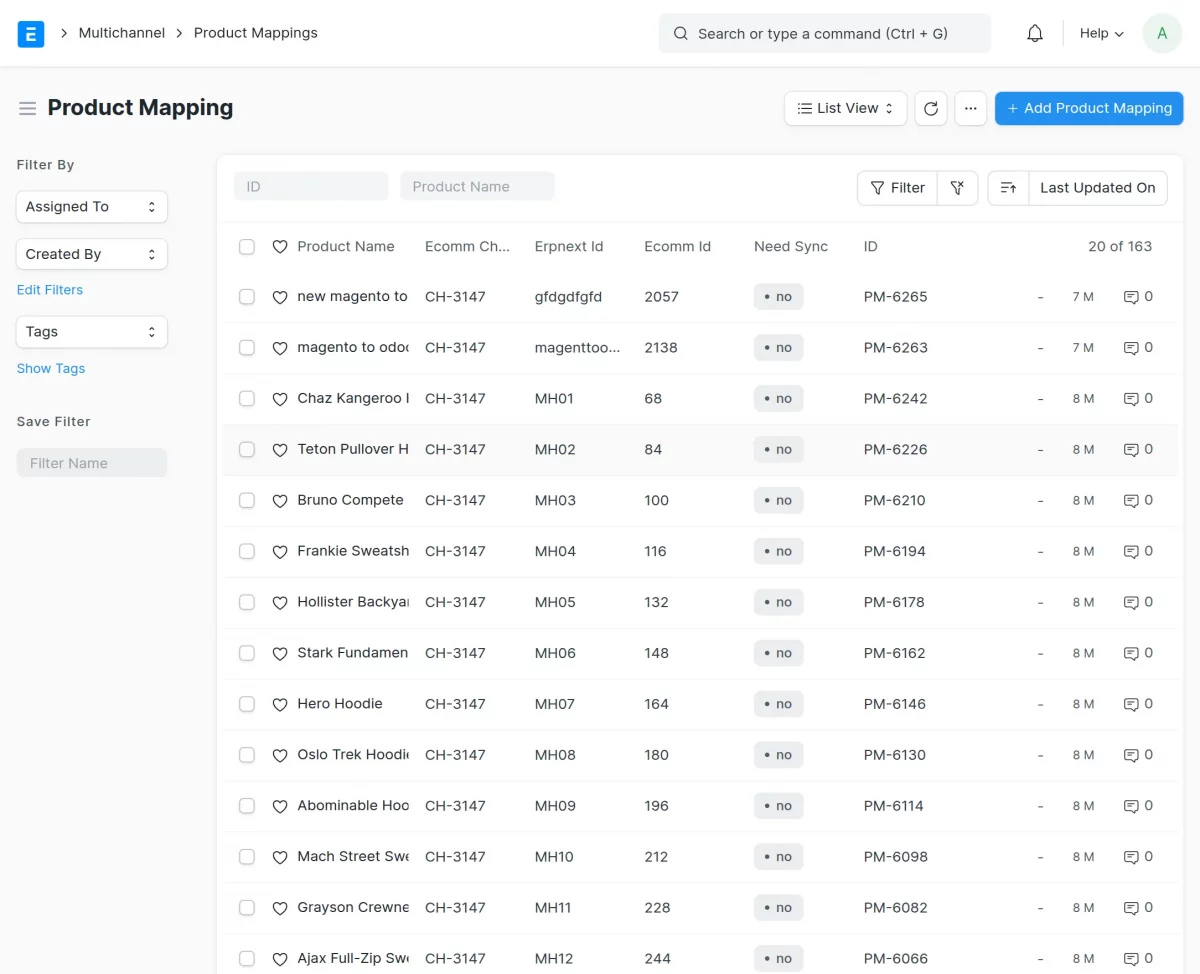
9. Product Mapping: Once products are evaluated, ERPNext creates mappings for simple and configurable products. This mapping ensures correct linking between ERPNext and the store.
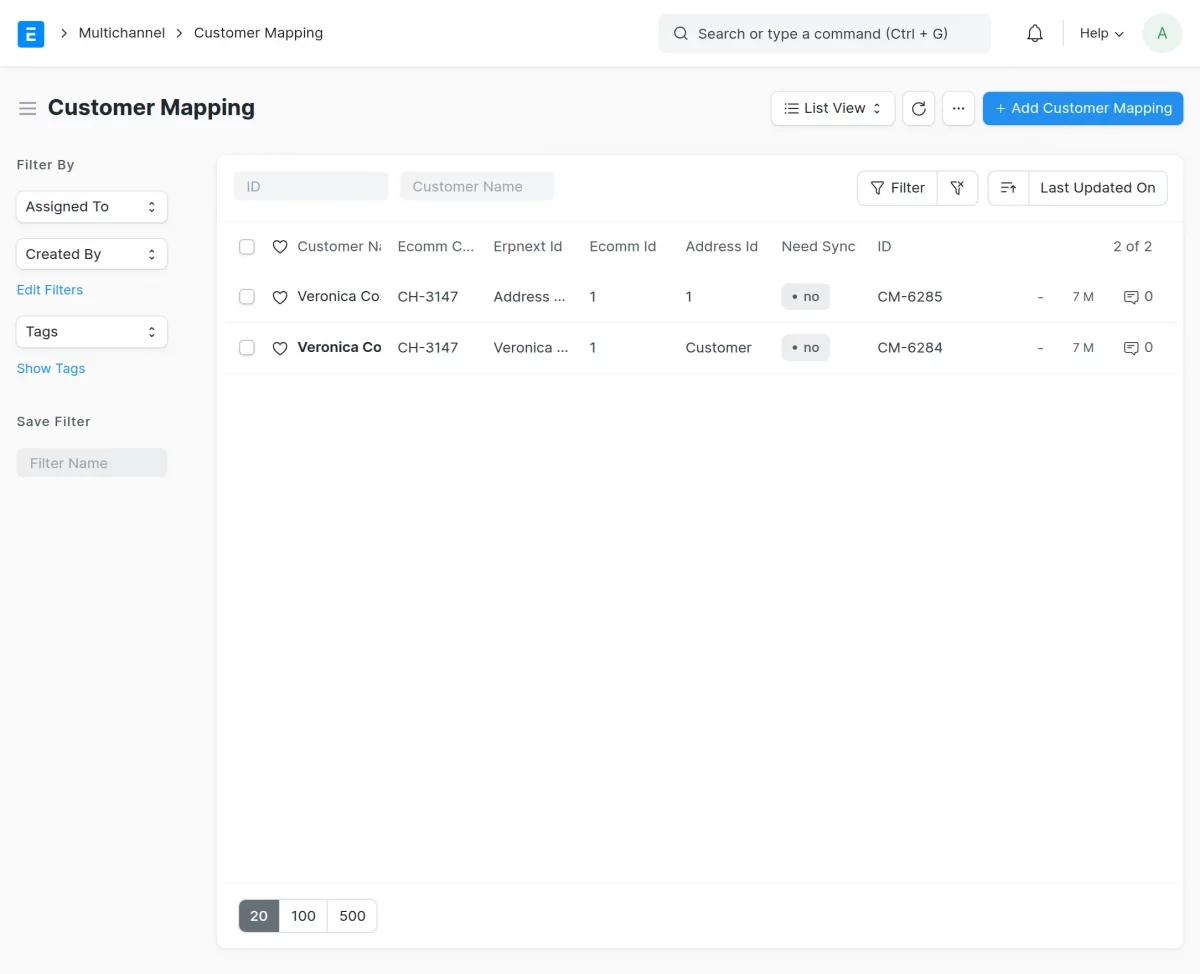
10. Customer Mapping: When customers are imported, mappings help identify the same customer in ERPNext. Customer feeds also update addresses and details.
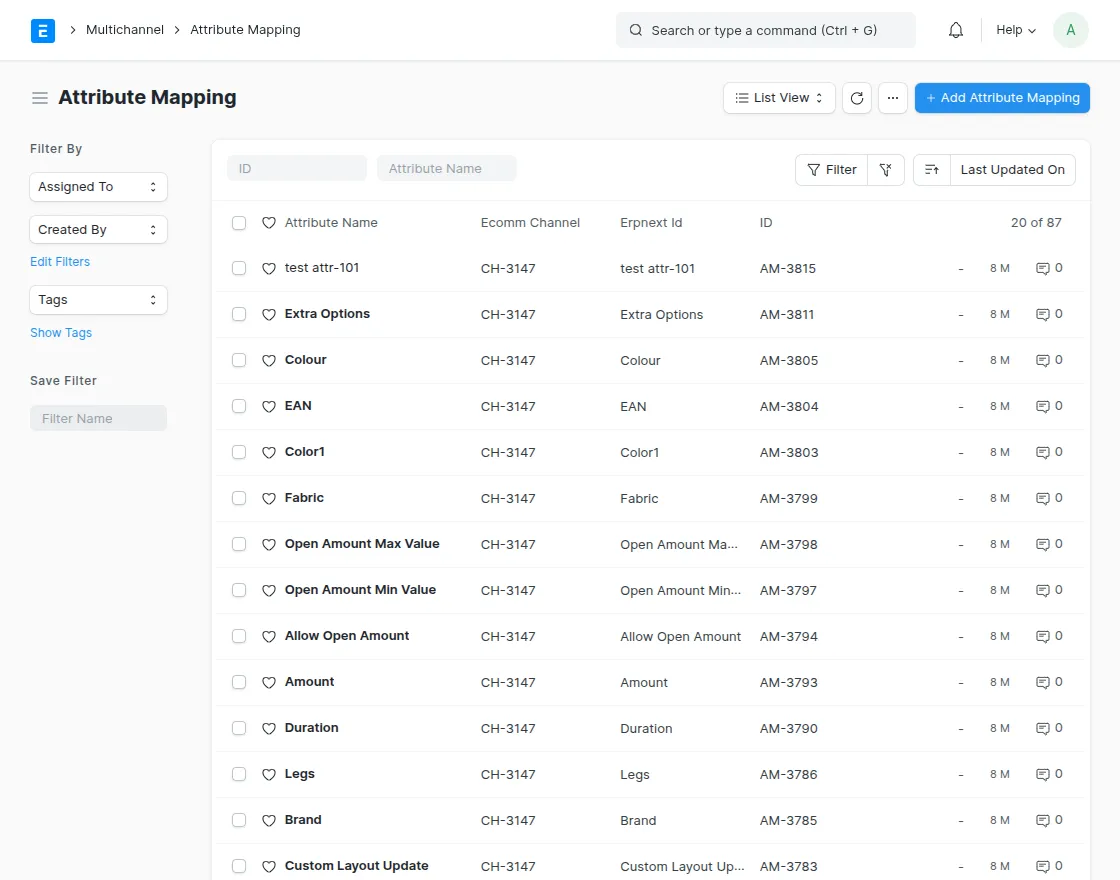
11. Attribute mapping: Shows how attributes (size, color) map between platforms. Essential for configurable product sync.
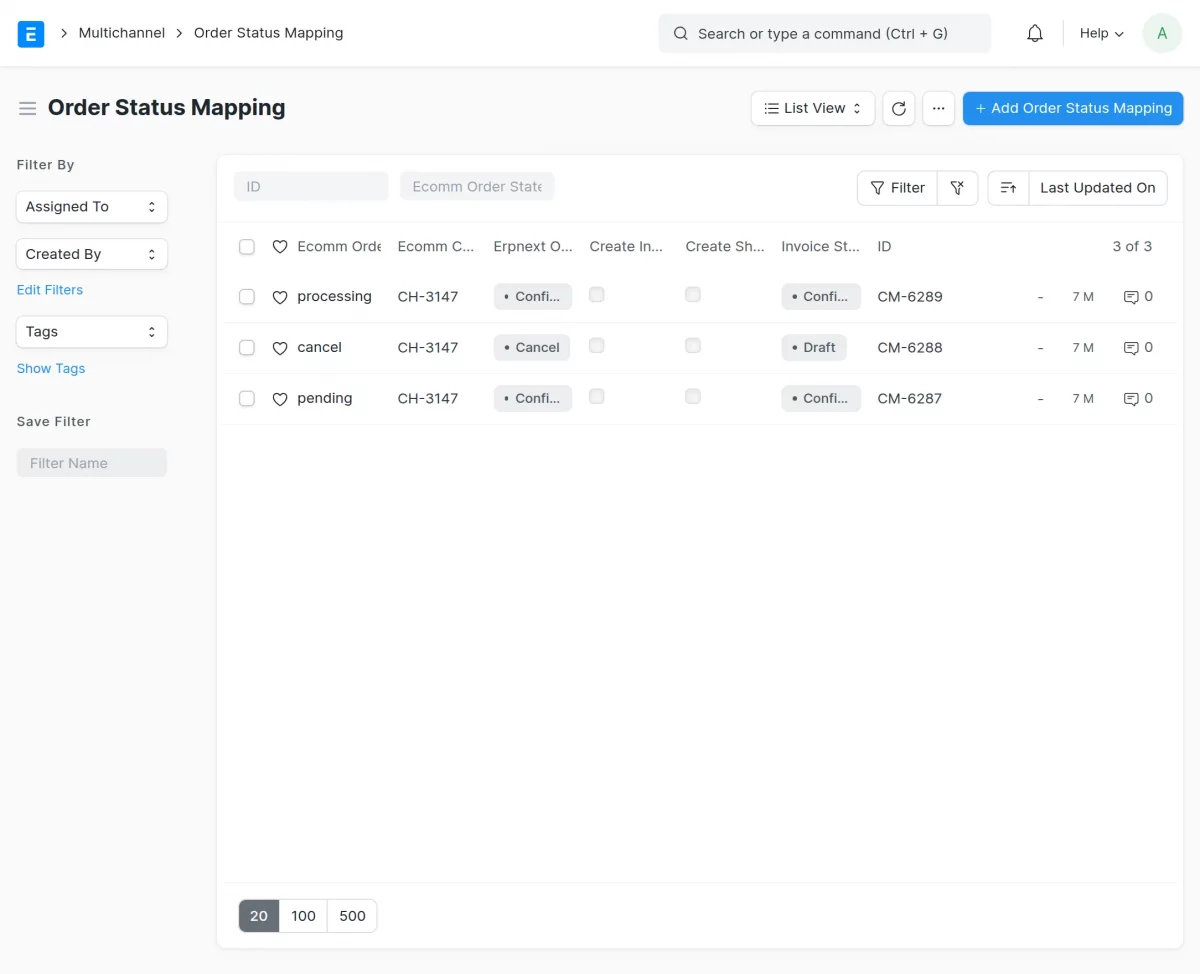
12. Order Status Mapping: Before evaluating order feeds, you must map statuses, including processing, pending, complete, cancel, etc.
Order evaluation works according to the mapped statuses.
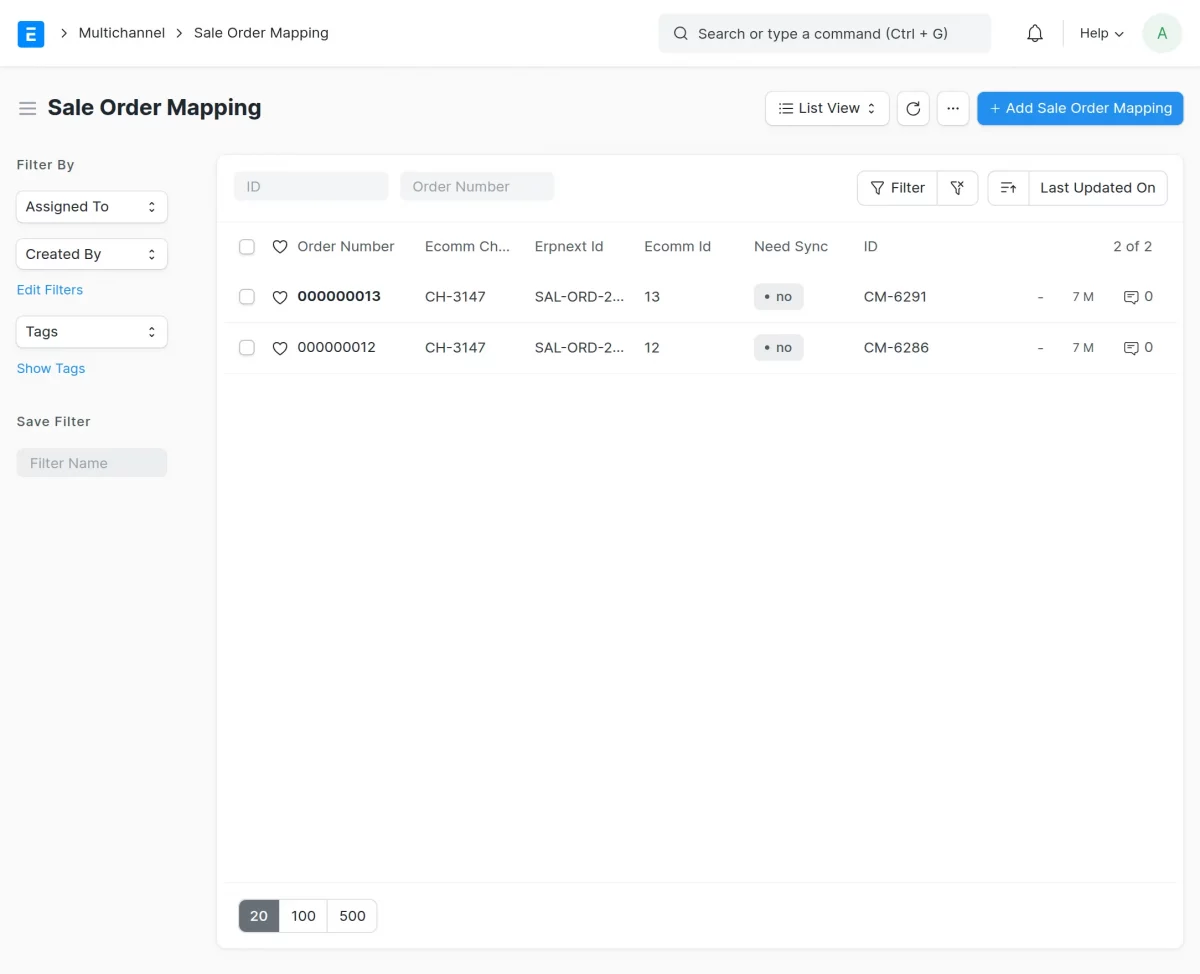
13. Sales Order Mapping: After feed evaluation, ERPNext links orders with channel order IDs. This keeps ERPNext orders connected to the original marketplace orders.
14. Auto Sync Operations (ERPNext → Ecomm): The connector updates store data automatically when enabled in settings.
It includes:
- Stock Update
- Invoice Status Update
- Shipping Status Update
- Cancel Status Update
- Auto Evaluate Feeds

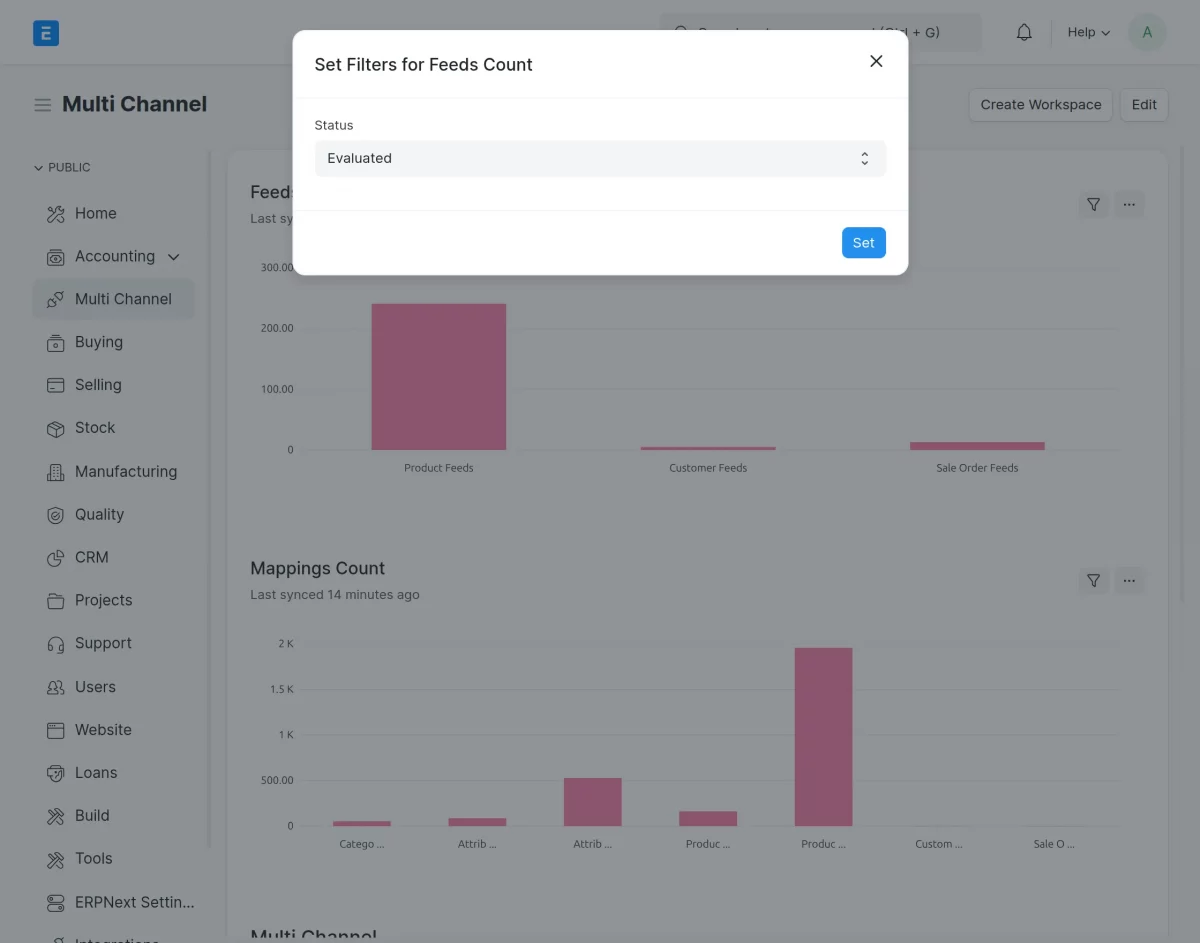
15. Status-Wise Feed Count: You can filter the dashboard to check how many feeds are in pending or evaluated status.
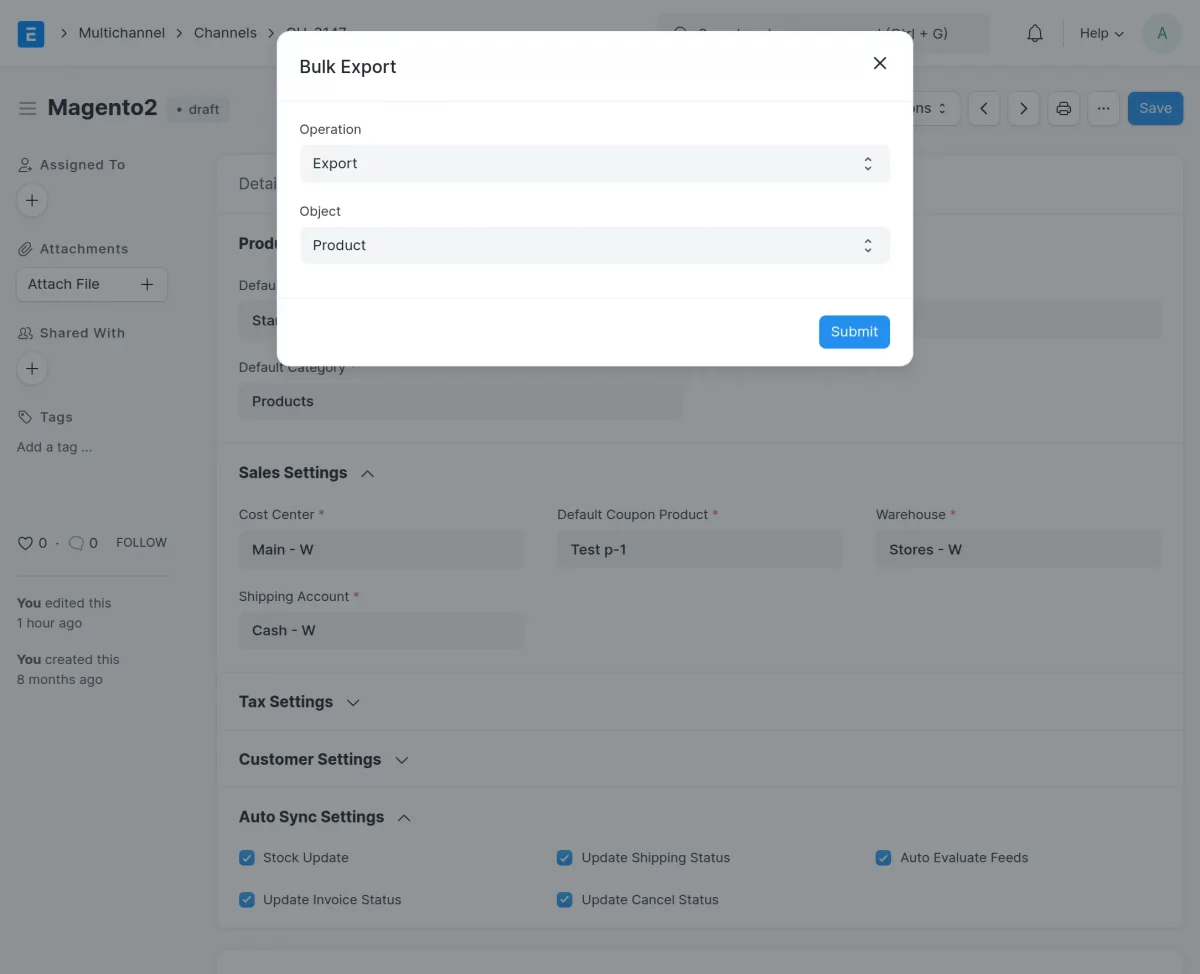
16. Export Operation (ERPNext → Ecomm): You can export products, categories, and attributes from ERPNext to your online store.
Exporting helps you manage listings directly from ERPNext.
Need Help?
Hope you find the guide helpful! Please feel free to share your feedback in the comments below.
If you still have any issues/queries, please create a ticket at the UV Desk.
I hope this helps. In case of any further queries, contact us at our support mail.
Thanks for paying attention!!

Be the first to comment.