Introduction
Bagisto WhatsApp ChatBot & Order Notifications turns the customer’s life easy as they can purchase products directly using their WhatsApp account.
With it, the admin can send notifications to the customers if an order is going through any event like placed, shipped, or canceled.
By leveraging notifications integrated with WhatsApp, store owners can significantly boost their sales.
The most important feature to keep your customers engaged for any event, subscription or transaction is the Notifications.
So it is helpful for creating a good user experience that will not only make your product identity enhanced but also it will notify your customers in real-time.
Note- You can also check our Laravel eCommerce Whatsapp Contact module.
Check the working of the plugin in the video below –
Features
- It packs in lots of demanding features that allow your business to scale in no time.
- The logged-in customer and Guest both have the option to checkout directly using their Whatsapp number.
- The customer will able to see product details along with quantity and price on their Whatsapp number.
- After selecting the shipping and payment methods, the customer can place an order based on the selected choice.
- The notification will reach to customer’s Whatsapp number after placing an order with the order ID.
- The order history of the registered customers who purchase products via WhatsApp is maintained.
Installation of Bagisto Whatsapp Chatbot & Order Notification
- Unzip the respective extension zip and then merge “packages” into the project root directory
- Goto config/app.php file and add the following line under ‘providers’
Webkul\WhatsAppNotifications\Providers\WhatsAppServiceProvider::class
- Go to the composer.json file and add the following line under ‘psr-4’
Webkul\\WhatsAppNotifications\\": "packages/Webkul/WhatsAppNotifications/src
- In the config/bagisto-vite.php file, add the following line under the ‘viters’ section:
    'whatsApp' => [
        'hot_file'                 => 'whatsApp-vite.hot',
        'build_directory'          => 'themes/whatsApp/build',
        'package_assets_directory' => 'src/Resources/assets',
    ],
- Create a Twilio Account and get all the below details from there.
- Set up a Webhook URL here and under the **Sandbox settings** tab enter your URL asi.e PROJECT_URL/whatsapp/bot
- Add Your Twilio Config in the .env file.
TWILIO_AUTH_SID=YOUR_TWILIO_SID(ex-AC2dac53991ce51b930588b659f81a81d1)
TWILIO_AUTH_TOKEN=YOUR_AUTH_TOKEN(ex-b469ce1ae97d8c8e97a47340a55856ff)
TWILIO_WHATSAPP_FROM=YOUR_WHATSAPP_CONFIGURED_NUMBER(ex-+14155238886)
Add TWILIO service into your **config/services.php** file under return array.
'twilio' => [
    'sid'           => env('TWILIO_AUTH_SID'),
    'token'         => env('TWILIO_AUTH_TOKEN'),
    'whatsapp_from' => env('TWILIO_WHATSAPP_FROM'),
],
Run below command to install **Twilio** SDK into your project
composer require twilio/sdk
Run below commands
php artisan migrate
php artisan db:seed --class=Webkul\\WhatsAppNotifications\\Database\\Seeders\\DatabaseSeeder
If your are windows user then run the below command-
php artisan db:seed --class="Webkul\WhatsAppNotifications\Database\Seeders\DatabaseSeeder"
php artisan vendor:publish --provider="Webkul\WhatsAppNotifications\Providers\WhatsAppServiceProvider" --force
php artisan config:cache
php artisan optimize:clear
That’s it, now just execute the project on your specified domain.
How to Setup the Twilio Account?
The store owners need to create the Twilio account with the following steps-
- Login into the account if you’ve it before.
- Or you can sign up by putting your Name, Email and then setting your password next click on the start your free trial button.

- The verification mail will be sent to your registered mail id, from there you can verify it.
- Then you need to enter your Phone number and click on the verify button, entering the verification code the phone number will be verified.
- After it, a pop-up will appear on your screen to activate your sandbox account.
Now, Add Your Twilio Config in .env file as shared above in installation.
WhatsApp Sandbox Configuration
For working in the test environment, the user needs to configure his/her sandbox inbound URL.
To be able to send and receive messages from the Sandbox to the Application, the store admin needs to go through the following steps.
- Send a message to the Twilio number with the verification code to join.

You will receive a confirmation text on your device.

- Send a One-Way Message.
- Two-Way Messaging. Now after replying to the notification as shown above the user will have a 24-hour conversation window.
- Configure your sandbox.
Note: In order to move into production using the Twilio API for WhatsApp, you need a WhatsApp Business Profile in conclusion, WhatsApp has to formally approve your account.
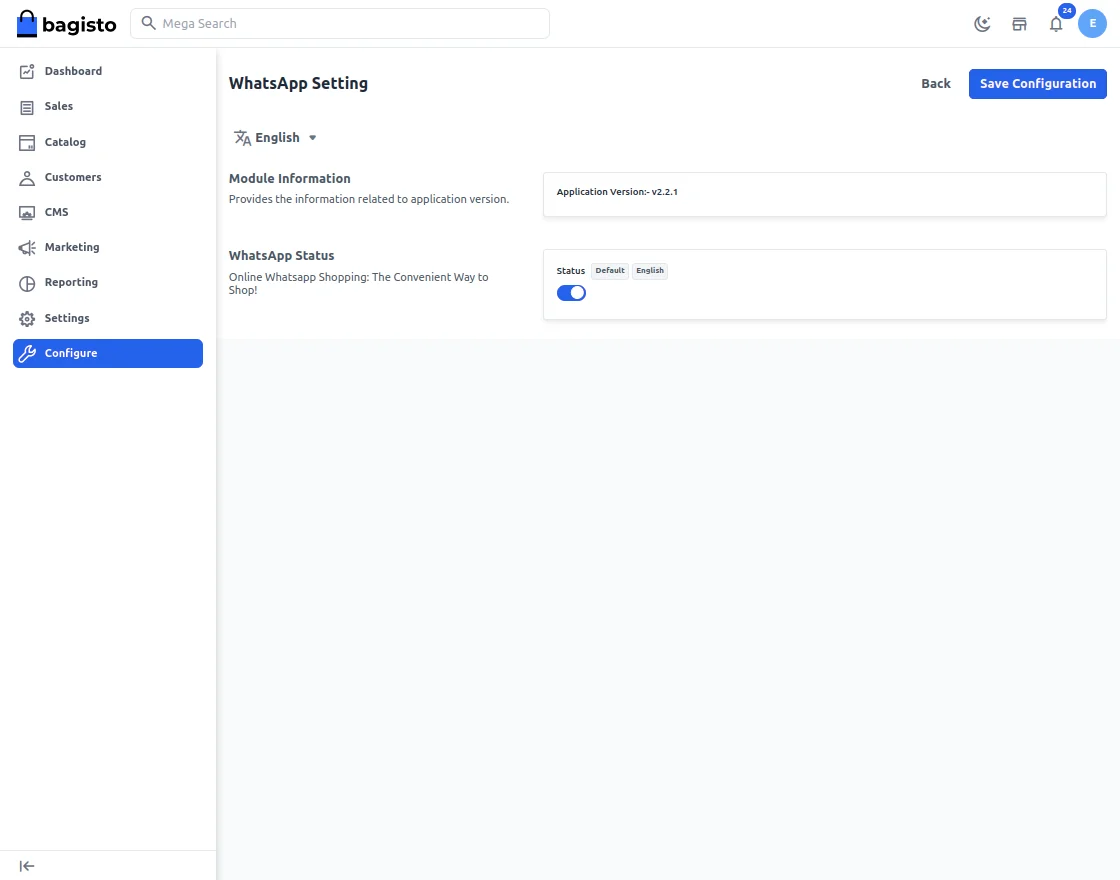
Admin Configuration
After the successful installation of the module, the admin can navigate to Bagisto store>>Configure>>WhatsApp Setting.
After enabling the module, now the admin can configure their settings.
Customer Front End Panel
The customer can go to the front end and find the WhatsApp button with the product.
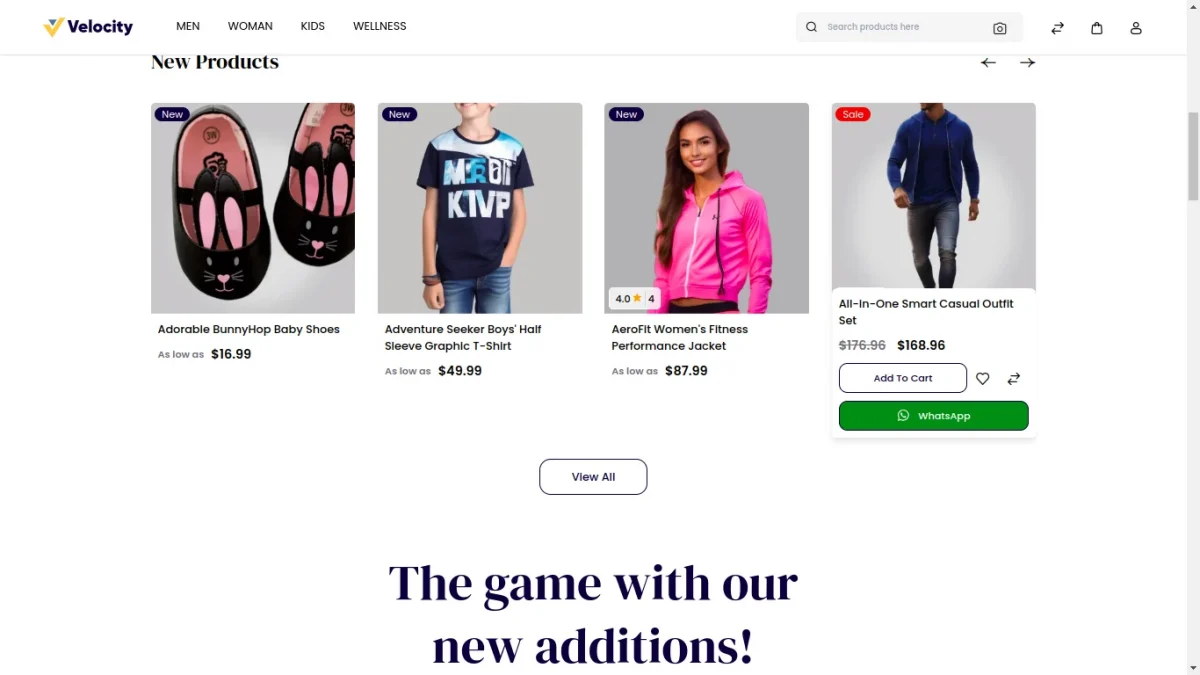
On clicking on the product page, there is an option to purchase on WhatsApp.
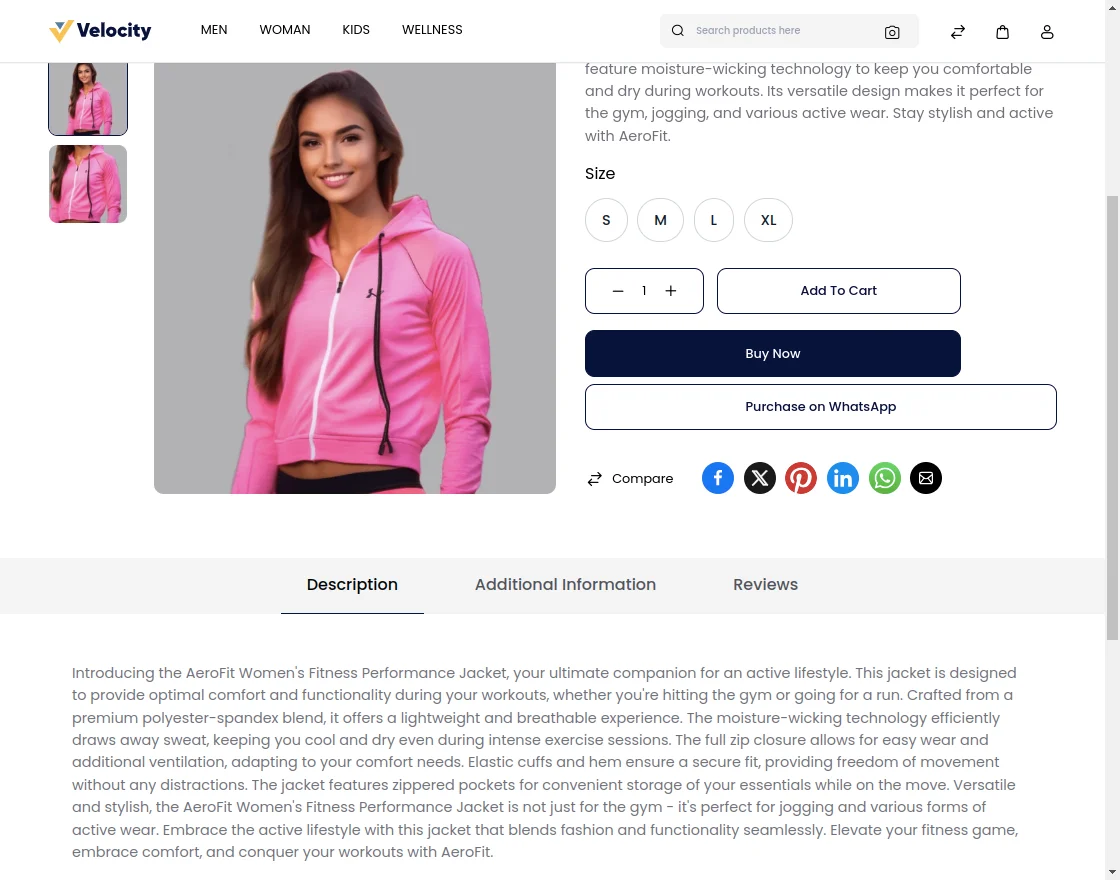
On clicking on it, a pop-up will appear-
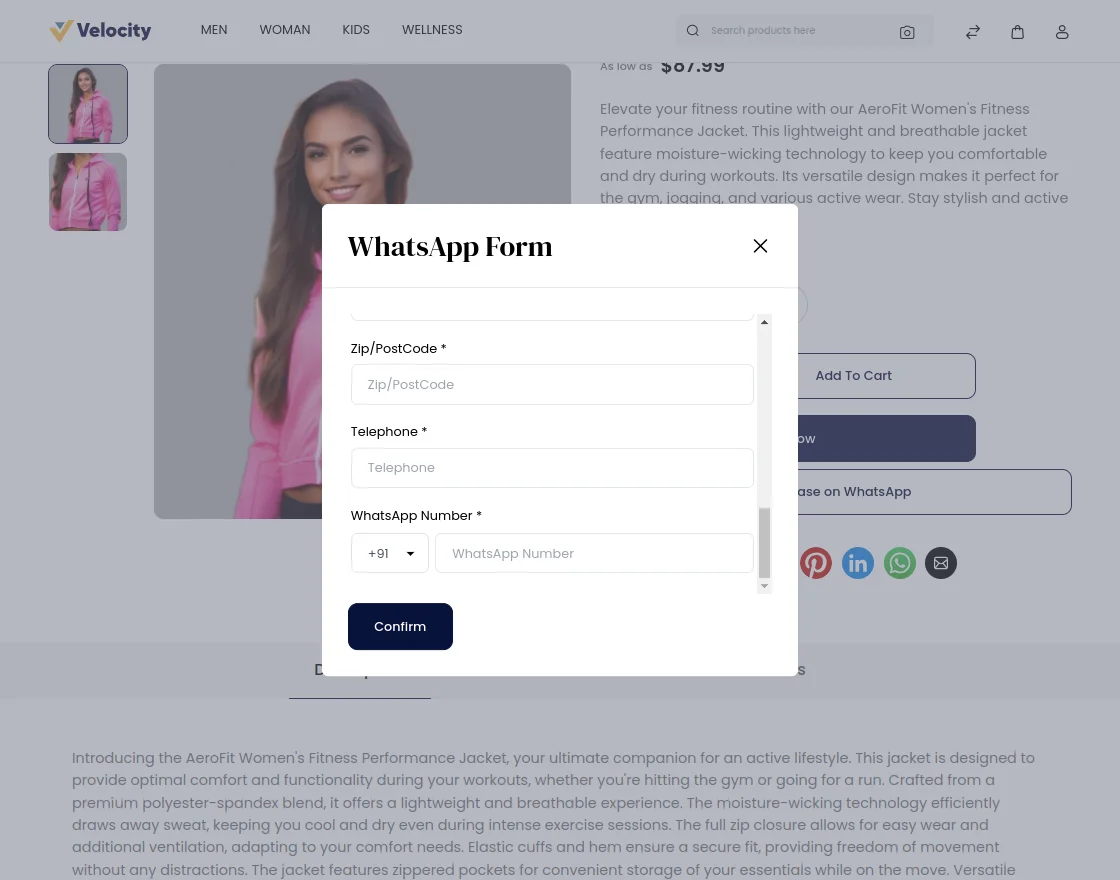
After filling all the fields, customer gets redirect to the WhatsApp chat where they will receive the message from the store having all the product details.
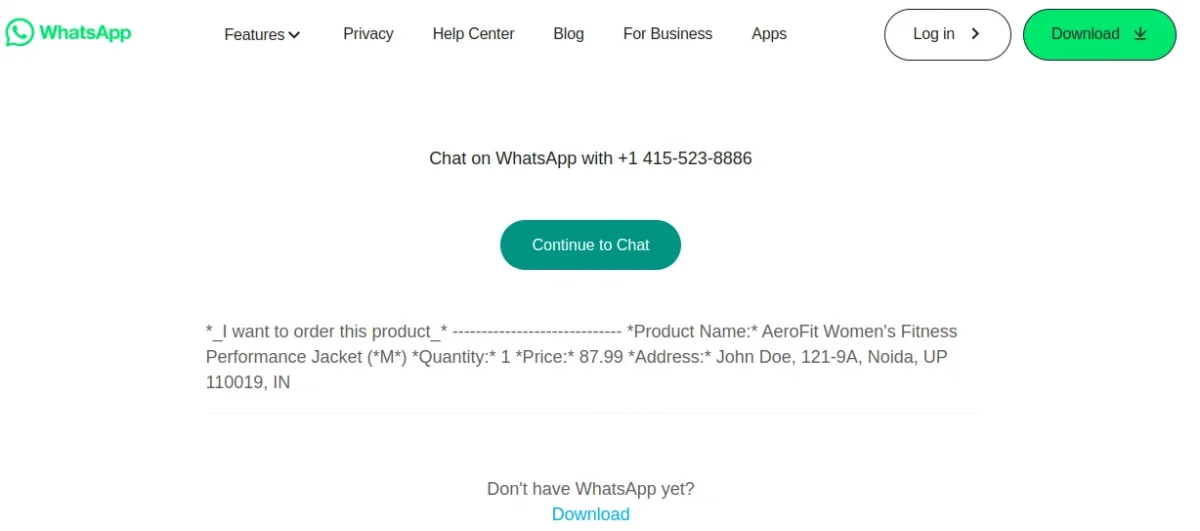
And on the mobile phone, you’ll view the page as follows. In that, you can also select the shipping and payment choices-

And then you’ll receive the message confirming your order-

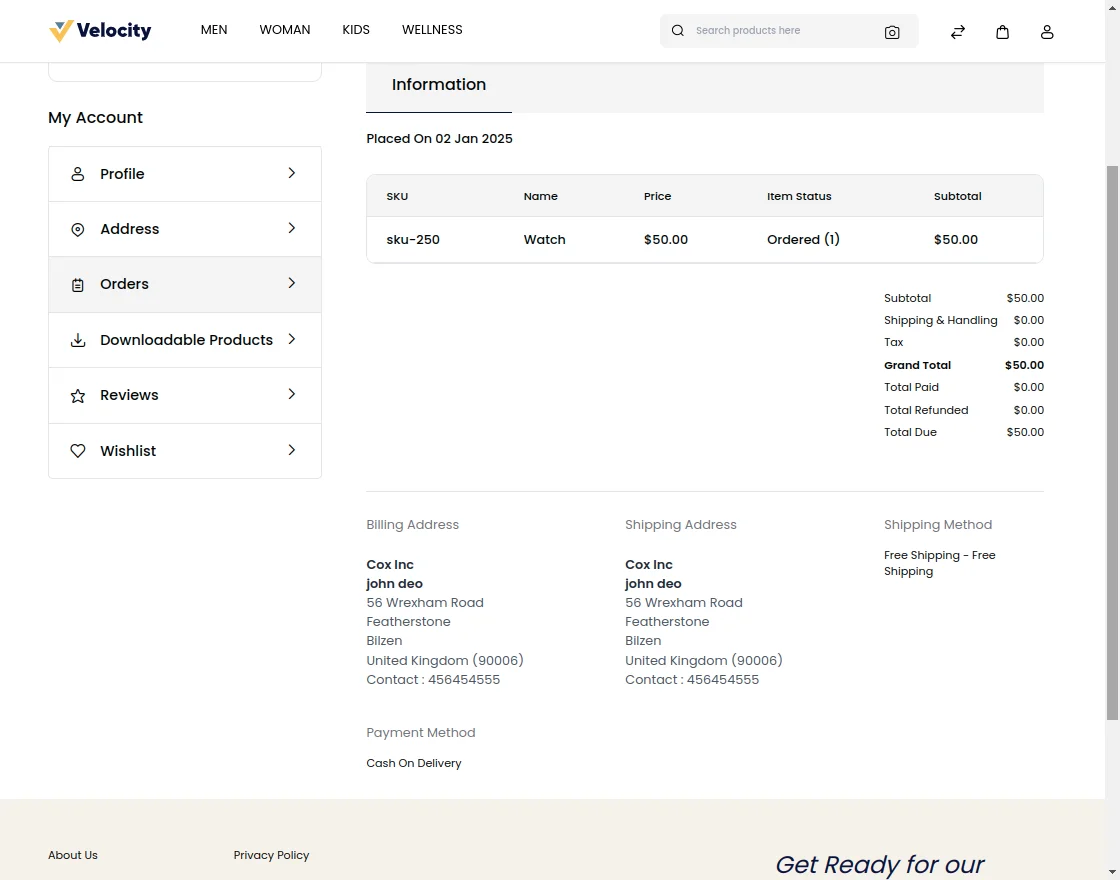
After the order is placed, it can be viewed in the Orders section of the customer as well.
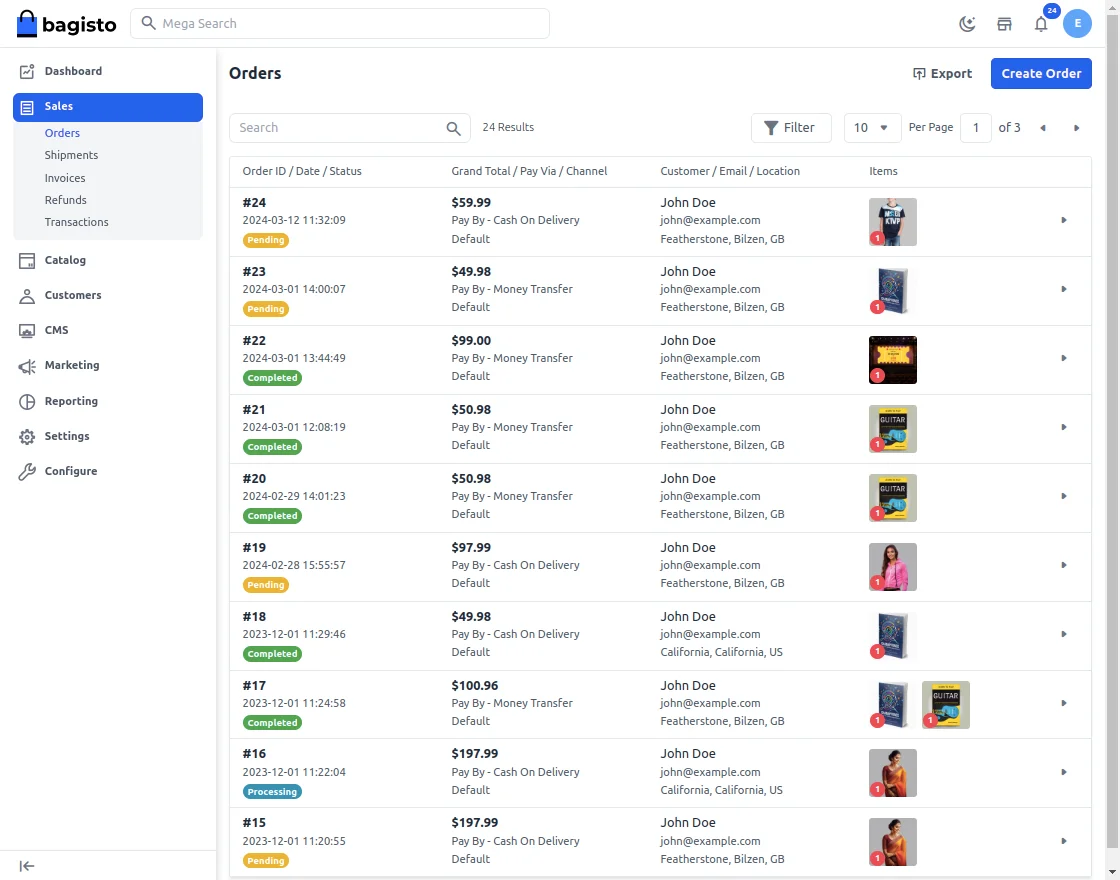
Admin Panel
Now the admin can go to Sales > Orders and check the complete order details.
The admin can generate shipment by clicking on Ship. The customer receives a notification with its order and invoice ID for the same.
Also, if you want to provides real-time, personalized checkout messages to customers after they place an order on the checkout page, then you can check Laravel Ecommerce Order Checkout AI Message.
Support
So, that was much about the User Guide of Bagisto Whatsapp Chatbot & Order Notification Module.
For any queries or doubts reach out to us at [email protected]. You can also raise a ticket at our HelpDesk System.
Please explore our Laravel Development Services and Quality Bagisto Extensions.
Current Product Version - v2.2.1
Supported Framework Version - v2.2.1

I’m curious—does the Bagisto WhatsApp integration also support automated responses to common queries (like order tracking or return policies)? It would be great to see more examples of how stores are using this to improve customer experience.
Thanks for sharing this—looking forward to more content on eCommerce automation!