Laravel affiliate system (or click-through) model can be defined as where a store owner approves paying an affiliate amount in return for giving an advertisement and link to his site.
Bagisto provides the admin to pay the commission to his affiliate user for sending them traffic. Through it, users can have a reward for their affiliates.
For bringing the customer or visitor through an affiliate, he would Earn a reward.
Note –
- At the admin and the customer end, only the live site URL is displayed as a referring URL.
- After making changes to the blog link, the customer needs to get it again approved by the admin.
Complete Feature List
- Affiliate registration can be enabled/disabled by the admin.
- The admin can control Affiliate General Commission Rates.
- The admin is handling the rewards for Unique Click, Per Click, and Affiliate Order.
- The admin is managing the transactions.
- The store owner can Approve/Disapprove the Affiliate.
- The owner can set the Payment Method for the Affiliate.
- The admin can Create/Delete the Text Banners.
- The admin can set the commission based on category.
- Handle Affiliate User, Payment, Traffic, Sales, and Statistics by admin.
- Manage advertisement by affiliate users.
- Fully open-source and easy to use.
Installation of Bagisto Affiliate System
- Unzip the respective extension zip and then merge the “packages” folder into the project root directory.
- Goto composer.json file and add following line under ‘psr-4’
"Webkul\\AffiliateSystem\\": "packages/Webkul/AffiliateSystem/src"
- Goto config/app.php file and add following line under ‘providers’
Webkul\AffiliateSystem\Providers\AffiliateSystemServiceProvider::class,
- Goto app/Http/Kernel.php file and add following line in ‘$middlewareGroups’ array under ‘web’
\Webkul\AffiliateSystem\Http\Middleware\AffiliateClick::class,
- Run these commands below to complete the setup
composer dump-autoload
php artisan affiliatesystem:install
That’s it, now just execute the project on your specified domain.
Admin Configuration
After the successful installation of the module, the admin can navigate to Configuration>>Settings>>Affiliate System.
The admin can perform the following things from here-
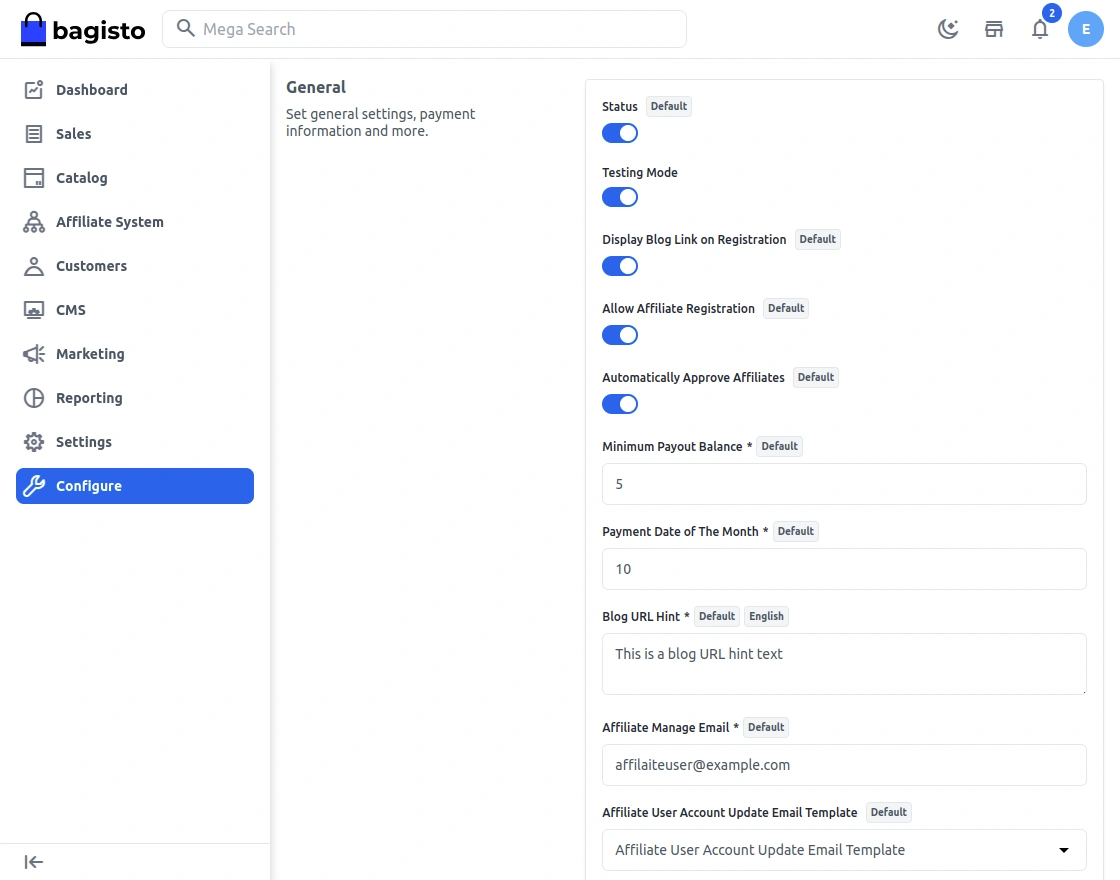
General Settings
Enable- The admin can enable/disable the module.
Display Blog Link on Registration- The admin can enable it for displaying the blog link on registration of the affiliates.
Allow affiliate registration- The admin can allow the affiliate registration.
Automatically approve affiliates– By enabling it, the affiliates approve automatically.
Minimum payout balance– Set the minimum payout balance to be credited into the customer’s account.
Payment day of the month– He can set it to any day from 1 to 31 of a month.
Blog URL Hint– Write the hint for the blog so that affiliate users can have a hint at the time of registration.
Affiliate Manage E-mail– Enter the Affiliate’s email address.
Affiliate user account update email template– Select the email template when the affiliate user account status is updated by the admin.
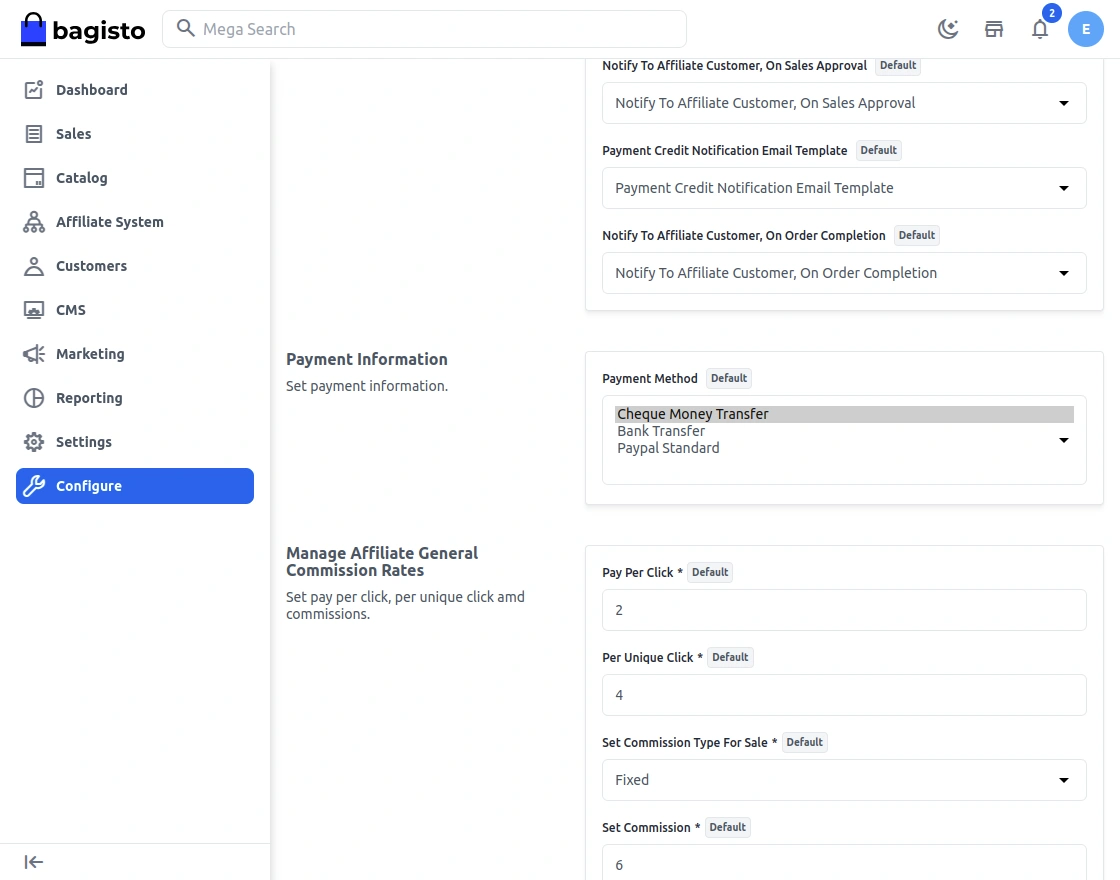
Notify To Affiliate Customer, On Sales Approval – Select the email template for notifying the admin when affiliate sales orders are approved.
Payment credit notification email Template – Select the email template for notifying the affiliate when the affiliate user payment is credited to his bank.
Notify To Affiliate Customer, On Order Completion – Select the email template for notifying the affiliate of the sales order complete notification.
Payment Information
Assign Payment Methods– The admin will select the payment methods that will be available to the affiliates from the list of payment methods given below-
Cheque Money Transfer, Bank Transfer Payment, and Paypal Standard Method.
Manage Affiliate General Commission Rates
Here the admin can configure the below points :
Pay Per Click– The admin can configure the payment amount per click.
Per Unique Click– He can configure the payment for every unique click.
Set Commission Type For Sale– The admin can set it as Fixed or Percentage.
Set Commission– He can set the commission as per the requirement.
Admin Management
The admin can manage the functionalities of the Laravel (Bagisto) Affiliate System module from his dashboard.
Manage Affiliate
The admin can manage the affiliate user – Approve/Not Approve as shown below under Affiliate >>Manage Affiliate.
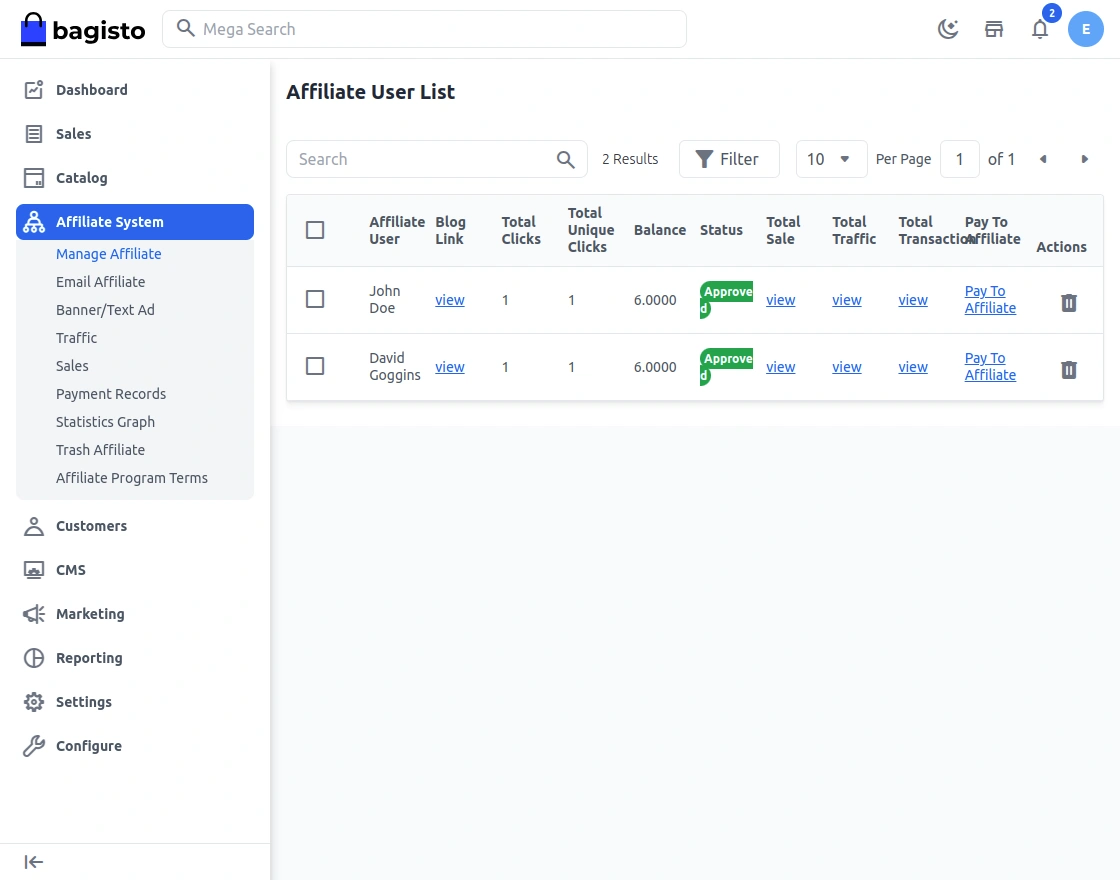
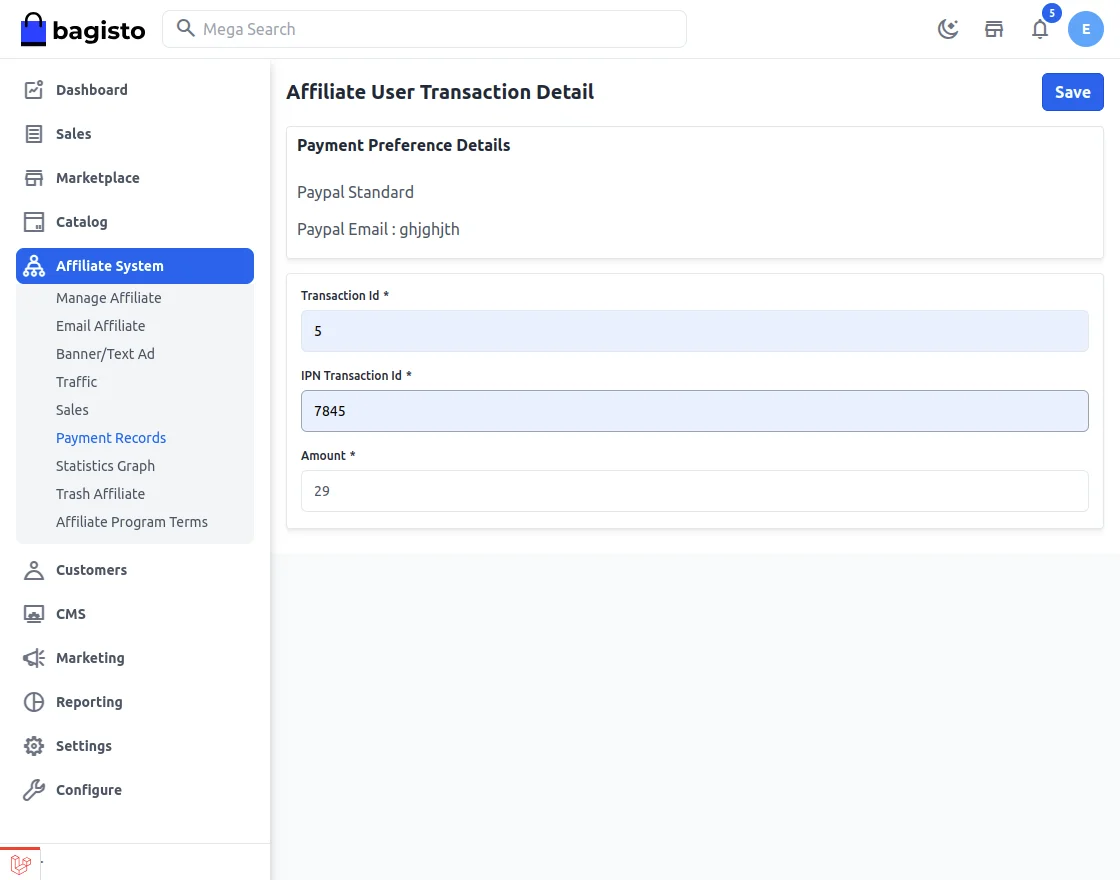
He will pay the commission amount of the affiliate by clicking the “Pay To Affiliate” button.
After clicking the button, the window will open like the one below where the admin can enter the transaction details as per the selected payment method by the affiliate.-
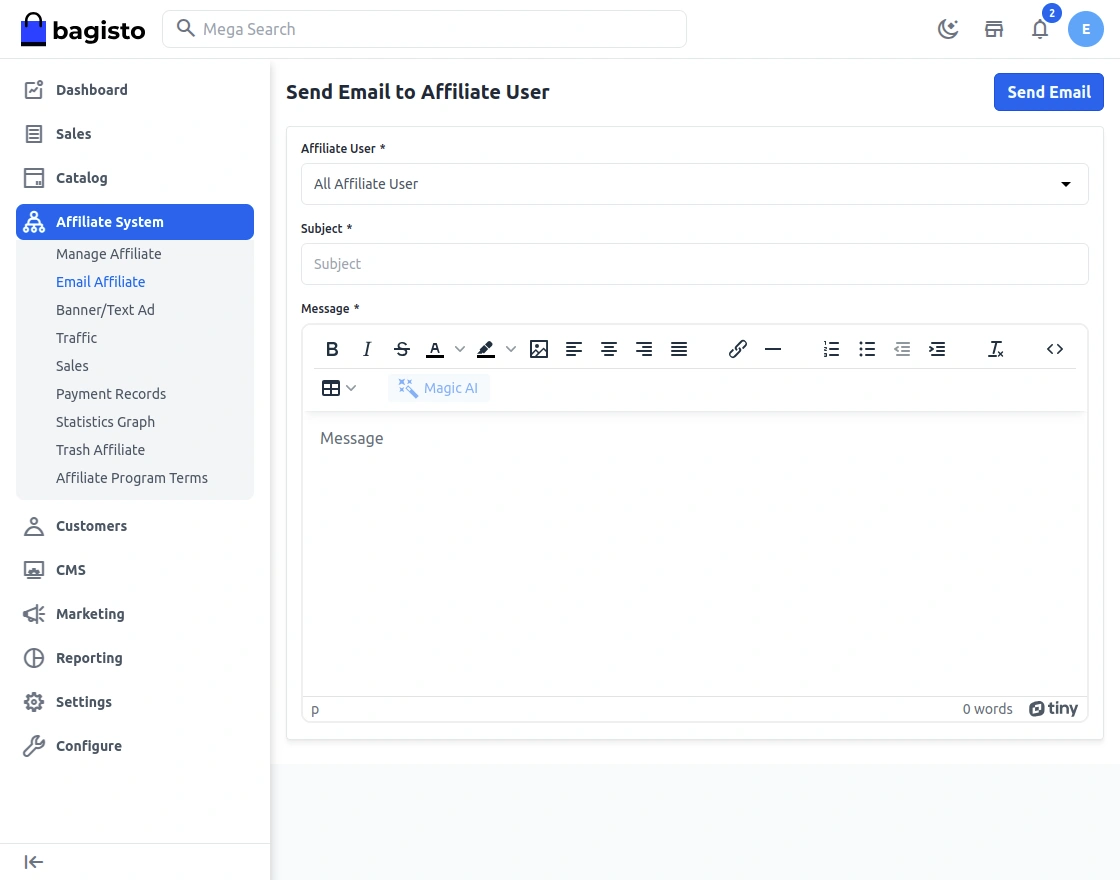
Email Affiliate
The admin can send emails to the affiliate users as shown below by navigating to Affiliate > Affiliate Manage > Email Affiliate.
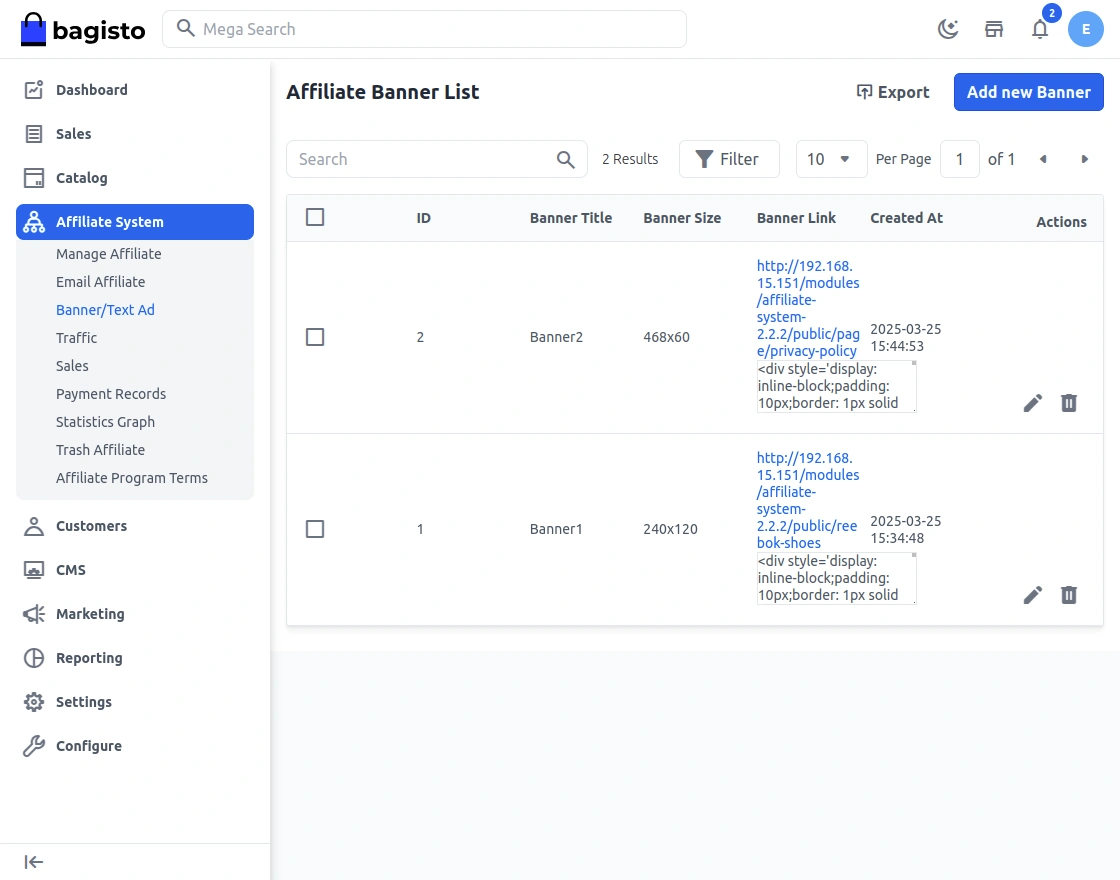
Banner/Text Ad
For adding the banner or text ad, the admin can navigate Affiliate ->Affiliate Banner->Banner/Text Ad.
After clicking the “Banner/Text Ad” menu item, a page with an option to add a new banner appears as per below-
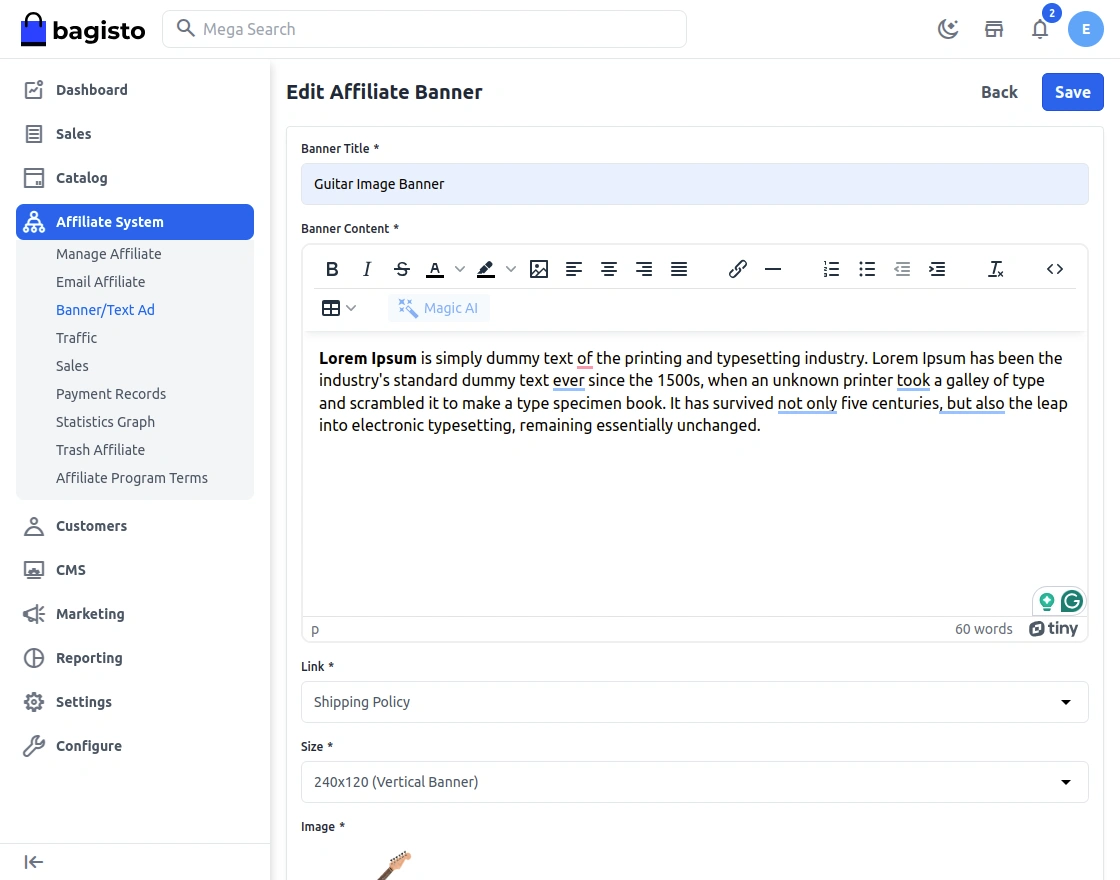
The admin will enter the Banner Title, Content, Link, and Size of the banner as shown below.
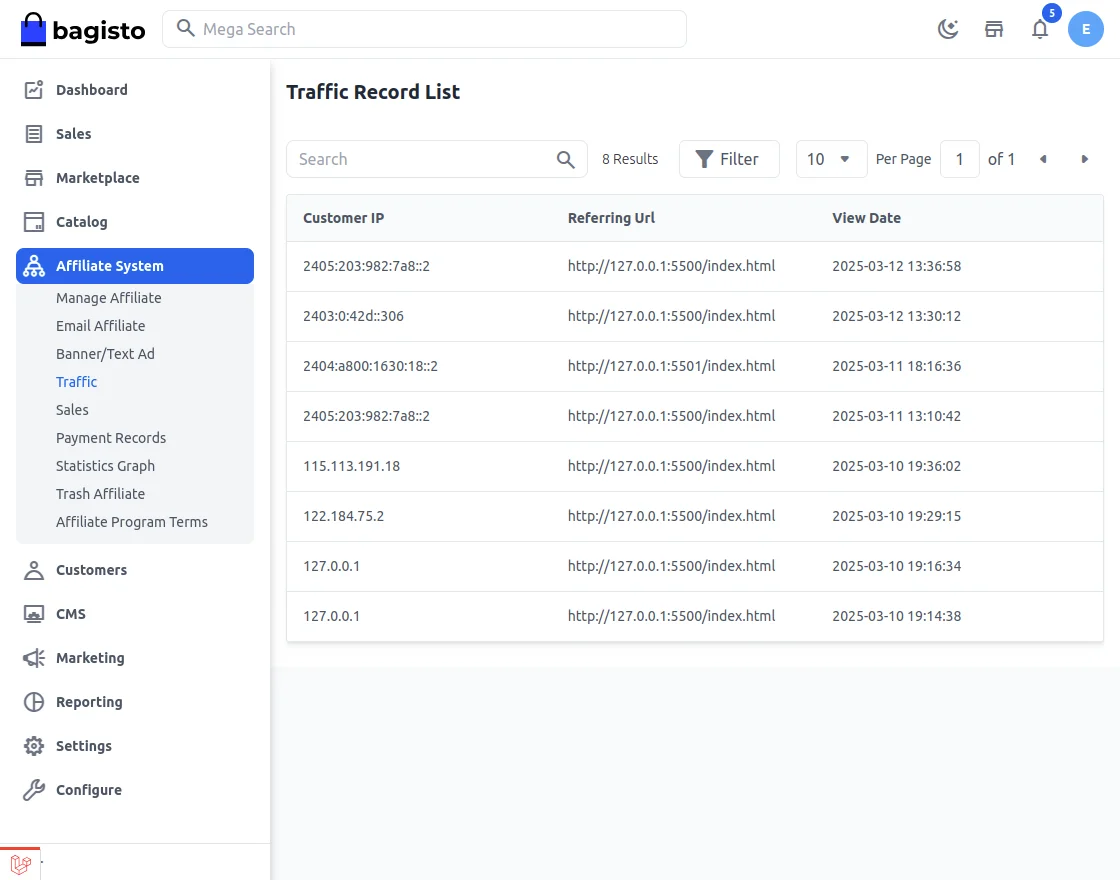
Traffic
The admin can see the Traffic Record list from the admin panel.
Sales
The admin can see the Sales Record list from the admin panel by navigating through Affiliate->Sales.
Here the admin can approve an affiliate Sales Record Status after which the affiliate user gets the commission for that order.

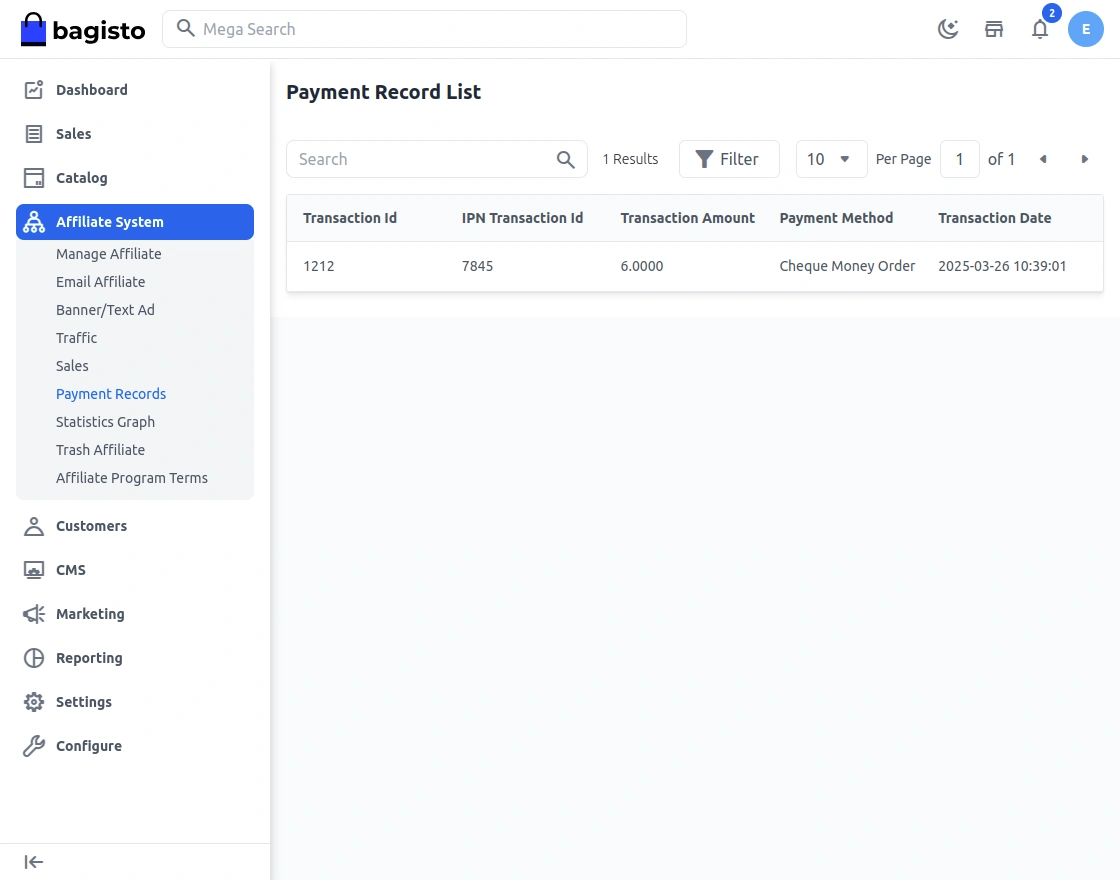
Payment Record list
So, after the transaction, the admin can see the transaction history from the payment record list.
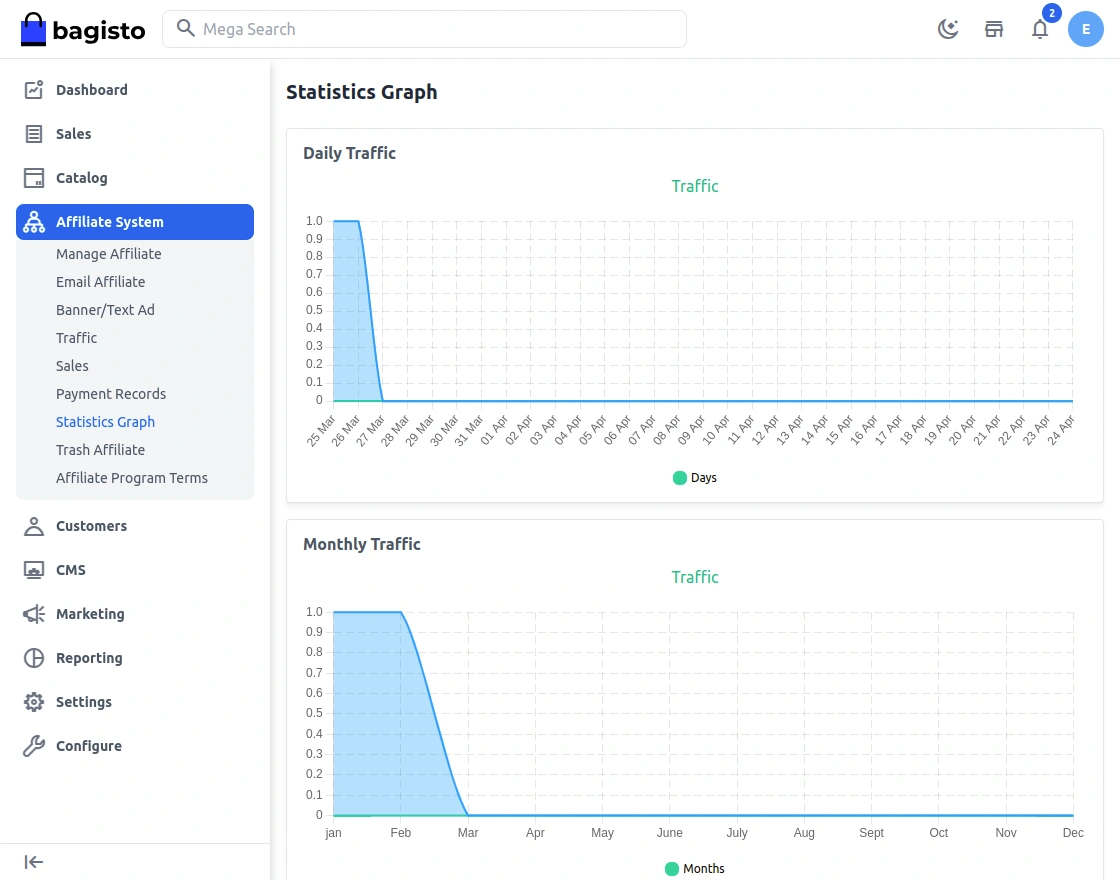
Statistics Graph
The admin can see Statistics Graph showing the Traffic Graph Monthly.
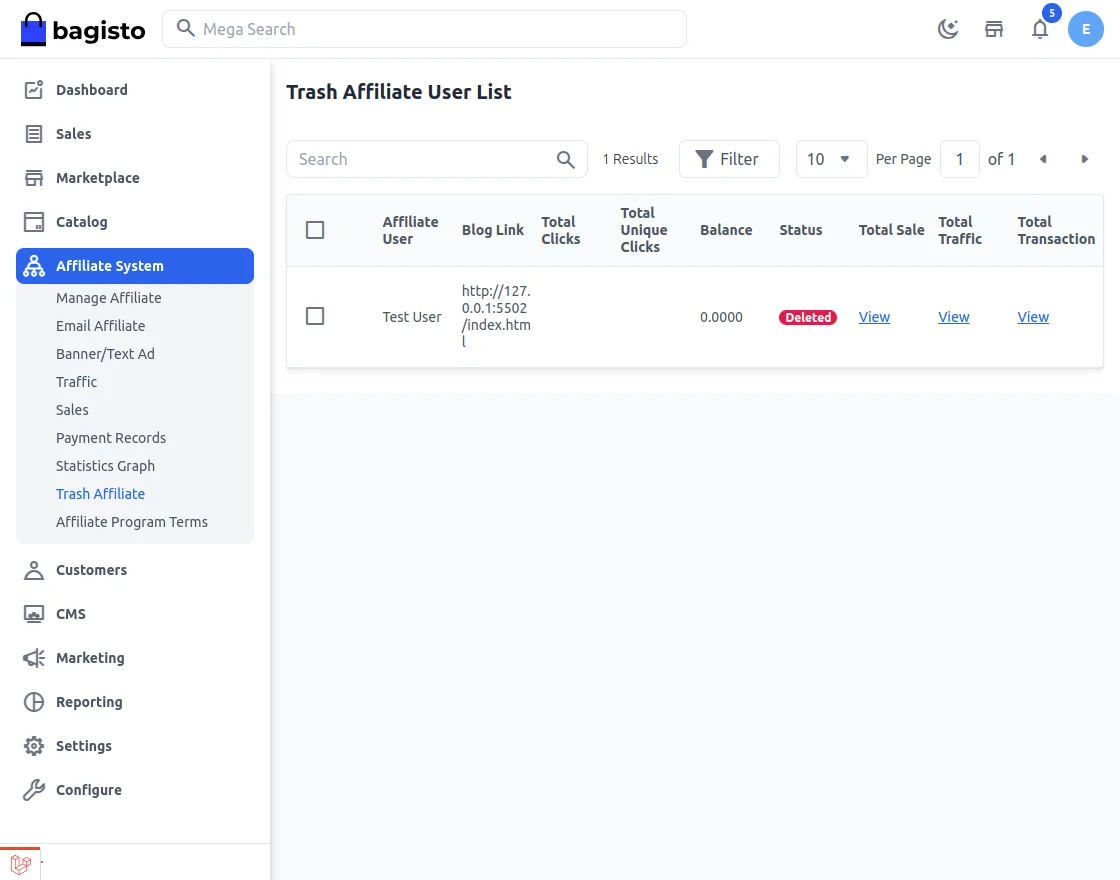
Trash Affiliate –
Here the admin can see the deleted Affiliate users list.
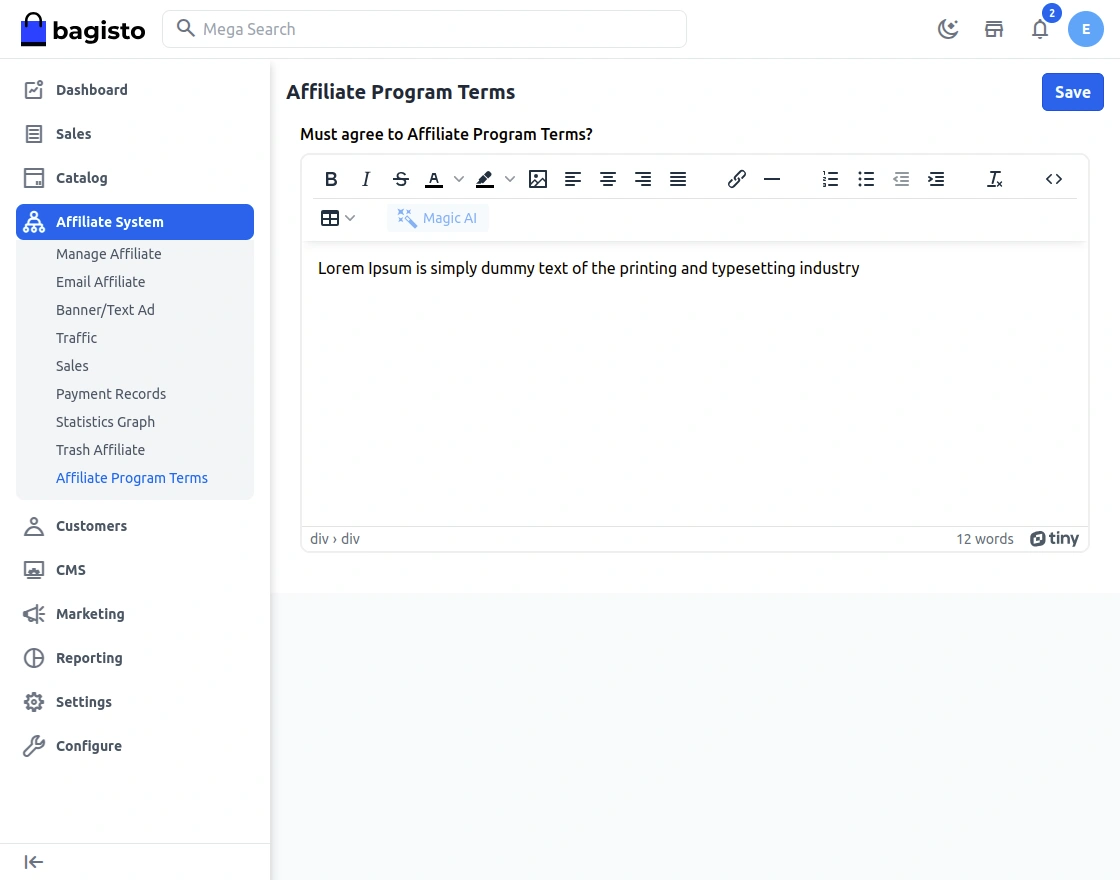
Affiliate Program Terms – The admin can put the Affiliate program terms, and the user needs to accept them so that he can register himself as an affiliate.
Customer Management
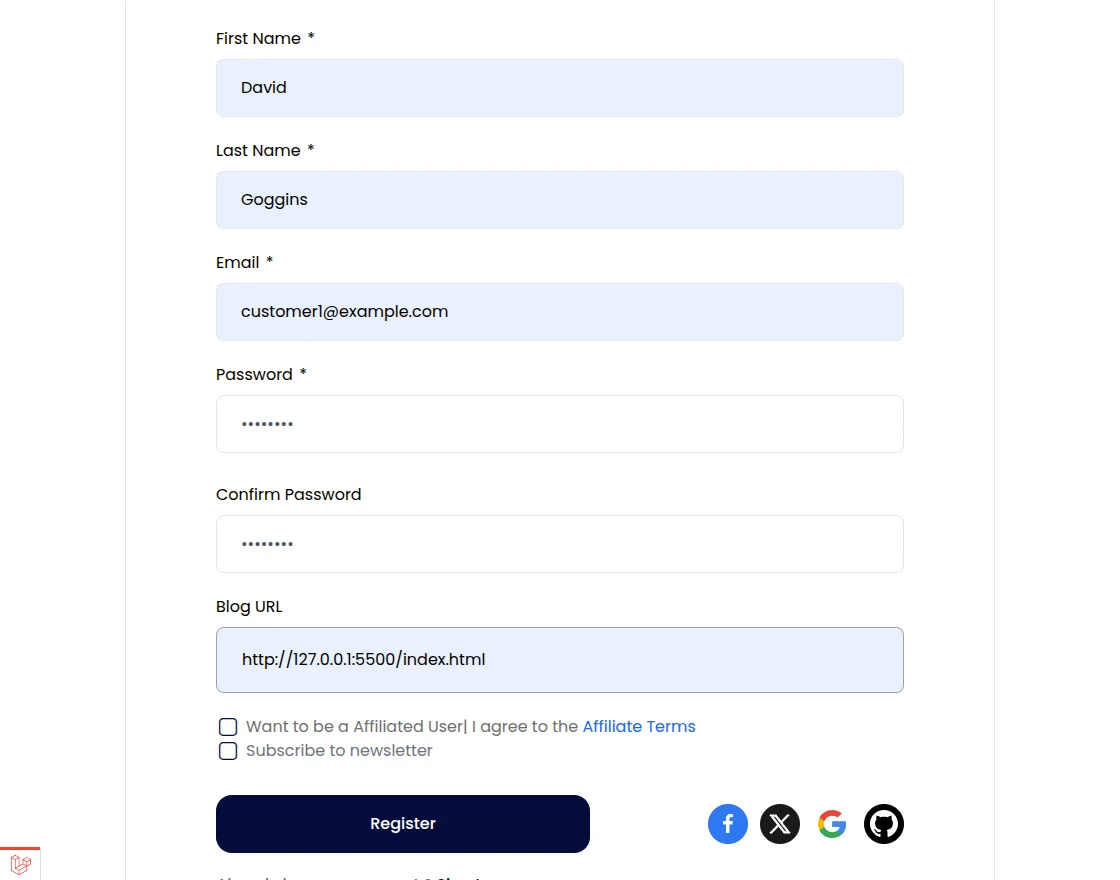
While the customer signs up to the store, he can get a check button for “Become Affiliate User” link.
After clicking on the button, affiliate will have to enter his Blog URL. And then will agree to the terms & conditions and click save to save his blog link as shown below.
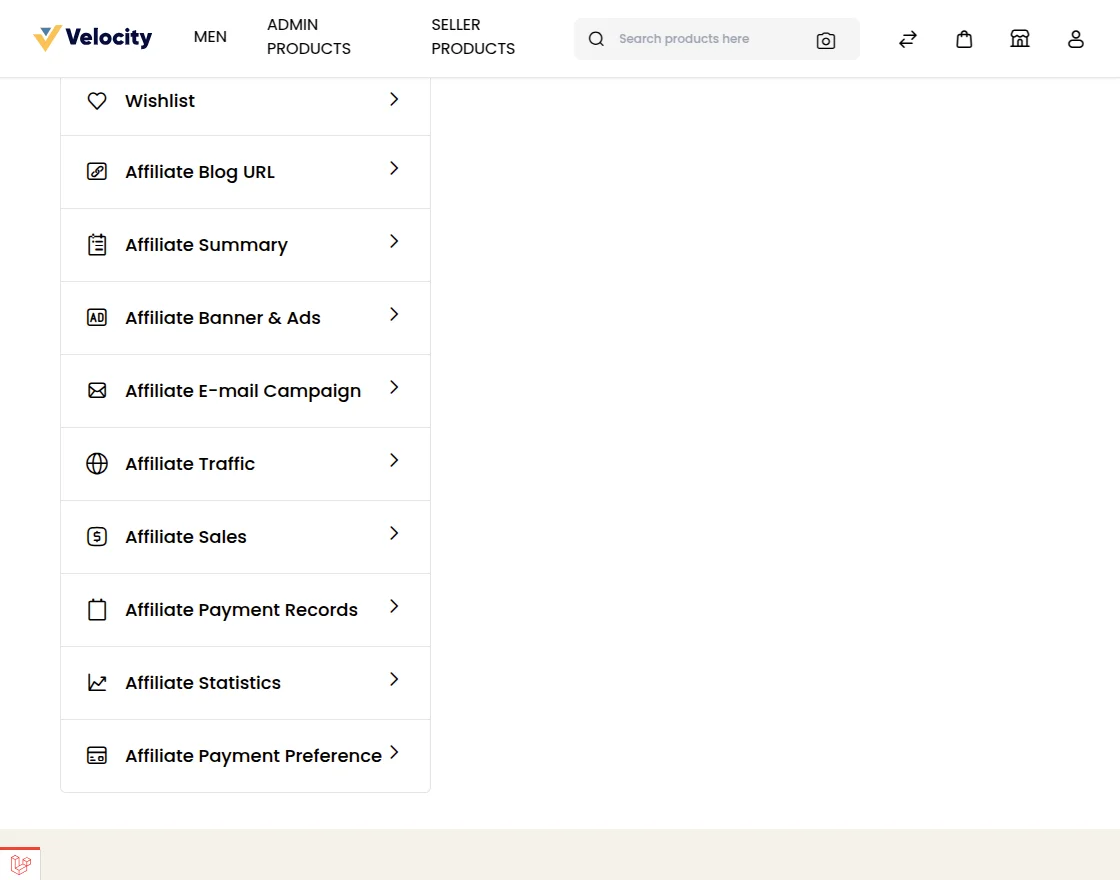
After signing up, the customer will be able to see his complete affiliate account menu and the success message in the case of auto-approval.
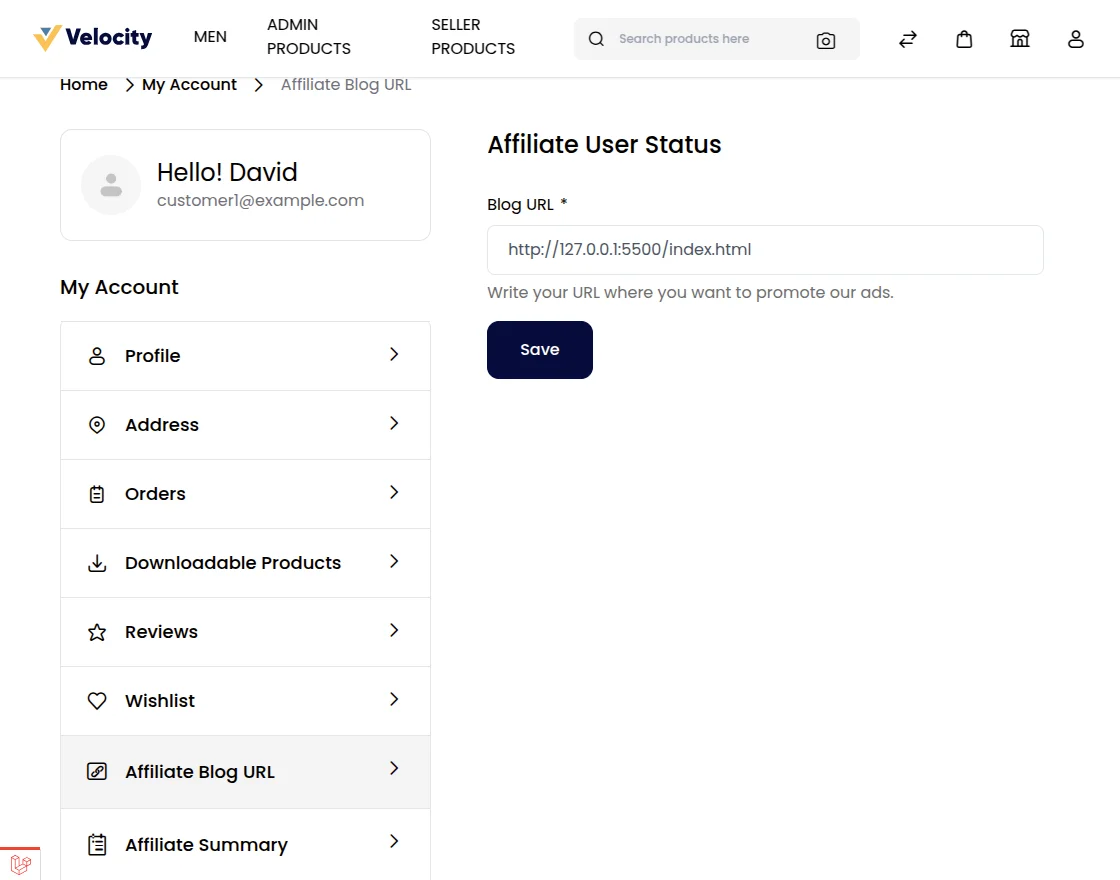
Affiliate Blog URL –
The Affiliate user can view their affiliate blog URL here.
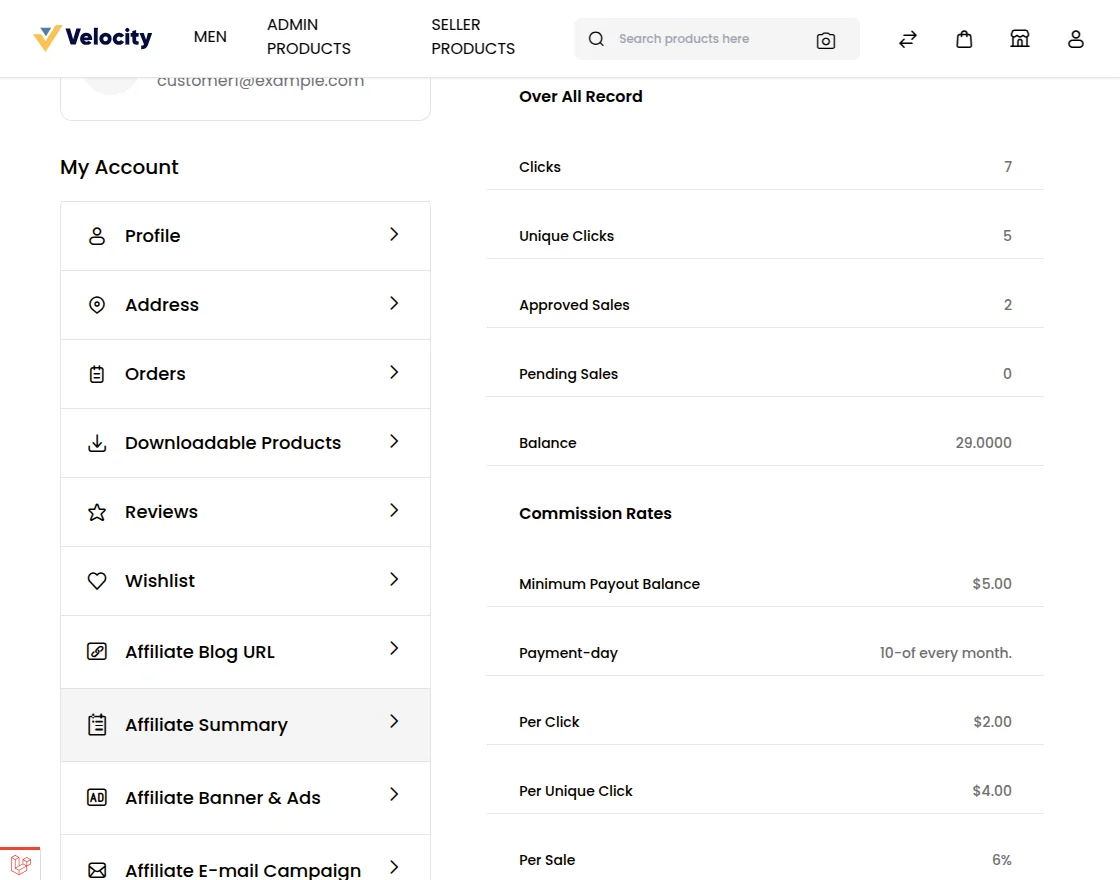
Affiliate Summary –
The affiliate user can view their overall affiliate records.
Banners & Ads
The affiliate can add banners & ads under the My Account > Banners & Ads menu item. Here affiliate can check his Product Ads and Banners/Text Ad.
Now, the affiliate can click on Copy Html Code and paste it into the website where he wants to put it.
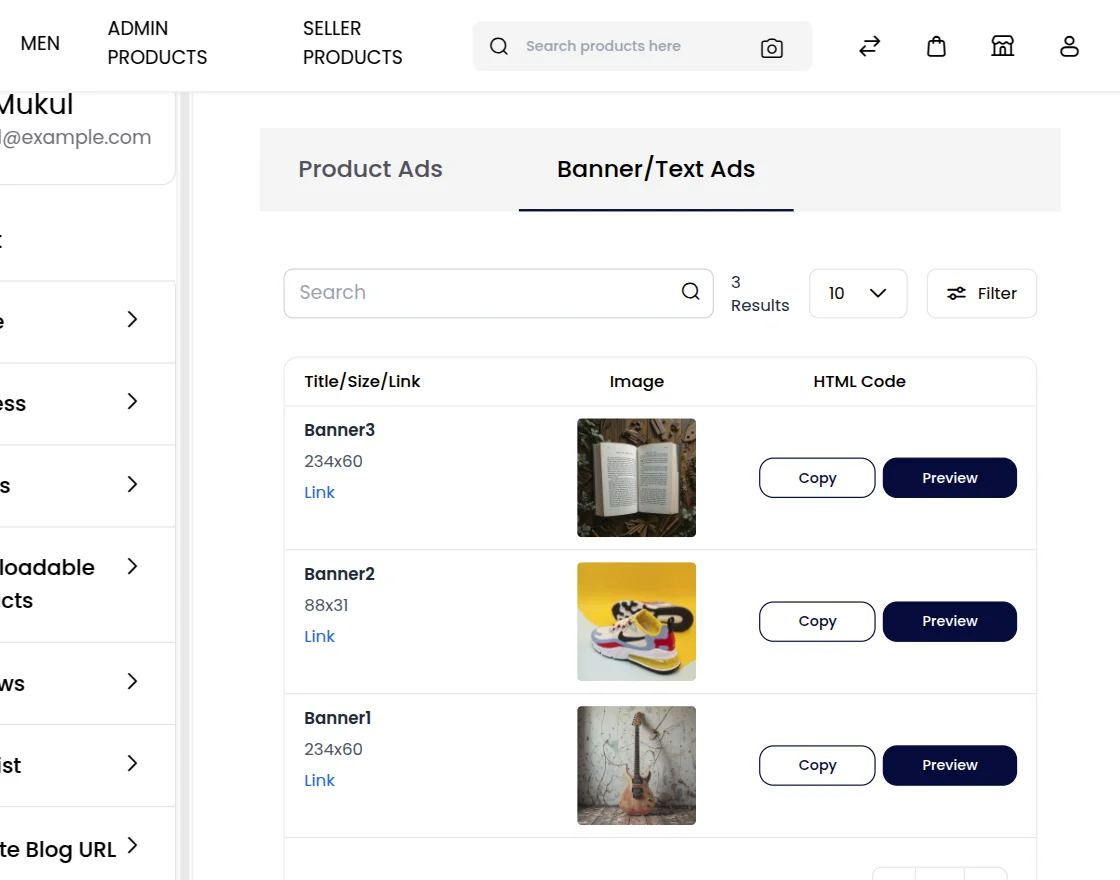
When a user clicks on a banner or purchases the products, the affiliate user gets a reward.
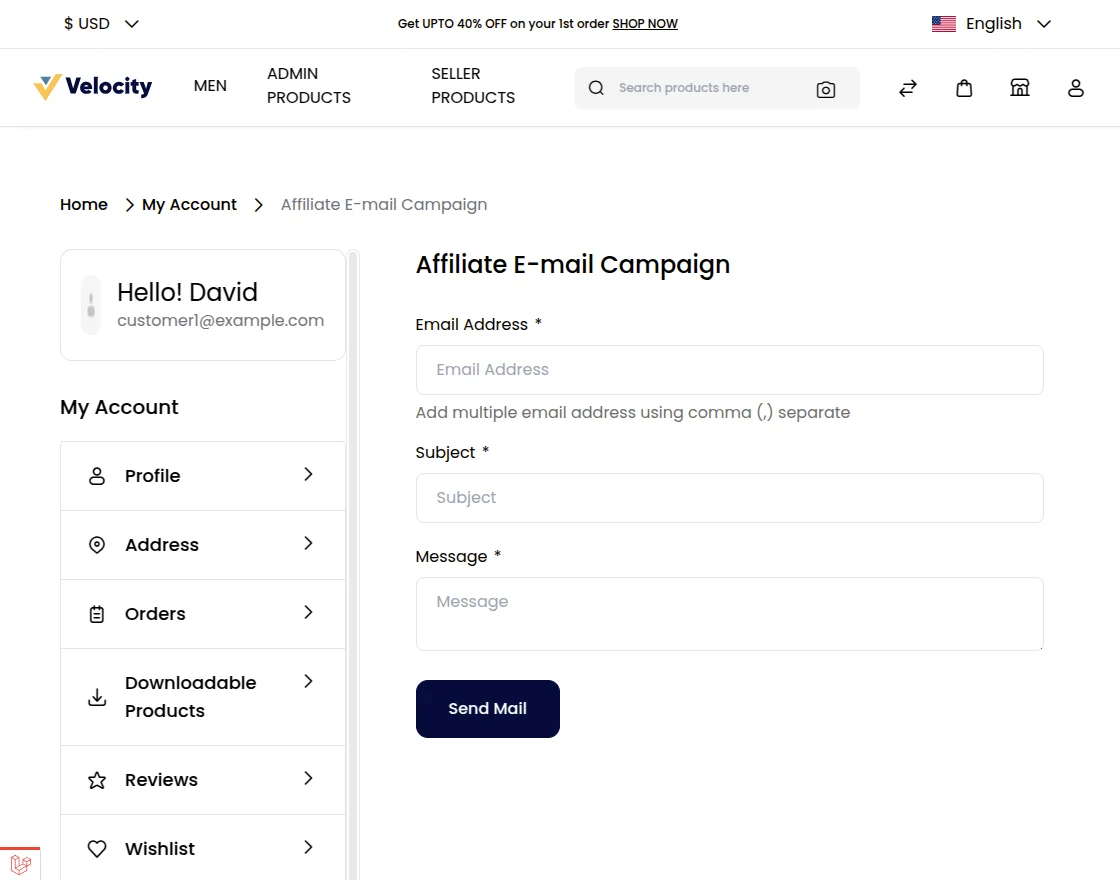
E-mail Campaign
An affiliate user can send emails to multiple users as an e-mail campaign.
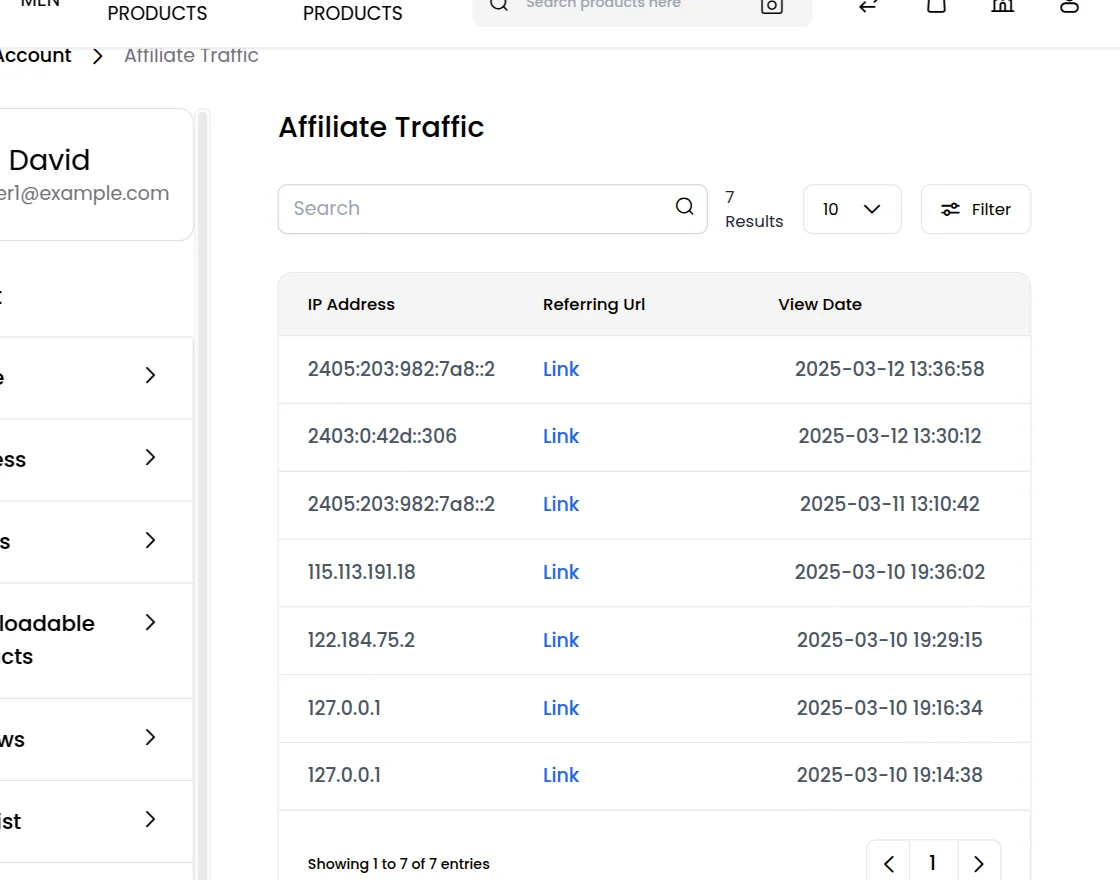
Traffic
The affiliate user can check all the traffic details under the Traffic section of the account.
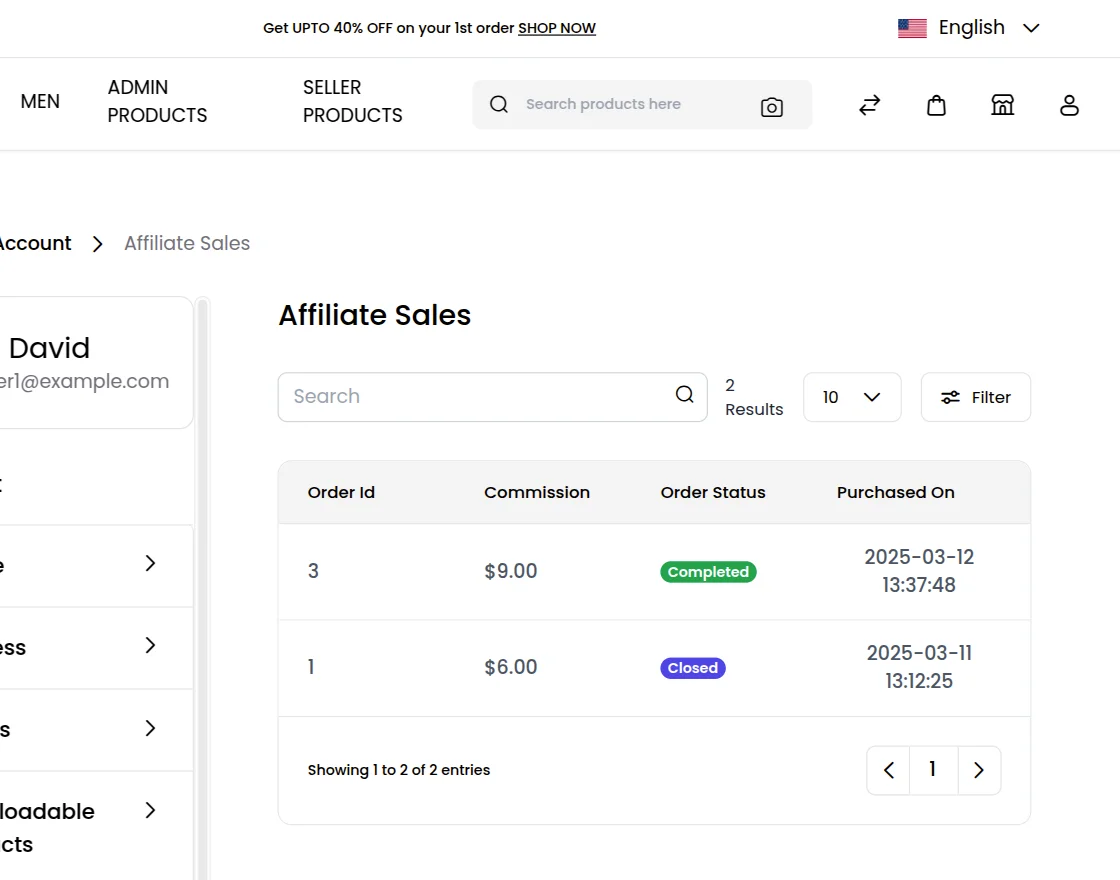
Sales
Sales of an affiliate can be viewed in the Sales section.
Payment Records & Statistics
The affiliates can see Statistics for traffic in their account and the list of the payments can be seen under the Payment Records.
Payment Preference
The customer needs to select his payment method for payments or transactions from the admin. Affiliate users can set it from their “Payment Preference” tab under their account.
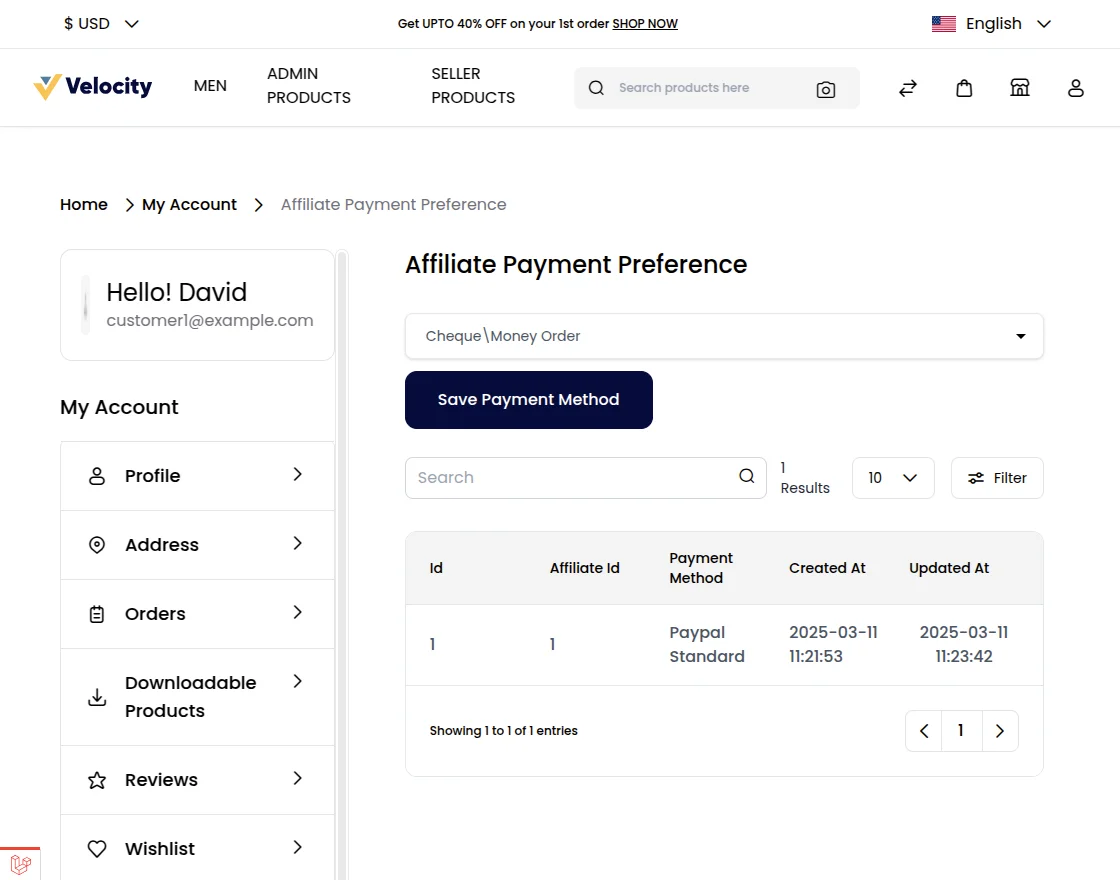
He can select any one payment method from the admin allow payment methods – Check/Money Order, Bank Transfer Payment, and PayPal Standard Payment.
The affiliate user can check the transaction history from his payment grid in his account panel.
Support
So, that was much about the User Guide of Laravel (Bagisto) Affiliate System Module for any queries or doubts reach out to us at [email protected]. You can also raise a ticket at our HelpDesk System.
Please explore our Laravel Development Services and Quality Bagisto Extensions.
Current Product Version - v2.2.2
Supported Framework Version - v2.2.2

Be the first to comment.