Magento 2 Dlocal Payment Gateway extension allows the customers of your Magento 2 store to make payments for their orders using their credit/debit cards,bank transfer and cash tickets.
The admin has the option to set the card payment type as , Direct and Redirect as per requirement.
Dlocal payment method is PCI DSS Level 1 compliant which makes it more secure and protects the store owners and the businesses from fraud and data theft.
With Magento 2 Dlocal Payment Gateway for Adobe Commerce, the customers can securely checkout for the payment as it doesn’t store any customer information.
You can also go through the below video to get to know the functionality,
Features
- Customers can use various credit and debit cards to make payments.
- Customers can also pay using bank transfer and cash ticket payments methods.
- Allows both guest and registered users to use the payment method during checkout.
- This payment gateway works in the sandbox and production modes.
- It supports Dlocal supported currencies and countries.
- The admin can enable/disable payment methods
- The admin can set the title for the payment gateway visible at the storefront at checkout time.
- Admin can refund directly to customers original payment method.
- Payment processing is secure and compliant with PCI standards.
- All transaction data is encrypted using TLS (Transport Layer Security).
Note: This module does not work with Multiple Address Checkout.
Installation
The installation is quite simple just like the standard Magento 2 extensions.
#Download Module
Firstly, you need to log in to the Webkul Store, go to My Account>My Purchased Products section, verify, and then download and extract the contents of this zip folder on the system.
#Upload Folder
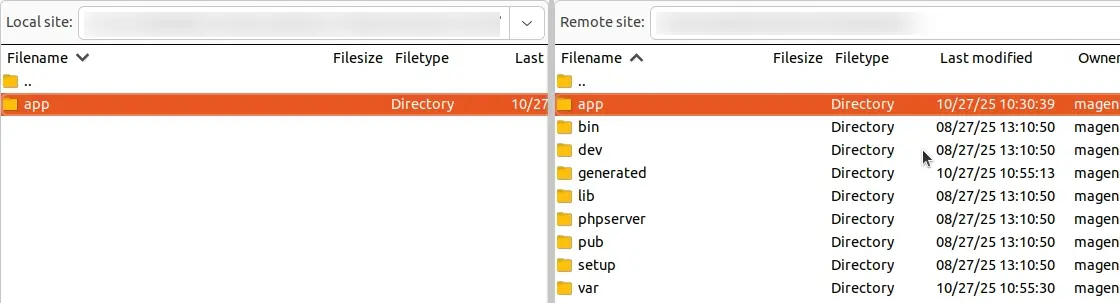
Once the module zip extracts, follow path src>app and then copy the app folder into the Magento 2 root directory on the server as shown below:
# Run Commands
You need to run the following commands:
php bin/magento setup:upgrade
php bin/magento setup:di:compile
php bin/magento setup:static-content:deploy
php bin/magento indexer:reindex
php bin/magento cache:flush
Language Translation
For translating the module language, navigate through the app/code/Webkul/Dlocal/i18n and edit the en_US.csv file.andand
Thereafter, rename the CSV as “en_SA.csv” and translate all right side content after the comma in the Arabic language. After editing the CSV, save it.
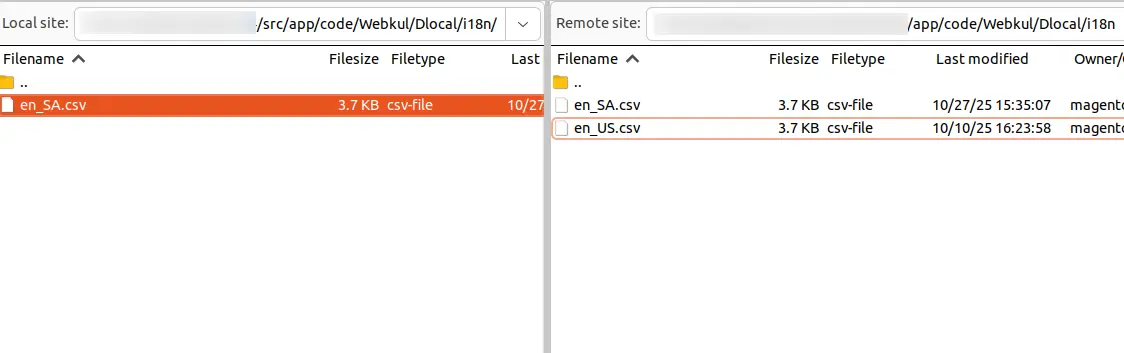
Now, upload it to the path app/code/Webkul/Dlocal/i18n, where the installation of Magento 2 is on the server.
The Magento 2 Dlocal Try On extension will be translated into the Arabic Language. It supports both RTL and LTR languages.
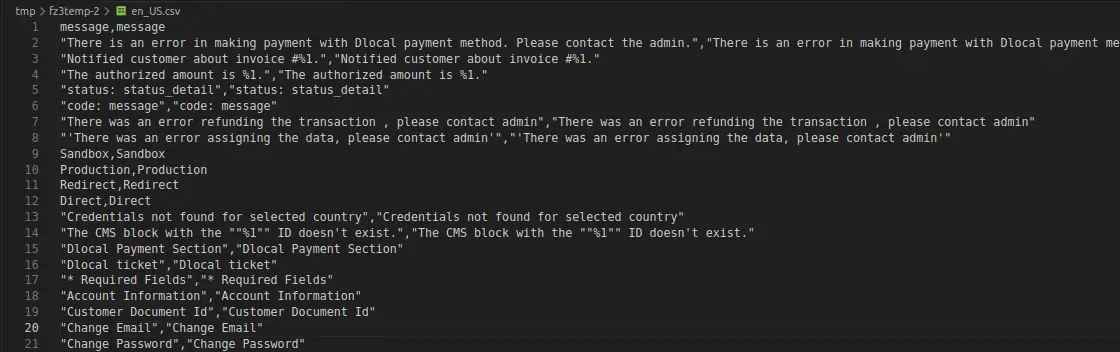
The user can edit the CSV like the image below.
How to Get the Credentials – Dlocal
Sign up on the Dlocal portal and log in to your account.
Refer to the Dlocal Create New API Credentials User Guide to learn how to set up your account and obtain API keys from Dlocal.
You can also refer to the Get Dlocal API Credentials document to obtain API keys from your existing Dlocal account.

Refer to the Configure initial settings document in order to access the production platform.
Admin Configuration of Dlocal Payment Gateway Extension
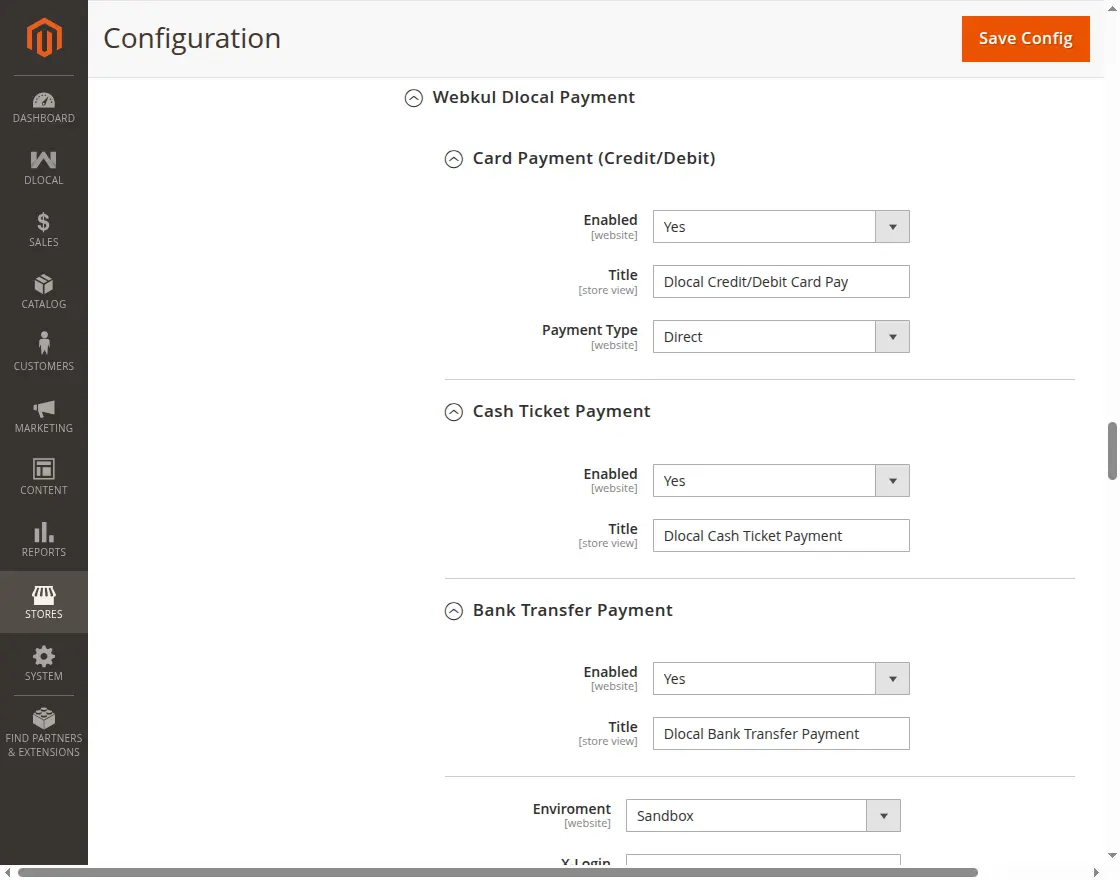
After successful installation of the Magento 2 Dlocal payment gateway, the admin can configure the same. Navigate through Stores->Configuration->Sales->Payment Methods->Webkul Dlocal Payment

Here, the admin will –
- Choose the environment as Sandbox or Production as required.
- Enter the X-Loign , X-Trans, and Secret Key.
- Choose payment from applicable countries from where you want to accept the payments.
- Payments from specific countries – Choose if you want to take payments from specific countries only.
Admin can also enable or disable, as well as manage the title of the card, bank transfer, and cash ticket payment methods, as shown in the image below.
Now, Admin can also choose card payment type as Direct or Redirect as required.
Admin will navigate to this configuration by tapping on the DLocal icon on the admin side panel as per the image below,
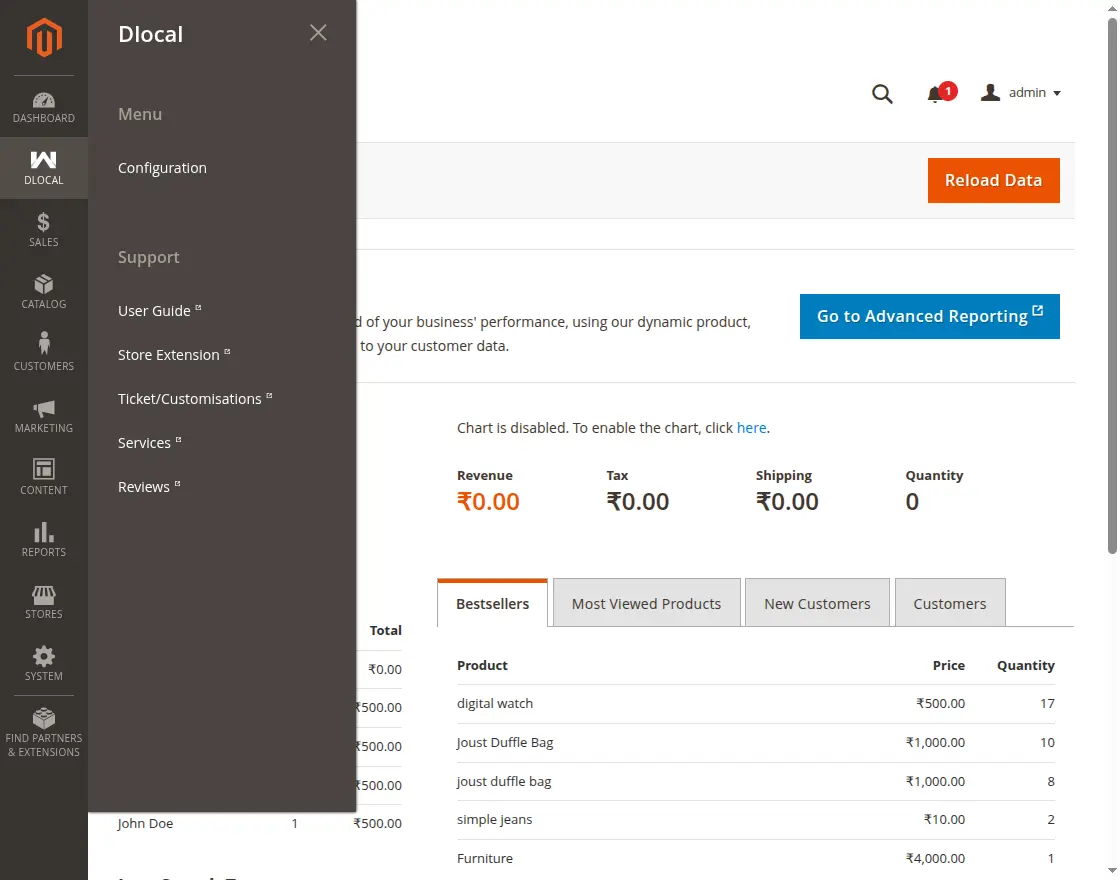
If you’re looking to create a custom e-commerce website, it’s a great idea to hire Magento developers who can help you build a powerful and scalable online store.
Customer Card Payment Workflow – Direct
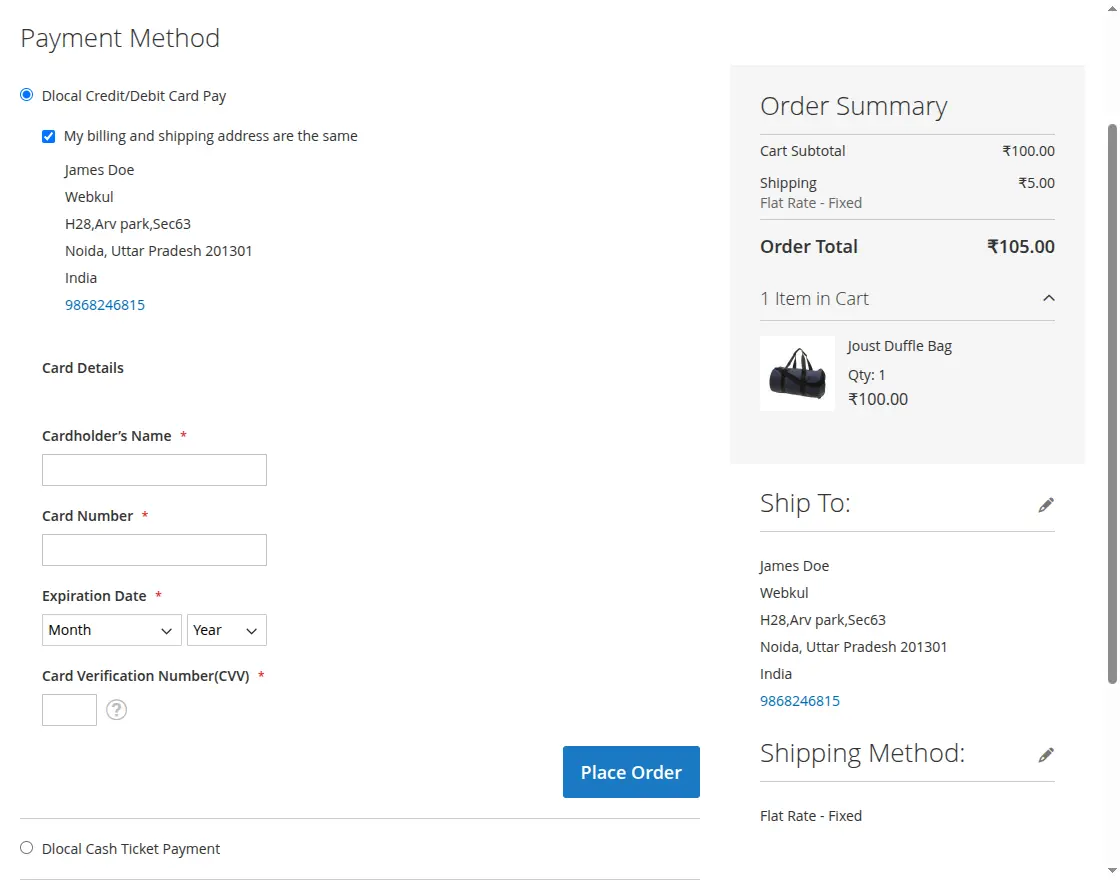
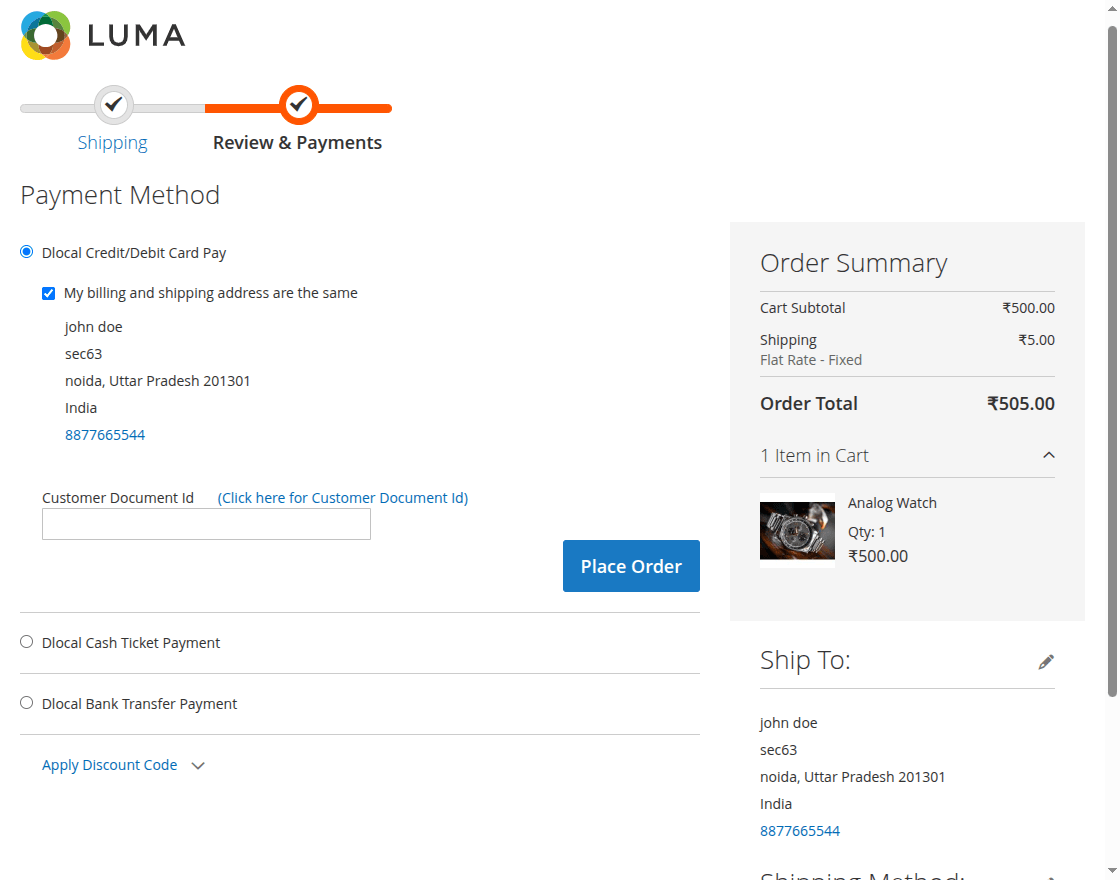
The customers at the storefront will add the products to the cart and move to the payment method selection section.
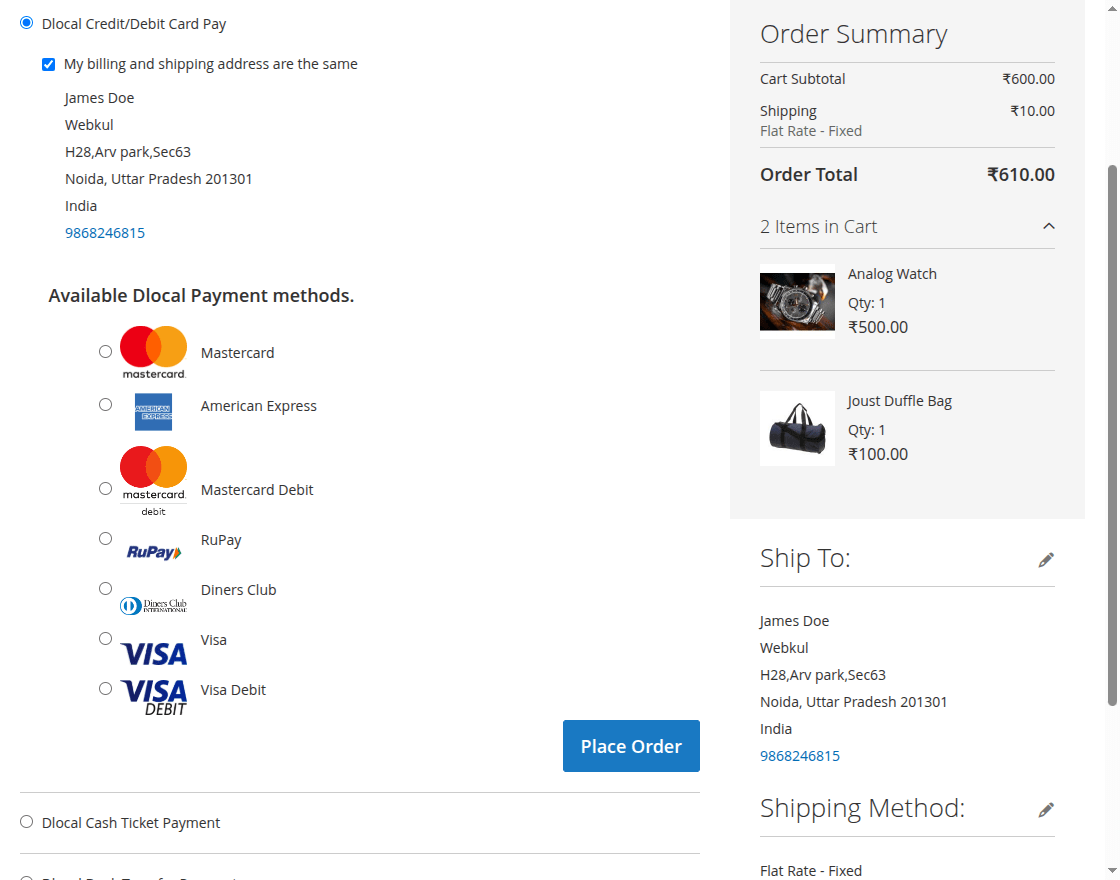
Here, customers can select the Magento 2 Dlocal Payment Gateway – Card Payment option and securely enter their card details on the same page.
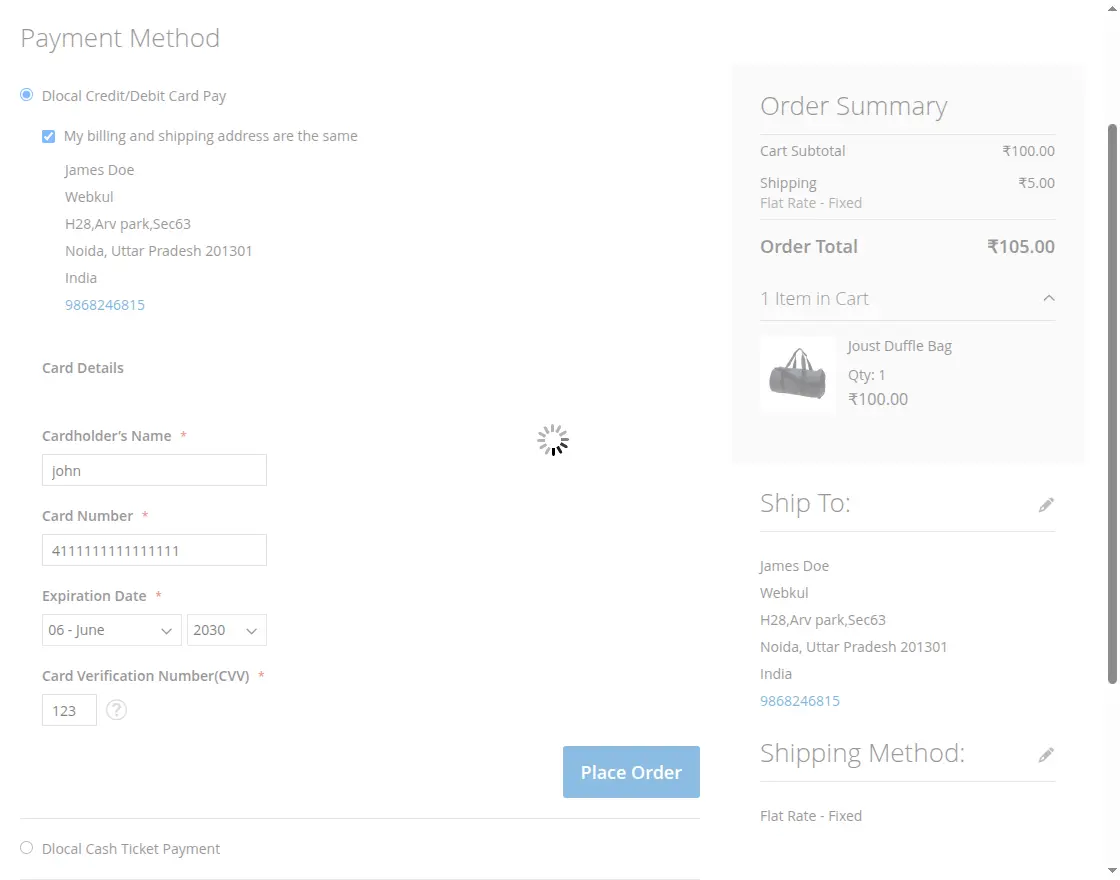
Afterward, they can click the Place Order button to complete the purchase.
The payment will process accordingly.
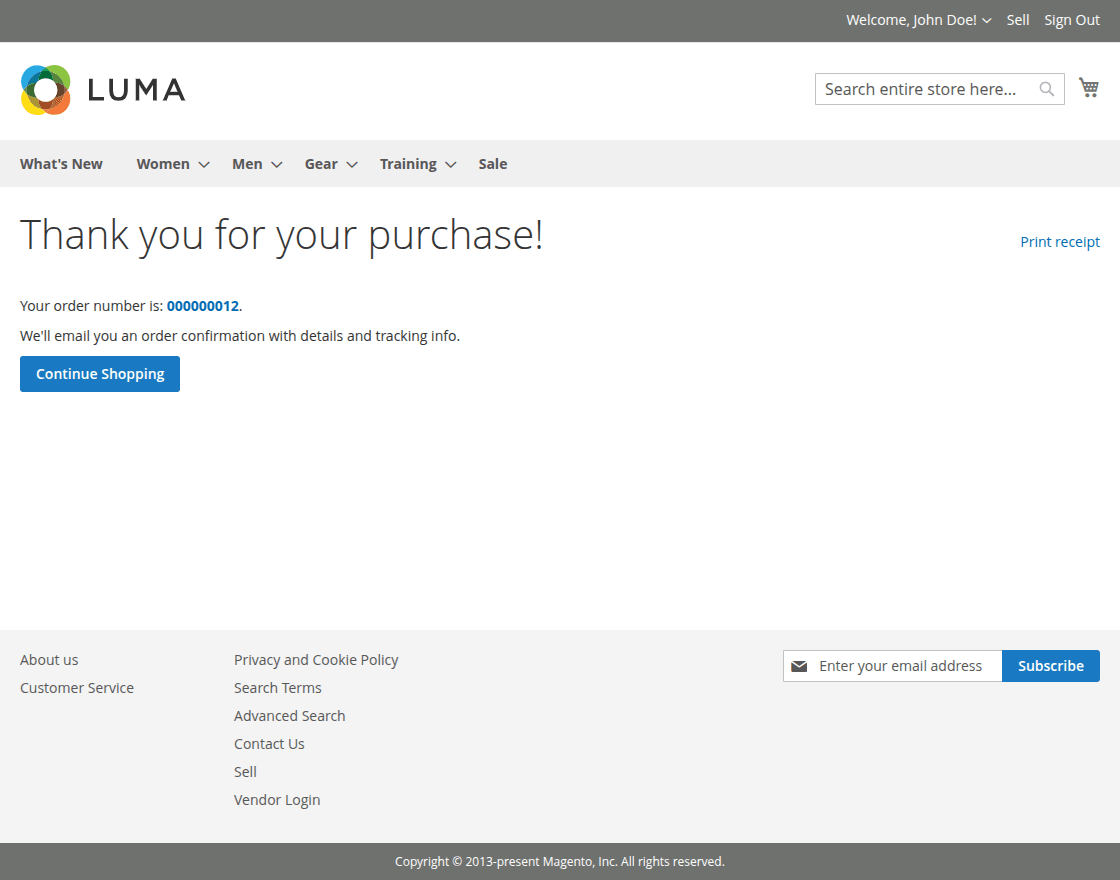
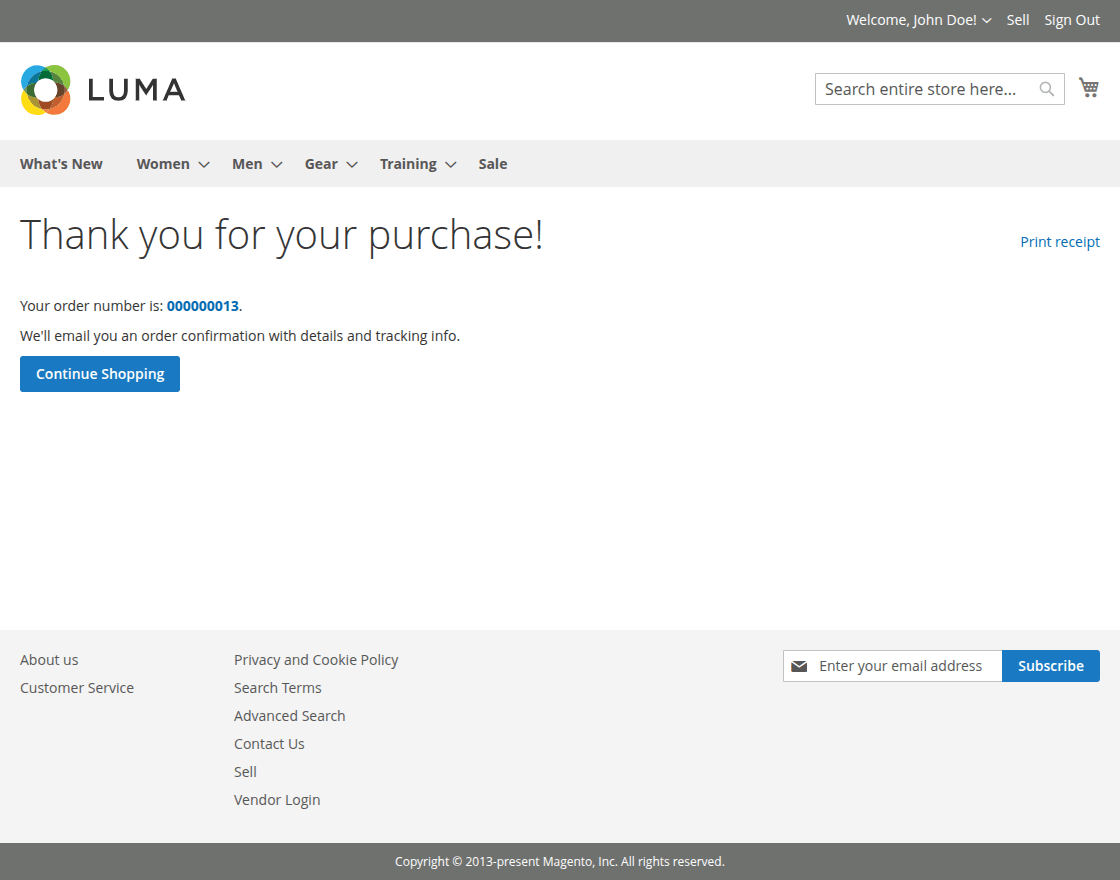
lastly, you can see a success message after the order gets placed.
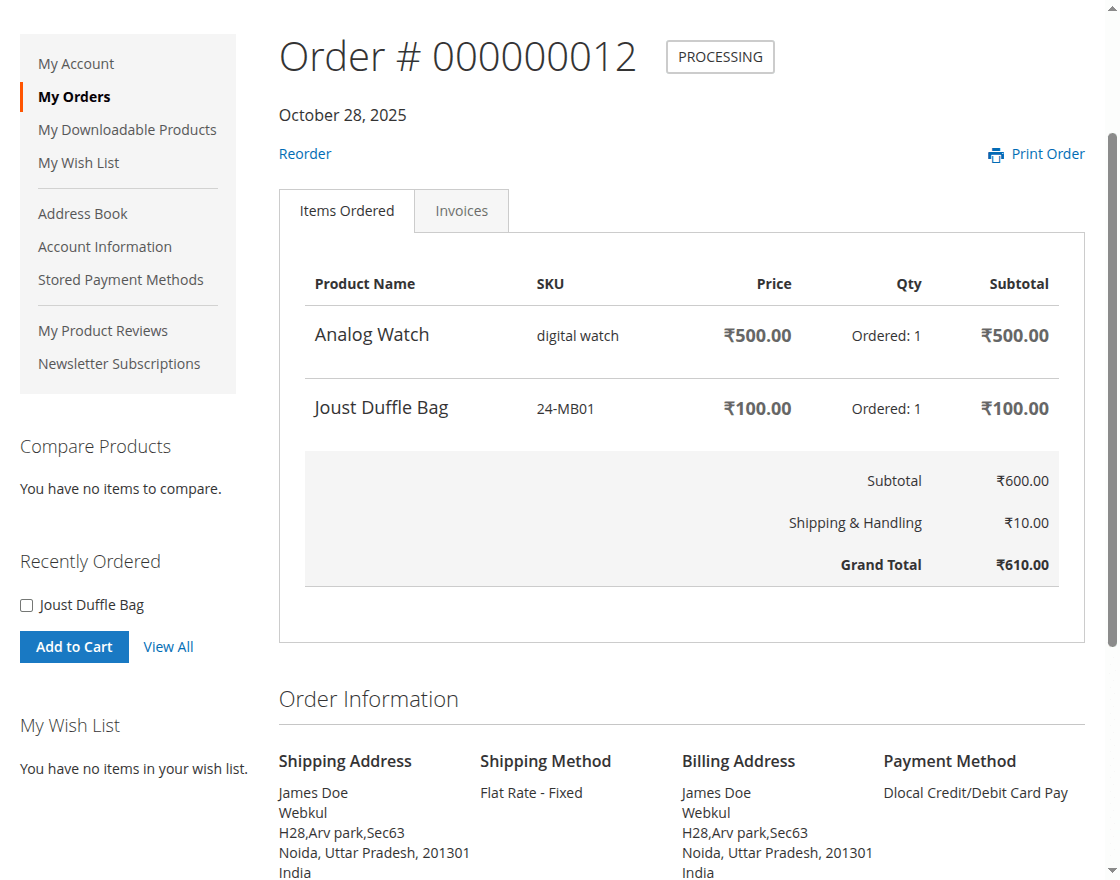
The customer can navigate to the order history and check the selected payment method for the placed order.
Customer Card Payment Workflow – Redirect
In the Card Payment – Redirect Payment Type, customers can select the available Dlocal card payment method and then click the Place Order button.
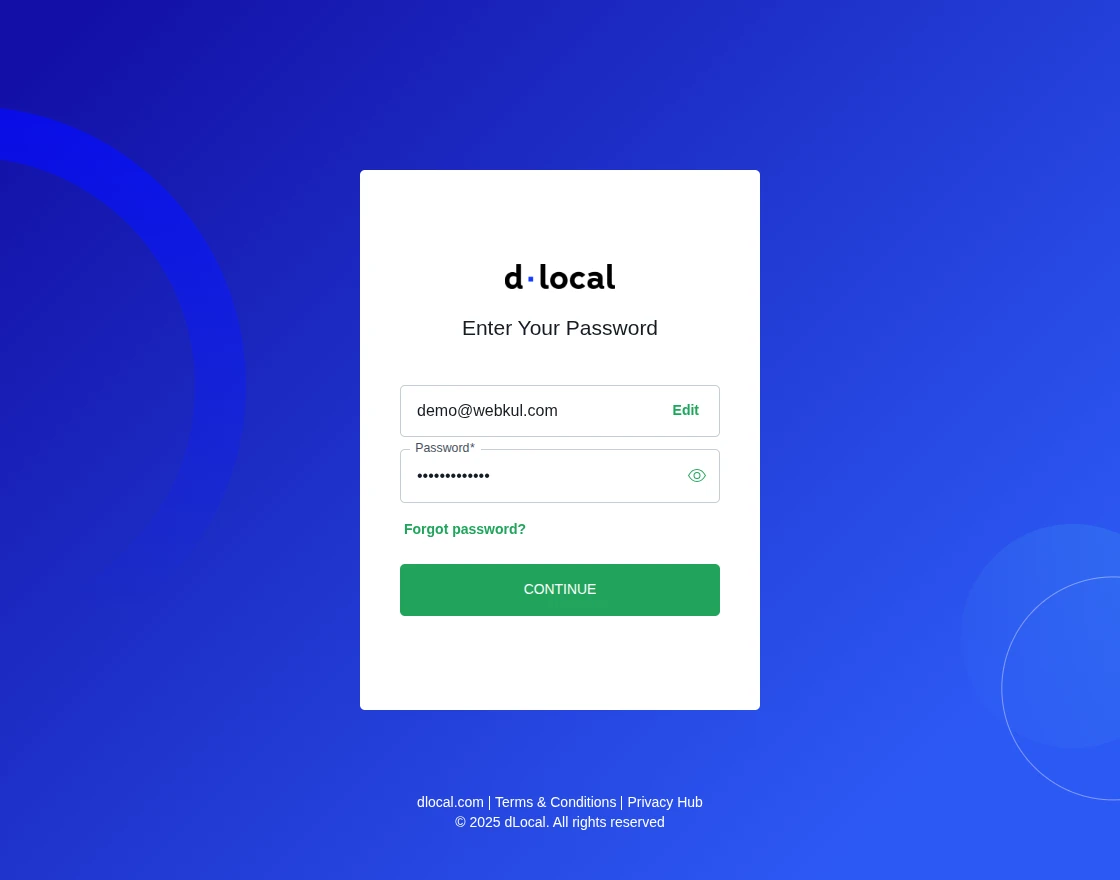
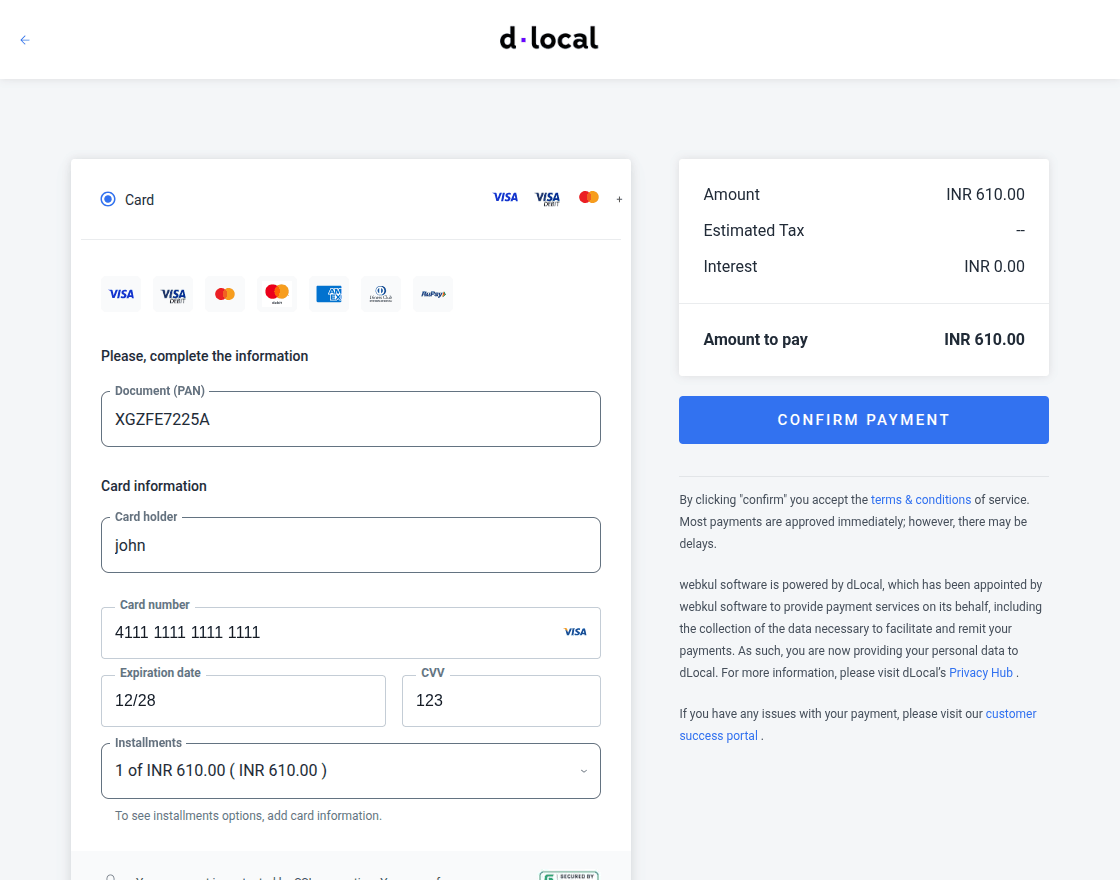
After clicking the Place Order button, the customer will be securely redirected to the Dlocal Payment Gateway to complete the transaction.
There, customers can enter their card details and click the Confirm Payment button to complete their purchase securely through the Dlocal Payment Gateway.
After a successful payment, the customer will be redirected to the transaction status page to view the transaction details and confirmation.
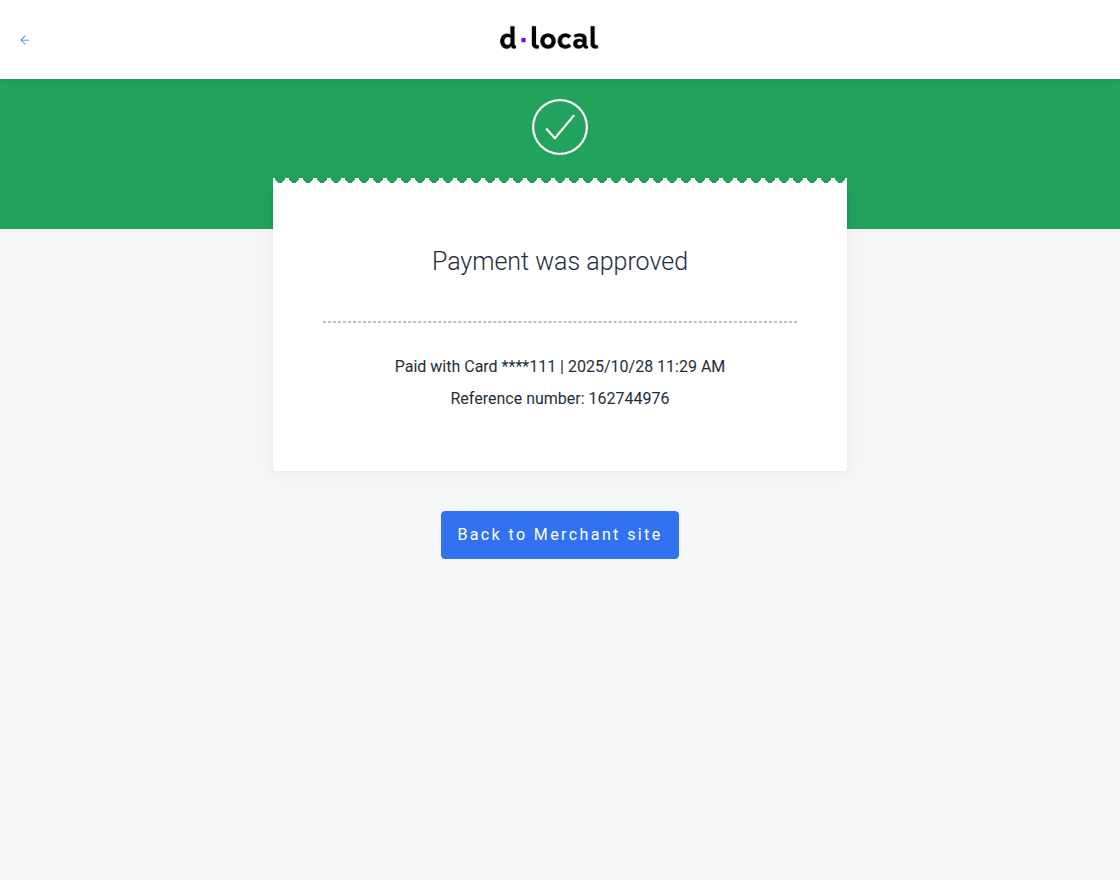
Lastly, after the customer clicks the Back to Merchant Site button, a success message will be displayed along with the order ID confirming the successful transaction.
Customer Document Id
To use the dlocal payment method, the customer must configure the Customer Document Id. For this, they need to go to Account Information as shown below.
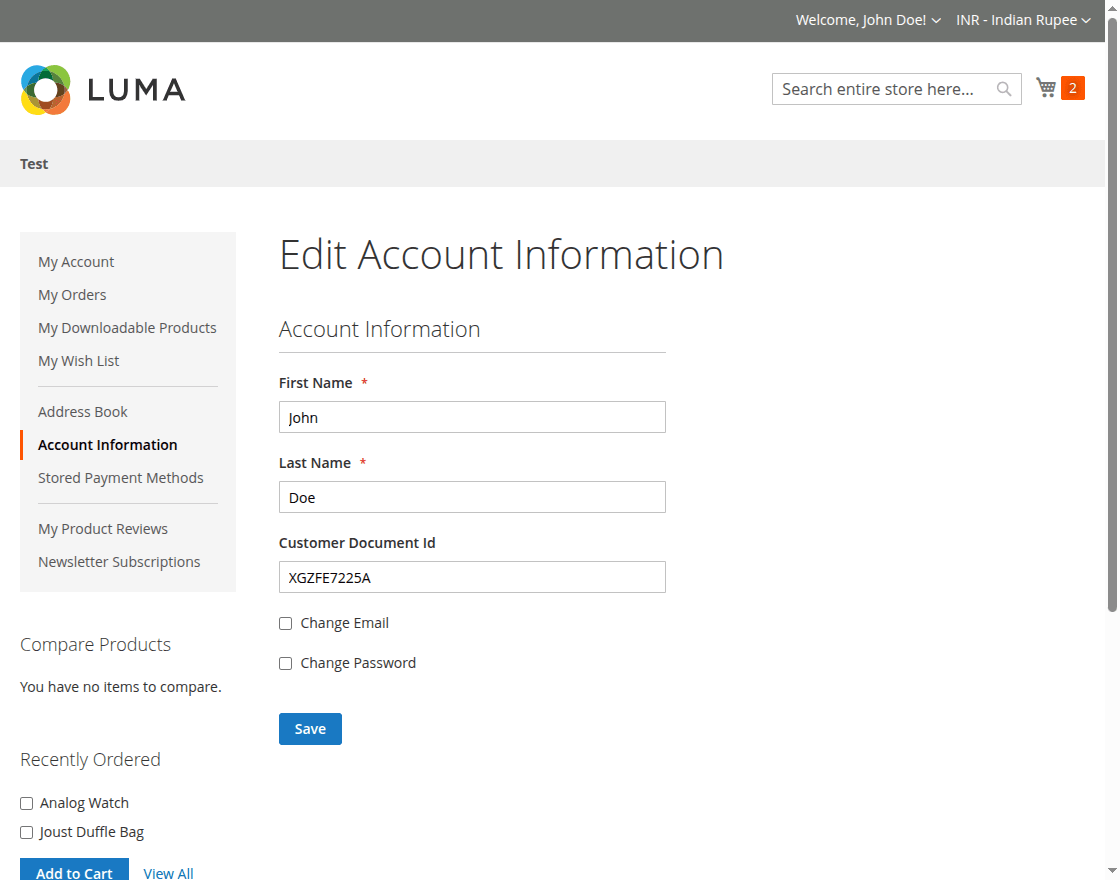
Note: If the customer has not configured the Customer Document Id. Then, the customer first needs to provide the Customer Document Id while making the payment.
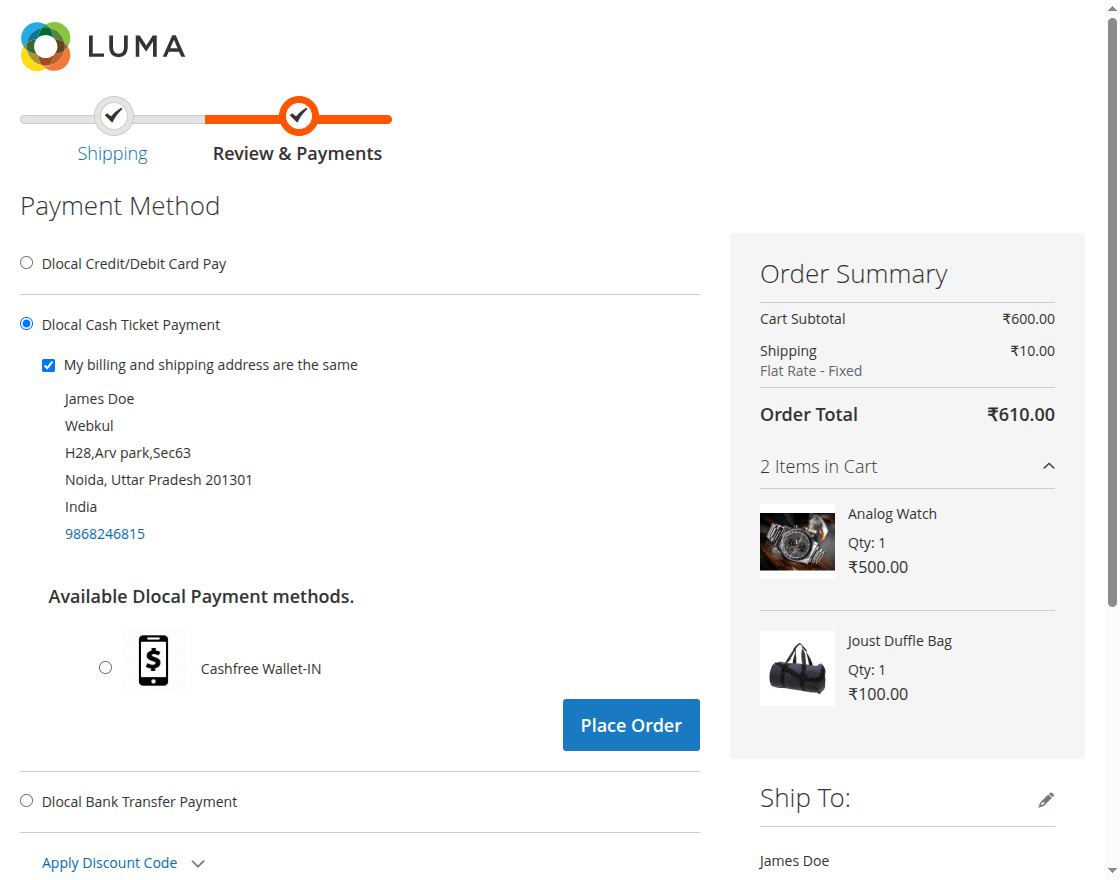
Customer Cash Ticket Payment
The customers at the storefront will add the products to the cart and move to the payment method selection section.
After that, customers can select the Magento 2 Dlocal Payment Gateway – Cash Ticket Payment option and choose an available Dlocal cash ticket payment method.
Then, they can click the Place Order button to complete their purchase.
After clicking the Place Order button, the customer will be securely redirected to the Dlocal Cash Ticket Payment Page to complete the transaction.
From there, the customer can complete the payment, and the order will be placed upon a successful transaction.
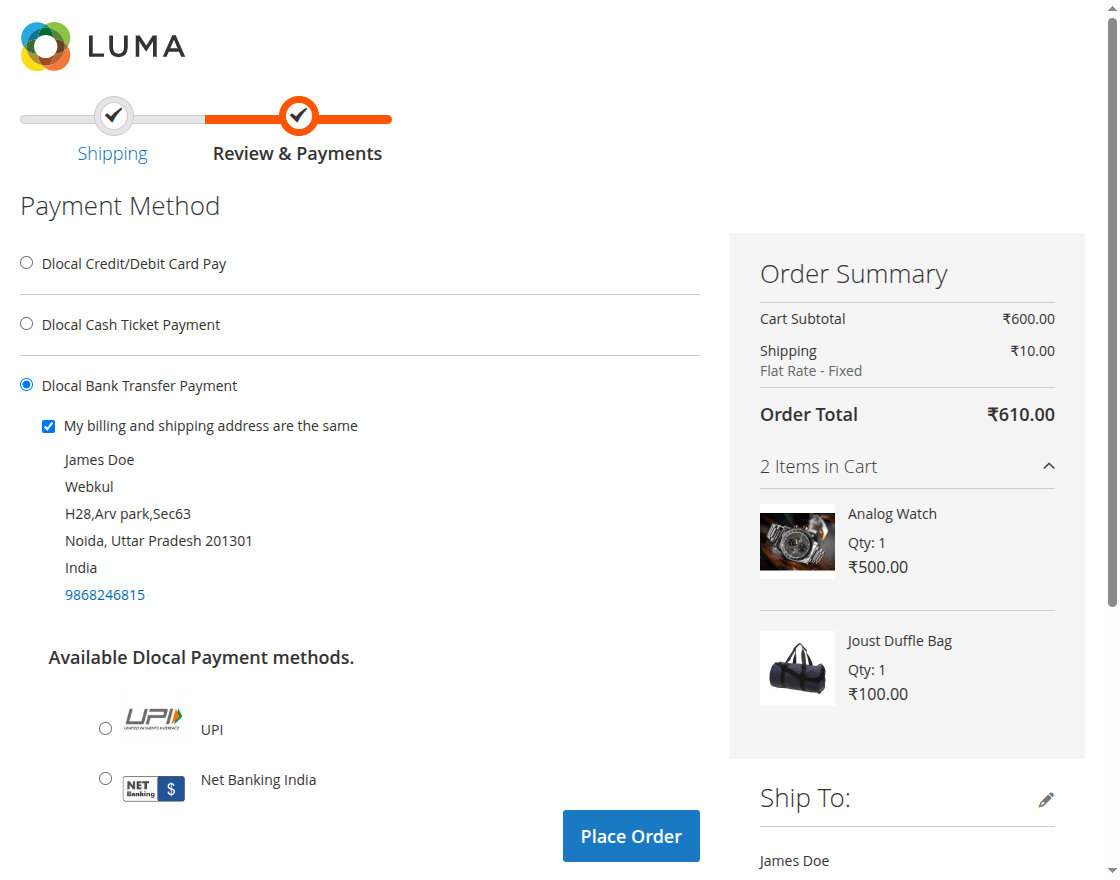
Customer Bank Transfer Payment
Customers can also choose the Dlocal Bank Transfer Payment option, select from the available Dlocal bank transfer methods, and then click the Place Order button to complete their purchase securely.
After clicking the Place Order button, the customer will be securely redirected to the Dlocal Bank Transfer Payment Page to complete the transaction.
After a successful transaction, the order will be placed, and a success message along with the order ID will be displayed to confirm the purchase.
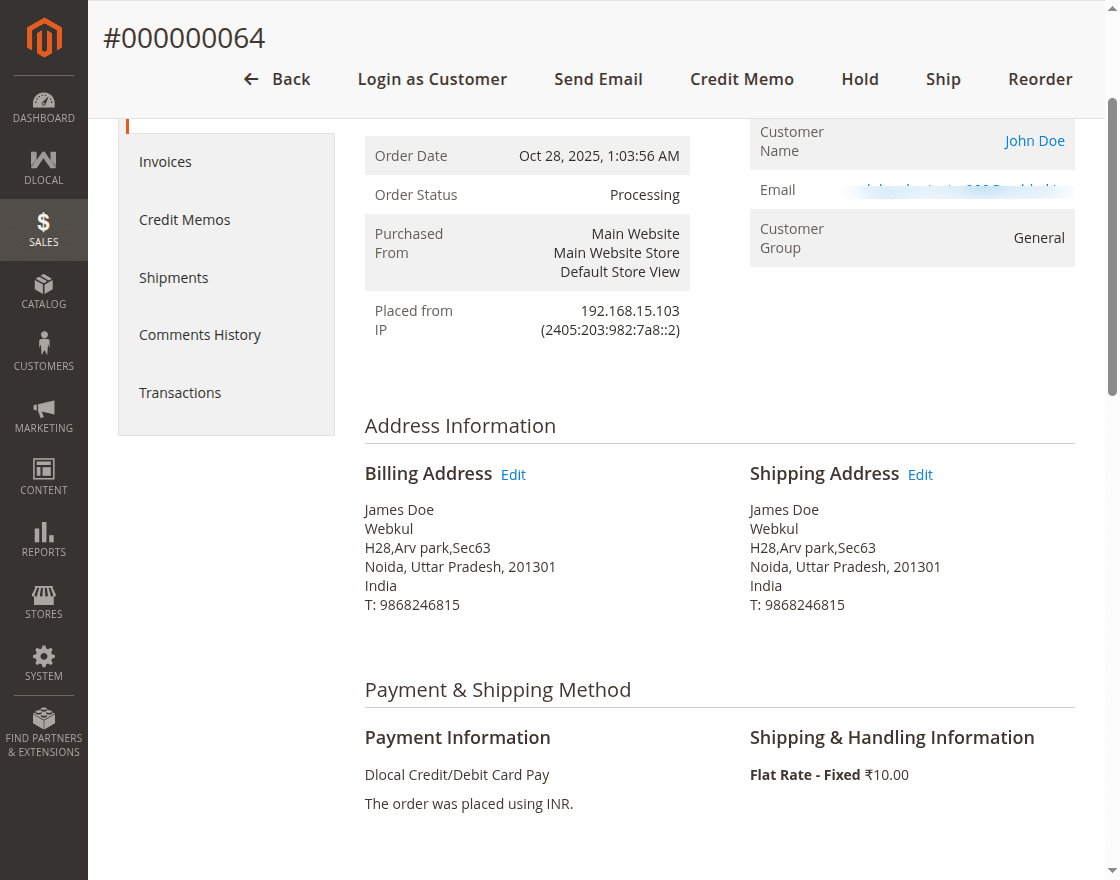
Admin End Order flow
The admin can view orders by navigating to Sales- >Orders in the Magento 2 admin panel.
Once an order is placed, the admin can click the View option to access the complete order details, order status and payment information.
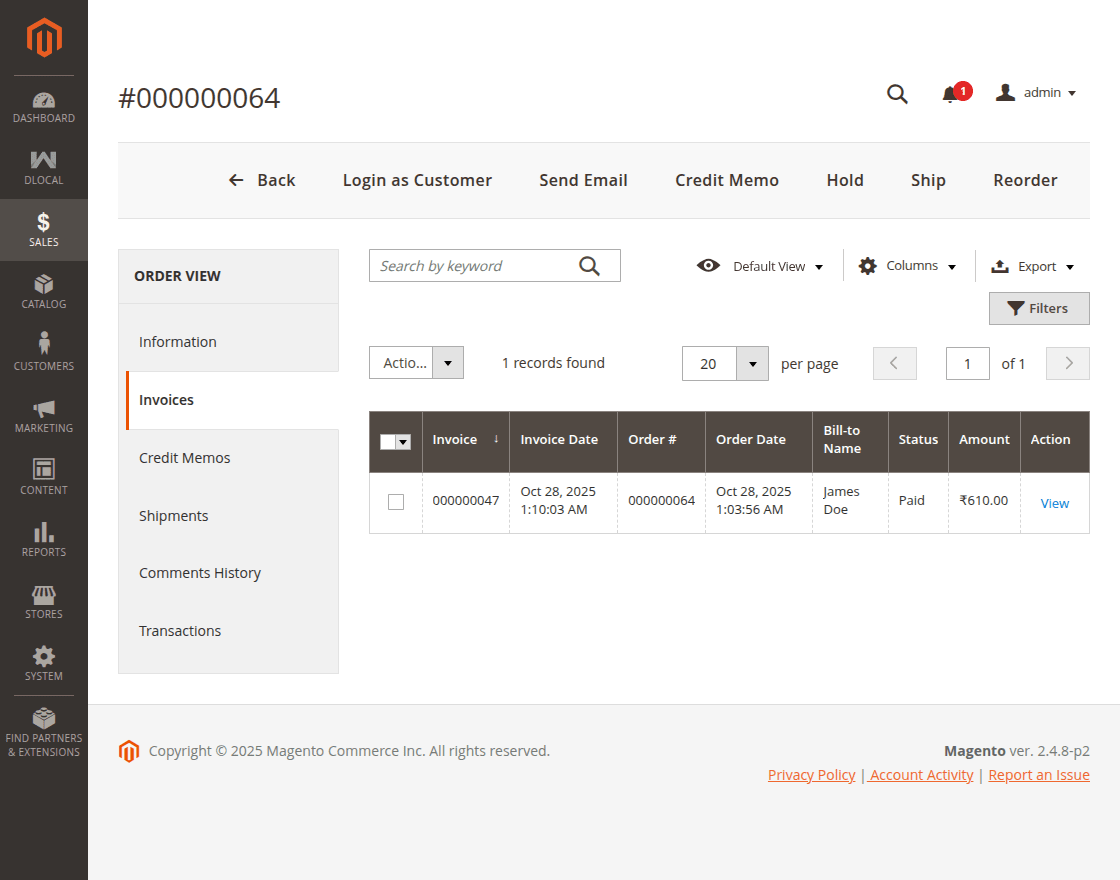
The admin can view the list of invoices under the Invoices tab and click the View option to see the complete invoice details and payment information.

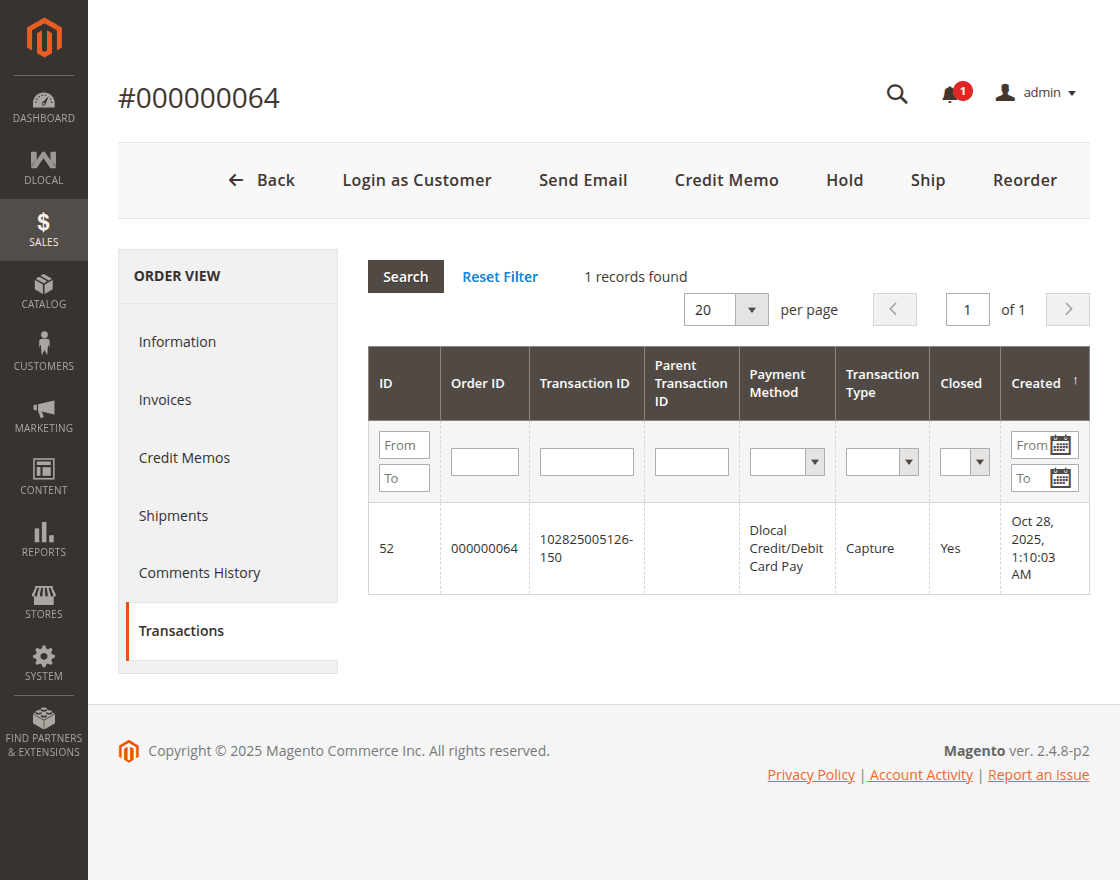
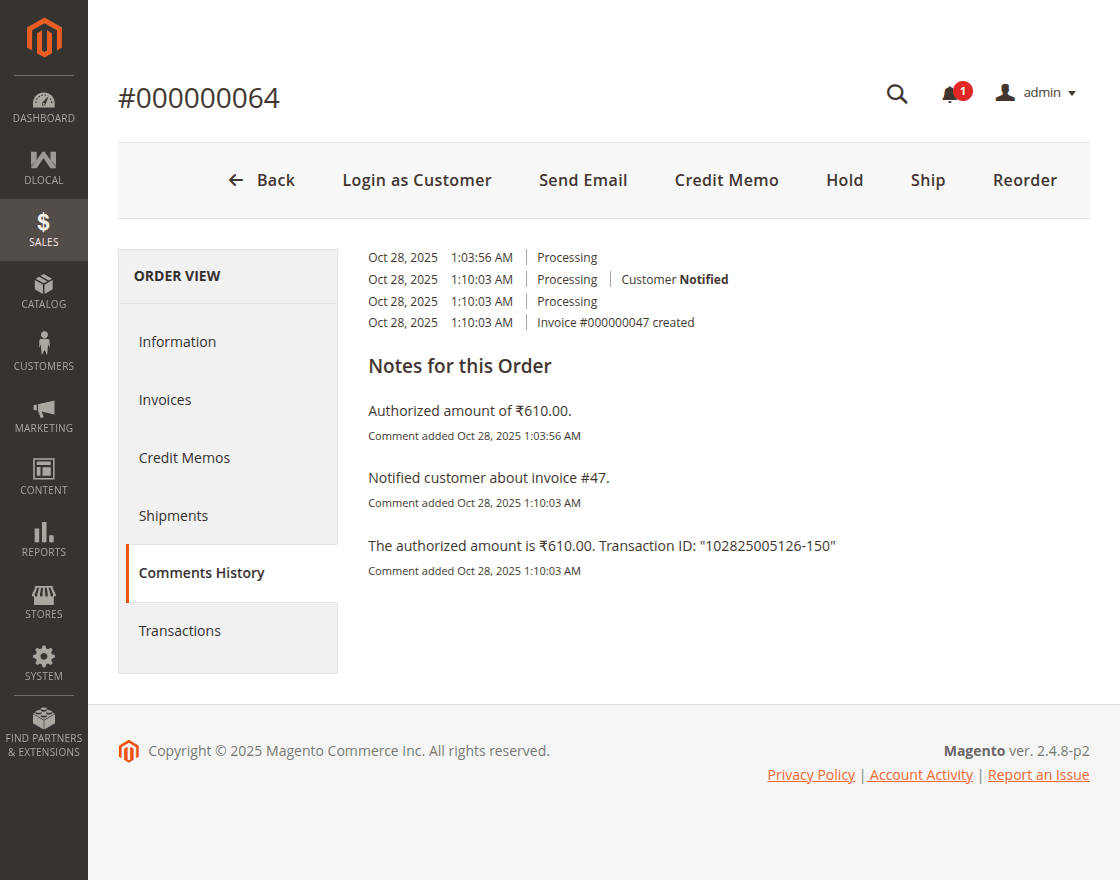
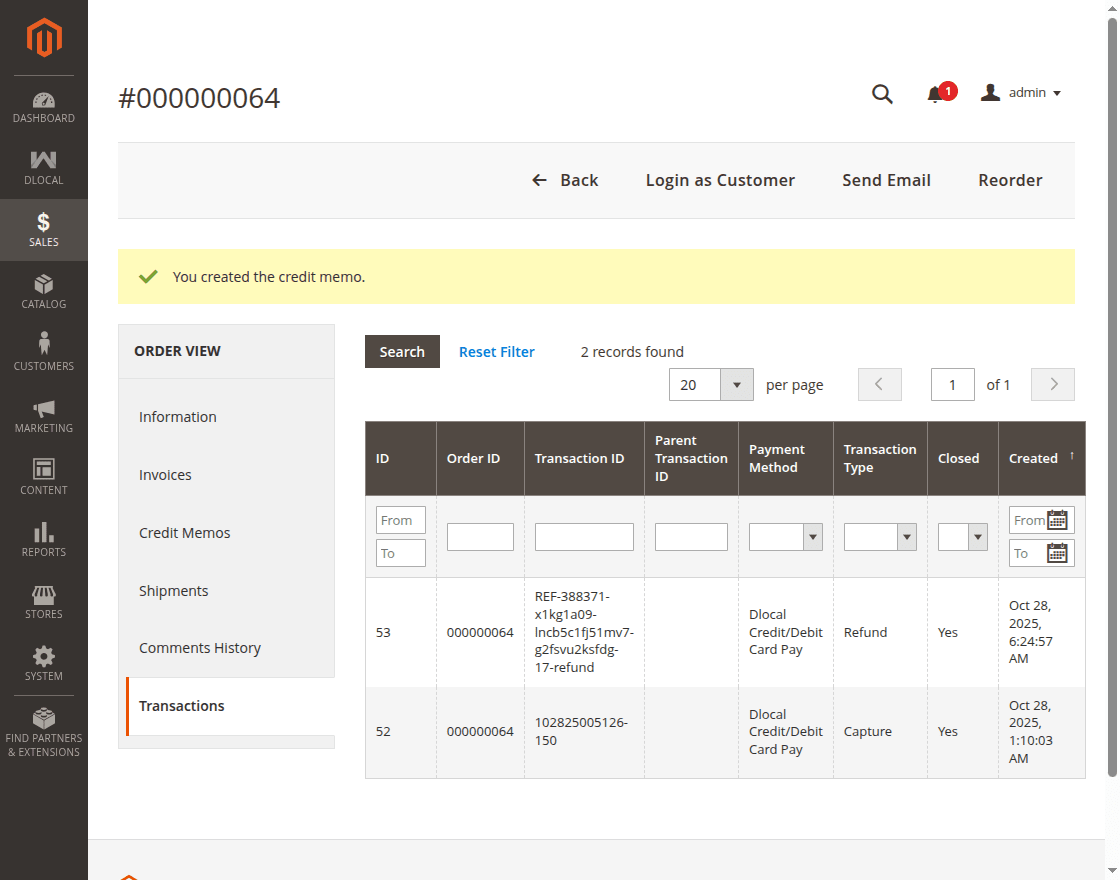
The admin can view all transaction details under the Transactions tab.
Comments history also shows the details.
Refund Process
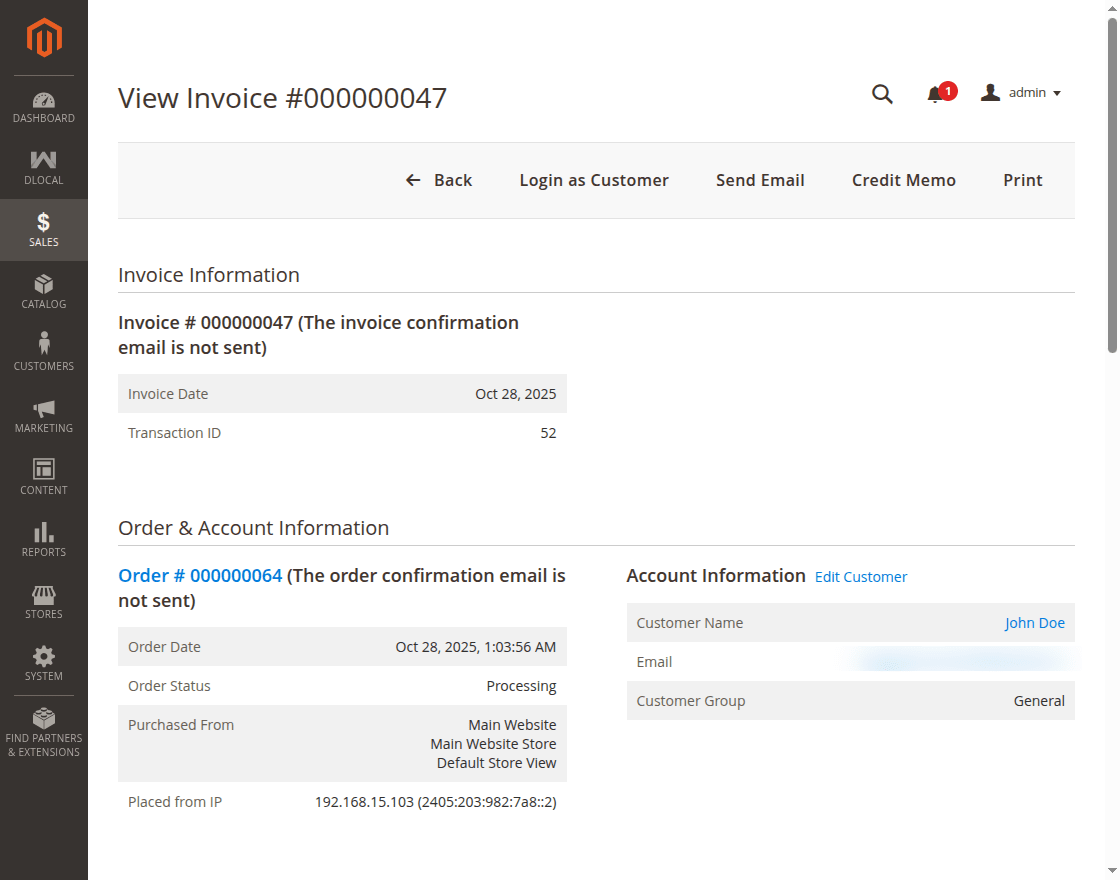
If the admin wants to make a refund for the order, the admin can navigate to the invoice for the order and view it by tapping the View link available for the invoice.
On the View Invoice page, click the Credit Memo button.
Now, click the Refund button to return the order amount to the customer’s original payment mode.
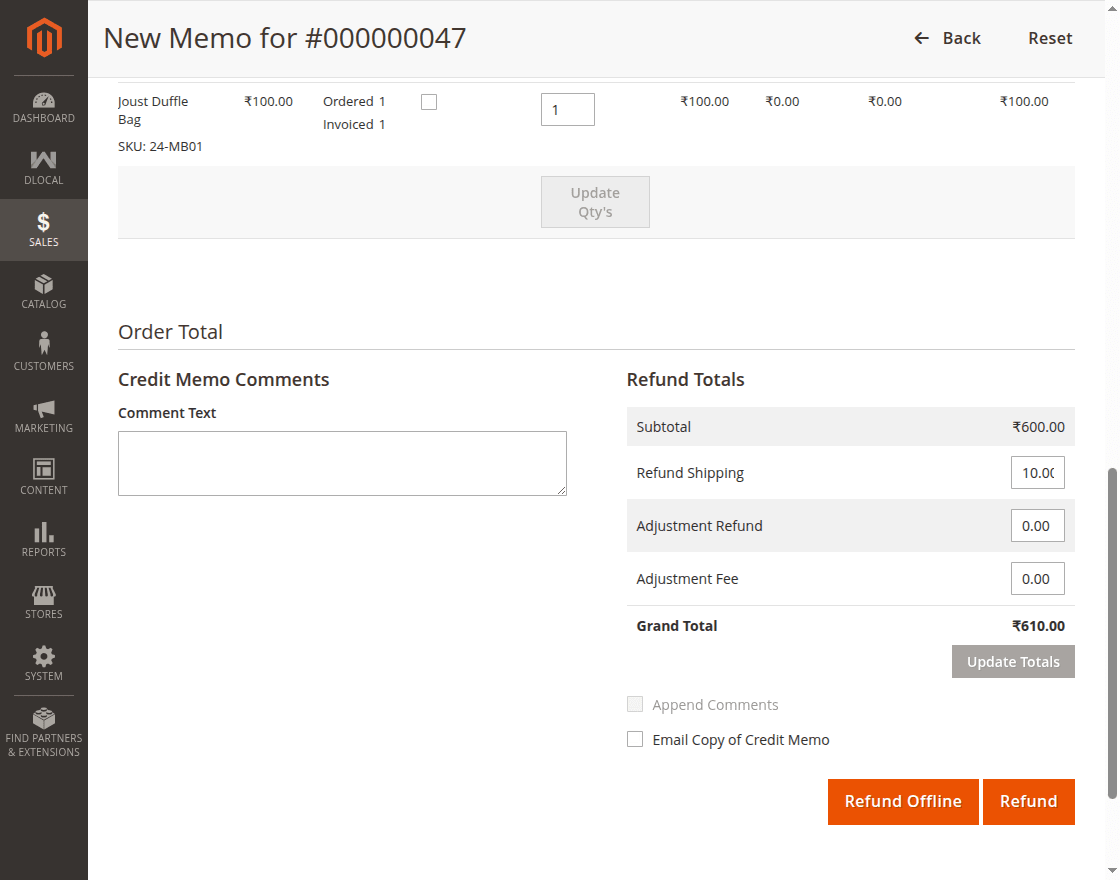
Once the credit memo is generated, the refund amount is credited back to the customer’s account. The transaction details are recorded for the refund.
API Logs – Dlocal Dashboard
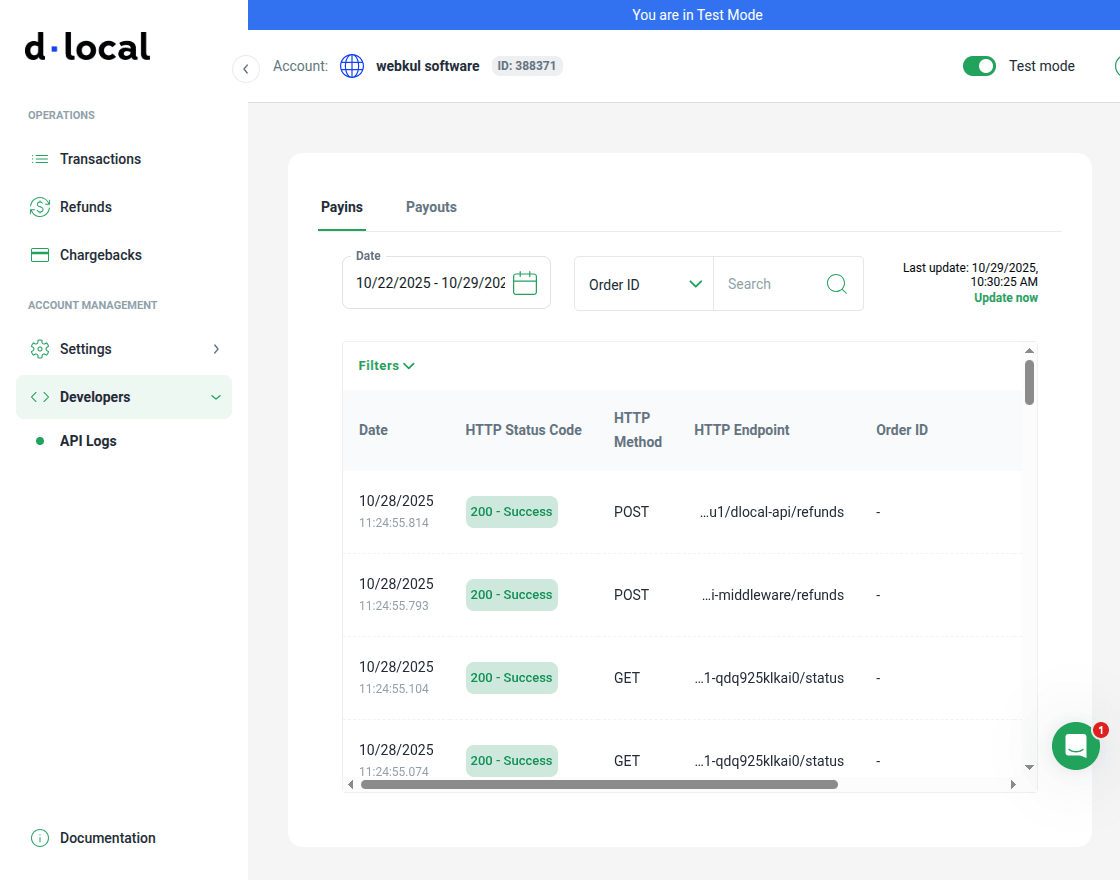
Admin can log in to the Dlocal dashboard and navigate to Developers>API logs and check the API logs for payments and refunds that have been made.
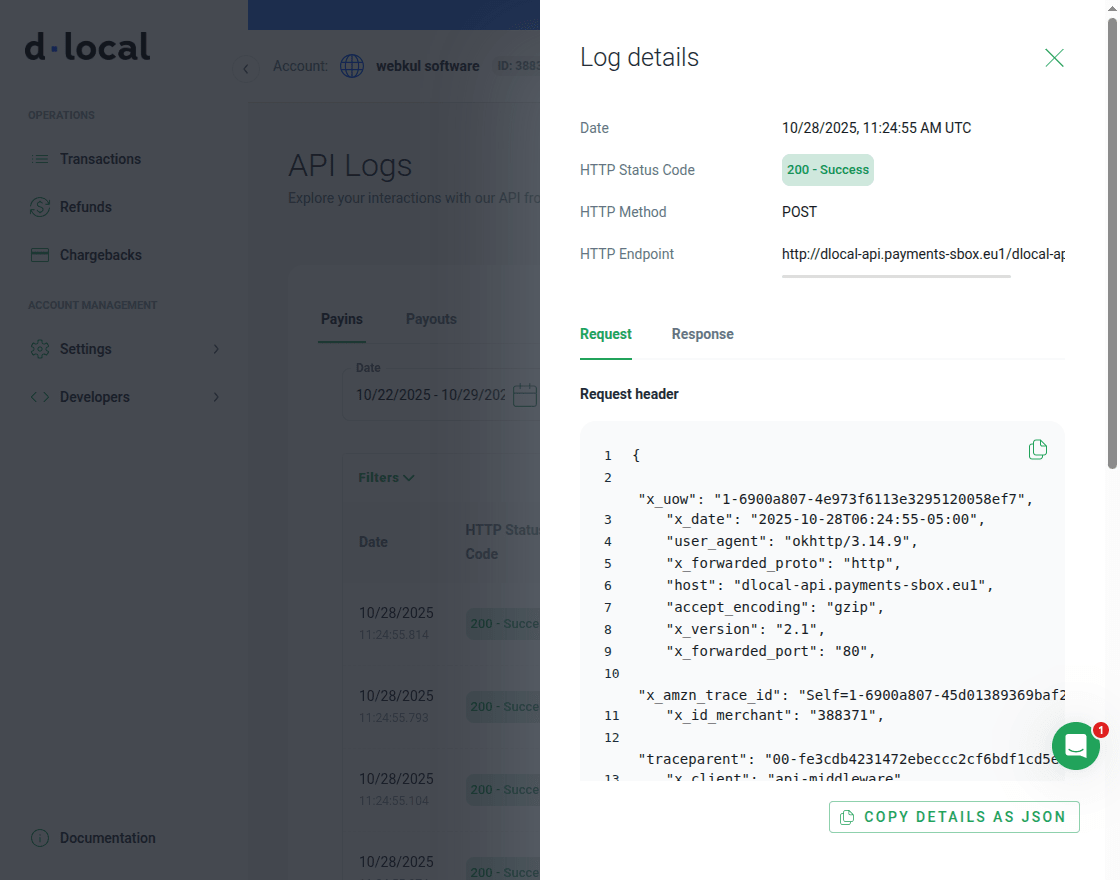
Tapping a particular API log the admin can view the API log details.
The admin can navigate to the Transactions section as shown below to check the payments and the refund logs.
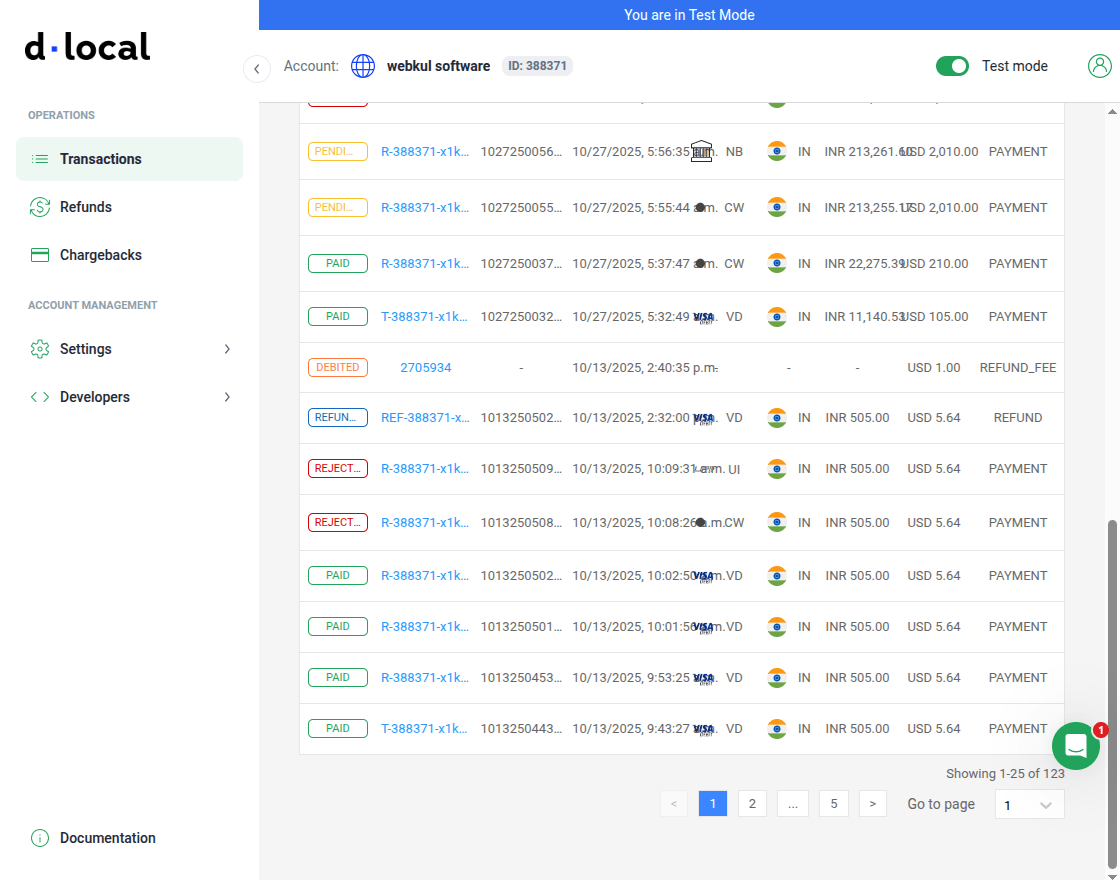
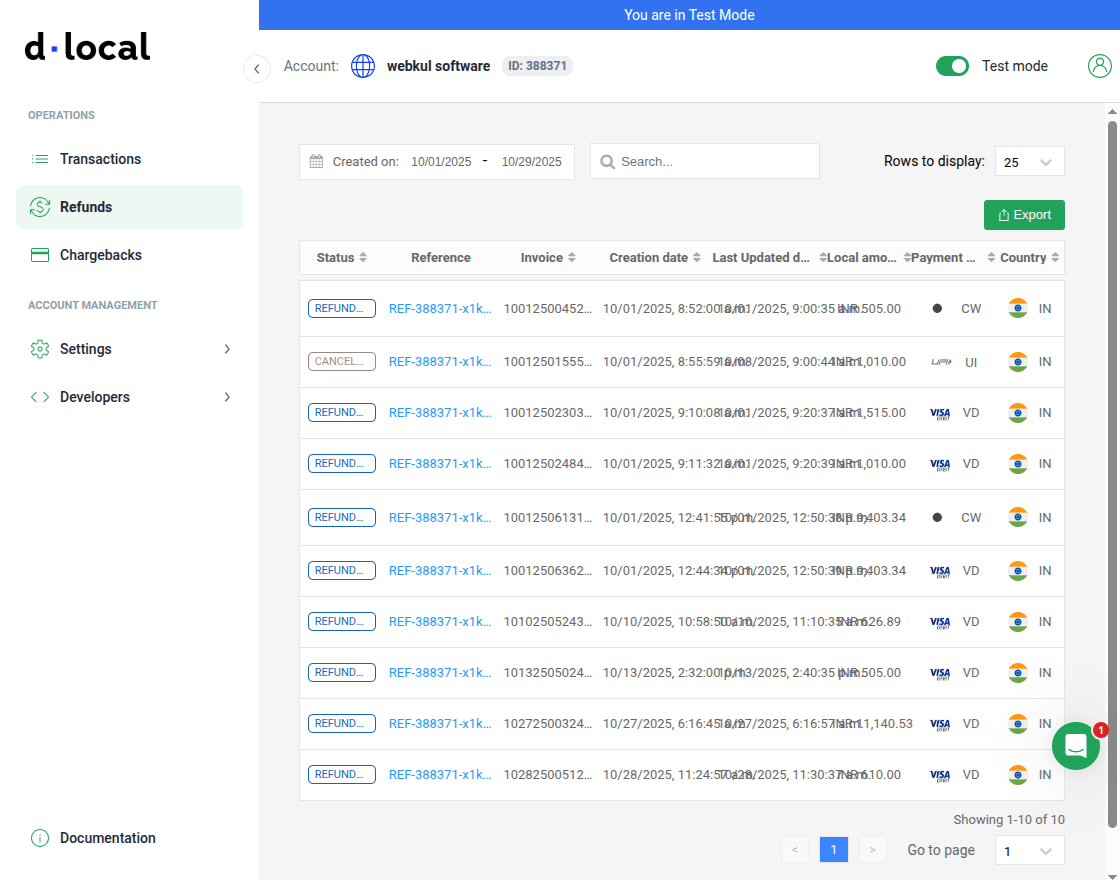
Refund Information:
Support
That is all about the Magento 2 Dlocal Payment Gateway extension.
If you have any queries regarding the plugin, please contact us at Webkul Support System.
You may also check our top-quality Magento 2 Payment Method Extensions.
Current Product Version - 4.0.0
Supported Framework Version - Magento 2.0.x, 2.1.x, 2.2.x,2.3.x, 2.4.x

Be the first to comment.