Bagisto AI Chatbot module is an AI-powered conversational shopping assistant built for the Bagisto eCommerce platform. It uses the Laravel AI SDK and Elasticsearch to intelligently search and retrieve product information.
The chatbot automatically understands customer queries and responds with relevant product results using semantic search and structured catalog queries.
It helps customers easily discover products, check prices, and get instant answers about the store catalog.
- Admin can enable or disable the chatbot from the store configuration.
- Customers can ask about products, pricing, availability, and catalog details to receive instant responses.
- Uses semantic product search powered by Elasticsearch vector search.
- Supports structured catalog queries such as cheapest product, price range, stock availability, and product count.
- Provides natural conversational responses using AI models configured through MagicAI.
- Supports multi-turn conversations, allowing customers to ask follow-up questions naturally.
- Automatically indexes products, categories, and CMS pages for fast search.
- Works with all Bagisto product types including Simple, Configurable, Bundle, Grouped, Downloadable, and Booking products.
Installation
After installing the Bagisto Chatbot, you need to configure Elasticsearch and the AI provider. Once these prerequisites are ready, follow the installation steps below.
Step 1: Extract the Extension
Unzip the extension and merge the packages folder into the root directory of your Bagisto project.
Step 2: Configure Autoloading
Open the composer.json file and add the following line under the psr-4 section.
"Webkul\\Chatbot\\": "packages/Webkul/Chatbot/src"
Step 3: Register the Service Provider
Open the bootstrap/providers.php file and add the following provider to the array.
Webkul\Chatbot\Providers\ChatbotServiceProvider::class,
Step 4: Complete the Setup
composer dump-autoload
php artisan migrate
Step 5: Index Existing Data
After installation, index the products, categories, and CMS pages into Elasticsearch.
php artisan chatbot:index
The chatbot will now start indexing catalog data and will automatically update the index whenever products, categories, or CMS pages are created or updated.
You can also index specific entity types.
php artisan chatbot:index --type=products
php artisan chatbot:index --type=categories
php artisan chatbot:index --type=pages
To drop and recreate the index before indexing (required after mapping changes):
php artisan chatbot:index --fresh
New products, categories, and pages are indexed automatically via event listeners whenever they are created or updated.
Generate OpenAI Key – OpenAI Account
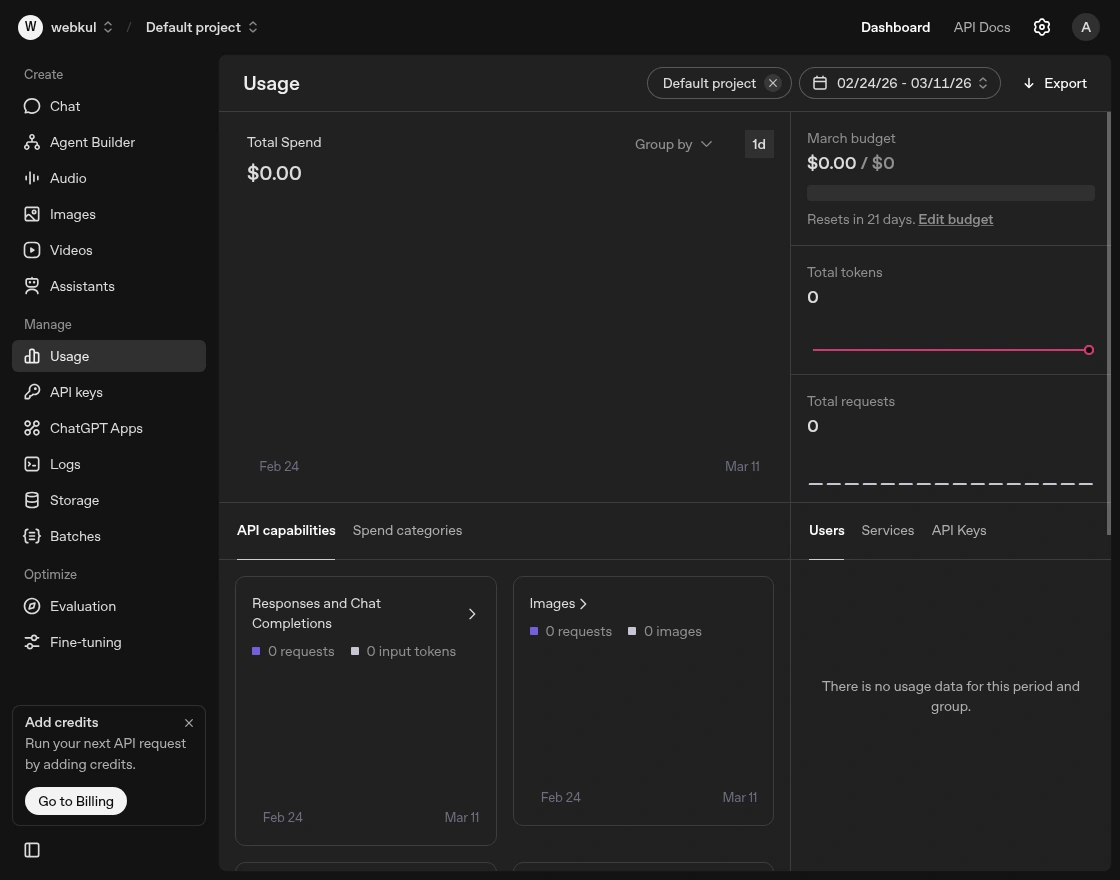
The user has to first create an OpenAI account and log in to the OpenAI dashboard as shown in the screenshot.
Now, the user can click on the API Keys option located in the sidebar.
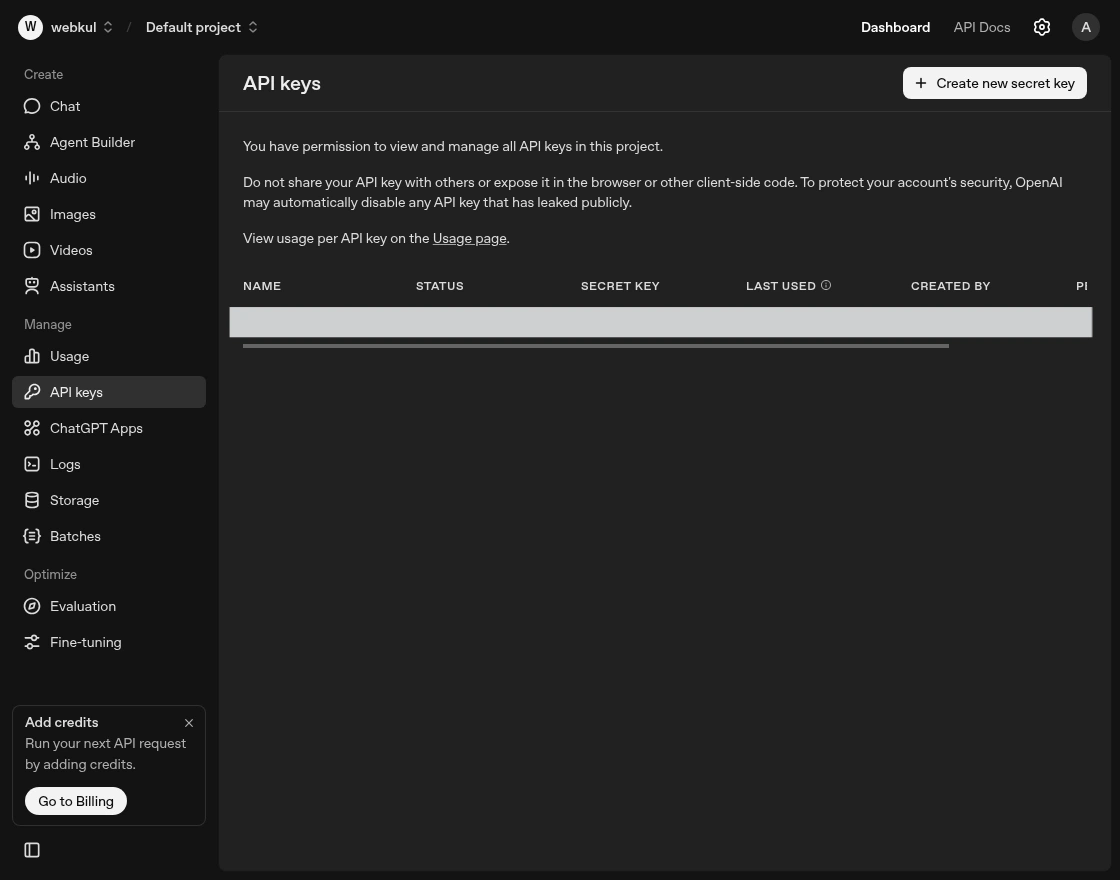
Now user need to click on Create New Secret Key button as shown in the screenshot. When the user clicks on this button, a pop-up will appear to create API key.

In the pop-up, there will be a “Copy” button that allows the user to easily copy the key to their clipboard.
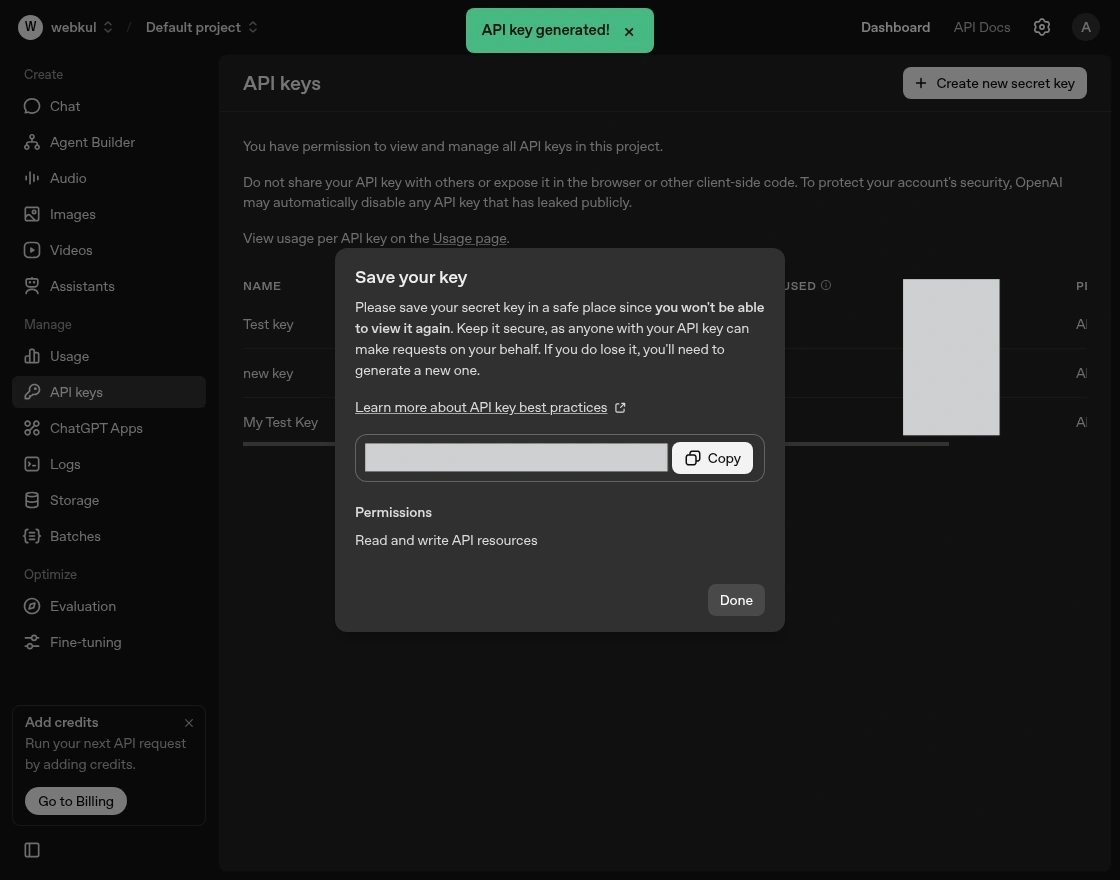
The generated key is to be used in the configuration settings section under the Open AI key.
Admin Configuration of the AI Chatbot:
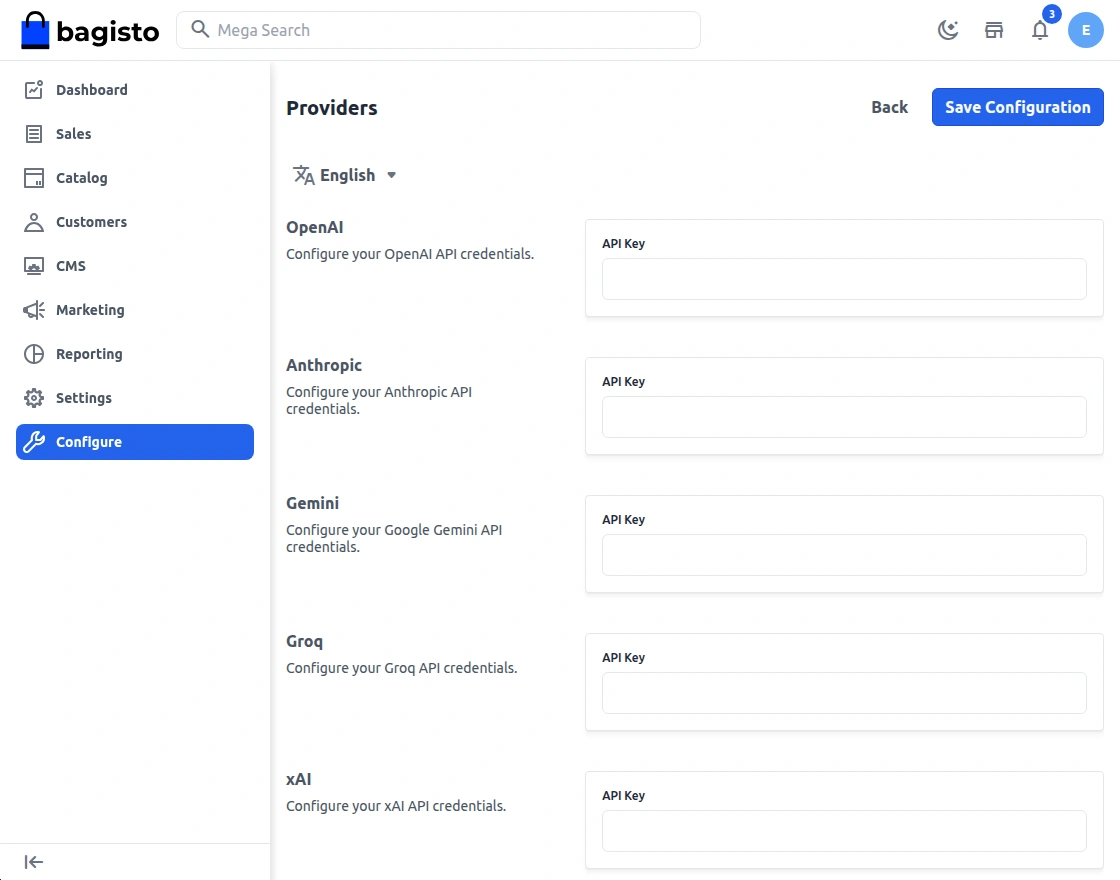
After generating the OpenAI API key, user need to add it in the Bagisto admin panel under Configure -> Magic AI -> Providers, where you can paste the generated key to enable the OpenAI provider for the chatbot.
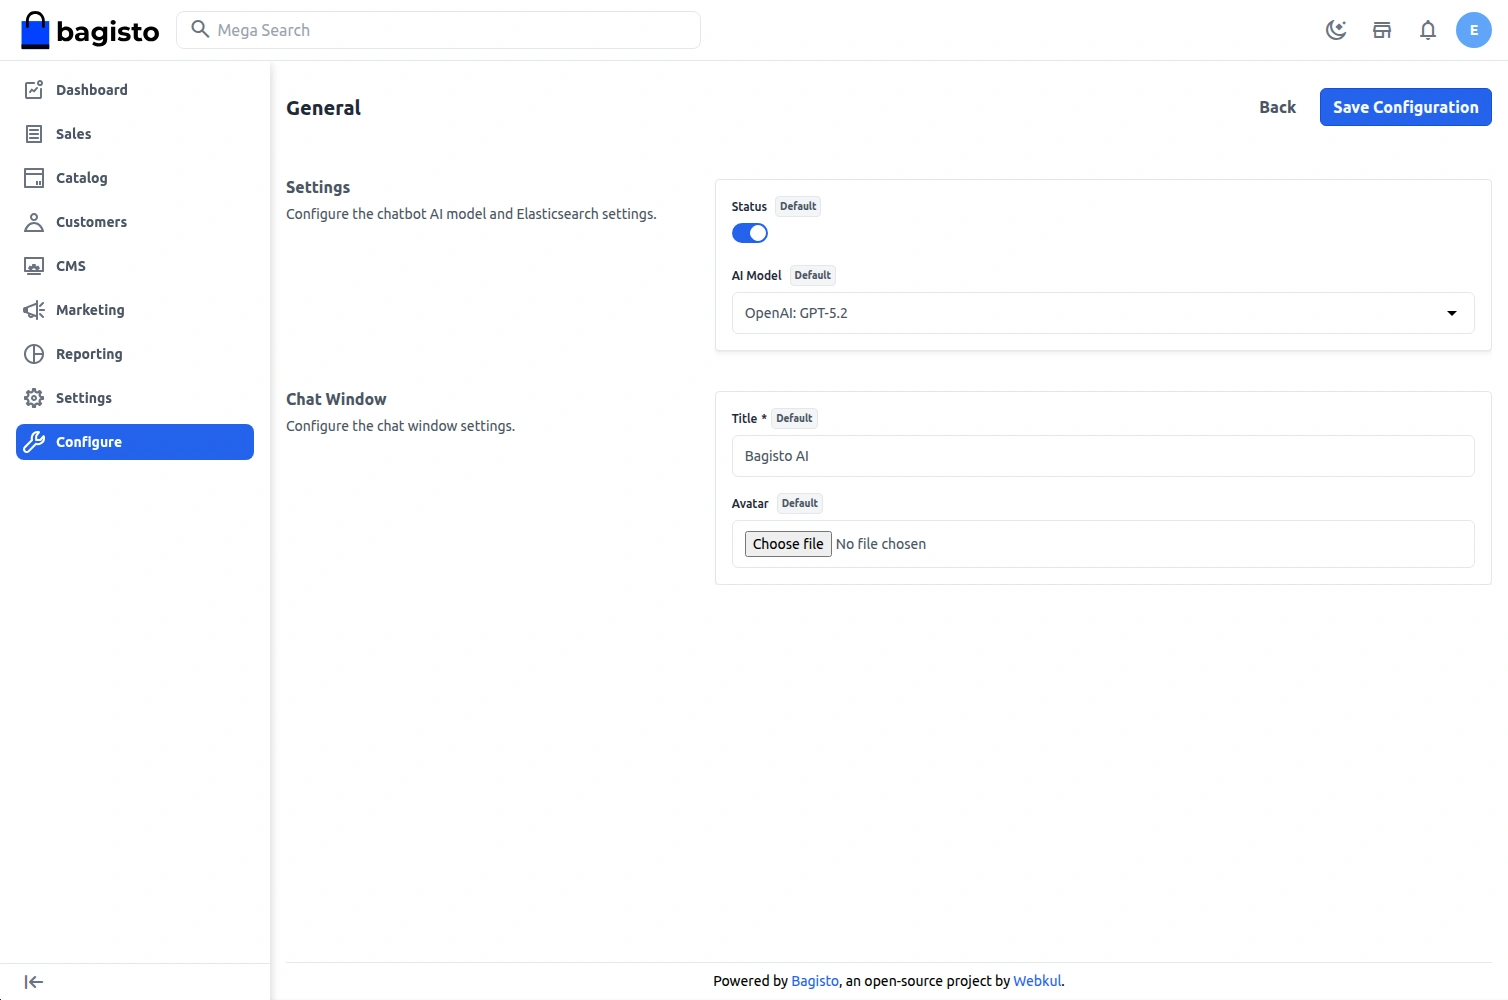
After configuring the API key, go to Configure -> Chatbot -> General in the admin panel. Enable the Chatbot Status to activate the chatbot on the storefront and select the AI Model.
Storefront Workflow – Bagisto Chatbot Using OpenAI ( ChatGPT ) LLM
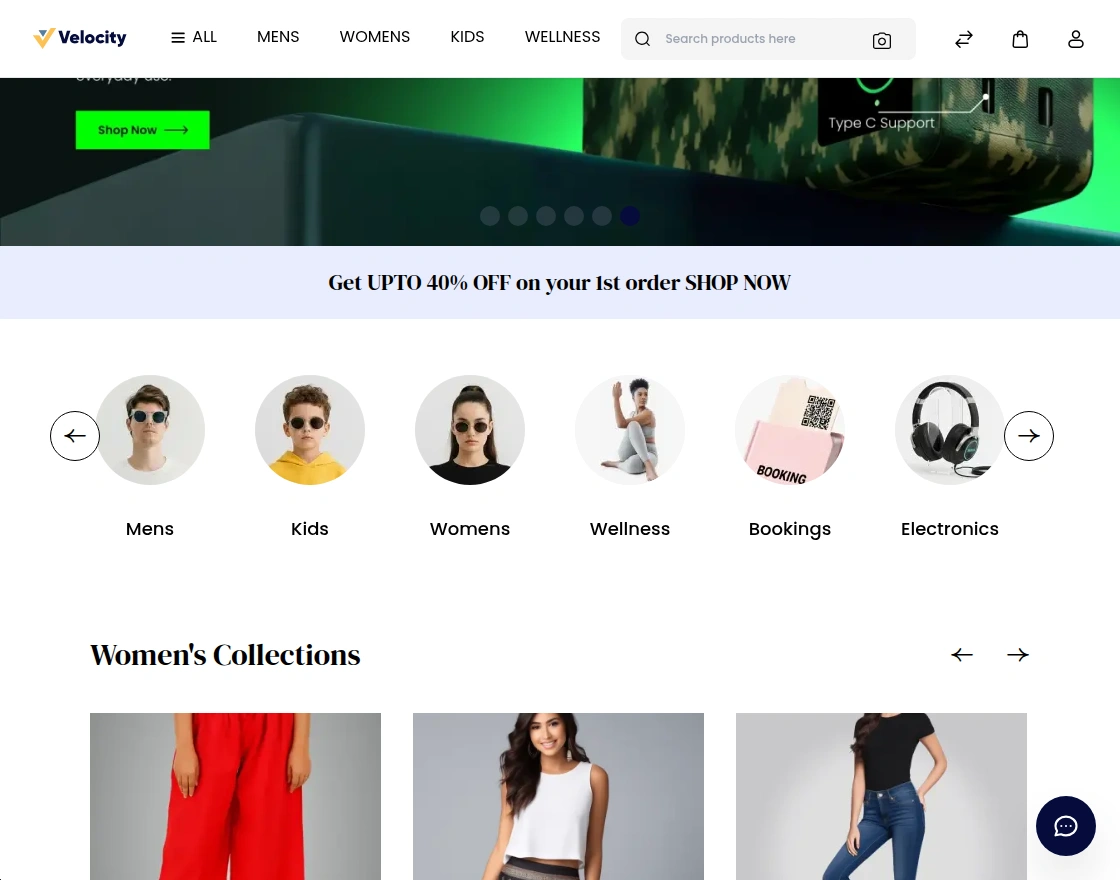
The users of the website click on the ChatGPT bot at the storefront to get started
Chatbot courteously asks, “Welcome to our store! How can we help you?“The user asks a question or states their need.
The chatbot processes the query and provides a helpful response. It offers product information, recommendations, support, and more, based on the user’s needs.
Display the data based on the customer’s last search and preference.
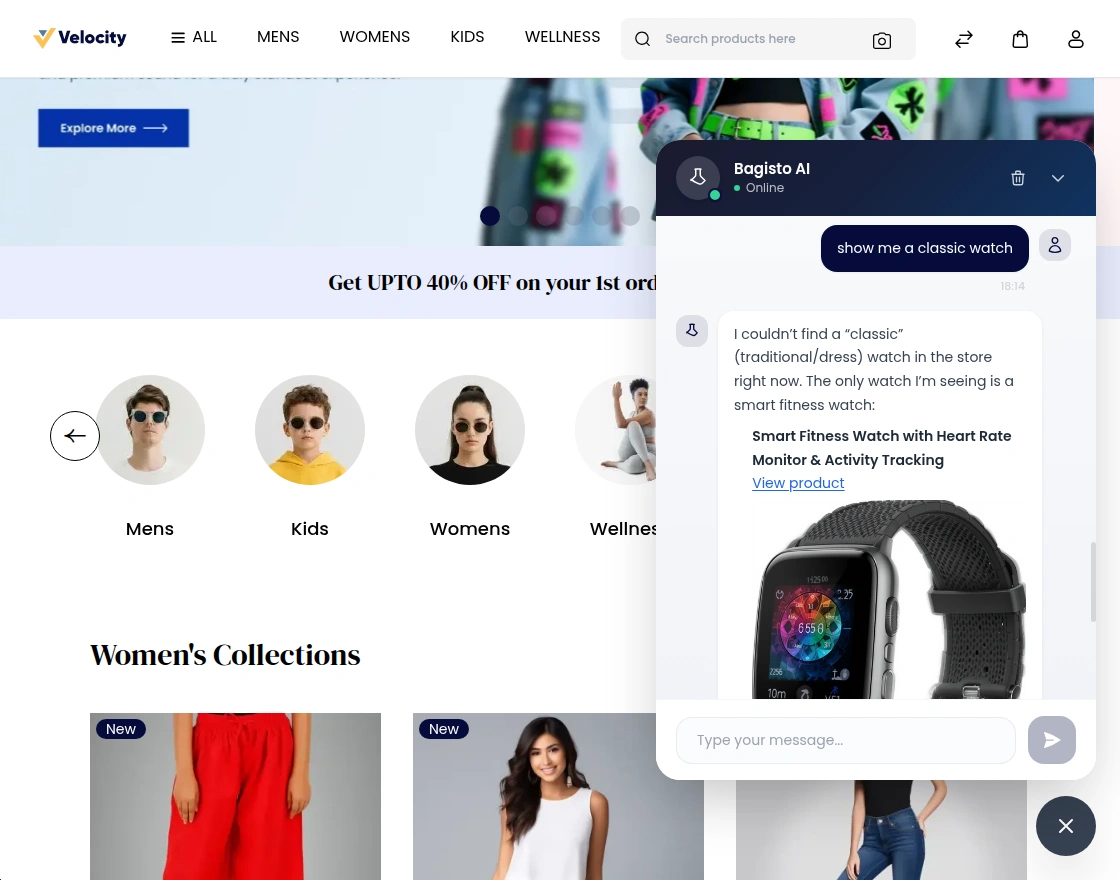
Clicking on the product link user will be redirected to the product page from where they can then make a checkout as required.
Support
That is all about the Bagisto Chatbot Using OpenAI ( ChatGPT ) LLM extension. If you have any queries regarding the plugin, please contact us at Webkul Support System.
You can add ChatGPT to your Bagisto Laravel E-commerce platform as well.
You may also check our quality Bagisto Extensions.
Current Product Version - v2.4.0
Supported Framework Version - v2.4.0

Be the first to comment.