WooCommerce POS Cloud Printer add-on allows the POS user to integrate and use the thermal printer on their POS store.
Easily connect multiple POS outlets printers globally to the same single server.
Consequently, the POS agent can use any of the available printer to print the receipt when required in different locations.
Note:
- To make use of this plugin, you must first have the Point Of Sale System for WooCommerce installed.
We provide a production version of the plugin. If you want a development version then you can get it at an additional cost. Please contact [email protected] for it.
Check the overview of the Plugin –
Also, check how the WoCommerce POS works with different printers –
Thermal Printer –
Zebra Printer –
A4 Printer –
Features
- The admin can integrate multiple thermal printers with POS.
- The admin can use this printer software with Windows, Linux, and Apple devices.
- It allows an auto-print option without any command.
- It can connect multiple printers with a single POS.
- POS agent can manage all connected printers from one instance.
- This plugin supports various types of printers such as Laserjet, Thermal and Barcode Label Printer etc.
- This module is now compatible with WooCommerce’s new High-Performance Order Storage (HPOS) feature.
- WooCommerce POS Cloud Printer Add-on is not multisite compatible.
Printers Compatibility
The WooCommerce POS Cloud Printer Add-on is designed to work seamlessly with a wide range of industry-standard thermal printers.
Below is a list of printers that are fully compatible and tested with our module to ensure smooth and reliable performance:
Supported Printer Models
- bixolon-srp350
- bixolon-srp350iii
- citizen-ct-s310ii
- epson-tm-p20ii
- epson-tm-t20iii
- epson-tm-t70
- epson-tm-t70ii
- epson-tm-t88ii
- epson-tm-t88iii
- epson-tm-t88iv
- epson-tm-t88v
- epson-tm-t88vi
- epson-tm-t88vii
- fujitsu-fp1000
- hp-a779
- metapace-t1
- mpt-ii
- pos-5890
- pos-8360
- star-mc-print2
- star-mpop
- star-sm-l200
- star-tsp100iii
- star-tsp100iv
- star-tsp650
- star-tsp650ii
- xprinter-xp-n160ii
- xprinter-xp-t80q
- youku-58t
Installation
The user will get a zip file for the WooCommerce POS Cloud Printer plugin that he has to upload in the “Add New” menu option in the WordPress admin panel.
For this, login to the WordPress Admin Panel, and Under the Dashboard hover your mouse over the “Plugins” menu option which brings out a Sub-Menu, and then select the “Add New Plugin” option.

After this, you will see an option on the top of your page that is “Upload Plugin”. Click the option to upload the zip file.

By clicking on the “Upload Plugin” option, below that, you will see a button “Choose File”. Click on the button to browse for the zip file as per the snapshot below.

After browsing the file, click the “Install Now” button to install the plugin as per the snapshot.

Now when the plugin is installed correctly, you will see the success message and an option to activate the plugin. Henceforth now, click on “Activate Plugin” to activate the installed plugin.

Activate Plugin
Check how to activate your WooCommerce plugin through the purchase code.
Outlet Settings
The admin needs to update the outlet settings, so the printer is visible for the outlets.

The admin can select the default thermal printer from here as well.
Admin Configuration- WooCommerce POS Cloud Printer
Once the installation is complete the admin can configure the POS thermal printer settings. They have to navigate through Point of Sale > Settings> Thermal Printer.
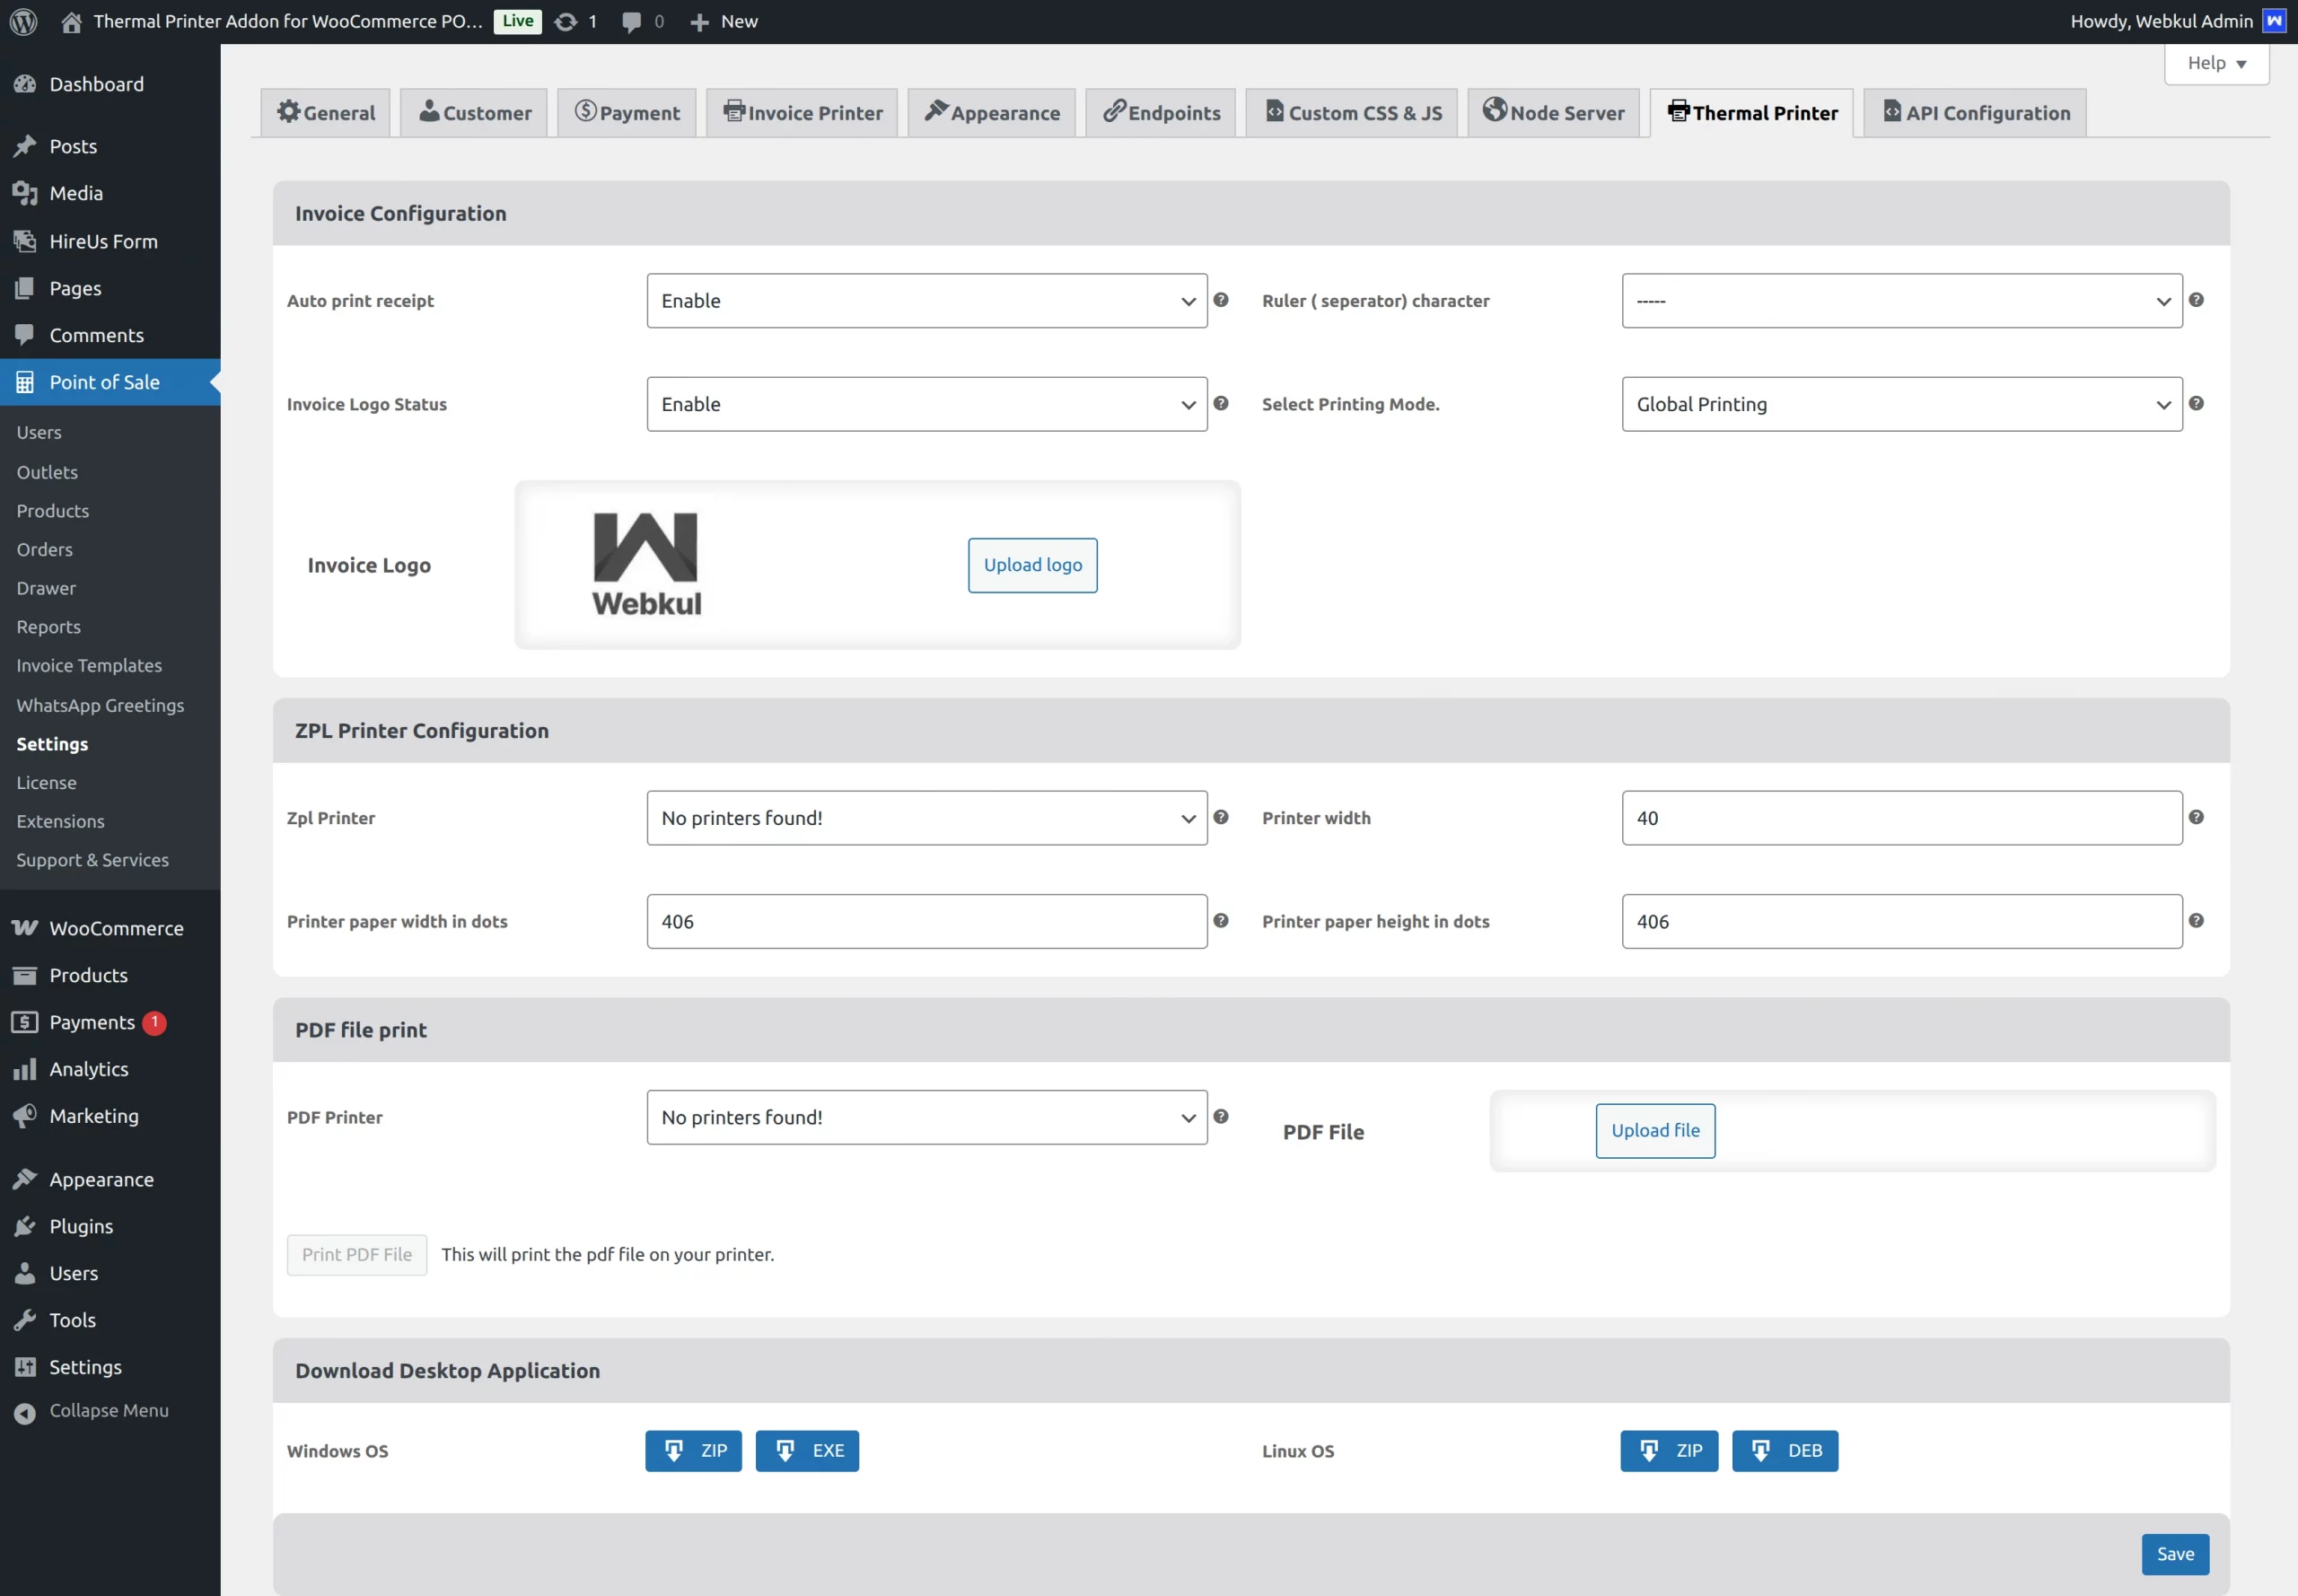
The admin will enter multiple settings here.
Invoice Configuration
Auto Print Receipt – The admin can enable the auto print receipt option.
Ruler Separator Character – The admin can select the ruler separator character from the drop-down option. Various ruler separators are available in the section.
Invoice Logo status – Enable or disable the invoice logo status.
Invoice Logo – Upload the logo image here.
Server Configuration
- Server (Domain/IP) Address – Input the domain or IP address without http/www prefix.
- Server Port – Enter the Server port number. The Node server will start on this port.
- Server HTTPS Status – You can enable this option if your site has SSL installed.
- Server Timeout – Enter the Node server API request timeout.
- Start/Stop Server – Button to start or stop the server as per requirement.

ZPL Printer Configuration
- ZPL Printer – Select the zebra printer for printing barcodes.
- Printer Width – Enter the printer width for the number of dots to be printed in line.
- Printer Page width in dots – Input the printing paper width in dots like 406(for 2 inches paper and 203 DPI)
- Printer Paper height in dots – Enter the printer paper height for the number of dots to be printed in line.
PDF File Print
- PDF Printer – Select the PDF Printer for pdf printing.
- PDF File – Upload the PDF file.
Print PDF File – Tapping on this button will print the PDF file on the selected printer.

Server SSL Keys
SSL Certificate Keys – Enter the Server SSL certificate key.
SSL Private Keys – Enter Server SSL private keys.
Note –
- SSL keys will be different for different servers.
- This is not provided for the HTTP.
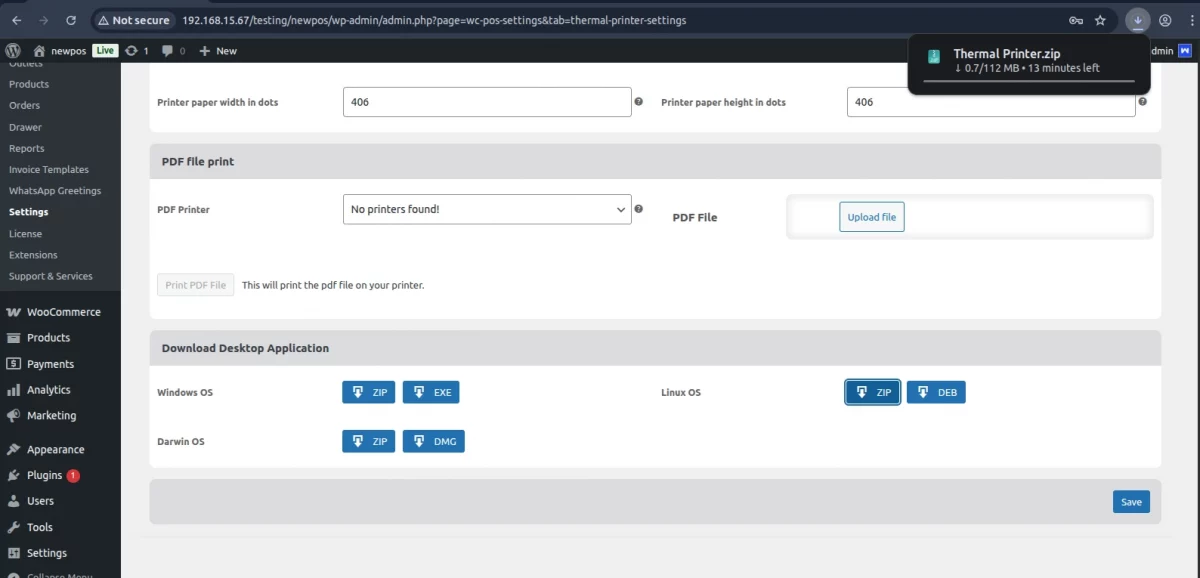
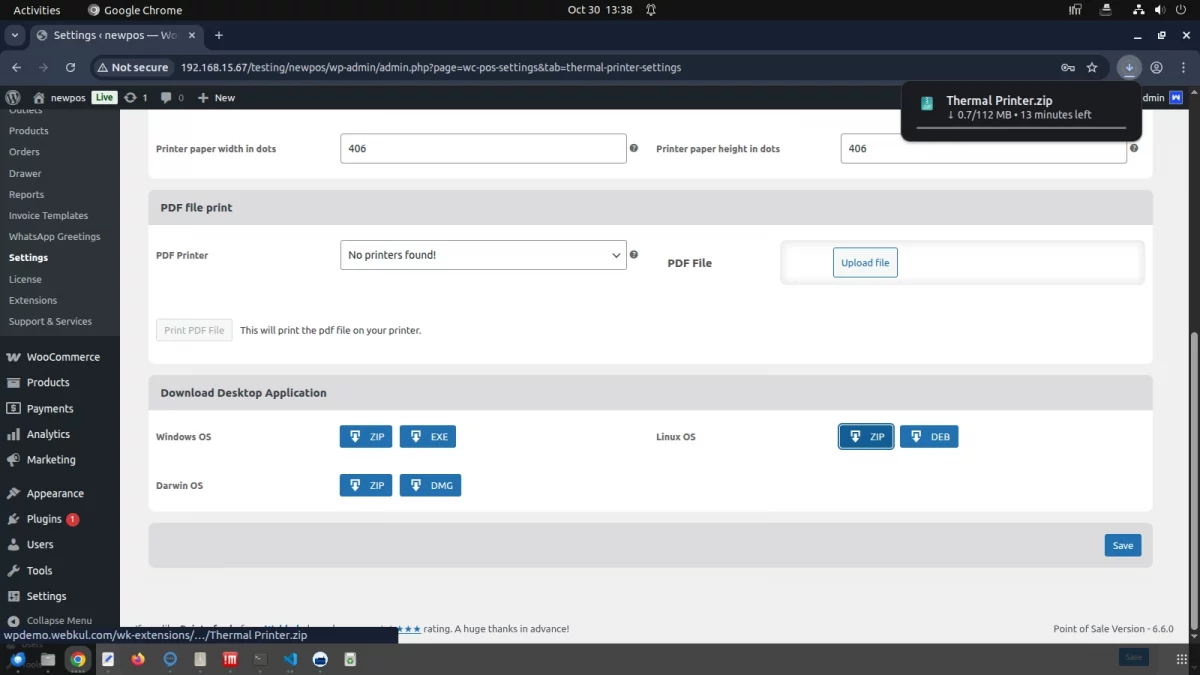
Download Desktop Application
The admin can use this extension on their respective device after installing the app for Windows, Linux, and Darwin OS separately.
Windows OS
Click on the ZIP, EXE, or MSI button to download the application on your Windows system. Once you click on the button the file will download to your system.
When you download the exe file, the file will be directly downloaded to the system.

After that, a pop-up will appear and you can click on run anyway to proceed further

Then you have to enter the domain detail.

Linux OS
Similarly, the admin can download the app on their Linux OS.
Then extract the Zip file on your system.
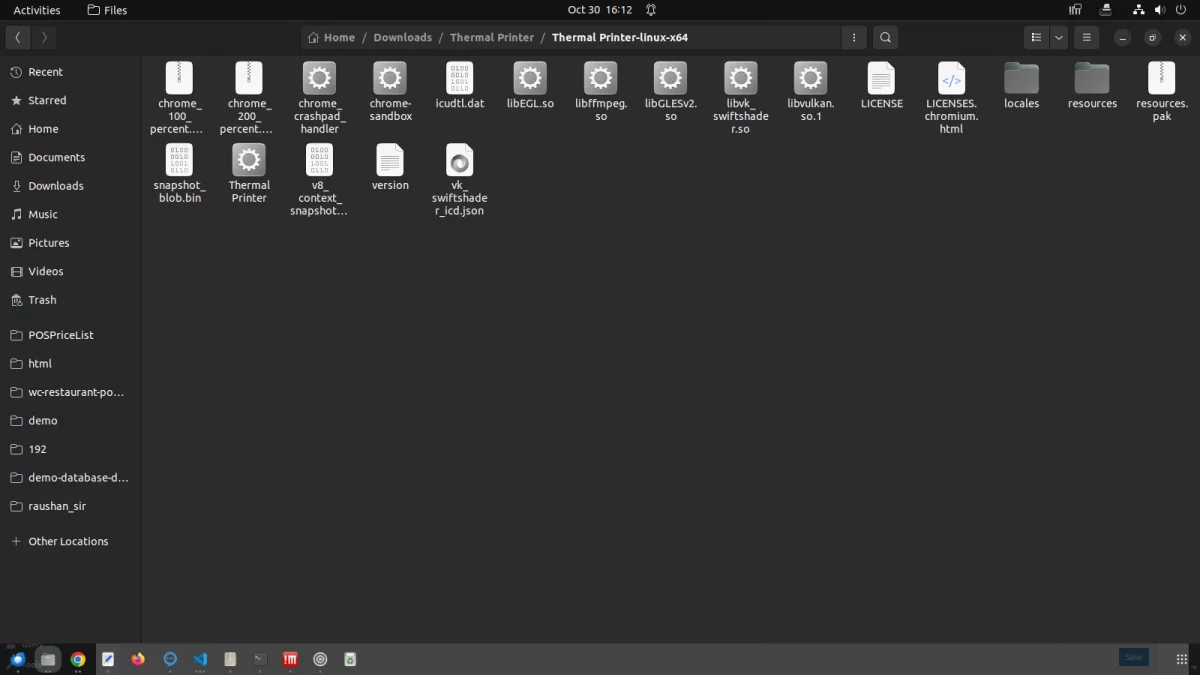
Now click on Thermal Printer.
After enabling execute permission, the admin launches the app on their system.
Darwin OS
Similarly, the admin can install the app for Apple desktop in Darwin OS.

Once the Zip is installed extract and open it.

Click on the open icon and the process will run in the background.

After installing the app, the admin sees the icon on their home screen.

Click on the app, the app will open in your Darwin OS.

App Settings
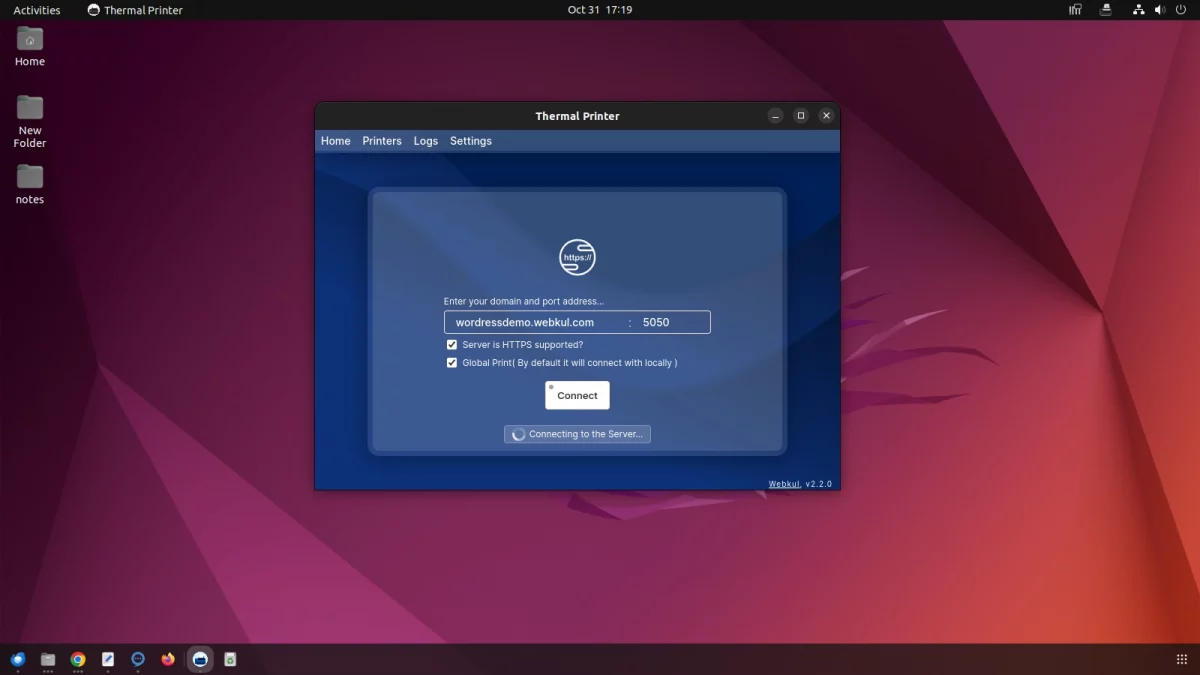
After installing the app, the admin configures the app settings.

The admin will enter the domain URL or IP address and port number.
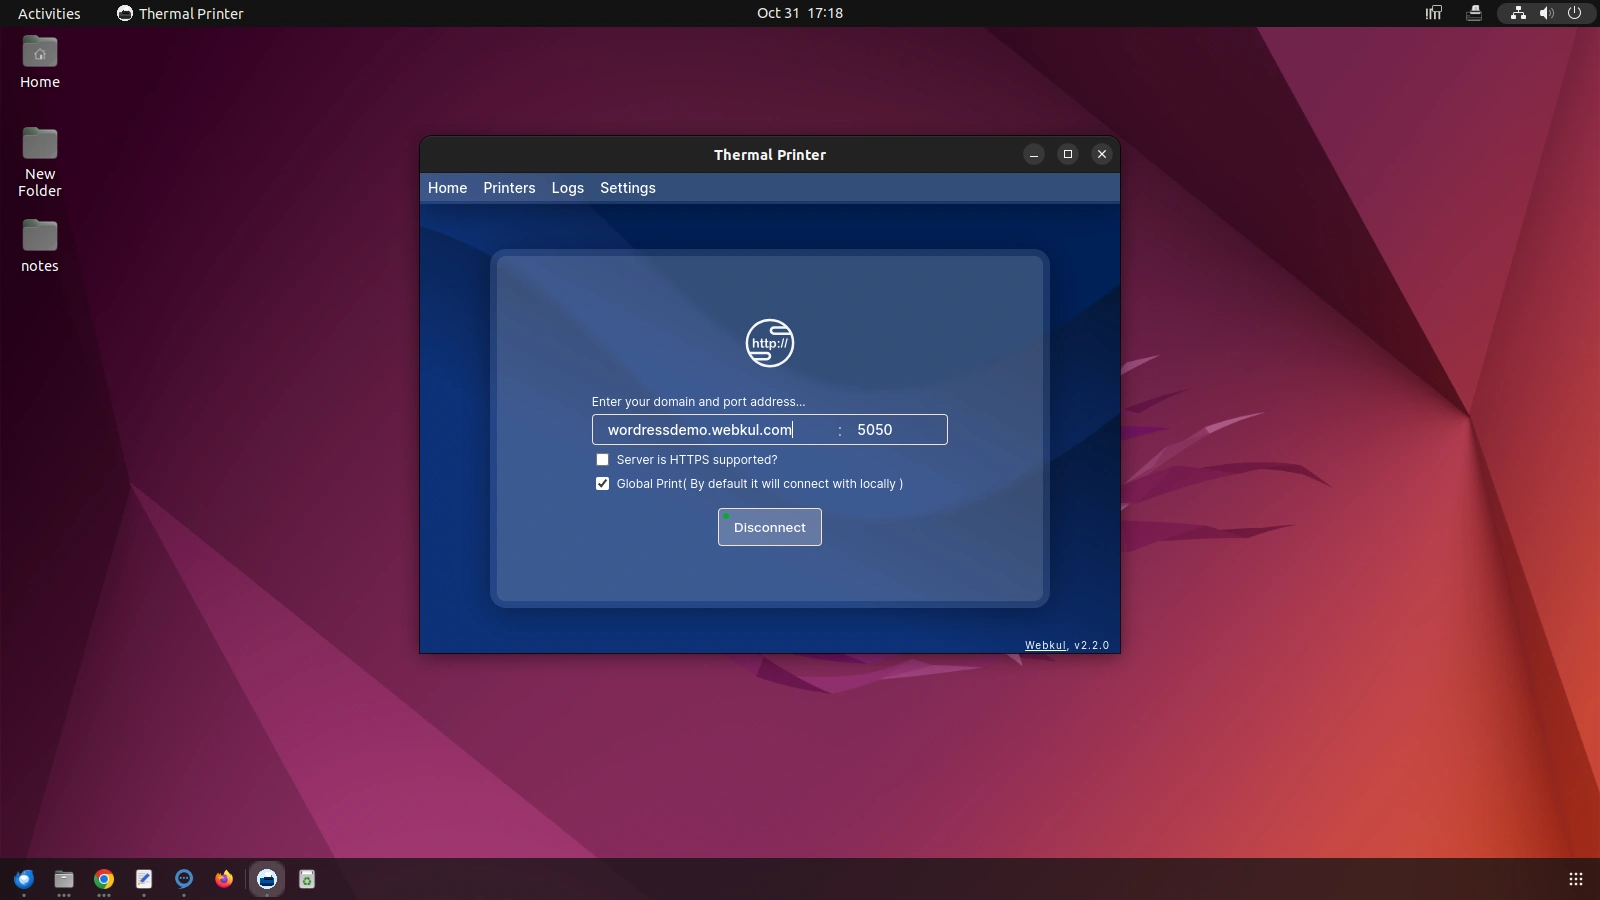
The admin needs to click on the connect button to connect the app to the server port.
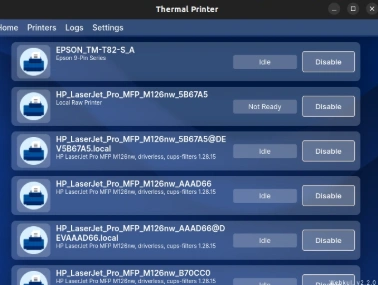
Click on the printer’s option to check the connected printers and connect new ones.
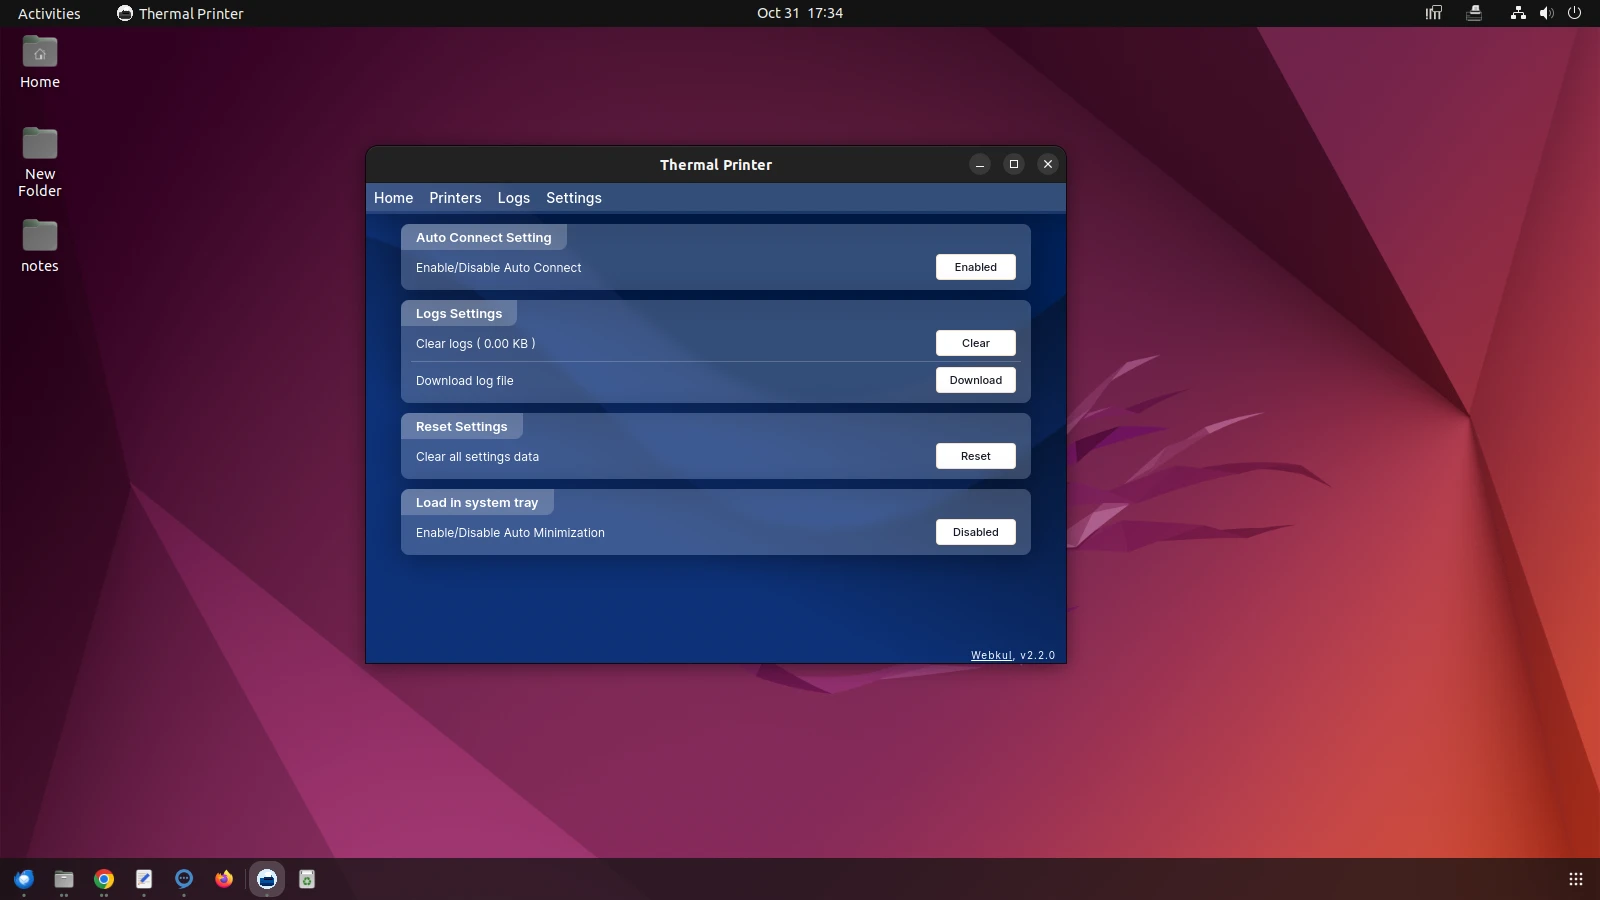
Check the log setting on the app and download or clear any logs from the POS thermal app.
Once you click on the download button the log file will download in your system.
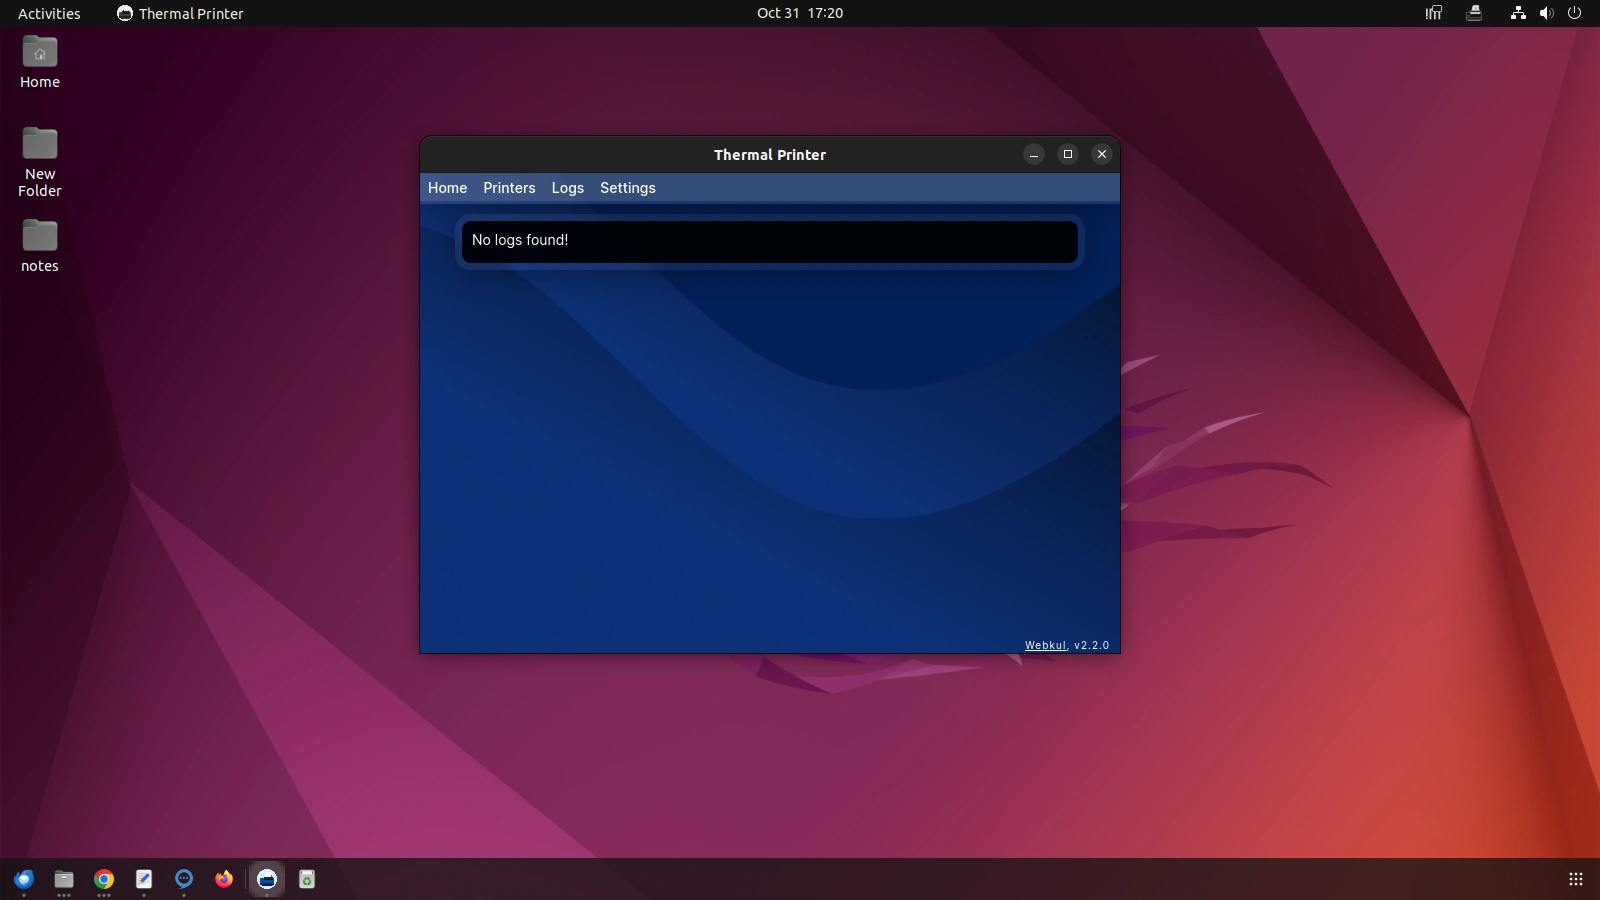
Check the log file directly on your system with every detail of the POS thermal printer app.
If the admin wants to clear the log they can simply click on the clear button and the log will be cleared from the app.
POS End Workflow
Once the app is configured the POS agent can open the POS panel and use it. They can log in to the POS and connect the printers.

Click on the printer icon to connect the printers. Once the printer is connected you will receive a success message for the same.

You can also check added printers from here by clicking on the icon.

The POS agent can make any printer as their default printer.

Now the customer can add any product to the cart and proceed with the checkout.

Once the order is placed the print request will automatically sent to the thermal printer.

Order History
The POS agent can also view the order history and print the invoice by clicking on the button for any respective order.

User will get the receipt like shown in the below screenshot.

Product Barcode Printing – Admin End
Once the printers have been successfully configured, admin can print the barcodes for their products.
They will navigate to Point of Sale > Products > Print Barcode to start the barcode printing process. The configuration will be as follow,

When you tap Print Barcode, the system shows a pop-up to give the print command.
The popup provides 2 options i.e Print by Thermal Printer and Print.
Clicking on Print by Thermal Printer will print the product barcode through the configured ZLP printer.


That’s all for the WooCommerce POS Cloud Printer Add-on. If you have any queries or suggestions regarding the WooCommerce extensions then you can get back to us at webkul.uvdesk.com.
Current Product Version - 2.3.0
Supported Framework Version - WordPress - 6.8.3 WooCommerce - 10.1.0

Be the first to comment.