Note: The User Guide describes the workflow of the Odoo Website Pathology Lab Management System only. To know how the base module: Odoo Pathology Lab Management System works; kindly refer to the User Guide Of Odoo Pathology Lab Management System.
INTRODUCTION
Odoo Website Pathology Lab Management System: Booking a lab test nowadays is not a tough task anymore!!
Standing in line, filling in the details, and then waiting for the report at the center is a big no-no for customers nowadays. So, providing this facility online can help them and save their time and effort.
About the App: Odoo Website Pathology Lab Management System provides the facility for customers to book a lab test along with the date and center directly from the website. The test report is sent to the patient via email. The patient can also download the report from his account.
The concepts and design of the Odoo Website Pathology Lab Management System module are to ensure that it can meet the demanding requirements that an ideal software should have to manage today’s busy pathology labs.
FEATURES
- The Module provides a facility to book a test directly from the website.
- Customers can see all the tests of pathology and read their details.
- Customers can add the test to the cart to book it.
- Admin can select Categories in lab tests and test packages for ease of customers.
- Customers can select lab tests and test packages according to the Categories defined.
- Admin can publish/unpublish both lab tests and test packages to display tests on the website.
- The facility of Email notification on confirmation of Test Request.
- The facility of Email notification on completion of the Test Report.
- Also, test reports can be sent to the patient via email.
- Customers can view all the booked Test Requests in their Account and download the report from there only.
INSTALLATION
- Once you have purchased the module from our Webkul store, you will receive a link to download the zip file of the module.
- Extract the file on your system after the download finishes. You will be able to see a folder named- ‘website_pathology’.
- Copy and paste this folder inside your Odoo Add-Ons path.
- Now, open the Odoo and click on the Settings menu. Here, click on Activate the Developer Mode. You can activate the developer mode by typing ‘debug’ after ‘web?’ in the URL as well.
- Now, open the Apps menu and click on ‘Update Modules List’.
- In the search bar, remove all the filters and search ‘website_pathology’.
- You will be able to see the module in the search result. Click on ‘Install’ to install it.
WORKFLOW
- Once the installation is completed, visit the Pathology app from the backend.
- Follow the path Configuration>>Test Categories.
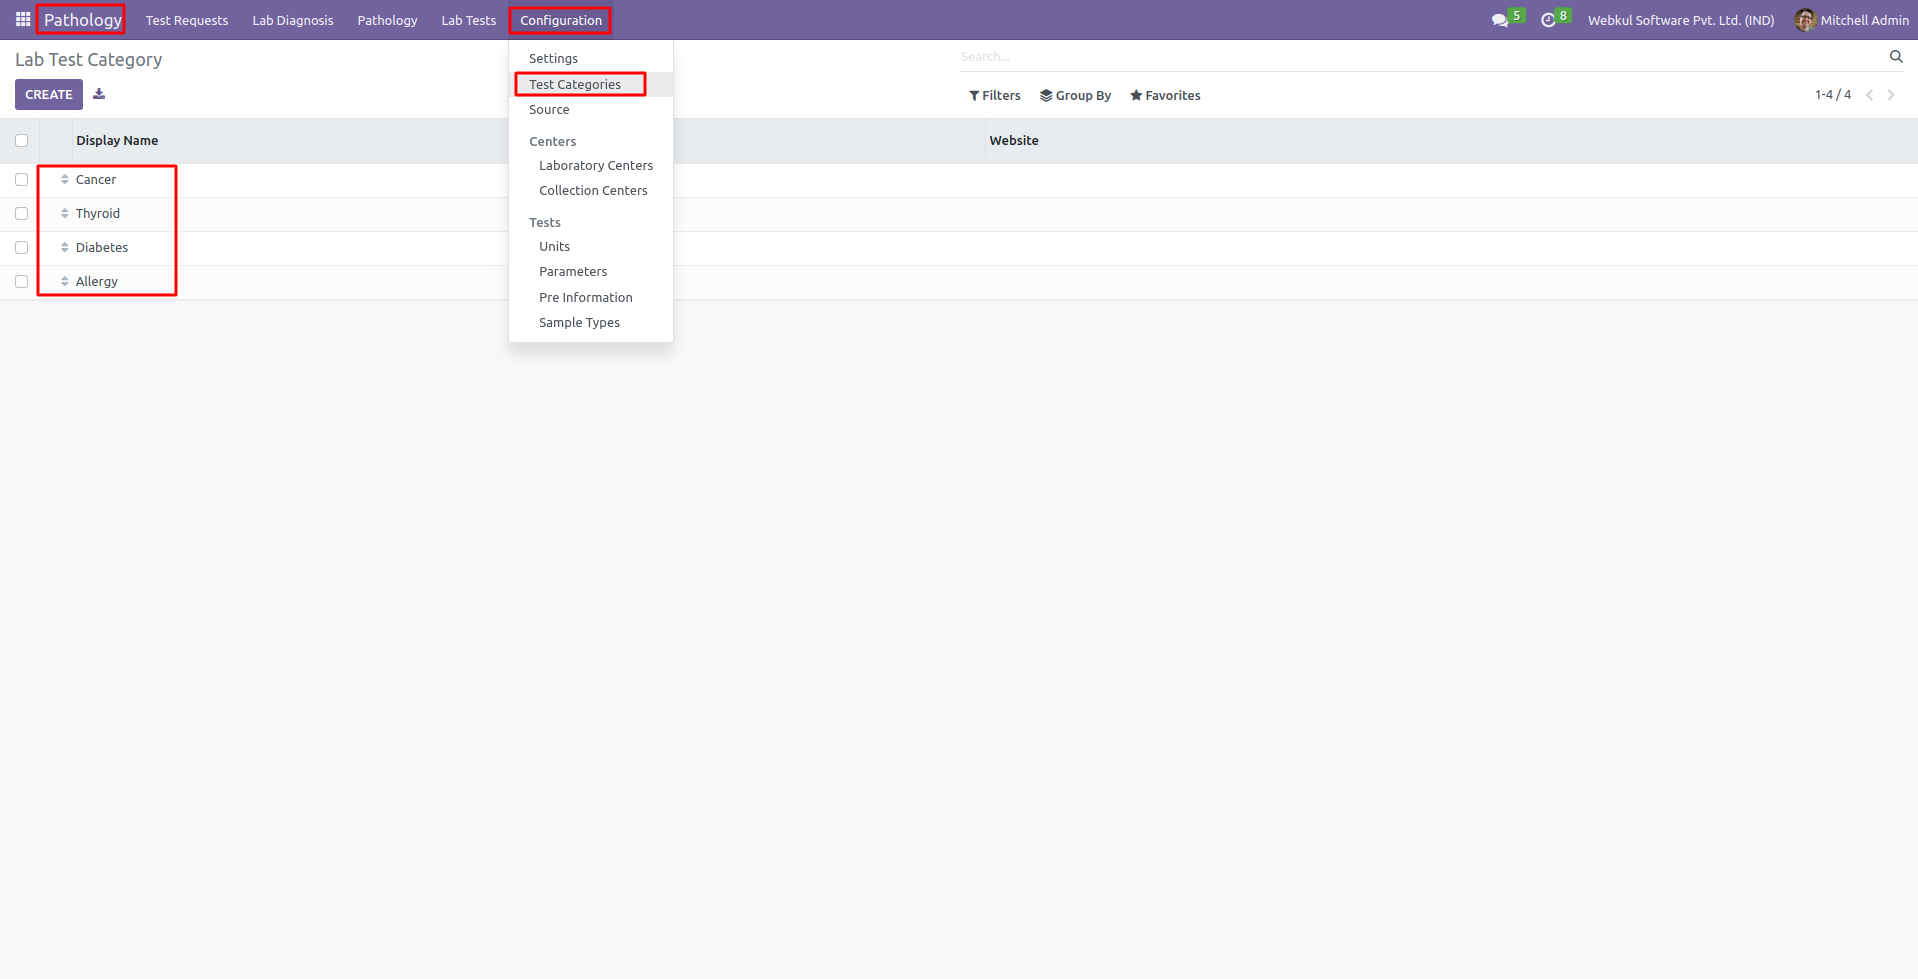
- Create few Lab test categories these categories will be added to lab test packages to categorize tests for customers.
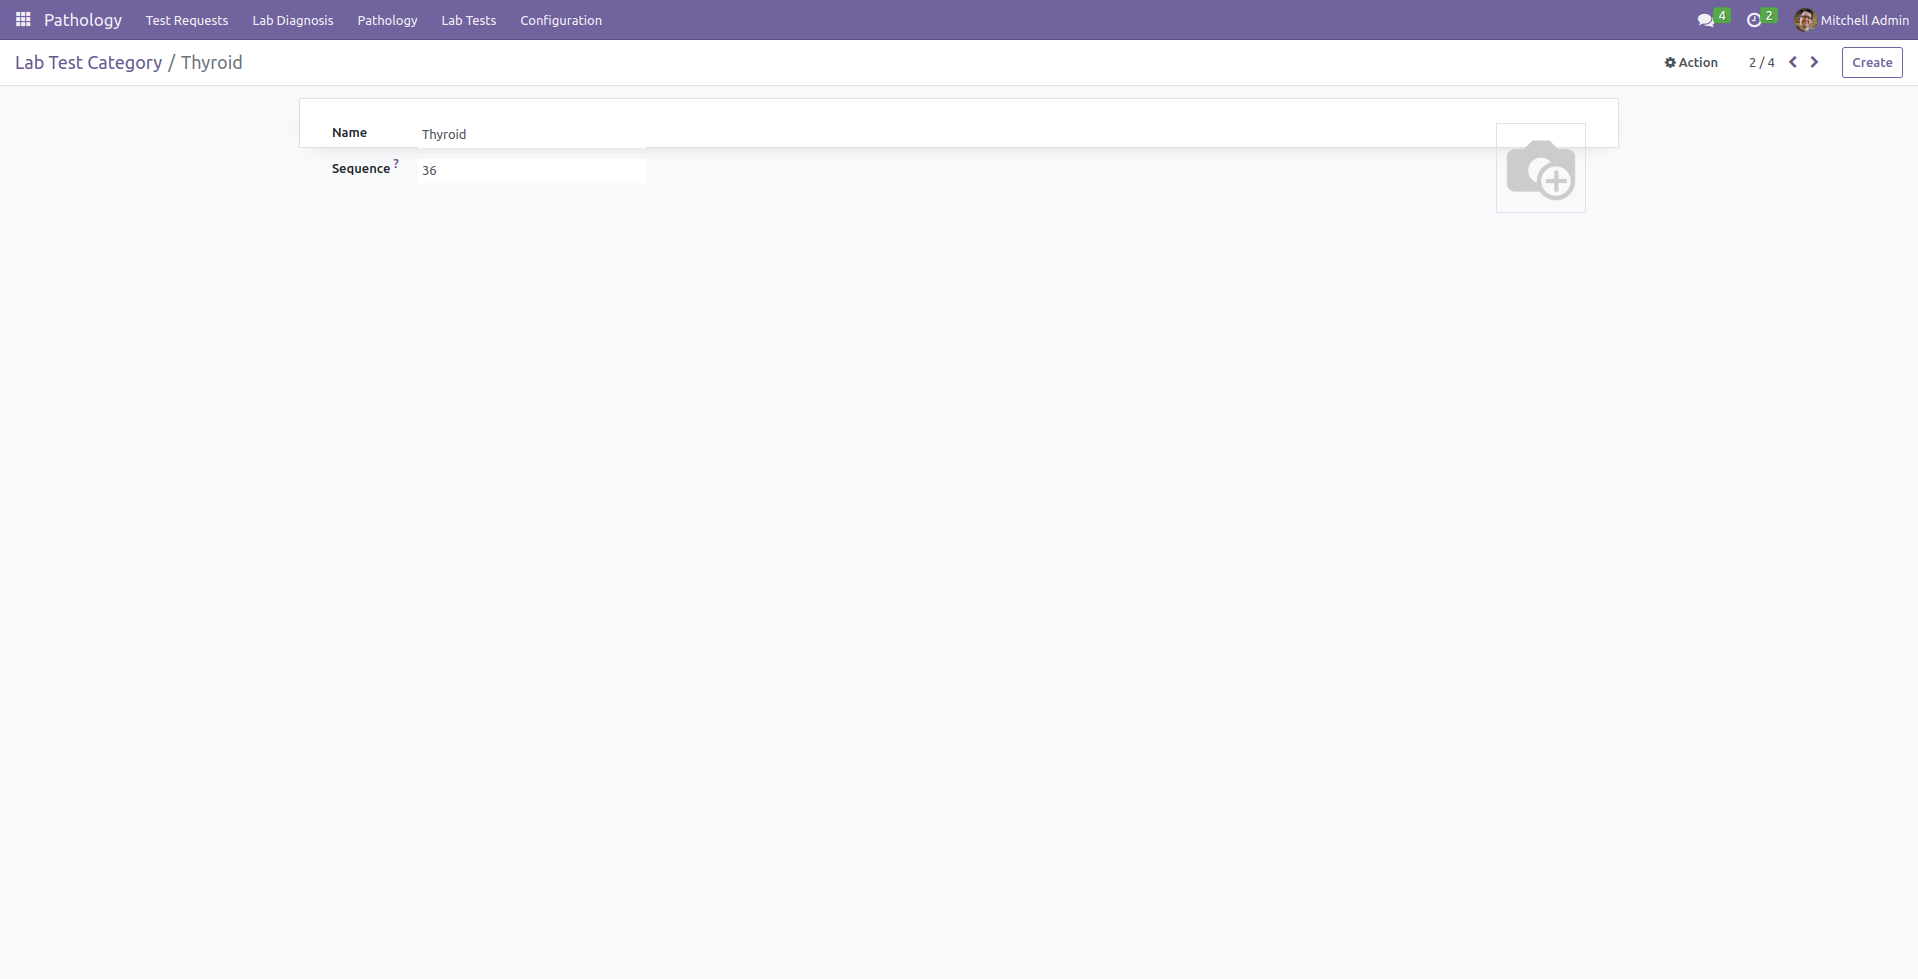
- Follow the path Lab tests>>Tests. Here, categories are added to the lab tests. Also, publish the lab test to make it visible on the website.

Website View
- On the website view, you can easily customize the book test link just by enabling or disabling the menu of Book a test. A new ‘Book a Test‘ link will be visible to the customer.

- On clicking on ‘Book a Test’, all the tests created by the admin will be visible to the customer. Therefore the basic details of the test will be displayed.
- A patient/customer can click on a particular test to check all the details of the lab test. Also, the link of the corresponding test package will be linked to that lab test.
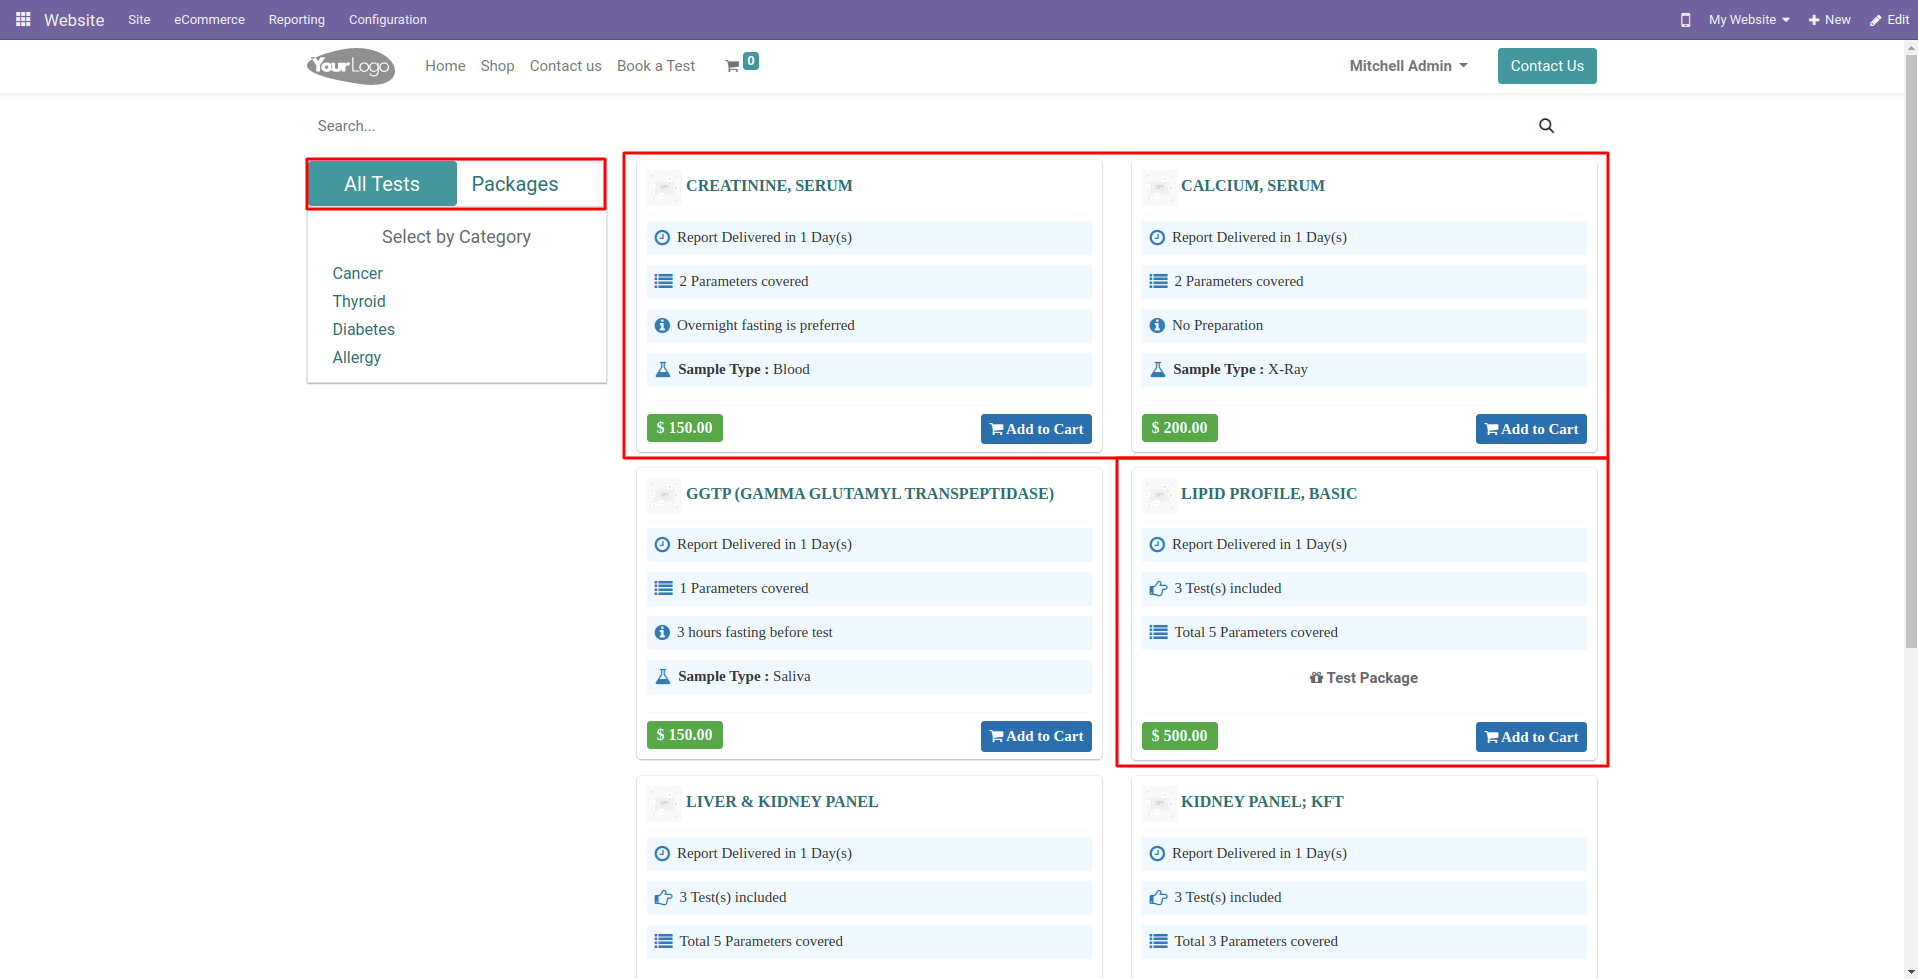
- This module will also provide a Filter box showing test categories. Hence, customers searching for a specific lab test or package can easily filter them just by selecting the category.

- On clicking a particular test its details will open where the customer/patient can check the overview of the lab test.

- Once confirmed the details about the test are the customer/patient can add the test to the cart to proceed with the booking.
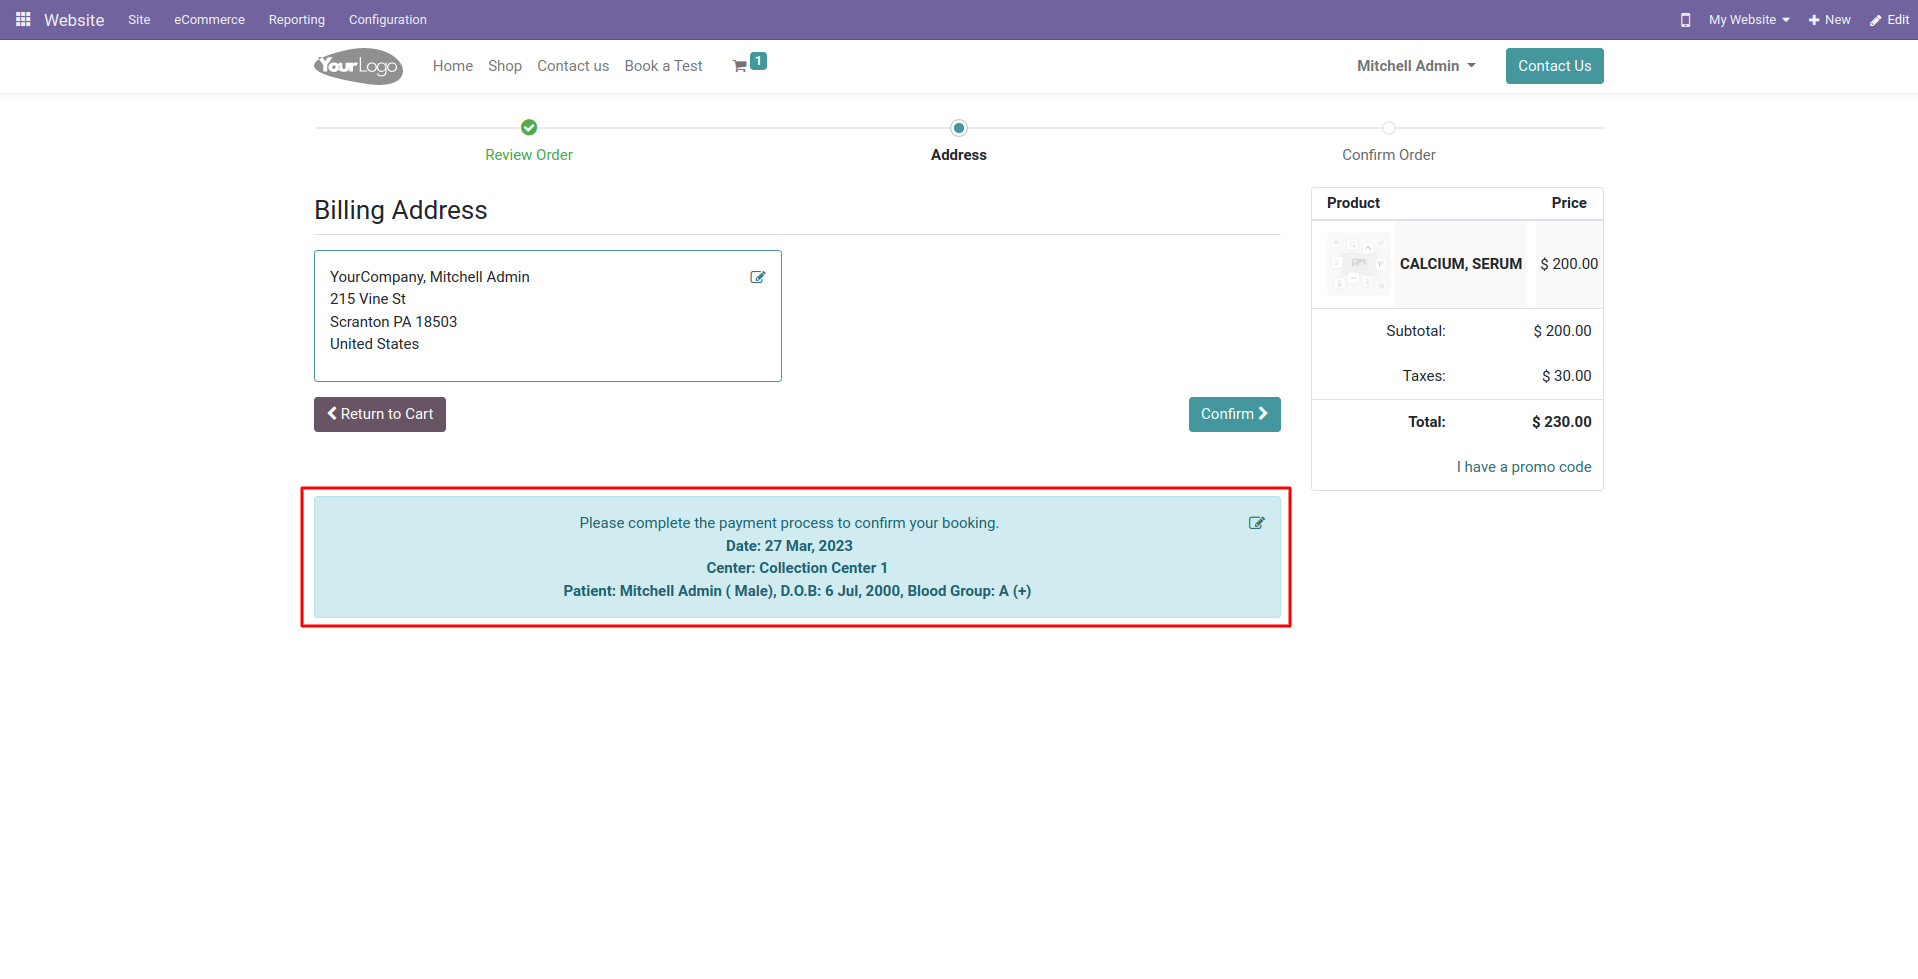
- Also, select the date for conducting the lab test along with the collection center. Add additional comments in the comment box and finally click on the Process checkout button to proceed.

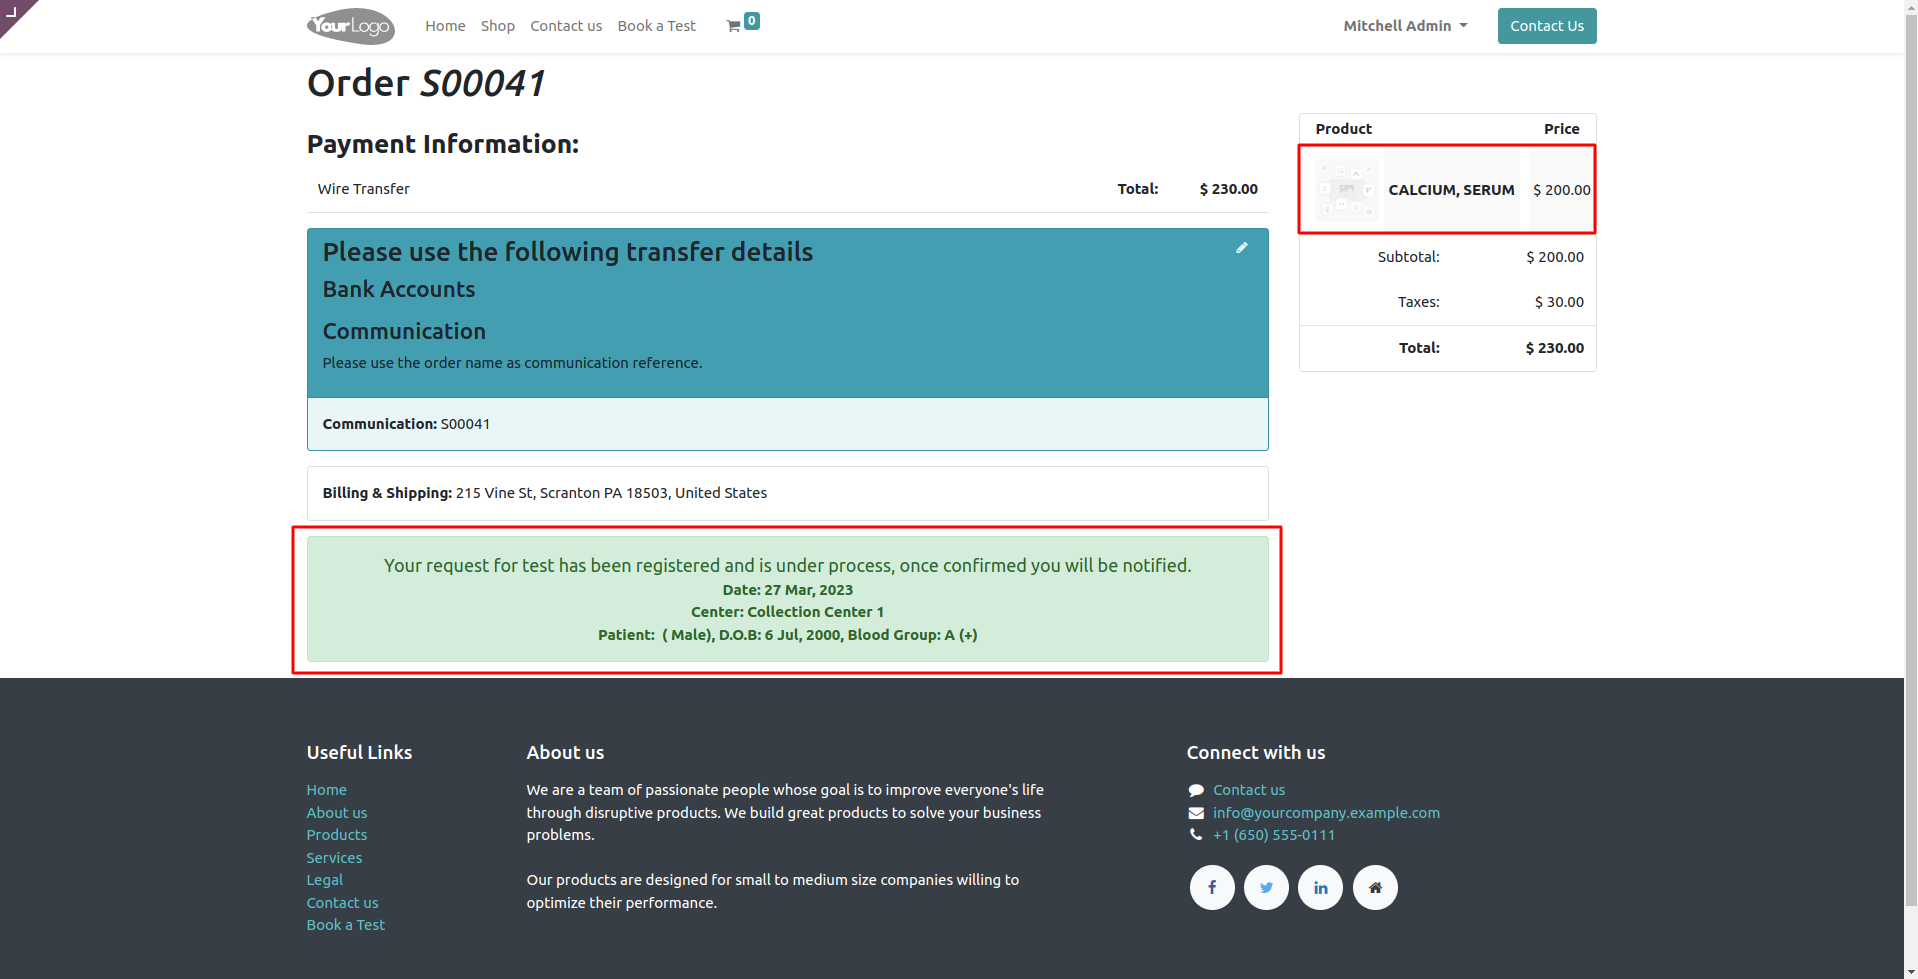
- Complete the payment process here to confirm the booking.
- After booking, you will get a message about registration.
- You can check all the lab tests of customers logged in Under the menu of Test Requests.


- The customer can directly download the Diagnosis report just by clicking the button Download report once the test is done and can check the results of the test.

OTHER RELATED MODULES FOR ODOO
- Odoo Pathology Lab Management System
- Marketplace Advance Commission
- Odoo Marketplace Custom Product Tabs
- Odoo Marketplace Seller Slider
NEED HELP?
Hope you find the guide helpful! Please feel free to share your feedback in the comments below.
If you still have any issues/queries regarding the module, please raise a ticket at https://webkul.uvdesk.com/en/customer/create-ticket/.
Also, please explore our Odoo development services & an extensive range of quality Odoo Apps.
For any doubt, contact us at [email protected].
Thanks for paying attention!!
Current Product Version - 1.0.0
Supported Framework Version - Odoo 16, 15, 14

Be the first to comment.