PrestaShop MangoPay Payment module allows merchants to offer this payment mode to their customers to make the payment.
The customers can use this payment mode to make payments via credit/debit card & bank wire transfer.
It also offers the admin to choose whether customers will make the payment from the third party page or the same page.
Additionally, the module also offers merchants to manage refunds as well as a payout from the module itself.
Being SCA & 3DS2 compliant, this Mangopay payment module offers a superior level of payment security to your customers.
Features of PrestaShop MangoPay Payment module
- User category, terms & conditions, headquarters address, and company number will be saved directly from module to Mangopay.
- Customers get an option to pay through credit card, direct debit & or bank wire payment methods.
- Admin has the option to allow customers to pay via different card types.
- An admin can choose to redirect a customer to a third-party page while paying through the card.
- Admin can view transaction details in the Mangopay account.
- Wallets generate at the Mangopay end as per the currency selected in the “allowed currency”. A single user may have multiple wallets.
- Enable/disable fields to delete the Mangopay data at the time of un-installation of the module.
- Admin can manage refund as well as payout process through the module.
- Admin can add multiple bank account details.
- Admin will have the option to deactivate their added bank account details.
- Using the “Mangopay Payout” tab, the admin can transfer the wallet balance to their account. Admin can select any of the added accounts.
- The payout page displays the available wallet amount according to the allowed currency selected in the configuration.”
- Admin can see the list of transactions done via credit card, direct debit, and bank wire.
- The admin can view a list of transactions in the ‘admin’s wallet’ and ‘PayIn wallet’ sections.
- Depending on the “transaction order status”, the order amount will add to the list of transactions of “admin’s wallet” and “PayIn wallet”.
- Admin can refund the wallet amount to PayIn/customer wallet from the module.
- An admin can also refund the full/partial amount from the PayIn wallet to the customer account.
- Admin can use the module either in test mode or live mode.
- An admin can also upload their KYC documents from the module.
- Admin can also track the current status of KYC document(i.e., whether it’s accepted or not) & accordingly make changes.
- Now, the card type can be configured based on the selected currency.
- An admin can also upload their UBO declaration from the module.
Note
- PrestaShop MangoPay Payment module is compatible with 3DS2.
- Click here to view a list of authorized countries where you can process the payments.
- The module complies with 3DS2 standards.
- Admin can also upload the KYC documents from the module.
- Compatible with the latest APIs of MangoPay.
3DS2: The 3DS2 is a multi-factor authentication protocol that helps to confirm the digital identity of the user during checkout.
SCA: It is a regulatory requirement (under PSD2 in Europe) that adds stricter verification/authentication when certain financial/payment/account actions are done, to reduce fraud.
To know more about the SCA guidelines, please click here.
Mangopay has built SCA features for its user management, transfers, and recipient/bank account registration flows to comply with regulatory obligations and improve security.
How to install the PrestaShop MangoPay Payment module
- Firstly, go to the module manager in the back office and click on ‘upload a module’.
- After that, drag and drop the module file or select the file from the system.
- In this way, the module installation will be successful.


How to configure the PrestaShop Mangopay Payment
After the successful installation, the admin needs to configure the module.
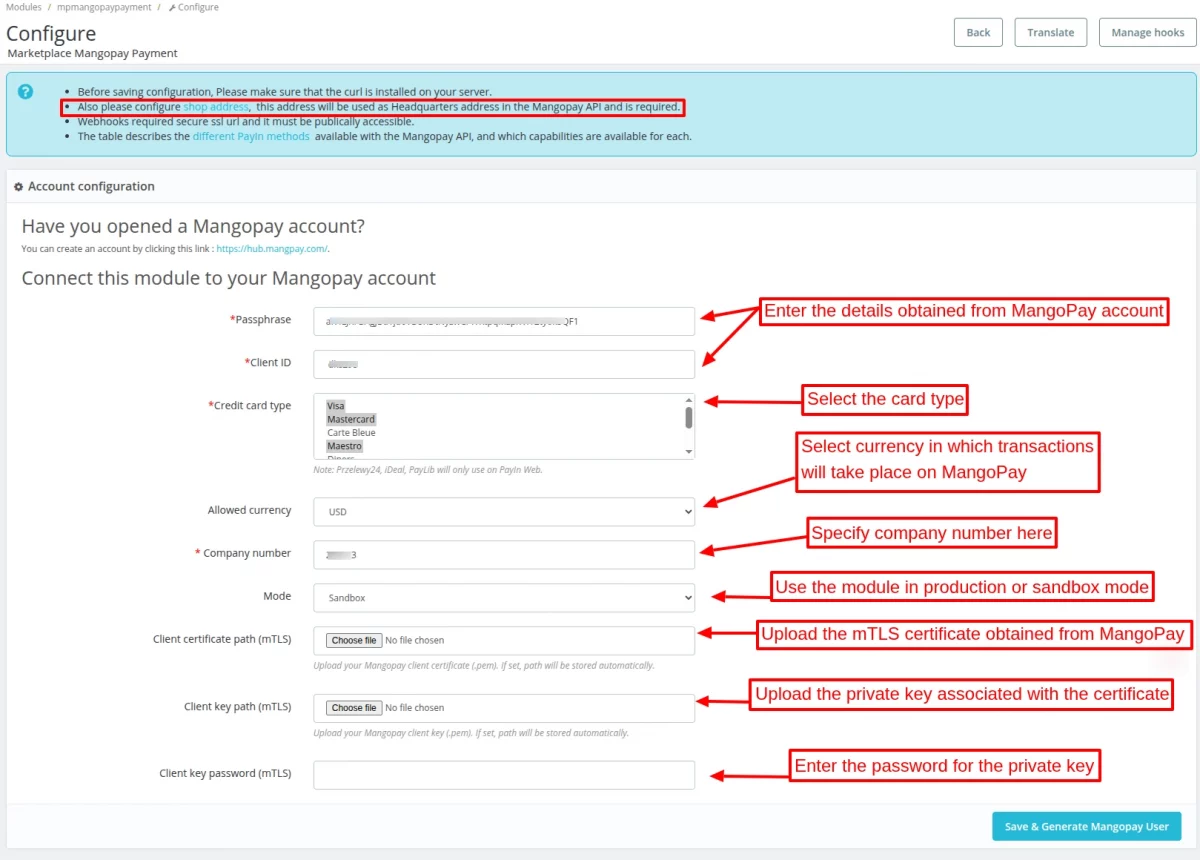
1) Account Configuration:
Under the Account configuration tab, the admin has to:
- Enter the Passphrase and Client ID that he received from MangoPay.
- Select the credit card type.
- Select the currency in which transactions will take place on MangoPay
- Enter the company number.
- Choose to use the module in sandbox or production mode.
- Specify the Client Certificate Path (mTLS)
- Specify the Client Key Path (mTLS)
- Specify the Client Key Password (mTLS)
Client Key Path (mTLS):
To obtain the Client Key Path (mTLS), please follow the steps below:
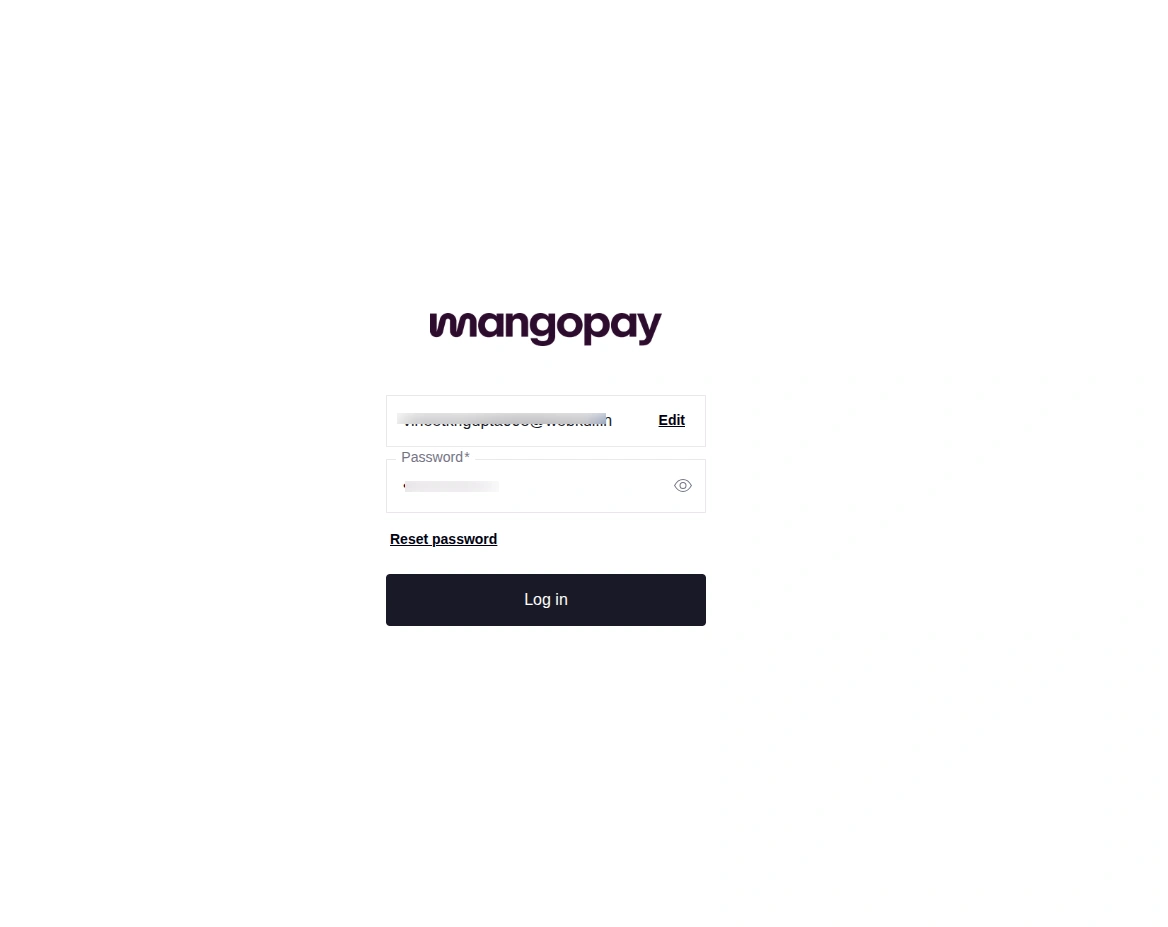
- Log in to your Mangopay dashboard.
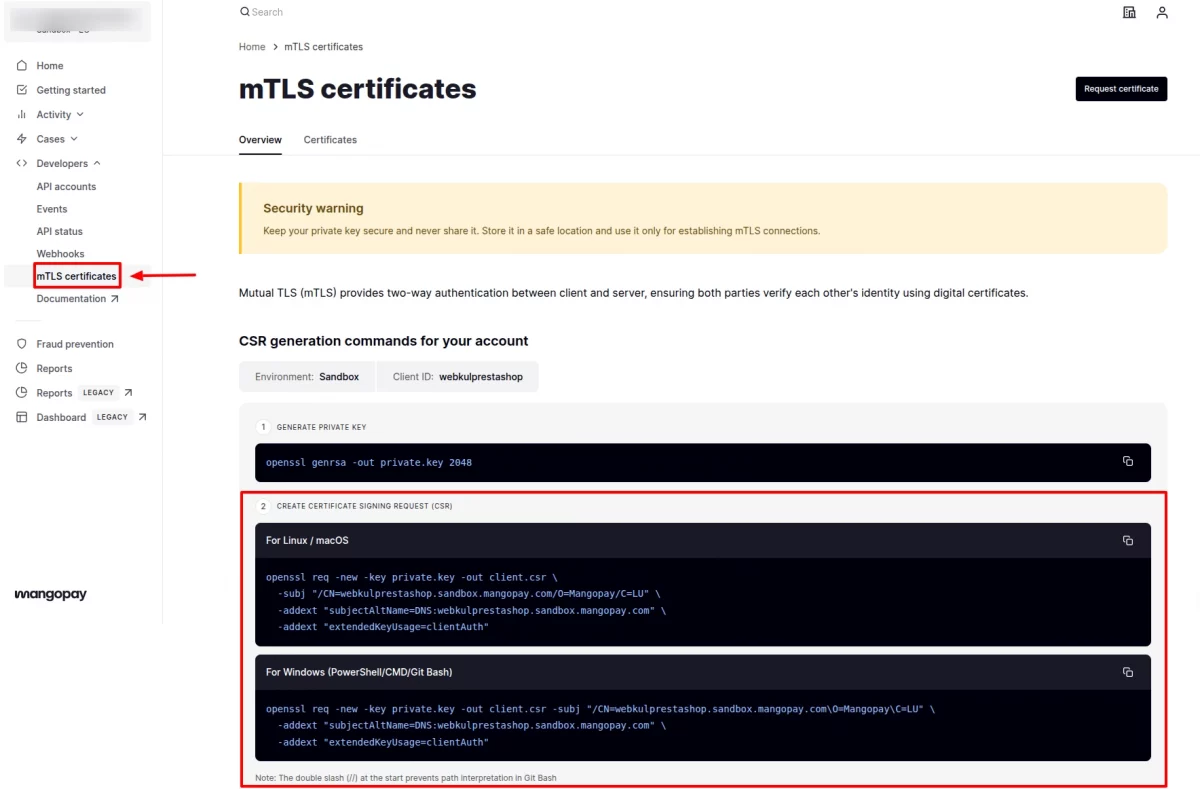
2. From the left-hand panel, navigate to: Developer -> mTLS Certificate
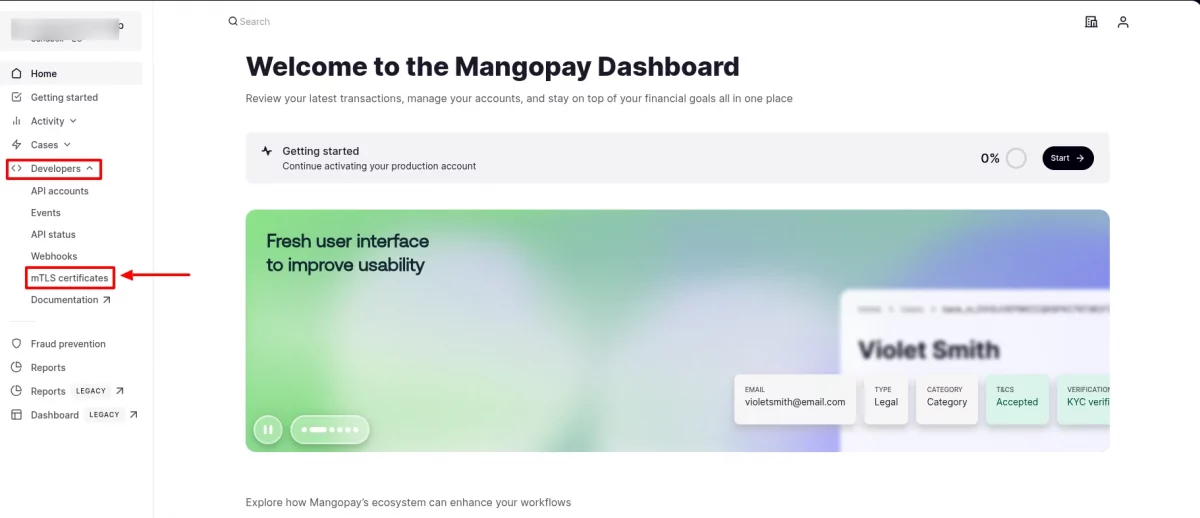
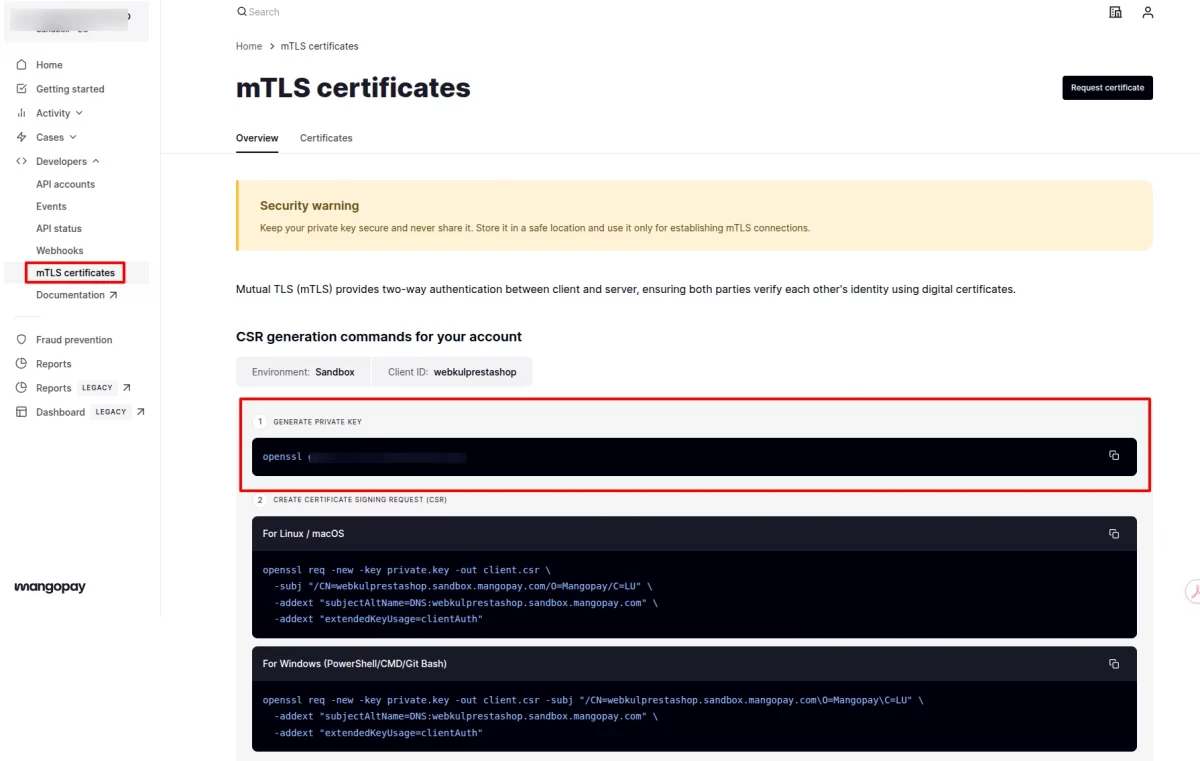
3. Under the “mTLS Certificate” section, you will find “CSR generation commands for your account”.
In Step 1, a command is provided. Execute this command on the server where your store is hosted.
This process will generate the Client Key (.pem file), which will be used as the Client Key Path (mTLS) in the module configuration.
Client Certificate Path (mTLS):
To obtain the Client Certificate Path (mTLS), follow these steps:
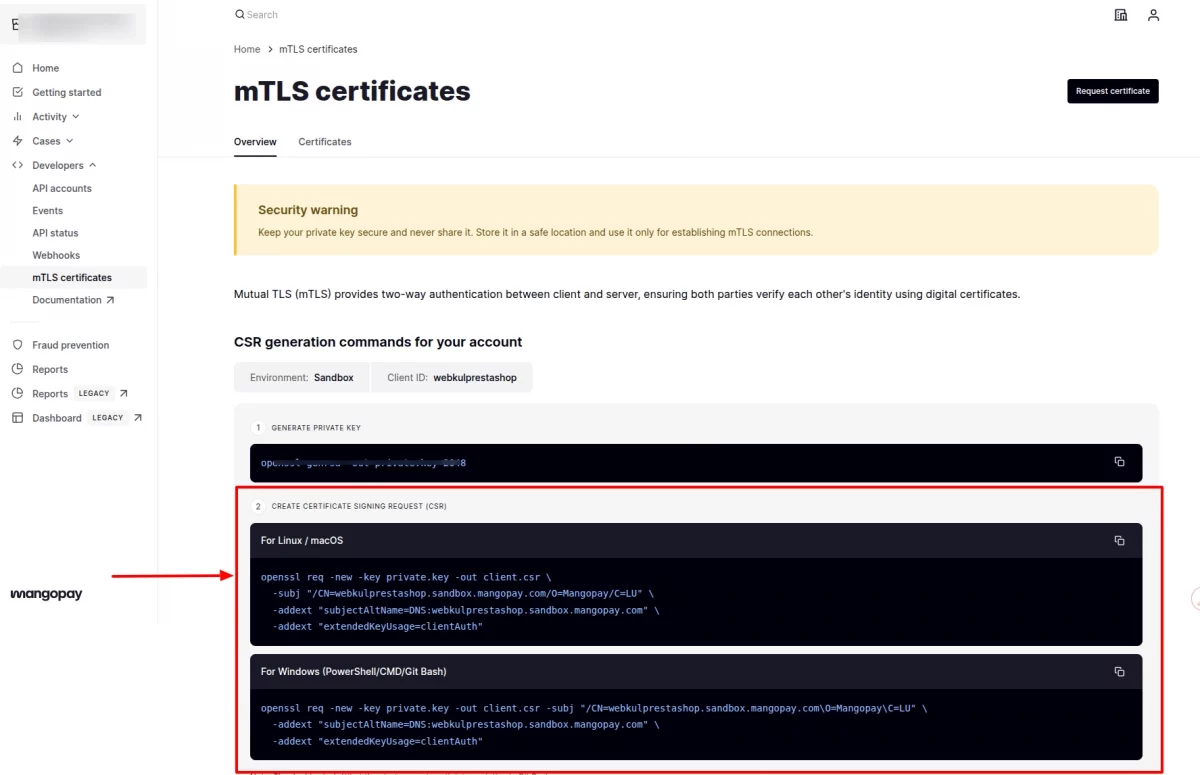
1. Generate the CSR (Certificate Signing Request) by executing the command provided in the Mangopay dashboard (Step 2), based on your system (Linux/macOS or Windows).
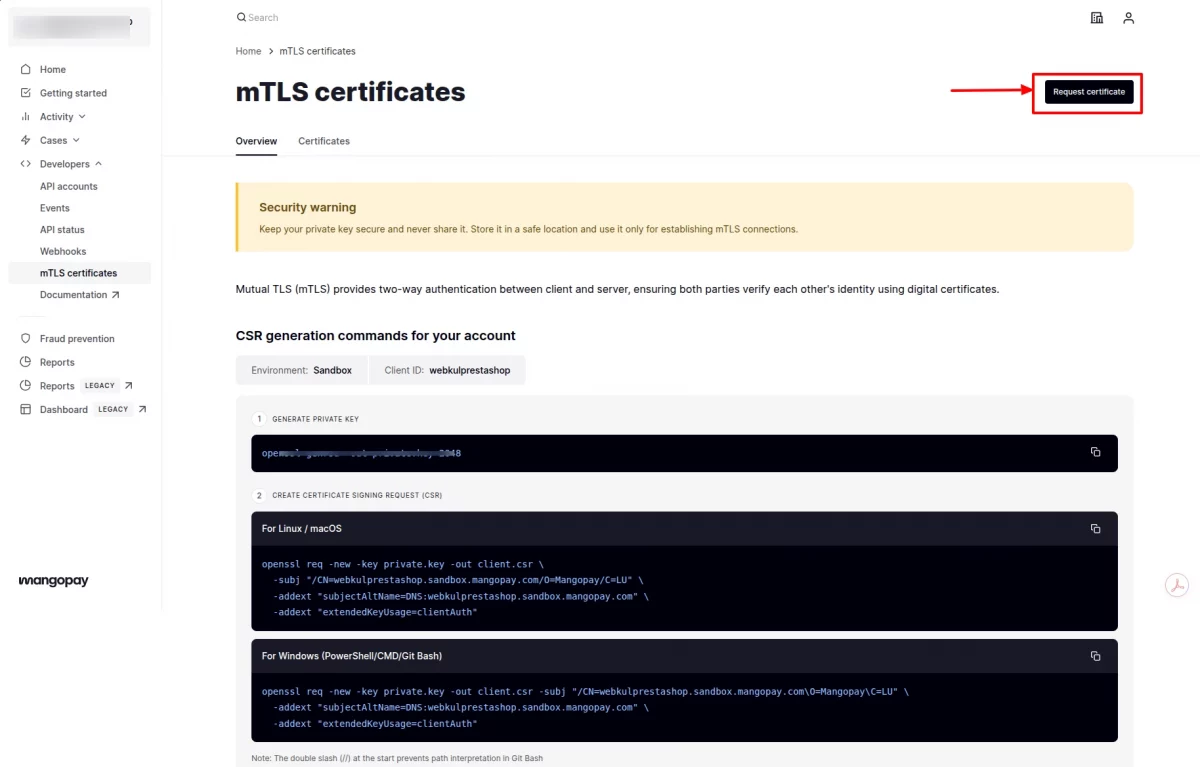
2. After generating the CSR, click on the “Request Certificate” option in the Mangopay dashboard. You will be prompted to provide the CSR file or CSR content.
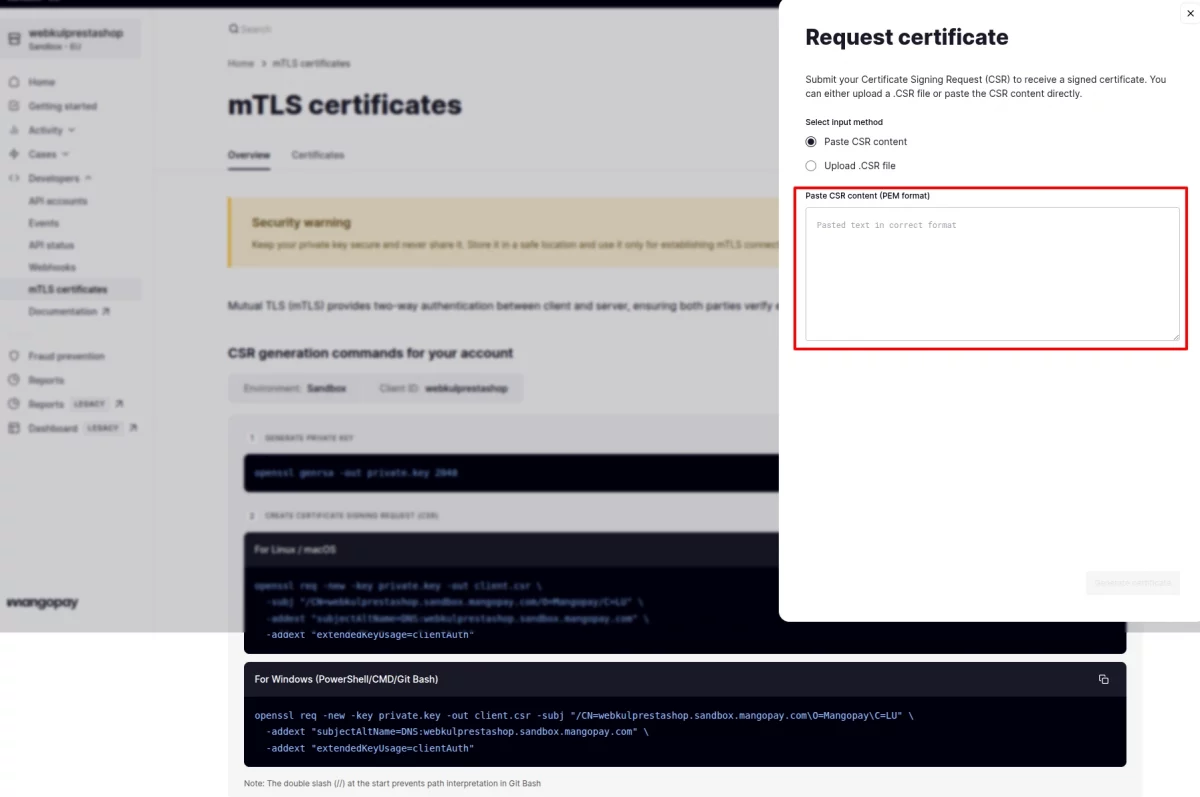
3. Copy and paste the CSR content generated in the previous step from Create Certificate Signing Request (CSR) into the required field.
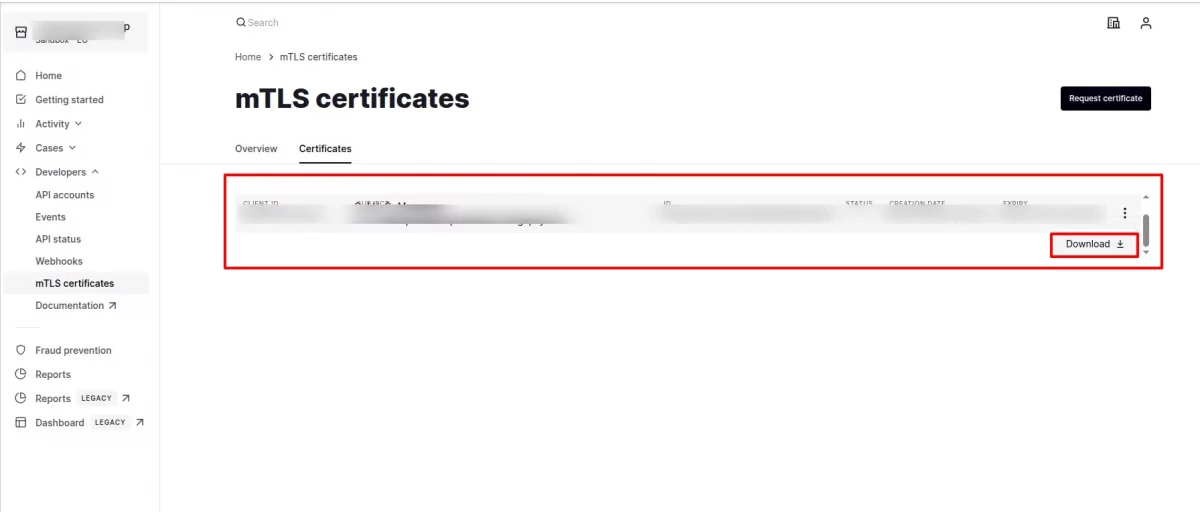
4. Once submitted, the certificate will be generated under the “Certificate” tab.
Download this certificate file and upload it in the module configuration under Client
Certificate Path (mTLS).
Client Key Password (mTLS):
This field is optional. If your Client Key (.pem file) is protected with a password, you can enter that password in this field. Otherwise, it can be left blank.
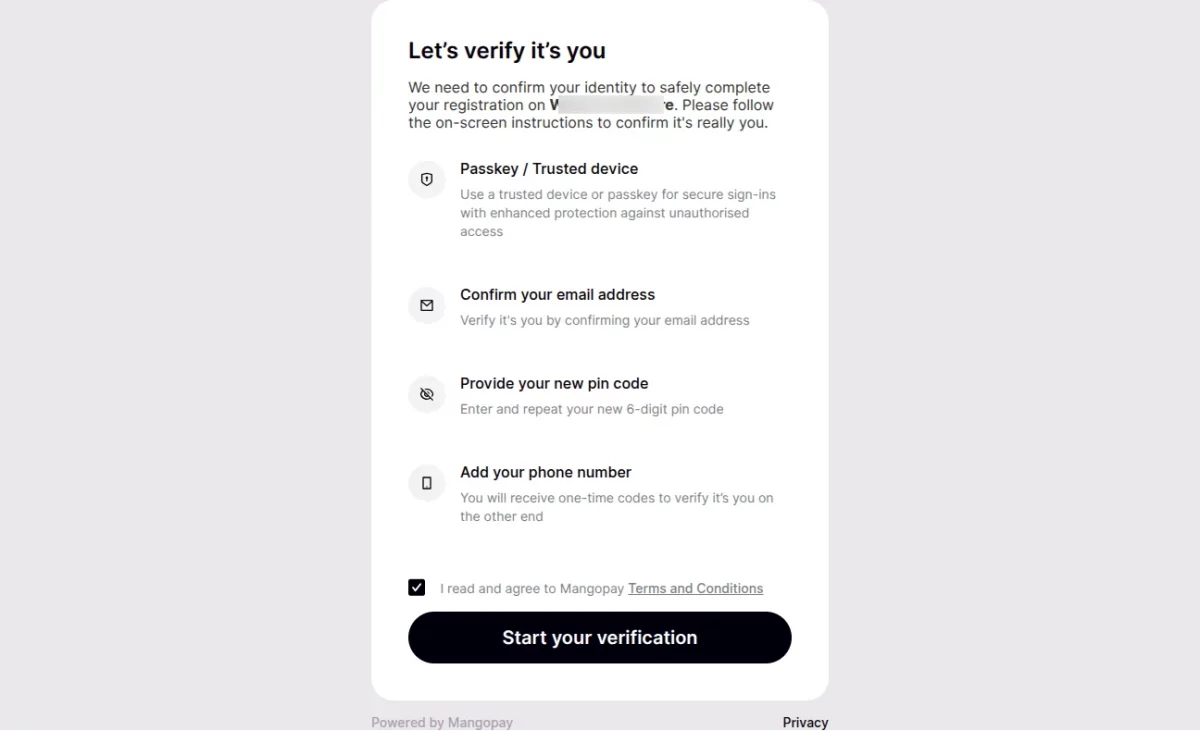
When the admin clicks “Save & Generate MangoPay User”, the system redirects them to the MangoPay SCA (Strong Customer Authentication) URL.
SCA for admin:
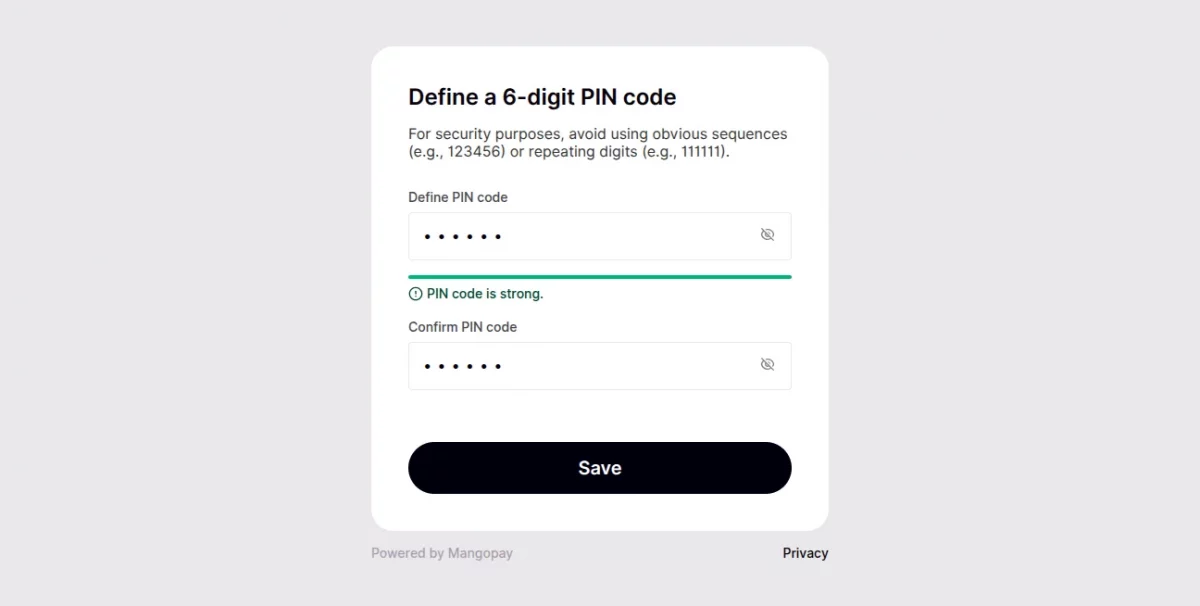
Firstly, the admin will have to create a passkey.
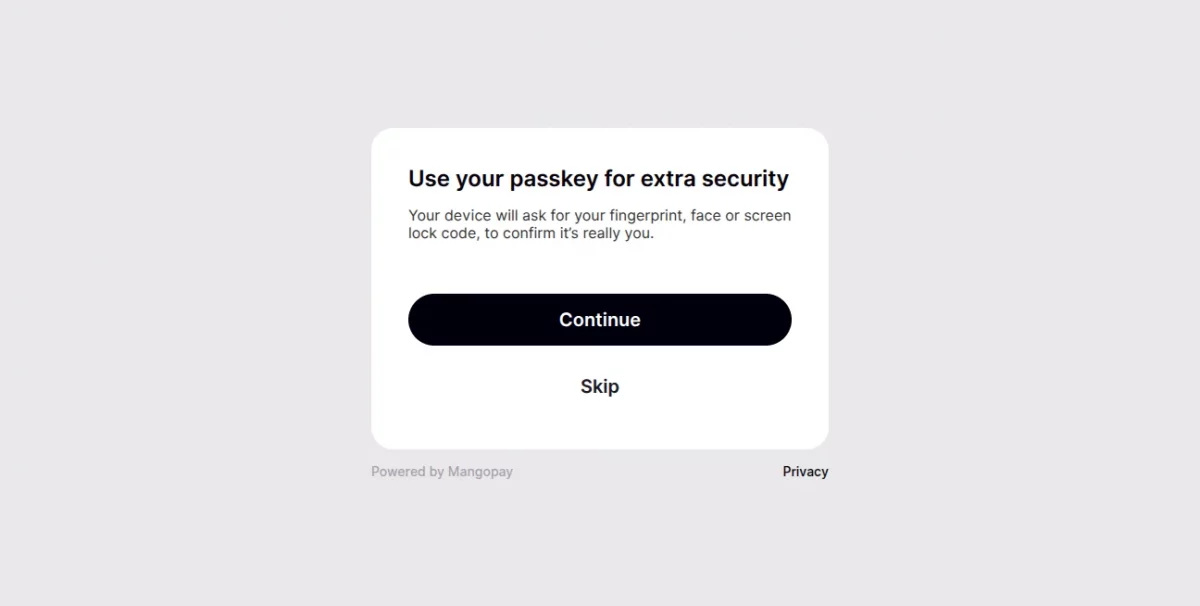
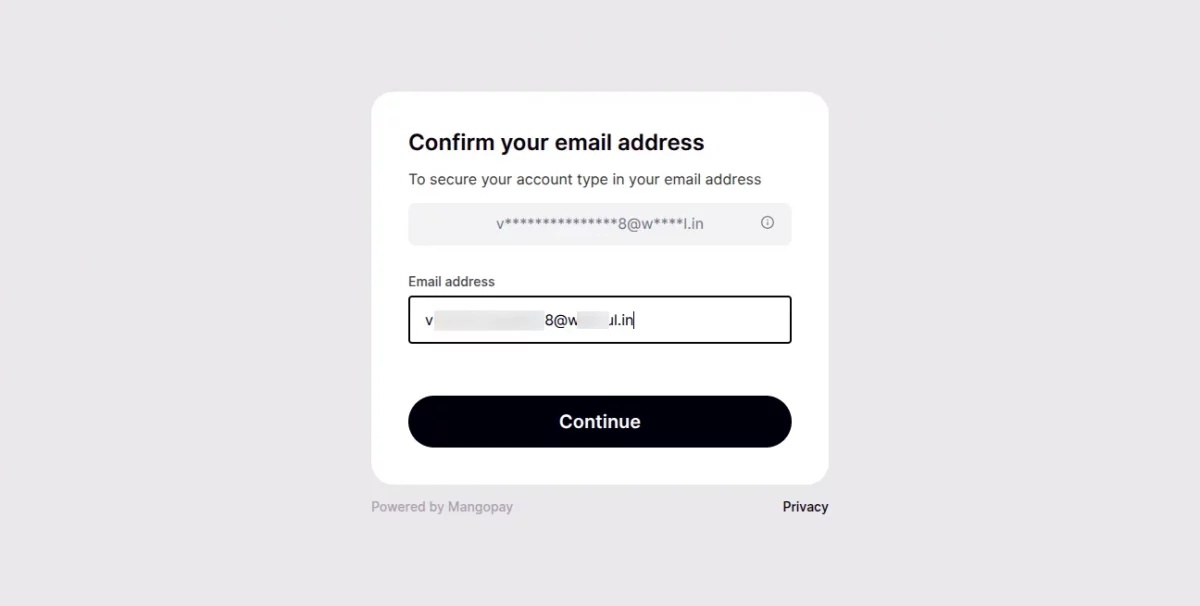
After generating the Passkey, the admin can complete SCA authentication using their email.
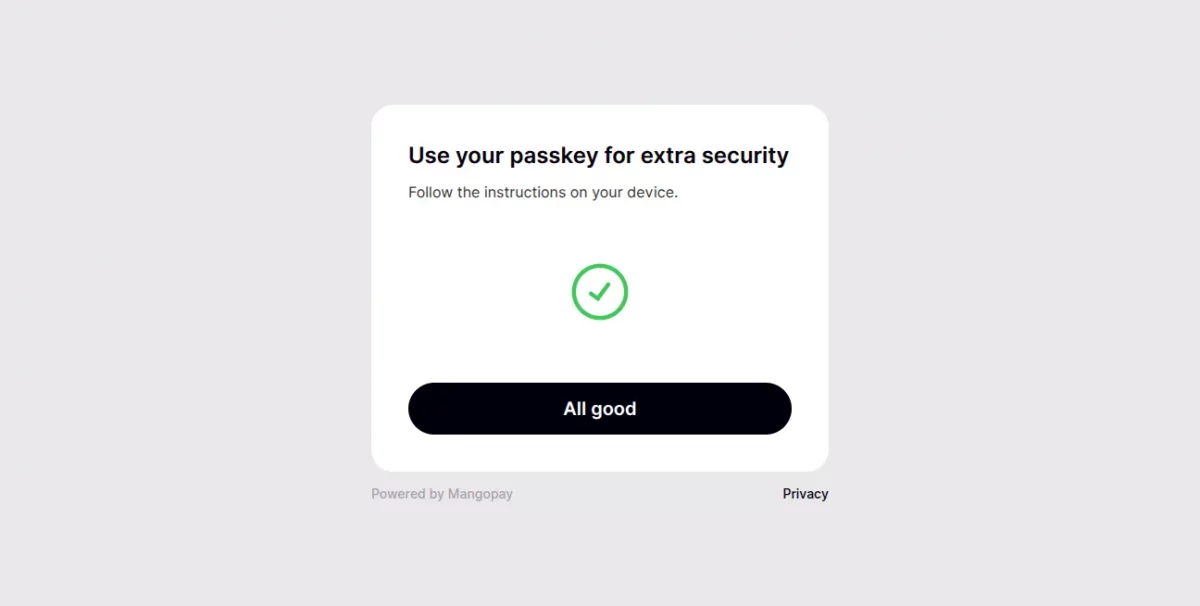
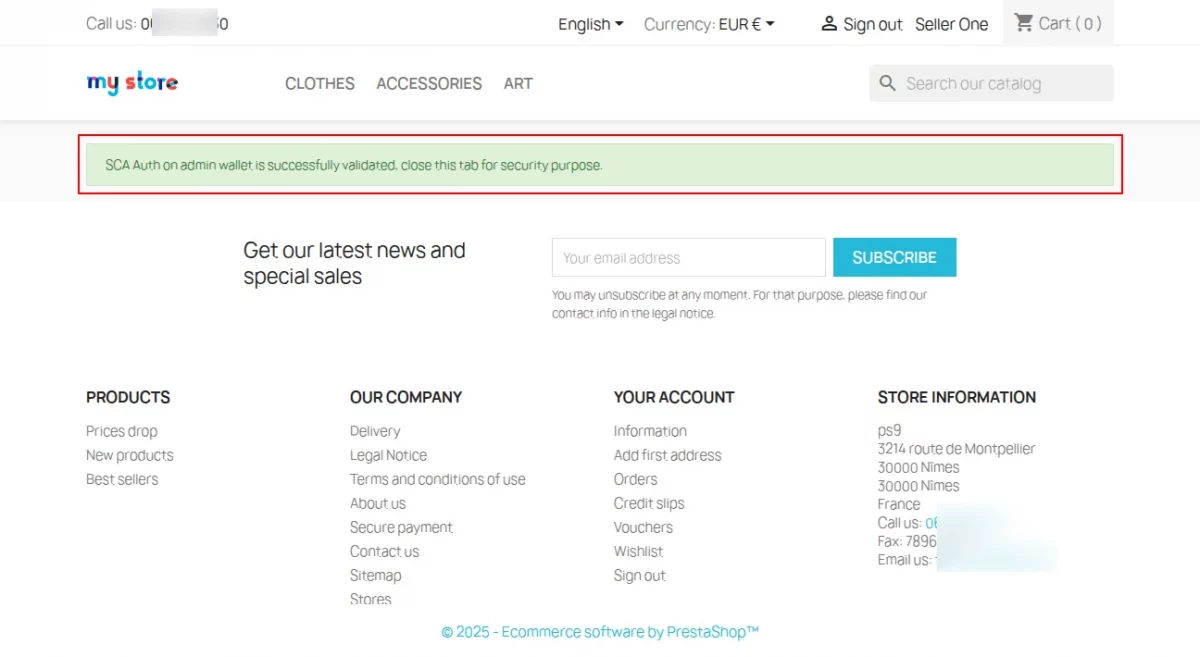
Once the admin completes SCA authentication, the system displays a success message.
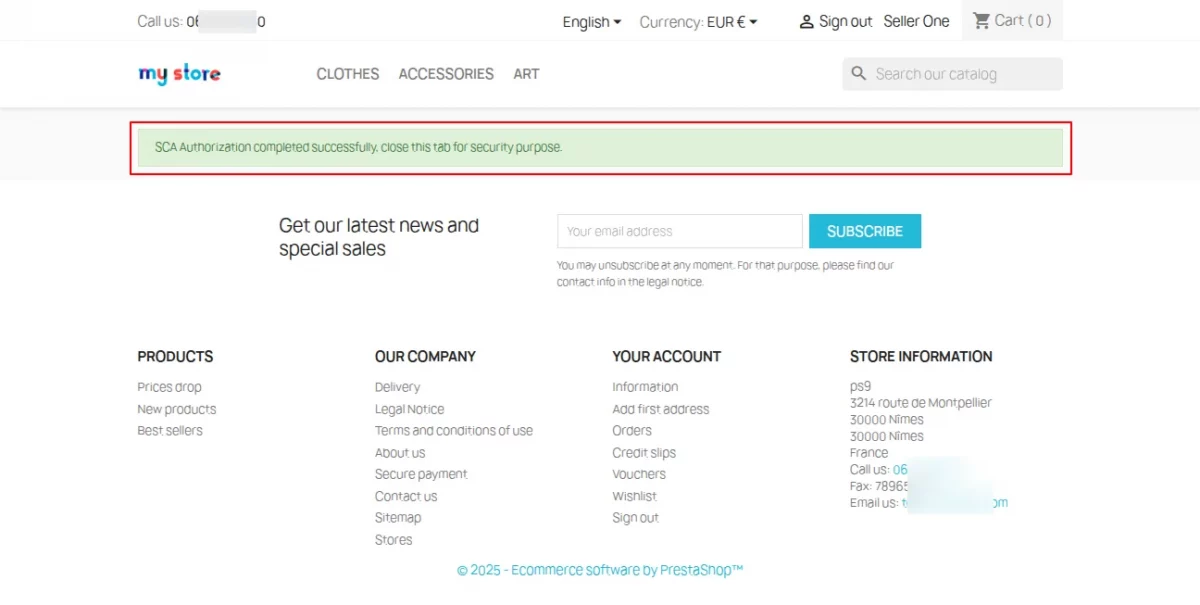
After the admin completes the verification successfully, the system redirects them back to the site with a success message, and the module is ready to use.
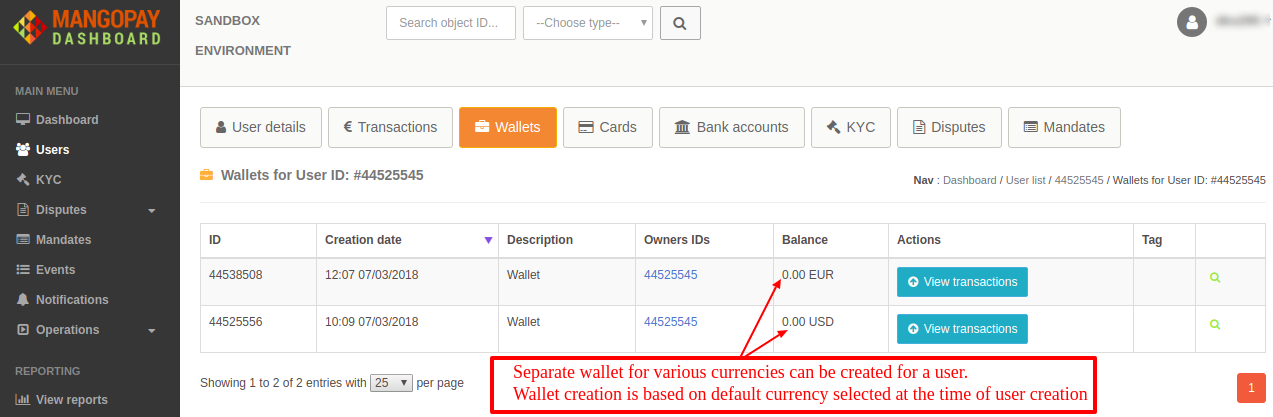
Once the admin completes SCA authentication successfully, the system creates a user in MangoPay with a wallet in the selected currency.
Admin can generate various wallets based on different currencies for a user. At a time, you can generate a single wallet only.

In this way, create different wallets for the user to manage transactions in different currencies.


After clicking on “Save & Generate Mangopay User“, a user will generate at Mangopay end with the wallet in the selected currency.
Admin can generate multiple wallets for a user for different currencies. However, an admin can only generate a single wallet at a time.
Mangopay Card Payment
By enabling this option, customers get the option to pay via credit card.
Mangopay Direct Debit
In this payment option, the customers can use their bank details to make the payment.
Mangopay Bank Wire
In this payment option, the customers can pay by directly transferring the amount to the admin’s account.
Order Status for Transfer
Admin can set the order status on which the money will transfer from the customer’s wallet to the admin’s wallet.
UBO Deceleration
In this option, the admin can also upload their UBO declaration from the module.
Mangopay ‘Card Payment Type’
Admin has two types of card payments.
- Direct Payment – Through this option, customers can pay without redirecting to the third-party page.
- PayIn Web – Whereas through this option, the customer will redirect to the third-party page for the payment.


Front-End Workflow
After configuring the module successfully, the “Mangopay Payment” gateway will be available to customers on the checkout page.

Mangopay Card Payment
In card payment, the admin has two payment types to set i.e. Direct Payment and PayIn Web.
If the payment type is “Direct Payment“, then the buyers will not redirect to any third-party page for making the payment.

If the payment type is “PayIn Web”, then the buyers will redirect to the third-party page for the payment.


In the above way, buyers can make the payment through Mangopay card payment.
Mangopay Bank Wire Payment

Mangopay Direct Debit Payment

Back-End Workflow
On successful installation of the module, new tabs add to manage the Mangopay transactions.

Mangopay Bank Details
Admin can add various bank account details to manage the transfer/payout of wallet money to the bank account.
Update buyer
After the installation of PrestaShop Mangopay Payment V 4.5.0, the admin can update the details of the old customers by clicking on update buyer button.


SCA for adding Bank Details:
Once the admin clicks on “Save” they will be redirected to the MangoPay SCA (Strong Customer Authentication) URL.
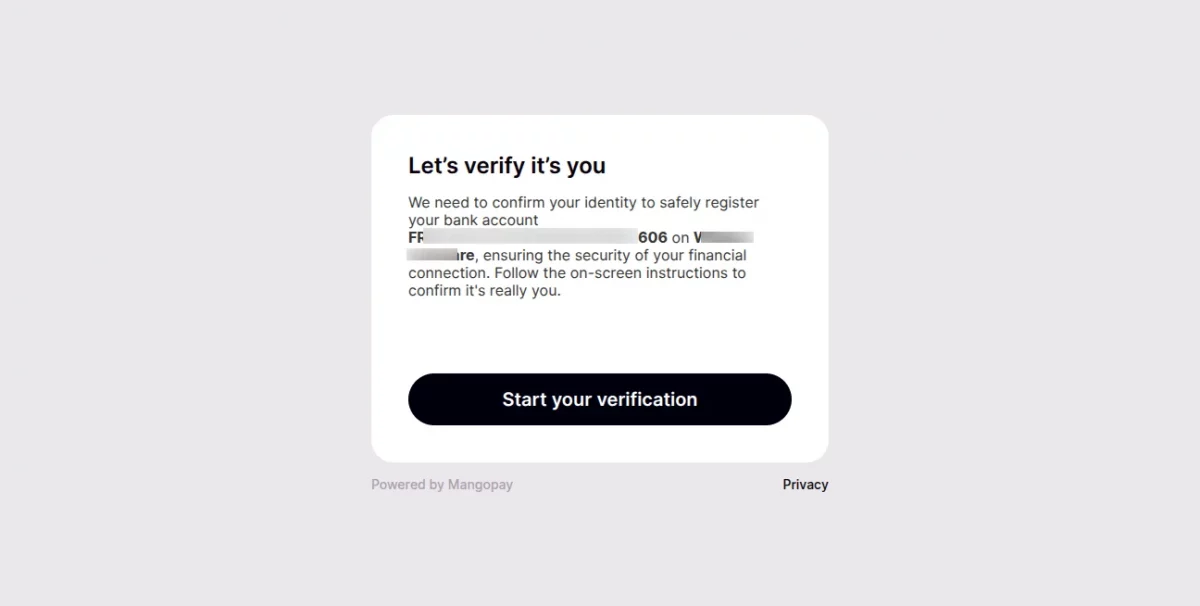
After the verification is successful, they will be redirected back to their site with a success message.
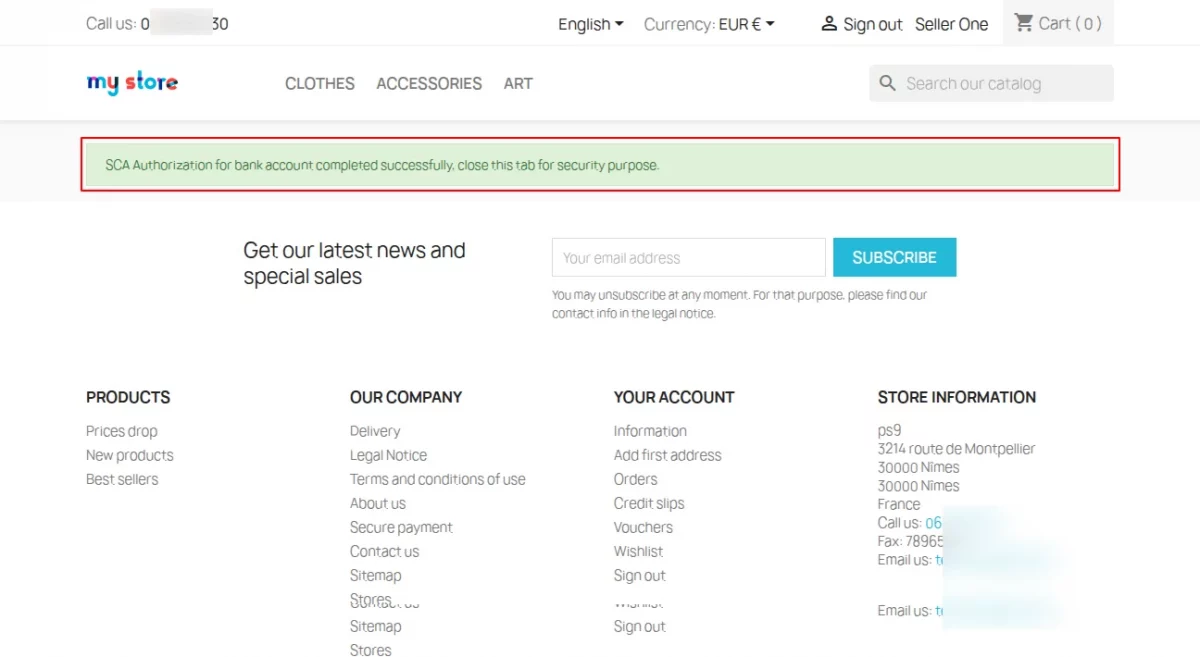
Once the SCA authentication is successful, the admin’s bank account details will be saved.


Mangopay Payout
Admin can transfer their wallet money to any of their bank accounts that are added by him/her.

SCA for admin payout:
Once the admin clicks on the “PayOut” tab, they will be redirected to the MangoPay SCA (Strong Customer Authentication) URL.

After the system successfully verifies the details, it redirects them back to their site with a success message.
Once the SCA authentication is successful, the admin can proceed to payout their earnings.
Mangopay Card Payments
Under Mangopay card payments, an admin can view the list of all the users that have done the payment by card.

Refund Process in Mangopay Card Payments


Mangopay Direct Debit Payments
In this section, an admin can also view the list of all the transactions made through direct debit payment.

Refund Process in Direct Debit Payments


Mangopay Bank Wire Payments
Whereas, in this section, an admin can view the list of all the transactions made through Mangopay Bank Wire Payments.

If the status is “created”, then the payment has been done by the customer but not accepted by Mangopay.


The system displays the bank wire details in a formatted structure on the order detail page.
Add KYC
Furthermore, the admin can also add their KYC details from the module itself.
To do so, go to the “Manage KYC” section first & then click on the “Add KYC” button.

After clicking on the “Add KYC” button, the following page will open. Here, you just need to select a type of document & then upload the relevant documents.

On uploading the document successfully, it will appear just below the dropbox. You can also choose to delete this document before finally uploading it.

A list of all the KYC updates will also be available. The list shows whether the system has accepted the KYC document or not.
Additionally, the system also displays the refusal reason (if the system does not accept the document). Apart from that, the creation date i.e., uploading date & unique ID is also available.

Payout Process
Now, an admin can also transfer the wallet money to their bank account with the help of the module.
To do so, an admin can go to Mangopay Payment & then to Mangopay Payout.


In this way, an admin can manage the payout of the wallet amount to their bank account.
UBO Declaration
A UBO Declaration is an electronic version of the “Shareholder Declaration” KYC document.
It lists all Ultimate Beneficial Owners of a BUSINESS-type legal user (stockholders with over 25% capital or voting rights).

Afterward, firstly you need to create the UBO declaration by clicking on Add in the UBO declaration section as shown below the image.

After following the first step add the UBO by clicking on it as shown in the below image.

After following the steps you just need to add the UBO by clicking on, Add UBO in UBO declaration details.

Afterward, fill in all the required details and submit the open UBO form.

Afterward, successfully submitting the UBO declaration form, and success status is now shown below the image and its next step to validation.

Now, the admin going to the MangoPay dashboard to process the UBO declaration.

From this panel, the admin can accept, refuse or mark incomplete and submit.
So, this was all about the PrestaShop Mangopay Payment module. I hope this document will help you in checking the functionality of the module in a better way.
Also, do let us know about your views in the comments.
Support
For any kind of technical assistance or query, please raise a ticket at http://webkul.uvdesk.com or send us a mail at [email protected]
Also, please explore our PrestaShop development services & vast range of featureful PrestaShop Addons.
Current Product Version - 4.7.0
Supported Framework Version - 9.x.x, 8.x.x, 1.7.x.x

Be the first to comment.