Opencart Advanced Registration module can be used to create registration fields for the customers. If you want to extend the customer registration form then this module is the best choice for you. Using this module you can extend the registration form by creating fields. Admin can create different types of fields like select, radio button, text, file, etc.
Watch the below video tutorial to understand the extension workflow.
Features of Opencart Advanced Registration
- Easy to extend the registration form.
- No limit of creating fields.
- Admin can get more information about customers.
- Fields can be created with different input types.
- Admin can disable the fields without deleting them.
- Admin can disable few of the default registration fields.
- Admin can select customer group for each field.
- Admin can add validation for custom fields.
- Admin can create dependent fields.
- The fields are ajax based.
- Customers can see password strength meter while entering the password.
Installation OF Opencart Advanced Registration
Installation of Opencart Advanced Registration is simple. In the zip file of the module, you will find 3 folders- admin, Catalog, and ocmod. You just need to upload admin and catalog folders to the root directory of the website.

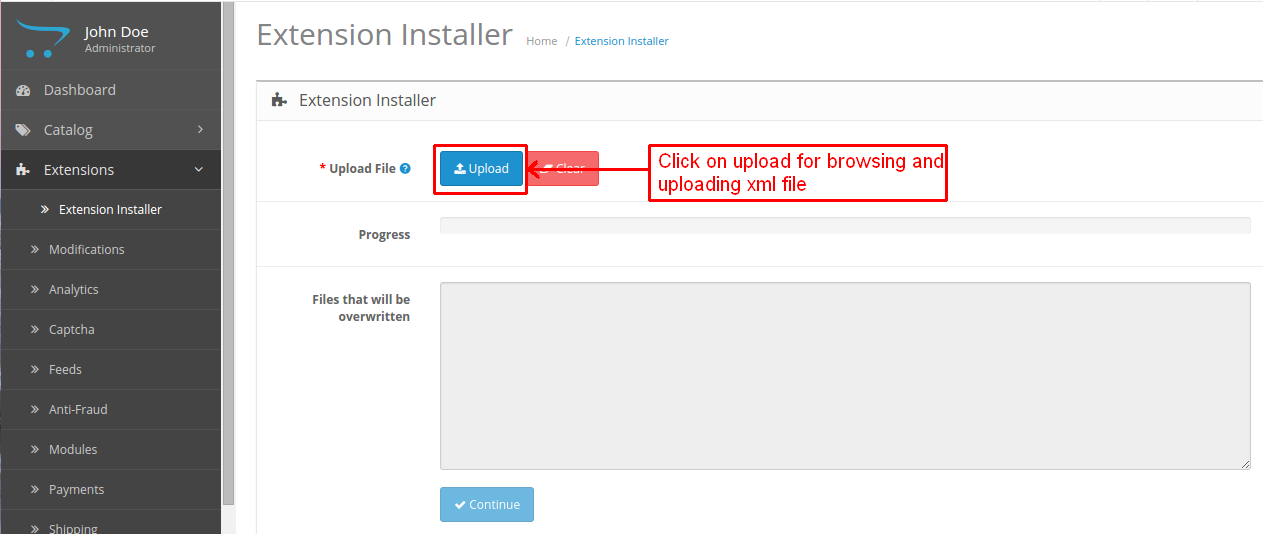
Once you have uploaded the file then login to admin and go to Extensions> Extension installer and upload the XML file. The XML file can be found on the ocmod folder.
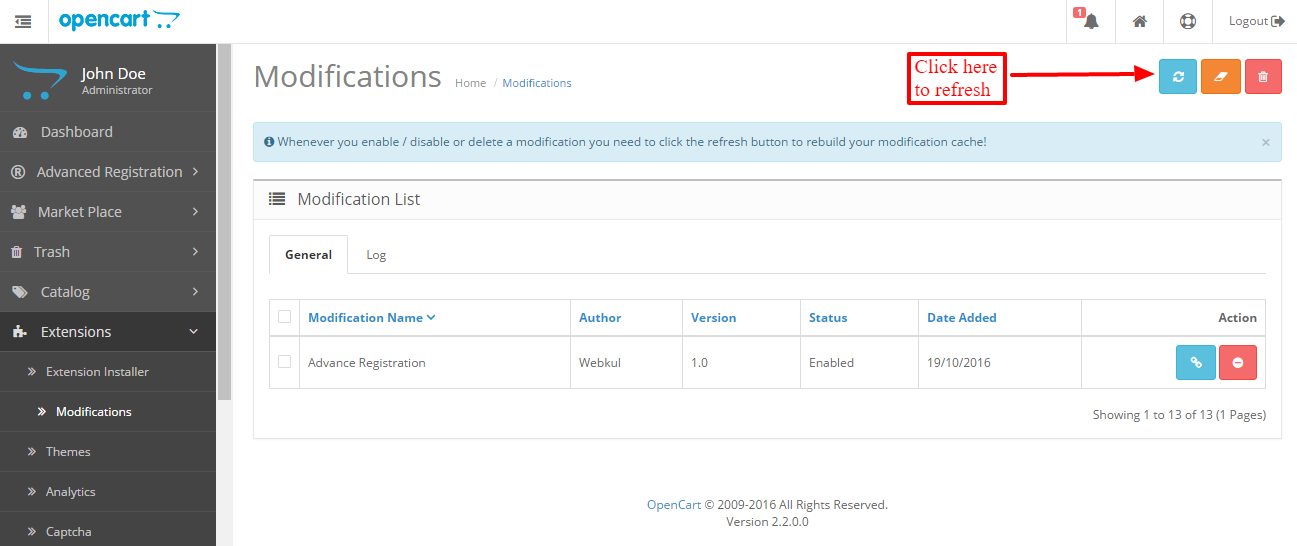
After uploading the XML file go to the Extensions > Modification and click on refresh field.
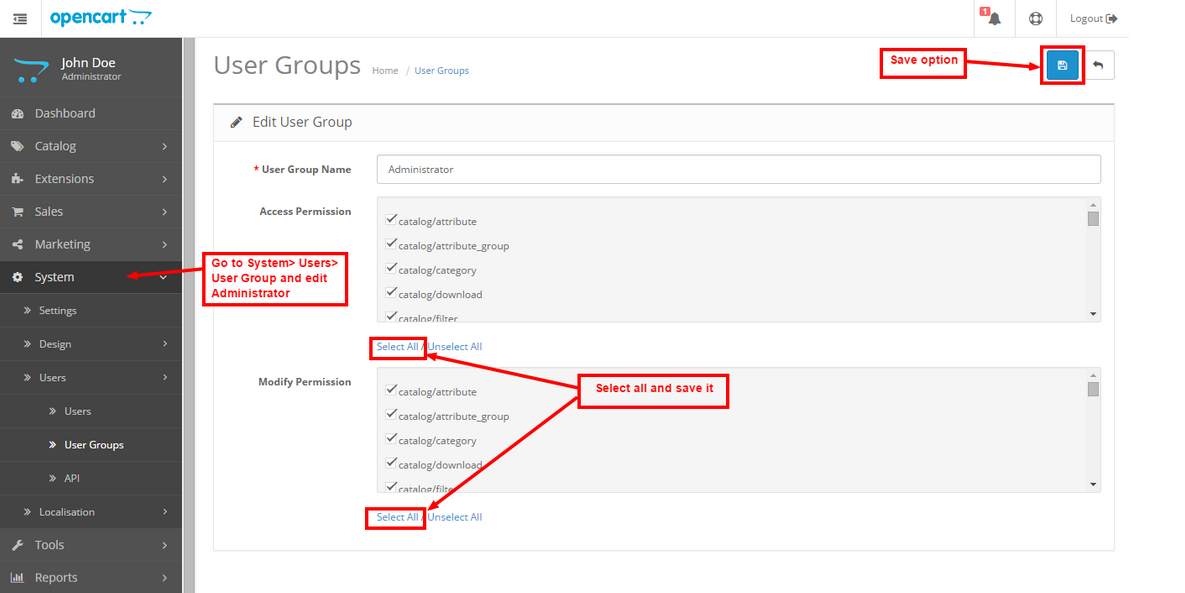
After that in Admin panel go to System -> Users -> Usergroup and edit ‘Administrator’ and select all for both Access and Modify Permission then save it.
After that under Extension > Modules install the Opencart Advanced Registration Module like this way.

After clicking on edit button admin can enable the module.

Module Translation
As this Opencart Advanced Registration module supports multiple languages so this section will describe how to make the module work in different languages. Please check this link for language translation
Creating Advanced Registration Fields
After installation of the module, admin can see ‘Advanced Registration’ option on the admin menu. After clicking on it admin can find the Option to create fields and field status like this.

From here admin can click on ‘Create Field’ option to create new fields. From this section, admin can see the list of created fields. Also, admin can edit or delete the created fields.

After selecting the field type admin will receive a pop-up to fill the field information. Under general tab admin will fill the name, location, customer group and status of the field.

Under Validation tab admin will fill the validation details of the field.

Change Field Status:
After creating registration fields admin can enable or disable the fields. For this admin can navigate to Advanced Registration-> Field status. From here admin can also disable many of the fields which are already provided by Opencart.

Dependent Fields:
The admin can select the field which is dependent on another field. For example, a field country is dependent on the state field. Then select country field as a dependent filed and select state as field here.

Opencart Advanced Registration for Customers
After creating registration fields customers can see the fields at the time of registration like this.

All the registration fields are ajax based. The warning message for any field is visible right after the customer fills the field. For example, if a customer enters an email address then the warning message will appear right after the email is entered.

Customers can see the password strength meter when they will enter the password.

After registration, customers can edit the fields from their account section. For this customer need to click on ‘Edit Account’ option in account menu.

The fields which are under the address section can be edited by editing the address from Address book.

Customers can download the uploaded files from the “Download Files’ section in their account.

That’s all for the Opencart Advanced Registration module still, have any issue feel free to add a ticket and let us know your views to make the module better https://webkul.uvdesk.com/.
Current Product Version - 3.0.0.0
Supported Framework Version - 3.x.x.x

Be the first to comment.