Using the Magento 2 Salla connector, the admin of the Magento 2 store will be able to integrate the Magento 2 store with the Salla partner store.
After integration, the Magento 2 store admin can import/export the products between the two platforms. Apart from that, you can import your Salla partner store orders into Magento 2 store as required.
Check the video mentioned below for an overview of the module:
Features
- Admin can get products from Salla.
- Synchronized Salla product work like same as Magento products.
- Only Admin can add or update Salla products.
- The product can import to Magento with Variation from Salla.
- Admin can update products that are added from Salla.
- Admin can synchronize orders from Salla.
- Admin export the Magento product to Salla.
- Order can fetch between a given range.
- Order can fetch automatically via cron.
- If an order item does not exist at Magento, it will automatically be created.
- Salla products can be revised from Magento to Salla.
Installation
#Download Module
Firstly, you need to log in to Webkul Store, go to My Account>My Purchased Products section, verify and then download and extract the contents of this zip folder on the system.
#Upload Folder
Once the module zip for Magento 2 Salla Connector is extract, follow path src>app and then copy the app folder into the Magento 2 root directory on the server as shown below:

#3 Run Commands
You need to run the following commands:
php bin/magento setup:upgrade
php bin/magento setup:di:compile
php bin/magento setup:static-content:deploy
php bin/magento indexer:reindex
php bin/magento cache:flush
Language Translation
For translating the module language, navigate through src/app/code/Webkul/SallaConnect/i18n and edit the en_US.csv file.
Thereafter, rename the CSV as “en_SA.csv” and translate all right side content after the comma in the Arabic language. After editing the CSV, save it.

Now, upload it to the path src/app/code/Webkul/SallaConnect/i18n where the installation of Magento 2 is on the server.
The module gets translates into the Arabic Language. It supports both RTL and LTR languages.
The user can edit the CSV like the image below.

Creating an App at – Salla
1. To create an app at the Salla end, you need to create and login into your Salla Partner account, After that go to ‘My Apps,’ and click the ‘Create a New App’ option.

2. In the popup, choose the app category from the option and click the ‘Continue’ button.

3. On the new page, enter the app name, description, website, and support mail. Once done, click the ‘Create App’ button.
NOTE: You need to provide the app description and name in Arabic and English.

4. After submitting the details, the system will create the app. Now, note and save the ‘Client ID and Client Secret Key’ to use at the Magento 2 backend for configuring.
NOTE: Salla offers below-mentioned OAuth mode:
- Custom Mode- Where you provide Callback URL generated at the Magento 2 end while you configure it, as mentioned in point number 6.

The callback URL will be like this – <magento-url>/sallamagentoconnect/oauth/oauth2
5. Also, scroll the page, go to the ‘App Scope’ section, and choose between ‘Read-only and Read and Write’ access for different data

Initial Configuration – Magento 2 Salla Connector
After successful installation, the admin needs to navigate through Salla Magento Connect->Configuration Settings as per the snapshot below.
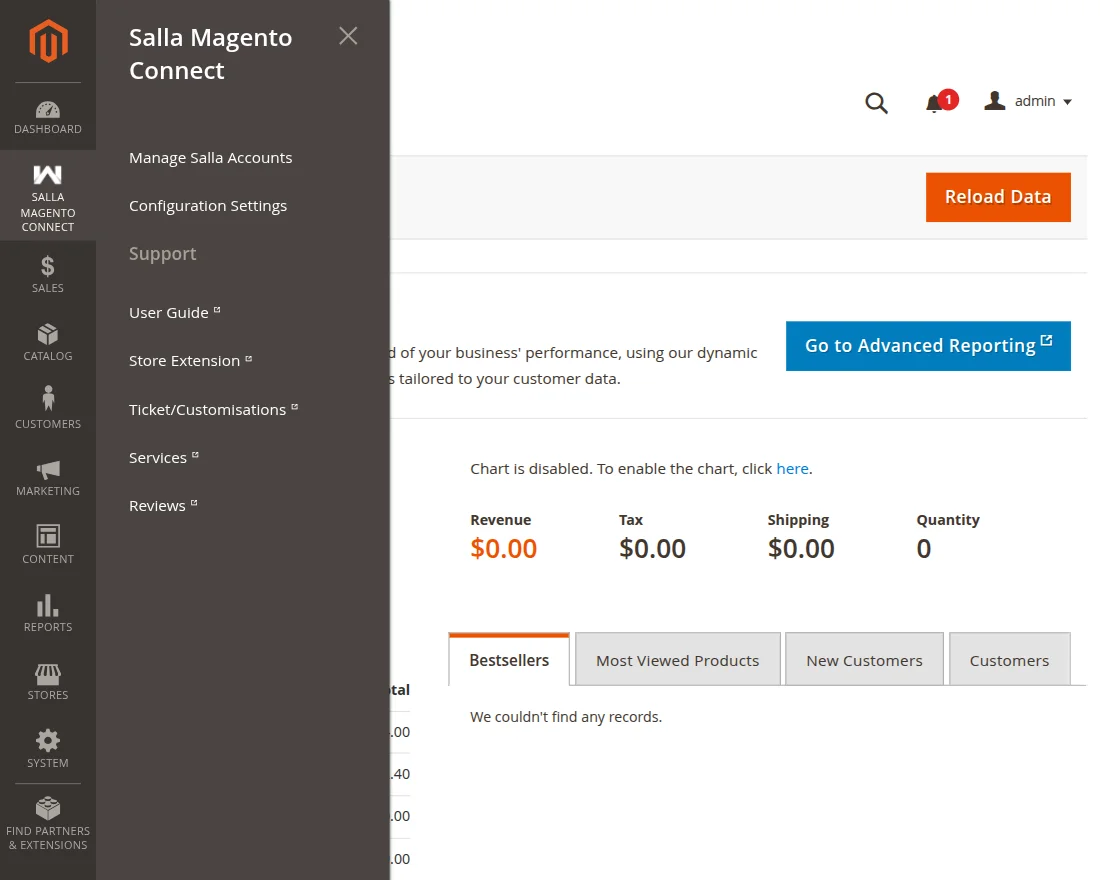
This brings up the configuration settings for the Magento 2 Salla Connector.
Here the admin will have to do the –
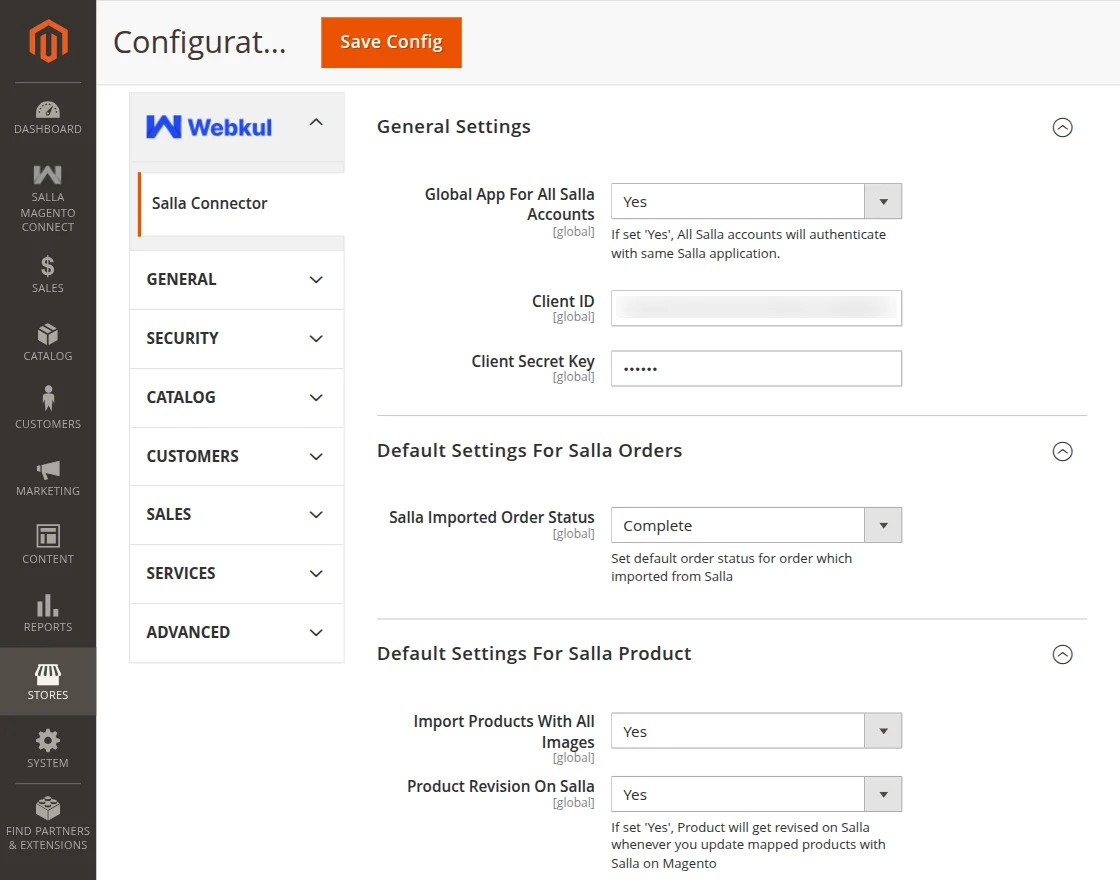
General Settings:
- Global App for Salla – If set as ‘Yes’, All Salla accounts will authenticate with the same Salla application.
- Client ID – Enter the client id generated by creating an app at the Salla Partner account.
- Client Secret Key – Enter the client secret key generated by creating an app at the Salla Partner account.
Default Settings for Salla Order:
- Salla Imported Order Status – Select the default order status for the orders imported from the Salla partner account.
Default Settings for Salla Products:
- Import Products with all images – Choose yes to import products with all images.
- Product Revision on Salla – If set ‘Yes’, the Product will get revised on Salla whenever you update mapped products with Salla on the Magento end.
- Magento Product Delete on Salla Map Record Delete – If set ‘Yes’, the Product will get removed from Magento whenever you delete mapped products record with Salla on Magento
Manage Salla Accounts
To add a Salla partner account navigate through Salla Magento Connect->Manage Salla Accounts.

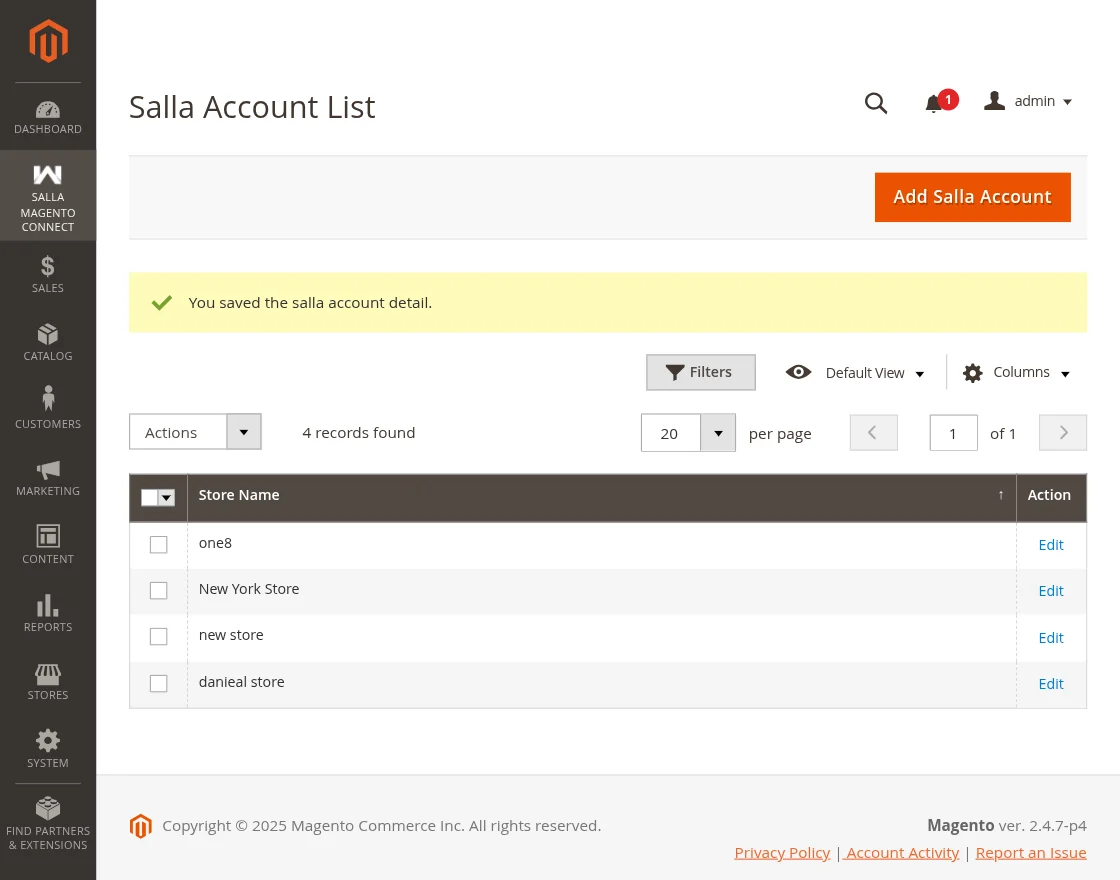
This brings up the section that lists the already added Salla accounts and has the option to add a new Salla account. Apart from that, you can delete and edit the already-added Salla accounts as well.

To add a new Salla account tap on the Add Salla Account Button.

Here, the admin will enter the –
- Store Name – Set a unique name for your store for recognition purposes.
- Attribute Set – Choose the default attribute set for this store.
Lastly, Tap the Save Salla Account Tab and the store will be added with a success message.
Connecting & Authenticating Magento 2 Store with Salla
After you have added your Salla store now we need to connect and authenticate the Magento 2 store with the Salla store.
To do so, edit the store that you have added and you will see different options available.
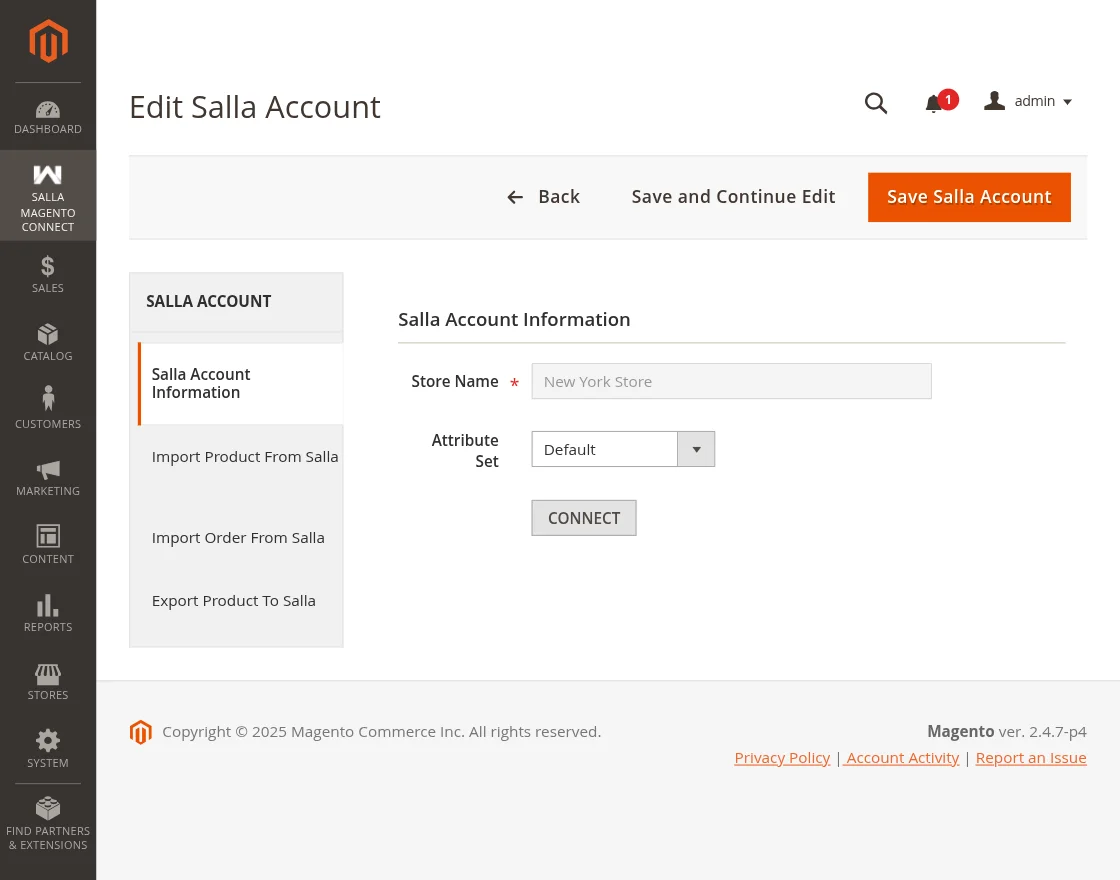
Here, tap on the Connect button available.
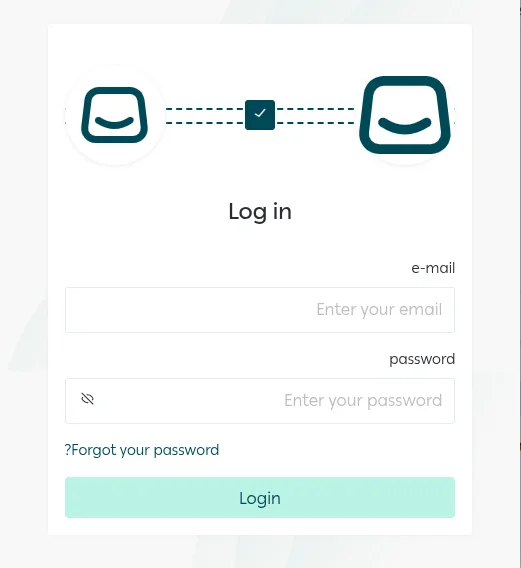
Now, in the pop-up enter the email of your salla partner demo store and the password will be the same that you used at the time of creating the Salla Partner account.

After that, tap on the Login button to connect and authenticate the Salla partner store.
After authentication, the admin can see more options which need to be configure.
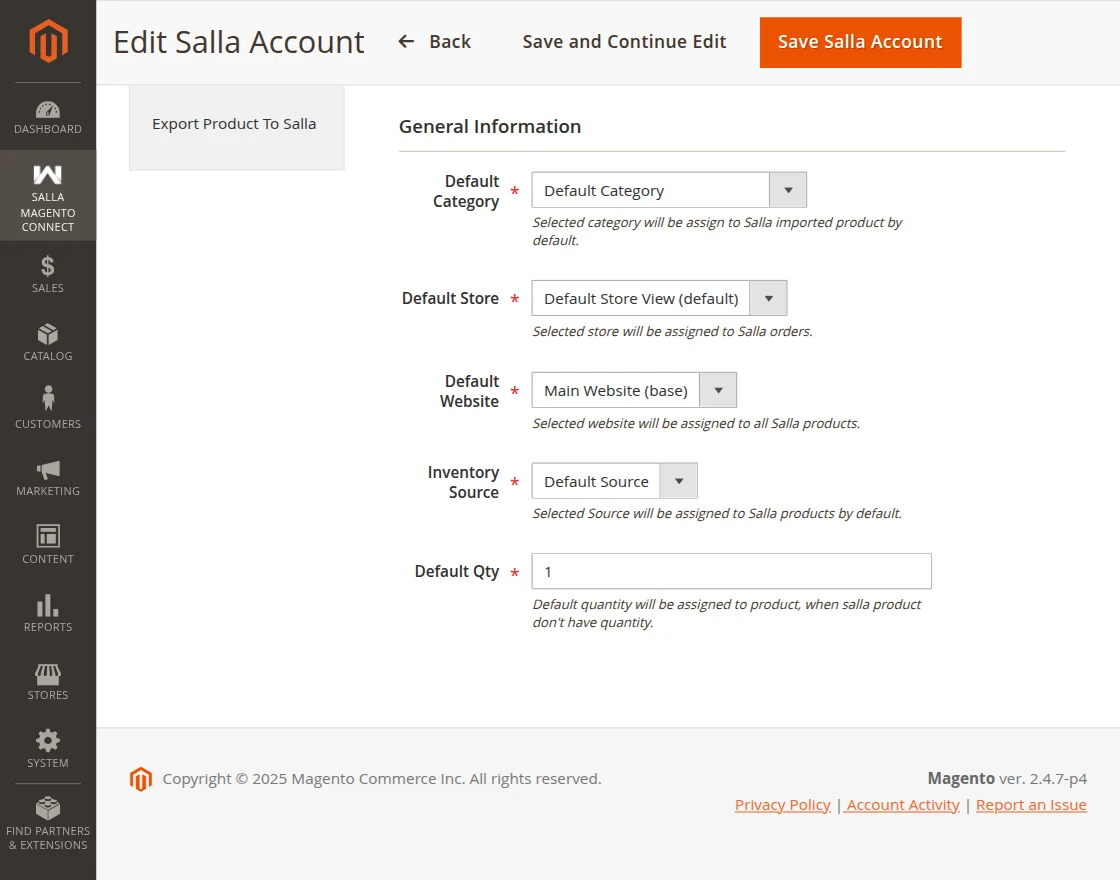
General Information:
- Default Category – Select the category that assigns to Salla’s imported products by default.
- Default Store – Select the store that assigns to the Salla orders.
- Default Website – Select the website that assigns to the Salla products.
- Inventory Source – Choose the source that assigns to the Salla products by default.
- Default Quantity – When Salla products are not having quantity, then the entered quantity assigns to the Salla products.
Lastly, tap on Save and edit Salla account.
Import Products – Salla to Magento 2 Store
To import the simple or variation products from Salla store into your Magento 2 store tap the side panel tab – Import products from Salla and that brings up the below section.
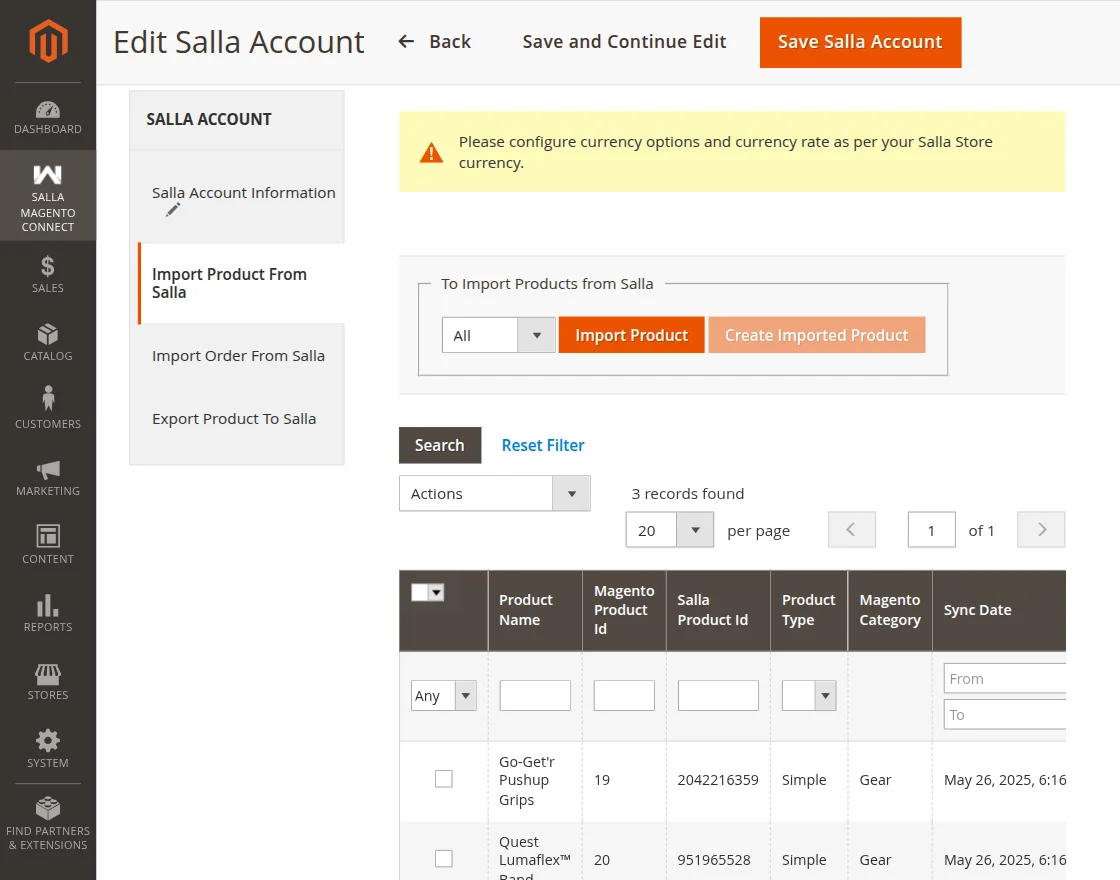
If you have already imported the products from Salla to Magento 2 then you can see the list of the imported products as well.
To import the products you have to tap on the Import Product button. In the snapshot below, as we have already imported the products so that’s why it’s showing 32 products imported.
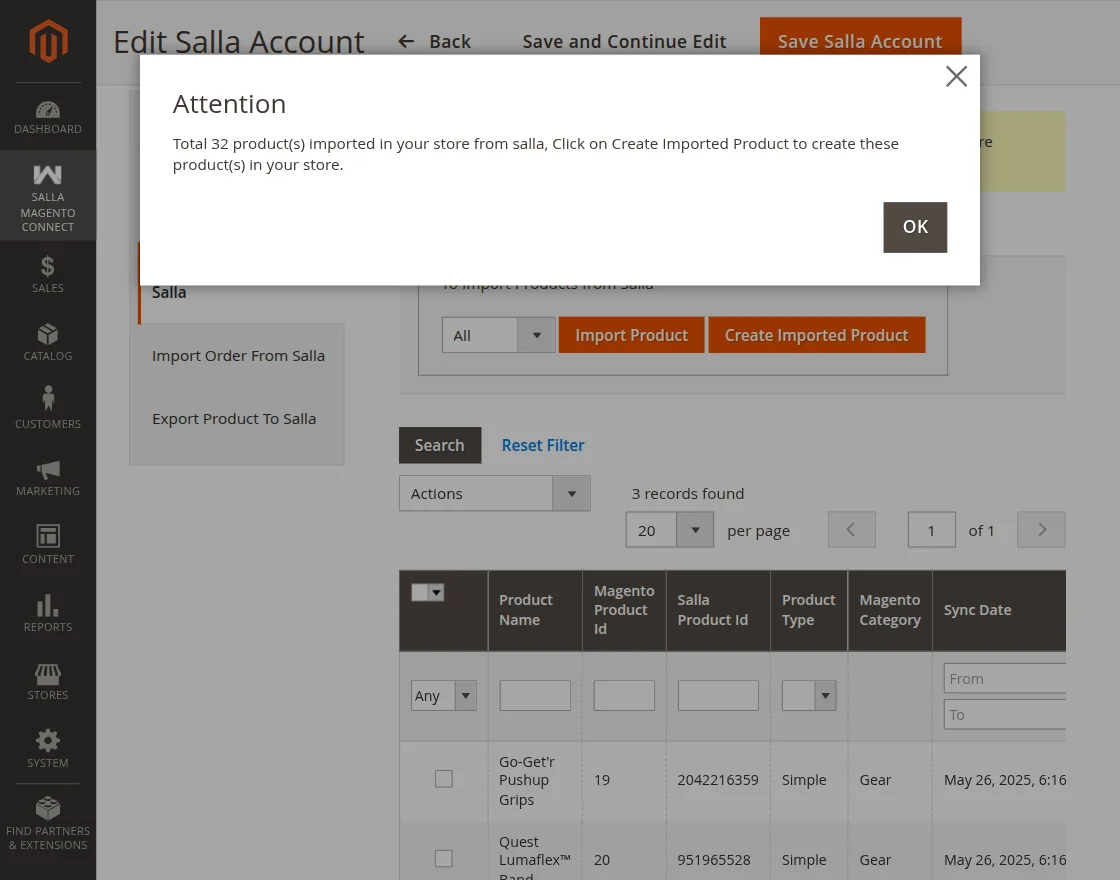
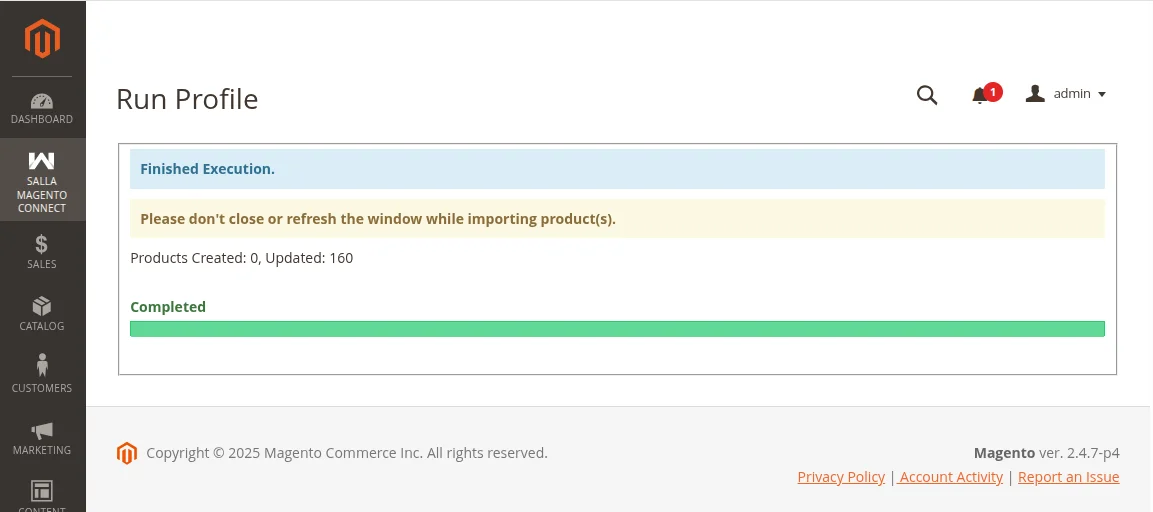
Now, after importing the products we need to create the products. For the same, we need to tap the Create Imported Products button.
This will run a profiler and the products will get create in Magento 2 store. Since we had already imported the products beforehand, therefore, the products get updated here.
Import Orders – Salla Store to Magento 2 Store
Now, to import the Salla product orders into the Magento 2 store you have to navigate to the Import Orders from Salla tab.
Here, if you have already imported the orders of Salla then those orders will list here.
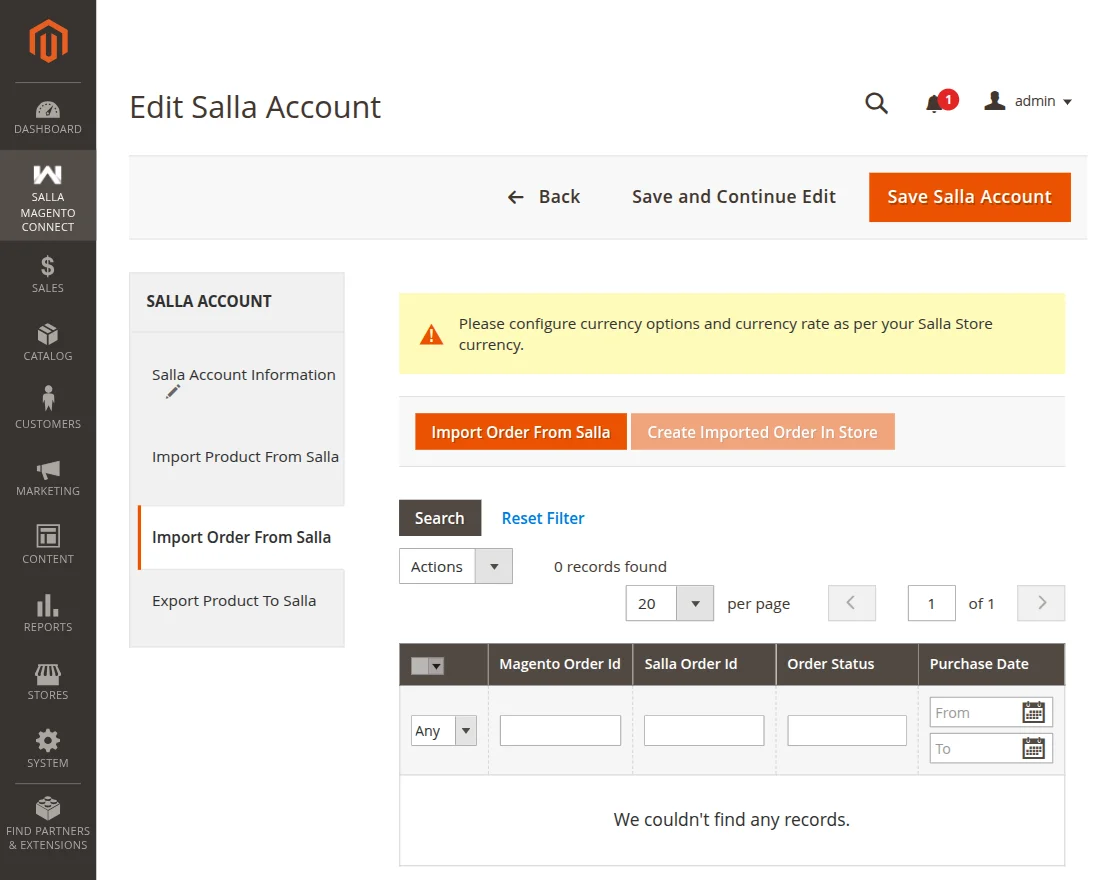
To import the Salla orders, first you have to import them by tapping the Import OrderFrom Salla button. After that, select the Salla order from and to dates and tap the Submit button after that.
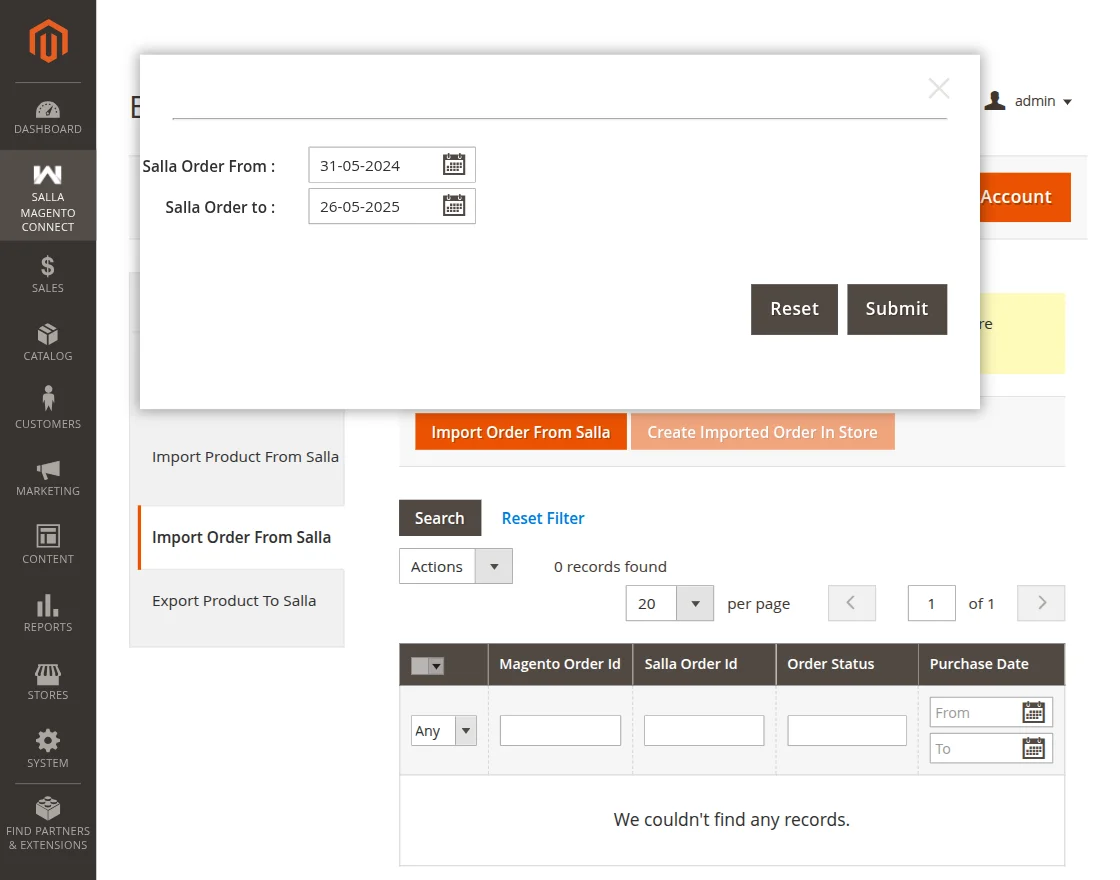
This will import the available orders from Salla to Magento 2. Then to create the orders within the Magento 2 store you have to tap on the Create Imported Orders in Store button.
Thereafter the orders will create in the Magento 2 store.
Export Products to Salla – Magento 2 to Salla Store
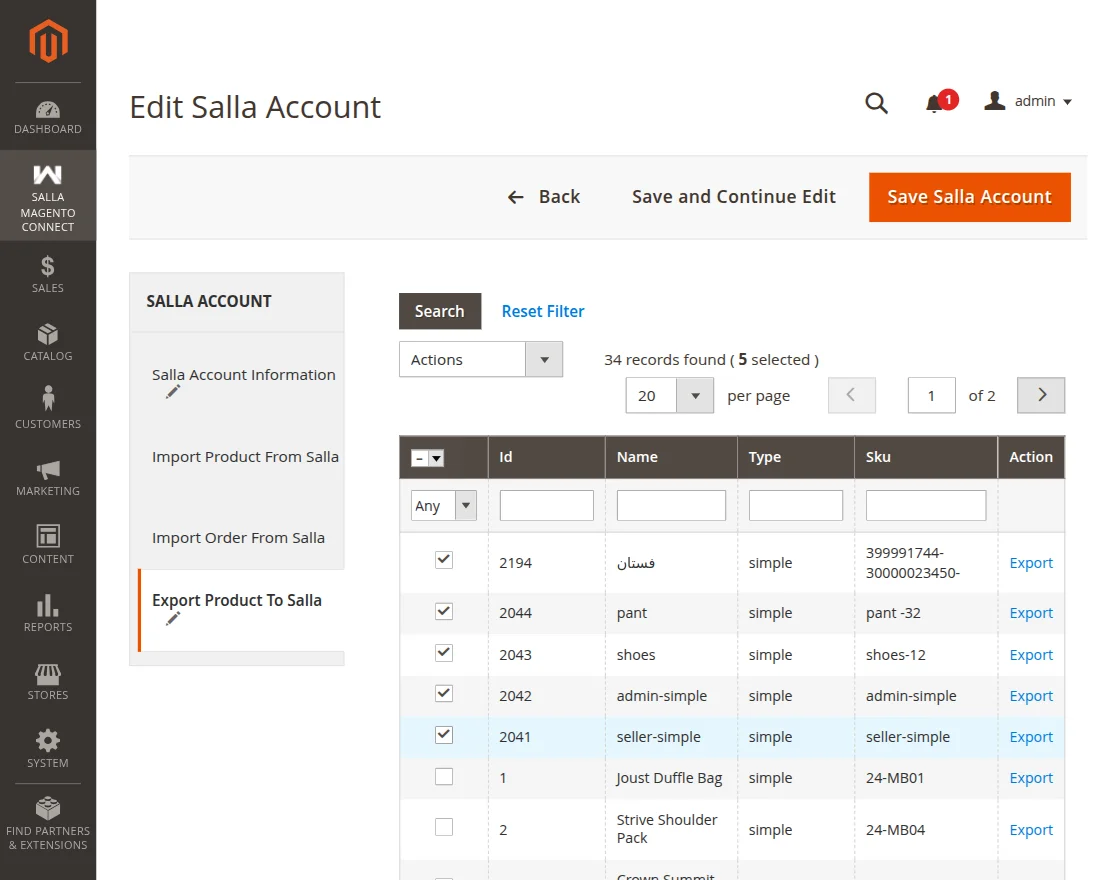
To export the simple products from Magento 2 store to Salla store navigate to the Export Product to Salla tab.
Here, you will find all of the simple products within your store. Check the products that you want to export to Salla account and tap the Export to Salla option under the actions drop down.
You can also export the product by tapping the export link available for the respective products.
After this the products will be export to Salla store.

Support
That is all about the Magento 2 Salla Connector extension. If you have any queries regarding the plugin, please contact us at Webkul Support System.
If you’re looking to create a custom e-commerce website, it’s a great idea to hire Magento developers who can help you build a powerful and scalable online store.
You can also check our complete Magento 2 extensions.
Current Product Version - 4.0.4
Supported Framework Version - Magento 2.0.x, 2.1.x, 2.2.x,2.3.x, 2.4.x

Be the first to comment.