With the help of the module Laravel eCommerce Product Label System, the admin can create customized labels/stickers for their product listings.
Product labels are a great way to attract visitors’ attention toward the products and convert them into customers. This module can be used for showing badges for Featured Items, Popular, New, Out of Stock, Deals, and much more.
Features
- The admin can add custom labels to attract the massive attention of the visitors.
- The admin can also configure the label title, logo, and status.
- Admin can assign labels to all product types.
- The admin can define the location of the label according to the requirements.
- The admin can create & Manage custom labels for sale, out of stock, new arrival, exclusive products, etc
Installation of Laravel Product Label System
Unzip the respective extension zip and then merge “packages” folders into project root directory.
Goto composer.json file and add the following line under ‘psr-4’.
"Webkul\ProductLabelSystem\": "packages/Webkul/ProductLabelSystem/src"
Goto bootstrap/providers.php file and add the following line under ‘providers’.
Webkul\ProductLabelSystem\Providers\ProductLabelSystemServiceProvider::class
Run these commands below to complete the setup
composer dump-autoload
php artisan product-label:install
php artisan optimize:clear
After following these steps, the Bagisto Product Label Extension should be successfully installed and ready for use in your Bagisto v2.4.4 project.
You will also see the Product Label icon on the left-hand side in the menu bar.

Product Label System Configuration
Once you are on the Admin dashboard, click the Configure option on the left-hand side in the menu bar following which you will be redirected to the Product Label Configuration page.
Here you will be able to see the module version:

After clicking on the Product Label System the admin will be redirected to another page where the admin can see all the labels that have been created as shown in the image below:-

On clicking on the Create Label button the admin can add new labels as described and shown below:-
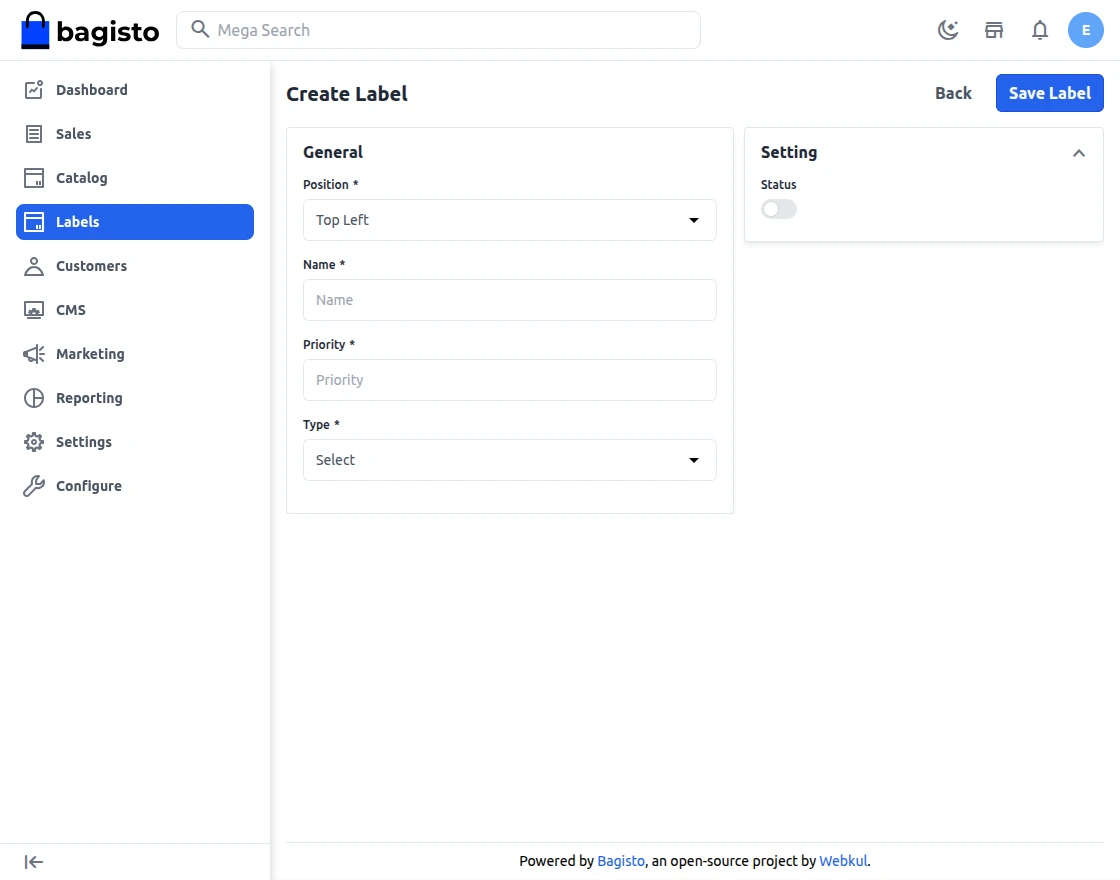
Name:- The admin needs to put the name for the label.
Position:- Select the Label position on Product View and Card (Top Left, Top Right, Buttom Left, Butttom Right)
Priority:- Fill the label priority.
Type: Select type – text and image
if select type text then fill the label text and choose the colour

if select type image then fill the label width, height and upload the image

Status:-The admin can enable or disable the label from here.
Position:-The admin can set the position here like the bottom left, bottom right, top left, top right.
After this, the admin just needs to click on the save button.
Once the label is save, it will be visible under the Product Label System page as shown below:-
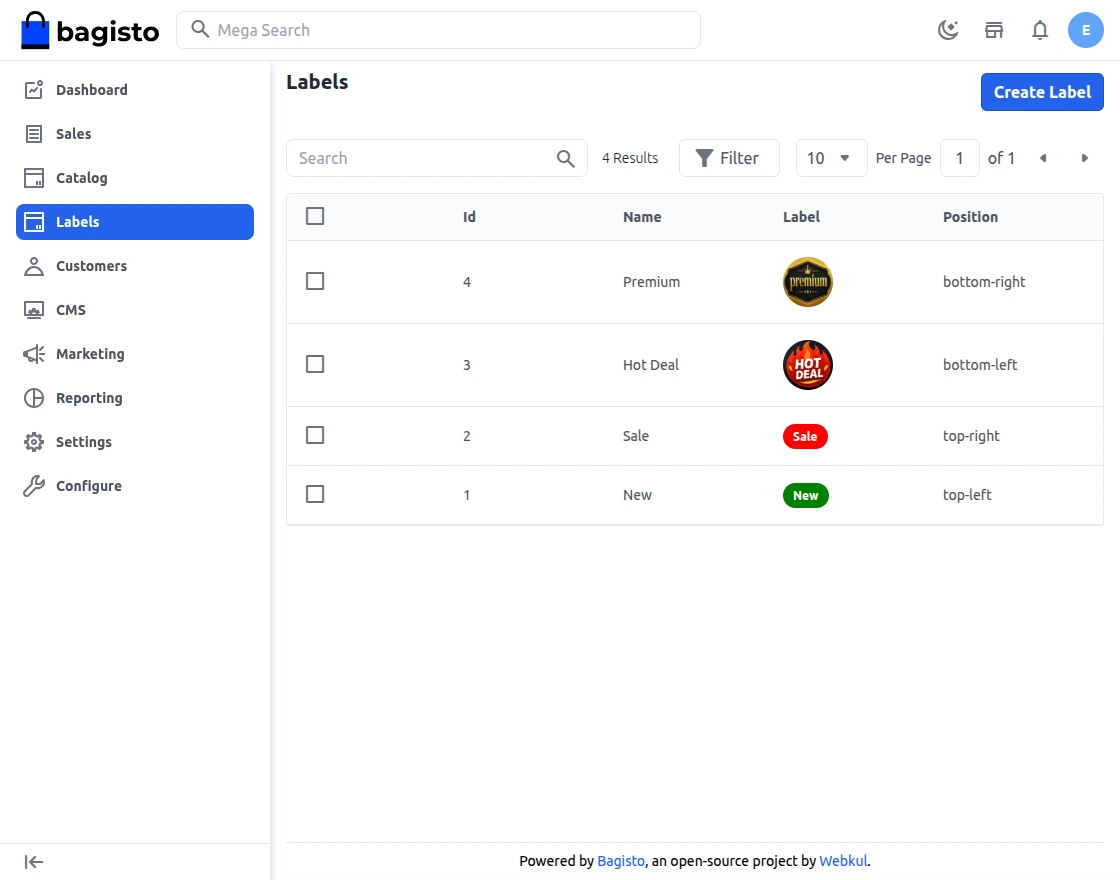
Here all the labels that have been created are visible and the admin can even delete and edit as per the requirements.
Now once the label has been created the admin can add them on the products while creating products as shown below:-

Once the product has been created by selecting the label it will be also visible in the front end as shown in the image below:-
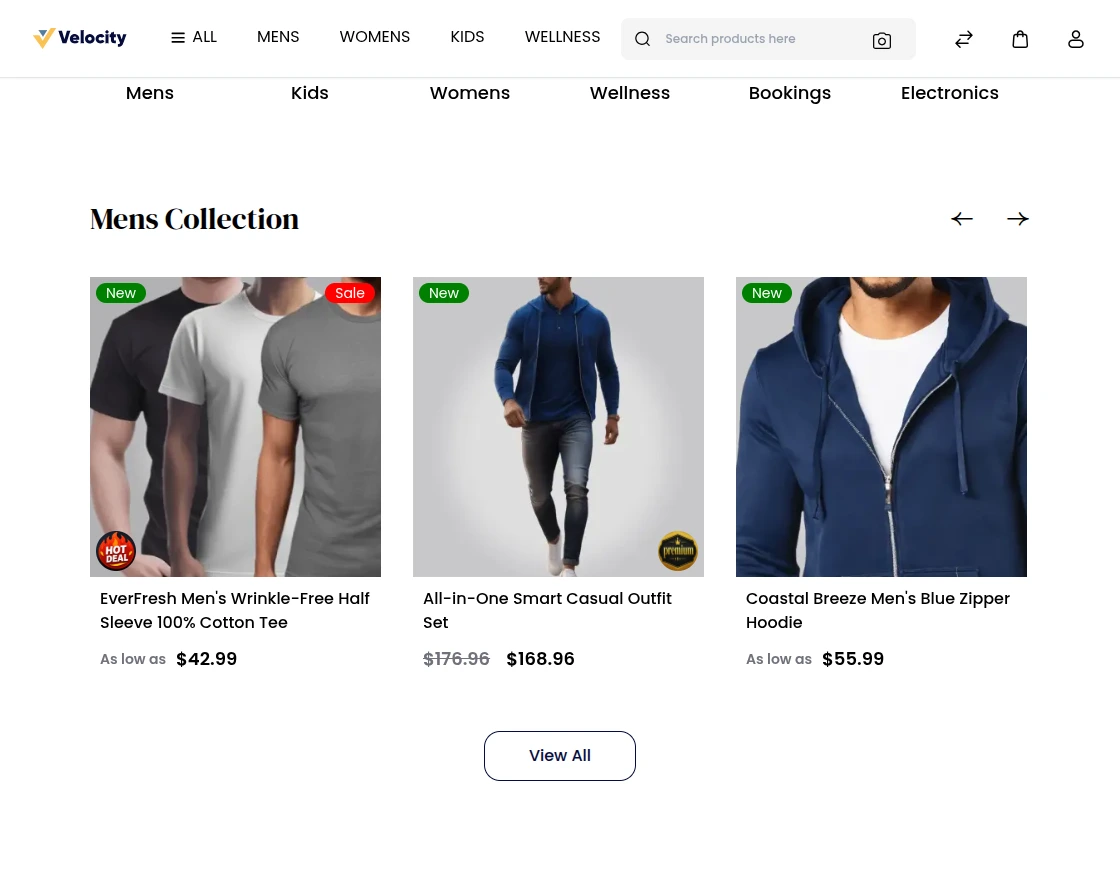
As we can see in the above image the products are along with the labels.
Support
So, that was much about the User Guide of Laravel eCommerce Product Label System for any queries or doubts reach out to us at [email protected]. You can also raise a ticket at our HelpDesk System.
Please explore our Laravel Development Services and Quality Bagisto Extensions.
Current Product Version - v2.4.4
Supported Framework Version - Bagisto v2.4.4

Be the first to comment.