We will learn how to customize product page layout for a specific product in Magento 2. First, we will learn some things about layout in Magento 2.
In Magento, the basic components of page design are layouts, containers, and blocks.
A layout represents the structure of a web page (1).
Containers represent the placeholders within that web page structure (2).
And blocks represent the UI controls or components within the container placeholders (3).
(1) Layouts provide the structures for web pages using an XML file that identifies all the containers and blocks composing the page.
The details of layout XML files are described later in this section.
(2) Containers assign content structure to a page using container tags within a layout XML file.
A container has no additional content except the content of included elements. Examples of containers include the header, left column, main column, and footer.
(3) Blocks render the UI elements on a page using block tags within a layout XML file. Blocks use templates to generate the HTML to insert into its parent structural block.
Examples of blocks include a category list, a mini cart, product tags, and product listing.
For information about product page layouts, you can click here.
Methods to customize layout for a specific product
There are two ways for customizing your product page’s layout for a specific product.
Method 1: Create a custom layout update
Custom layout update for product pages is now converted into a selector
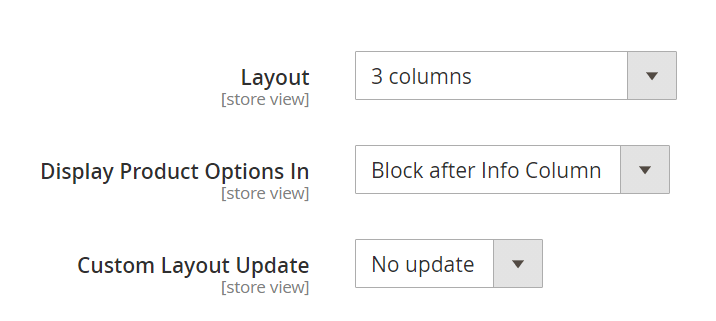
To apply custom layout updates for your product pages, you’ll need to create an .XML file in a specified folder (app/design/frontend/<Vendor>/<Theme>/Magento_Catalog/layout/). The layout update from that .XML file will then available under Custom Layout Update as a selectable option.
Your custom layout update file names will need to adhere to the following rule:
catalog_product_view_selectable_<Product SKU>_<Name for Layout Update>.xml
where:
<Product_SKU>: is the SKU of the product that you want to apply custom layout update<Name for Layout Update>: is the name of this layout which will be shown in the Custom Layout Update selector
For example, if we want to apply a new custom layout update for SKU: TEST55. We’ll need to create a custom layout file named catalog_product_view_selectable_ TEST55_test.xml in /theme_dir/Magento_Catalog/layout/, with the content like below:
<?xml version="1.0"?>
<page layout="1column" xmlns:xsi="http://www.w3.org/2001/XMLSchema-instance" xsi:noNamespaceSchemaLocation="urn:magento:framework:View/Layout/etc/page_configuration.xsd">
    <body>
        <referenceContainer name="page.wrapper">
             <referenceBlock name="breadcrumbs" remove="true"/>
         </referenceContainer>
    </body>
</page>
It will remove the breadcrumbs from Product SKU TEST55’s product page.
Next, in Catalog > Products, choose the product with SKU TEST55. You should now be able to see a custom layout update named test.
Choose this new custom layout update and Save the changes.
Now clear your cache using:
php bin/magento cache:flush
And the changes should now be reflected on your frontend.
Method 2: Overriding layout
You can also override the layout using:
- Product ID
- Product SKU
- Product TYPE
For example, if you want to customize the product page layout for a product with ID 25, the layout file’s name will need to adhere to the following format:
catalog_product_view_id_number.xml
e.g., catalog_product_view_id_25
And the file will need to be in the following part:
app/design/frontend/<Vendor>/<Theme>/Magento_Catalog/layout/
Clear the cache following the system’s message. If not, you can go to the frontend to check out the new customized page layout for the specific product.
For product type, you can follow the same steps and change the file’s name accordingly.
For example, use catalog_product_view_type_bundle.xml to apply the new page layout for bundled products.
Related blogs:

Be the first to comment.