CS-Cart GST Add-on, the admin can set up the GST structure in CS-Cart for automatic adherence to the new GST criteria of all tax procedures.
When making a purchase, the GST is immediately added to the product.
Where the tax rate can be set by the admin for each product. The invoice and order detail pages display the GST amount.
Features
- The admin can add the HSN code and GST to the products.
- The invoice, emails, and pdf all have GST information.
- For countries other than India, standard tax applies.
- The system automatically divides SGST and CGST into equal parts.
- Implementation of SGST, CGST, as well as IGST automatically based on address. Where SGST+CGST stands for intra-state and IGST for inter-state, respectively.
Installation and Configuration: CS-Cart GST Add-on
To install CS-Cart GST Add-on, follow these steps:
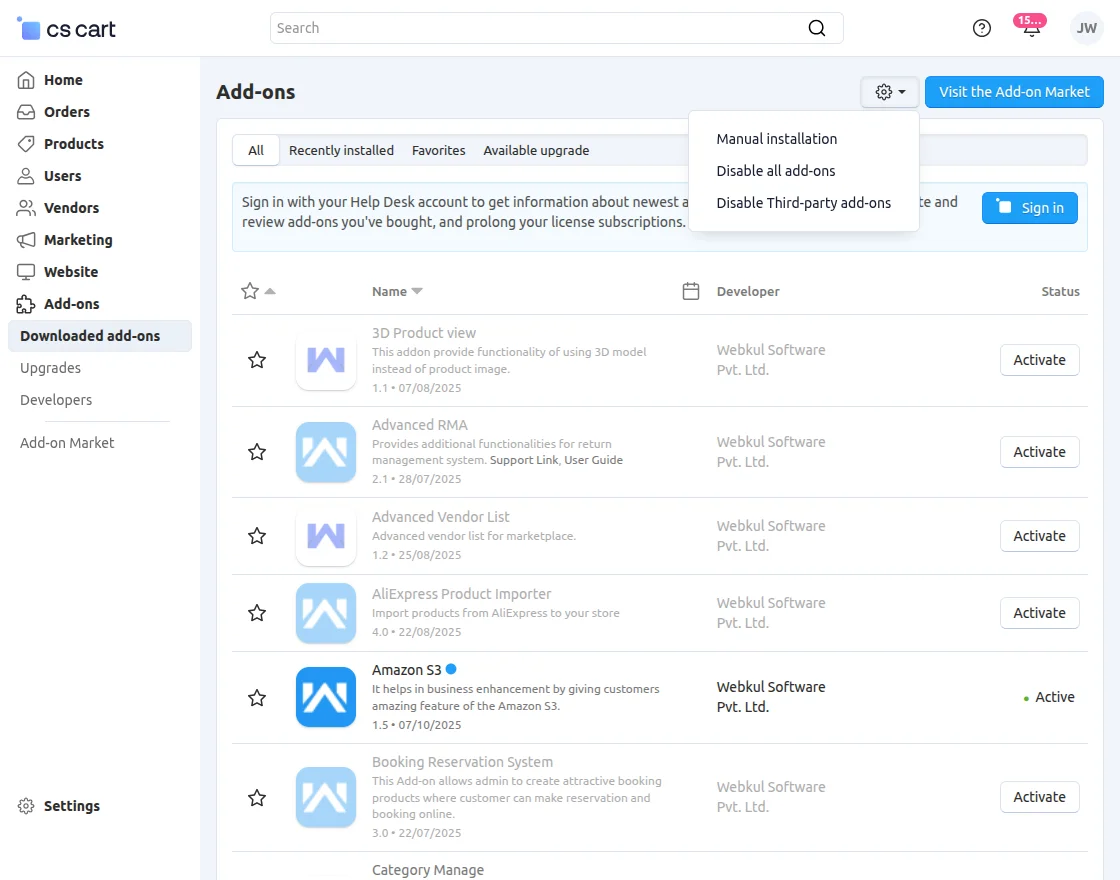
Go to Manage Add-ons, click on the gear drop-down, and select Manual Installation.
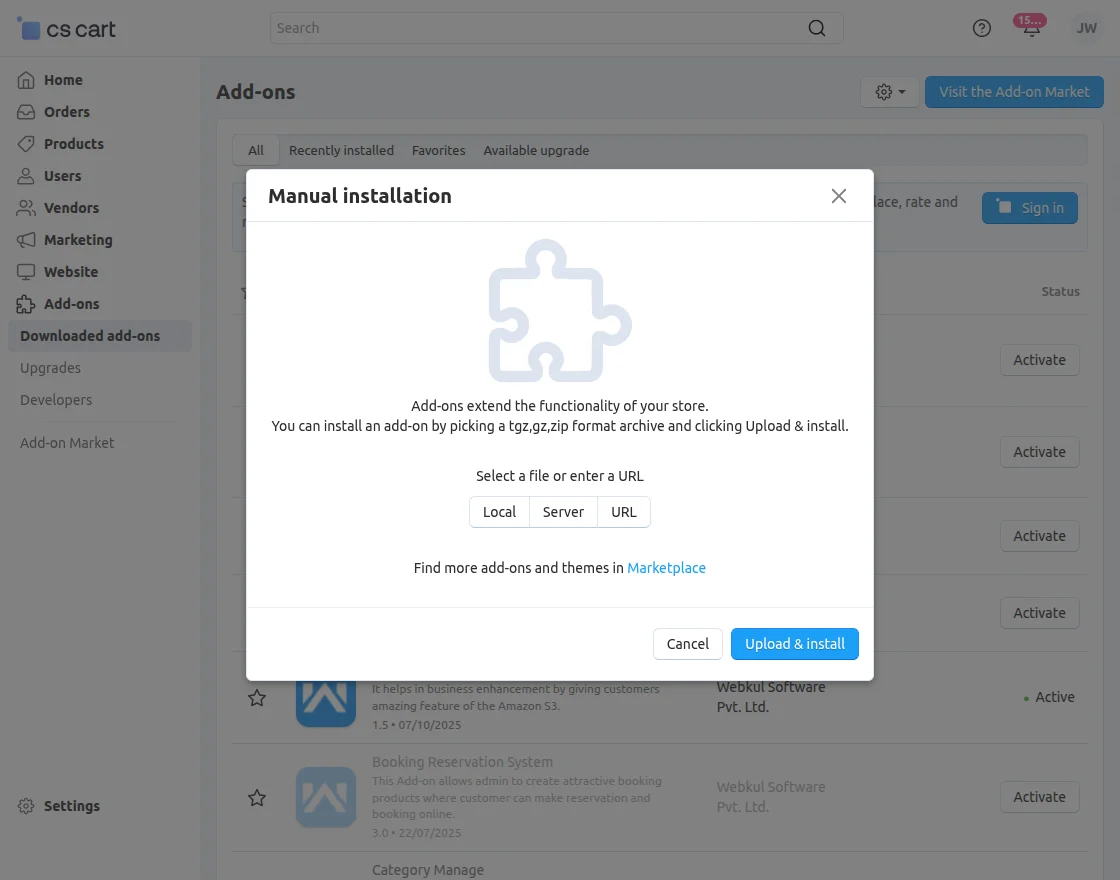
Now, Click on “Local” to browse the zip file and then click on “Upload & Install”.
After installation of the add-on, you will find the “GST add-on” in the list of the available add-on. Make sure, the add-on is activated as shown in the below snapshot.
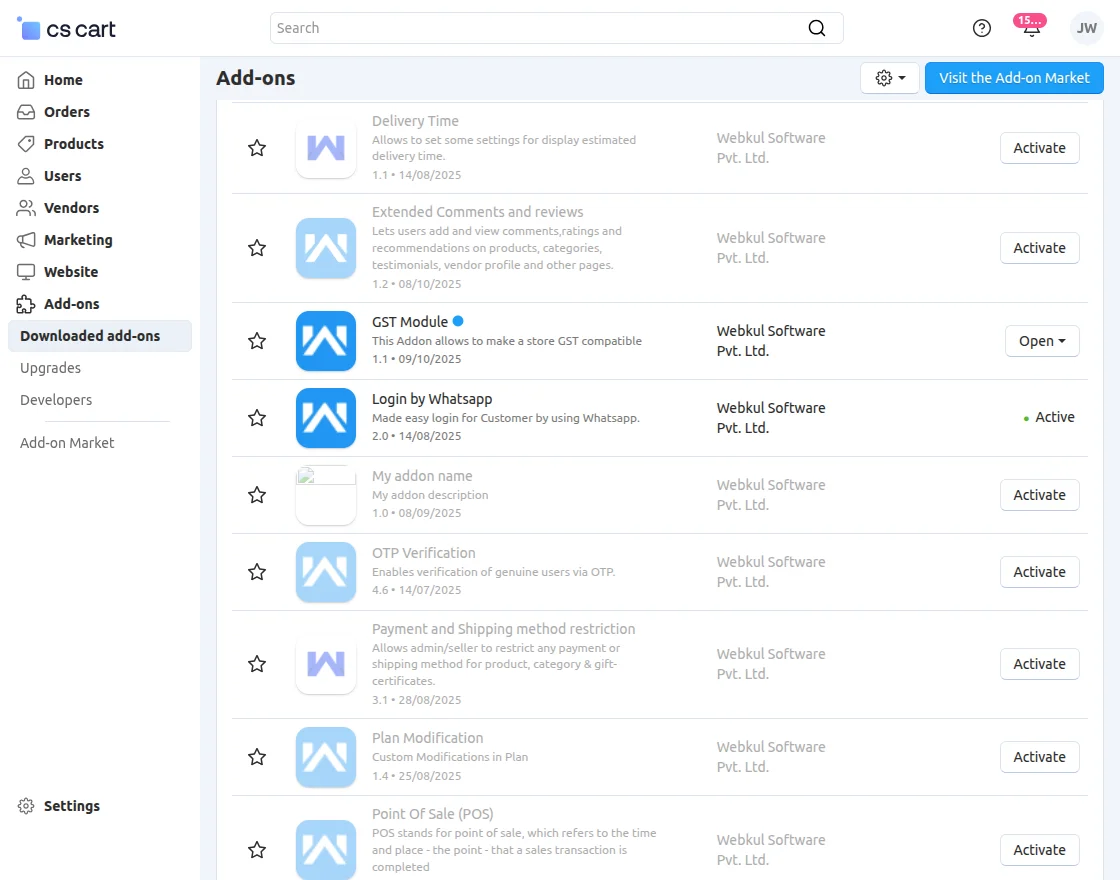
Now the user needs to click on the GST Module to configure the module.
Settings: CS-Cart GST Add-on
HSN Restriction of Digits: The admin can limit the digits from 1 to 9 and set the HSN restriction here.
HSN is Also called the Harmonized System of Nomenclature code that was developed to methodically separate products globally.
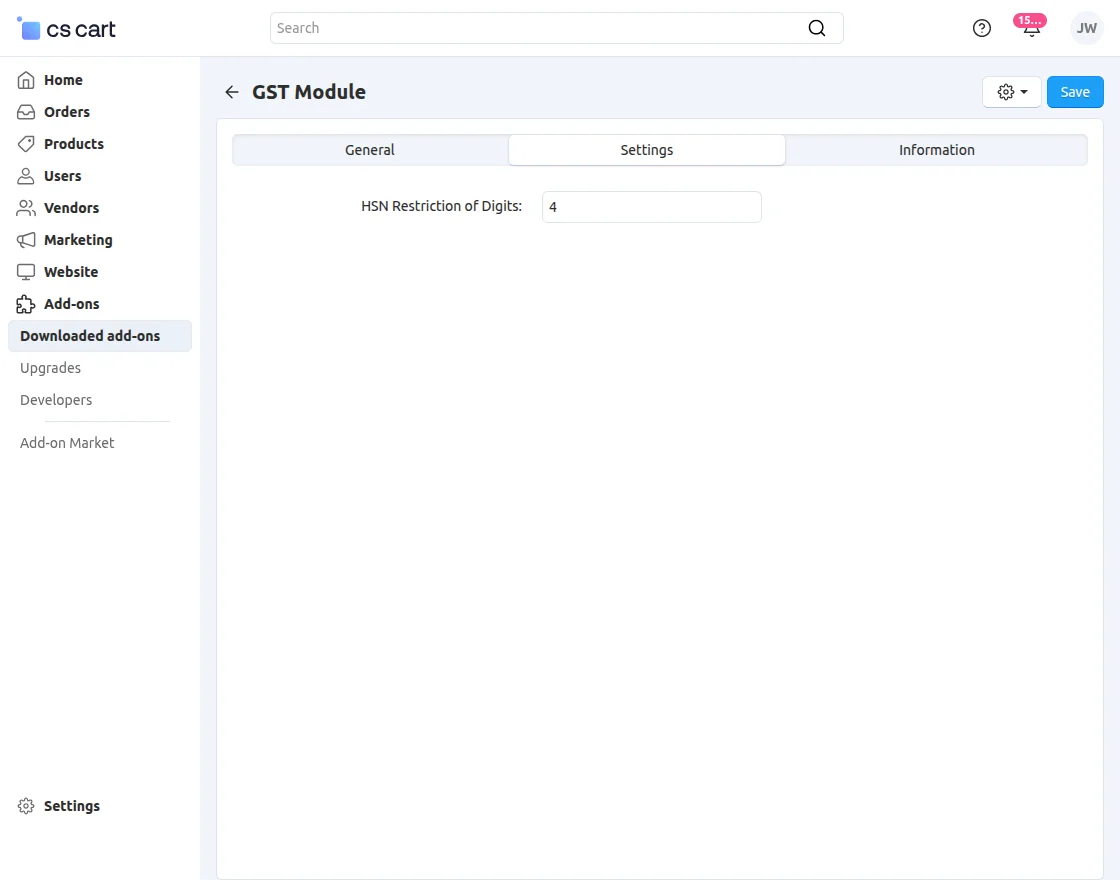
After setting the HSN restriction of the digits the admin needs to click on the save button.
HSN codes
After setting up the HSN configuration the admin needs to navigate through Settings>>Shipping & taxes >> HSN codes as per the below screenshots.

Here the admin gets the list of HSN codes as per the below image.

To add a new HSN code the admin needs to click on the “+” button.
Here the admin needs to enter the following details:
- Language: The admin must choose a language here.
- Select Store: The admin can pick a store from this list.
- HSN code: Harmonized System of Nomenclature code is a system that was introduced to systematically segregate goods all over the world.
- Description: The admin can enter the description here.
- Category: Here, the admin must choose the product category to which GST would apply.
- cGST : Here, the admin will state the percentage of CGST that will apply to the product.
On intrastate (inside the same state) transactions, the Central Goods and Services Tax, or CGST, is a tax under the GST framework.
- sGST : Here, the admin will state the percentage of SGST that will apply to the product.
On intrastate (inside the same state) transactions, the State Goods and Services Tax, or SGST, is a tax under the GST framework.
- iGST: The admin will state the percentage of IGST that will apply to the product here.
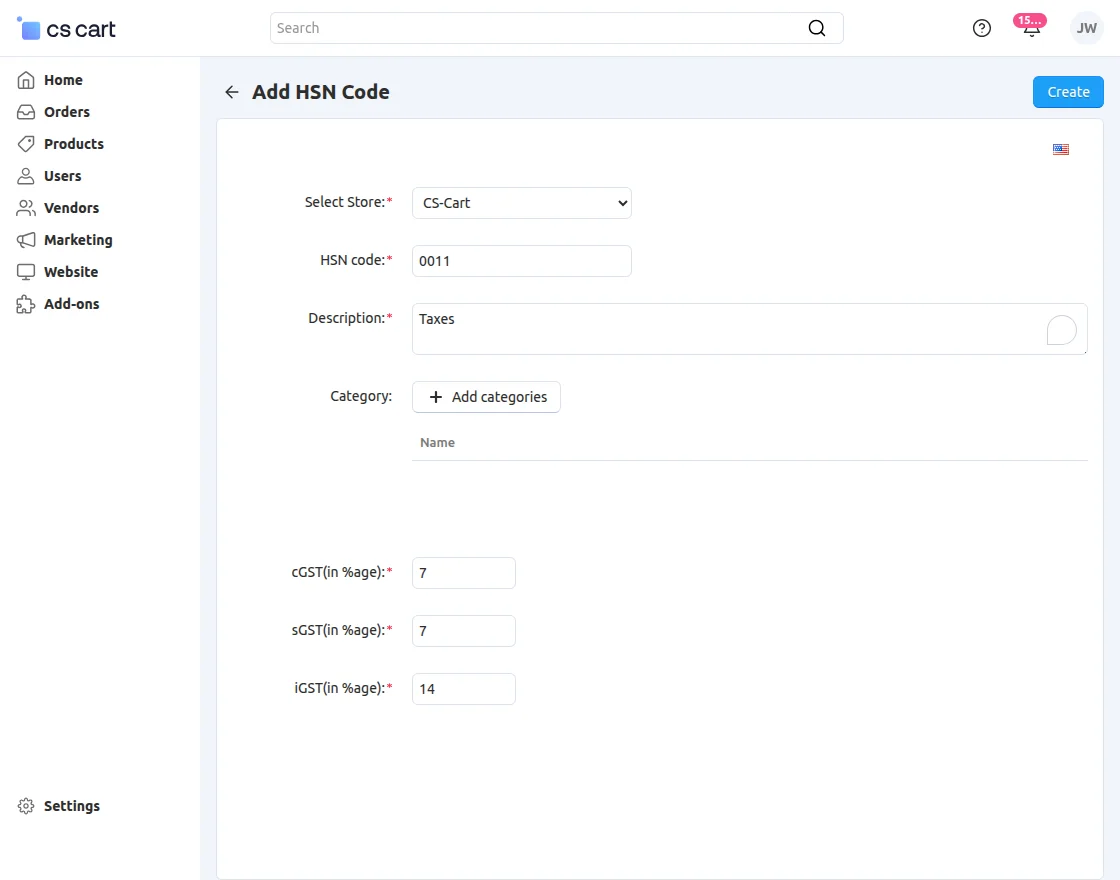
Afterward, the admin needs to click on the create button.
Taxes
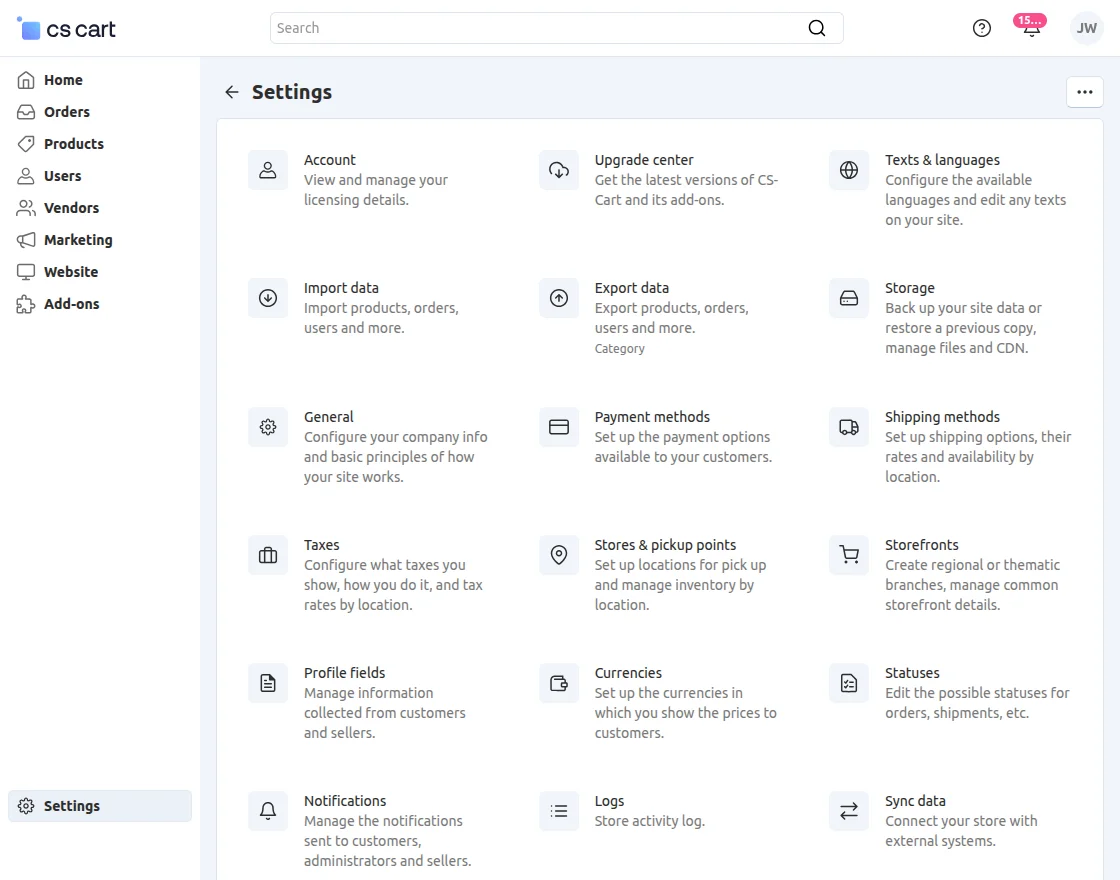
The admin needs to navigate through Settings >> Taxes after creating the HSN codes as per the below image.
Here the admin will get the list of the taxes as per the below image.
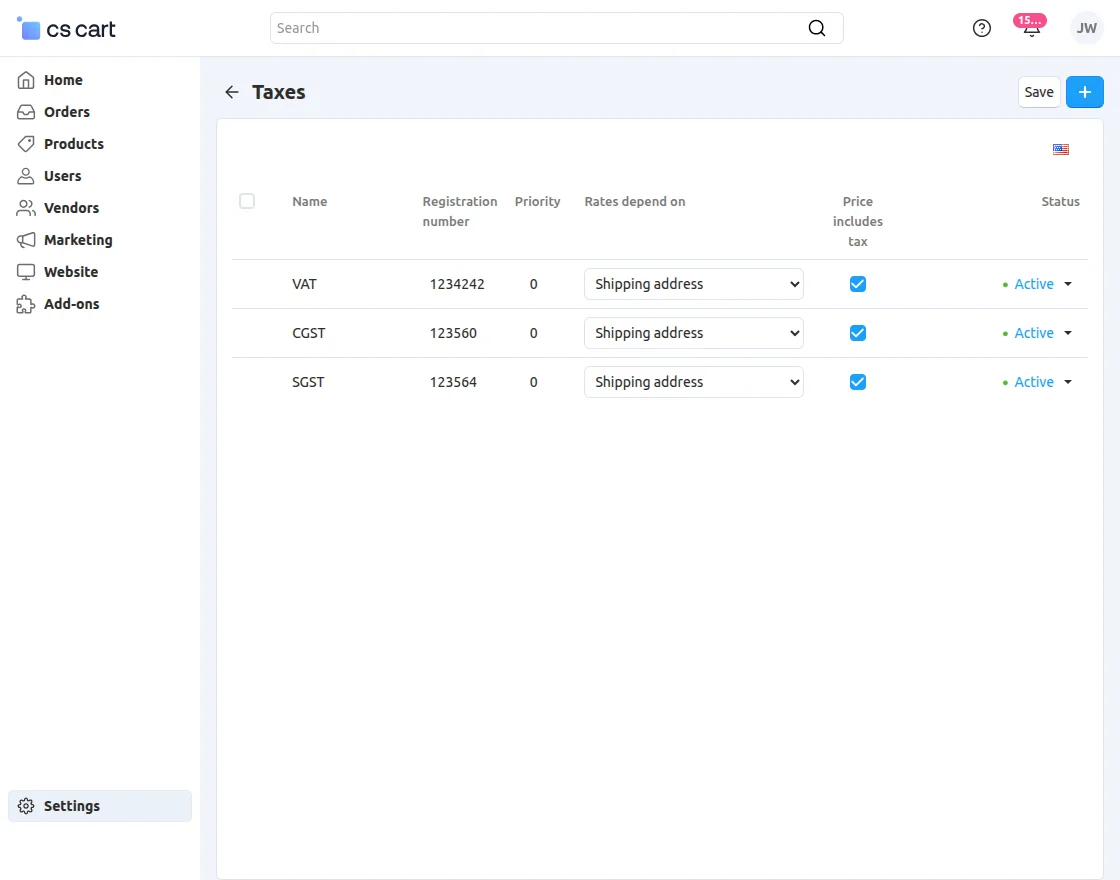
To create a new tax the admin needs to click on the “+” button.
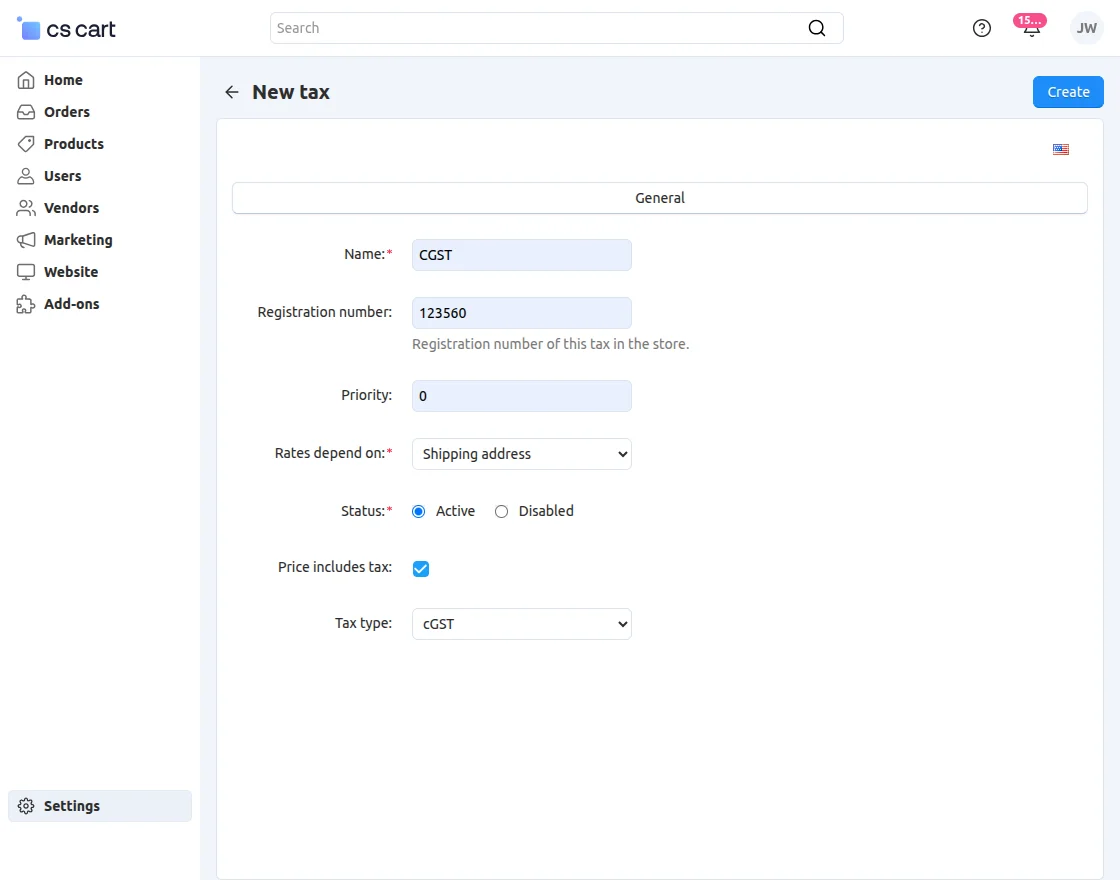
The admin needs to enter the following information here
- Name: Here the admin can enter the name of the tax.
- Registration number: The admin must insert the tax’s registration number here.
- Priority: Admin Can Decide the Tax Priority.
- Rates depend on: Here, the admin must decide on the method on which rates will be based.
- Status: The admin can set the status of the tax rate as active or diabled.
- Price includes Tax: The admin decides whether or not the price includes tax.
- Tax Type: Admin Can Choose The tax type from the dropdown.
Afterthat, the admin needs to click on the Create button.
How does GST work at storefronts?
To check the GST price the customer needs to check out the product as per the below image.

As shown in the screenshot below, the customer can view the GST price.

Support
For assistance with CS-Cart GST Add-on setup or customization, contact [email protected] or Webkul Support.
Discover more powerful CS-Cart extensions to enhance your store’s functionality!
Current Product Version - 1.1
Supported Framework Version - 4.19

Be the first to comment.