Magento Web to Print module combine magento e-commerce platform with our web-to-print and dynamic imaging extension to add powerful product personalization features to your online store. From T-shirts, to rubber stamp, to online ads and business cards- you can personalize it all.
Customer End Features
- Customer can add text on template with different color, size,font and can also drag, rotate and resize the text and logo as well.
- Customer can also add Logo.
- Customer can even change template.
- Customer can save their customized template for later purchase.
- Customer can download PDF of their customized template.
- Customer can directly upload their customized template and can get print of desired size.
Admin End Features
- Admin can upload image template like business card, cup, T-Shirt, etc. that can be customized by customers.
- Admin can add text on template with different color, size,font and can also drag, rotate and resize the text and logo as well(to set as default for customers).
- Admin can upload different fonts that can be used by customers for customization.
- Admin can define different font size and colors.
- Admin can enable/disable the customization status for particular product.
- Admin can add multiple customize area for particular product.
- Module source code is completely open source no per transaction fee or paid API.
Installation Of Magento Web to Print
Its pretty easy you just need to move both folder (i.e. app, skin) into magento root that’s it.

After moving both the folder, flush the cache from magento admin module . Under system > cache management.

Configuration At Admin End
After successful installation of the module you will see a menu in magento admin for Web To Print as per screenshot.

As you can see there are three menus under Web To Print, let’s explain each menu one by one:
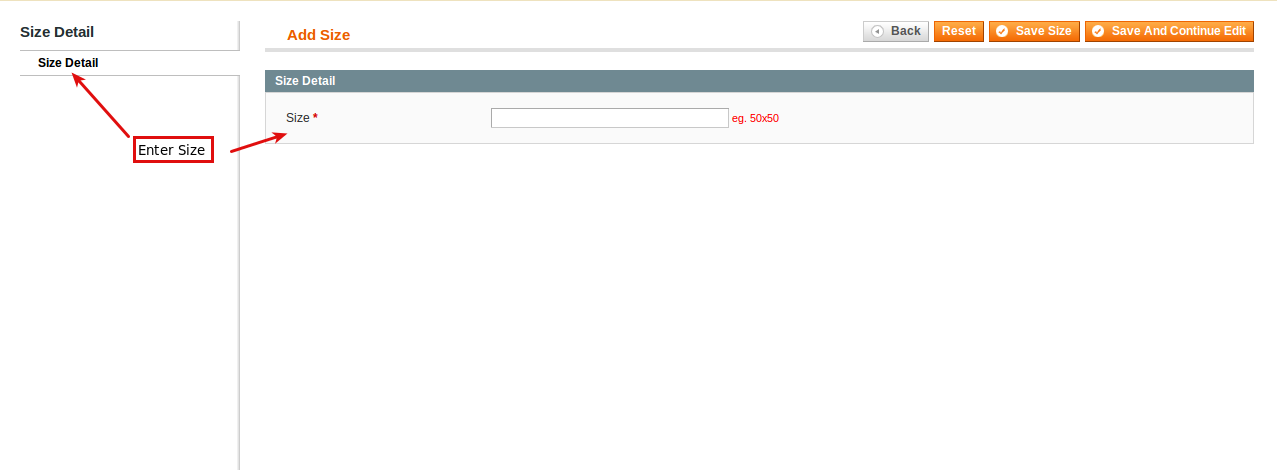
1. Add/Manage Size: This menu is responsible for adding size for custom template.

For adding new size click on “Add Size”, a form opens:
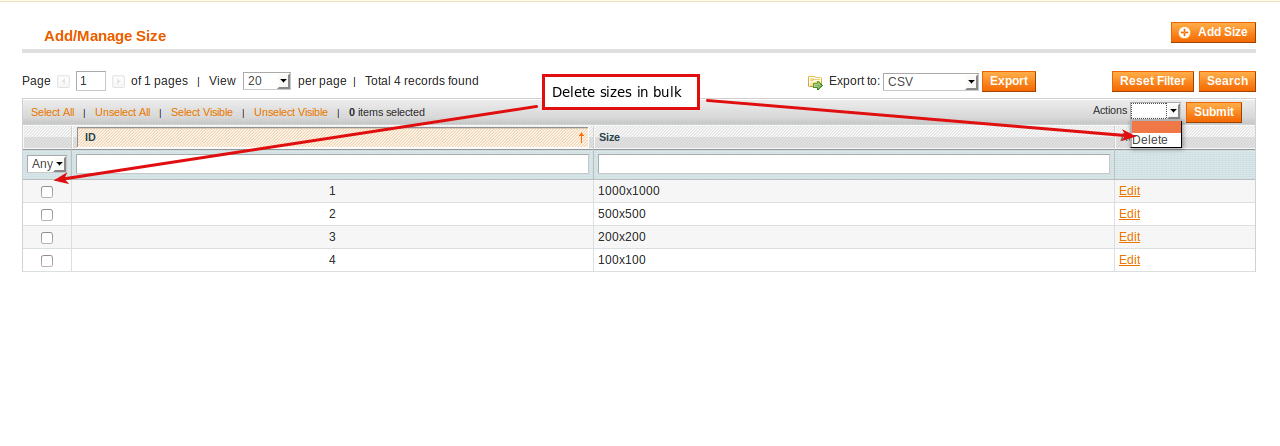
You can also delete more than one size at once.
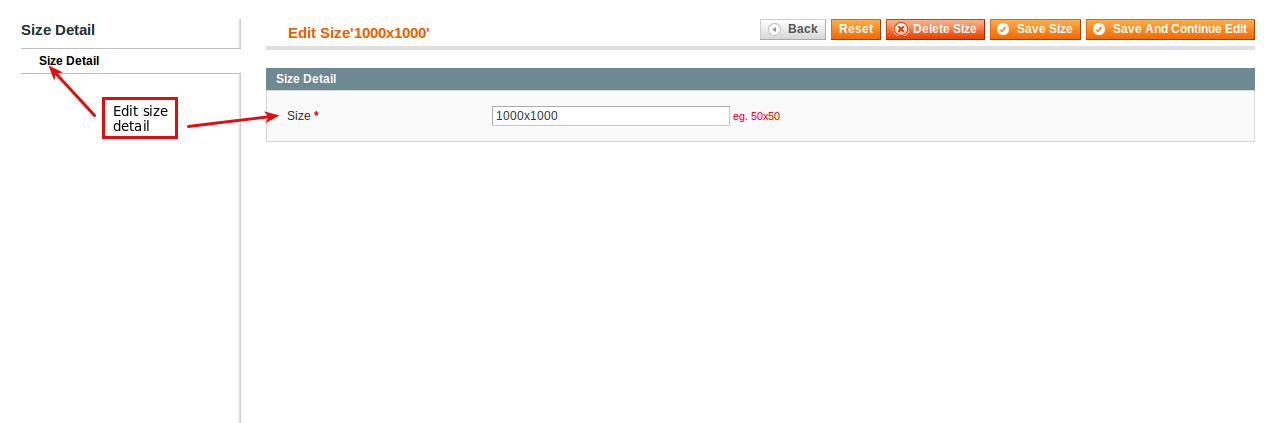
On clicking “edit”, you can edit your added size detail.
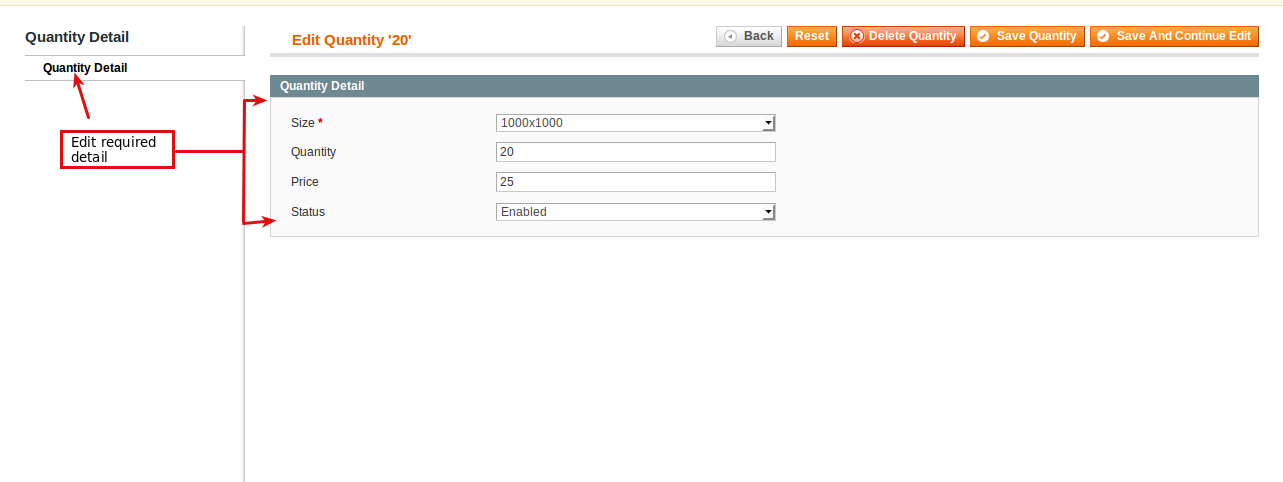
2. Add/Manage Quantity:This menu is responsible for adding quantity detail of particular selected size.

For adding new quantity click on “Add Quantity”, a form opens:

You can also delete or change status of more than one quantity at once.

On clicking “edit”, you can edit your added quantity detail.
3. Configuration: This menu is responsible for uploading fonts, entering template detail and enable/disable status of direct upload custom template in front.

Now for uploading custom template goto CATALOG->MANAGE PRODUCT->”select product for customization”

Open the product in which you want customization.
Here you need to select Customizer Status “Enable” inside General tab for image customization in front.

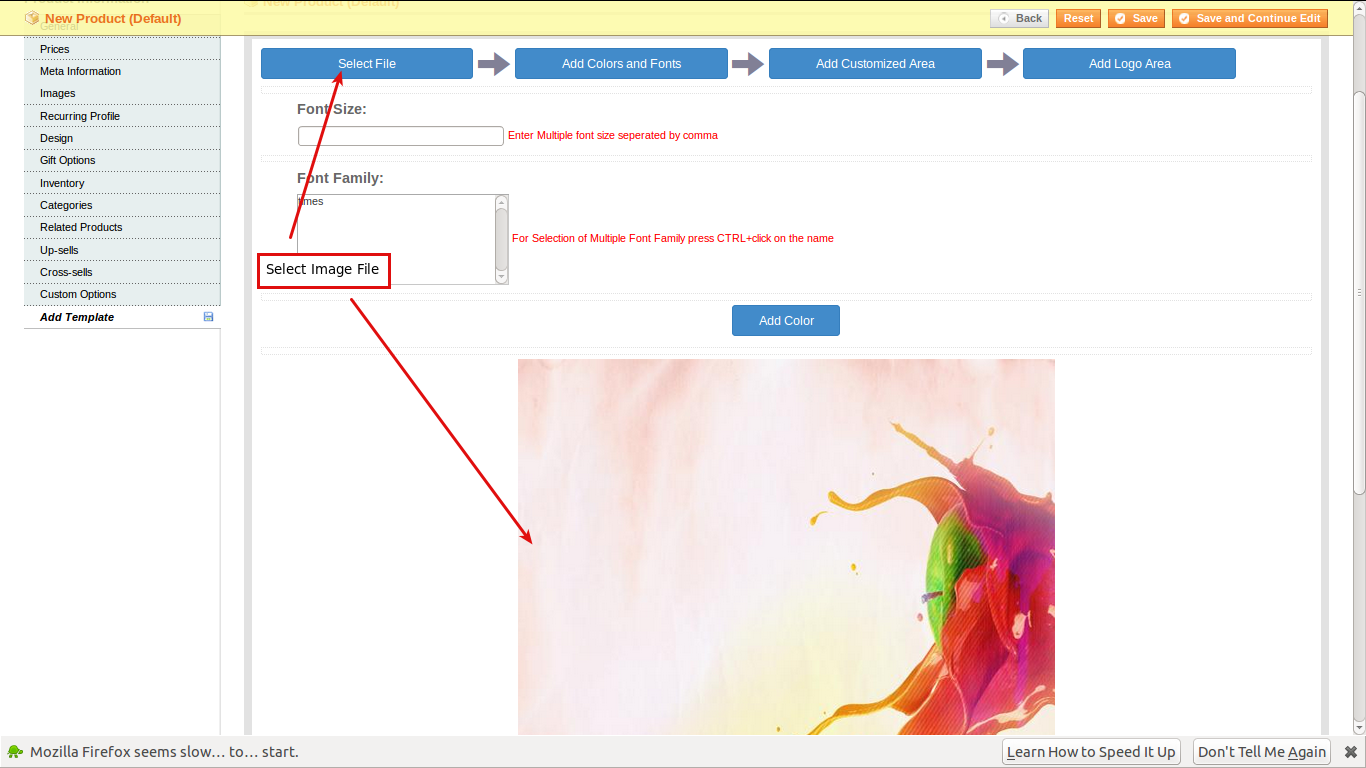
Now select Add Template tab as per screenshot.

Here there are 4 steps:
1) Select File: In this you need to select Image for customization.
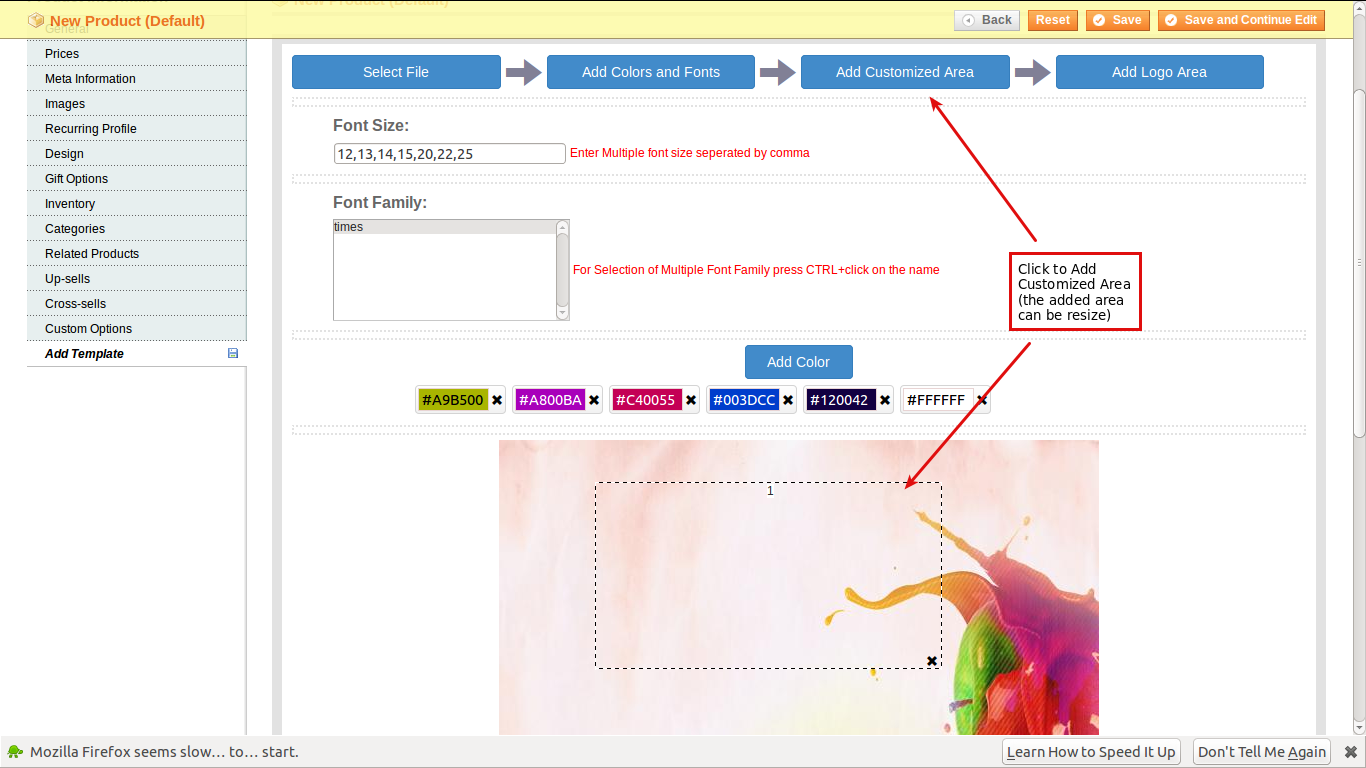
2) Add Colors and Fonts: In this you need to enter font size comma separated, select font family and add colors for customization of text in this particular template.

3) Add Customized Area: In this you provide customized area to the customer for creating text.You can resize and move the added area.
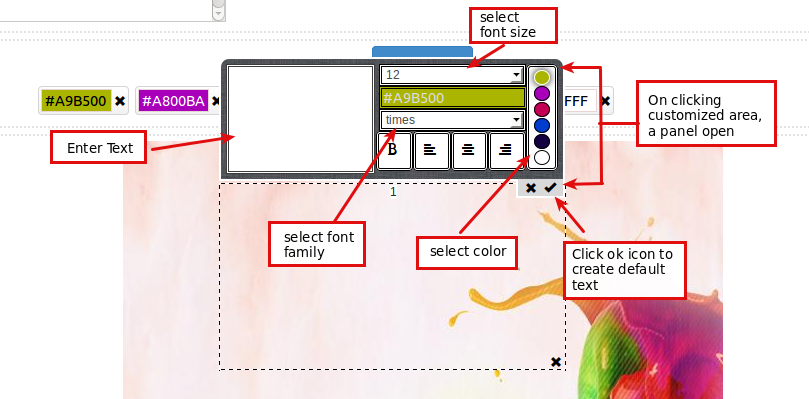
On clicking customized area, a panel opens in which you enter text, select font size, select font family and select color and click on OK icon to create the default text for the customer. You can rotate and drag the created text.
4) Add Logo Area: in this you provide logo area to add logo by customer.You can also provide default logo for this click on logo area and select logo image.

For removing logo area click on Remove Logo Area.

Now save all these details to show template detail in front end.
Configuration At Customer End
If admin enables the status for directly upload custom template then an icon appear at the front end(left side of page).

On hovering the icon, a button appear “Click to Add Custom Template”.

Click on Add Custom Template, a form opens:
In this you need to select the price for particular size and quantity then enter template name and select the template file. Now click on Add to Cart for adding template to cart directly.

Now proceed the checkout process.

After successful payment you can view as well as download your template.

On clicking download icon you can download the template.

On clicking view icon you can view the template.

For Editing the Admin Uploaded template detail open the product in which admin enable customization.
Click on CUSTOMIZE IT button.

A popup opens:
In this for knowing how to customize the template you can click on Take A Tour option

Follow the Instructions given:


Now click on customized area for adding or editing the text. Enter text,select font size, select font family and select color and then click on OK icon to create the text.You can move, rotate and drag the created text.

To change template click on change template button and select the template.

To change logo their is two option to change logo
i) from your system.
ii) from social media site like facebook.
You can also resize, rotate and move the logo added.

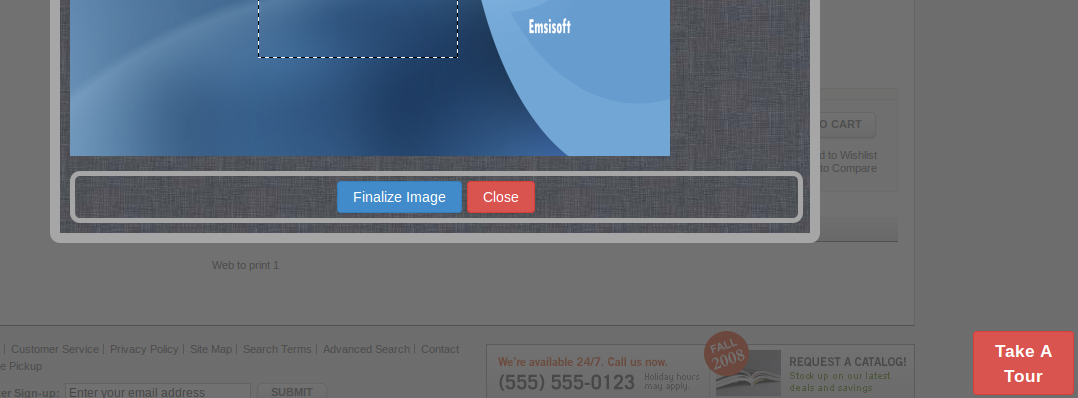
After doing all customization you need to finalize the image.

Now if you wish to purchase the customized image later then add the customized image to your list.

For viewing your customized image list goto My Account(top right) ->My customized List(in navigation panel).

You can add your customized image to cart by clicking add to cart button.
Your cart look like this:
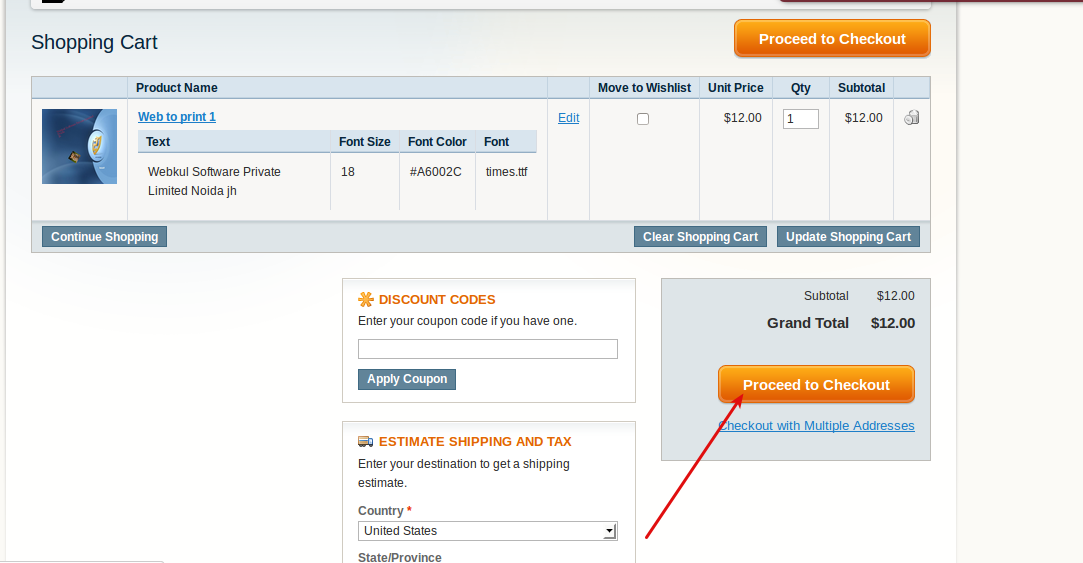
Now proceed the checkout process.
After successful payment you can view as well as download your template.

On clicking download icon you can download the template.

On clicking view icon you can view the template.

Admin can also view or download the template in sales->order->”open order”.

That’s all for the Magento Web To Print, still have any issue feel free to add a ticket and let us know your views to make the module better webkul.uvdesk.com
Current Product Version - 1.0.0
Supported Framework Version - Magento 2.0.x, 2.1.x, 2.2.x,2.3.x, 2.4.x

Be the first to comment.