User Guide For RFQ For Wix


Overview
Here comes the request for quotation(RFQ) for Wix Stores, the most important and awaited feature for Wix Stores.
RFQ for Wix provides an option for customers to purchase in bulk with custom pricing on your store. Using this application, your customers can negotiate with you for bulk order purchases.
Features
- Customers can purchase in bulk with custom pricing.
- Store owners and customers can negotiate through email.
- You can get RFQ requests for out-of-stock products as well.
- The store owner will have 3 options for each RFQ: “Accept”, “Requote”, and “Decline”.
Installation And Configuration
To install the app, follow the following steps –
- Go to your Wix store, then click on Apps >> Manage Apps as shown.
- Now, click on Get More Apps.


- Now, you’ll be redirected to the app market page from where you need to search for “RFQ or Request For Quote“.

- Click on the “Agree & Add” button after reviewing all the terms of use and privacy policies.

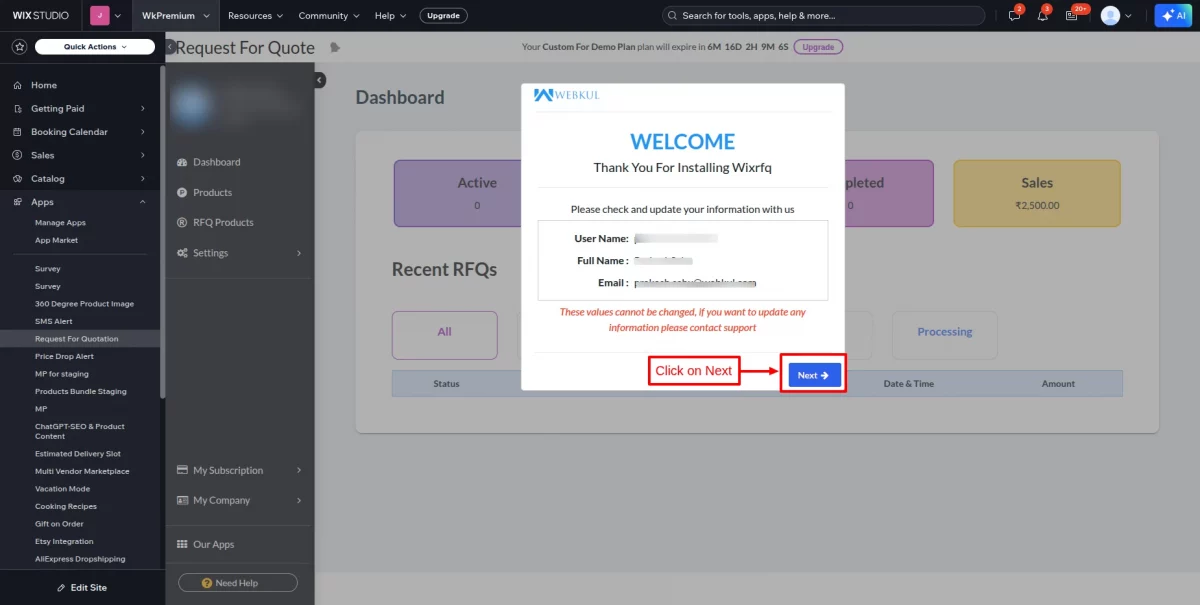
- Now, this button redirects you to the application dashboard, as shown in the screenshot below:
- Here, you can see your information.
- Click on Next.
- Here, you can add your Phone number, Alternative email, and Skype Id.
- Then, click on Save.

- This is the dashboard of our application, where you can view all the information related to the app.

App Subscription
To subscribe to the app, you need to go to the Wix Dashboard, then Apps >> Manage Apps.
Here, in front of the app, there is an upgrade option.
Click on the upgrade button.

App Settings
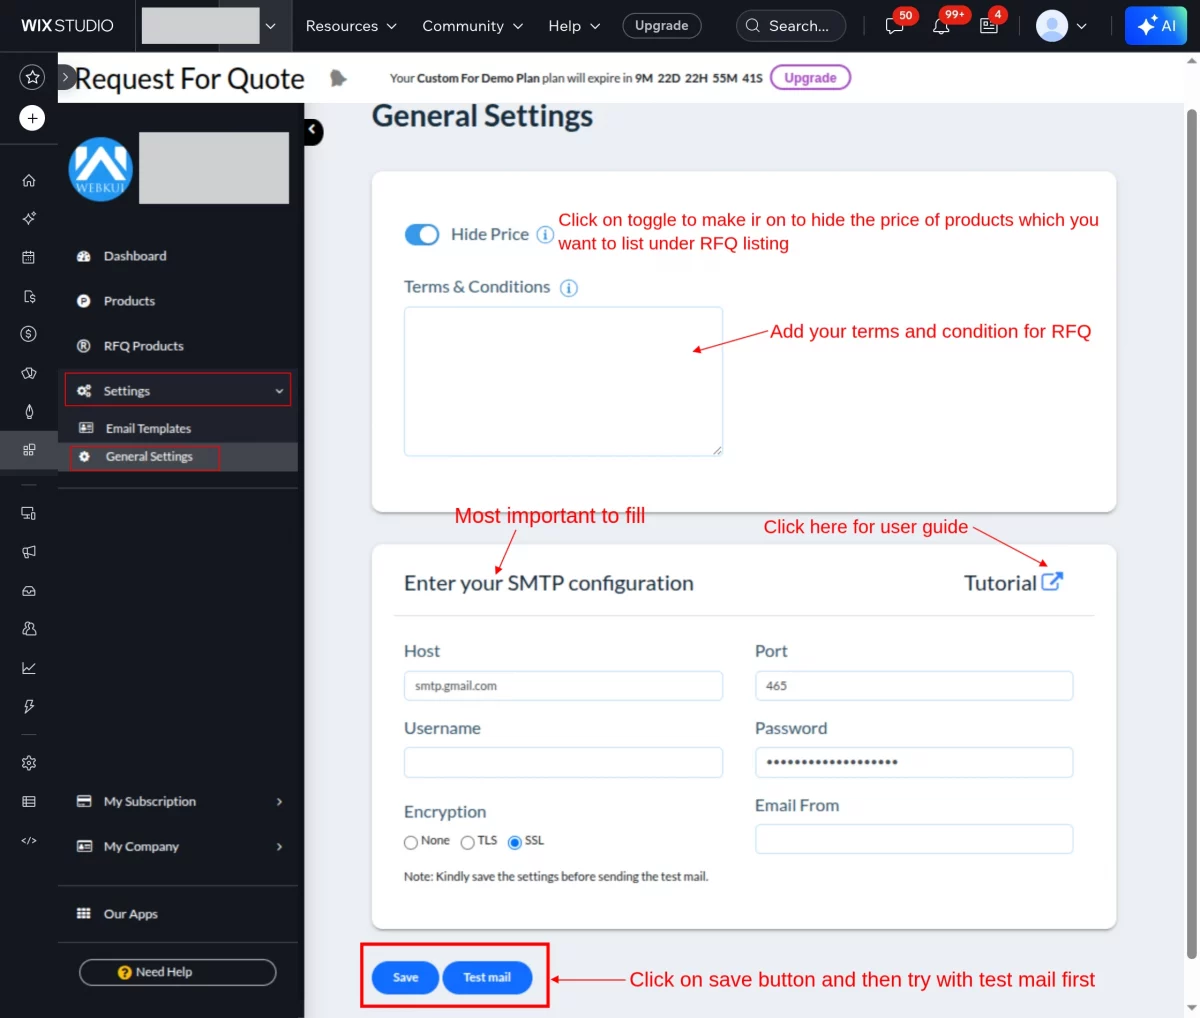
After installing the application, configure the App Settings >> General Settings as shown below.

Now, go to the email template menu and set up the email template content on different events :


The next step is to sync products from your Wix store; for that, go to the “Products” menu, and then start synchronizing.
After that, as a store owner, you have to decide on which product(s) you want to apply RFQs and then add “Minimum Quantity” below which a customer can’t create an RFQ for a corresponding product.


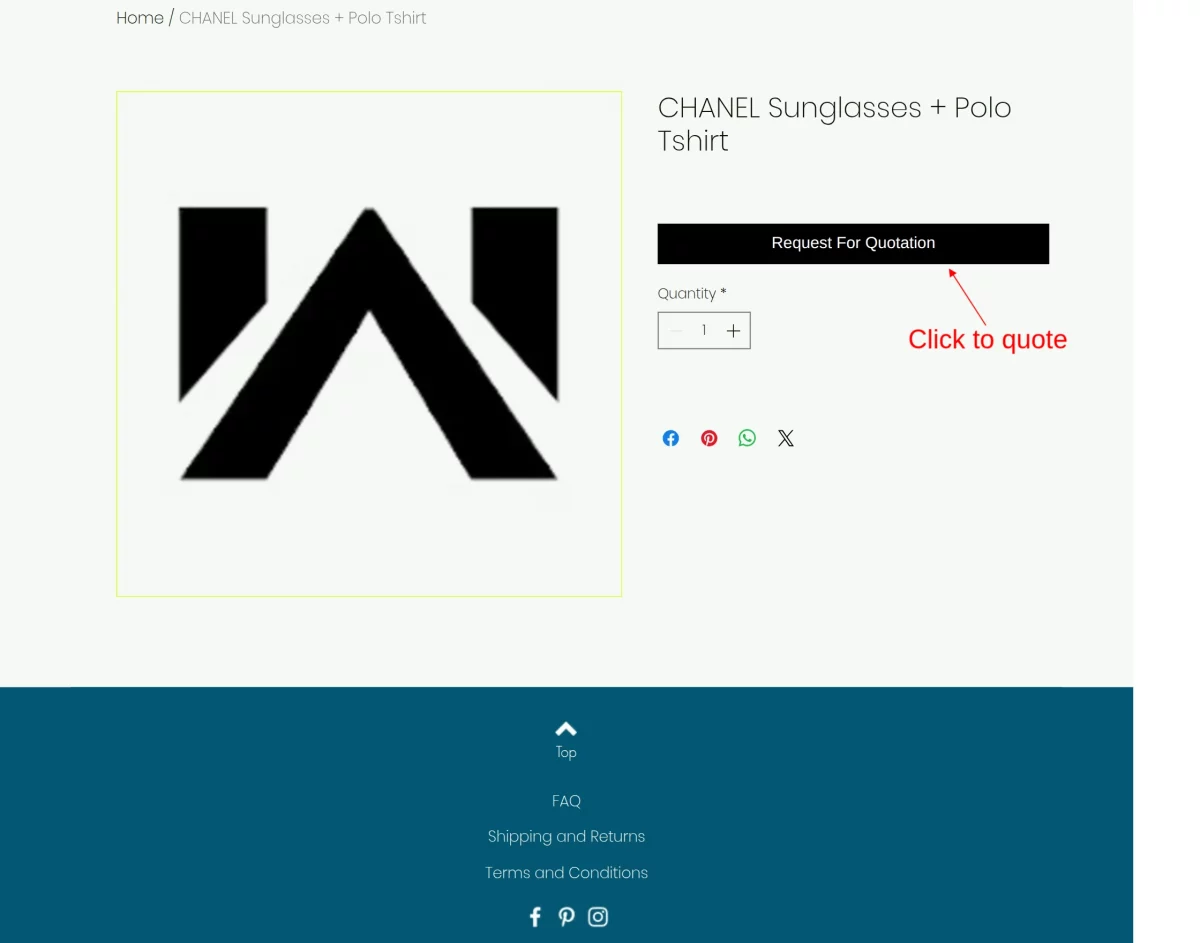
Here is the storefront view, along with a product listing with an RFQ label; i.e., a customer can apply for an RFQ on those products.

Please note: Only registered customers can apply for an RFQ.
Now a form view will open where a customer can add their “Ask Price,” and its corresponding quantity.
Here, “Ask Price” stands for the offered per-unit price by the customer for the requested quantity.
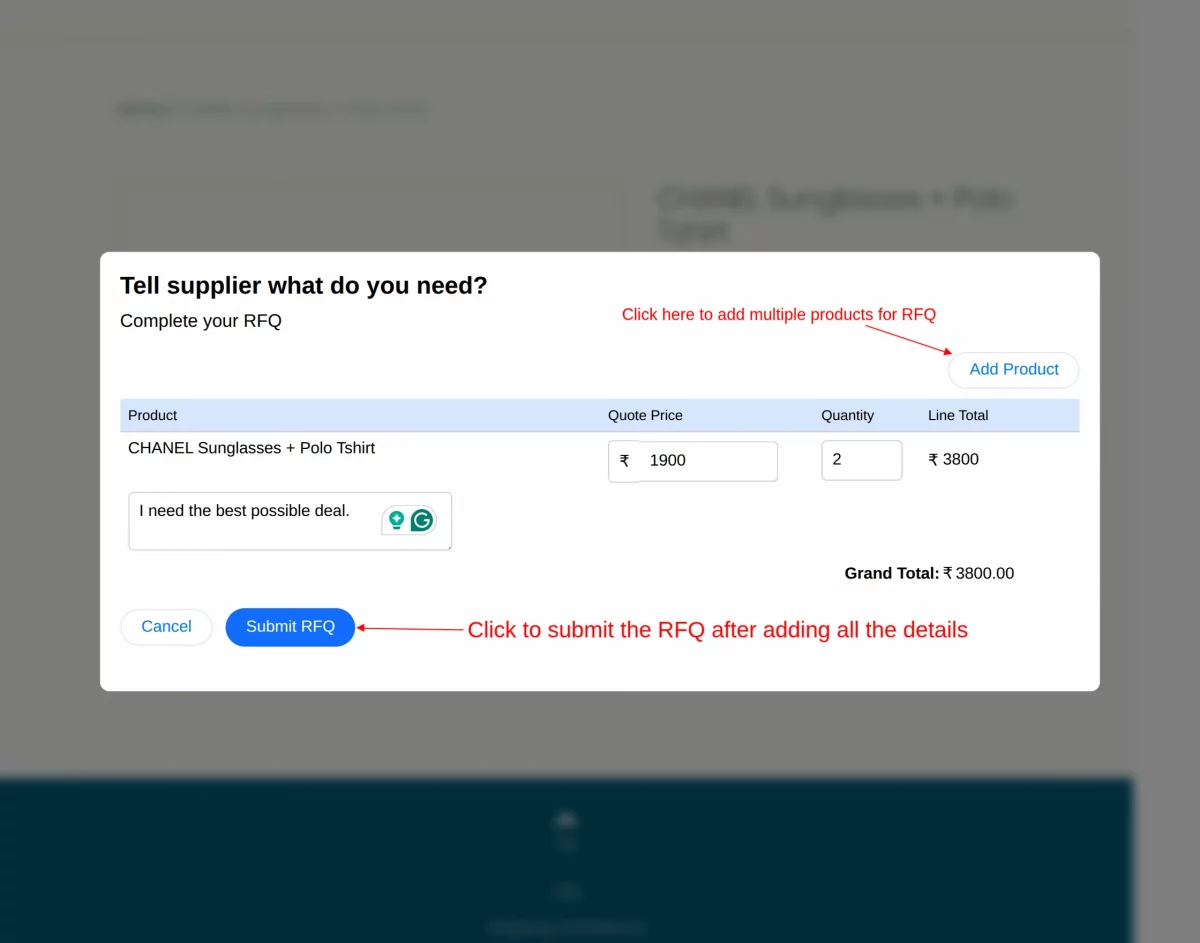
Note: Multiple products can be added in a single RFQ form.

After adding multiple products in the RFQ form, a customer can add “Ask Price” and respective quantities and submit the RFQ form.

Once a customer submits the RFQ form, a notification will display as a pop-up.

Store owner’s view ( Backend view)
The store owner can see stats for all RFQs on a single dashboard.

As a store owner, you will receive an email notification about a new RFQ submitted by a customer; then you have to click the “RFQ Products” menu.


Detail view
In this detail view of an RFQ request, now as a store owner you have 3 options, i.e., “Accept”,” Requote,” and “Decline”
Note: Store owner can perform only one action at a time, and that action can’t be revoked.


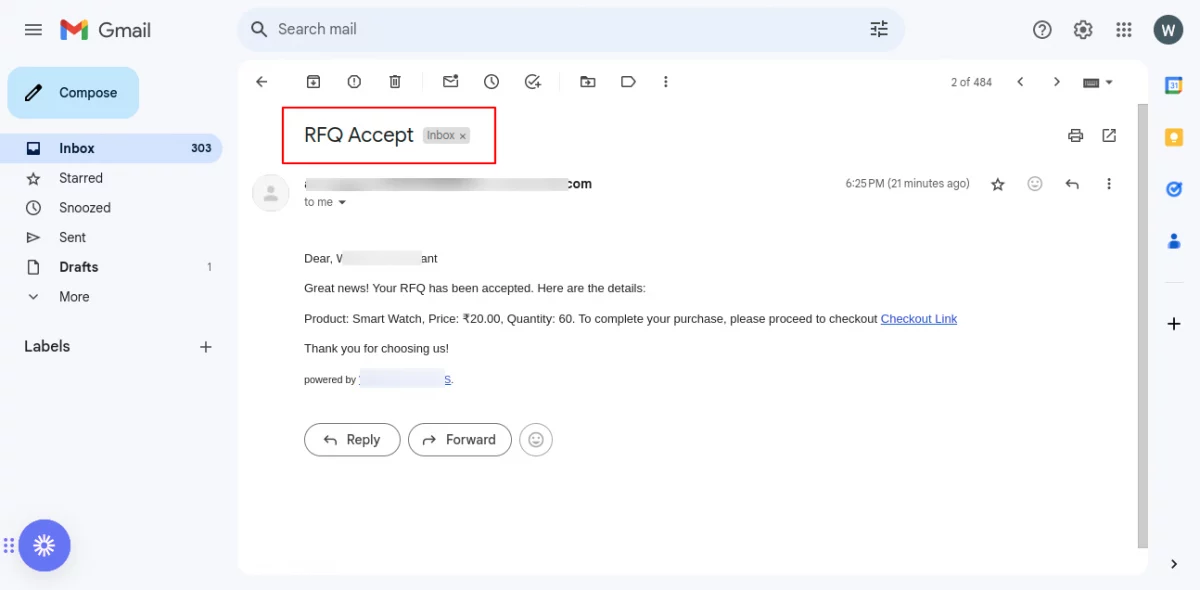
IF you want to accept the RFQ request, then click on the “Accept” button. Then you will see the RFQ status changes from active to completed.
An email notification will trigger to the respective customer to proceed to checkout.


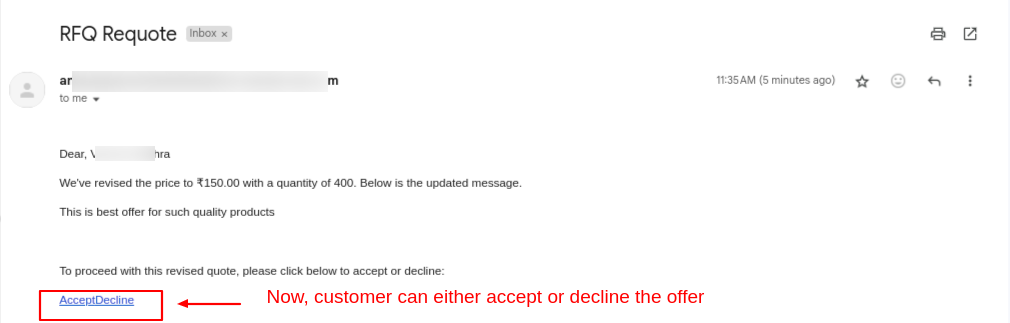
IF you want to negotiate the rates with a customer, then go with “Requote” :
Click on the “Requote” button and enter your values in the form


Click on the “Requote” button and enter your values in the form

WEBKUL SUPPORT
I hope this blog will help you to understand the complete process involved in the RFQ for Wix. If you have any queries, please generate a ticket at https://webkul.uvdesk.com