User Guide For CS-Cart Seller Invoice
Check a brief overview of the add-on –
Features
- Well integrated with CS-Cart Multivendor.
- The functionality to upload, delete, and download the invoice is available to admin and vendor of related products.
- A separate tab has been provided to manage the functionality of “Seller Invoice” at both ends.
- Functionality for downloading the invoice of corresponding orders for individual customers is available.
- A separate tab listing of “Seller Invoice” in the order detail page is available at the customer end.
- Admin can choose which file types are allowed (PNG, JPG, JPEG, DOC, PDF).
- Admin can set the maximum file size for signature uploads.
- Easy to manage at both the Vendor and Admin ends.
Installation
After downloading the CS-Cart Seller Invoice, you will get a zip file and install.txt. Read the install.txt carefully and configure it accordingly.
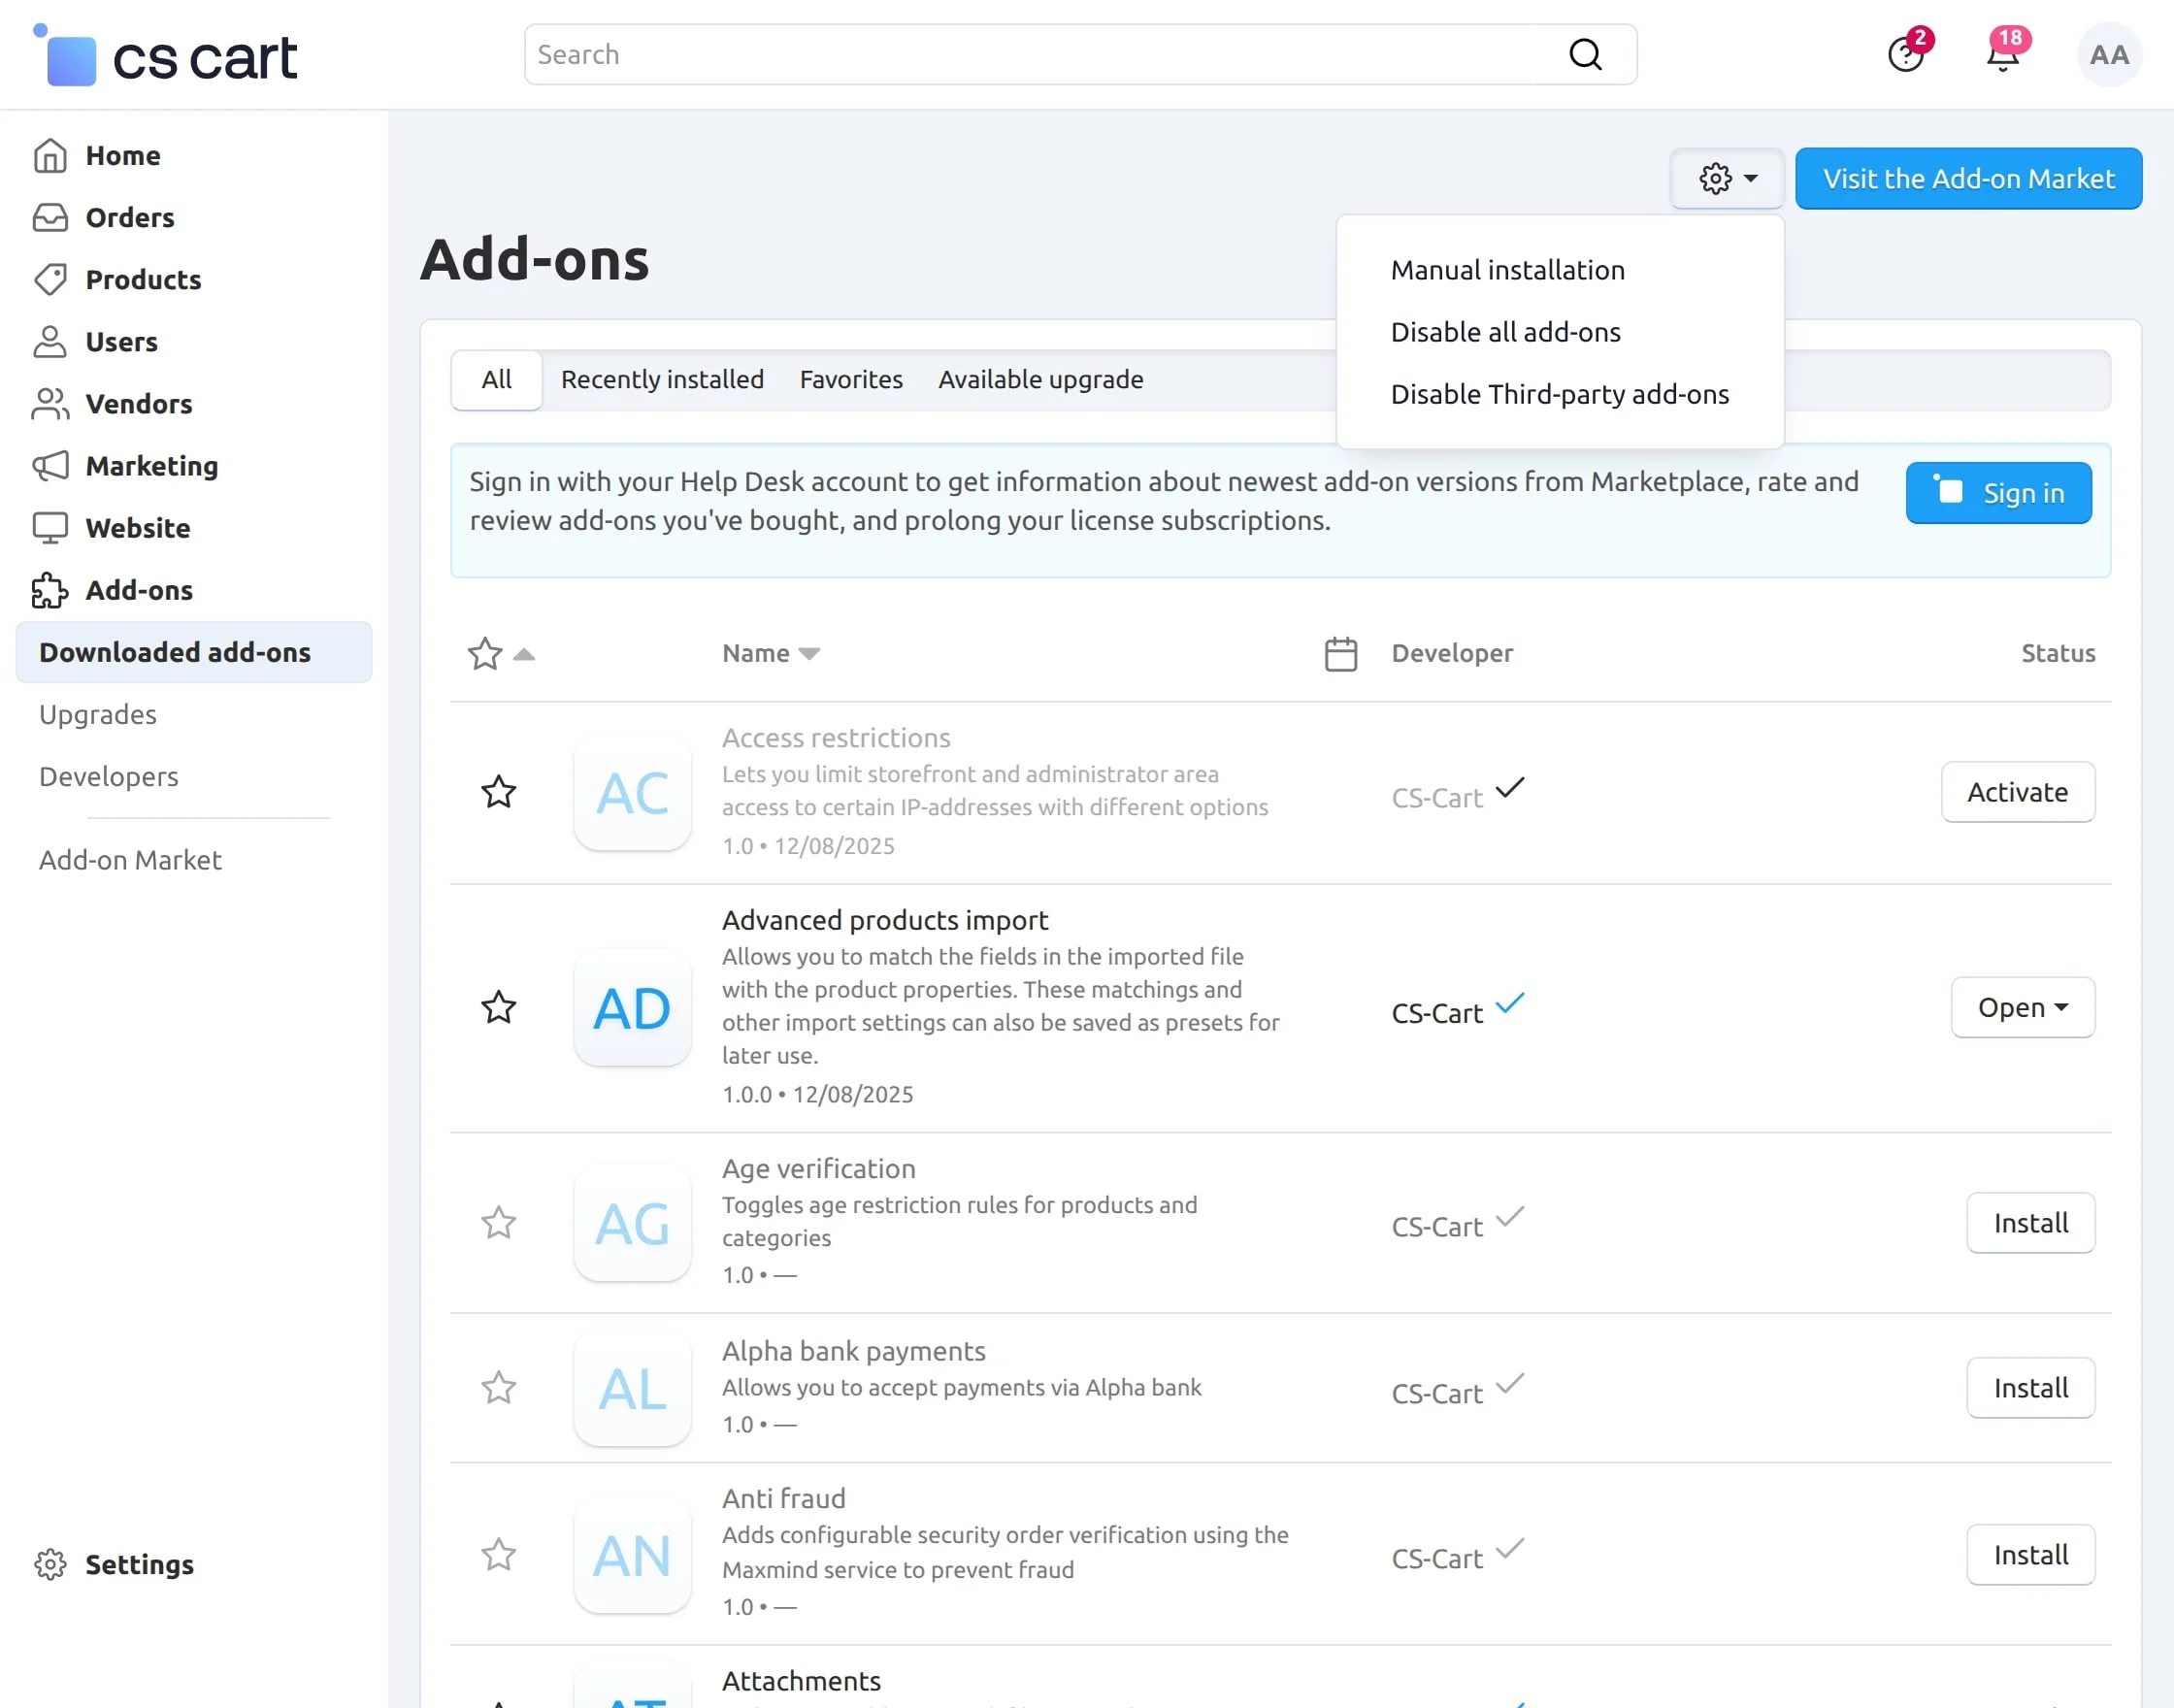
Navigate to Add-ons > Downloaded add-ons and click on the settings icon, from here you can manually install the zip file as shown below:
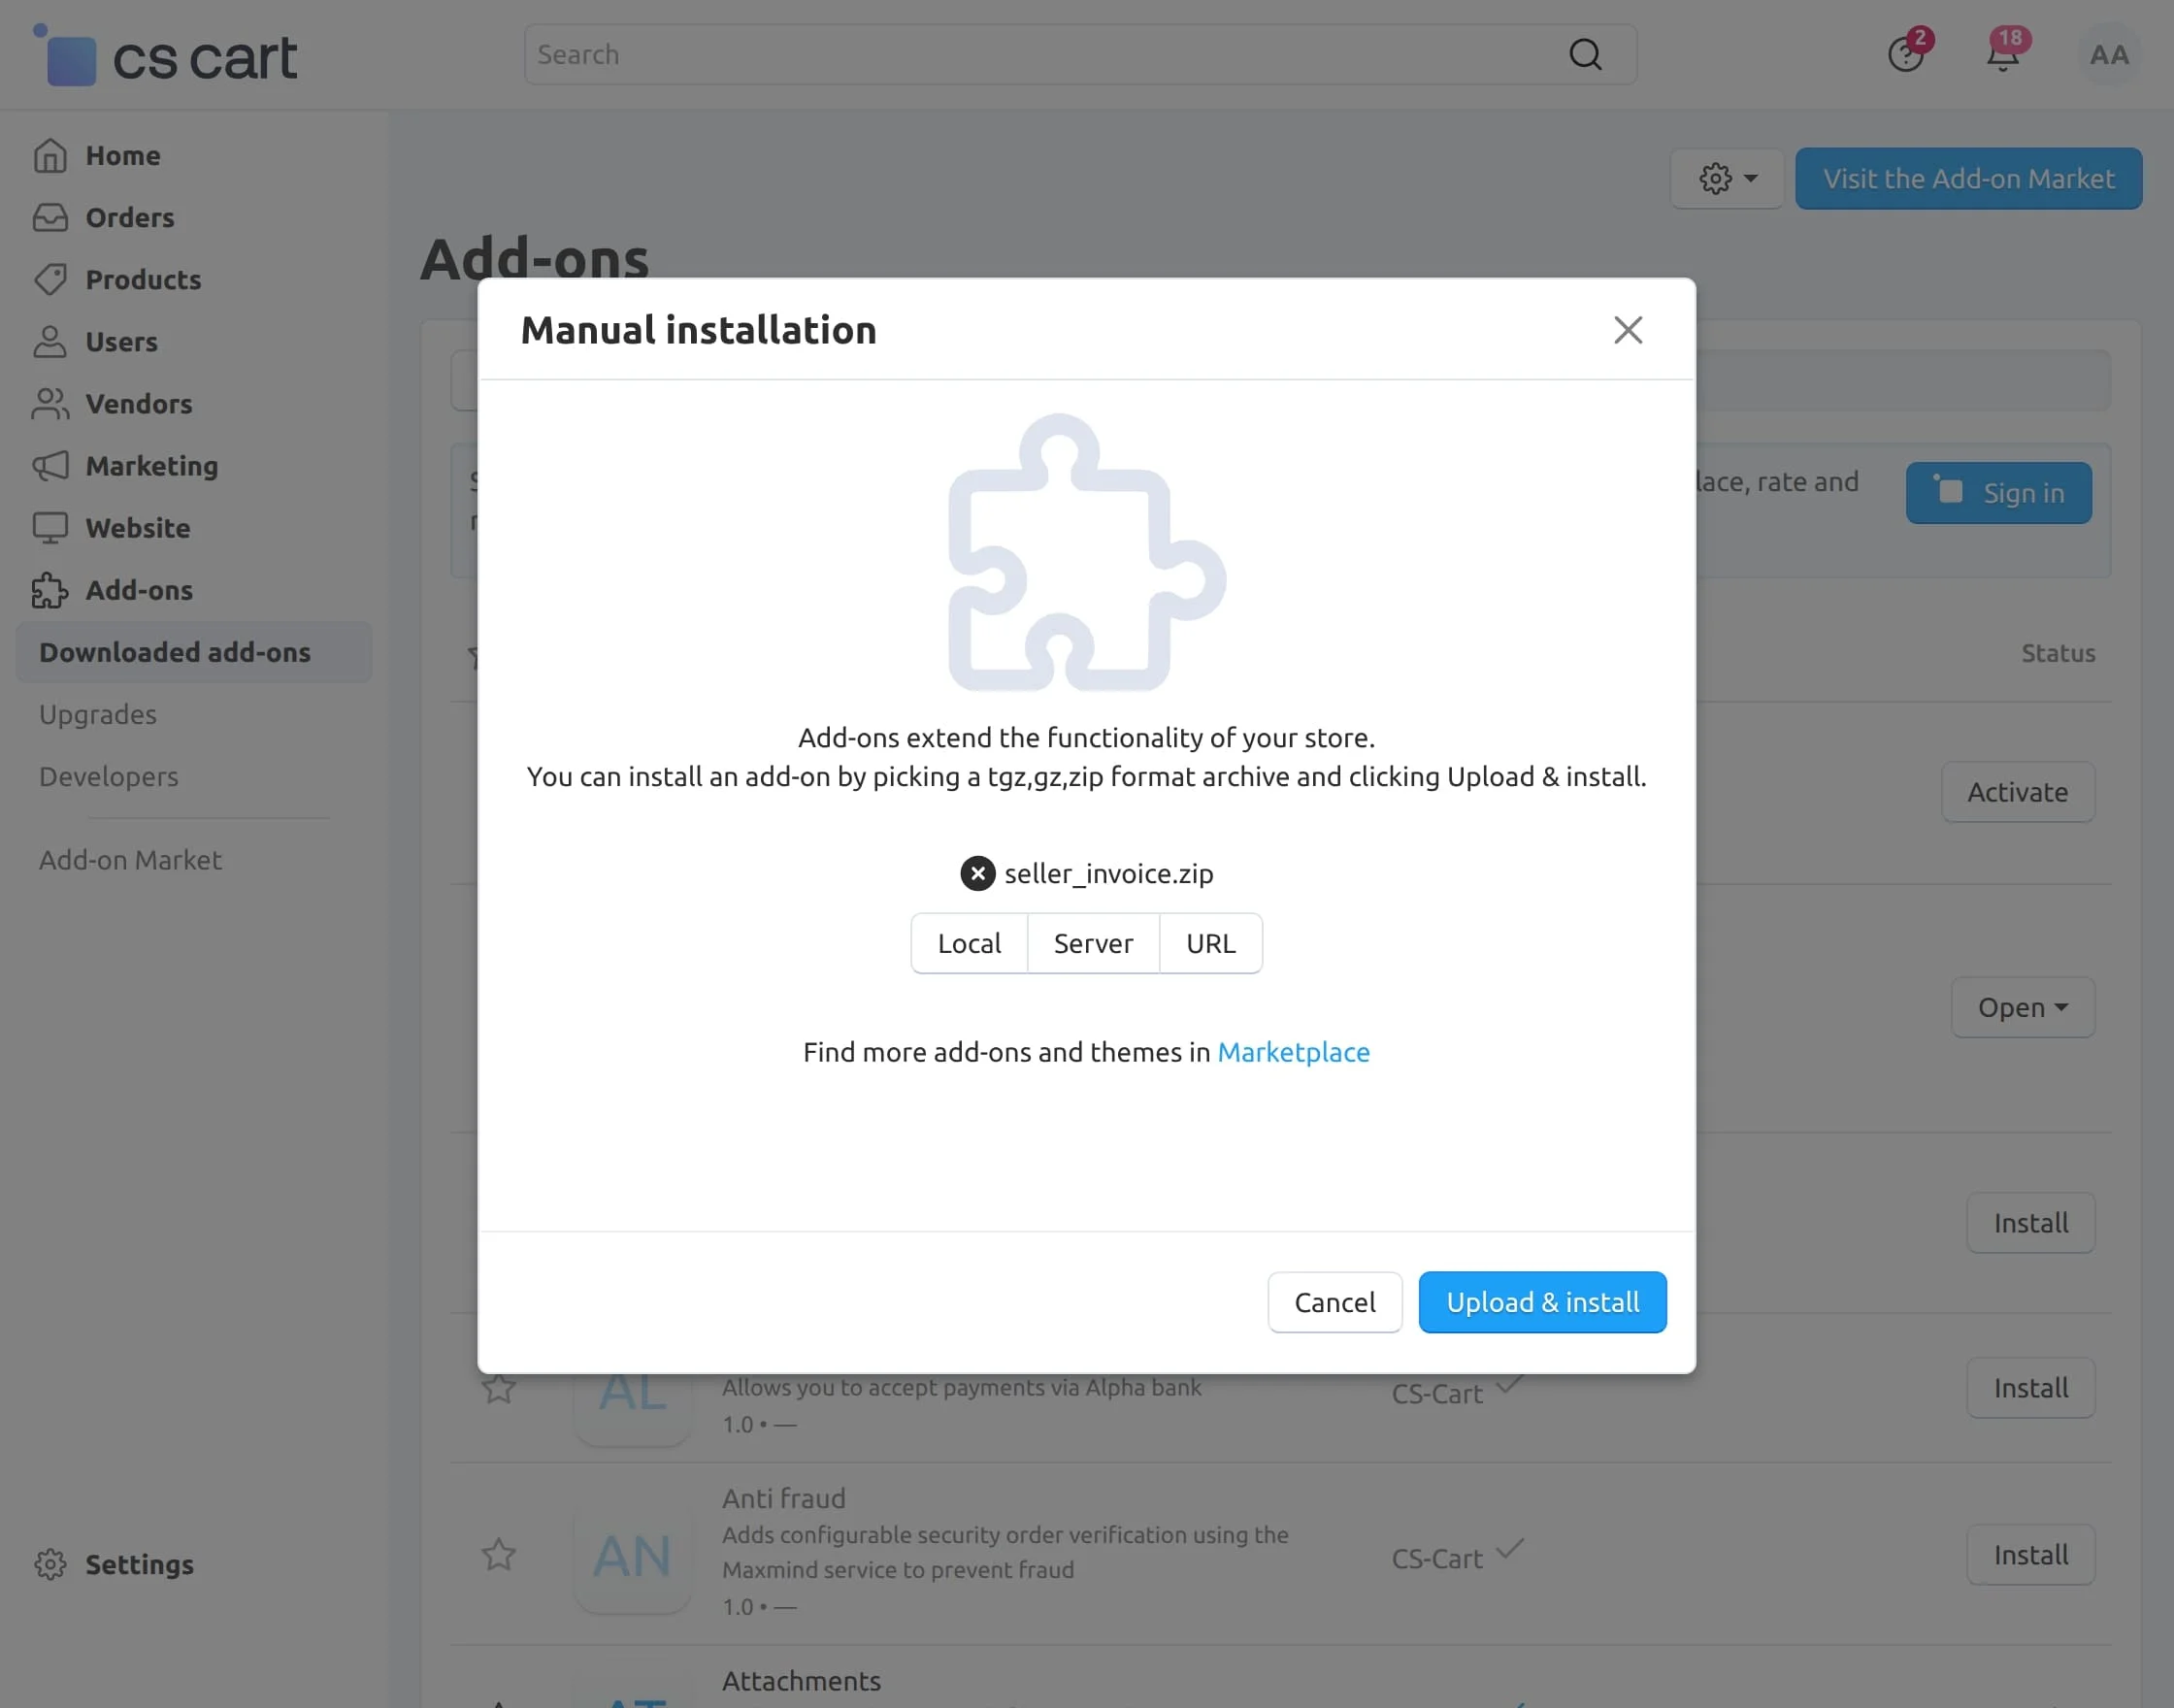
Click on “Local” to browse the zip file and then click on “Upload & Install” as shown below in the snapshot.

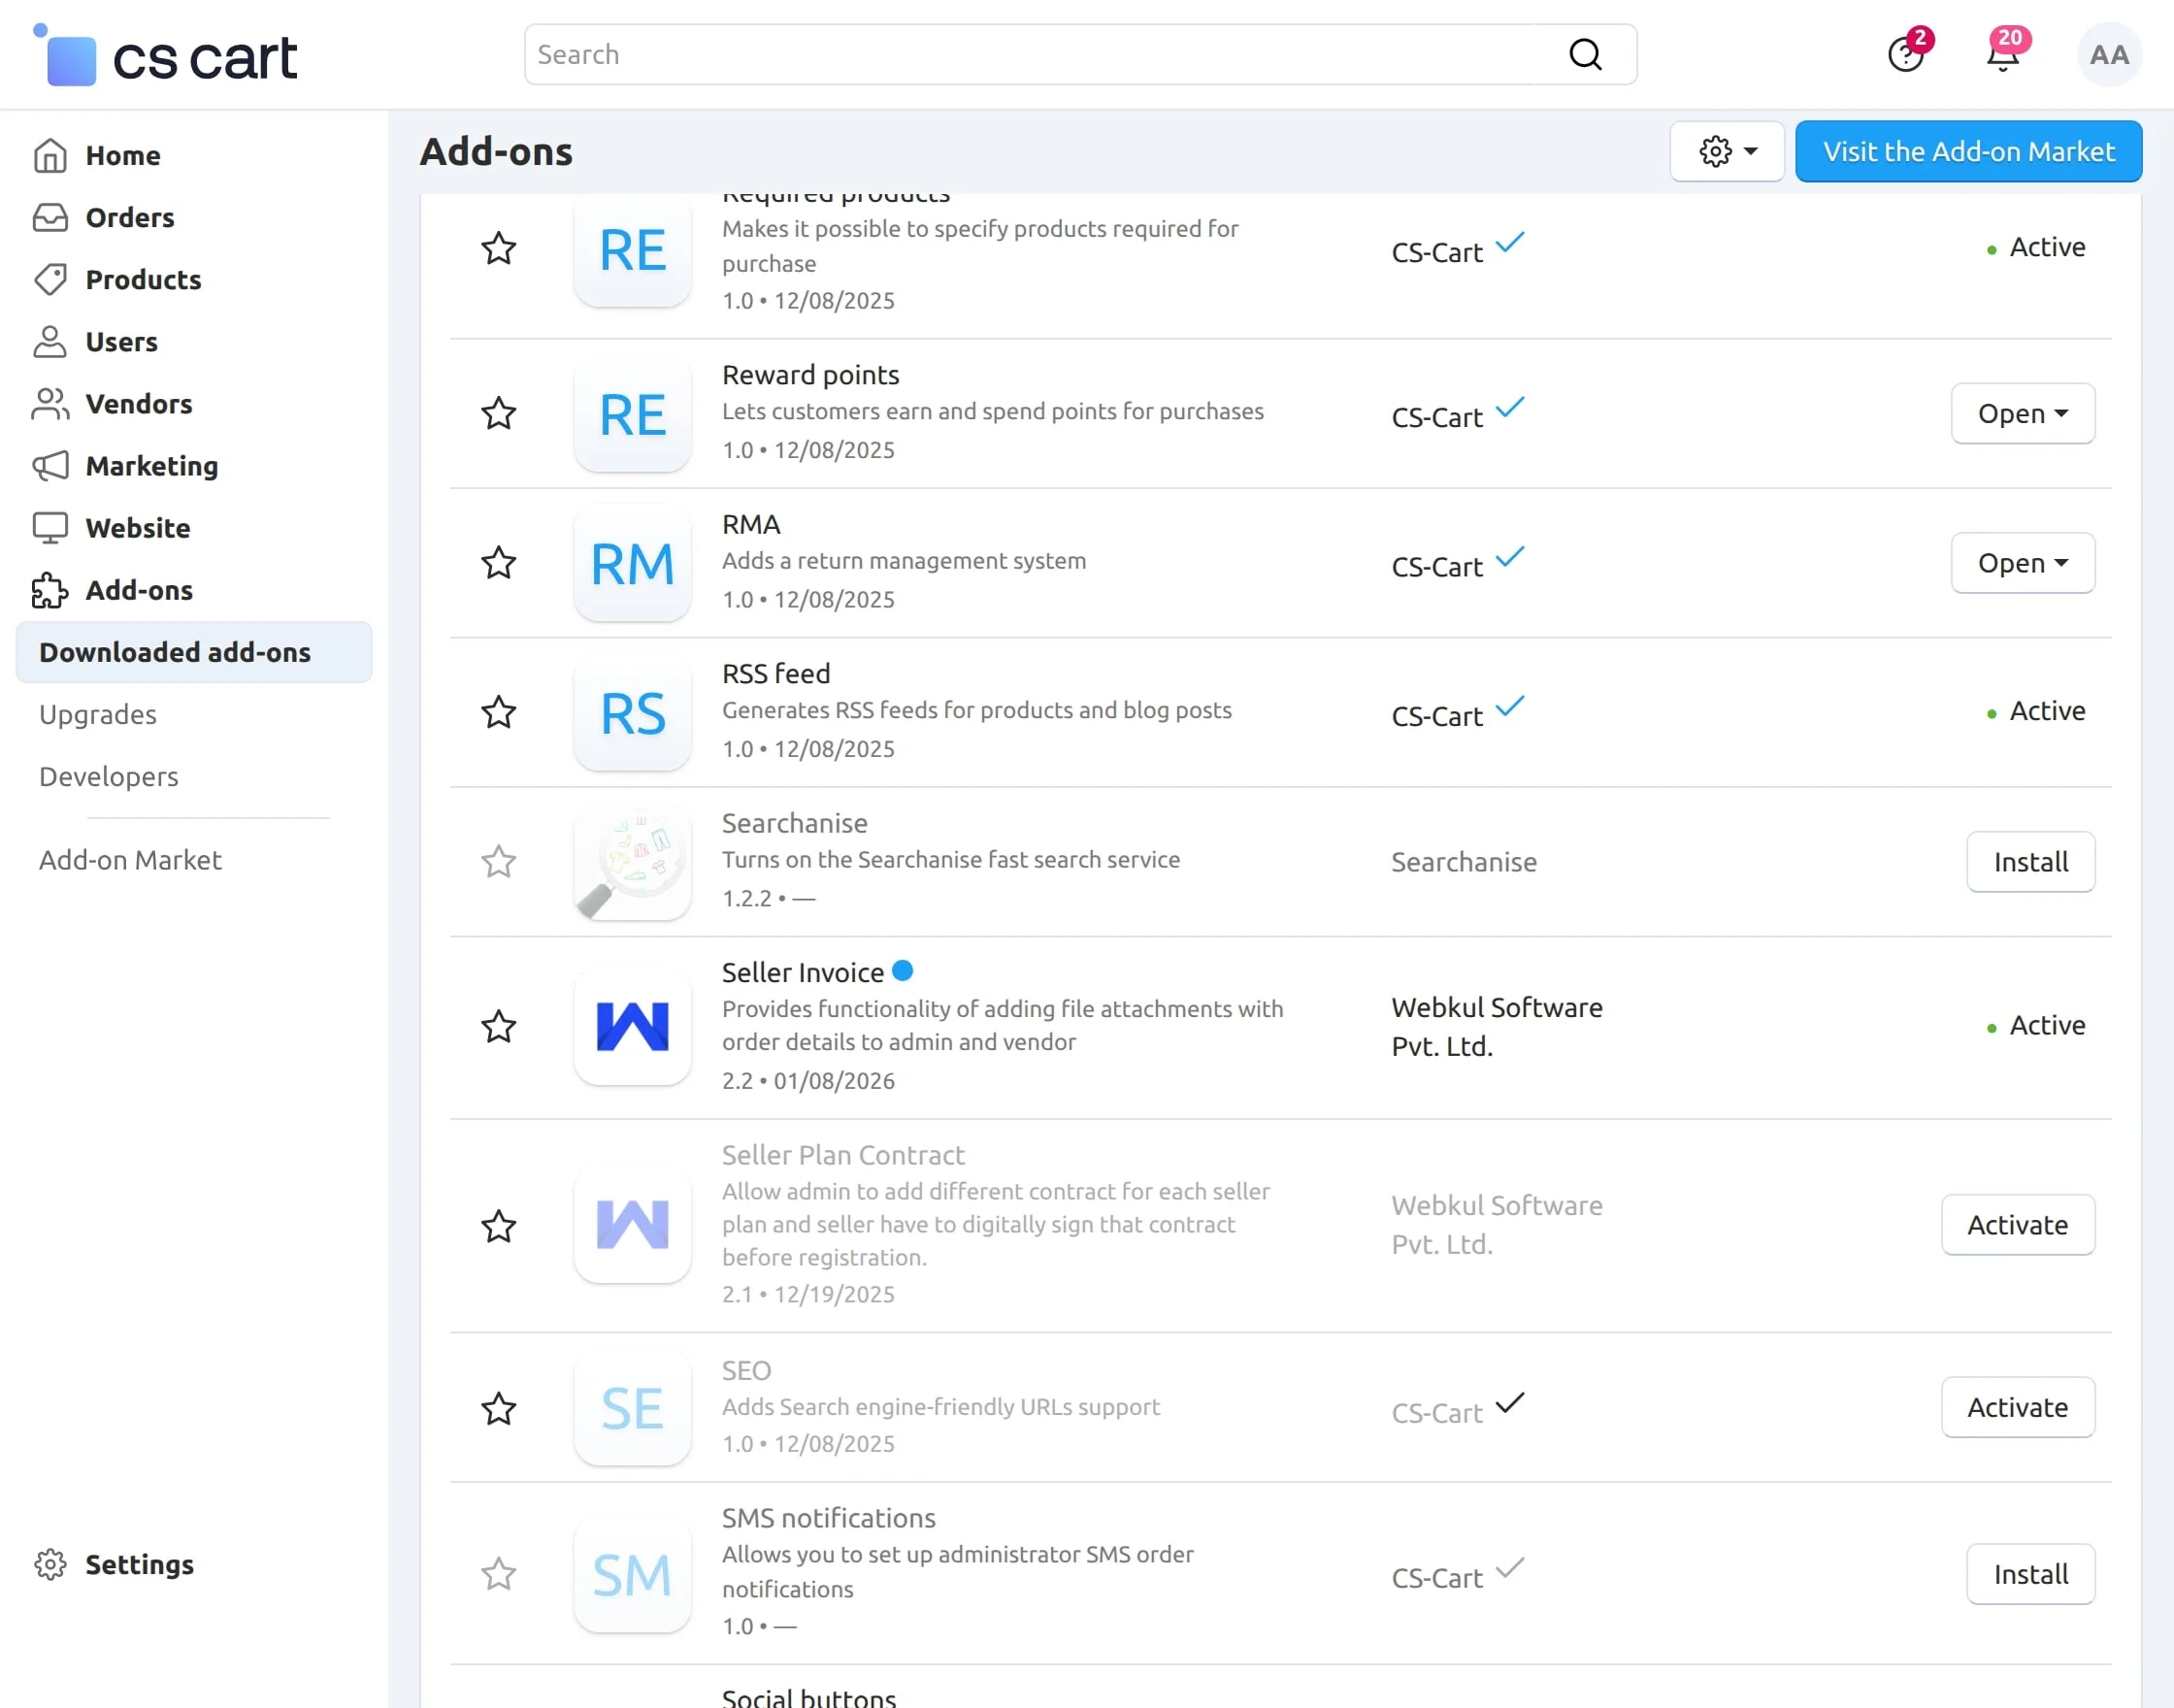
Activate Add-on
Once you install and activate the CS-Cart Seller Invoice add-on, you can begin configuring its settings.
CS-Cart Seller Invoice Addon – Admin Configuration
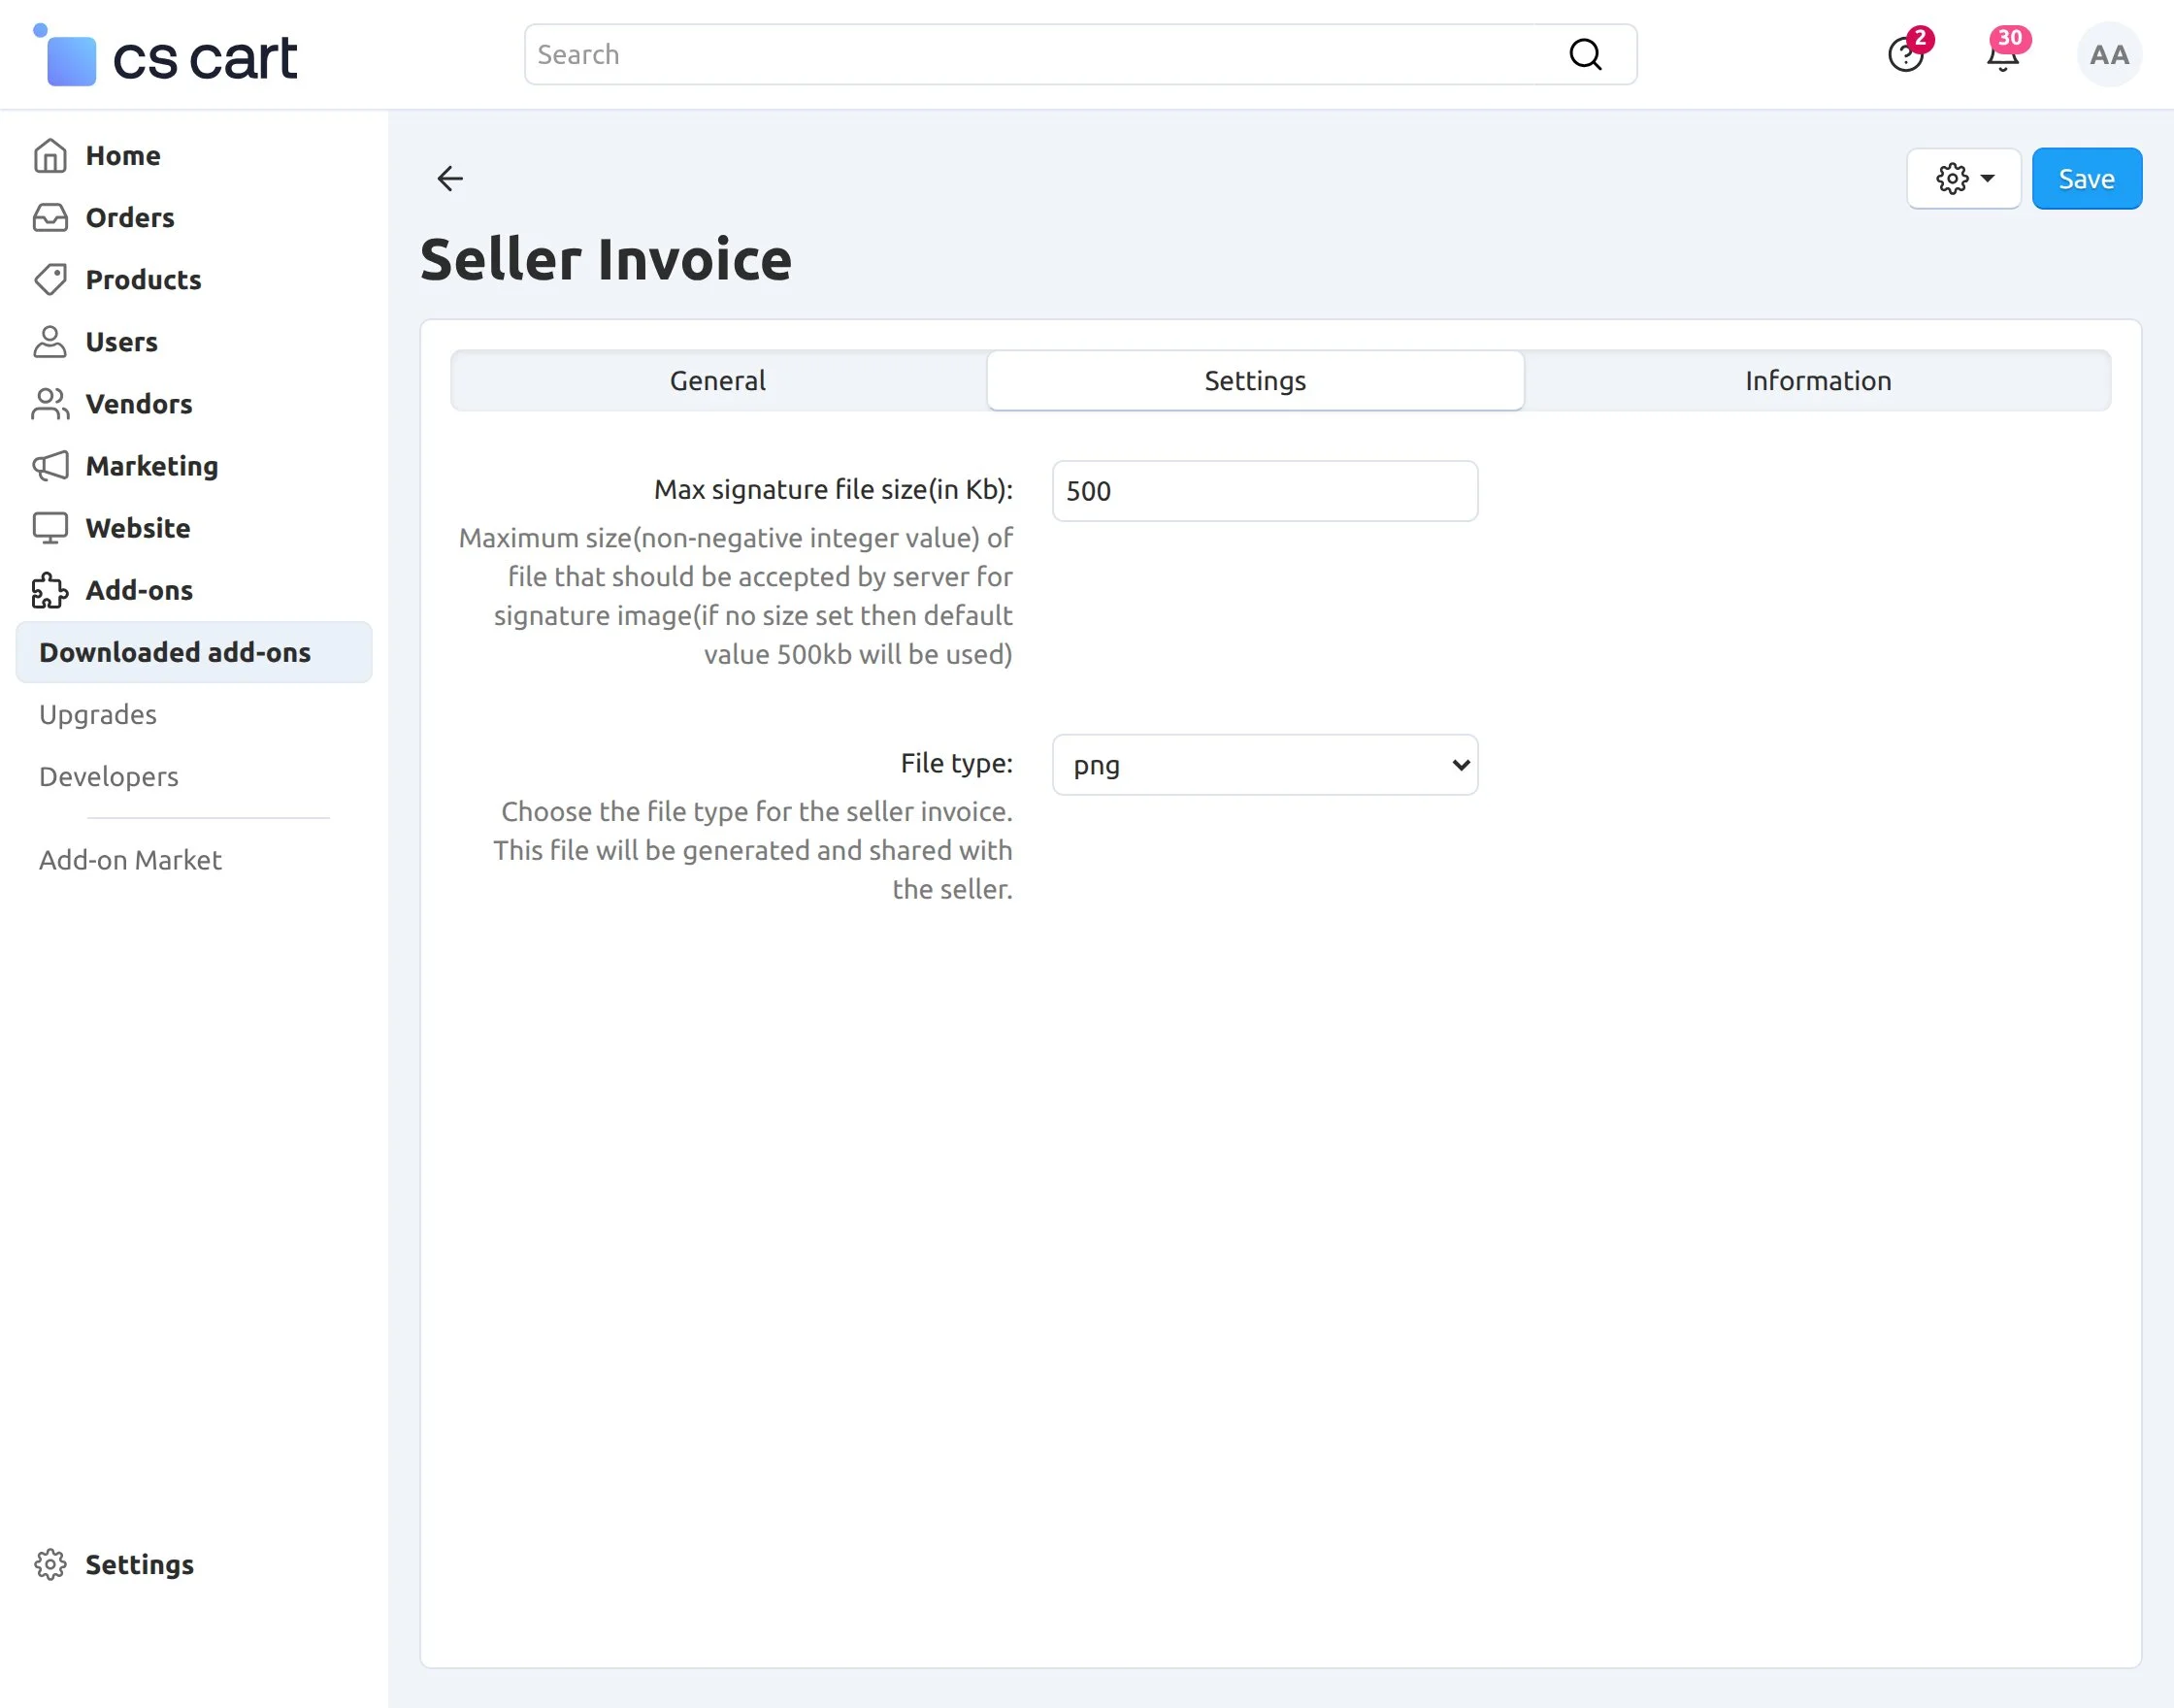
After installing the Seller Invoice addon, the admin can easily configure its settings from the backend.
Go to the Addons section, open the Seller Invoice addon, and navigate to the Settings tab.
Here, you can configure the following:
- Maximum Signature File Size (in KB):
Enter the allowed file size for the signature image. If left blank, the default value of 500 KB will be applied. Only non-negative integer values are accepted. - Allowed File Types:
Select the file formats that can be used for seller invoices, such as PNG, JPG, JPEG, DOC, and PDF.
Once all settings are configured, click on the Save button to apply the changes.
Back End View
Go to the Orders > Orders as shown below.
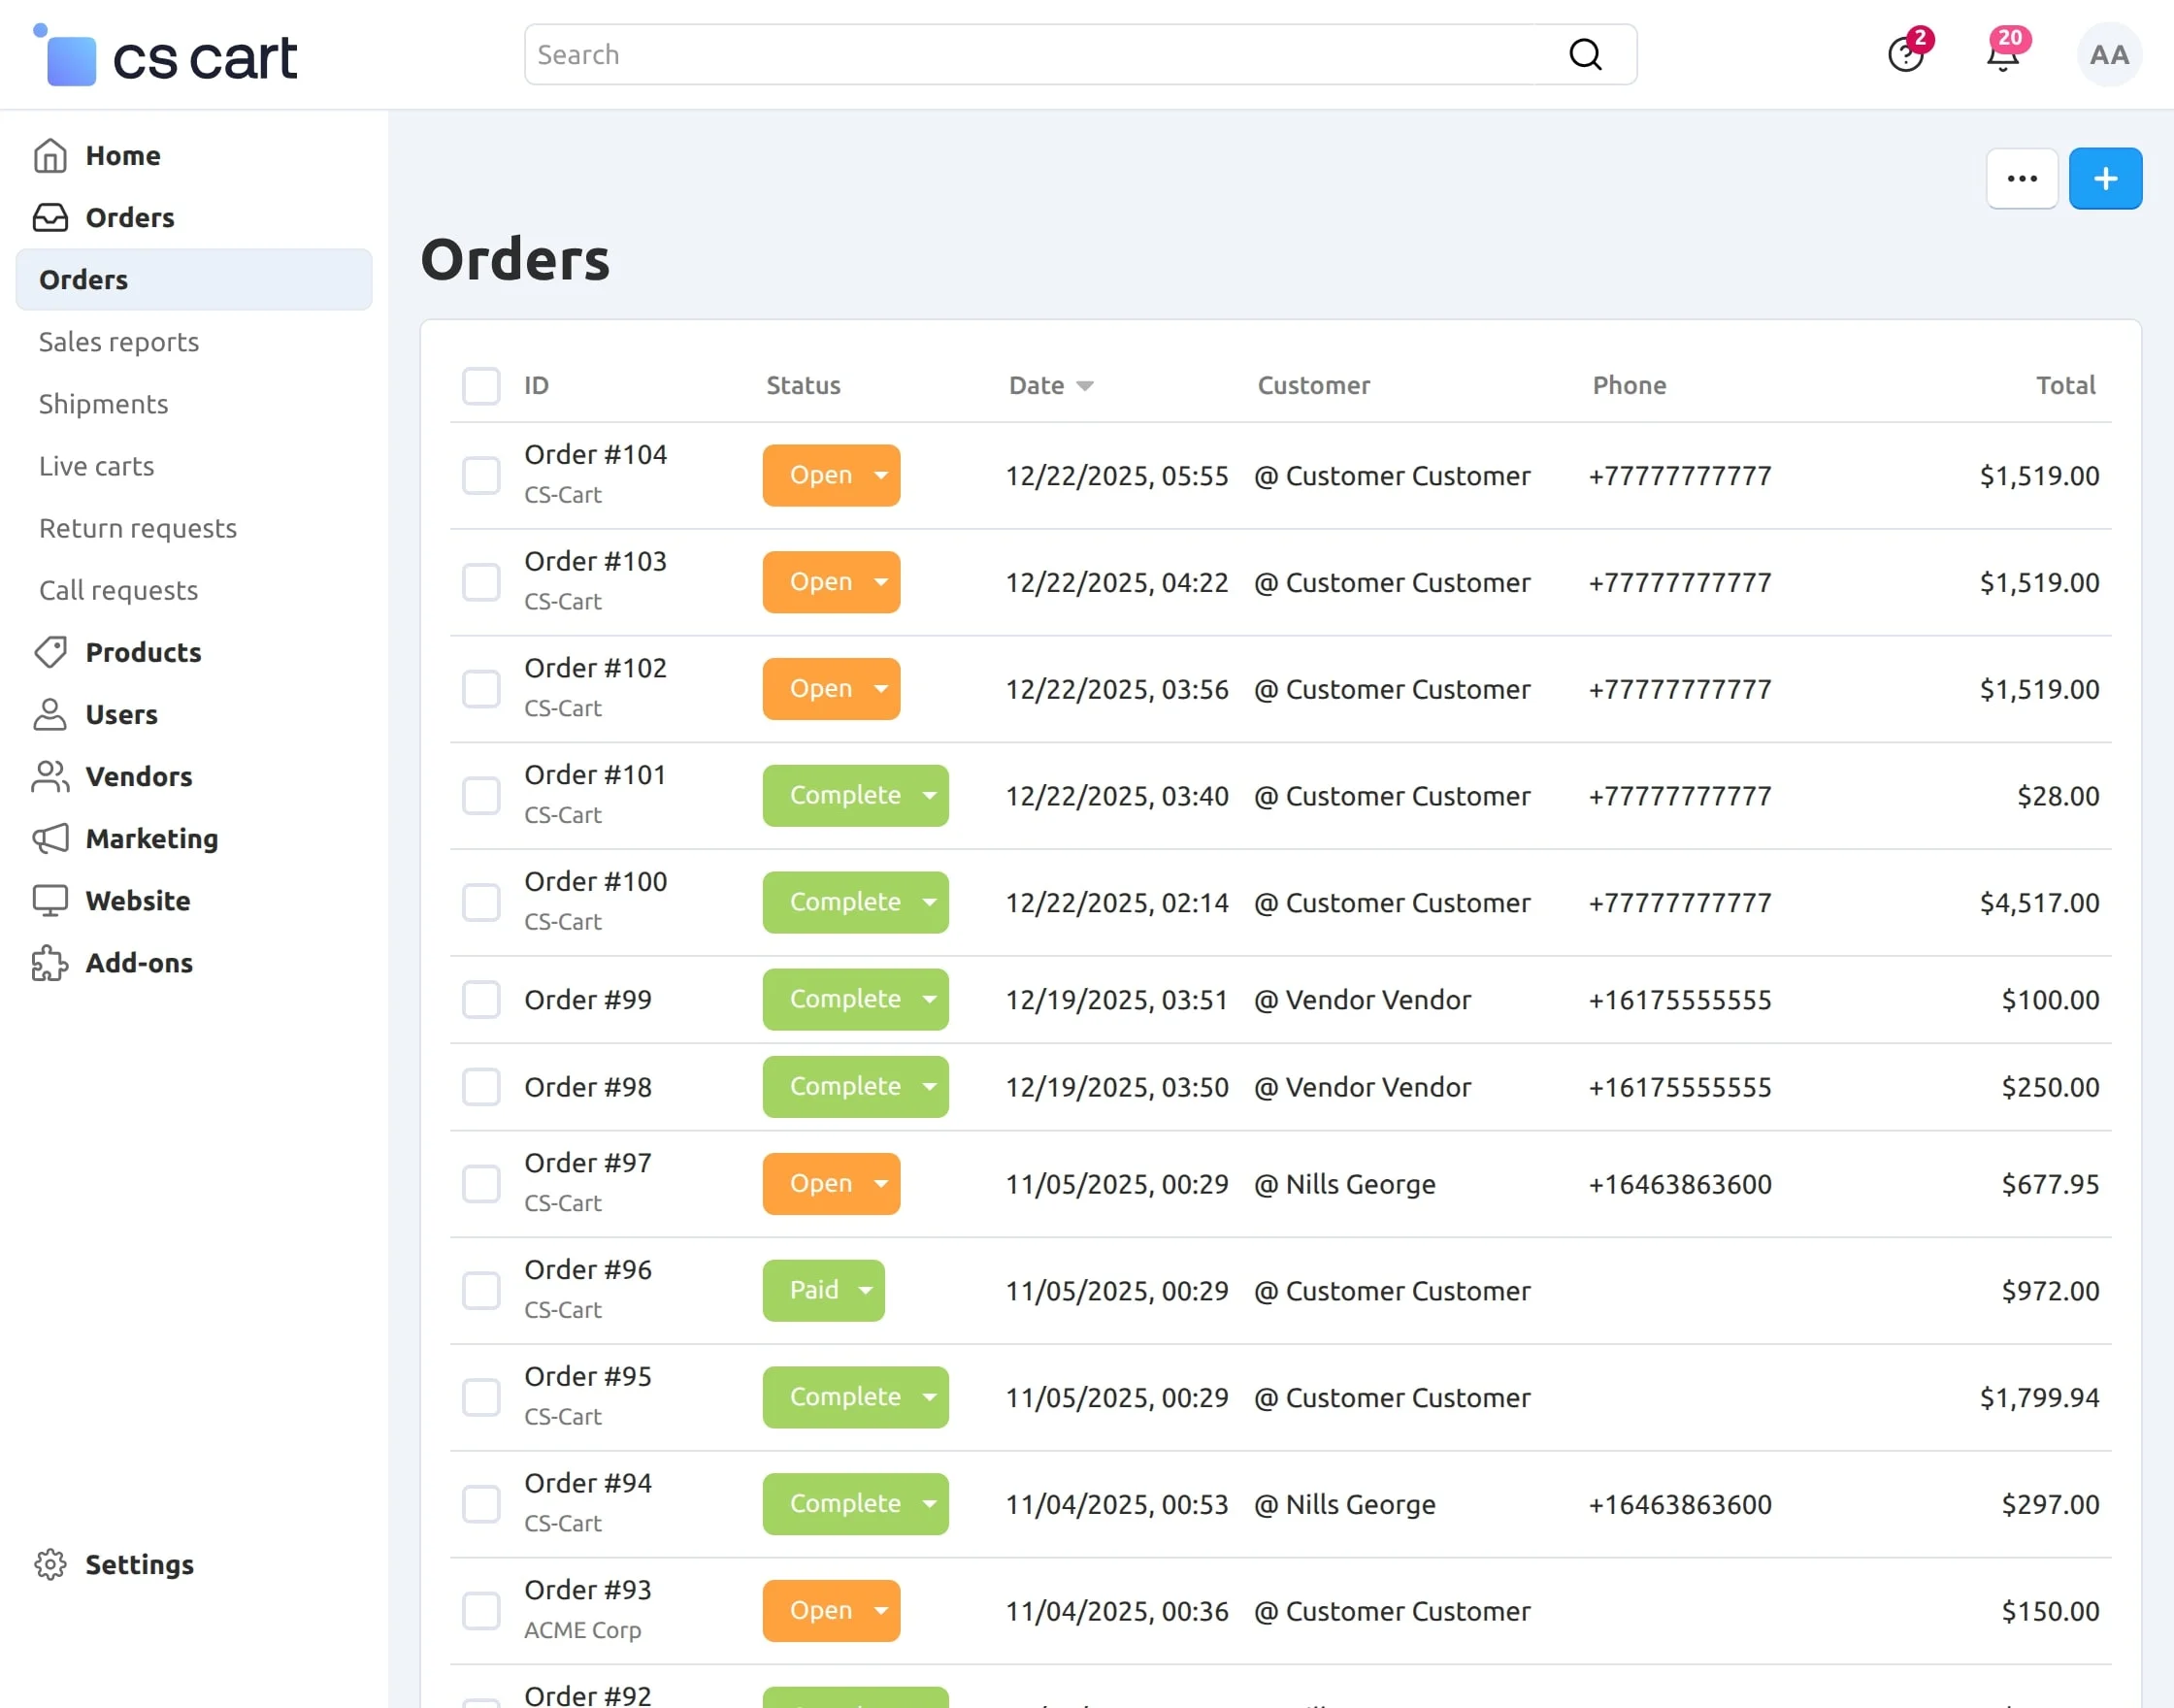
Click on “View” to open the details page of the order for uploading the invoice. Please refer to the screenshot below for the same.

Click on “Seller Invoice” as shown below in the snapshot.
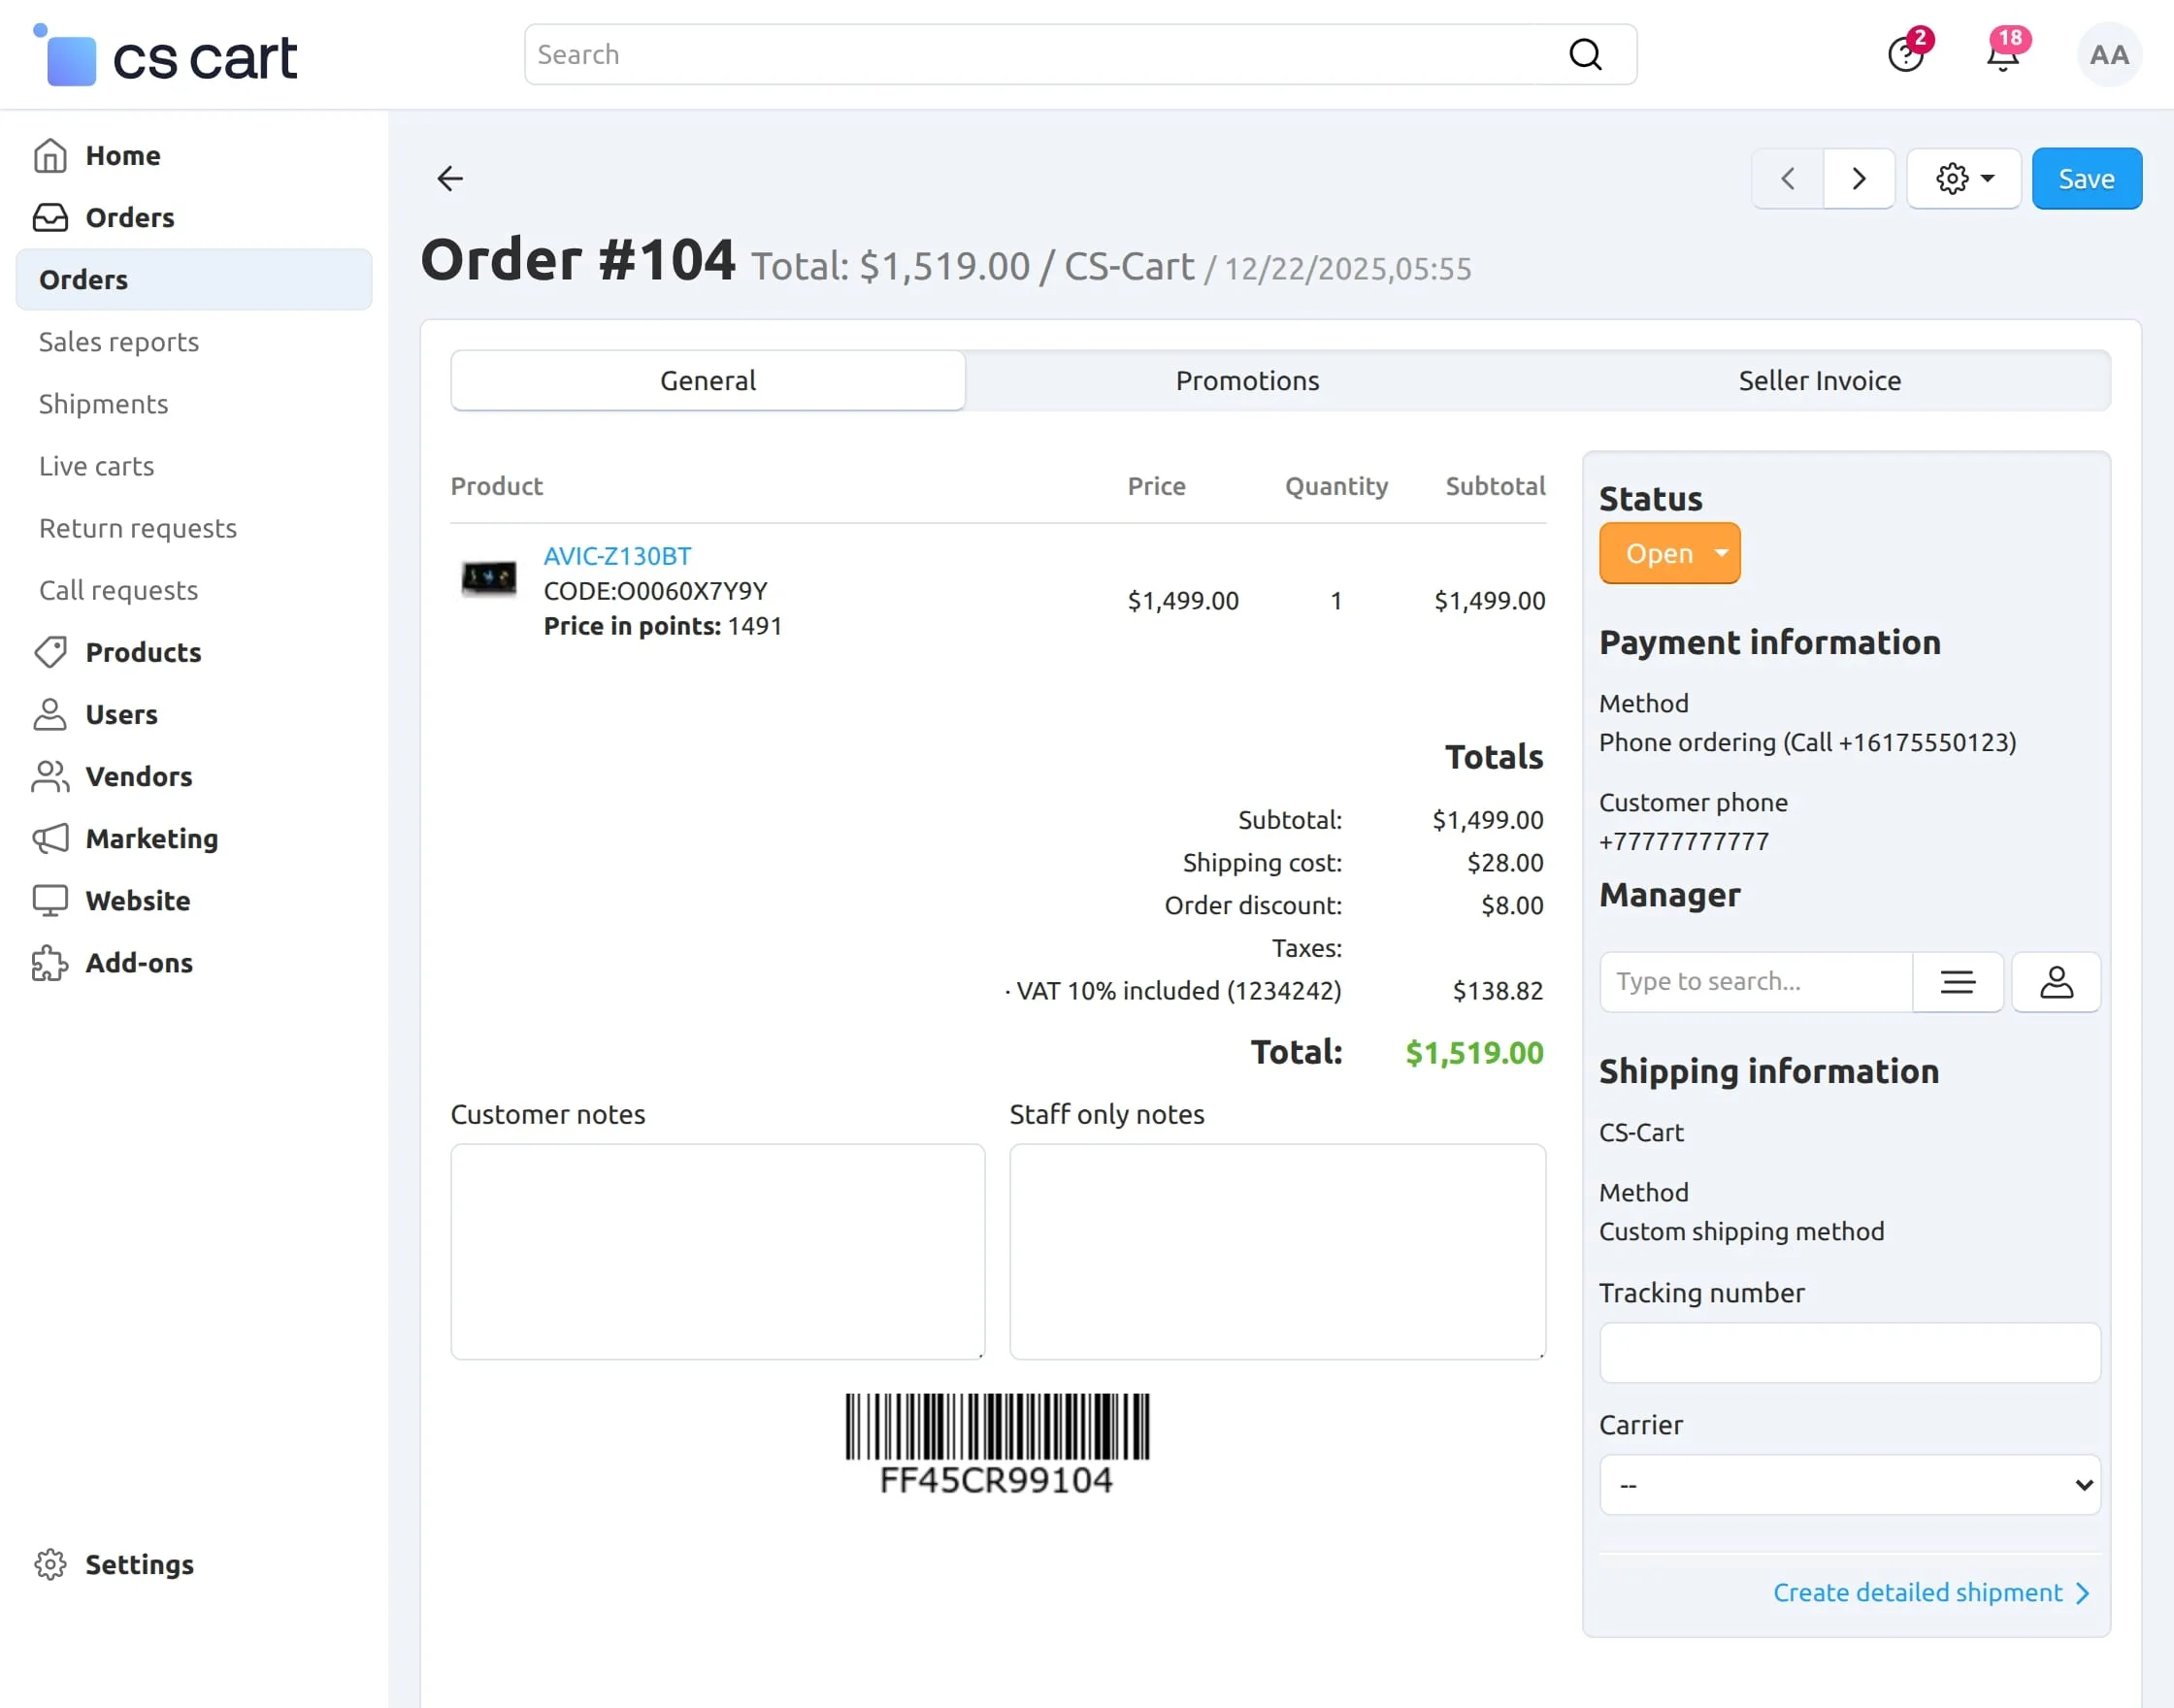
Both the admin and vendor can manage the invoices. To add and upload the invoice, click on “+ Add seller invoice” as shown in the snapshot.

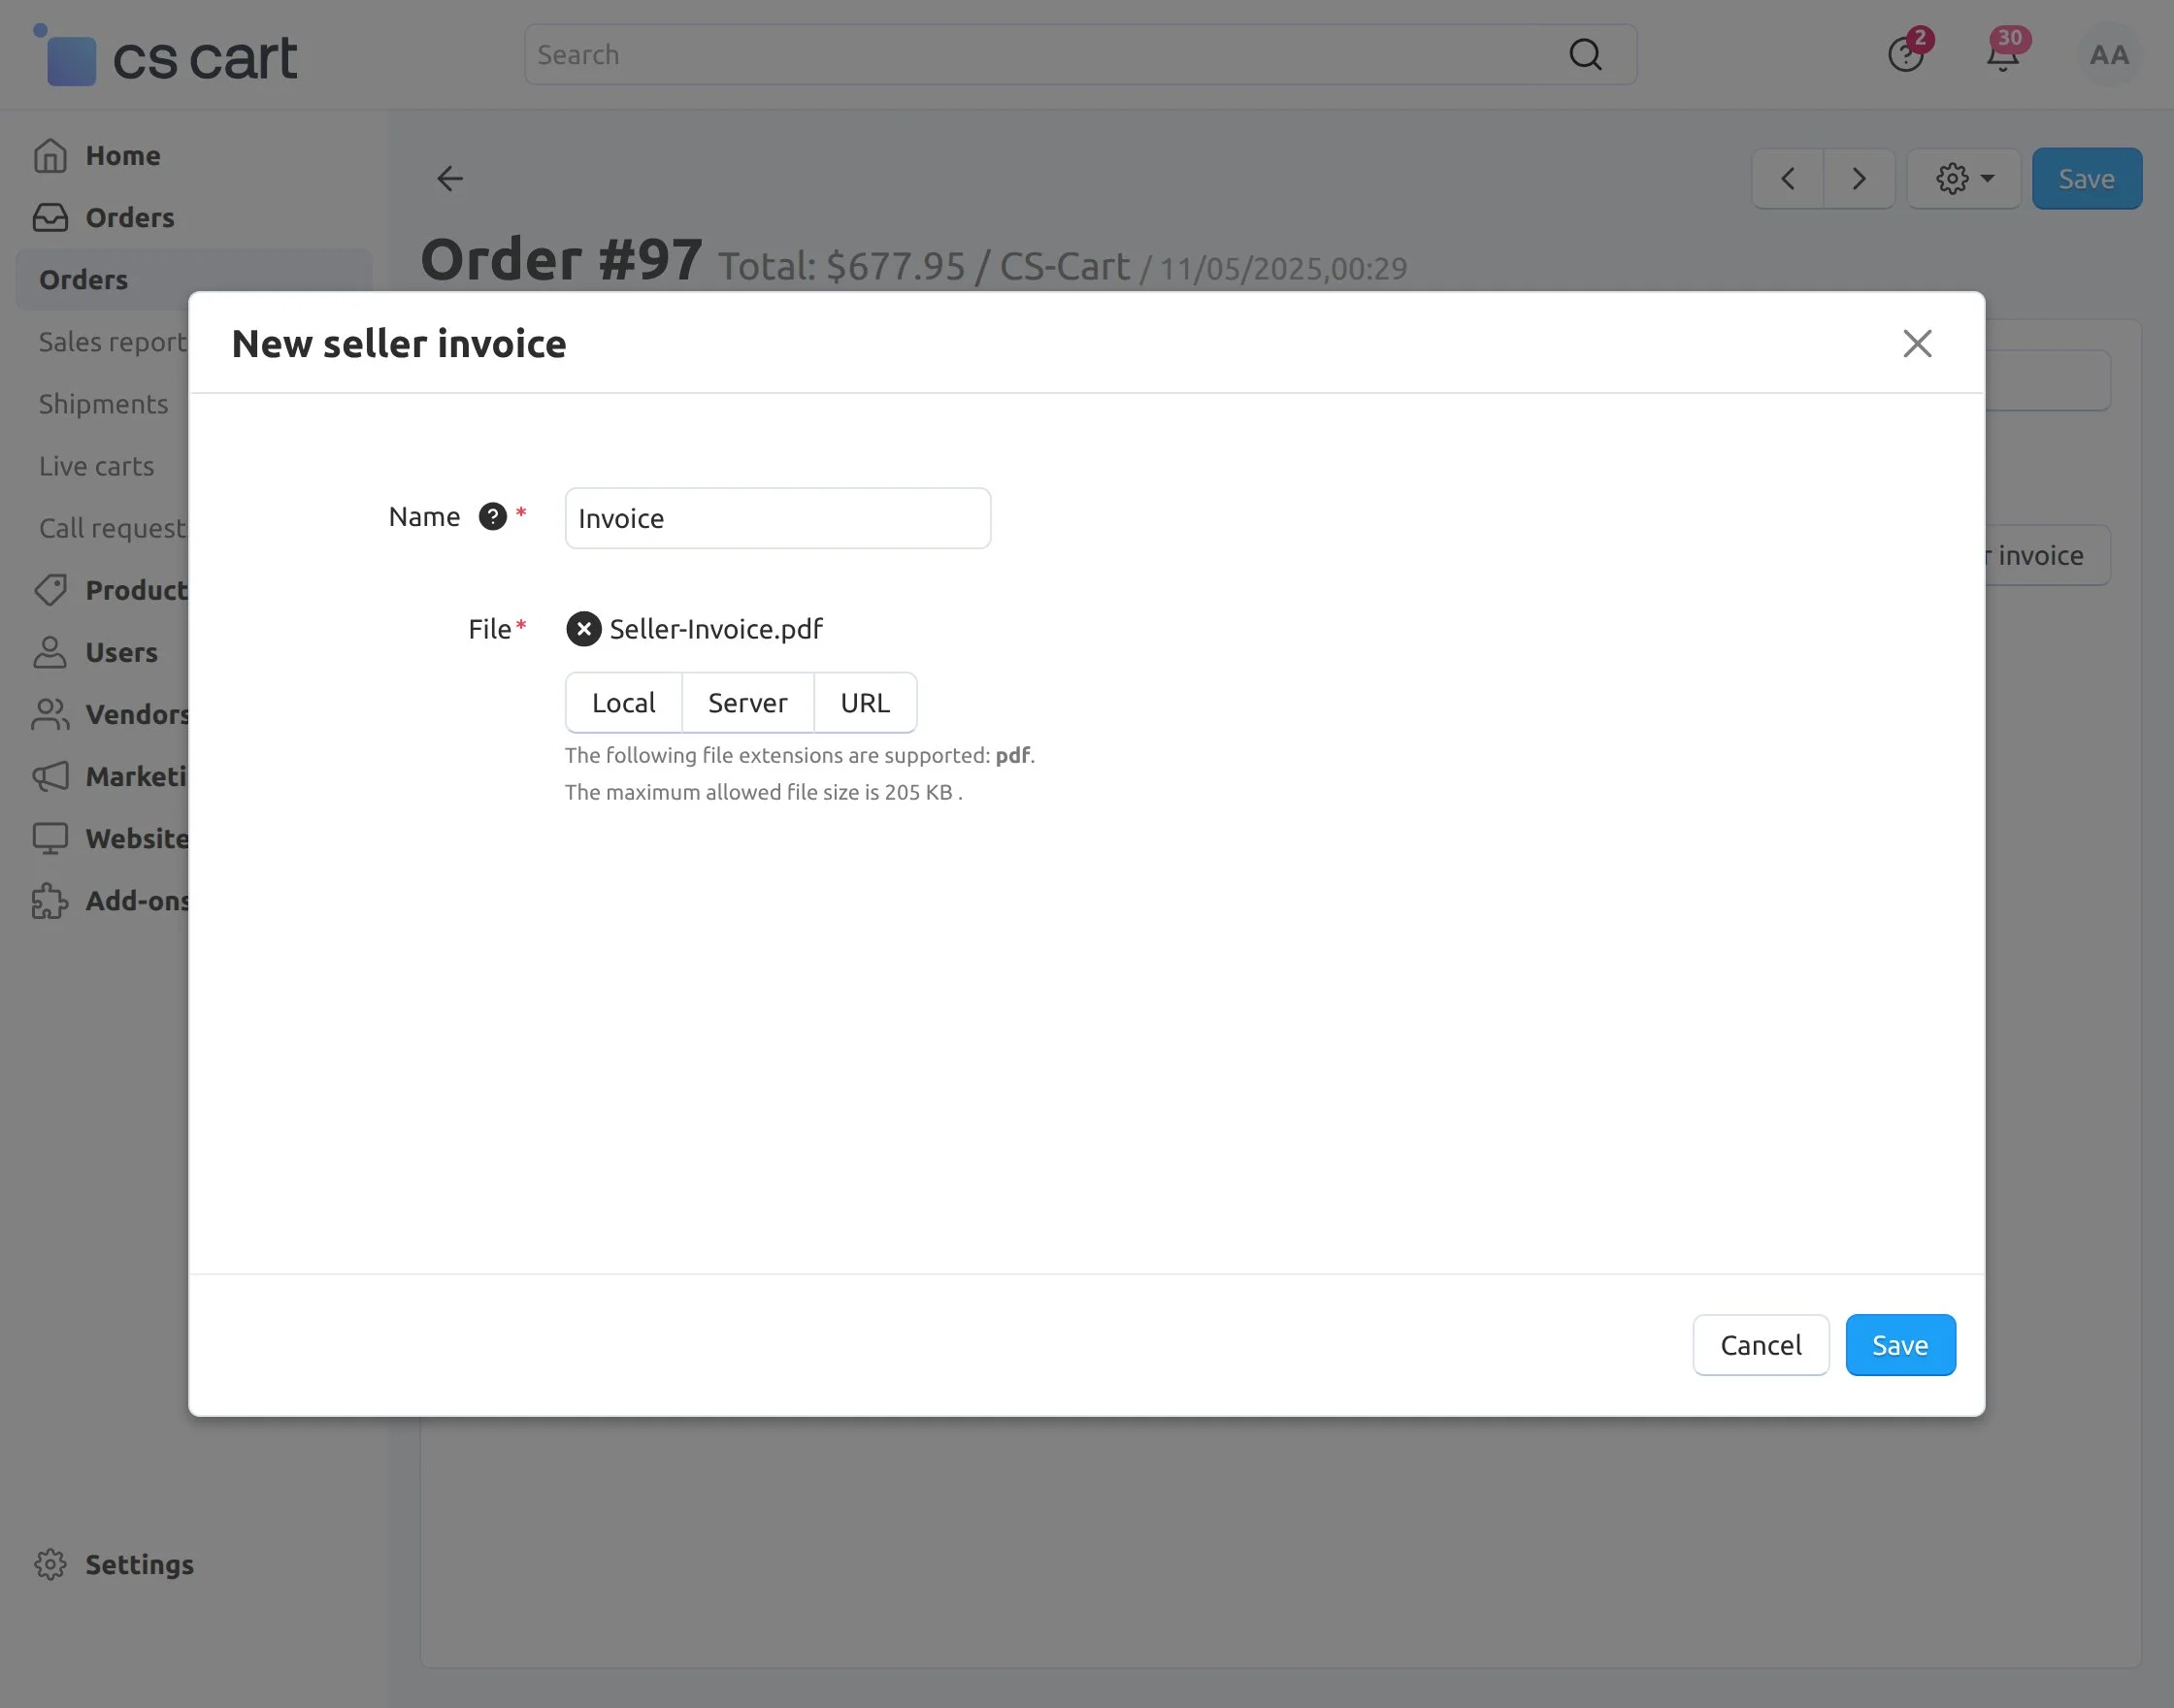
To upload the invoice :
- Enter the name of the invoice to be attached.
-
- Click on the “Save” button as shown below in the snapshot.
- Click on “Download” to download the invoice.
- Click on “Delete” to delete the invoice.

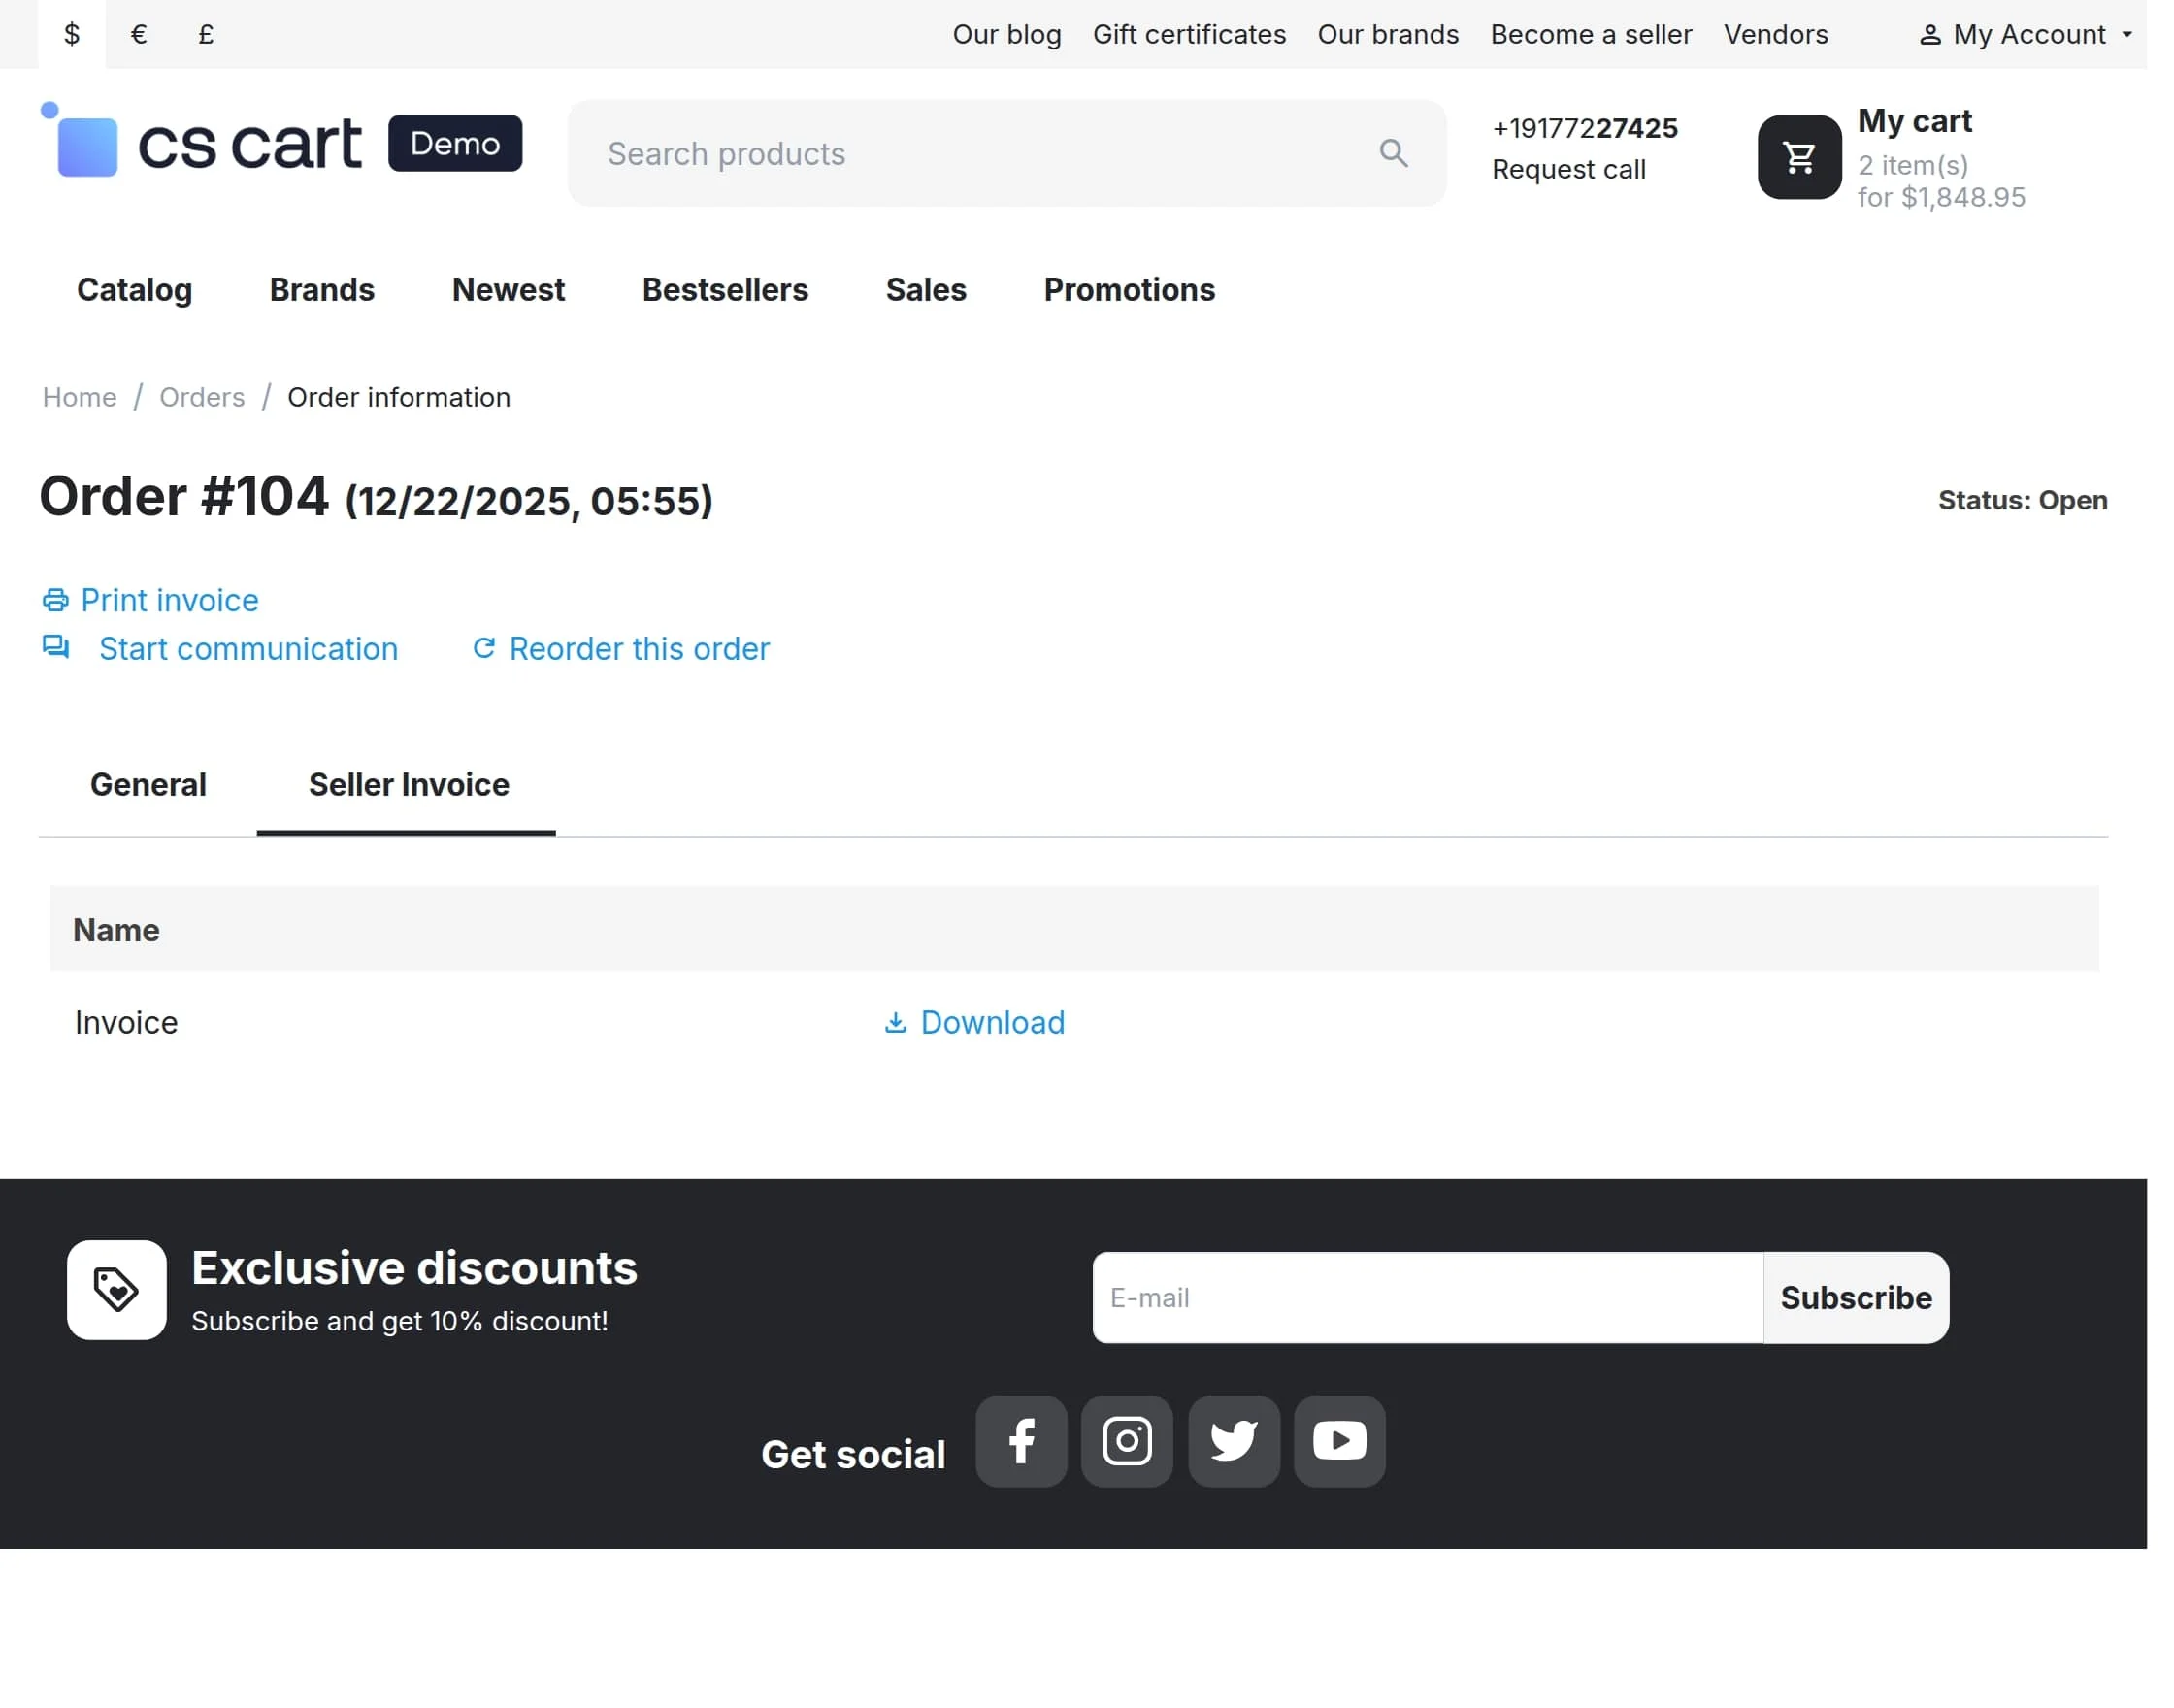
Front-end view
At the front end “Seller Invoice” tab will get displayed on the order detail page of each order.
Go to the order information page at the front end and click on the “Seller Invoice” tab as shown in the snapshot.
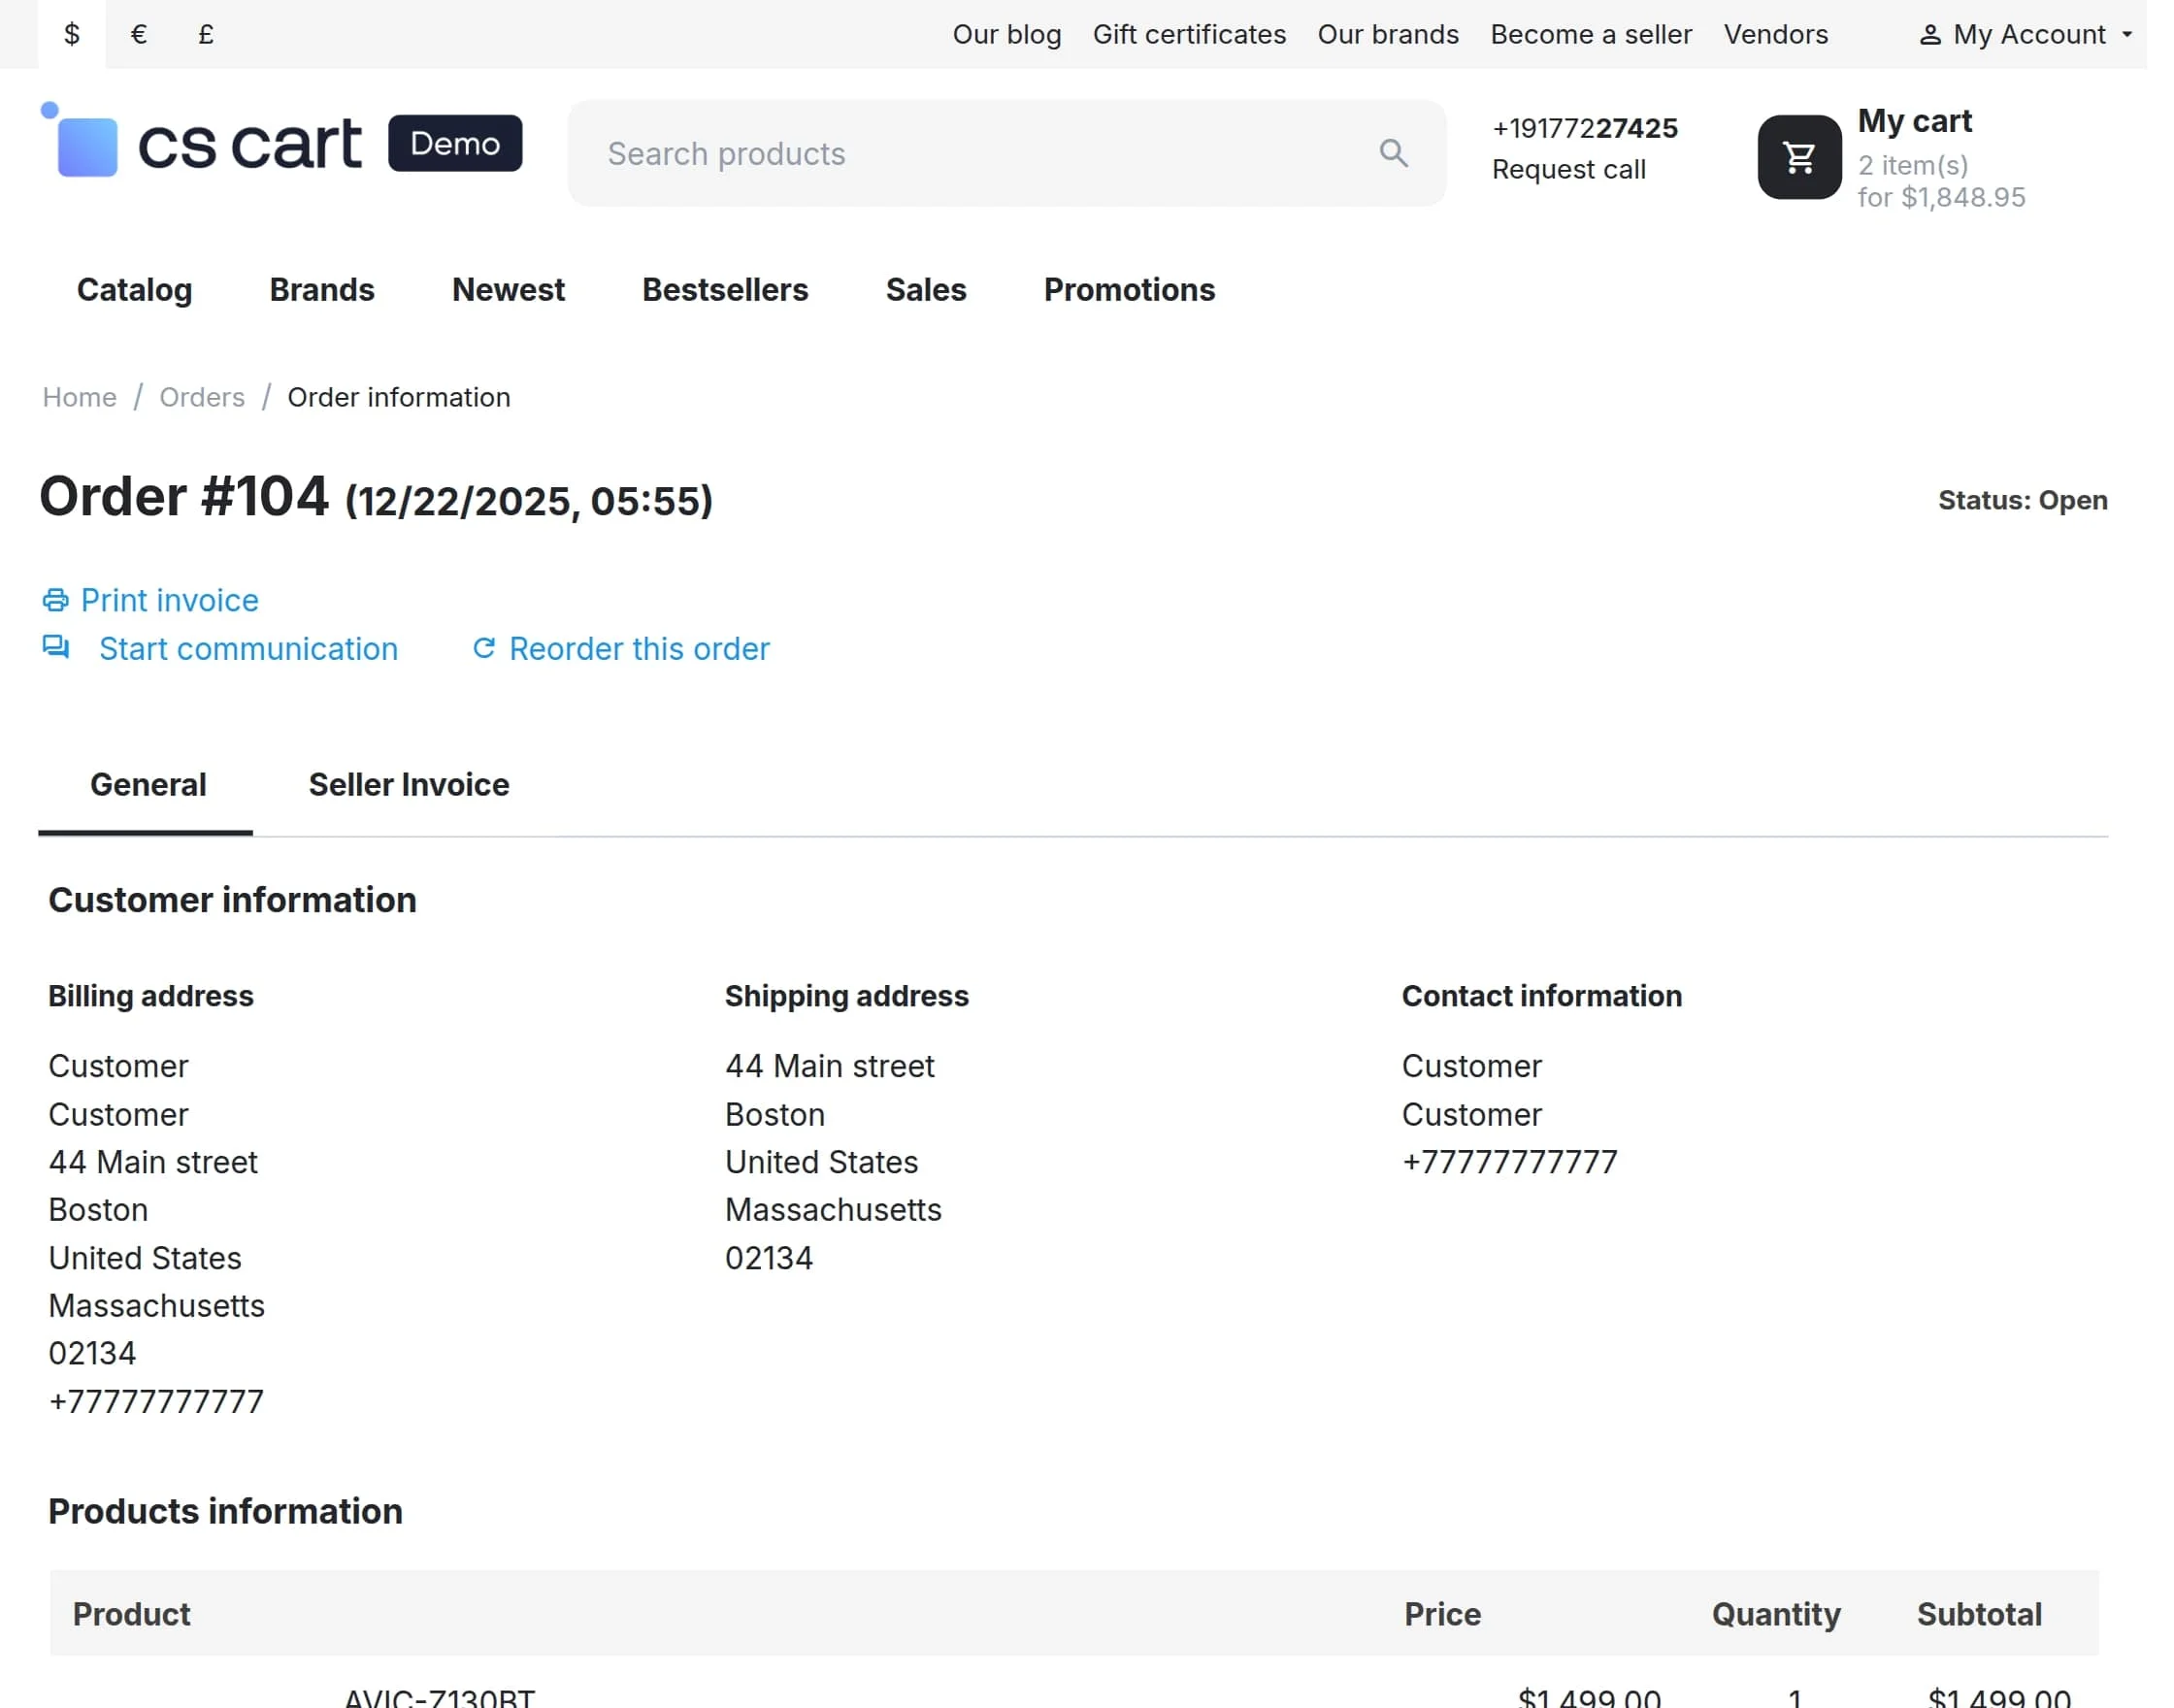
Click on the “Download” button to download the invoice as shown below in the snapshot.
Support
This is all about the CS-Cart Seller Invoice Add-on For CS-Cart. Still, have any issues, feel free to contact us at http://webkul.uvdesk.com and let us know your views to make the add-on better.
Besides this, you can explore our CS-Cart development services and Quality CS-Cart add-ons.