User Guide for Odoo ZPL Label Designer
Table of Content
Introduction
Odoo ZPL Label Designer helps you create and generate custom labels directly in Odoo. It provides a simple visual editor that makes label design quick and easy without requiring technical knowledge.
You can design labels for different Odoo records such as products, quotations, invoices, and other supported models.
The module allows you to add dynamic fields, barcodes, QR codes, images, and other elements to build labels according to your business needs.
Once the label design is ready, you can preview it and generate labels directly from selected records.
This helps create accurate and reusable labels for inventory, sales, tracking, and other business operations.
Features
- Create custom labels using a simple drag-and-drop design interface using Odoo ZPL Label Designer
- In Odoo ZPL Label Designer, you can design labels for multiple Odoo records, such as products, quotations, and invoices
- Add dynamic fields to display record-specific data automatically on labels
- Insert barcodes and QR codes for scanning, identification, and tracking purposes
- Customize labels with text, images, shapes, and flexible layout options
- Preview and generate labels directly from selected records without additional setup
Installation
- Once you purchase the App from Webkul store, you will receive a link to download module’s zip file.
- Extract the file on your system after download finishes. As a result, you will be able to see a folder named- ‘wk_zpl_label_designer(you can get the technical name from odoo app of the respective module)’
- Copy and paste this folder inside your Odoo Add-Ons path.
- Now, open Odoo App and click on the Settings menu. Here, click on Activate Developer Mode.
- Then, open Apps menu and click on ‘Update Modules List.’
- In the search bar, remove all the filters and search ‘wk_zpl_label_designer’
- You will be able to see module in the search results. Click on ‘Activate’ to install it.
Workflow
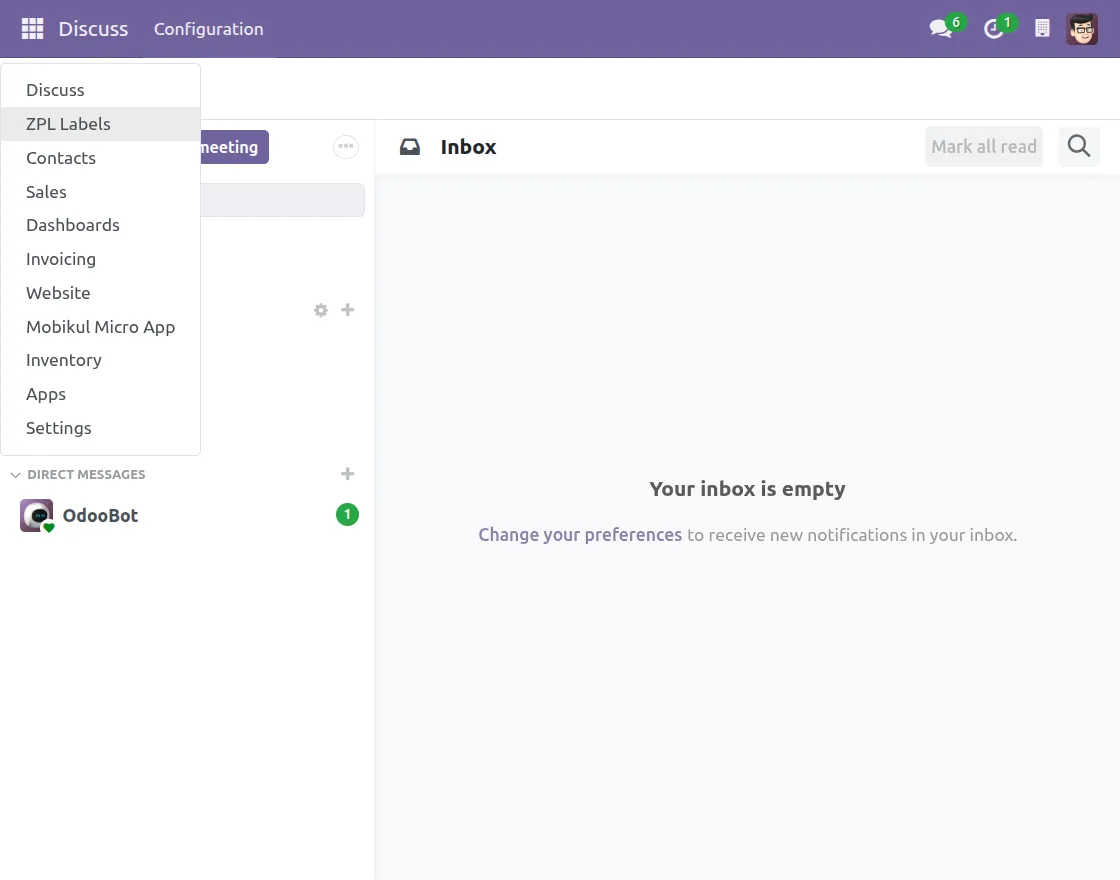
1. You can access Odoo ZPL Label Designer by clicking the icon in the top-left corner and selecting ZPL Labels from the dropdown menu.

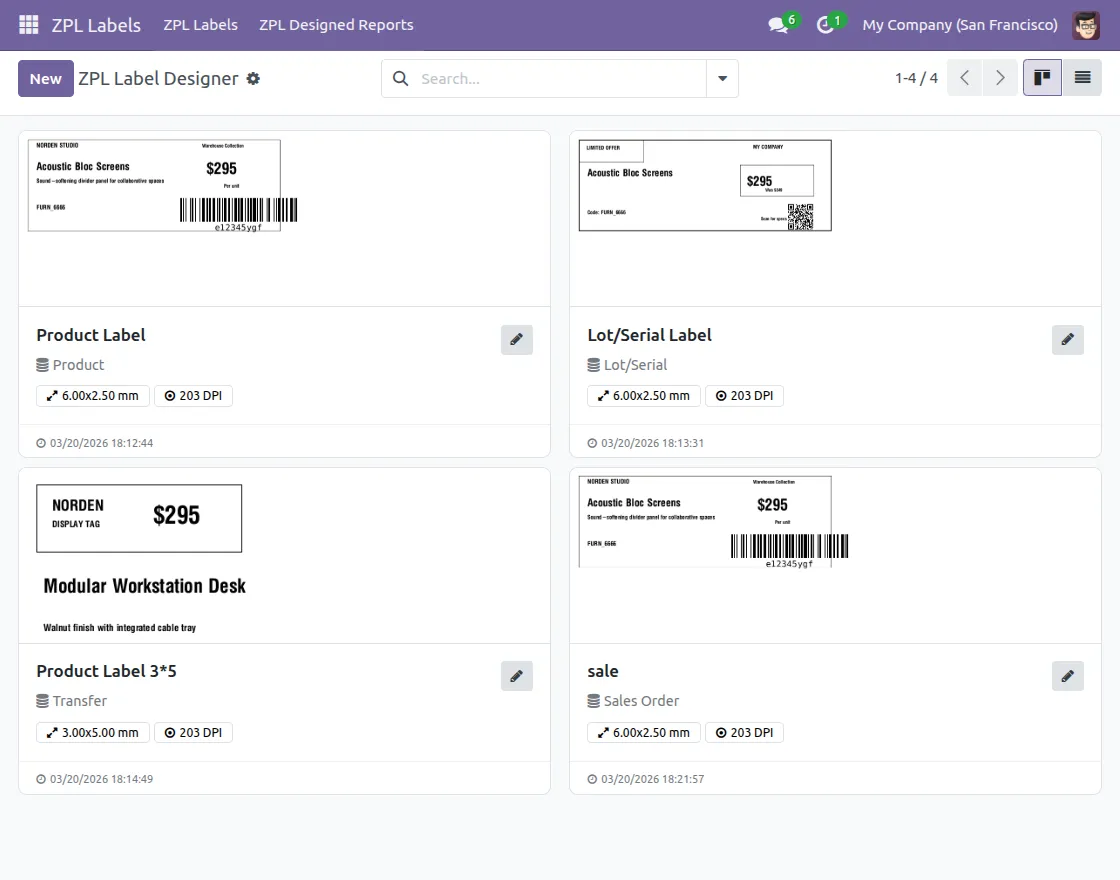
2. You can create a new label by clicking the New button, or use a previously created reusable label.
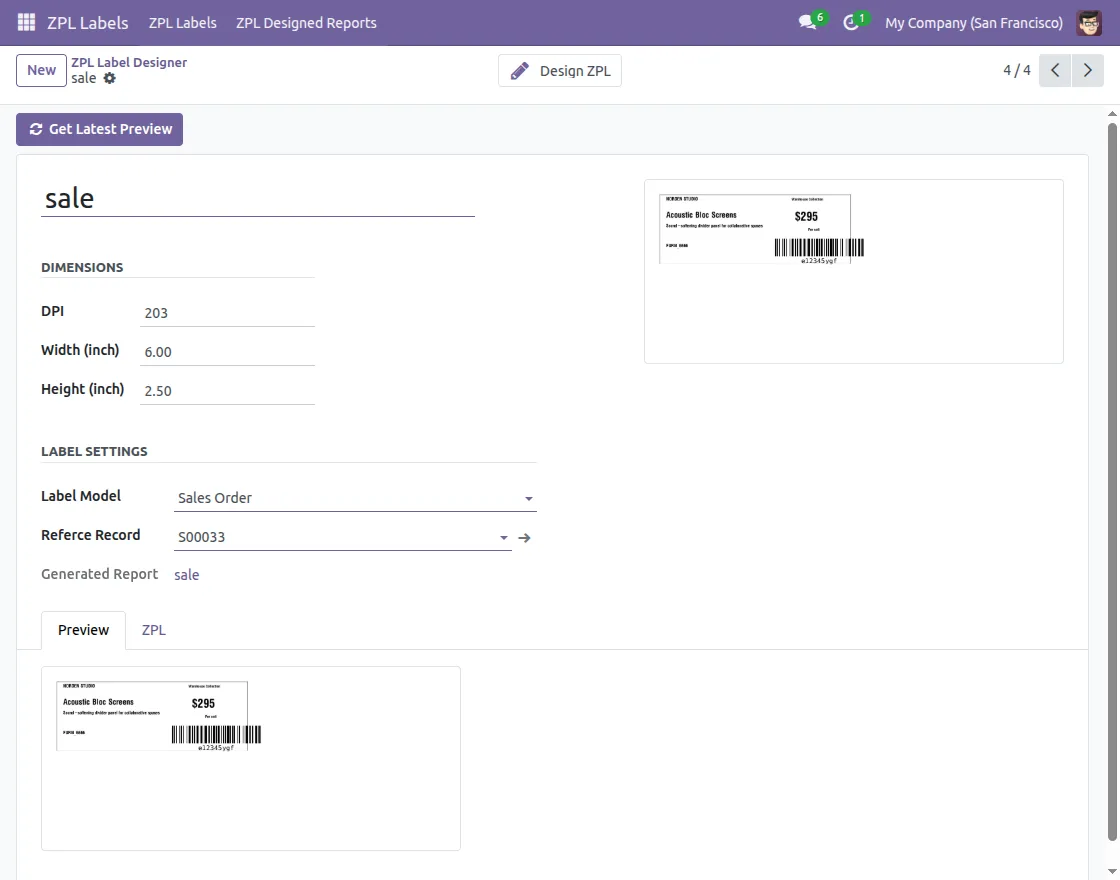
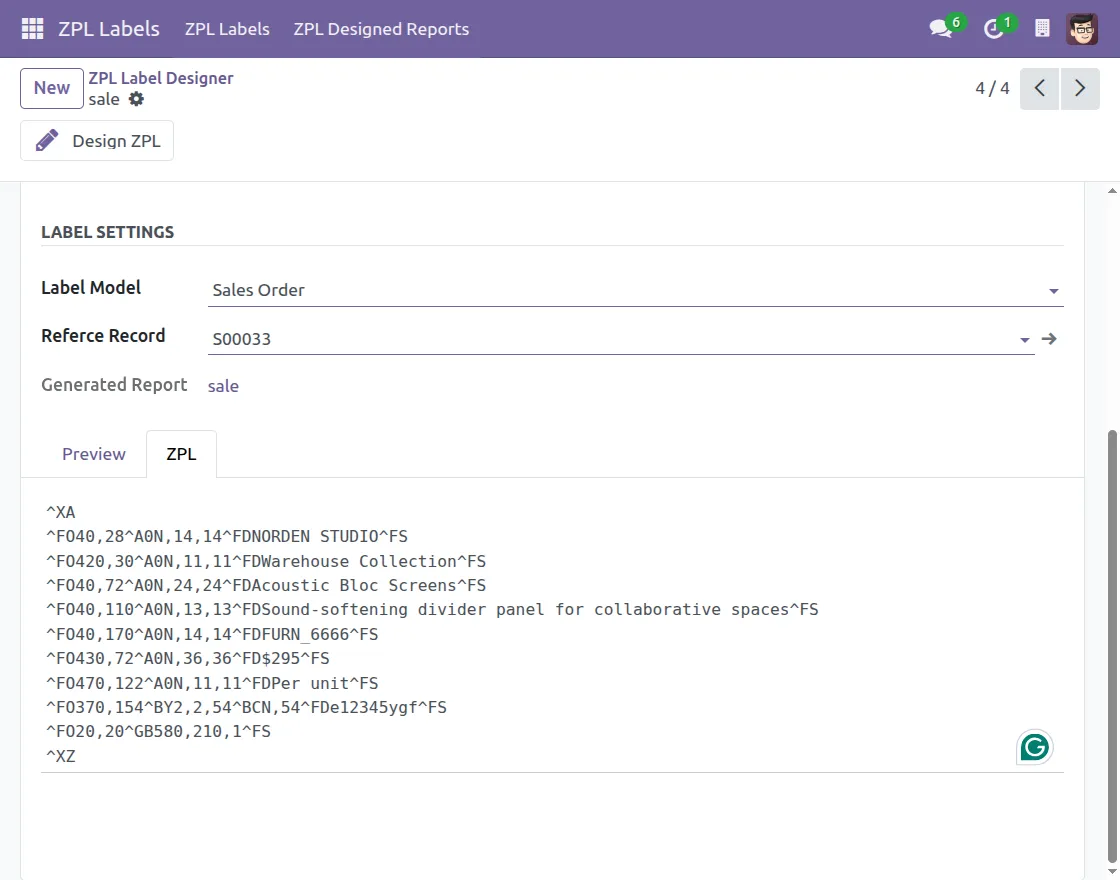
3. First, configure the label dimensions such as width and height, then set the Label Model and Reference Record.
4. You can choose a predesigned template to start creating your label in Odoo ZPL Label Designer.
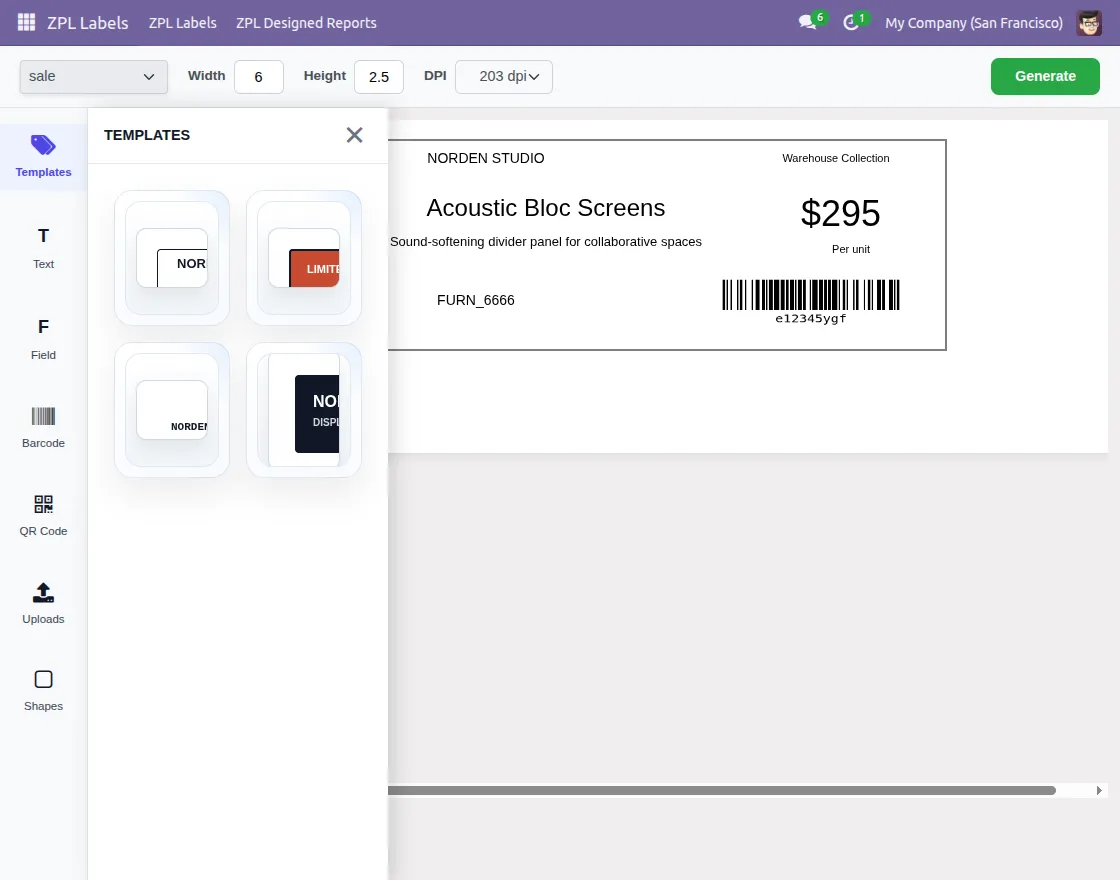
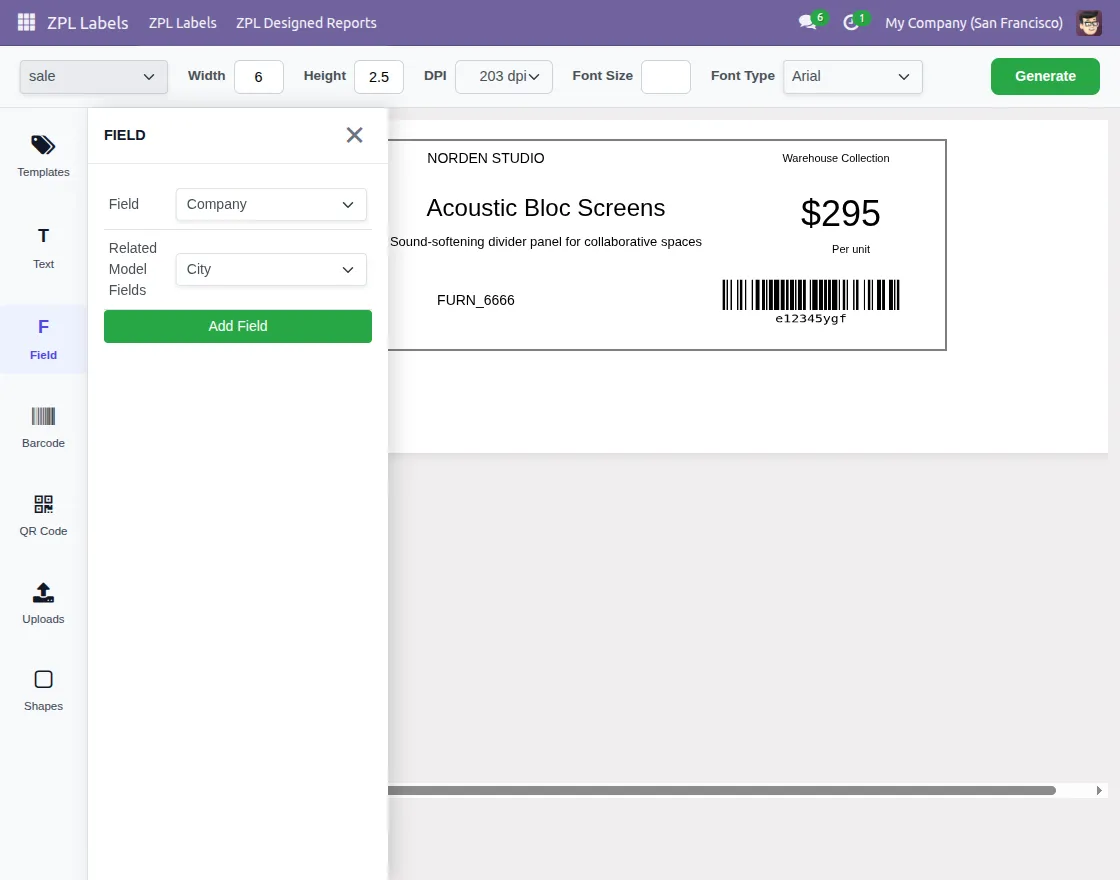
5. Add different fields to your label to display the required information based on your needs.
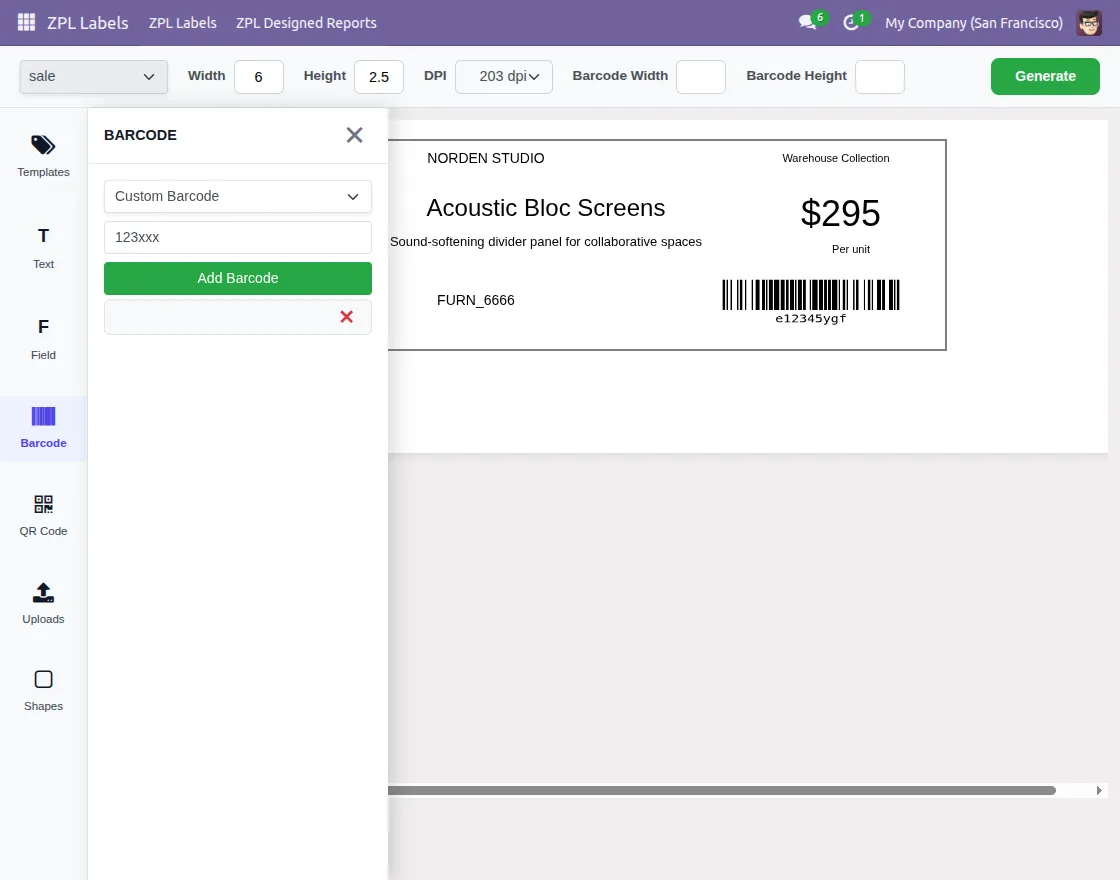
6. Also, you can add a barcode and QR code to your label to make it more informative.
7. Preview your label design, ZPL code, and all related information before generating the final label.
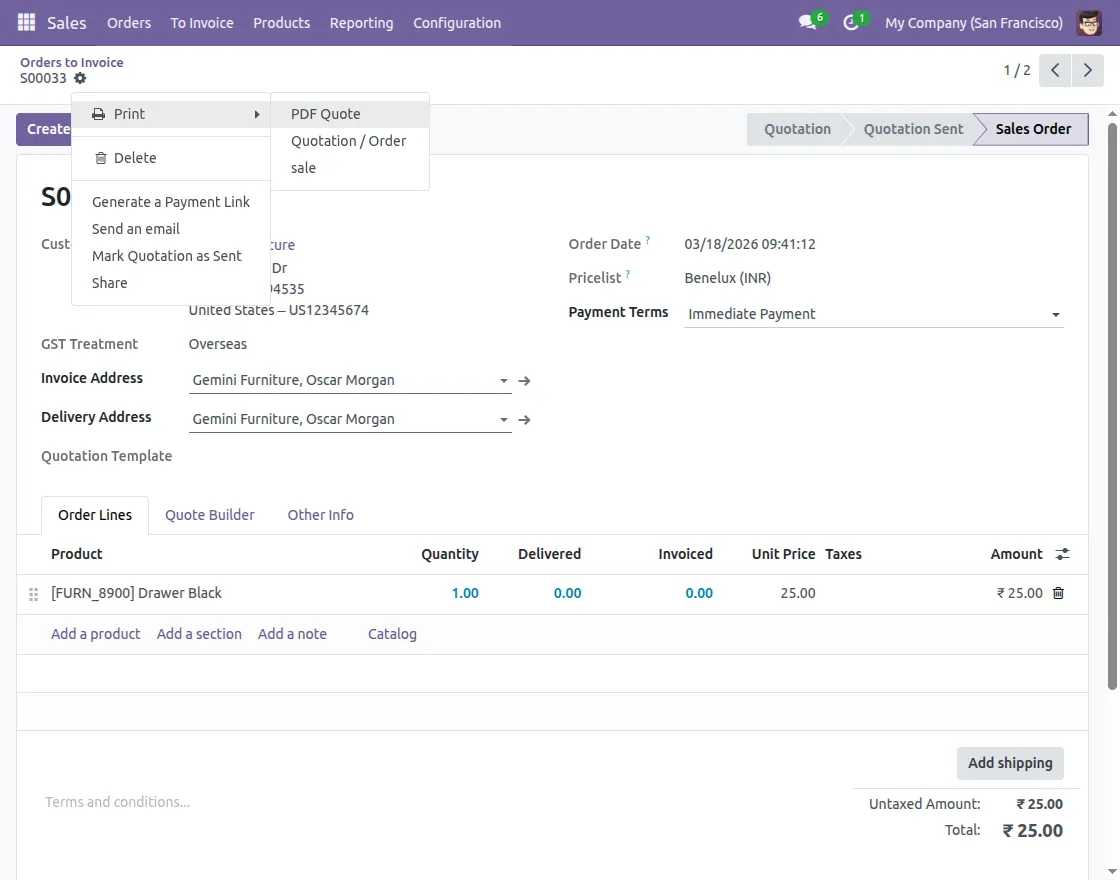
8. Generate Labels for selected records.
Need Help?
Hope you find guide helpful! Please feel free to share your feedback in the comments below.
If you still have any issues/queries, please create a ticket at the UV Desk.
I hope this helps. In case of any further queries, contact us at our support mail.
Thanks for paying attention!!