User Guide for Salla Odoo Connector
Introduction
Salla Odoo Connector integrates your Salla store with Odoo and allows you to sync store data directly between both platforms.
With the Salla Odoo Connector, you can sync products, categories, customers, and orders from Salla to Odoo while keeping stock and order status aligned in real time.
This Salla Odoo Integration reduces manual effort and helps manage your store operations directly from Odoo.
Prerequisites for using Salla Odoo Multichannel Connector
- Salla Odoo Connector works with Odoo Multi-Channel Sale Module. You need to install this module first to use Salla Odoo Multichannel Connector
- For Odoo Online (SaaS) users, you must migrate to Odoo.sh before using this connector, as Odoo Online restricts third-party installations.
- You can integrate up to three e-commerce store instances with Odoo. To integrate more than three instances, you can contact our Support Team.
Note: This module requires an active subscription to Odoo Connector by Webkul on the Salla store.
Features
- Categories from Salla are created or updated in Odoo, maintaining the same structure in both systems.
- Products and their variants from Salla are synced to Odoo, keeping the product catalog aligned.
- Customer details from Salla are recorded in Odoo, including contact and address information.
- Orders placed on Salla are synced in Odoo with complete order data using Salla Odoo Connector
- Products and categories managed in Odoo can be updated on Salla when required.
- Orders and categories from Salla can be synced automatically to Odoo using scheduled cron jobs.
- New or updated records in Salla are reflected in Odoo automatically through webhook configuration.
- Stock changes in Odoo update instantly on Salla, preventing inventory mismatch.
- Order status updates in Odoo (cancelled, shipped, paid) are reflected on Salla in real time.
Installation
- Once you purchase the App from Webkul store, you will receive a link to download the module’s zip file.
- Extract the file on your system after the download finishes. As a result, you will be able to see a folder named ‘odoo_salla_integration’.
- Copy and paste this folder inside your Odoo Add-Ons path.
- Now, open Odoo Apps and click on the Settings menu. Here, click on Activate Developer Mode.
- Then, open Apps menu and click on ‘Update Modules List.’
- In the search bar, remove all the filters and search ‘odoo_salla_integration’
- You will be able to see the module in the search results. Click on ‘Activate’ to install it.
Workflow
1. Configure Salla Instance
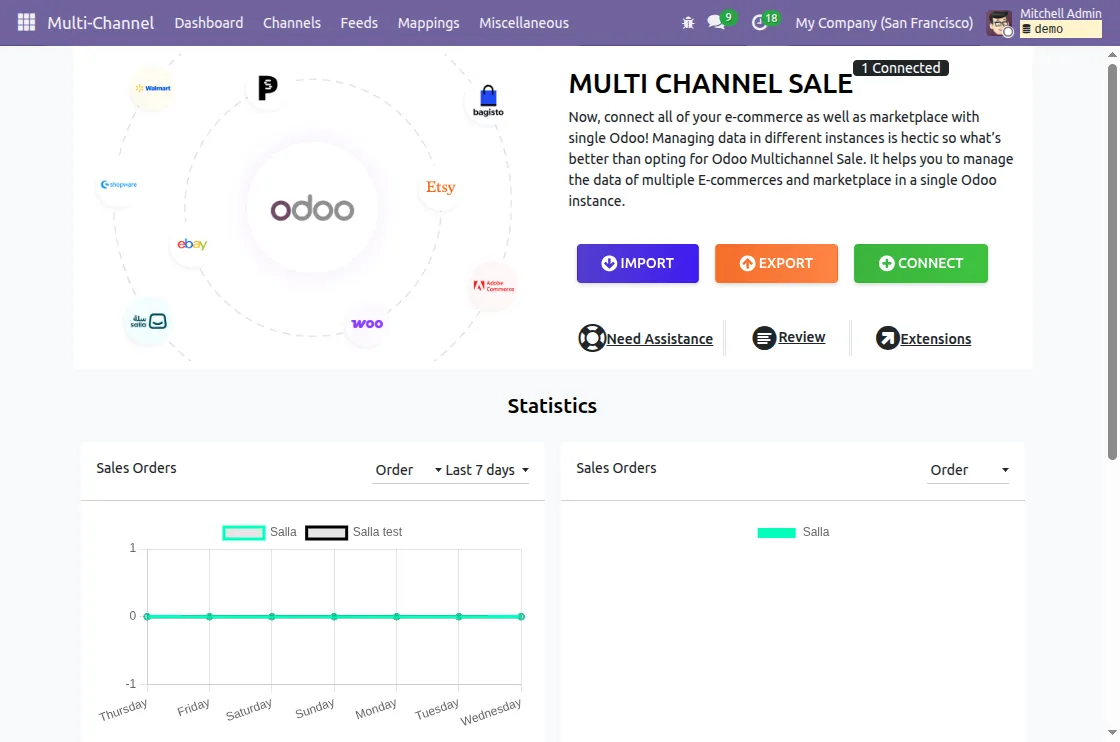
After the installation, log in to your Odoo account. Navigate to the multi-channel app and click the connect button.

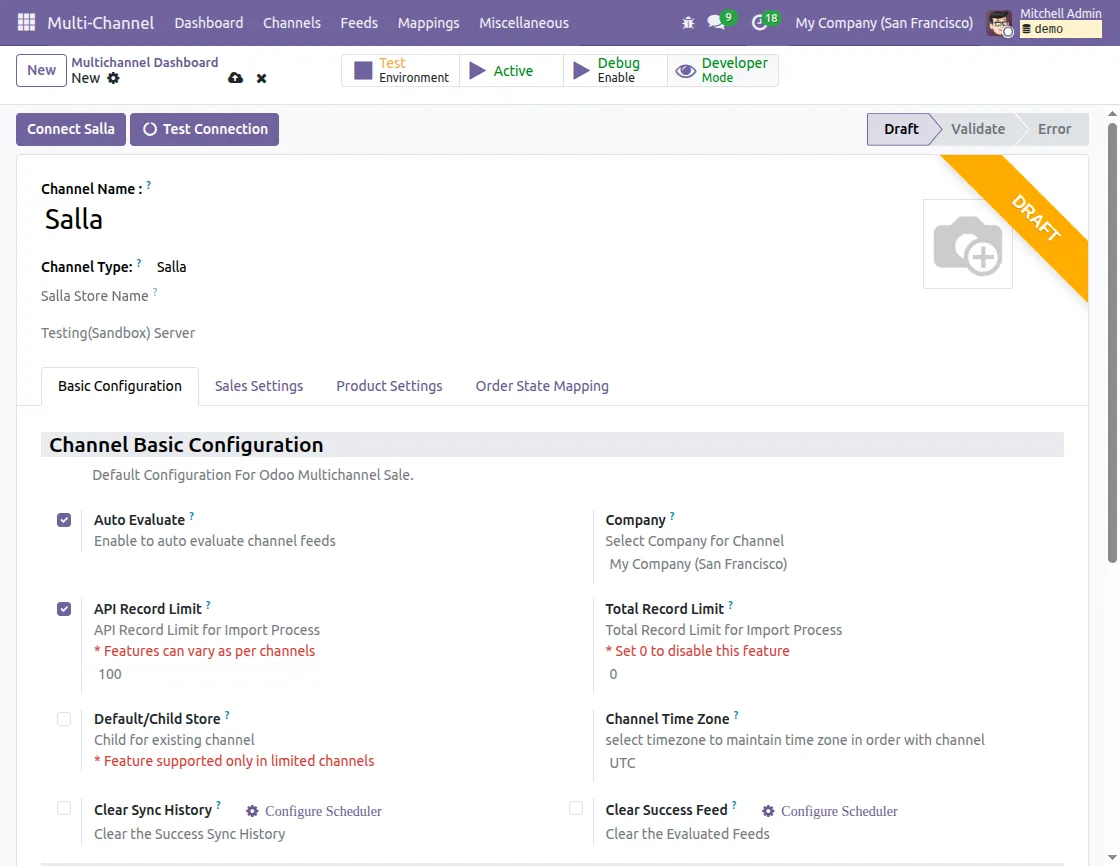
Add the channel name and select the channel type as Salla. Click on test connection and click on the Connect Salla button.

You will now be redirected to the Salla login page. Log in with your Salla credentials and it will now redirect to grant the permission
(Note: You must have an active subscription to Odoo Connector by Webkul on the Salla store.)
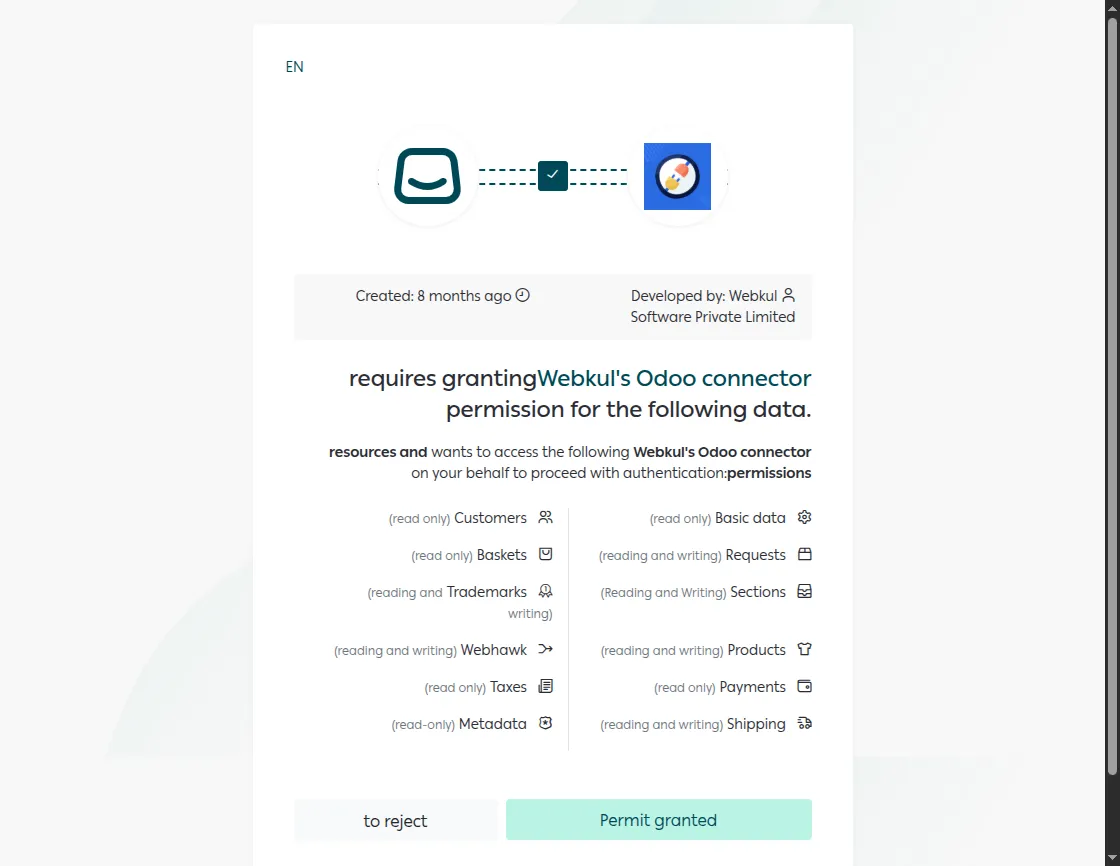
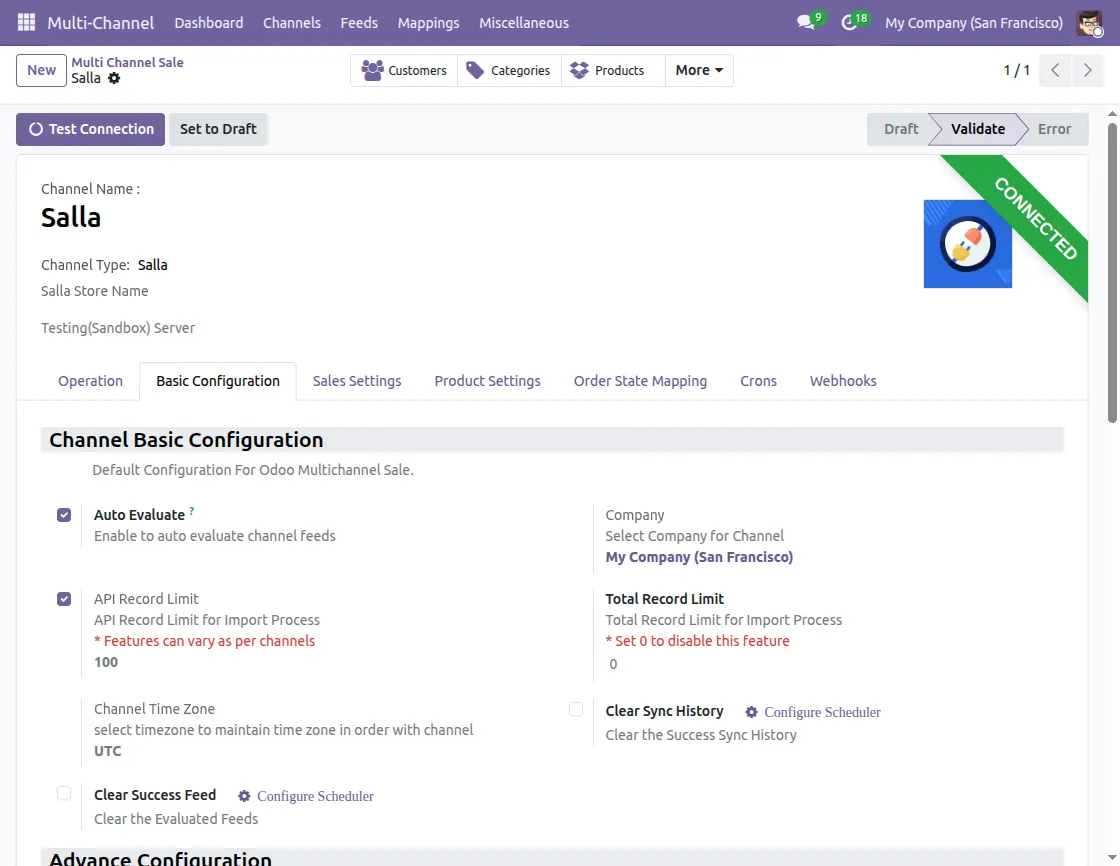
When the permissions are granted, it will redirect back to the connector, and the connection is now successfully established.
2. Connector Configurations
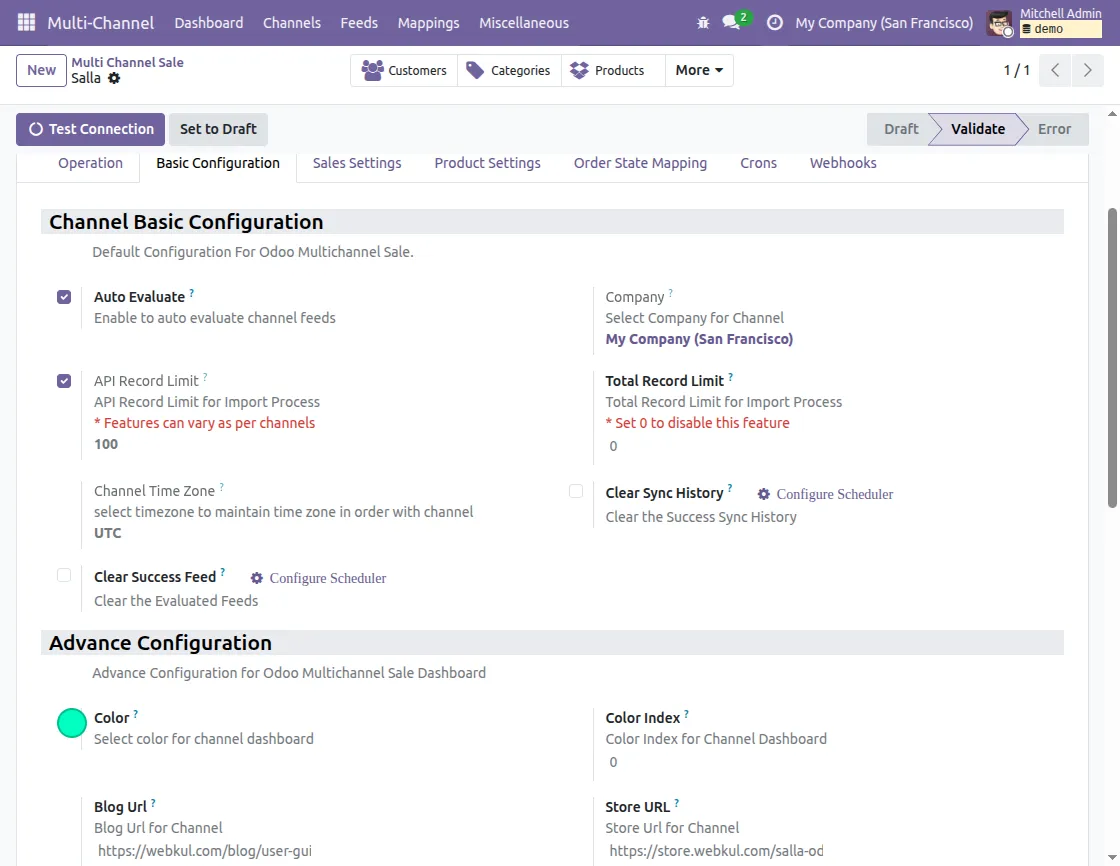
Basic Configuration
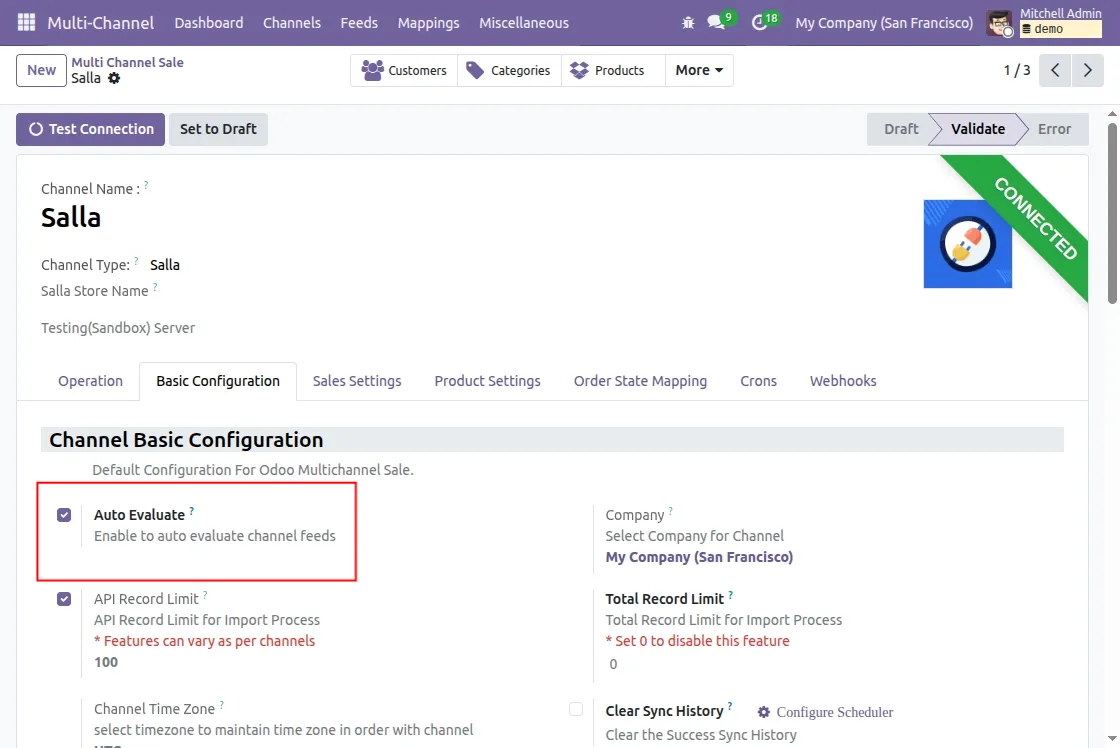
- Channel basic configuration: The basic configuration of the channel includes the following settings:
- Auto-evaluate: When you enable auto-evaluate, it will evaluate the feed of the imported data automatically.
- Company: Select the default company for the synced data from Salla to Odoo.
- API Record Limit: In the API Record Limit, you can set the limit of data that will sync between Odoo and Salla.
- Total Record Limit: Set total record limit for sync operation to Odoo
- Channel time zone: Select the timezone to maintain the time zone in order with the channel
- Clear Sync History: You can check this option to clear the successful sync logs with a scheduler
- Clear Success Feed: Check this option to clear the Evaluated Feed with a scheduler
- Advanced configuration: Under the advanced configuration for Odoo Multichannel Sale you can configure colour, colour index, blog URL, and store URL.
Sales Settings
Channel Sales Order
- Channel Payment Term: Configure the Payment terms for the payment of sales orders synced from Salla to Odoo
- Sales Team: Configure the sales team for sales orders synced from Salla
- Salesperson: Configure the salesperson for sales orders synced from Salla to Odoo
- Order Campaign: Configure the UTM Campaign for sales orders synced from Salla to Odoo
- Order Medium: Configure the ordered medium for sale orders synced from Salla to Odoo
- Source: Configure the order Source for the sale order synced from Salla to Odoo
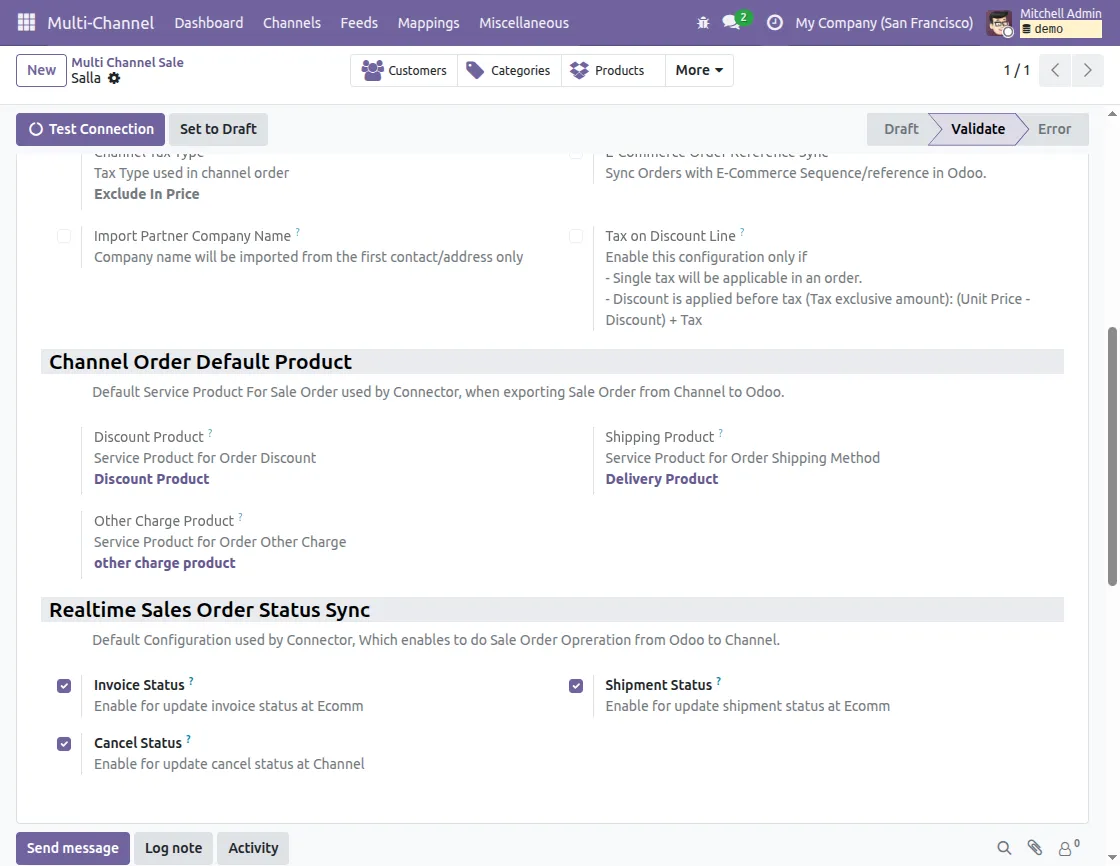
- Tax Type: Configure the Tax Type used in channel order. You can select the tax type as tax type tax included or tax excluded.
- E-Commerce Order Reference Sync: If enabled order will be created with the e-commerce sequence at the Odoo end.
- Import Partner Company Name: Check this configuration to sync the company name from the customer’s first contact/address only
- Tax on Discount Line: Enable this option when a single tax applies to the order and the discount is calculated on the tax-exclusive amount before tax is added.

Channel Order Default Product
- Discount Product: Configure the service product for the Service Product for Order Discount on the imported sale order.
- Shipping Product: Configure the service product for the Service Product for Shipping product for the imported sale order.
- Other Charge Product: Configure the service product for the Service Product for Order Other Charge for the imported sale order.
Realtime Sales Order Status Sync
You can configure the real-time sync of the invoice, cancel and shipment status from Odoo to Salla.
Product Settings
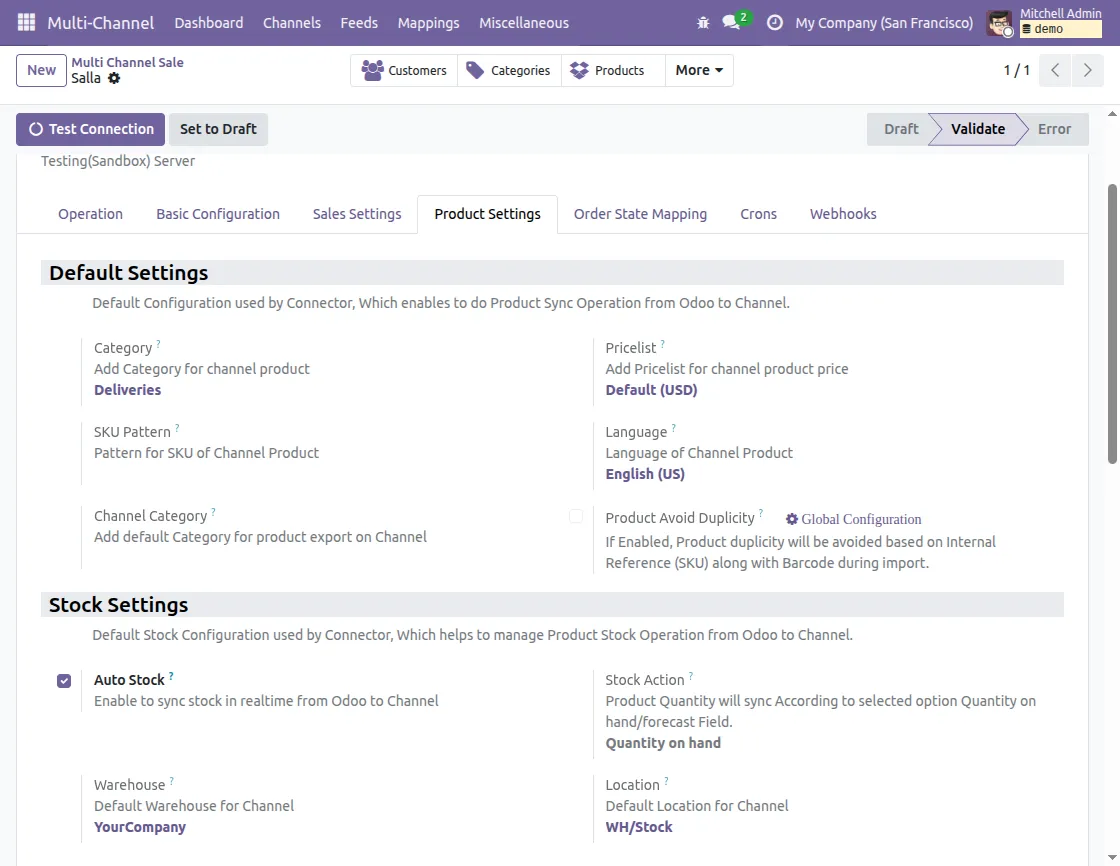
Default Settings
- Category: At the ecom end user can apply multiple categories, but at the Odoo end, only a single category is applied. Set the default category in which synced products will be stored
- Pricelist: This price list stores the Original price of the product synced from ecom to Odoo.
- SKU Pattern: Default sequence used as SKU/default code for products without SKU.
- Language: The language set in the language option should be as per the language set in Salla
- Channel Category: Add default Category for product sync to Salla from Odoo
- Product Avoid Duplicity: If enabled, Product duplicity will be avoided based on the internal reference (SKU) along with the barcode during sync.
Stock Settings
- Auto Stock: If enabled, stock will be synced from Odoo to Salla in real-time
- Stock Action: Product Quantity will sync according to the selected option, Quantity on hand, or Forecast Quantity.
- Warehouse: It is the default warehouse that is used for the sync of the products from Salla to Odoo.
- Location: It is the default location where your stock will be stored when synced from Salla to Odoo.
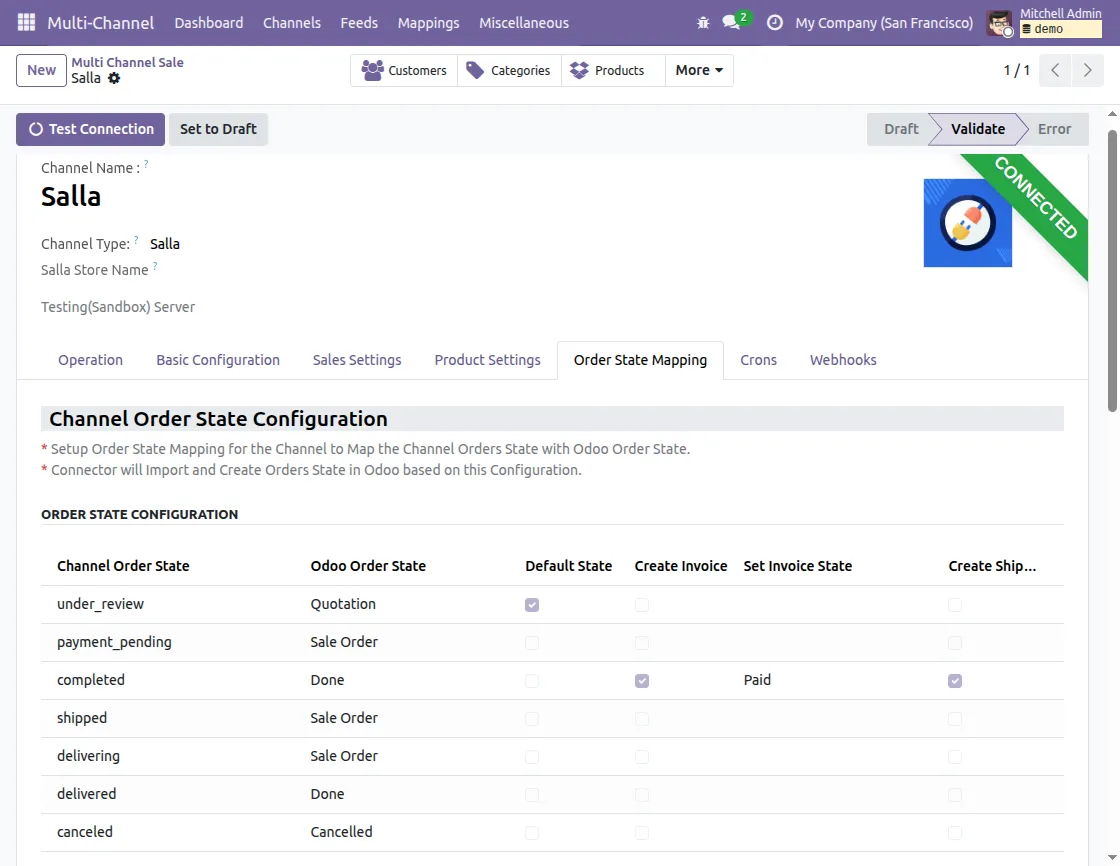
Order State Mapping
Here you can map the order state of Salla with the order states of Odoo.
- You need to type the same name of the order state in the channel order states.
- You can also configure the default state along with creation of invoice, and shipment( paid and open)
Crons
We have provided cron features that will sync data from Salla to Odoo.
- To configure the cron, navigate to Multichannel >> Open Connection >> Cron.

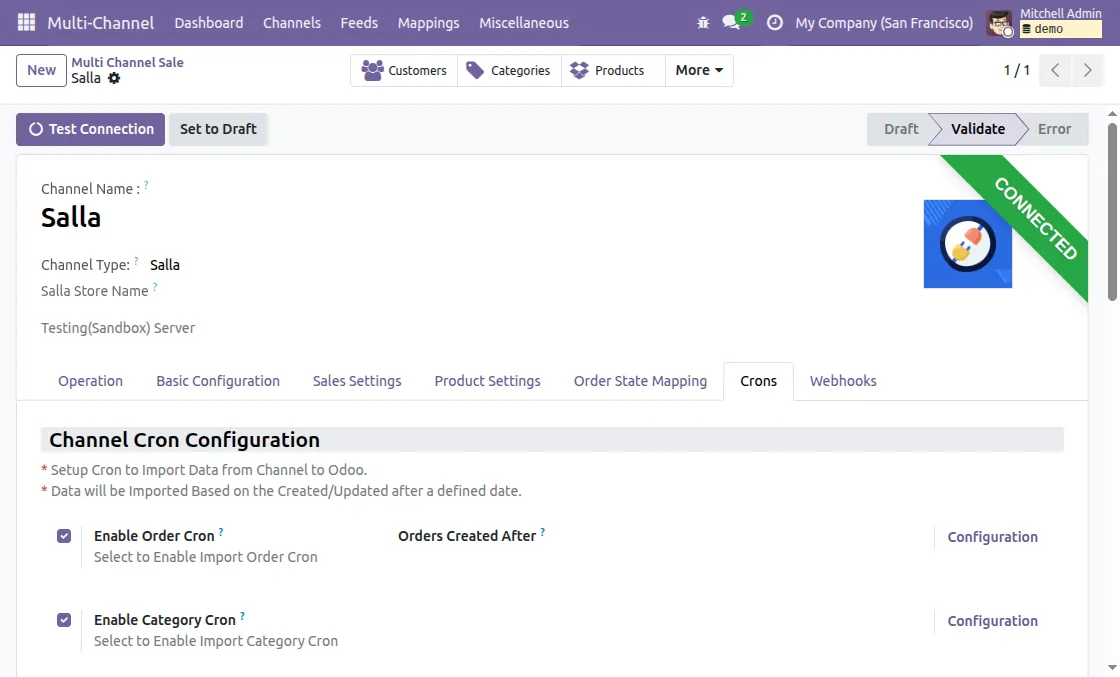
- You can configure the cron for orders and category sync by clicking on the configuration button of respective cron


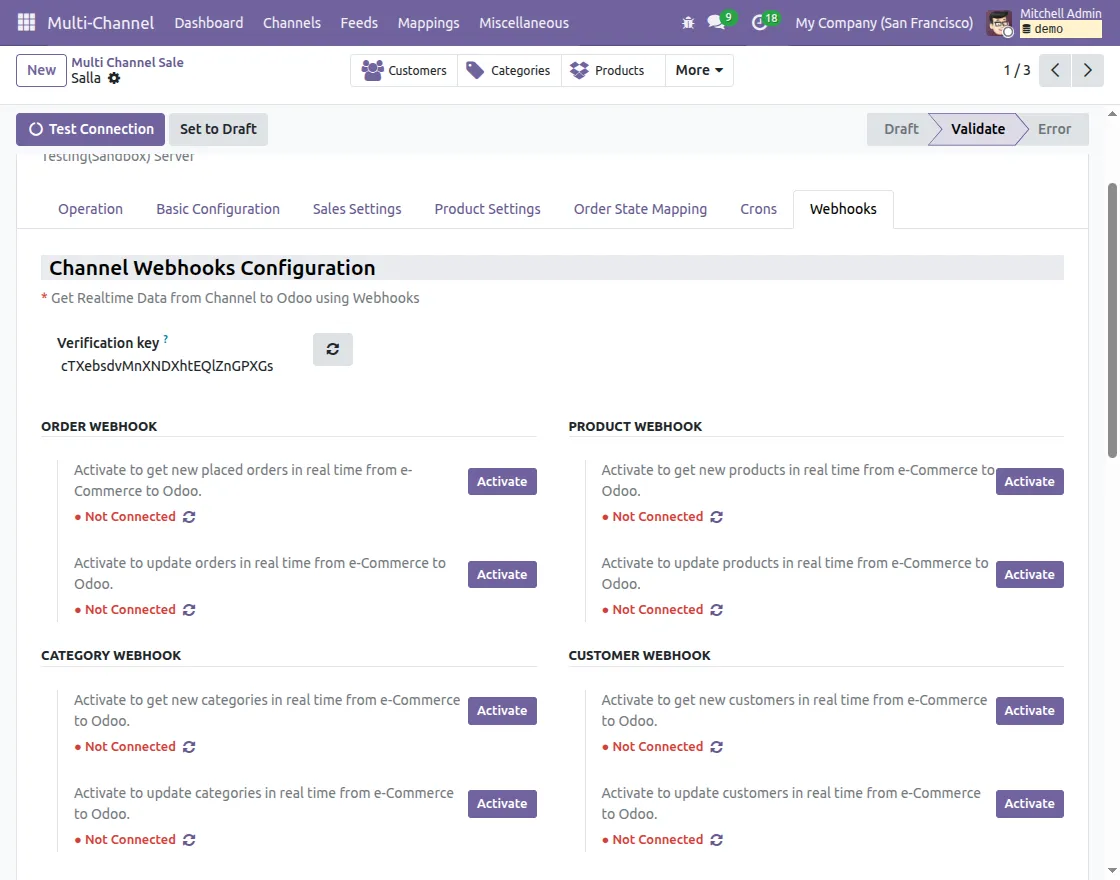
Webhooks
Enable this option to receive real-time data updates from Salla to Odoo. You can configure the webhooks for any update or new orders, categories, products, and customers.

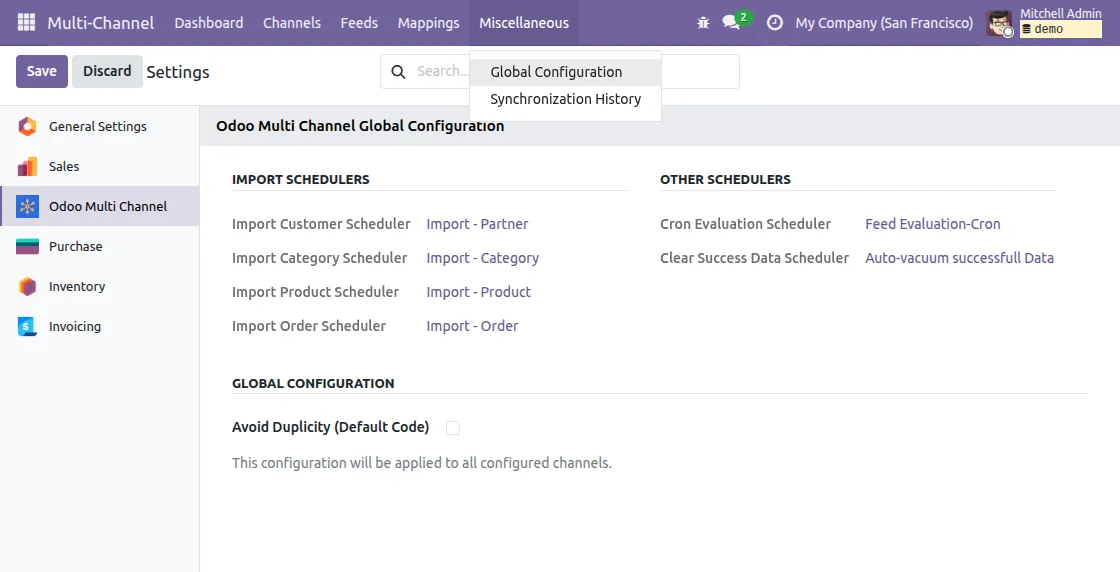
Miscellaneous
Global Configuration
- Next, go to the Multi-channel> Miscellaneous> Global Configuration.
- From here, you can configure the import scheduler and enable ‘Avoid Duplicity (Default Code)’ to avoid double sync of unchanged data.

Synchronization History
In the ‘Synchronization History’ option, you can view the entire history of every sync.
- On clicking a record, you can see all the logs of that sync operation.
- You can review past sync activity for better control and tracking

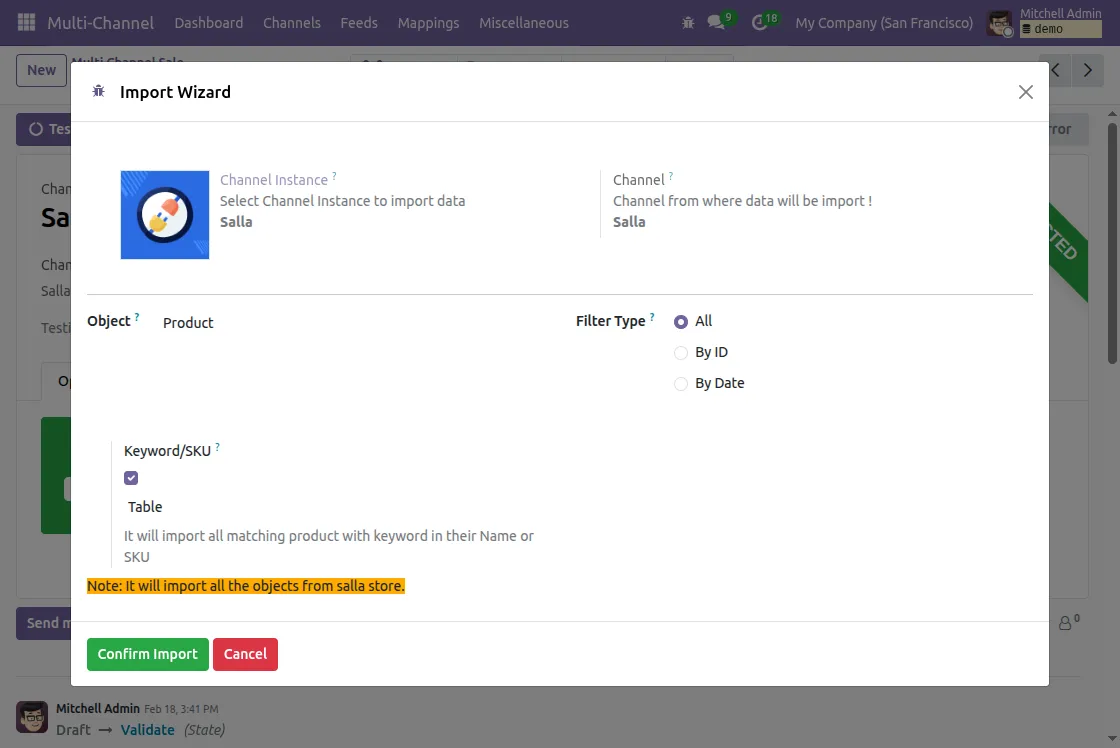
3. Data Sync from Salla to Odoo
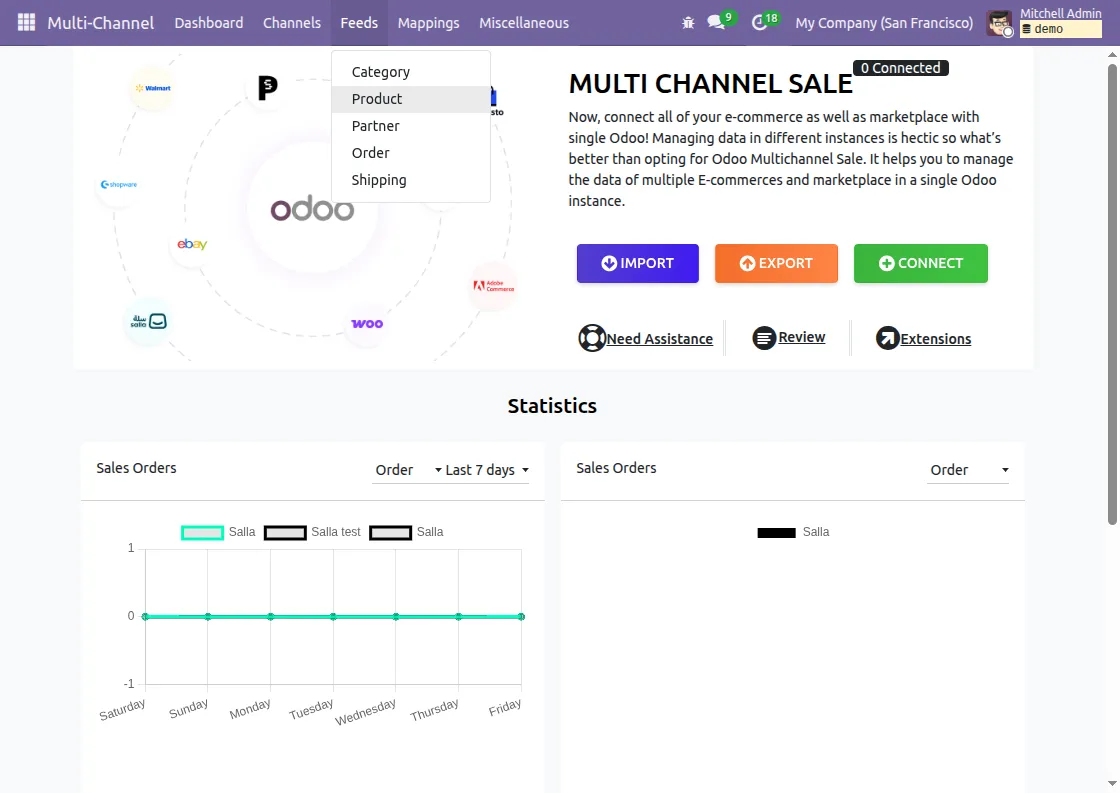
- You can sync Categories, Products, Orders, and Customers either from the Connection’s Operation tab or via the Import button on dashboard.
- The sync process follows a sequence: Categories, then Products, and then Orders. (Products require categories, and orders require products to be synced first.)
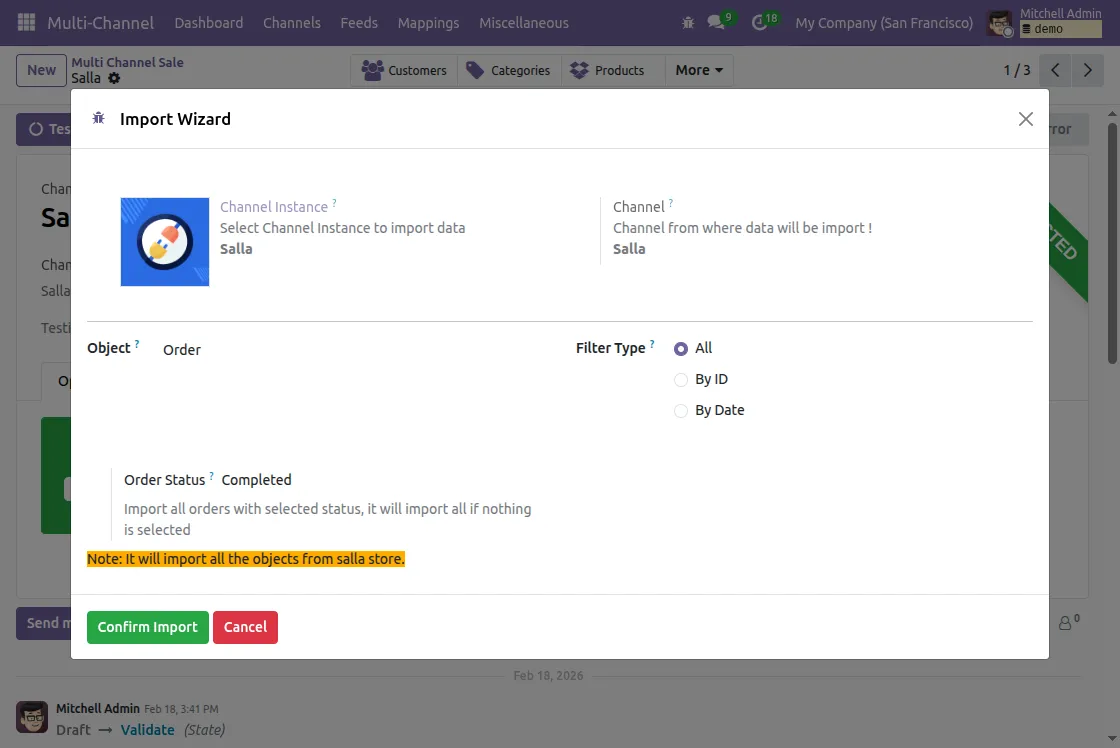
- Imports can be filtered using options such as IDs, Since ID, or All, in order to choose whether to bring in specific records or the entire dataset.
- You need to select the Channel Instance, Object, and Filter Type in import wizard.
Categories


Products
Orders
Customers

4. Data Sync from Odoo to Salla
- You can sync Categories and Product template either from the Connection’s Operation tab or via the Export button on dashboard.
- You can also choose to Update instead of exporting and creating new product or category.
- You need to select the Channel ID, Object and Operation in export wizard.
Categories

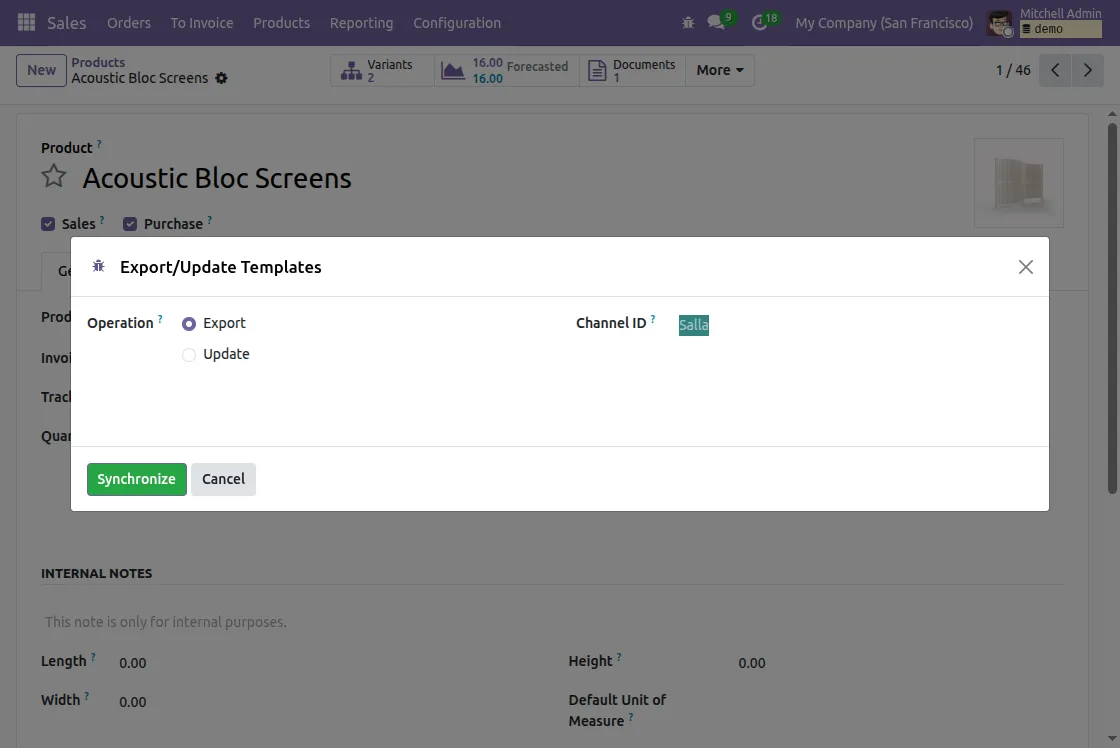
Products Template

Products sync Directly
- You can directly sync or update the product to Salla
- Open the Product, click on the gear icon at the top, and select Export/Update templates.
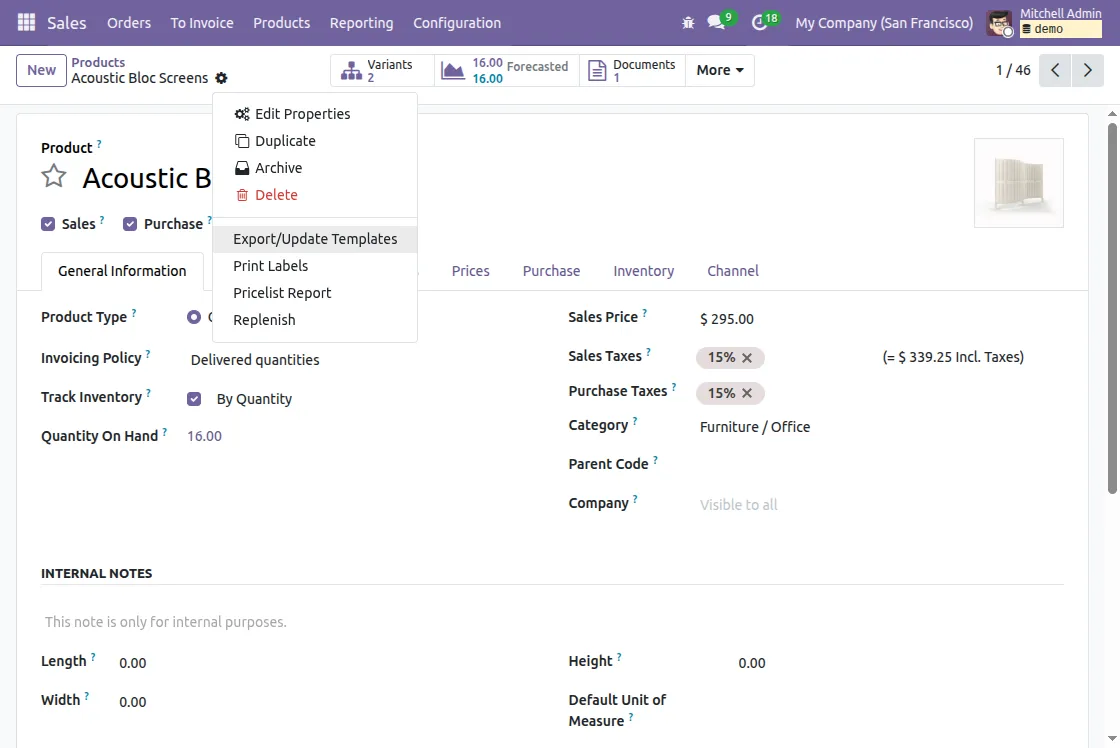
- Select the Channel ID and choose whether to export or update.
5. Mappings
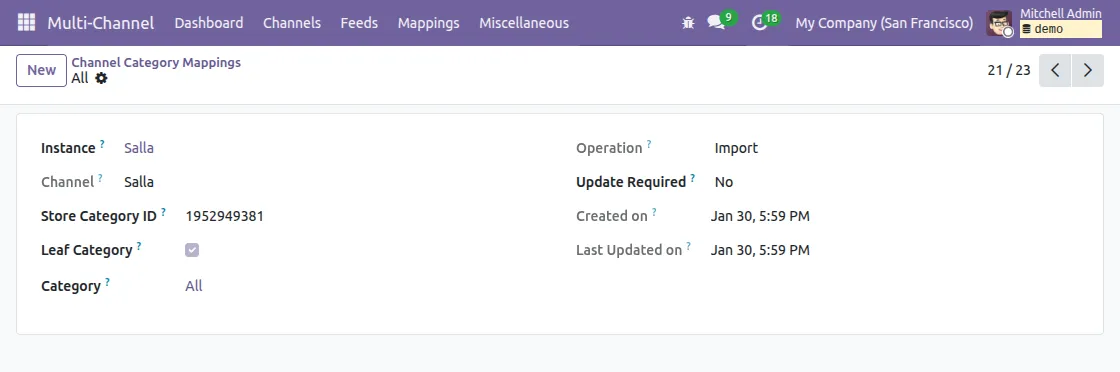
- You can view mappings of all synced data (products, categories, orders, customers) directly in Odoo.
- Each mapping page shows a list view, and clicking an entry displays detailed information about that specific mapping.

- Click on the new button to create a mapping by adding the Store ID and selecting the Odoo Category to map the categories between Salla and Odoo

6. Feed Evaluation
- When data (Products, Categories, Customers, Orders, Shipping Methods) is synced from Salla to Odoo, it first lands in Feeds.
- These feeds act as a separate section before creating mapping records in Odoo. You can choose to evaluate them manually or automatically.
Manual Feed Evaluation
- Go to Multi-Channel >> Feeds.
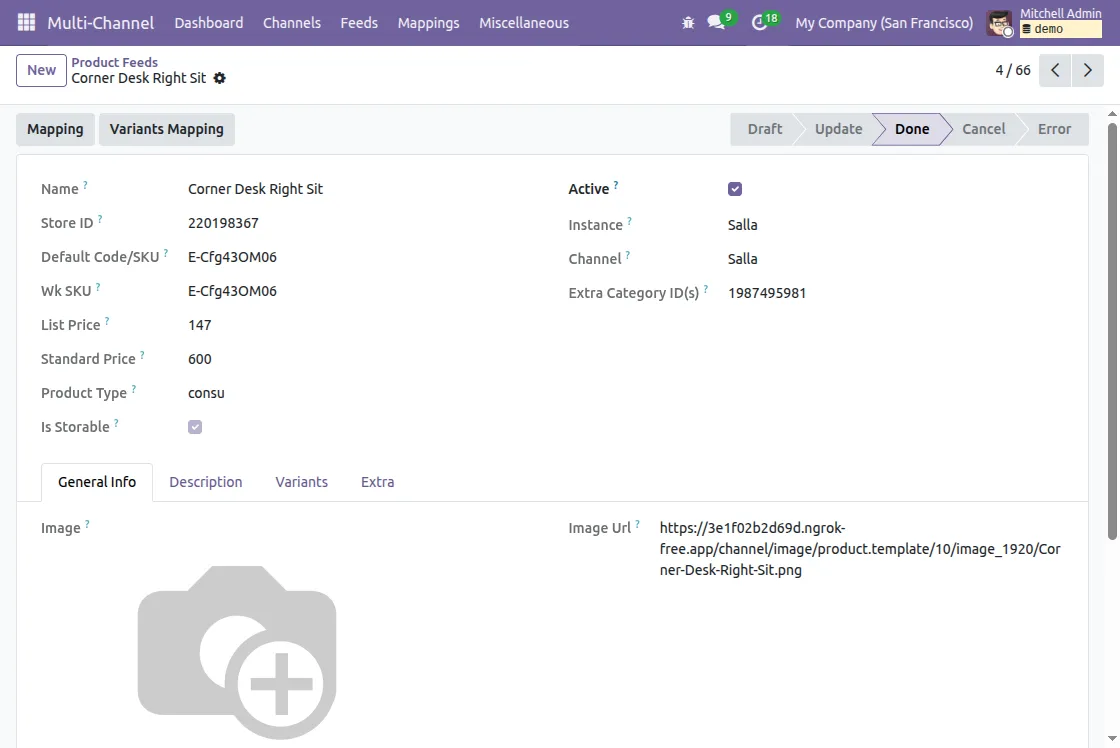
- Select the feed record(Category / Product / Partner / Order / Shipping) you want to evaluate.

- Review the details (e.g., product attributes, order data, customer information) and to create the mapping, click on Evaluate Feed.

- Once evaluated, feed will move to the mapping list for future synchronizations.
Automatic Feed Evaluation
- While configuring your Salla instance, enable Auto Evaluate Feed in Basic Configuration tab.
- Once enabled, every imported feed will be automatically validated and created in Odoo without manual approval.
NEED HELP?
Hope you find the guide helpful! Please feel free to share your feedback in the comments below.
If you still have any issues/queries, please create a ticket at the UV Desk.
In case of any further queries, contact us at our support mail
Thanks for paying attention!!