User Guide for Odoo Backend ElasticSearch
Table of Content
Introduction
Odoo Backend ElasticSearch module improves backend search using ElasticSearch integration. It delivers faster, more accurate results in Odoo.
It allows indexing of records with support for relational field mapping. This helps structure data efficiently for better search output.
The module includes user-based access control and dynamic domain filtering. It also maintains real-time synchronization between Odoo and ElasticSearch.
Prerequisites for using Odoo Backend ElasticSearch
Odoo Backend ElasticSearch works in conjunction with the following module:
Webkul Message Wizard
You must install the above-mentioned module to use the Module name.
Features
- Fast and optimized backend search using ElasticSearch integration
- Support for relational fields in index mapping configuration
- Improved index mapping list view for better usability
- Odoo Backend ElasticSearch provide user access control with Manager and User roles
- Dynamic domain filtering for controlled search results
- Conditional domain execution based on assigned user groups
- Real-time synchronization between Odoo and ElasticSearch index
Installation
- Once you purchase the App from Webkul store, you will receive a link to download module’s zip file.
- Extract the file on your system after download finishes. As a result, you will be able to see a folder named- ‘wk_backend_elasticsearch’
- Copy and paste this folder inside your Odoo Add-Ons path.
- Now, open Odoo app and click on the Settings menu. Here, click on Activate Developer Mode.
- Then, open Apps menu and click on ‘Update Modules List.’
- In the search bar, remove all the filters and search ‘wk_backend_elasticsearch’
- You will be able to see module in the search results. Click on ‘Activate’ to install it.
Workflow
1. Odoo Backend ElasticSearch Connection Setup
Navigate to Elastic Backend Search from the top-left menu. Go to Configuration > Connection Settings to configure the ElasticSearch server connection.


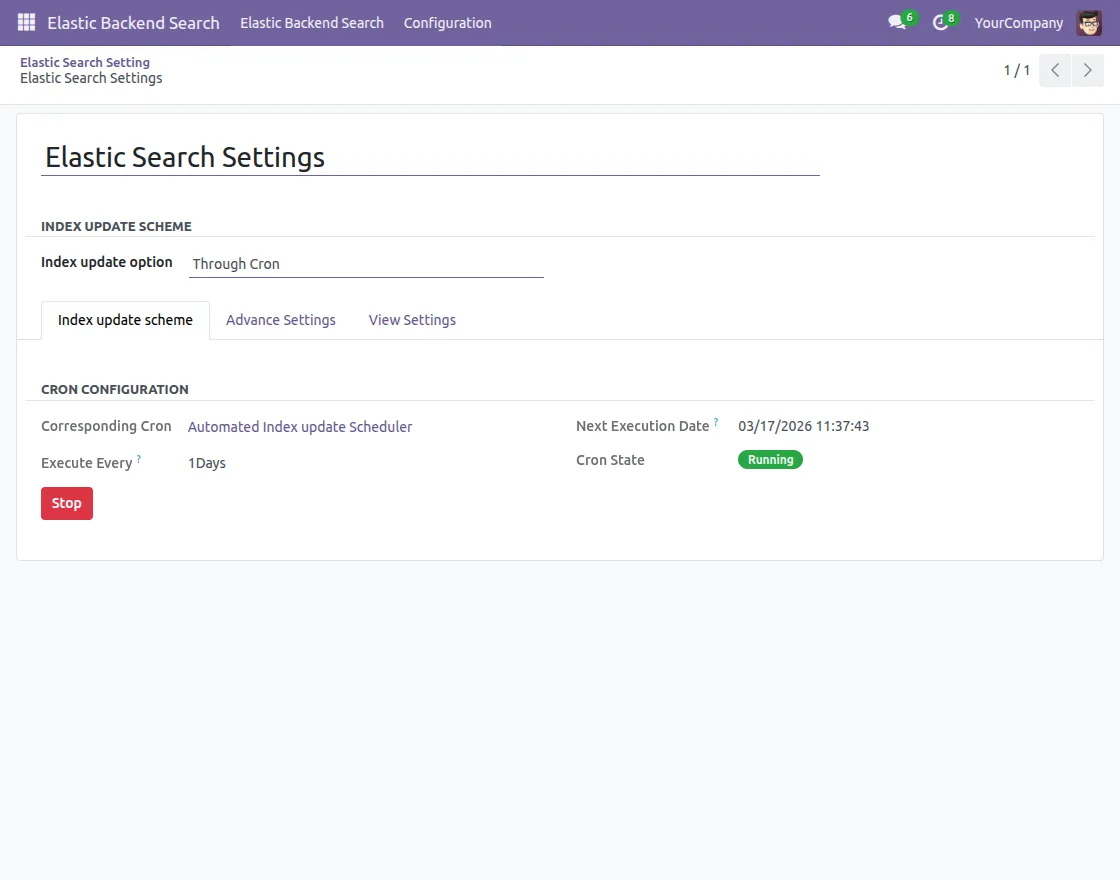
2. Configure Elasticsearch Settings
Open Configuration > ElasticSearch Settings from the same menu. Select indexing mode such as cron-based or real-time and adjust other search configurations.
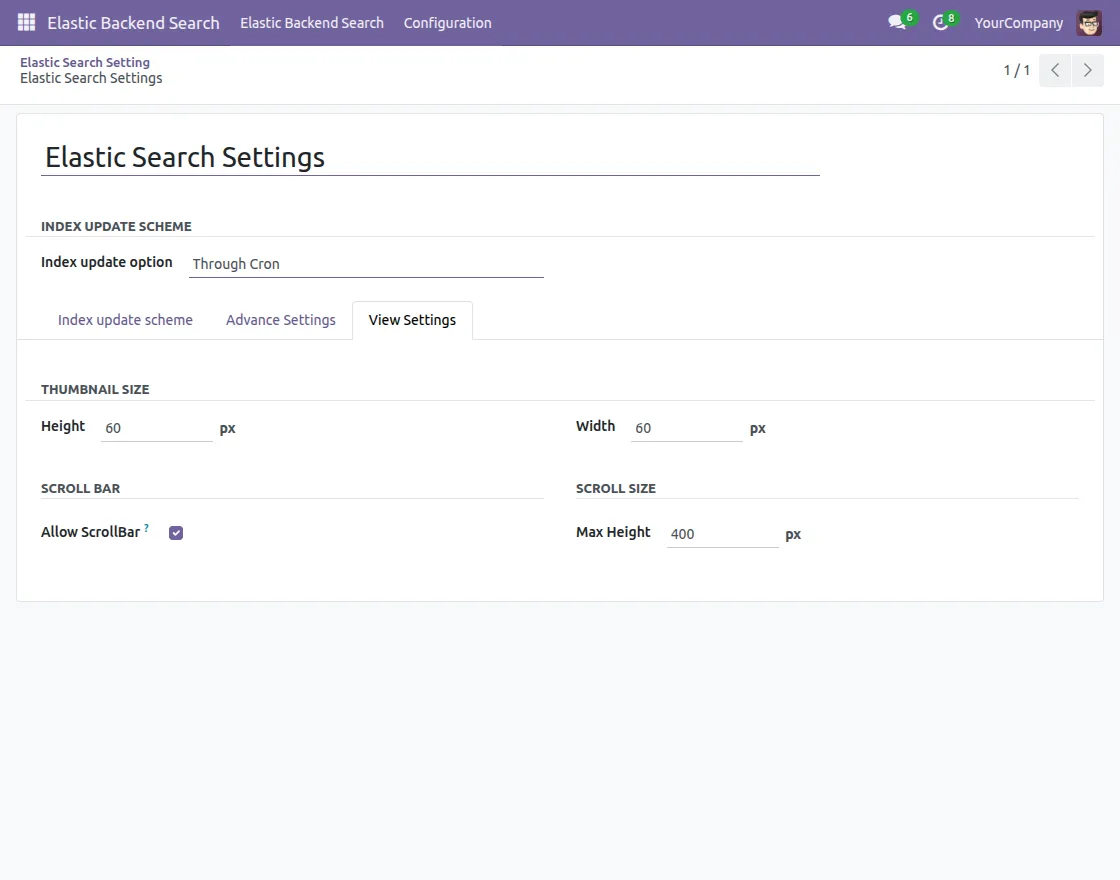
3. View Setting Configuration
Inside ElasticSearch Settings, configure the display options. Set thumbnail dimensions and scrollbar size for better result visualization.
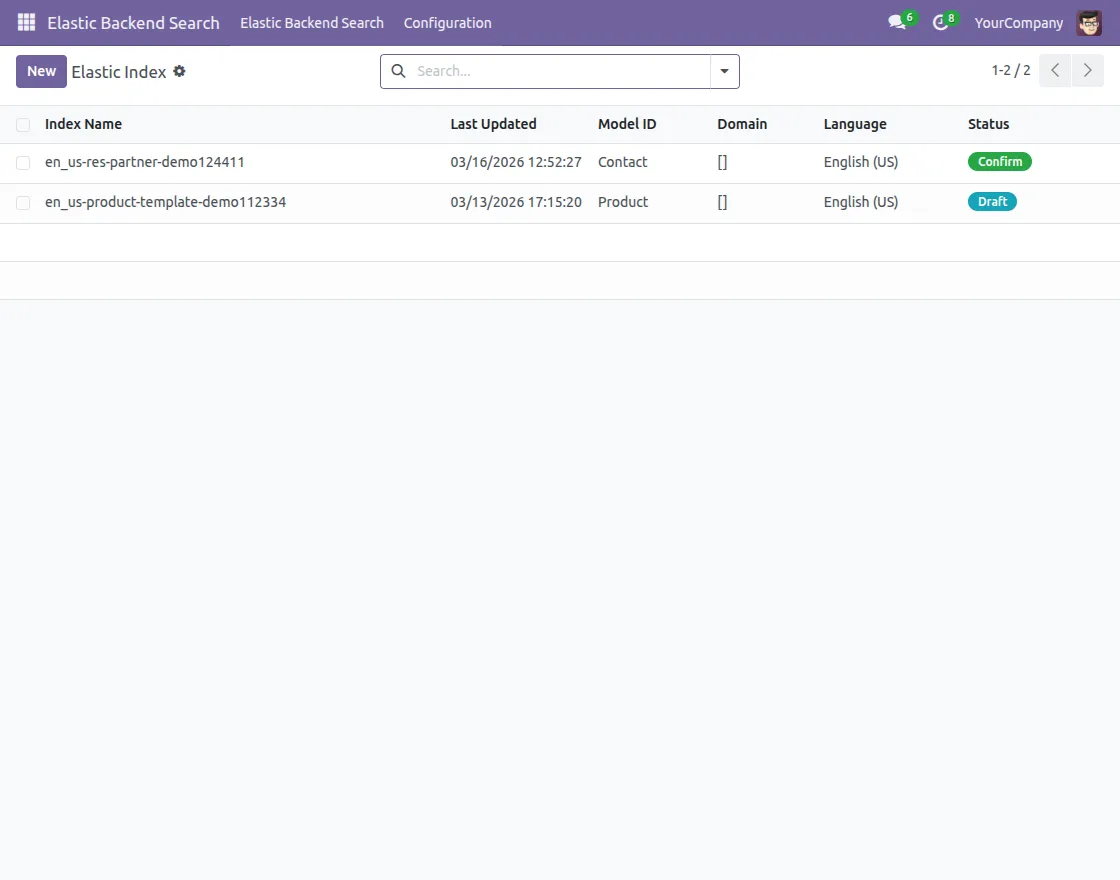
4. Create ElasticSearch Index
Go to Elastic Backend Search > ElasticSearch Index Mapping. Click on New to create a fresh index mapping configuration.
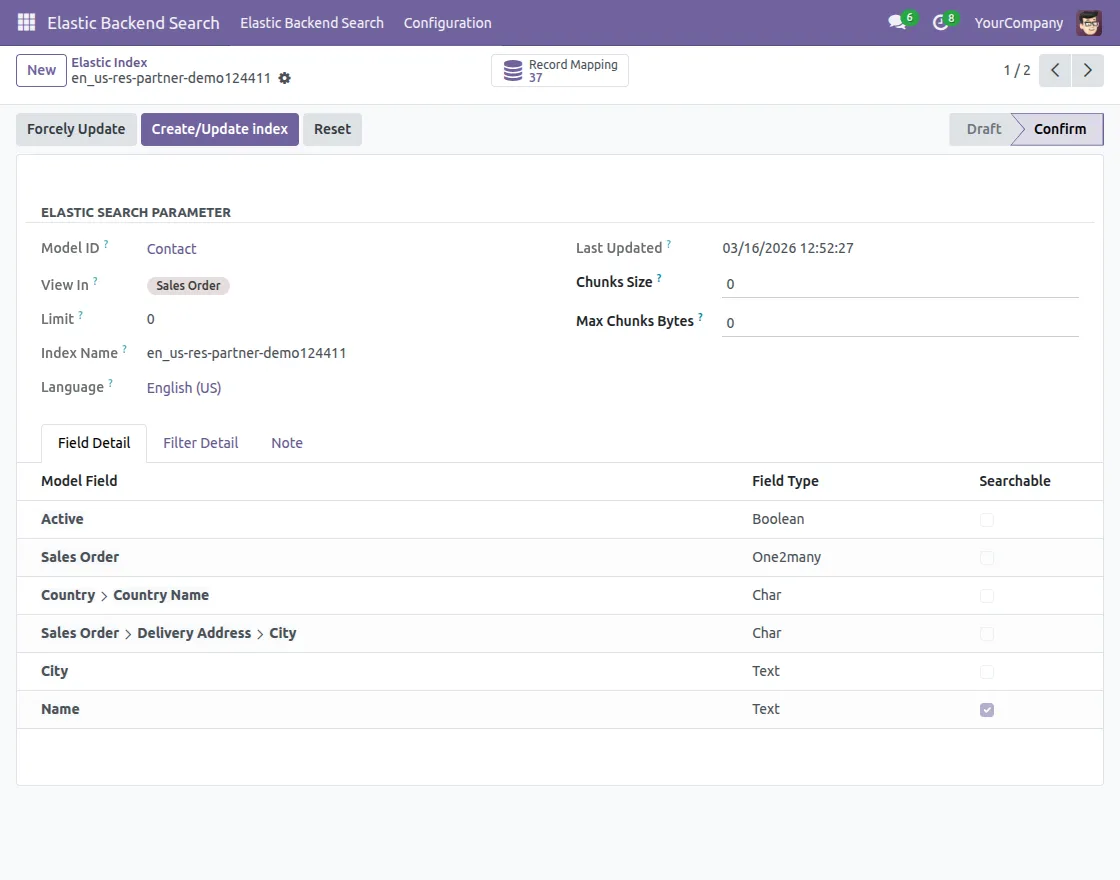
5. Elastic Index Mapping
After clicking New, define field details and mapping structure. Configure fields, including relational fields, for accurate indexing.
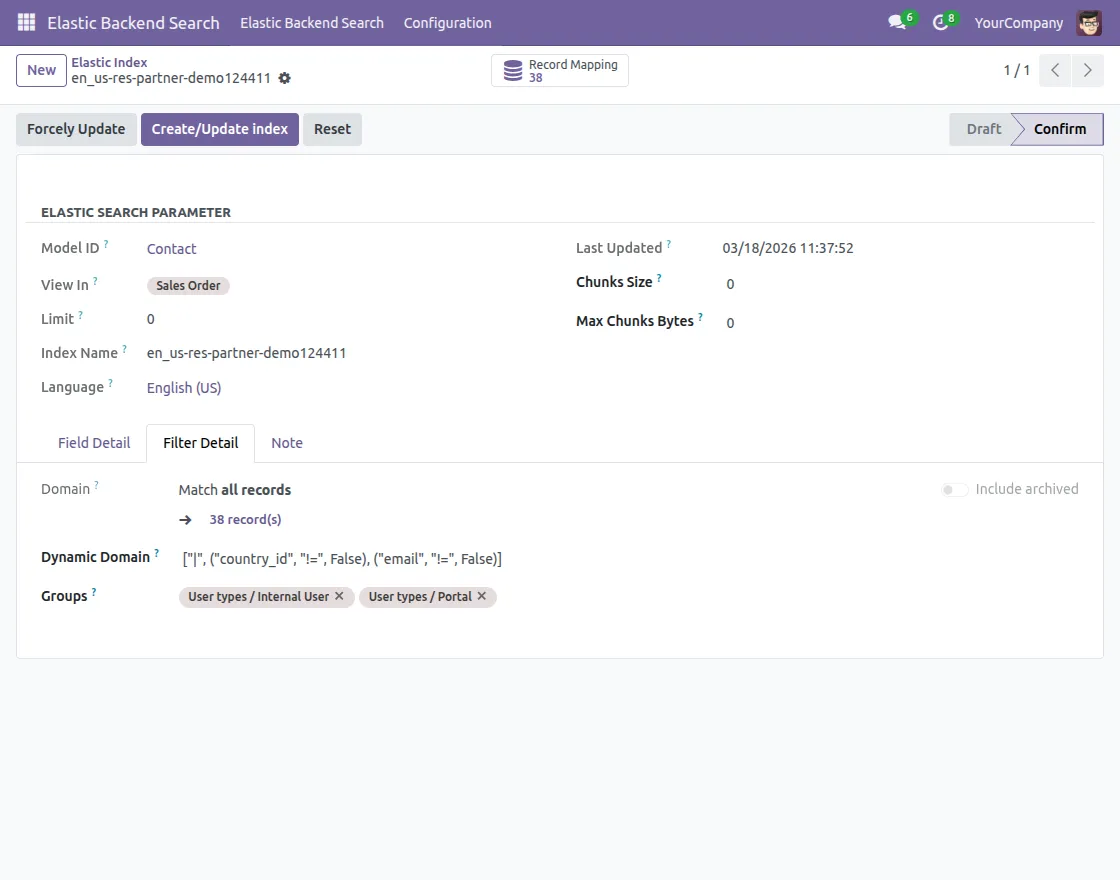
6. Configure Filter Details
In the Filter Details section, define the domain, the dynamic domain, and assign groups. These control how search results are filtered for users.
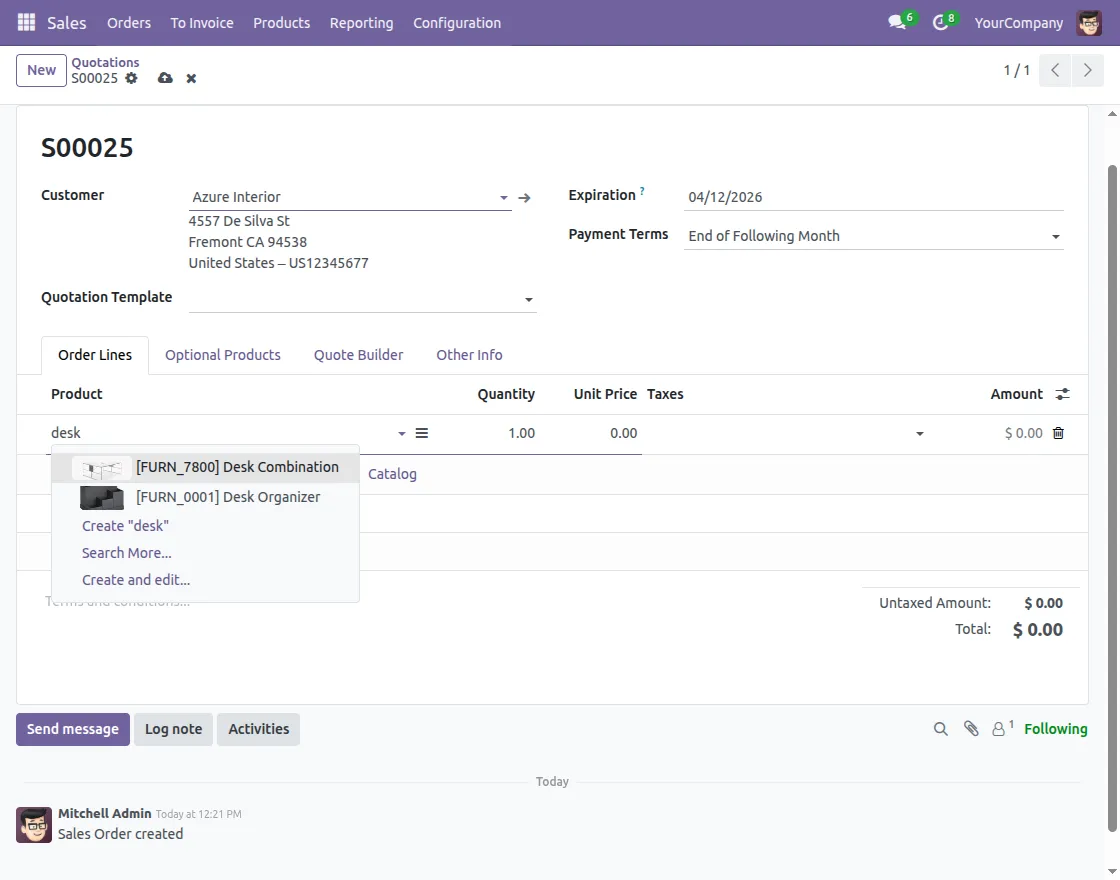
7. Sales Order Search View
Access the search view to see indexed data in action. Users can search records like products or contacts with applied filters and mappings.
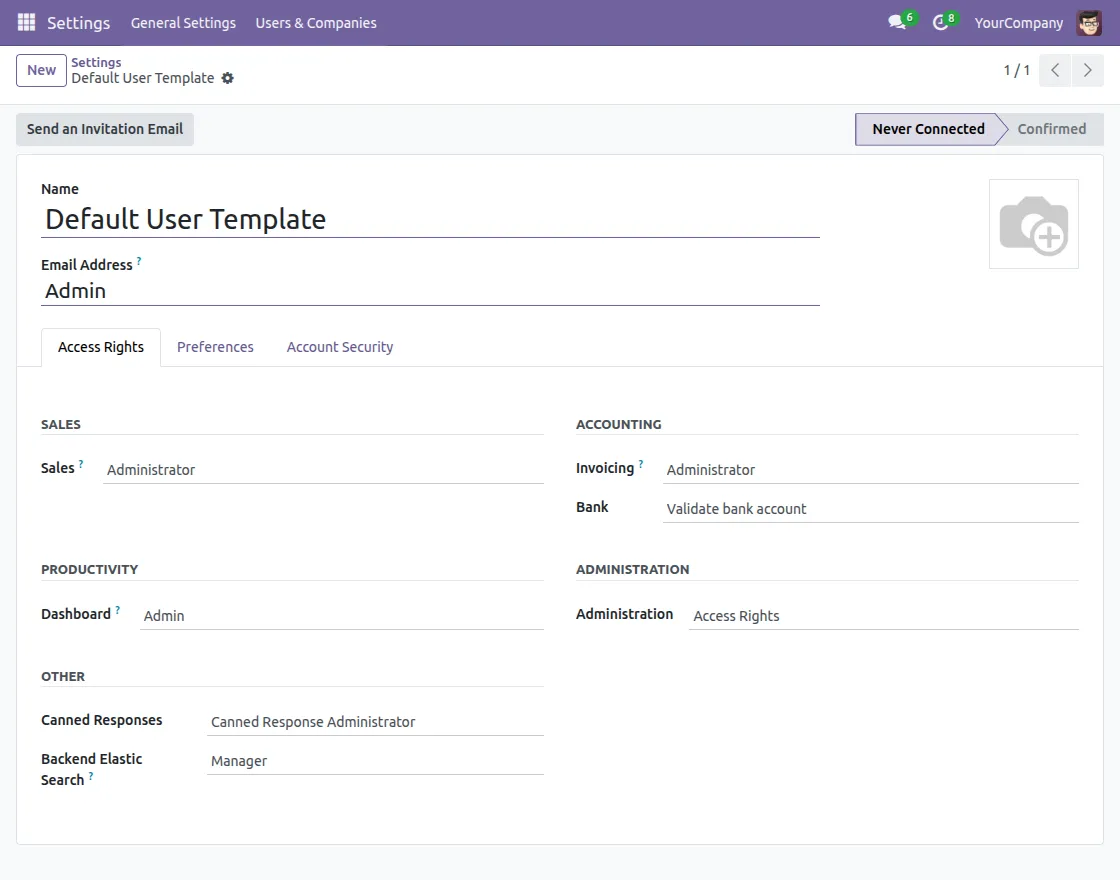
8. Manage Access Rights
Go to Settings > Users & Companies > Groups to manage access rights. Assign Manager or User roles to control search visibility and permissions.
Need Help?
Hope you find the guide helpful! Please feel free to share your feedback in the comments below.
If you still have any issues/queries regarding the same, please raise a ticket at the UV Desk.
For any doubt, contact us at our support@webkul.com.
Thanks for paying attention!!