Mobile App Builder for Shopware 6
Table of Content
Live Demo
Now, the Shopware 6 merchants can easily allow their customers to shop on the go using the Shopware 6 mobile app with ease on their android and iOS devices.
The customers can access their account panel options, surf the products, categories, make a checkout with their products, and more on their mobile devices. The customers can do this just like they do it on the website using their web browsers.
Also, all of the data like the orders, customer data, etc. will be real-time synchronized between the Shopware 6 website and the mobile app.
Moreover, the app follows the latest technology of Flutter wherein one can use Dart to build mobile apps.
Note: If you want the mobile app with the source code (chargeable) then you can generate a request for the source code over the ticket system.
Check a brief overview of the mobile app –
Check the backend configuration overview –
Features
- Interactive banner.
- Featured Category listing on the home page.
- Category Product carousel.
- Easy Sign-in & Sign-Up option.
- Customers can easily discuss their douts with the store admin using the available message feature.
- Provides the customers with layered navigation for optimized search.
- Informative and interacting shopping app with a fast and intuitive response.
- Easy to configure the mobile app by your Shopware admin end.
Self Installation
For self-installation, we will provide an api package and then you need to follow the below-mentioned steps to install the same. In case, you want our team to install the api package then kindly share the FTP details which must be shared along with the prerequisite file that you got at the time of placing the order.
Shopware provides two ways to install the plugin to the server.
- Using Command
- Manual installation
Using Command
The customers will get a zip folder, then they have to extract the contents of this zip folder on their system. After that the customer has to Copy the folder WebkulMobileApp to custom/plugins directory of Shopware 6 as shown in the below snapshot –


Now open the Shopware 6 application in the Terminal.
Run this command to refresh the plugin –
/bin/console plugin:refresh
Go to your Shopware installation Root directory then run this command to install then activate the plugin –
/bin/console plugin:install --activate WebkulMobileApp
To clear the cache run this command –
./bin/console c:c
Now refresh the administration backend section.
Manual Installation
- Extract the zip file of the plugin.
- Goto your Shopware 6 installation backend panel and navigate through Setting -> System -> Plugins


- On the Plugins page tap on the Upload plugin button to upload the Zip File.

- Hereafter, you can see the Mobile App installed.

- Now, activate it by tapping the toggle button under the Active column and the Mobile App will be Activated.

Shopware 6 Mobile App Configuration
To configure the mobile app settings navigate through Settings ->Plugins as per the snapshot below.

Here, the store admin can easily configure the settings which include –
- Carousel Images
- Featured Categories
- Manage Notifications
- Mobile banners
- Mobile Carousel
Carousel Images
Here, the admin can find all added carousel images.

To add a new carousel image tap on the create button.

Now, add the details –
- Title
- Choose Banner Type – Product or Category
- Enter Product/Category Id
- Choose the Image for the carousel Image
- Enable the Carousel Status
Now, save the carousel.
Featured Categories
The admin can easily add the featured categories under this section.
Moreover, the admin can see a complete list of the added featured categories as well.

To add a featured category, tap on the create button and that opens the section to add one.

Here, choose the category to create as featured by tapping on the Add Category button.


Now, add the image for the featured category, enable the status, and tap on the Save button to save it.
The new featured category is created. The admin can edit the featured categories as well.
Manage Notifications
The admin can easily create notifications under this section and can find the already created ones as well.


To create a new notification, tap on the Create button and that brings up the section for the same. Here, enter title, content, choose banner type as – Product or category.


Add the product/category id, choose the image, and set the status as enabled. Now, tap the save button to save the new push notification.


Mobile Banner
Here, the admin can create the mobile banners that are visible on the mobile app home page.

To create a mobile banner tap on the create button. This brings up the section to add the details of the same. Enter the required details and save the mobile banner.

Mobile Carousel
Here, the admin can easily add the carousels as product or image type as required and can find the complete list of the added ones for the Mobile App Builder for Shopware.

To add a carousel tap on the Create button and the section to create appears.

Here, the admin will –
- Set the title of the carousel
- Choose the type as Product or Image
- Select the color
- Choose the image
- Set the status as enabled
And save the carousel.
To assign the product to the created carousel(product type) tap on the 3 dotted lines.

Then tap on the Assign product and a section appears to assign the products to the product carousel. To add more products tap on the add button.

Similarly, for the Carousel type as Image tap the three dotted line and select Assign Image.

The section that appears. within that add the images for the carousel image type by tapping the add button.

The images that appear here come from the Carousel images section where we have already added the images.
Mobile App Workflow –
Mobile App Builder for Shopware 6:
After the successful installation, the app opens up with an informative homepage that gives a clear exposure of your web-store in form of mobile app and provides a good user experience to the customers.
Home Page
On the home page, the customers can see the featured categories, carousel, and mobile banners. Apart from that, the customers can see the notifications sent by the store admin by tapping the notification icon at the top right-hand corner.


Apart from that, at the bottom, the customers can see the home, category, product search, cart, and the profile section icon. The profile section is visible only if the customer has logged in otherwise a sign-in option is visible under that section.
Category Page
This section displays the category list and the customers can access any one by just making a simple tap on any one as required.


Tapping a category brings up it’s sub-categories. Tapping on the respective sub-category brings up the complete product listing under that particular sub-category.


Here, the customers can also find an interactive view that allows them to view the products in a grid or list view.


Product Page
The customers can open any product and can view the complete details of the product. On the product page, the customers can view the price of the product, whether it’s in stock or not, its description, the ratings for the product, and much more. From the product page, the customers can even add the respective product to their wishlist by tapping the heart icon and can also add the product to their cart by tapping the Add to Cart button.
Apart from that, the customers can also give the product review if already logged in by tapping on the Write a Review button. For a faster purchase, the customers also have the Buy Now button that directly navigates them to the checkout page.


Product Search Via Text & Voice
Searching products within the store is a usually cumbersome task, but now using the Mobikul mobile app the customers can easily search for their required products.
Using the Shopware 6 mobile app now the customers can search the products in two ways –
- Searching the products by using voice or by entering the product name


SignIn & Register
Now, the registered users can easily sign in using the app itself, and that too on the go. The users who are not registered can easily sign-up using their mobile app for the shopware 6.
Sign-In & Sign Up
To make a sign-in, the customers need to enter their username and password and tap on the Sign-in button.


Tapping on the Sign Up Now button brings up the section for the users to register themselves.
Now, the user needs to enter their details, address, select the privacy checkbox.
Now, tap on the Signup button to swiftly sign-up using the Shopware 6 mobile app.
Account Panel Options
After successful login, the customers can view their account panel options.


The available account panel options under the Shopware Mobile App Builder app are –
- Dashboard
- My Orders
- Product Reviews
- Address Book
- Account Information
- Payment Methods
- WishList
- Chat With Admin
- languages
- Currencies &
- Logout
Dashboard


Under the dashboard, the customers can find the sections:
- Personal Data
Here, the customers can edit their profile data as required. - Default Payment Methods
Change the payment method as required. - Default Billing Address
The billing address can be changed from this particular section. - Default Shipping Address
The shipping address can be changed from this particular sction.
My Orders
Under this section, the customers can easily check the complete list of orders they have placed and even can reorder the already placed orders as required. Apart from that, the customers can view the complete details of the placed orders as well.


Product Reviews
Under this section, the customers can view the complete list of product reviews that they have given for the products. Also, they can edit or delete any given review as required.


Address Book
Under this section, the customers will find the default shipping and billing address. Apart from that, the customers can view the other addresses that they have saved.


To add a new address just tap on the plus icon at the top right-hand corner and that brings up the section to add a new address.
Enter the details and then tap on the Save button to save the new address.
Account Information
Under this section, the customers can easily change their account information. The customers can change their –
- First and last name
- Email Address &
- Password


Payment Methods
Here, the customers will find the list of payment methods used as default.
Furthermore, they can easily update their default set payment methods that should be used while making a checkout.

Wishlist
The wishlist section displays the complete list of products that the customers have set up for purchasing later.
From this section, the customers can easily remove any products from the wishlist, add products from this section directly to the cart for making checkout as required, or can navigate to the product page of the added product in this section.


Chat With Admin
Here, the customers can directly resolve their queries by the chat feature available within the account panel. The customers can easily chat with the store admin regarding their doubts and get them clarified.
- Customers can upload an image along with the chat message as well.

Languages
The shopware 6 mobile app supports multiple languages. So, the mobile app supports both LTR and RTL languages(Arabic, Urdu, etc.) altogether.
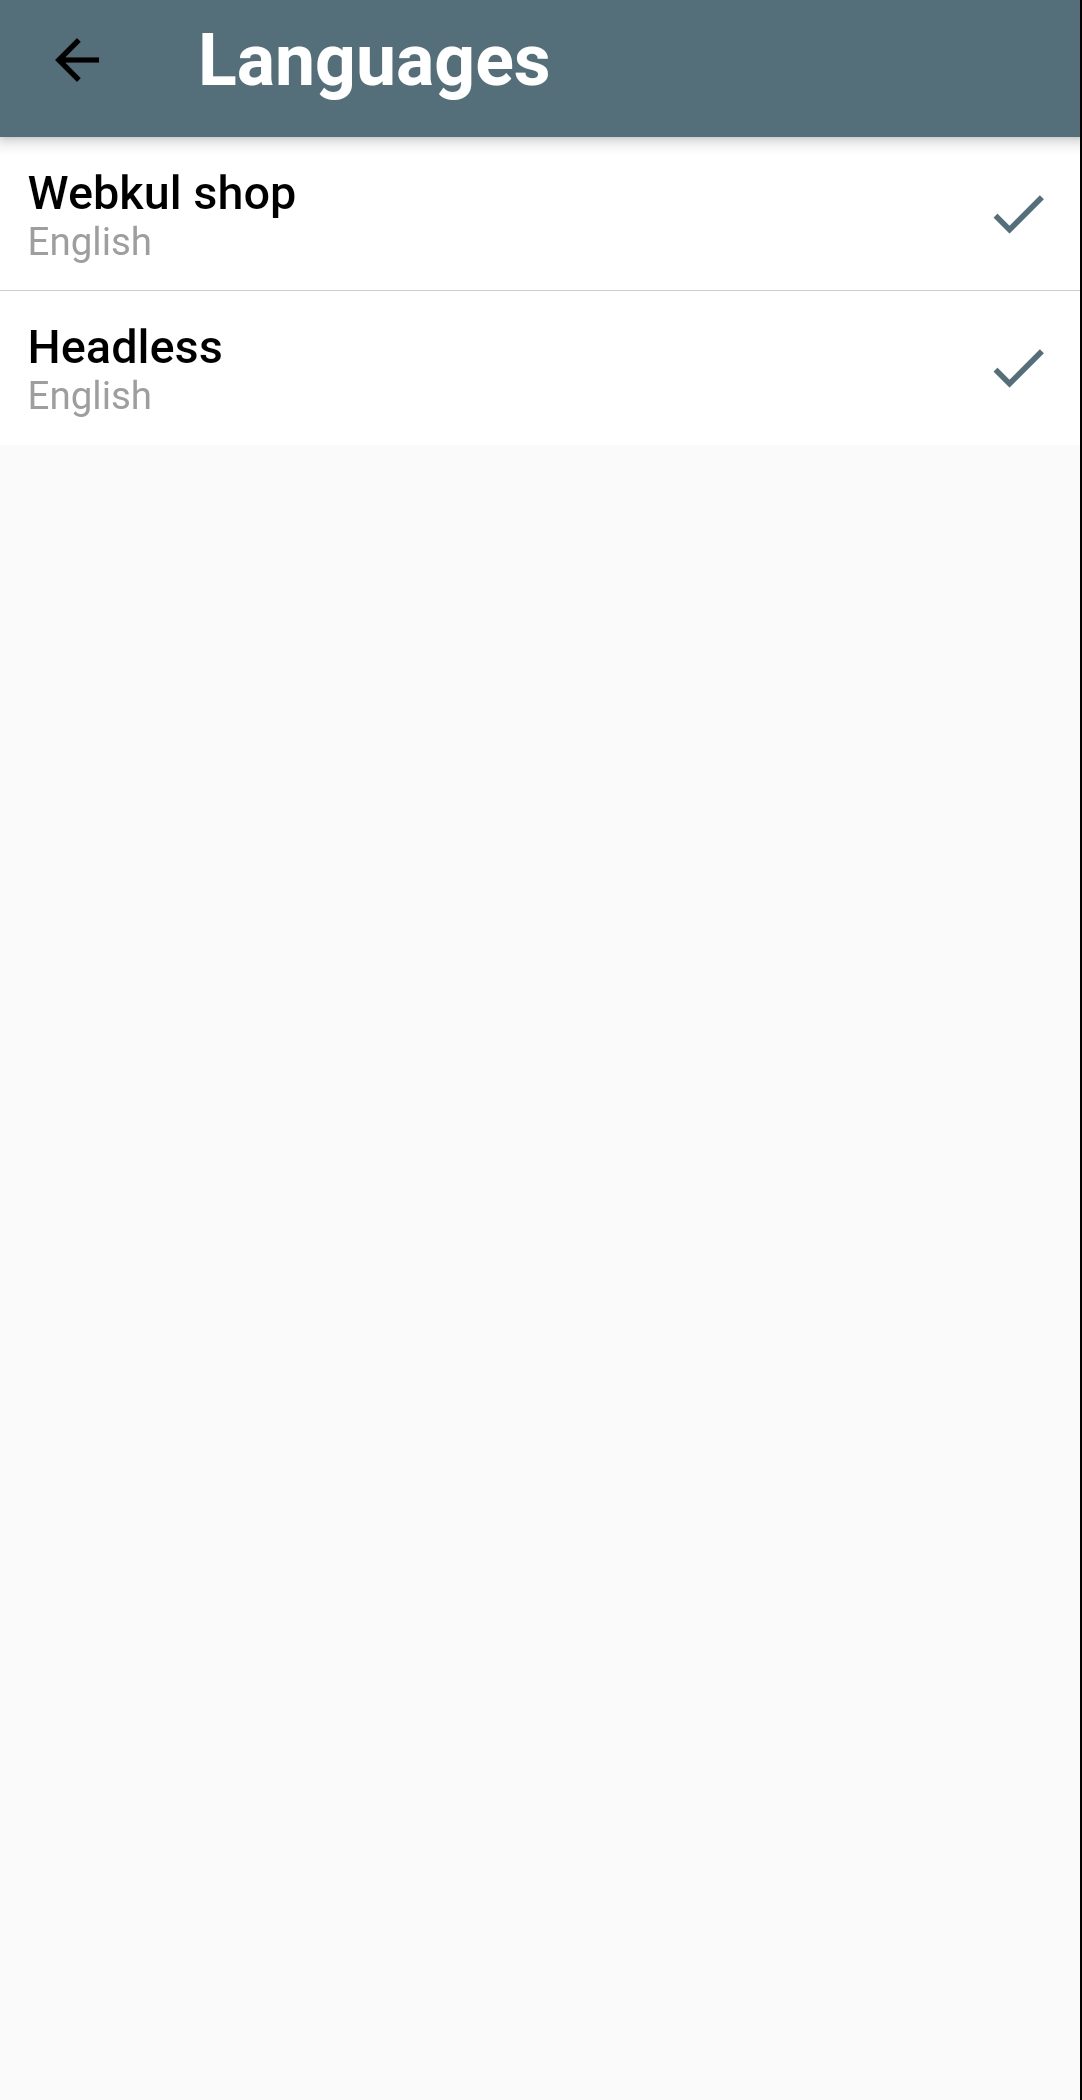

A customer can easily update his preferred language by choosing the same and then the chosen language is visible within the mobile app itself.
Currencies
The shopware 6 mobile app supports multiple currencies. The customer can easily update his preferred currency by navigating to this section and that would update the currency for the store


One Page Checkout Process
The customer add the product to the cart and then the customer can update the quantity, apply a promo code if available, and can proceed to checkout.


On the checkout page, change the default shipping address, shipping method, default payment method for the order if required. lastly, check the terms & conditions and then place the order by tapping the Submit Order button.

That was much about the Mobile App Builder for Shopware 6 module, for any queries kindly drop us an email at support@webkul.com or raise a ticket at webkul.uvdesk.com
Please explore our shopware development services and Quality shopware extensions.