Prestashop Google reCAPTCHA {User- Guide}
Live Demo
Prestashop Google reCAPTCHA : reCAPTCHA is a system designed to establish that the user is a human.
Prestashop Google reCaptcha displays images to identify humans as part of their normal validation procedures.
It protects your website from spam and abuse and ensures higher security of your Prestashop store.
Note: PrestaShop Google reCAPTCHA module is compatible with PrestaShop multi-store feature.
Features of PrestaShop Google reCAPTCHA
- Display Google reCAPTCHA on login, registration, contact, back office Login, and personal information pages.
- Restrict user login and registration for specific email ids and IP addresses.
- Use Google reCAPTCHA in sandbox mode for testing.
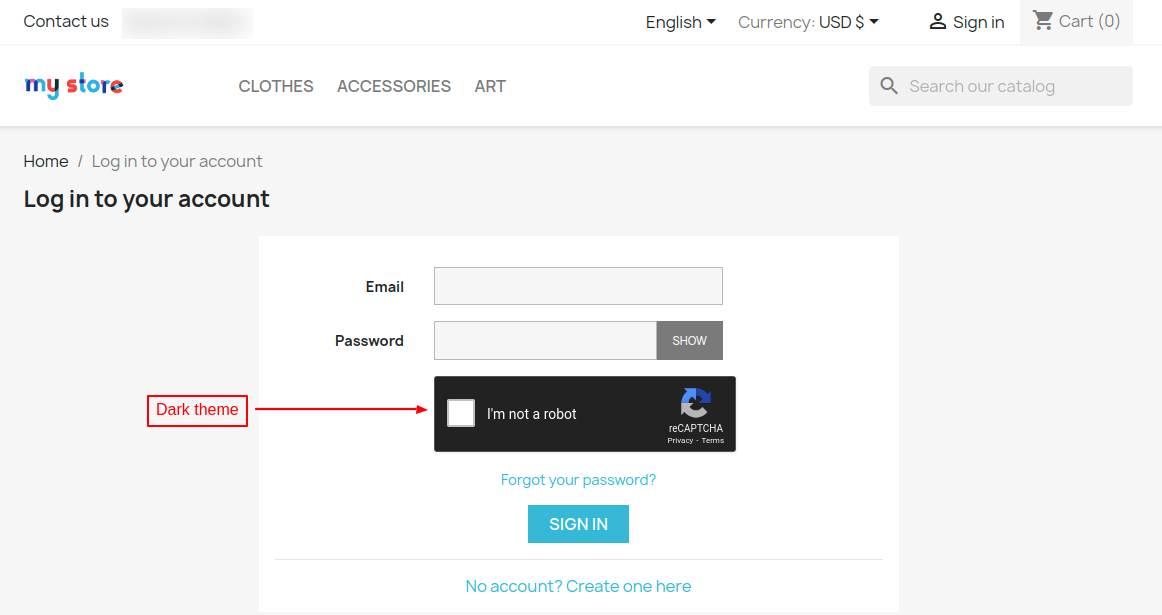
- Two theme color options (light or dark) for Google reCAPTCHA to choose from.
- The module supports Google reCAPTCHA V2 and reCAPTCHA V3.
- Improves the security of your store.
- A simple solution to keep away spam bots and hackers.
- Module translation is available in following languages: French (fr), Arabic(ar), Spanish(es), German(de), Italian(It), Russian(ru), Japanese(ja), Dutch(nl), Bulgarian (bg), Portuguese (pt)
How to Install PrestaShop Google reCAPTCHA
- Firstly, go to the module manager in the back office and click on ‘upload a module’.
- After that, drag and drop the module file or select the file from the system.
- In this way, the module installation will be successful.


Custom Hook Information
The following custom hook needs to be added to the PrestaShop files to ensure the correct functioning of the”PrestaShop Google reCAPTCHA” module.
1.) Customer Login Form:
For Prestashop 1.7.x.x/8.x.x/9.x.x
Hook:
{hook h='displayWkCustomerLoginForm'}
File name: login-form.tpl
Path: /themes/_YOUR_THEME_NAME_/templates/customer/_partials/
Position: Add this hook before the end of the block element ‘login_form_fields’.
Refer to the screenshot for the Prestashop classic theme:


Refer to the screenshot for the hummingbird theme (Prestashop version 9.x.x):


2.) Customer Contact Form:
For Prestashop 1.7.x.x/8.x.x/9.x.x
Hook:
{hook h='displayWkCustomerContactForm'}
in Front-Office
A.) File name: contactform.tpl
Path: /modules/contactform/views/templates/hook
Position: Add this hook after ‘displayGDPRConsent’ hook before the section closing tag.
Refer to the screenshot for customer contact form [module]:


B.) File name: contactform.tpl
Path: /themes/_YOUR_THEME_NAME_/modules/contactform/views/templates/widget
Position: Add this hook after ‘displayGDPRConsent’ hook before the section closing tag.
Refer to the screenshot for customer contact form [theme]:


3.) Admin Login Form:
For PrestaShop 9.x.x
Hook:
{{ renderhook('displayWkAdminLoginForm') }}
File Name: form_theme.html.twig
Path: src/PrestaShopBundle/Resources/views/Admin/Login/form_theme.html.twig
Position: Add this hook inside the block {% block submit_row -%} before {{- form_widget(form) -}}
Refer to the screenshot for the admin login form, Prestashop 9.x.x:


Hook:
\Hook::exec('actionWkAdminLoginControllerSubmit');
File name: UserBadge.php
Path: vendor/symfony/security-http/Authenticator/Passport/Badge
Position: Add this hook inside the getUser() function after the user check condition.
Refer to the screenshot for UserBadge.php, Prestashop 9.x.x:


For Prestashop 1.7.x.x/8.x.x
Hook:
{hook h='displayWkAdminLoginForm'}
File name: content.tpl
Path: /admin/themes/default/template/controllers/login
Position: Add this hook inside the login form, after the password field <div class=”form-group”>……</div>
Refer to the screenshot for the admin login form Prestashop 1.7.x.x/8.x.x:


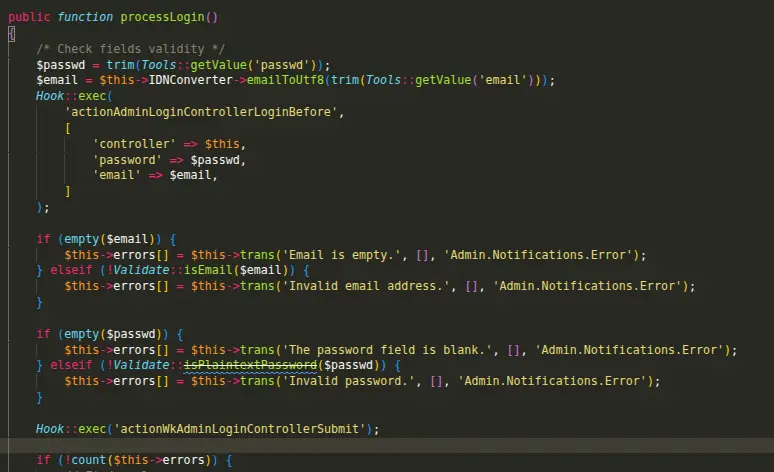
Hook:
Hook::exec('actionWkAdminLoginControllerSubmit');
File name: AdminLoginController.php
Path: /controllers/admin/
Position: Add this hook Inside processLogin() function, after ‘password’ validation check
Refer to the screenshot for AdminLoginController, Prestashop 1.7.x.x/8.x.x:

We override some prestashop core files:
1. Classes/form – CustomerForm.php
function name – validate()
2. Classes/form – CustomerLoginForm.php
function name – submit()
3. modules/contactform – contactform.php
function name – sendMessage()
Prestashop Google reCAPTCHA Configuration
ReCAPTCHA Environment
The admin can choose to use the module in sandbox box.
Admin can add IP addresses where reCAPTCHA will display.


General Settings
Under General Settings, the admin can:
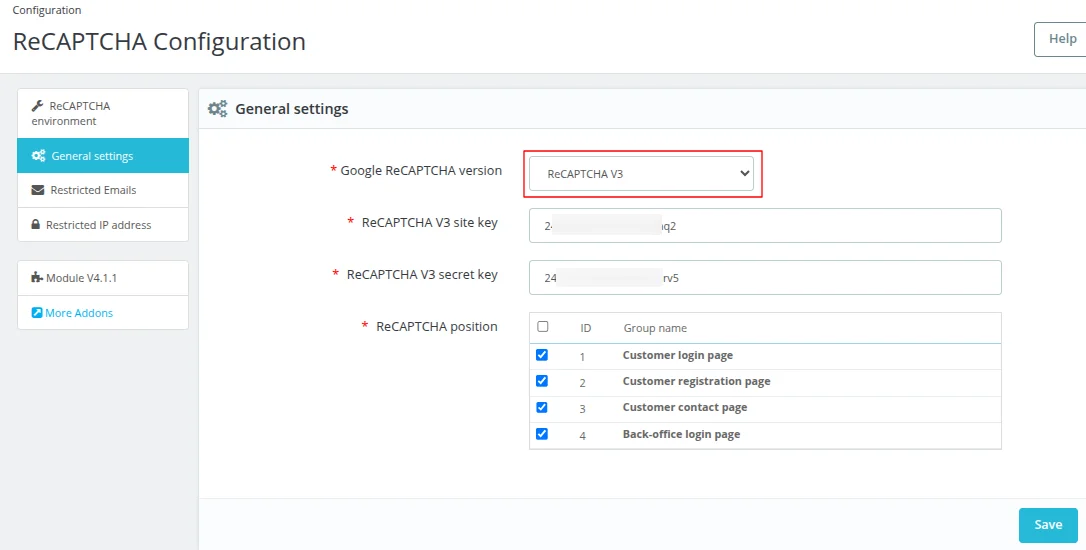
- Select Google ReCAPTCHA version (ReCAPTCHA V2 or ReCAPTCHA V3)
- Can specify ReCAPTCHA site and secret key.
- Select ReCAPTCHA theme color.
- Configure positions where he wants to show ReCAPTCHA.

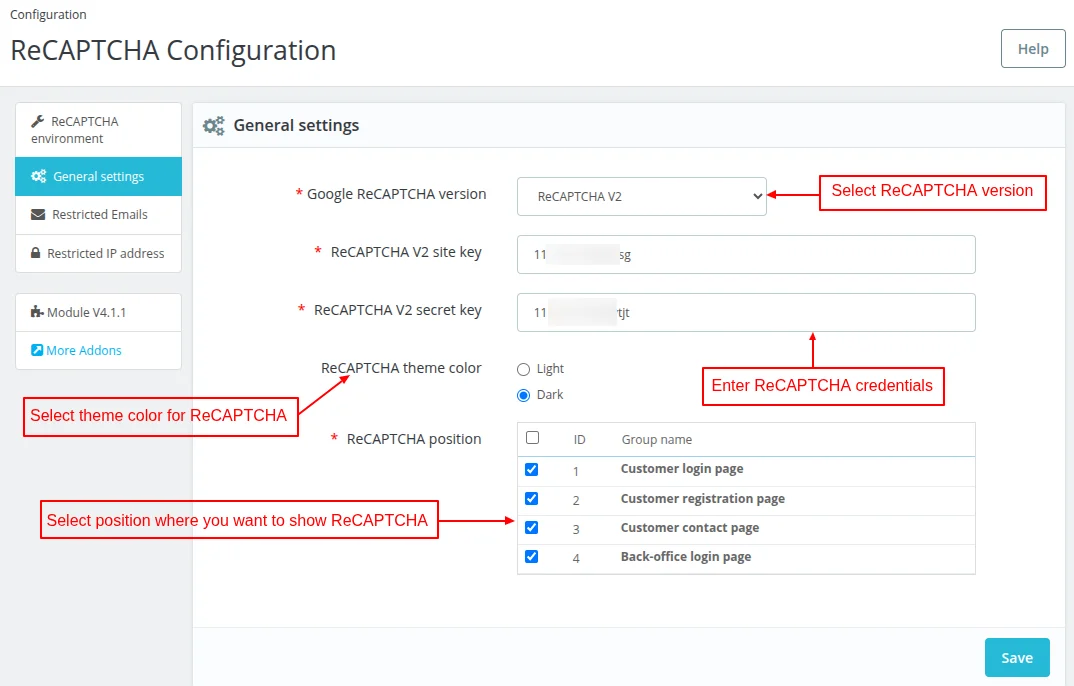
The module supports Google reCAPTCHA V2 and reCAPTCHA V3.

How to Create reCAPTCHA Credentials
To get the Credentials of reCaptcha, Admin has to create/signup to their accounts from the link: https://www.google.com/recaptcha

Admin needs to either create a new account or login to its existing account to move ahead.

Once logged in, admin needs to fill necessary information to get the reCAPTCHA credentials.

Once all the details are filled in, the credentials for reCAPTCHA will be generated.

You need to enter the above generated credentials in the module configuration.
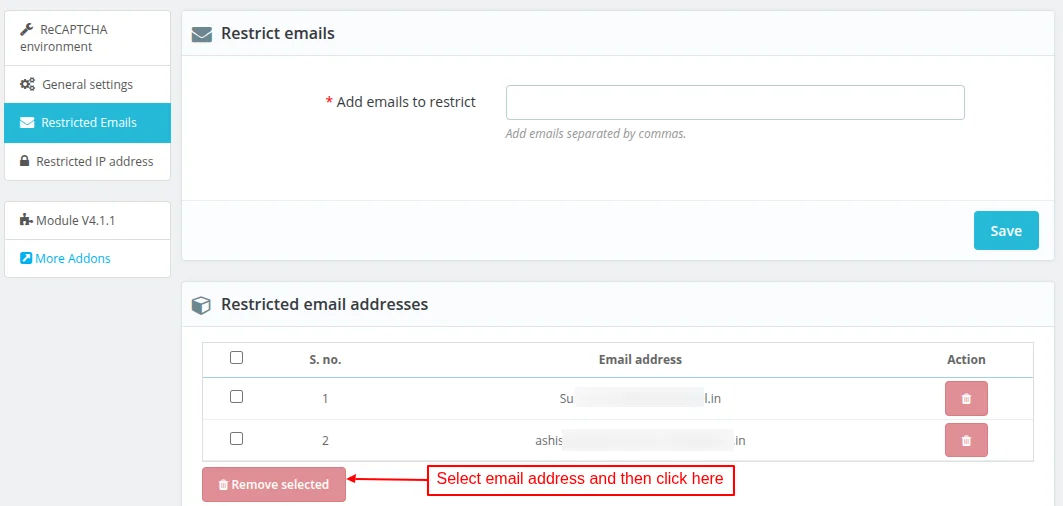
Restricted emails
Under Restricted emails, the admin can specify email address of the users who will not be able to log in or register on store.

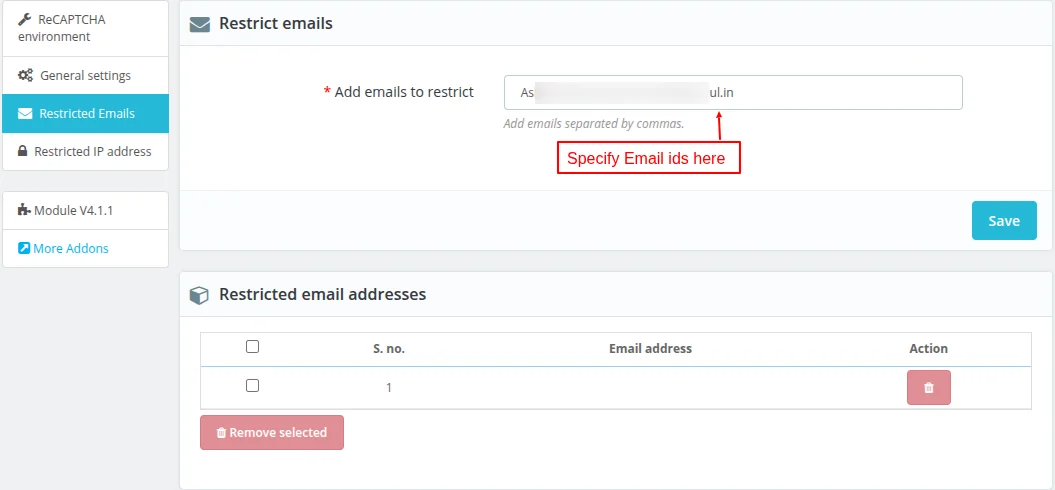
Once added, the admin can remove restriction from the email address.

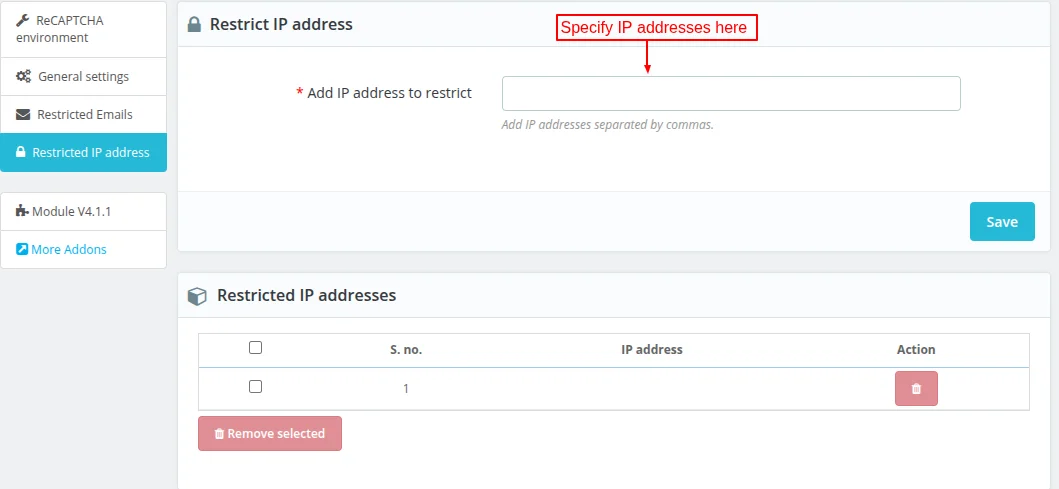
Restricted IP Addresses
Under Restricted emails, the admin can specify IP addresses on which the users who will not be able to log in or register.

Front End Workflow
Google reCAPTCHA will display on the pages selected by the admin under General Settings.
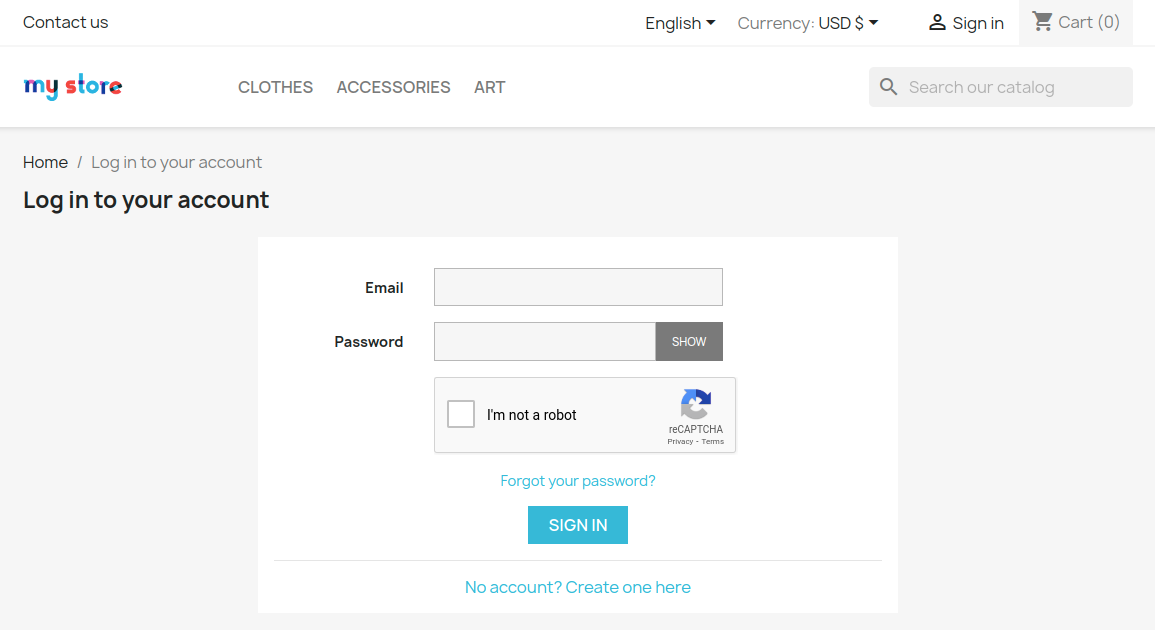
Login Page
reCAPTCHA V3

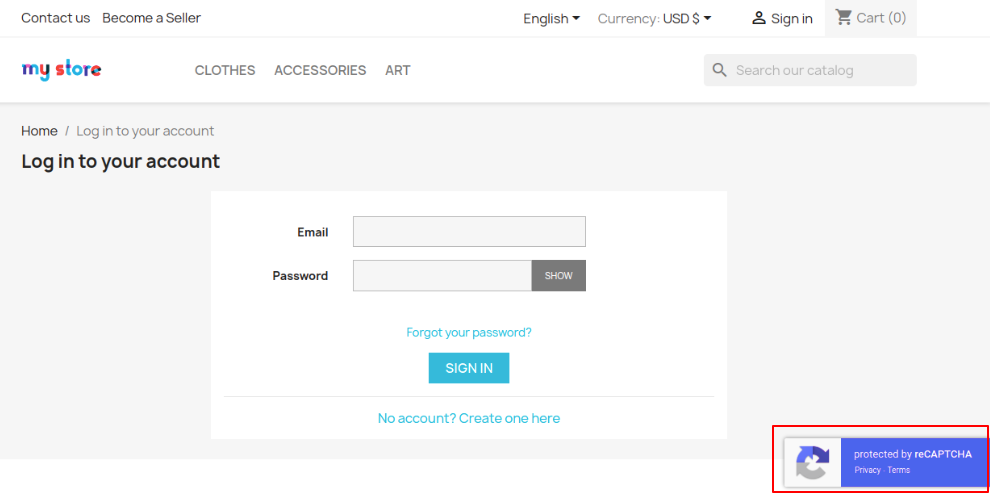
reCAPTCHA V2


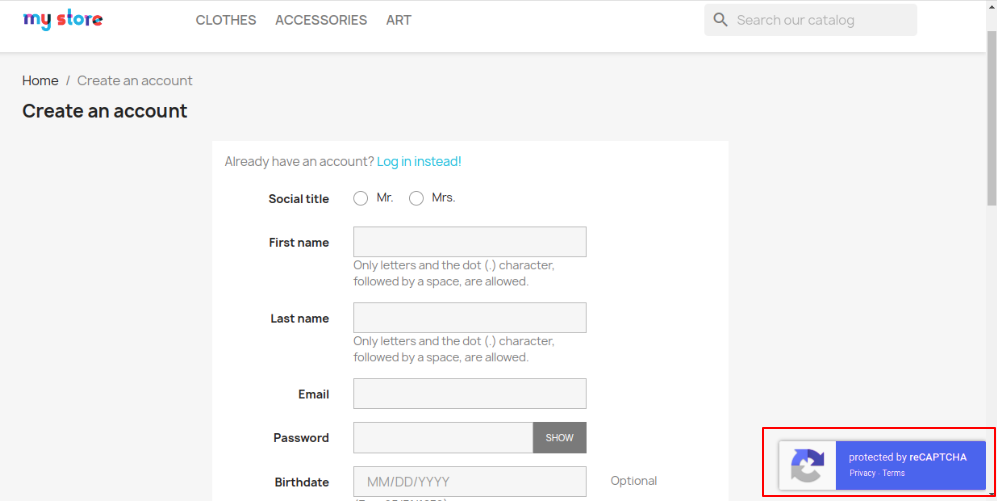
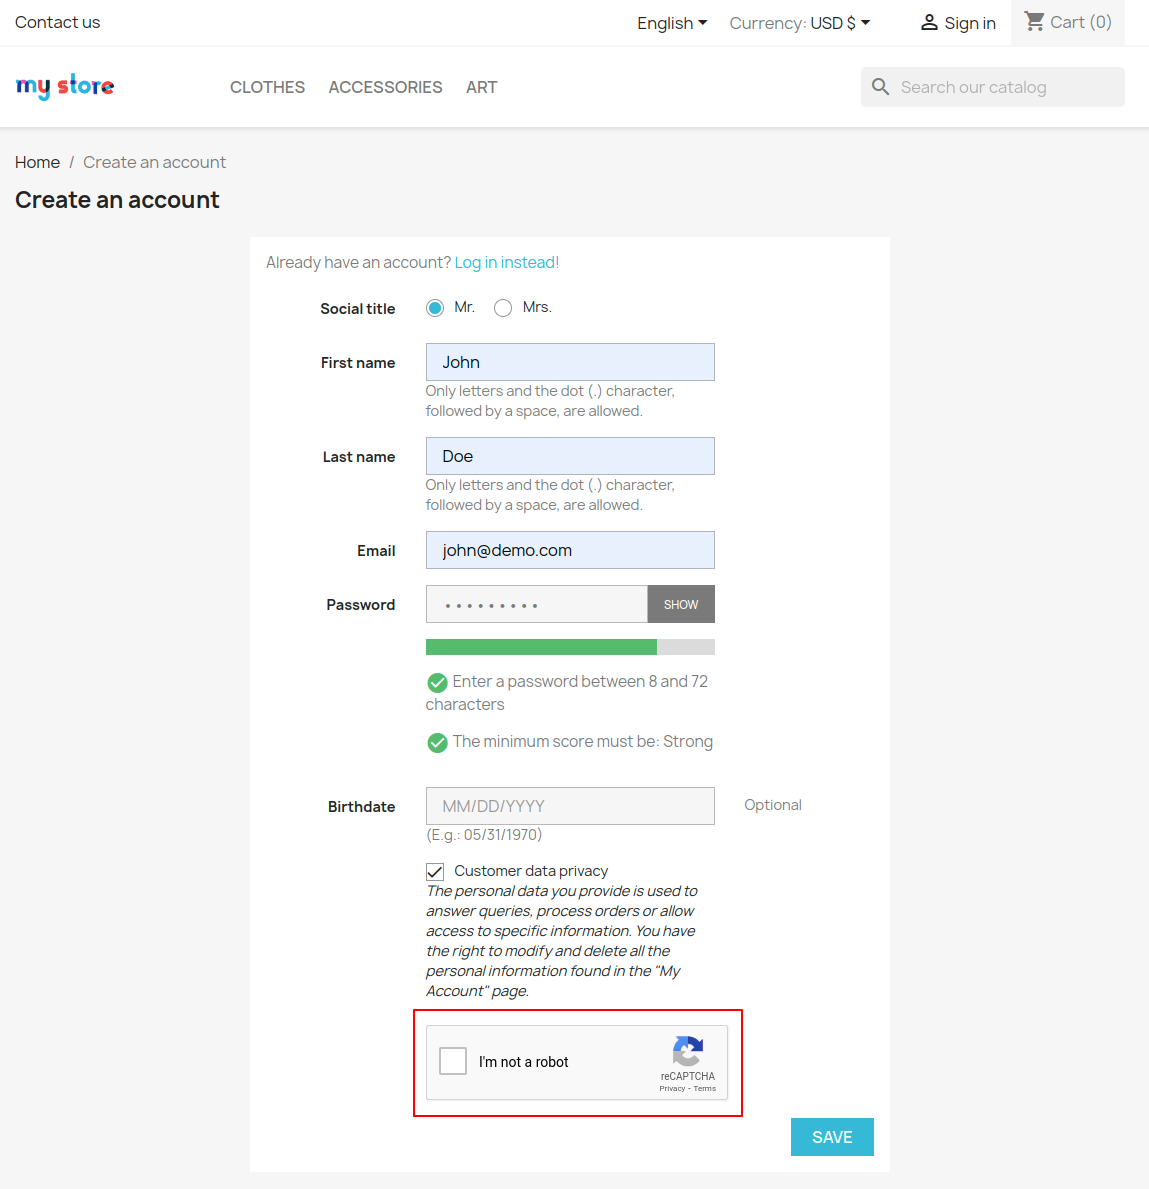
Registration Page
reCAPTCHA V3

reCAPTCHA V2

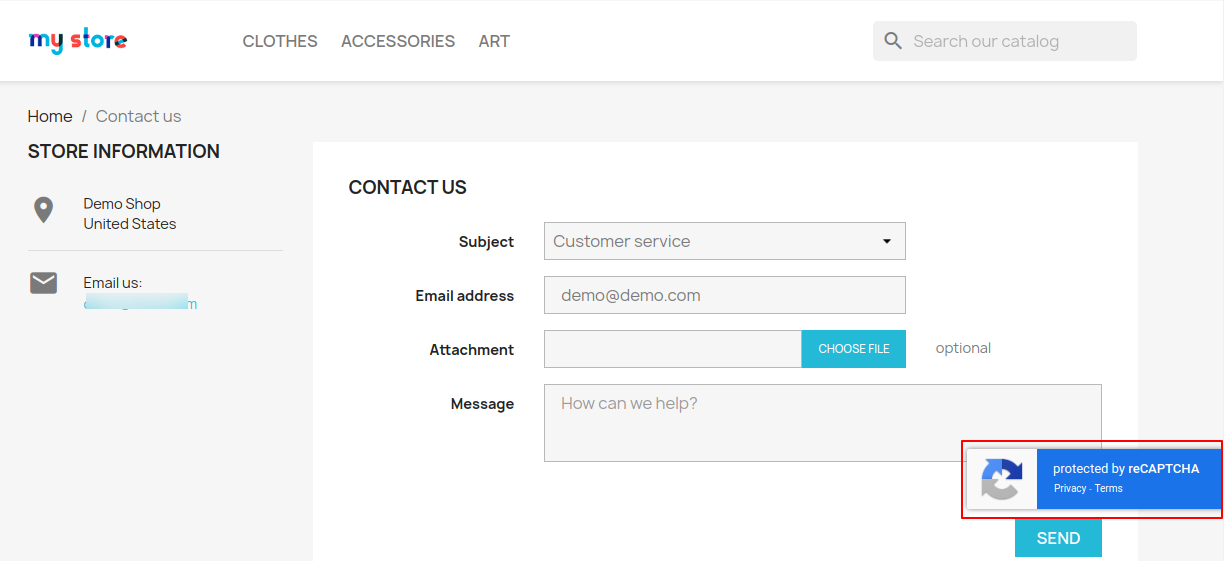
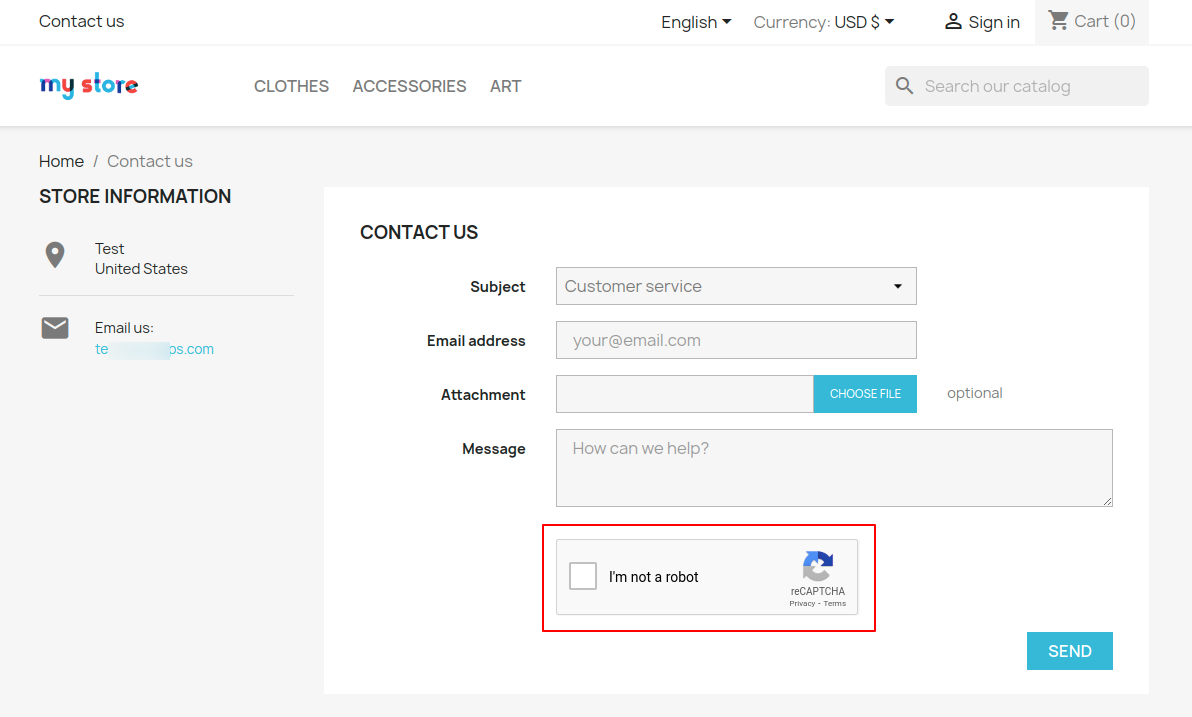
Contact Page
reCAPTCHA V3

reCAPTCHA V2

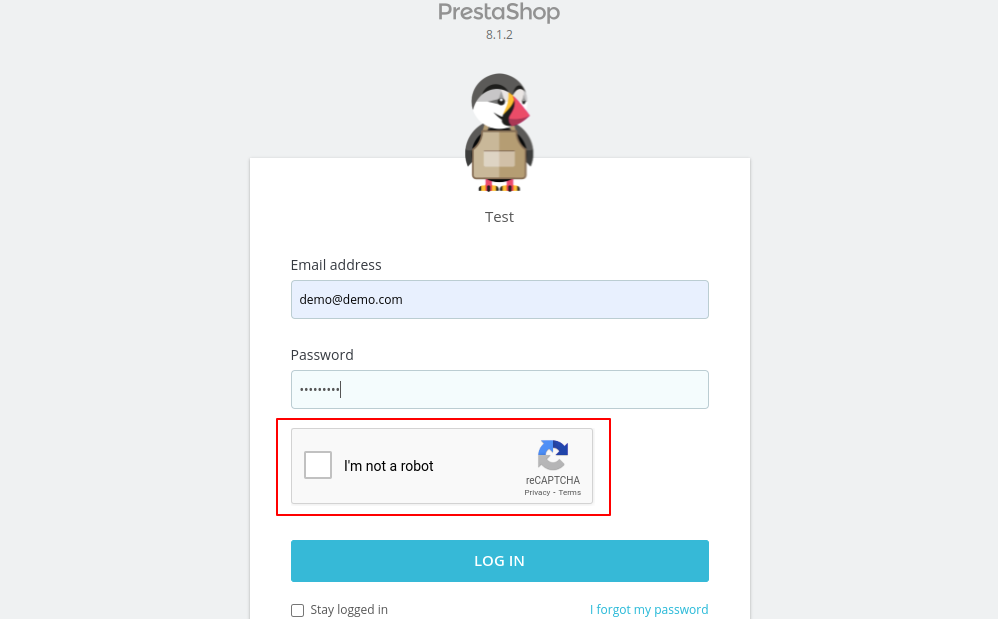
Back office Login Page
reCAPTCHA V3

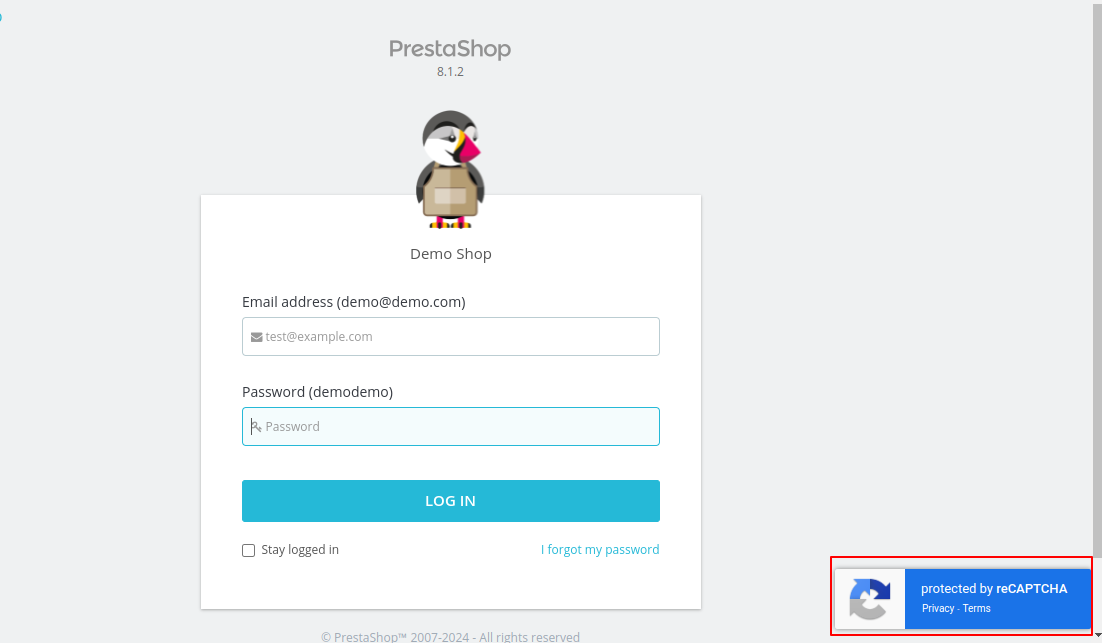
reCAPTCHA V2

Personal Information Page
reCAPTCHA V3

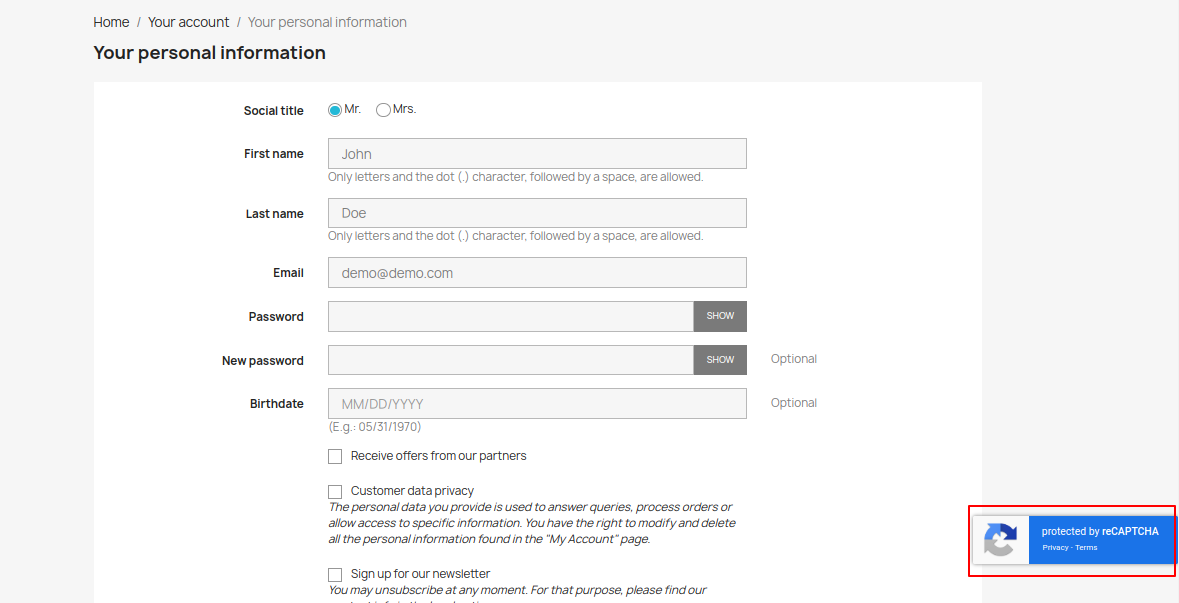
reCAPTCHA V2


Support
For any kind of technical assistance or query, please raise a ticket at http://webkul.uvdesk.com or send us a mail at support@webkul.com
Also, please explore our PrestaShop development services & vast range of featureful PrestaShop Addons.